Sunflower Seed Crackers

Sunflower Seed Crackers

Sunflower Seed Crackers
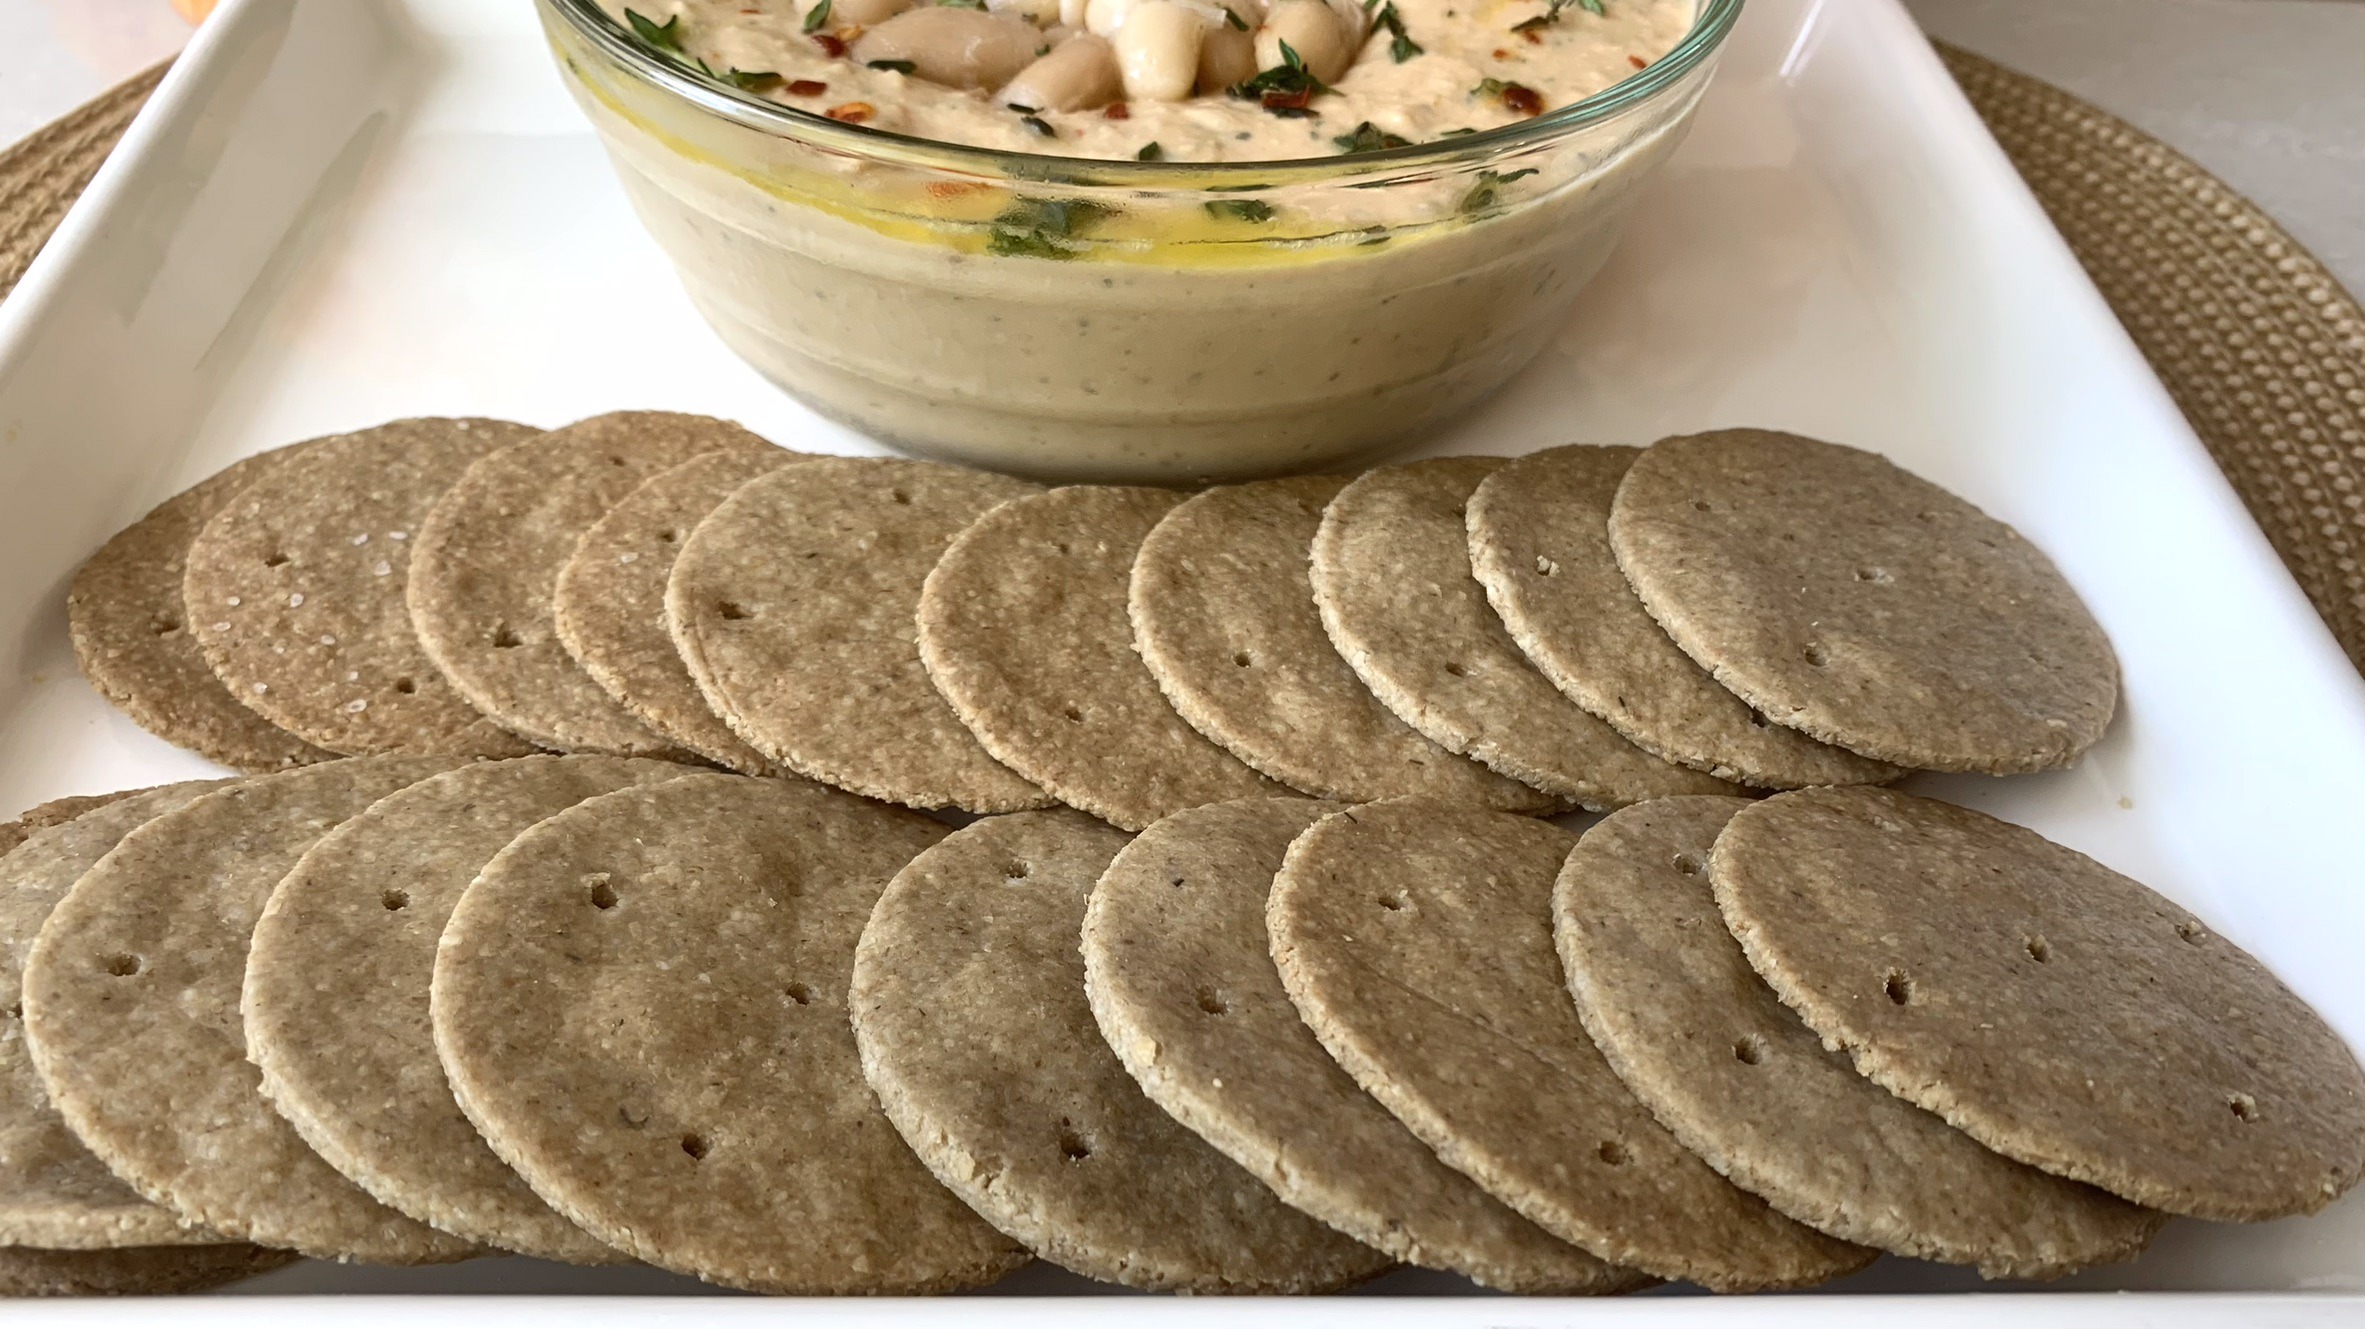
If you’re searching for a healthy and crunchy treat that’s both easy to make and packed with nutrition, these Sunflower Seed Crackers are just what you need. Made with wholesome ingredients like sunflower seeds and old-fashioned rolled oats, these crackers are a fantastic alternative to store-bought varieties, offering a homemade snack that’s as nutritious as it is delicious.
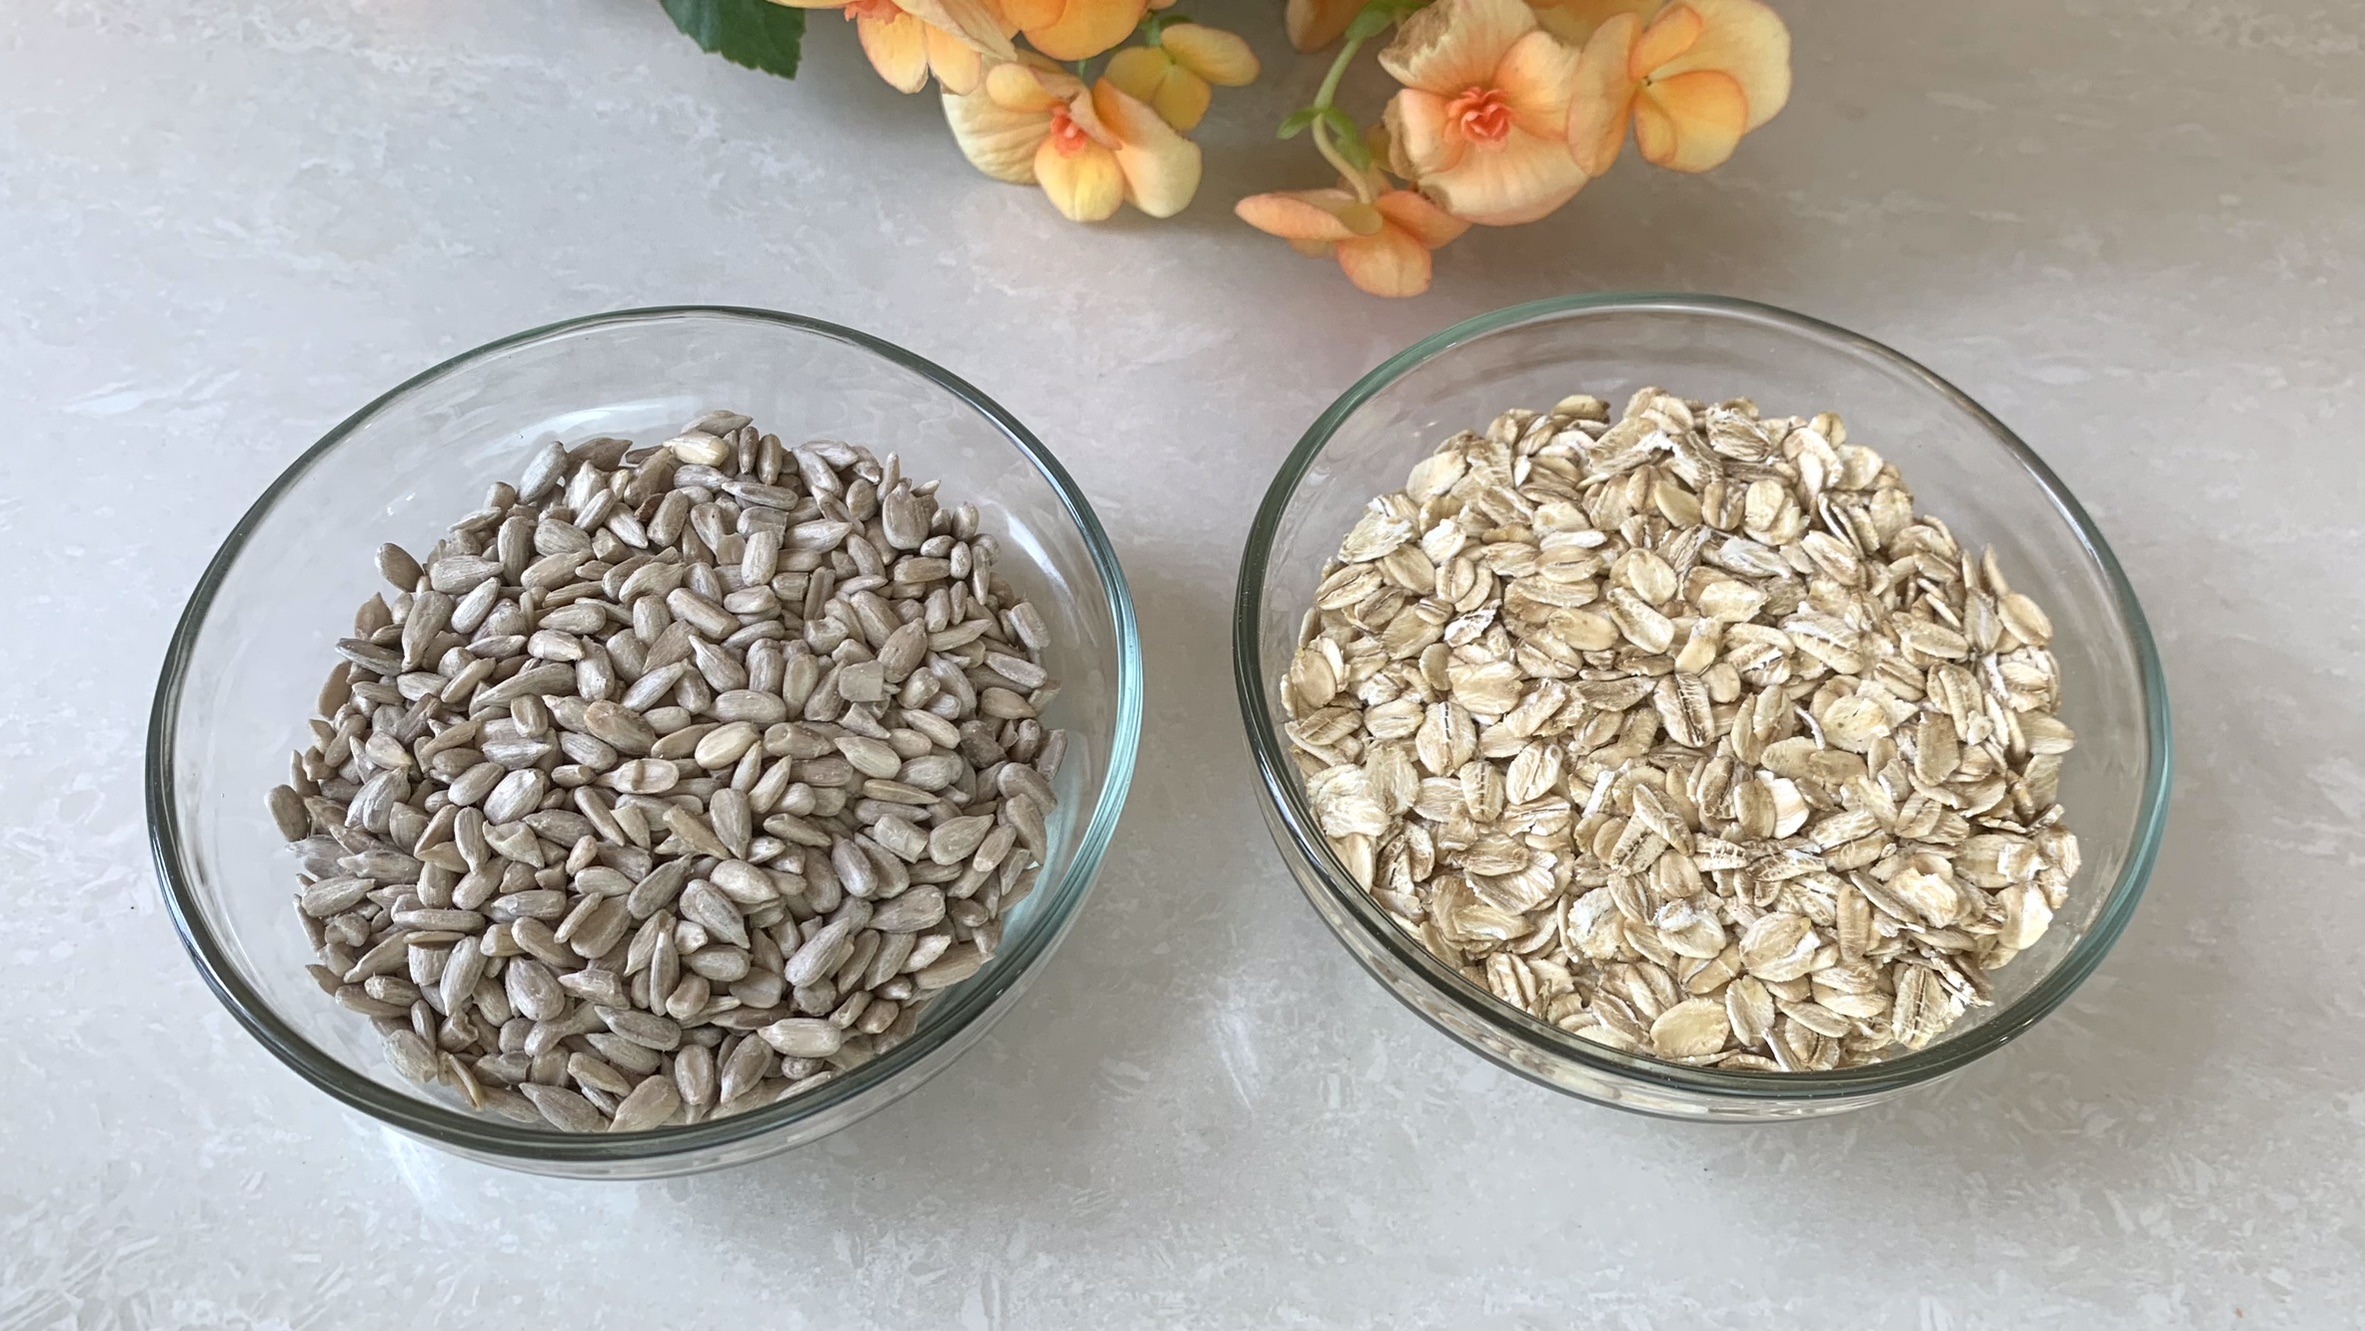
Sunflower seeds are the star of this recipe, and they bring a lot of benefits to the table. They’re rich in healthy fats, particularly polyunsaturated fats, which are great for heart health. They’re also a good source of plant-based protein, making these crackers not only satisfying but also a great way to get in some extra nutrition. Plus, sunflower seeds are loaded with vitamin E, a powerful antioxidant that helps protect your cells from damage, and magnesium, which is essential for muscle and nerve function.
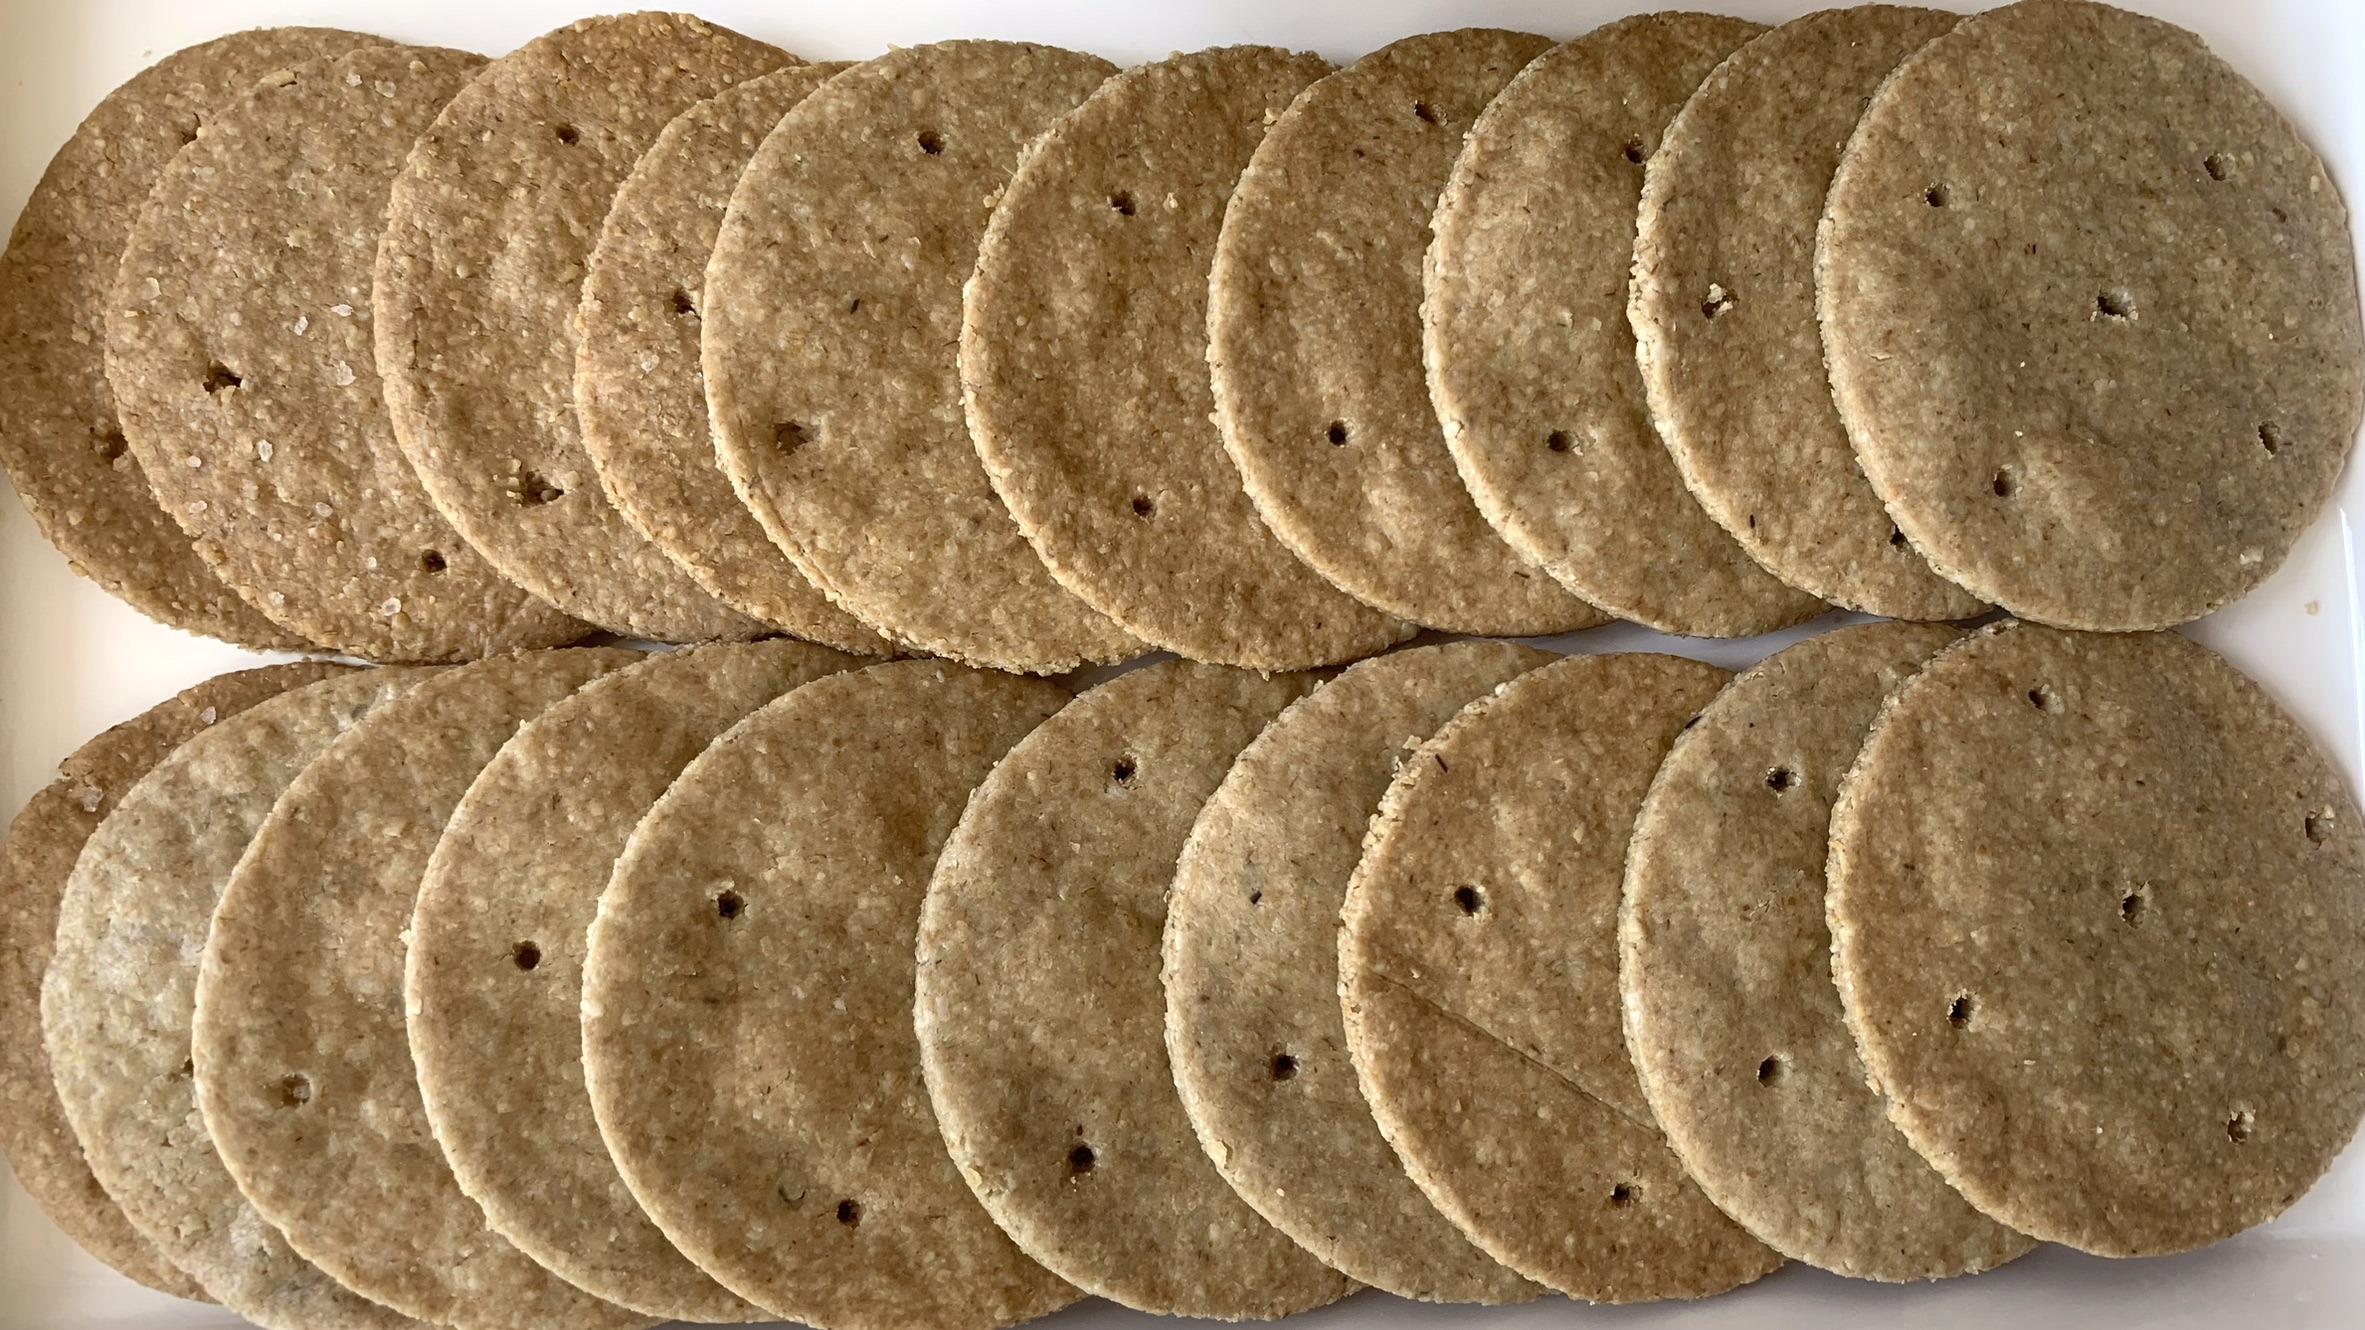
Paired with the fiber-rich oats, these crackers offer a satisfying crunch that’s perfect for snacking any time of the day. They’re also highly customizable, so feel free to add your favorite herbs, spices, or even a sprinkle of cheese to make them your own. Whether you enjoy them on their own or paired with your favorite dips, these Sunflower Crackers are sure to become a staple in your healthy snack rotation.
So, let’s get baking and whip up a batch of these nutritious, homemade crackers!

Ingredients:

  • ½ cup old-fashioned rolled oats
  • ½ cup sunflower seeds
  • ¼ tsp. salt
  • ½ tsp. baking powder
  • 3 tbsp. cold water (add gradually to achieve desired dough consistency)

Directions:

  1. Begin by grinding the rolled oats and sunflower seeds in a food processor until they form a fine flour-like consistency.
  2. Add salt, baking powder, and water to the ground oats and sunflower seeds. Add water all at once or gradually, blending until the mixture starts to come together and forms a dough. Adjust the water quantity as needed to achieve a firm yet pliable dough.
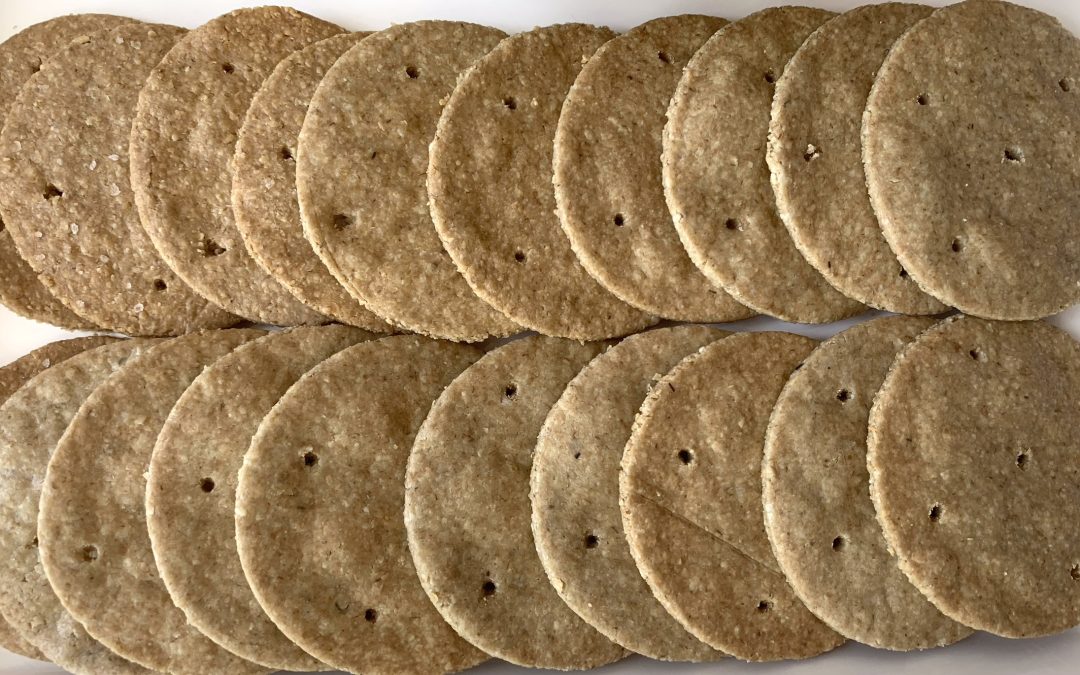
  3. Transfer the dough onto a working surface lined with parchment paper. Roll out the dough into a thin, even layer, aiming for a thickness of about 1/9 inch (2-3 mm) or thicker if you prefer denser crackers.
  4. Preheat your oven to 350°F (175°C).
  5. Use a biscuit cutter to cut circular shapes or other desired shapes of your choice.
  6. Place the dough circles onto a baking sheet lined with parchment paper.
  7. Bake for approximately 15-20 minutes at 350°F or until they turn crisp and golden brown.
  8. Allow the crackers to cool completely on a wire rack. They will continue to harden as they cool.
  9. The crackers are ready to be enjoyed as a healthy and nutritious snack!

Prep Time, Baking Information, and Servings:

  • Prep Time: 30 minutes
  • Baking Time: 15-20 minutes
  • Servings: 20 crackers

Nutritional Information (Per Cracker):

  • Energy: 29 calories
  • Protein: 1.3 g
  • Fat: 2.03 g
  • Carbohydrates: 2.94 g
  • Fiber: 0.8 g

Storage and Particular Recommendations:

  • Store your crackers in an airtight container at room temperature for up to 2 weeks.
  • Experiment by adding herbs, spices, or grated cheese to customize the flavor of your crackers according to your own preference. These crackers are versatile and can be tailored to suit any palate!
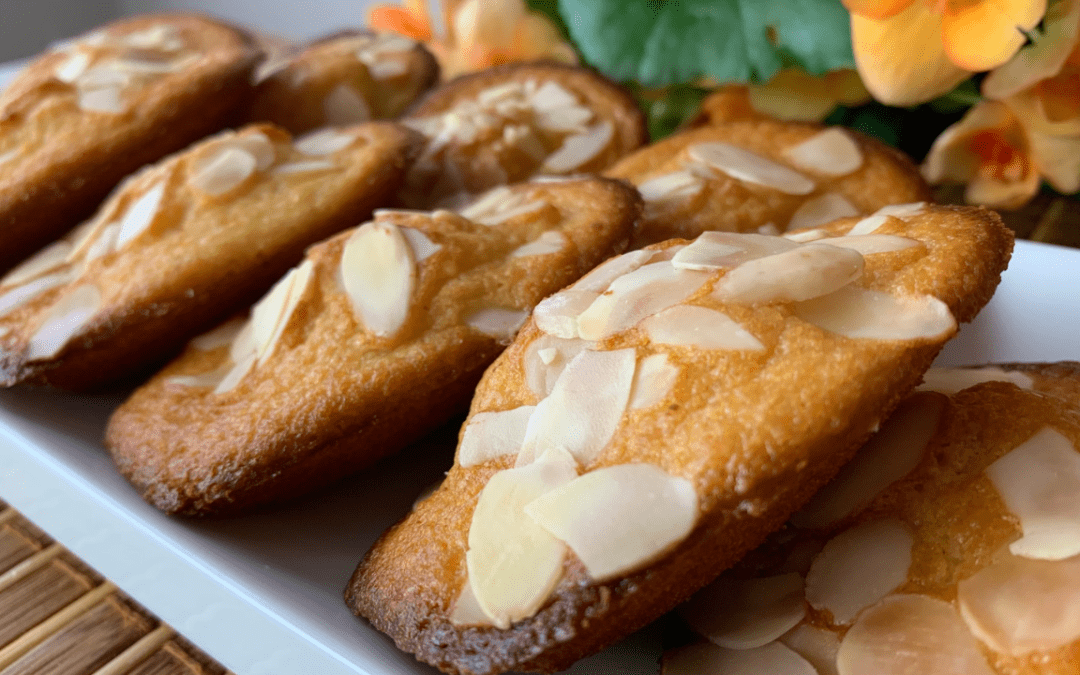
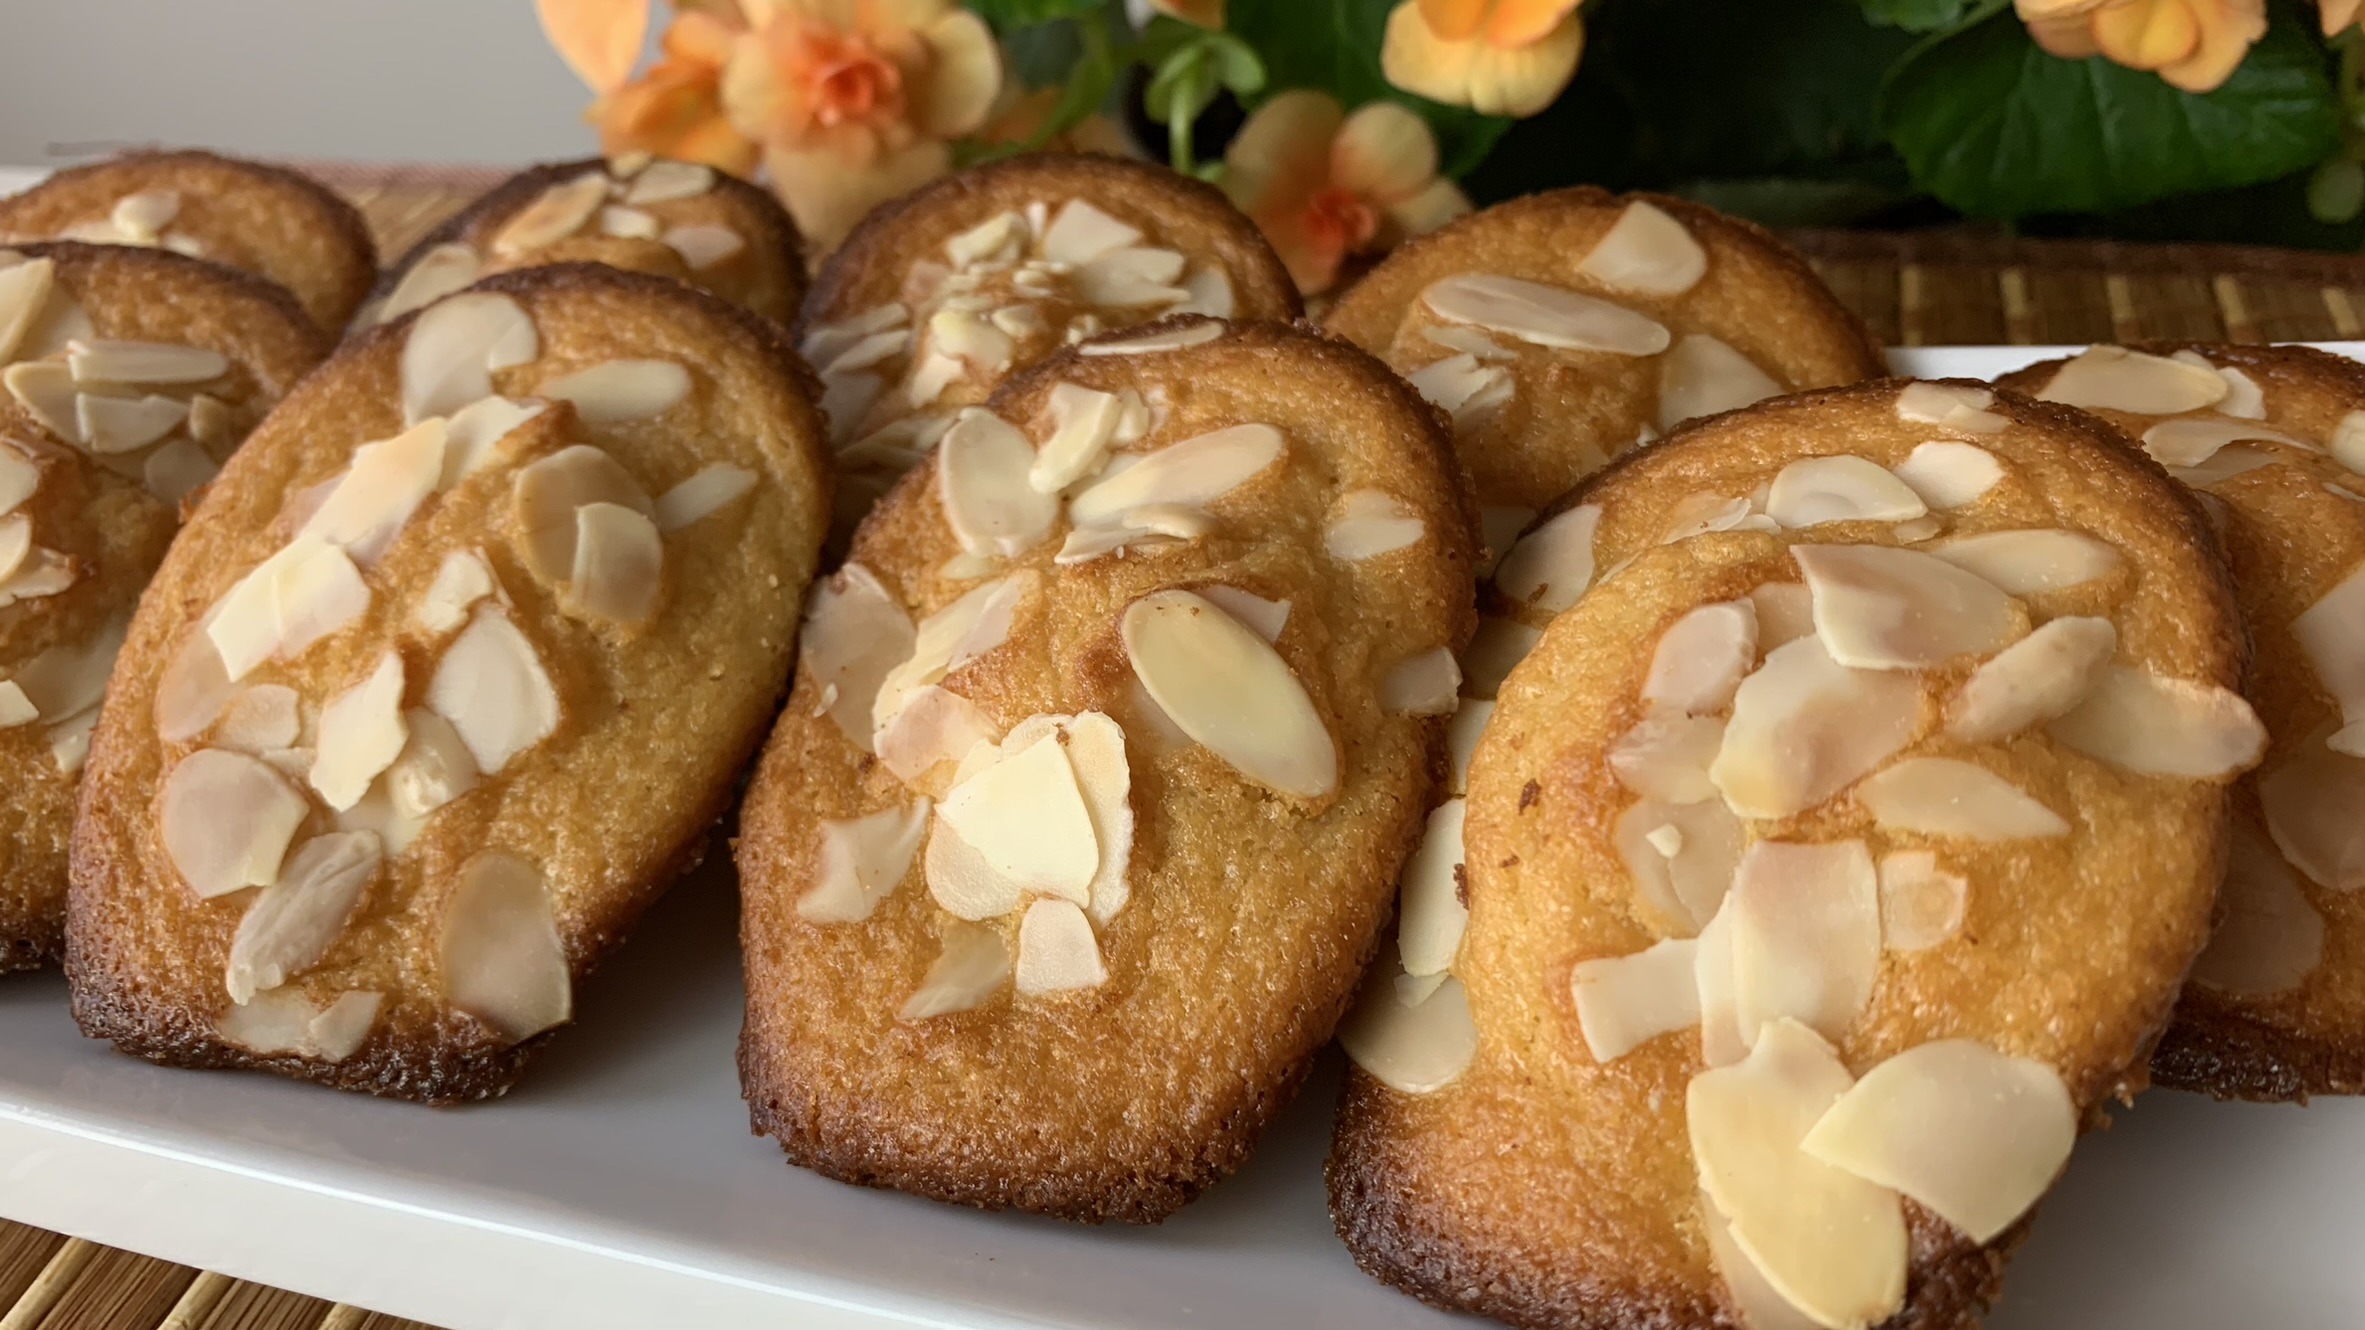
Gluten Free Madeleines

Gluten Free Madeleines

Gluten Free Madeleines

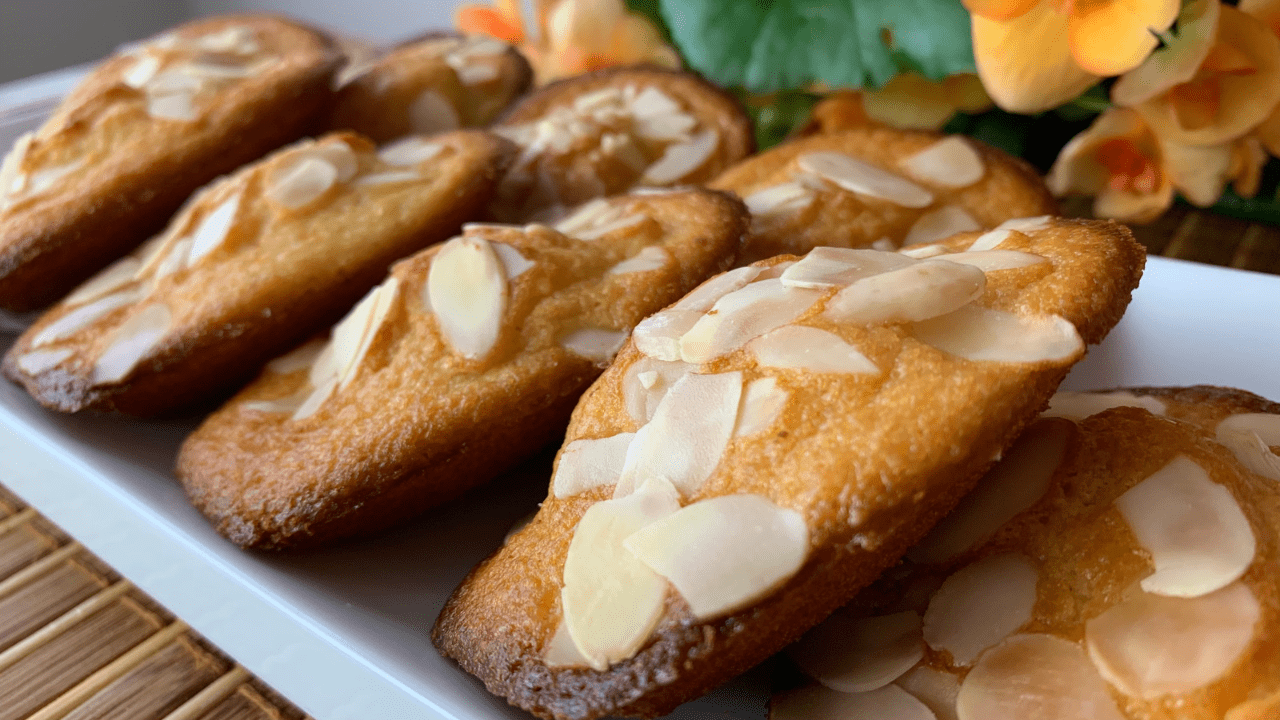
If you’re a fan of classic madeleines but need to keep things gluten-free, you’re in for a treat with this recipe. These Gluten-Free Madeleines are everything you love about the traditional French pastry, light, fluffy, and buttery, but made with a thoughtful blend of gluten-free ingredients that doesn’t compromise on taste or texture.

What makes these madeleines special is the combination of rice flour and almond flour. Rice flour is a fantastic gluten-free alternative that gives these madeleines their light, airy texture, while almond flour adds a touch of natural sweetness and a dose of healthy fats. Almond flour is also rich in vitamin E, an

antioxidant that supports skin health and boosts your immune system, and it provides a good source of plant-based protein. The addition of yogurt not only keeps these treats moist but also adds a bit of calcium and probiotics, which are great for your digestive health.

These madeleines are perfect for any occasion, whether you’re hosting a tea party, looking for a delightful snack, or simply want a quick homemade treat to pair with your afternoon coffee. They’re incredibly easy to make, and with the option to sprinkle them with sliced almonds or your favorite nuts, you can customize them to your liking.

So, let’s get baking and enjoy these tender, buttery madeleines that are sure to become a new favorite in your gluten-free kitchen!

Ingredients:

  • 1 egg
  • ¼ cup plain yogurt (gluten-free)
  • ¼ cup maple syrup
  • 30 g or 2 tbsp melted butter (or dairy-free alternative)
  • ⅓ cup (45 g) rice flour
  • ⅓ cup (40 g) almond flour
  • ½ tsp. vanilla extract
  • ½ tbsp. baking powder
  • 2 tbsp. (15 g) sliced almonds or other nuts of your choice (optional)

Directions:

  1. Preheat your oven to 350°F (175°C) and generously brush your madeleine pan with butter to prevent sticking.
  2. In a mixing bowl, whisk together the egg, yogurt, maple syrup, and vanilla extract until well combined.
  3. Add the rice flour, almond flour, and baking powder to the wet ingredients, whisking thoroughly until a smooth batter forms.
  4. Pour the melted butter into the batter and continue whisking until fully incorporated.
  5. Allow the batter to rest for 10 minutes, which helps develop the flavor and texture.
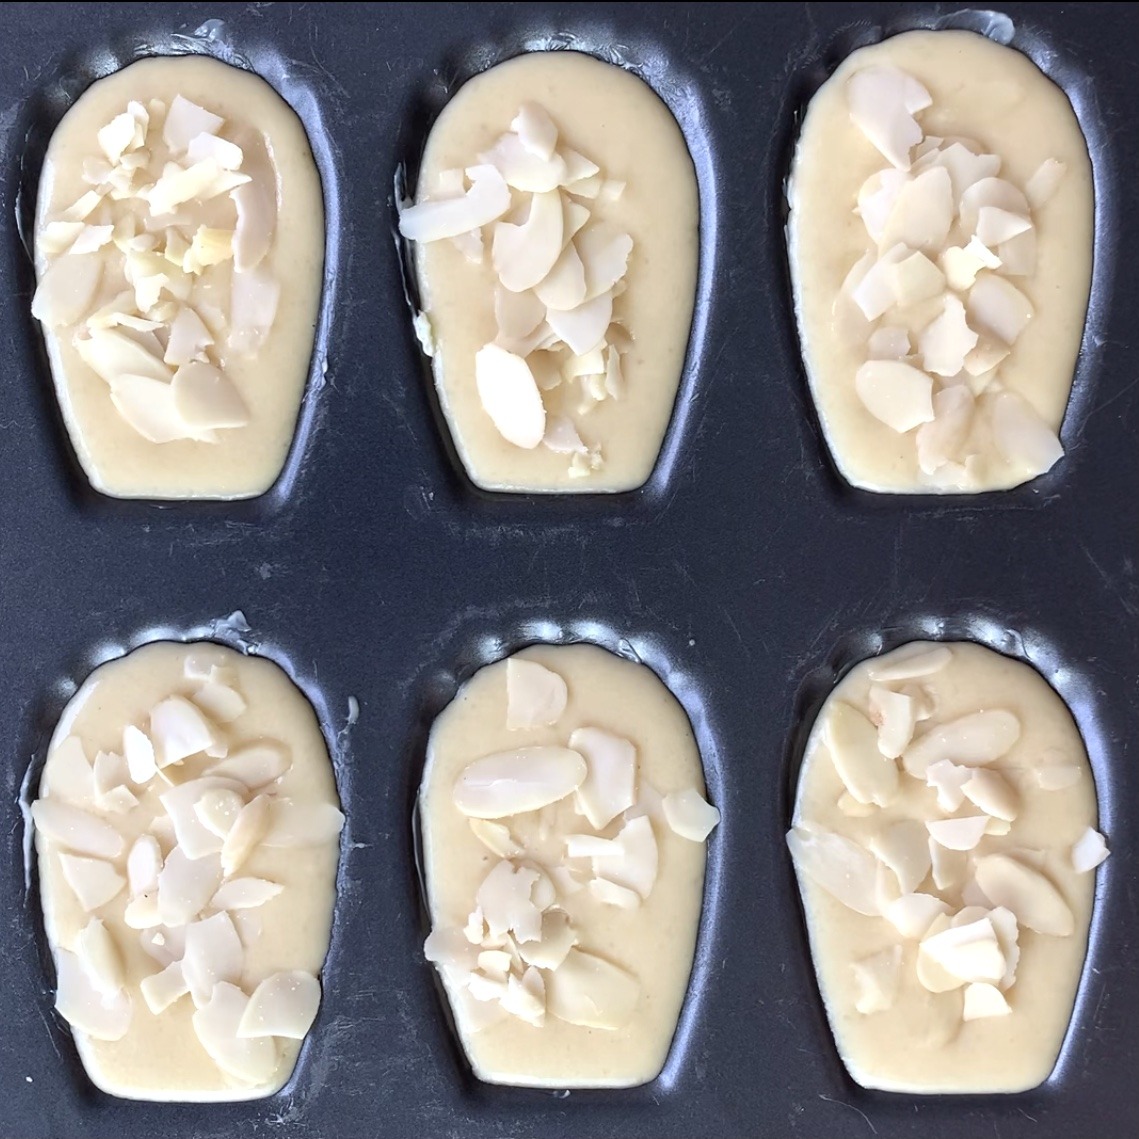
  6. Spoon equal portions of the batter into the greased madeleine pan, filling each mold.
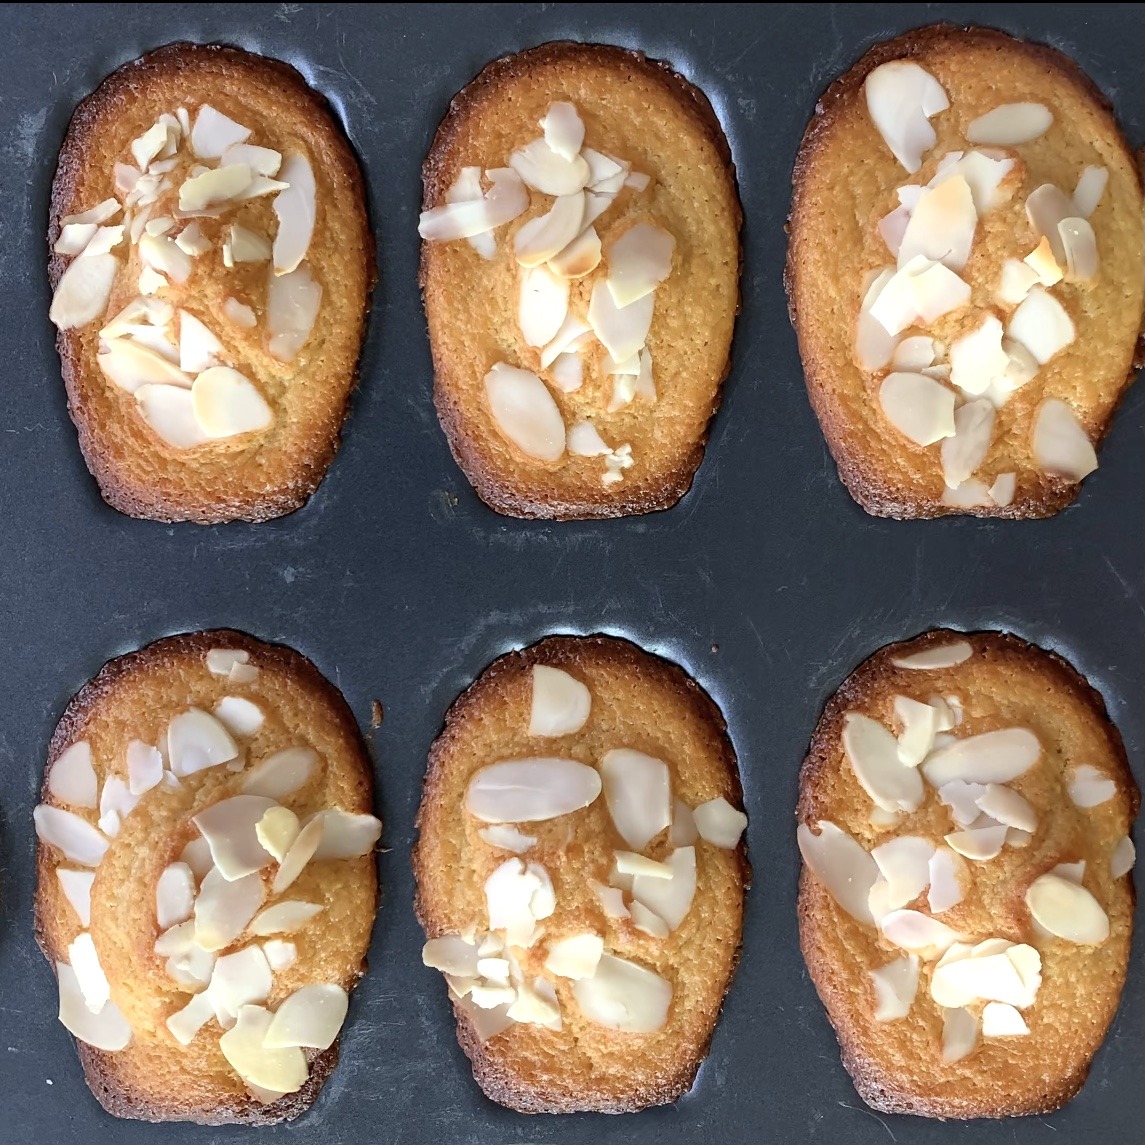
  7. Place the pan in the preheated oven and bake for approximately 30 minutes, or until the madeleines turn golden brown and spring back when gently pressed.
  8. Once baked, remove the madeleines from the oven and allow them to cool on a wire rack.

Prep Time, Baking Information, and Servings:

  • Prep Time: 20 minutes
  • Baking Time: 30 minutes
  • Servings: 9

Nutritional Information (Per Serving):

  • Energy: 114 calories
  • Protein: 2.62 g
  • Fat: 6.65 g
  • Carbohydrates: 11.79 g
  • Fiber: 1 g

Storage and Particular Recommendations:

  • Store the gluten-free madeleines in an airtight container at room temperature for up to 1 week for optimal freshness.
  • To enhance their taste, consider serving them with a dusting of powdered sugar or a dollop of whipped cream alongside your favorite hot beverage.
Chickpea Bread

Chickpea Bread

Chickpea Bread

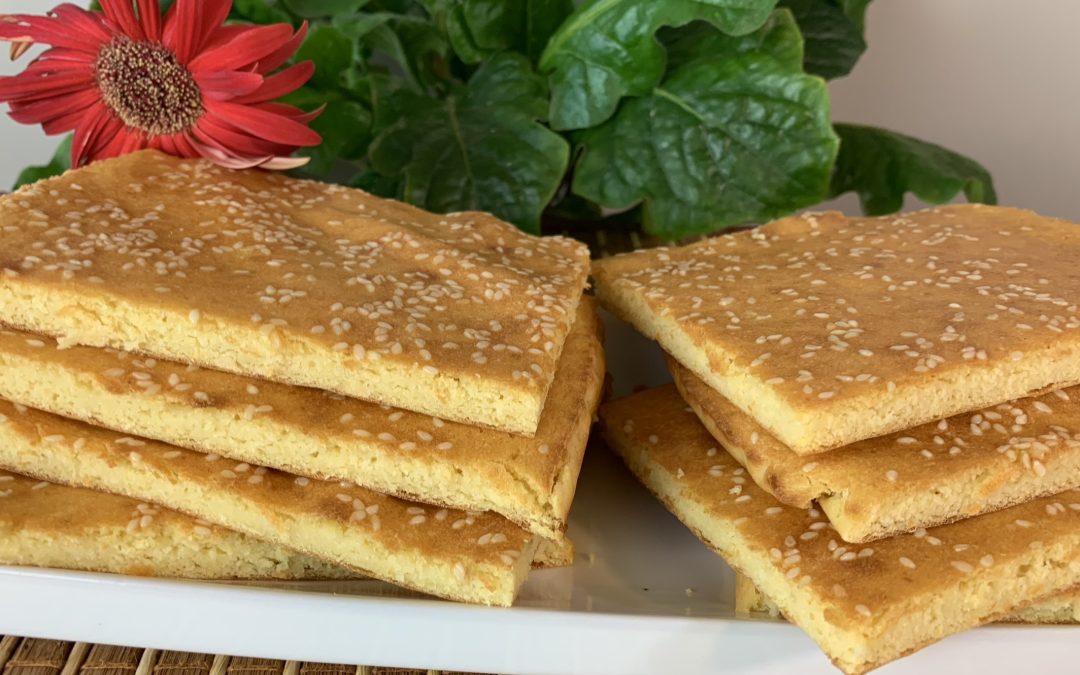
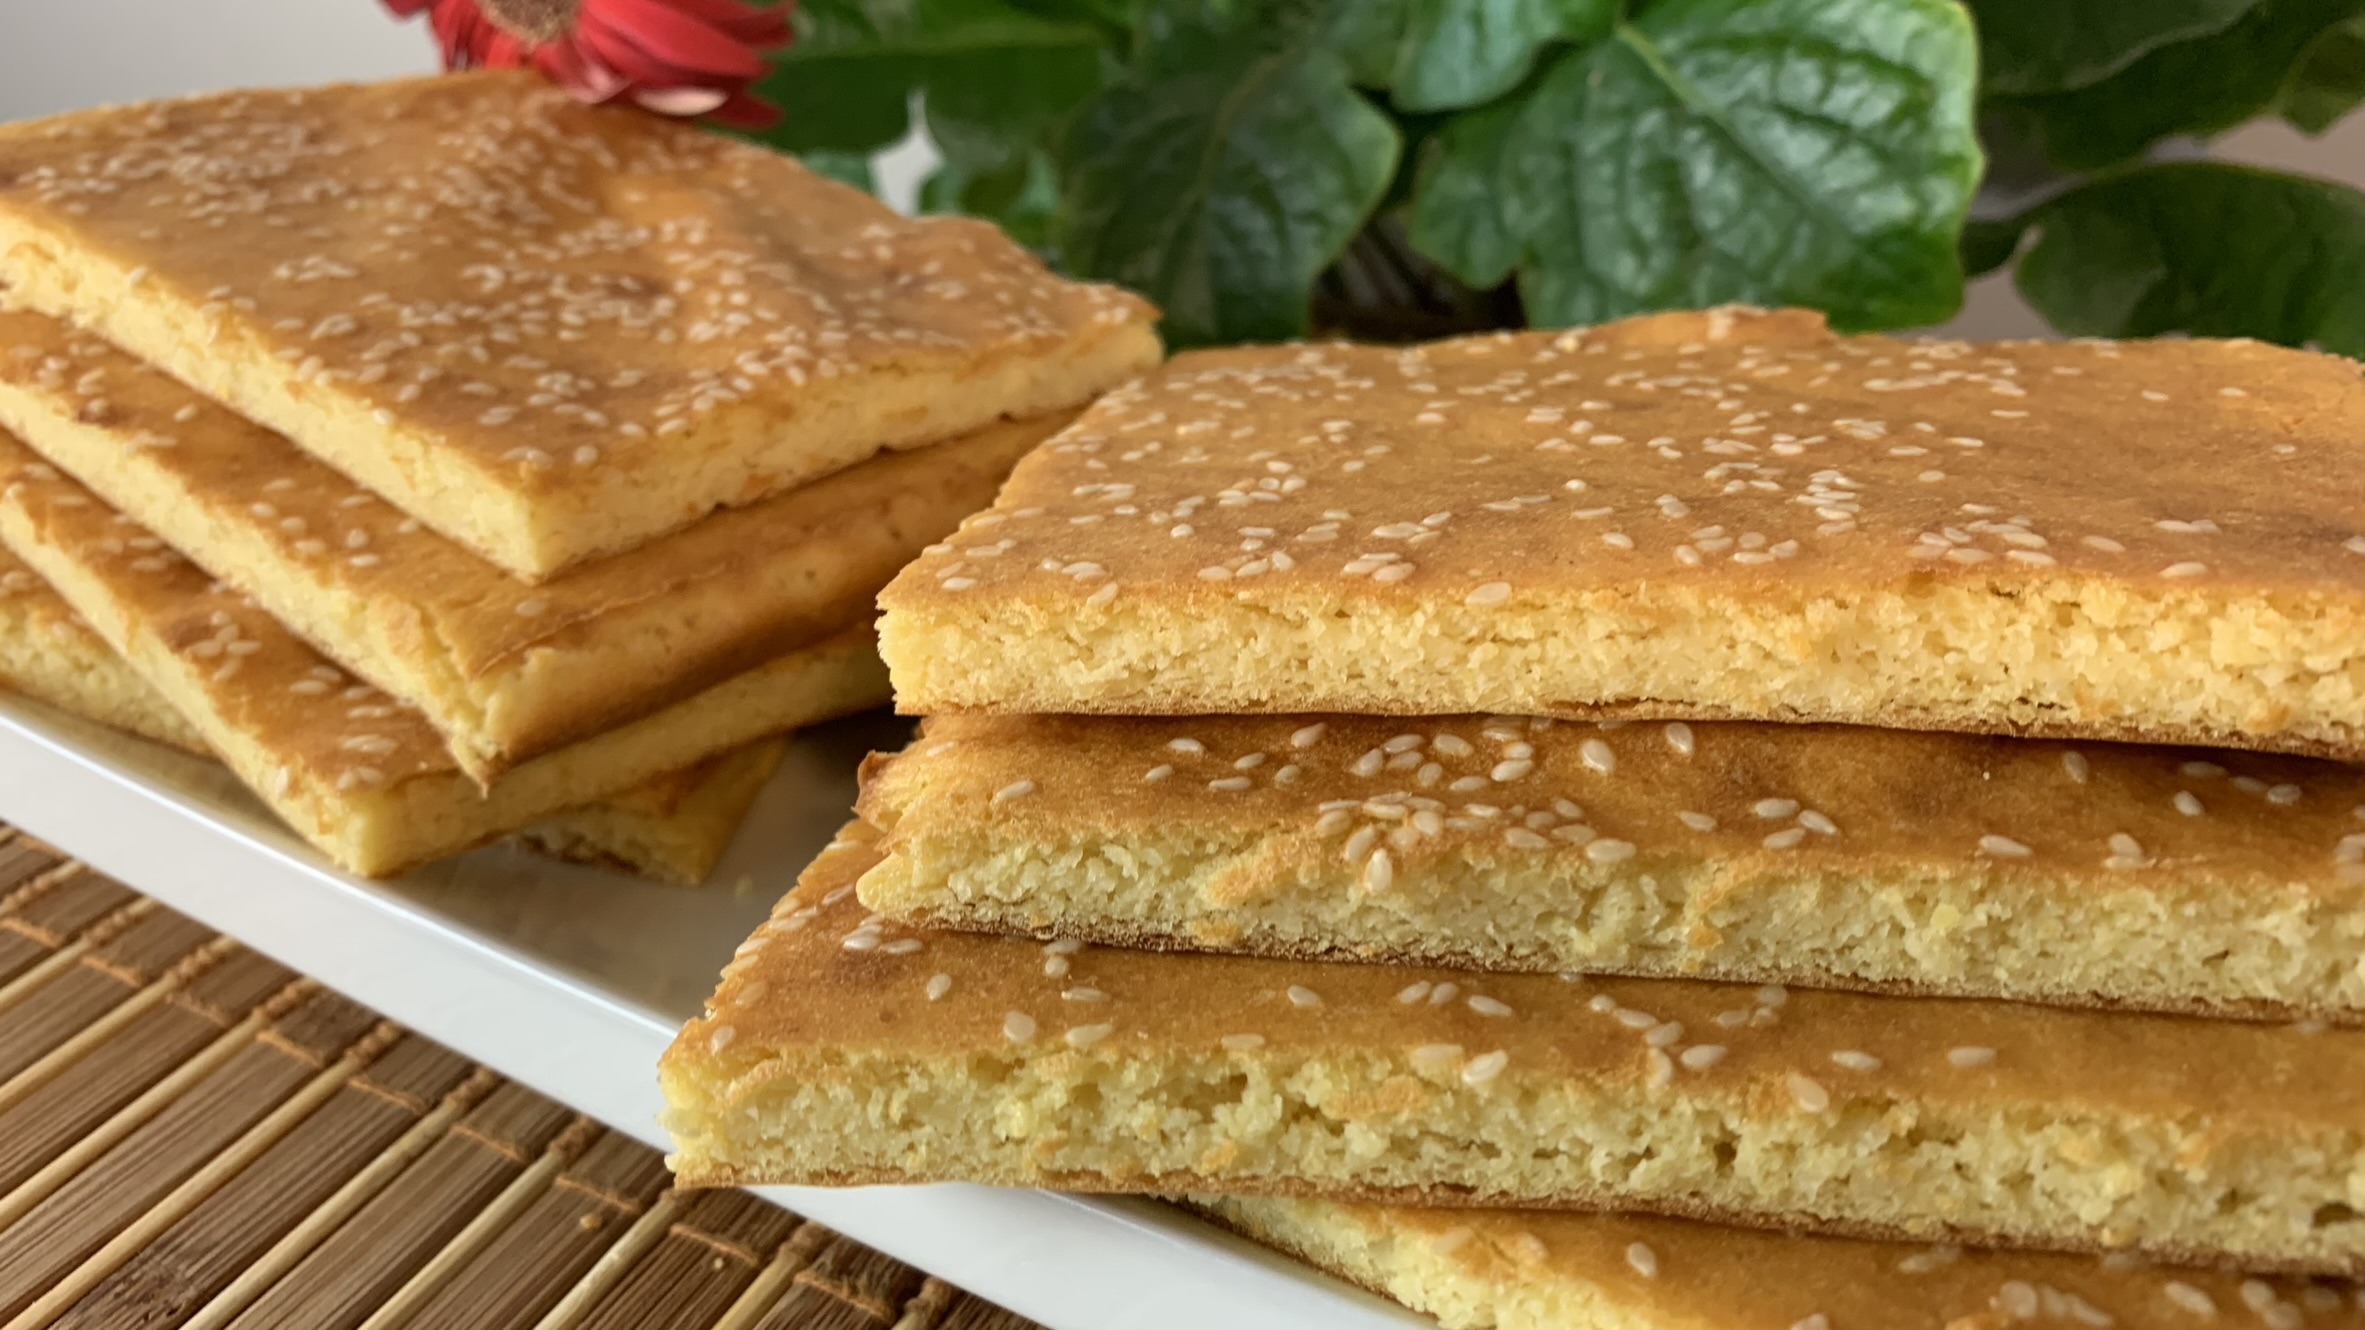
Hey there! If you’re looking for a versatile and nutritious bread option that’s gluten-free and packed with protein, this Chickpea Bread is going to be your new go-to recipe. With just a few simple ingredients, you can whip up a loaf that’s perfect for everything from sandwiches to pizza crust or even your morning toast. The best part? It’s not only delicious but also incredibly wholesome, thanks to the goodness of chickpeas.

Chickpeas are soaked overnight to ensure they’re soft and tender, and then blended with eggs, sour cream, and a touch of baking powder to create a bread that’s light, airy, and full of flavor. Whether you’re topping it with your favorite spreads or using it as a base for more elaborate meals, this chickpea bread is sure to become a staple in your kitchen.

So, let’s get baking, you’re going to love how easy and tasty this bread is!

Ingredients:

  • 1 cup (175 g) dried chickpeas
  • 1 cup sour cream (or Greek yogurt, or cottage cheese)
  • 2 eggs
  • 2 tbsp. olive oil
  • ½ tbsp. baking powder
  • ½ tsp. salt
  • ~1 tbsp. sesame seeds for sprinkling on top

Directions:

  1. Soak chickpeas in water overnight.
  2. Rinse the soaked chickpeas thoroughly and ensure they are well-drained. Transfer them to a blender.
  3. Add sour cream, eggs, olive oil, baking powder, and salt to the blender with the chickpeas.
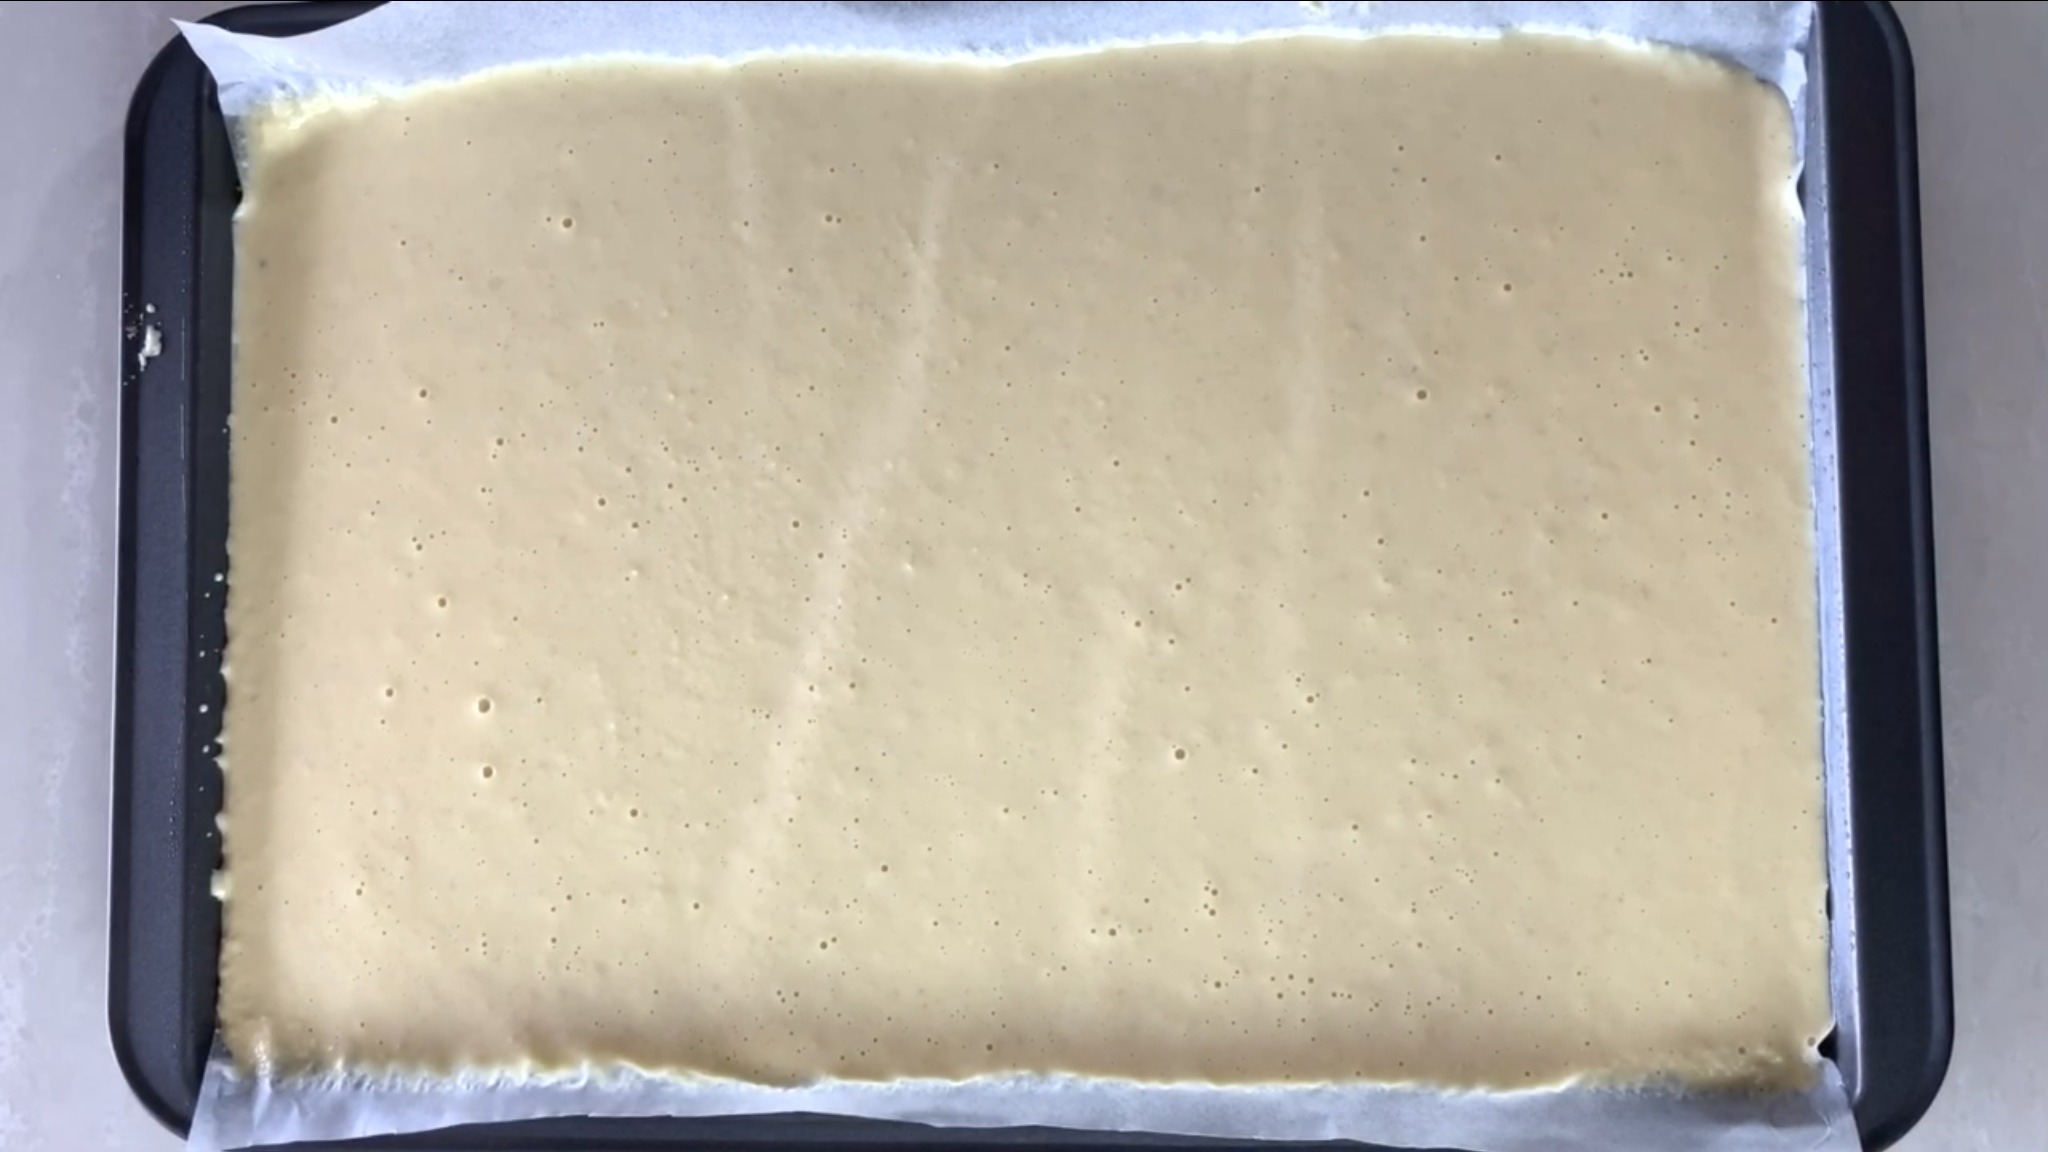
  4. Blend all the ingredients together until a smooth and creamy batter forms.
  5. Line a baking pan (dimensions: 17.25” X 11.4” or 44 cm X 29 cm) with parchment paper. Pour the batter into the prepared pan, spreading it evenly.
  6. Sprinkle sesame seeds or other preferred seeds over the top of the batter.
  7. Preheat the oven to 365°F (185°C). Place the baking pan in the oven and bake for approximately 40 minutes, or until the bread is golden brown on top.
  8. Once baked, remove the chickpea bread from the oven and allow it to cool for a few minutes.
  9. Slice the bread into desired portions and serve warm or at room temperature.

Prep Time, Baking Information, and Servings:

  • Prep Time: 30 minutes
  • Baking Time: 40 minutes
  • Servings: 8

Nutritional Information (Per Serving):

  • Energy: 177 calories
  • Protein: 7.26 g
  • Fat: 9.55 g
  • Carbohydrates: 16.46 g
  • Fiber: 2.8 g

Storage and Particular Recommendations:

  • Store the chickpea bread in an airtight container in the fridge for up to 3 days or in the freezer for up to 3 months.
  • Enjoy chickpea bread as a nutritious base for sandwiches, as a pizza crust, or as a hearty breakfast toast topped with your favorite spreads or toppings.
Pumpkin Seed Cookies

Pumpkin Seed Cookies

Pumpkin Seed Cookies


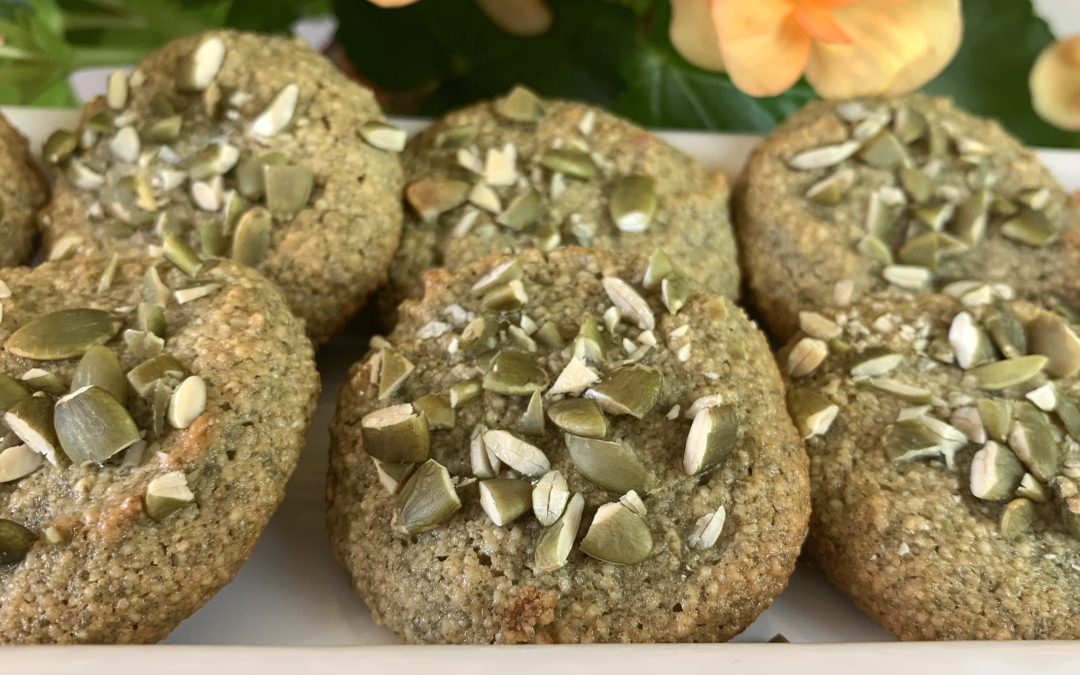
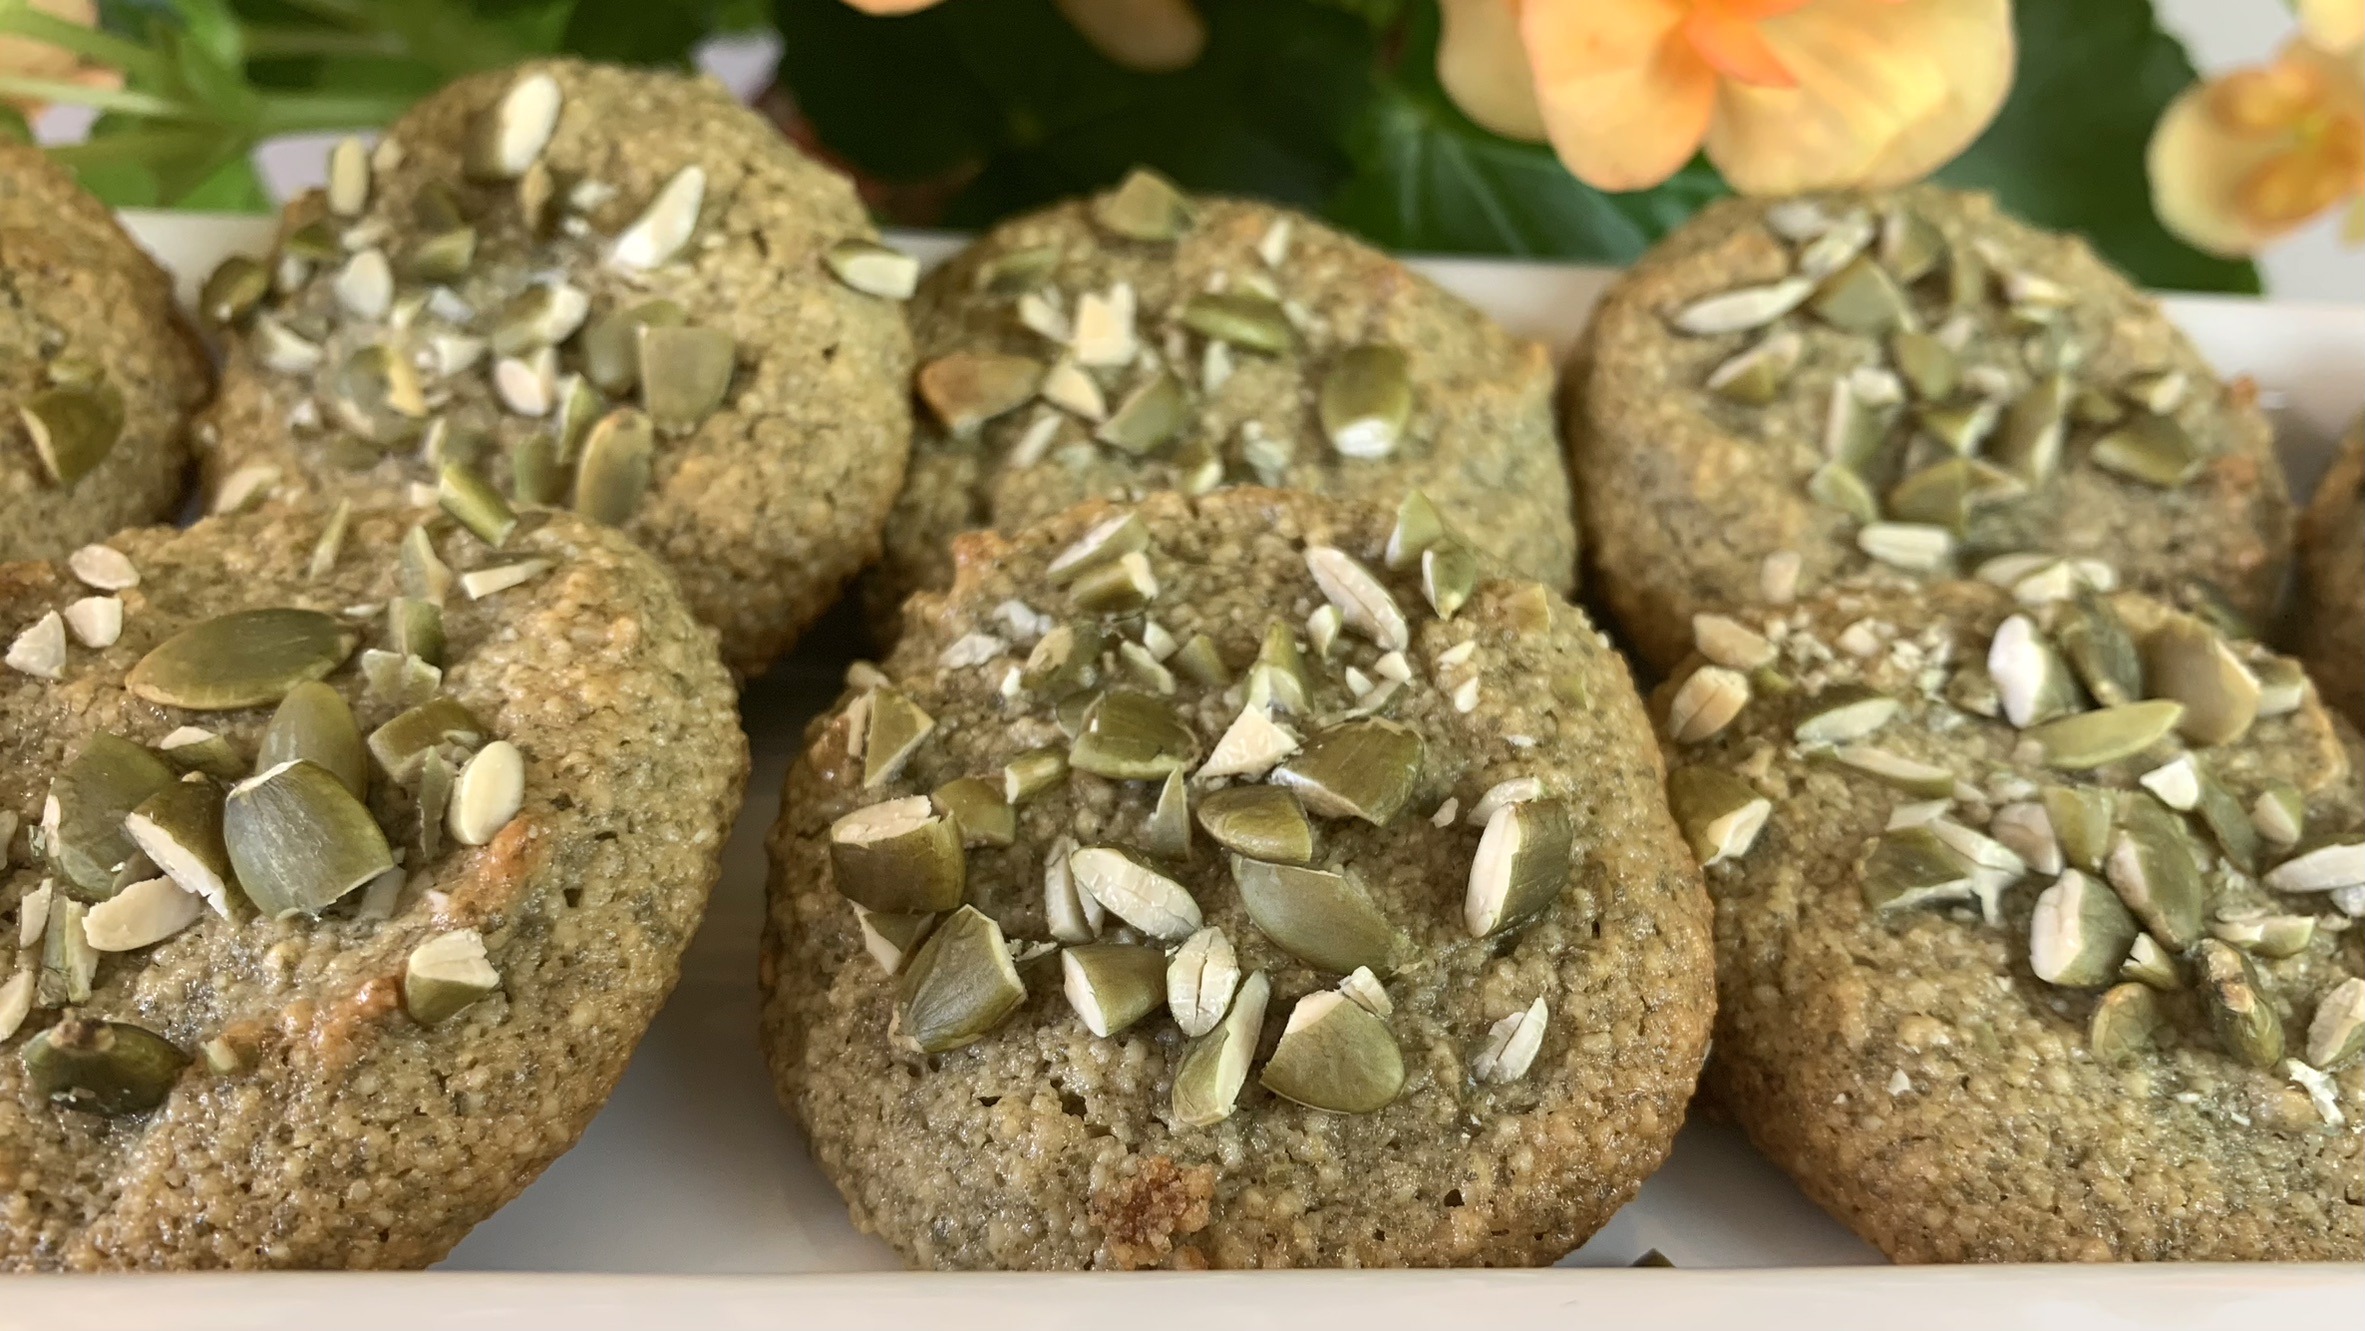
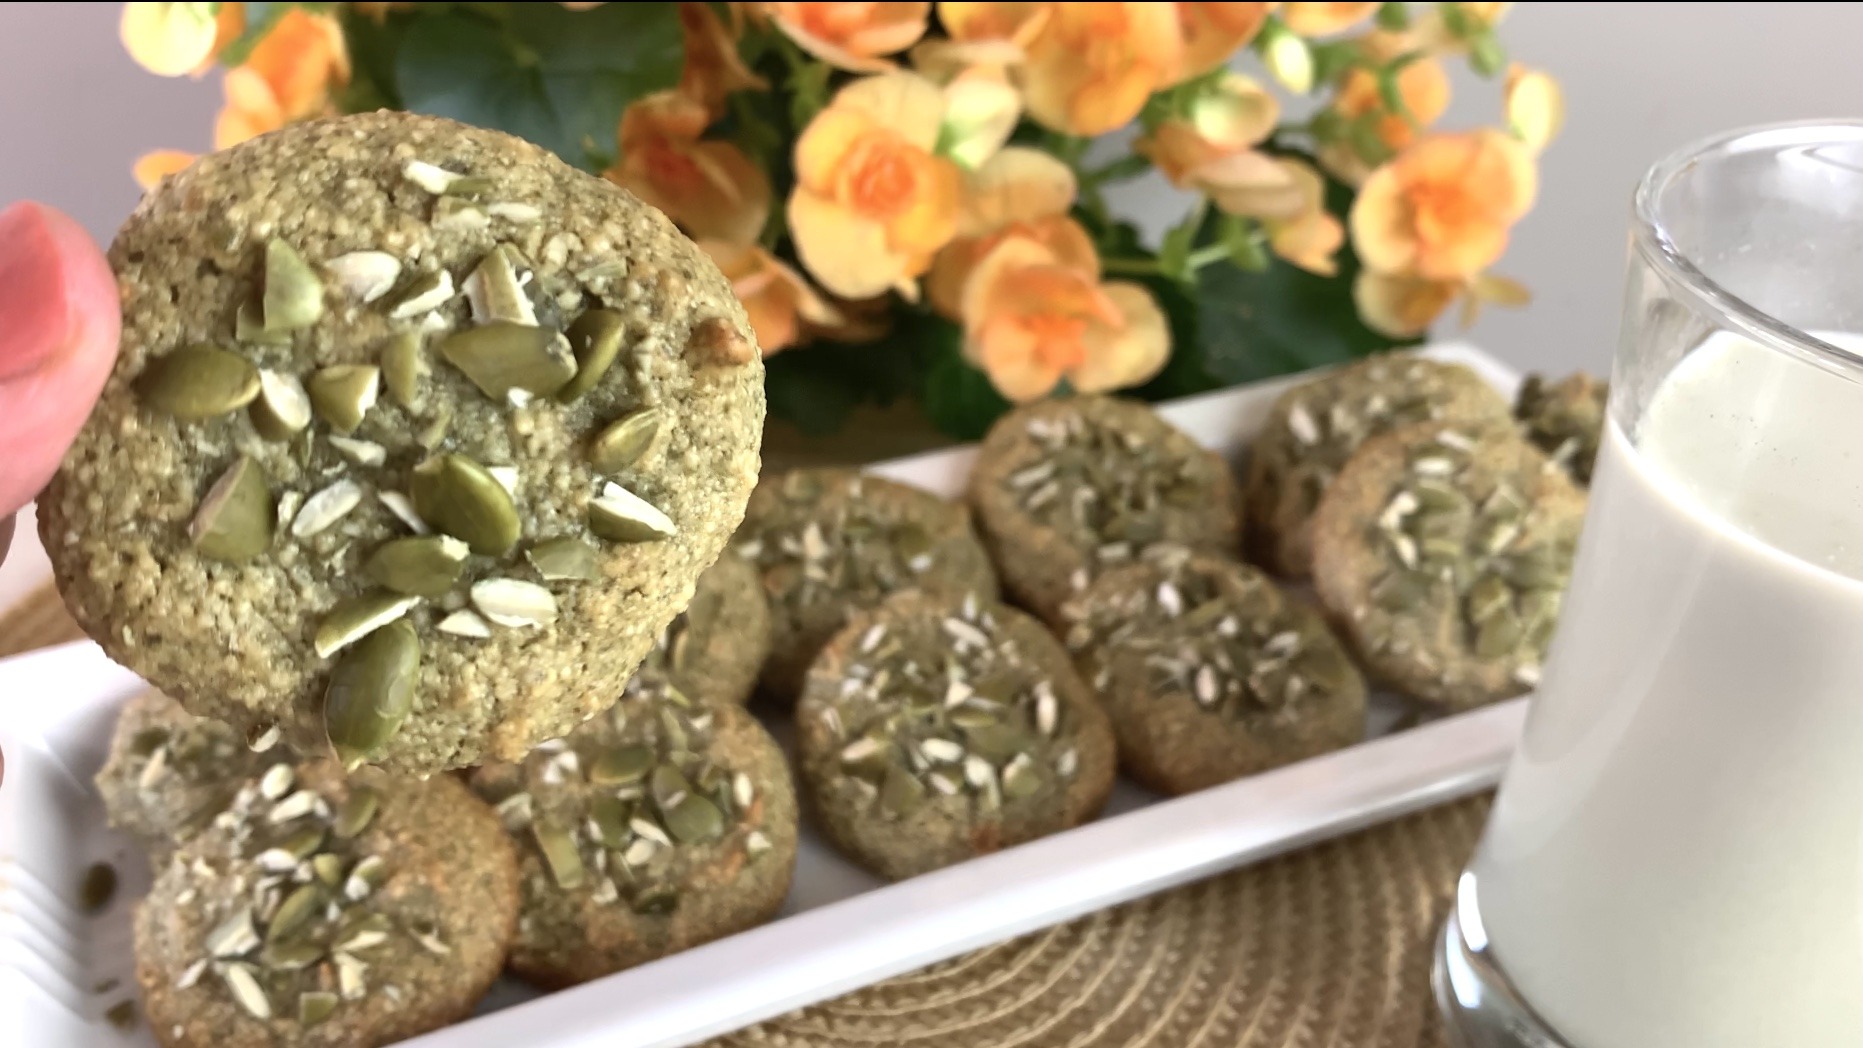
If you’re looking for a treat that’s as healthy as it is delicious, these Pumpkin Seed Cookies are just what you need. They’re a perfect blend of nuttiness from raw pumpkin seeds and the natural sweetness of maple syrup, with a refreshing hint of lemon zest to brighten things up. Pumpkin seeds are not only tasty but also a great source of protein, healthy fats, and important minerals like magnesium and zinc. This means these cookies aren’t just a sweet indulgence, they’re also a snack that can boost your health!

These cookies are chewy, fragrant, and incredibly easy to make. Plus, they’re versatile enough to enjoy as a quick snack or a light dessert. You can even customize them by adding your favorite toppings or flavors.

So, let’s get baking and treat ourselves to these delightful Pumpkin Seed Cookies, you’re going to love every bite!

Ingredients:

  • 1 cup (145 g) raw pumpkin seeds
  • 1/3 cup maple syrup
  • 2 whisked egg whites (here we used only the equivalent of 1 egg white)
  • Zest of 1 lemon (optional)
  • 1 ½ tbsp. chopped raw pumpkin seeds for garnish (optional)

Directions:

  1. Grind 1 cup of raw pumpkin seeds until they reach a fine texture. Set aside.
  2. Whisk egg whites until they form stiff peaks.
  3. In a mixing bowl, combine the ground pumpkin seeds, maple syrup, lemon zest, and whisked egg whites (the equivalent of 1 egg white was needed). Mix well until all ingredients are thoroughly combined.
  4. Using a spoon or cookie scoop, drop rounded portions of the dough onto a prepared baking sheet covered with parchment paper, leaving some space between each cookie.
  5. Sprinkle chopped pumpkin seeds for a nice finish.
  6. Bake the cookies in a preheated oven at 350°F (180°C) for approximately 18 minutes or until the edges start to turn golden brown.
  7. Once baked, remove the cookies from the oven and allow them to cool down completely before moving them. They will firm up as they cool.

Prep Time, Baking Information, and Servings:

  • Prep Time: 30 minutes
  • Baking Time: 18 minutes
  • Servings: 12

Nutritional Information (Per Serving):

  • Energy: 100 calories
  • Protein: 4.28 g
  • Fat: 6.55 g
  • Carbohydrates: 7.79 g
  • Fiber: 0.9 g

Storage and Particular Recommendations:

  • Store your cookies in an airtight container at room temperature for up to a week or in the freezer for up to 3 months.
  • Enjoy your chewy, fragrant cookies as a healthy and perfect snack or dessert option for any occasion.
Red Lentil Flatbreads

Red Lentil Flatbreads

Red Lentil Flatbreads

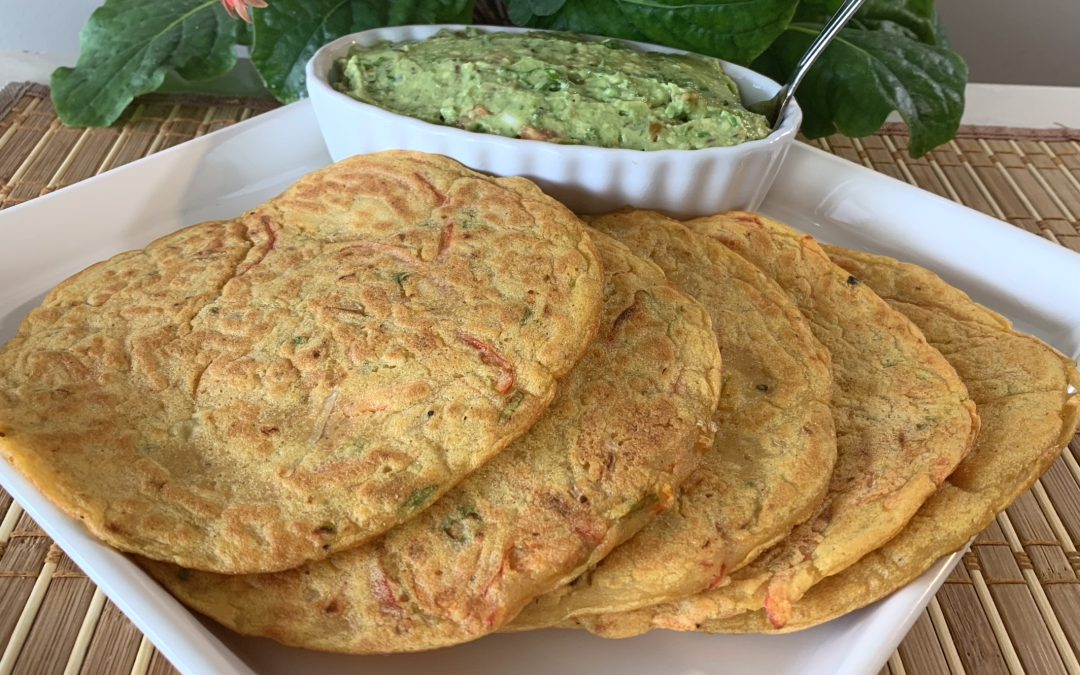
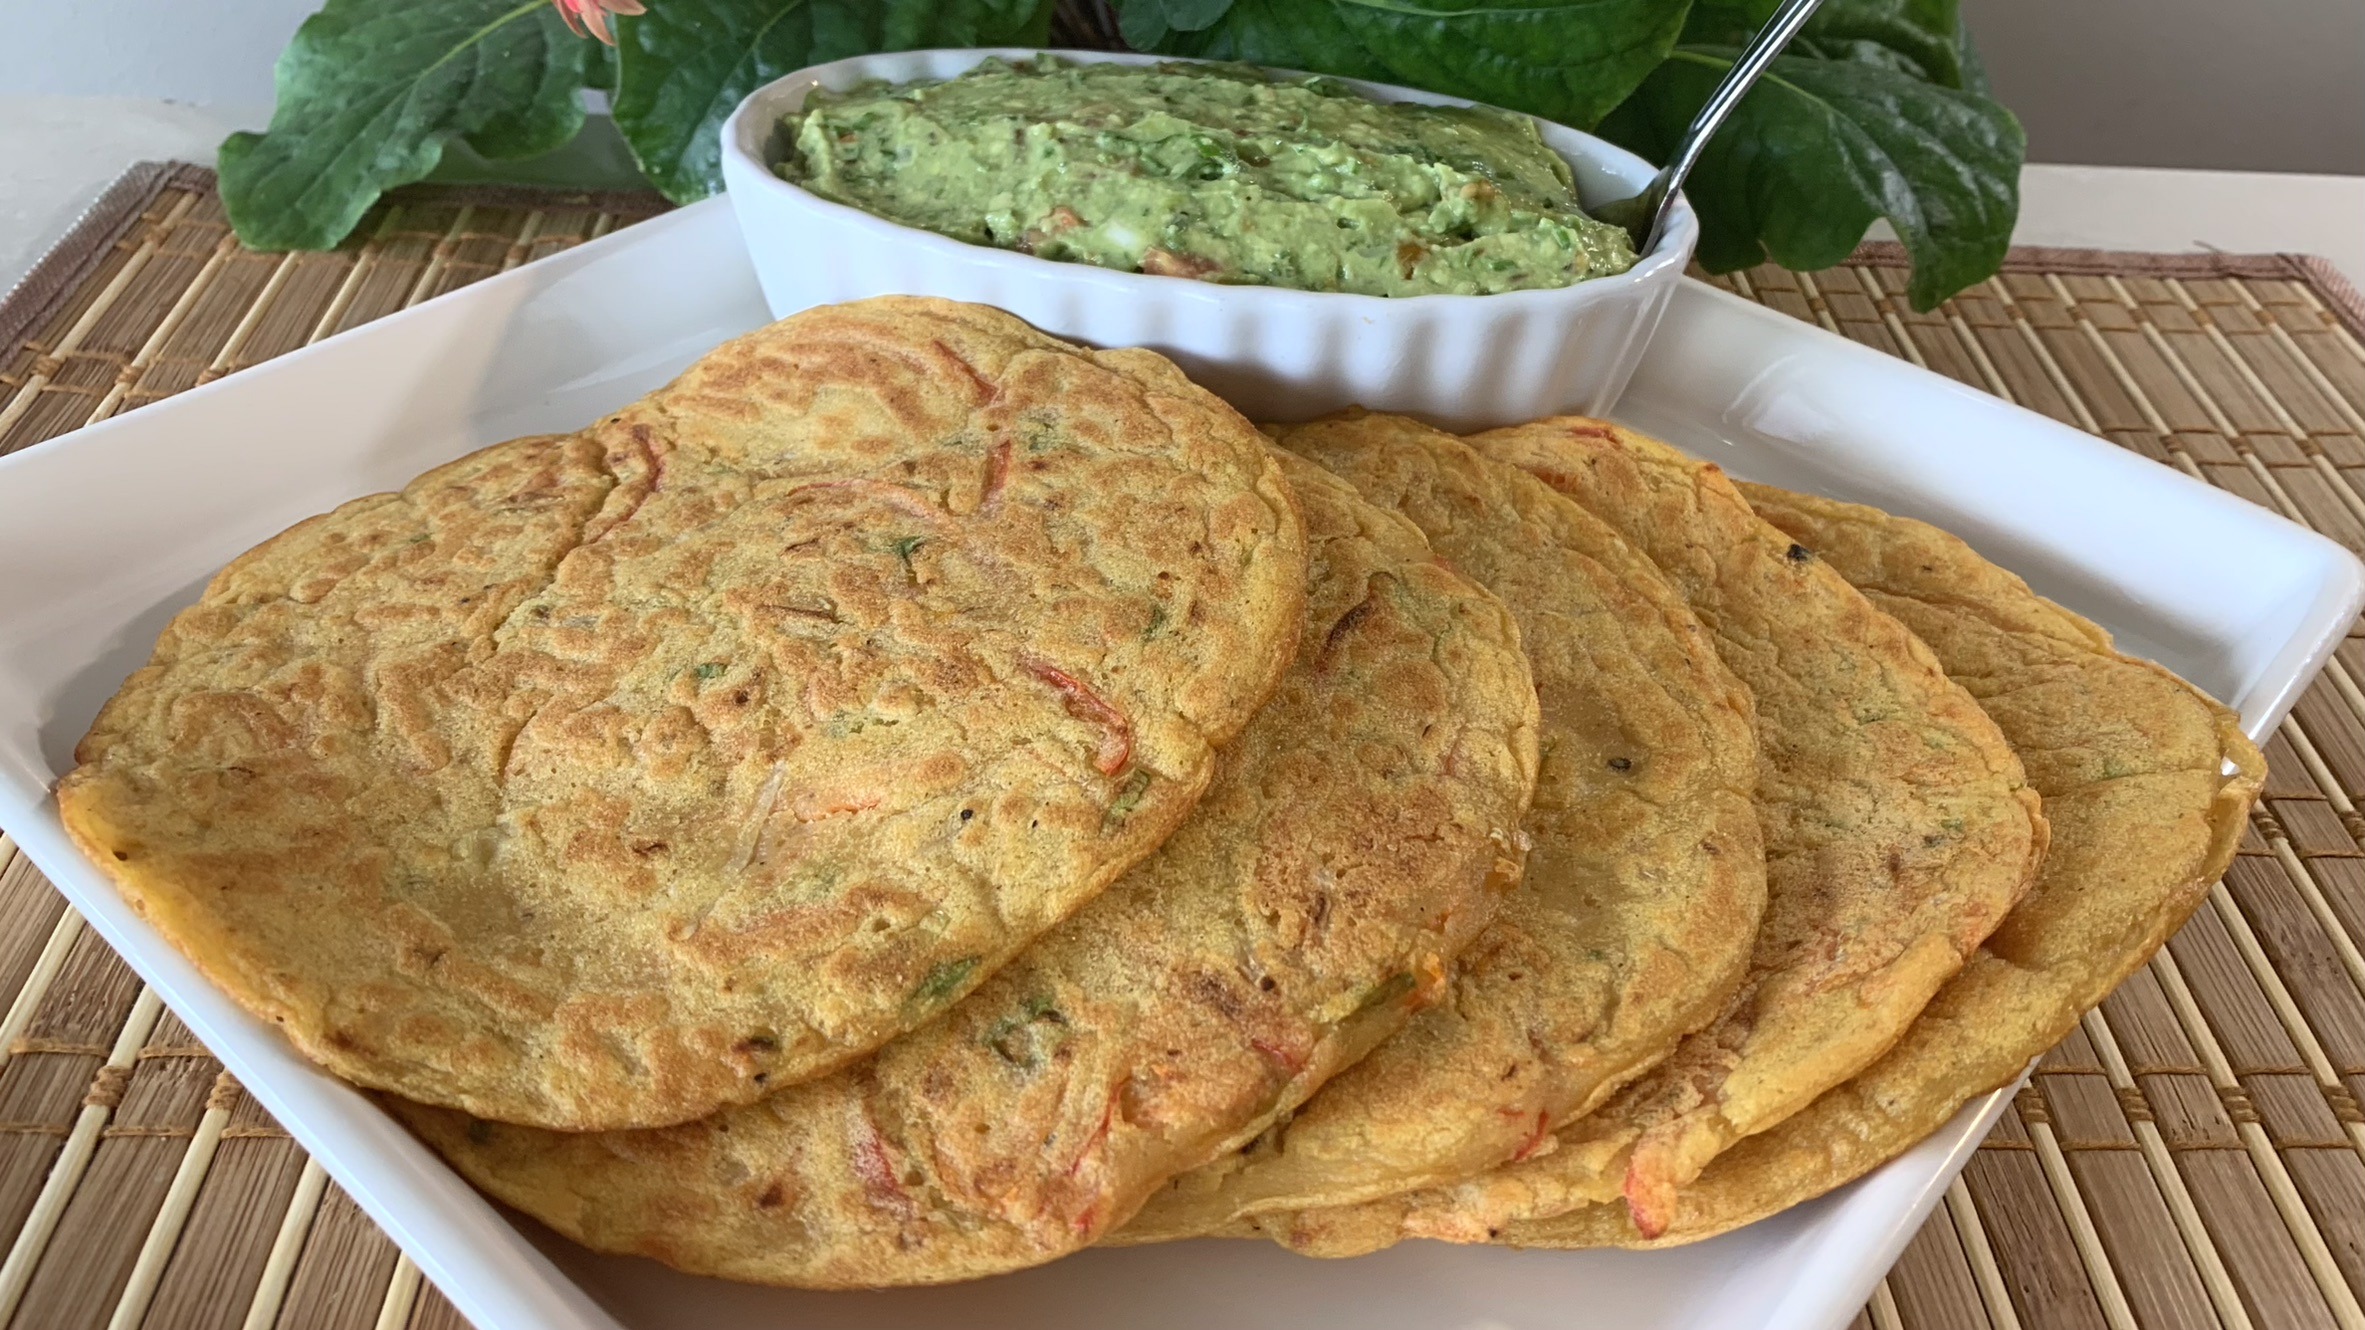
If you’re looking for a delicious and healthy twist on your usual pancakes, these Red Lentil Flatbreads are just what you need. They’re not only super tasty but also packed with nutrients that will keep you feeling great all day long. Red lentils are the star of this recipe, and they bring a lot to the table—literally! They’re an excellent source of plant-based protein, which is perfect if you’re trying to add more protein to your diet without relying on meat. Plus, they’re loaded with fiber, which helps keep your digestion running smoothly and keeps you full longer. And let’s not forget about the vitamins and minerals like iron, folate, and magnesium that are essential for your overall health.

These flatbreads are super versatile too. You can customize them with whatever veggies you have on hand, making them a great way to use up leftovers and sneak in some extra nutrition. They’re perfect for a quick lunch, a light dinner, or even a snack.

So, let’s get started on these easy and nourishing Red Lentil Flatbreads—you’re going to love them!

Ingredients:

  • 1 cup (190 g) red lentils (soak for at least 4 hours or overnight)
  • 1 cup water
  • 2 tbsp. olive oil
  • 50 g shredded carrot (or any veggies of your choice)
  • 40 g shredded red pepper (or green or orange peppers)
  • 40 g shredded cabbage (or other veggies of your choice)
  • 15 g (or 1 unit) chopped green onion
  • ½ tbsp. baking powder
  • 1 tsp. salt
  • Black pepper (optional)

Directions:

  1. Soak red lentils in water for at least 4 hours or overnight (recommended).
  2. Rinse them well under running water and drain extremely well.
  3. In a blender, combine the soaked lentils and water. Blend until you reach a smooth batter-like consistency.
  4. Transfer the lentil batter to a mixing bowl.
  5. Add shredded carrot, red pepper, cabbage, chopped green onion, olive oil, baking powder, salt, and black pepper. Mix well to combine all the ingredients.
  6. Heat a non-stick pan over medium heat and brush with some oil of choice.
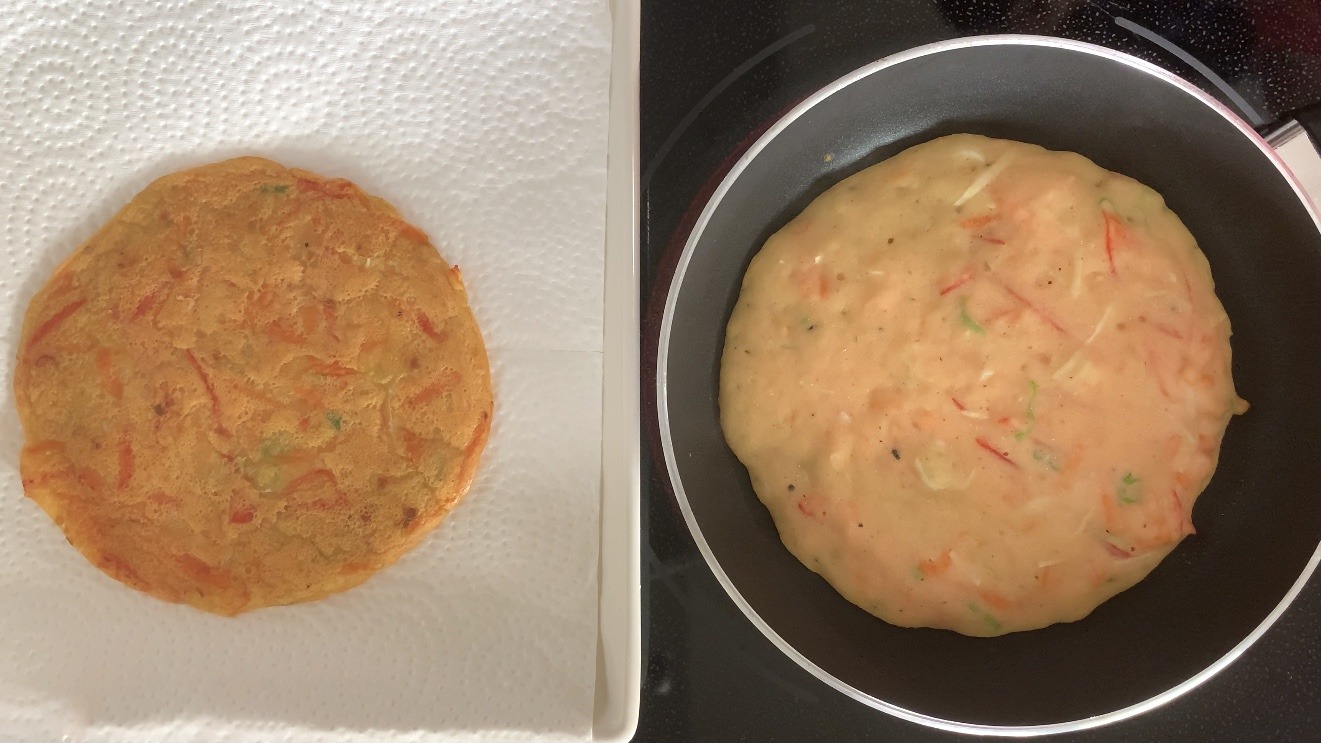
  7. Spoon a half cup of the lentil batter onto the pan and spread it gently to form a round pancake shape.
  8. Cook the pancake for about 2 minutes on one side with a cover, or until it turns firm and you can flip it.
  9. Flip it over using a spatula and cook for an additional 2 minutes with the cover again.
  10. Turn a second time and cook each side for an extra 1 or 2 minutes without the cover this time, to allow the pancakes to cook thoroughly.
  11. Repeat the process with the remaining batter. Serve hot or cold.

Prep Time, Baking Information, and Servings:

  • Prep Time: 30 minutes
  • Pan Cooking Time: 40 minutes
  • Servings: 5

Nutritional Information (Per Serving):

  • Energy: 195 calories
  • Protein: 9.45 g
  • Fat: 6.3 g
  • Carbohydrates: 27.02 g
  • Fiber: 4.8 g

Storage and Particular Recommendations:

  • Store your pancakes in an airtight container in the fridge for up to 1 week.
  • Reheat before serving.
  • Customize the vegetables and herbs in the pancakes according to your taste preferences and what you have on hand.
  • These flatbreads are incredibly versatile, so feel free to get creative and make them your own!