Homemade Speculoos Biscuits
Homemade Speculoos Biscuits

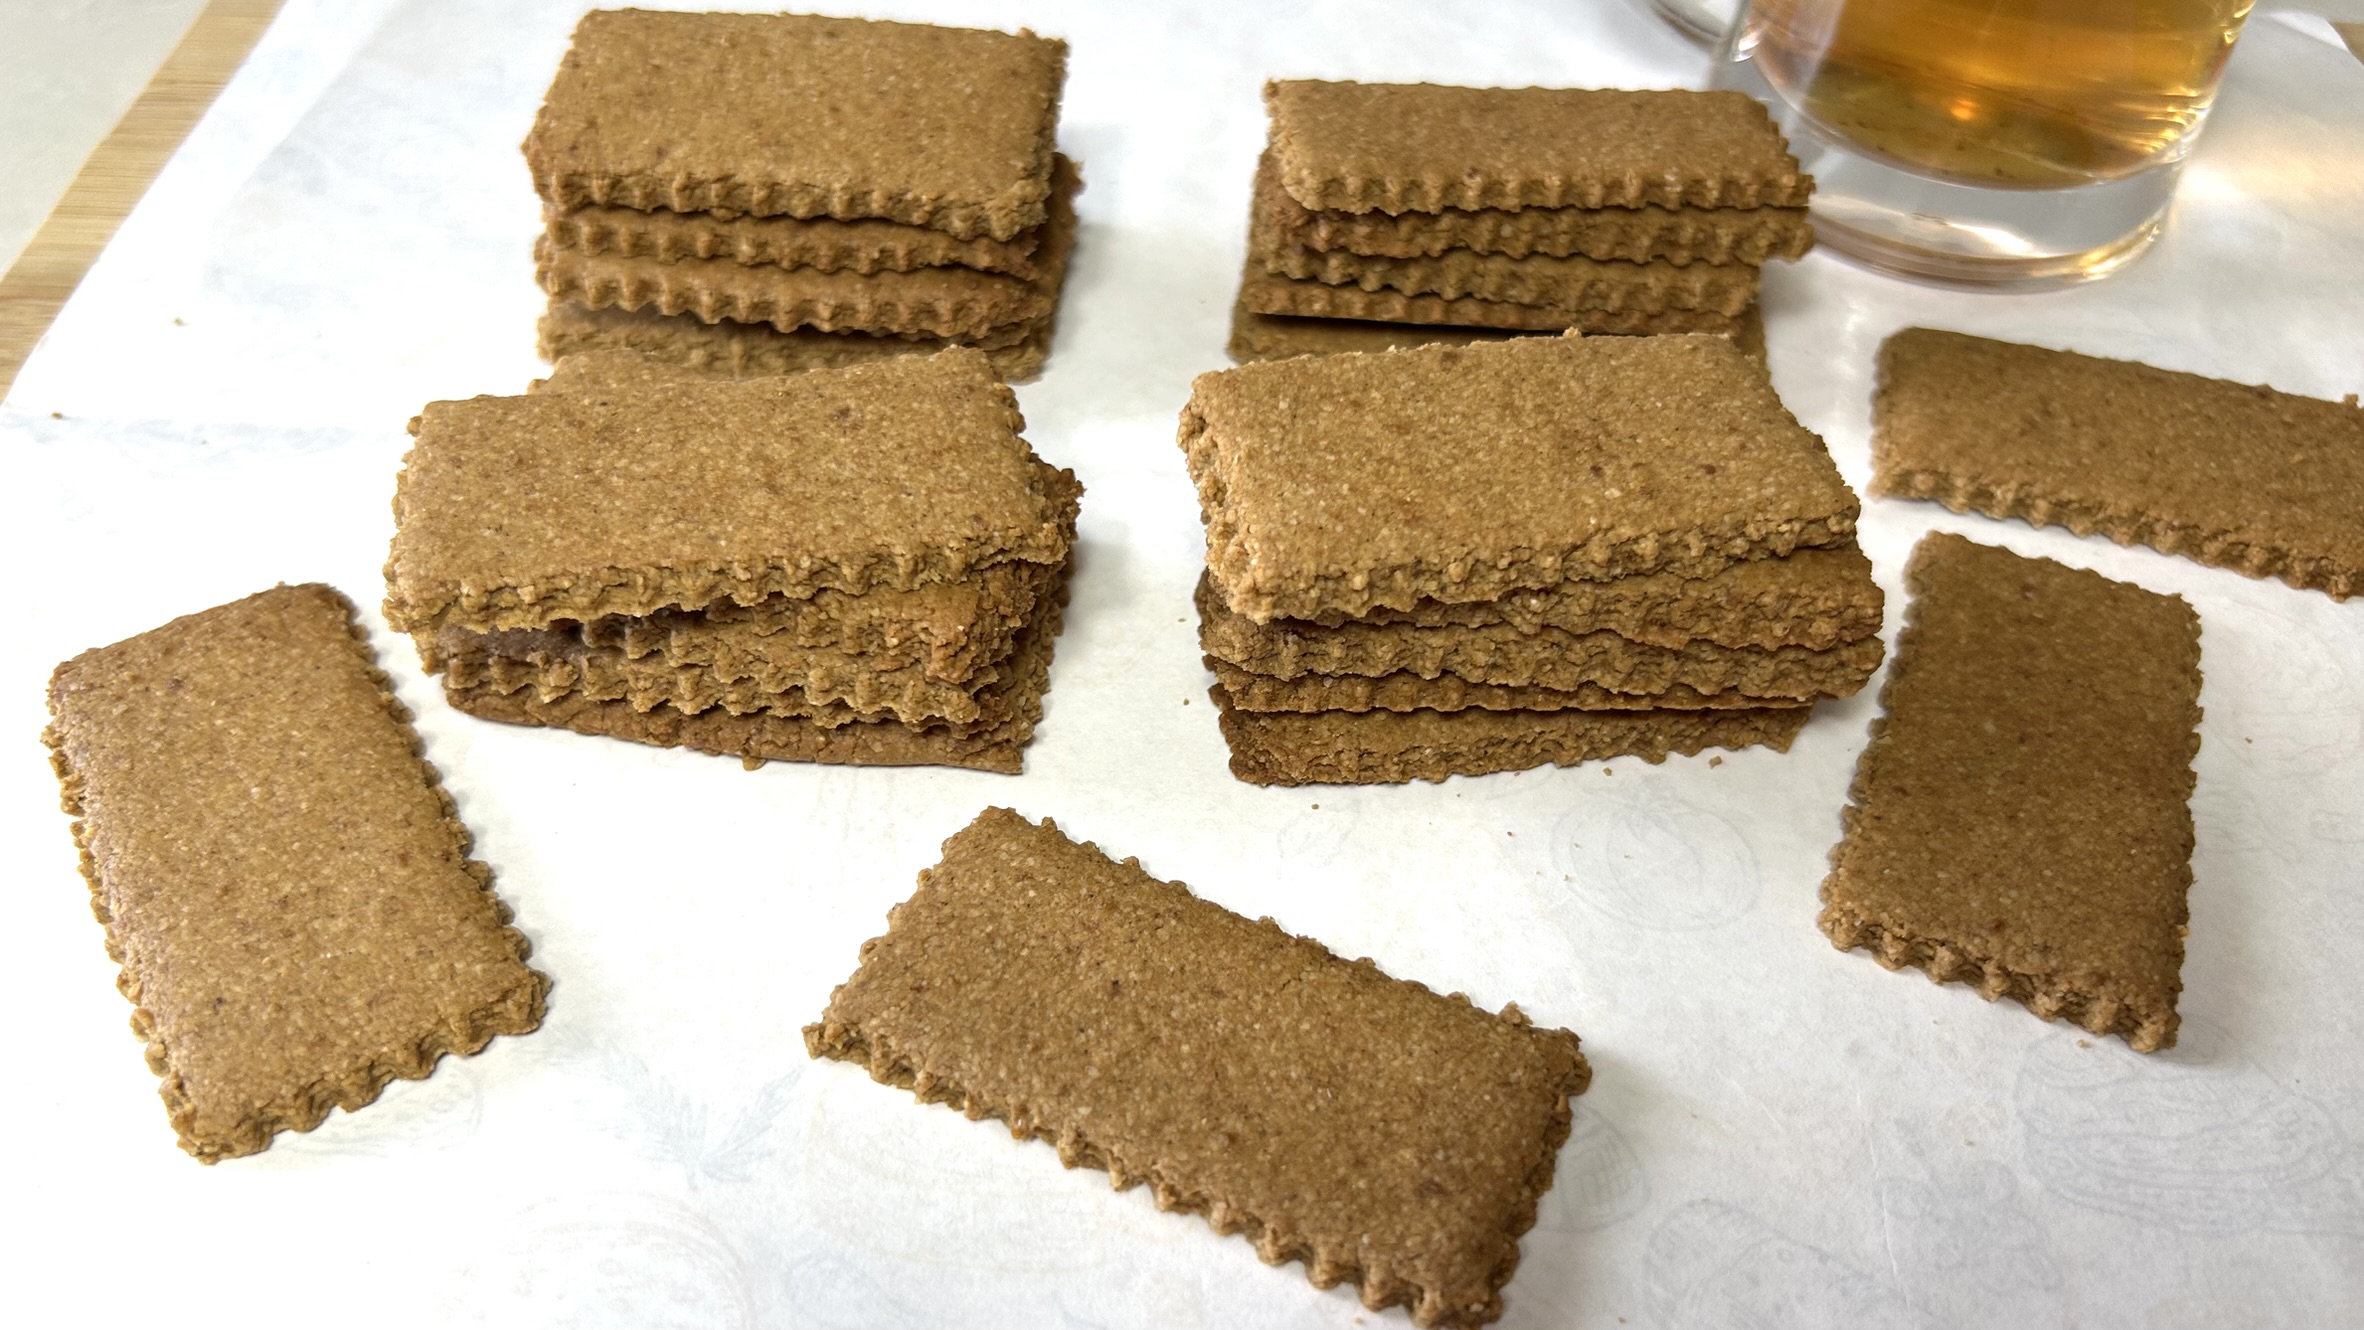
There is something undeniably comforting about the warm aroma of freshly baked speculoos biscuits filling the kitchen. Inspired by the iconic Lotus Biscoff biscuits, these homemade speculoos biscuits capture everything people love about the famous Belgian treat: their deep caramel-like sweetness, delicate crunch, and signature blend of warming spices. Often enjoyed alongside coffee or tea, speculoos biscuits have become a worldwide favorite thanks to their rich flavor and versatility. They are delicious on their own, crushed into dessert crusts, layered into creamy desserts, or used as a crunchy topping for yogurt and ice cream.
This homemade version takes the classic concept and transforms it into a more wholesome recipe without sacrificing flavor. Unlike traditional versions made with refined flour and processed fats, these biscuits are naturally gluten-free and vegan, relying on simple pantry ingredients such as oats, olive oil, coconut sugar, and aromatic spices. The result is a beautifully crisp biscuit with a rich spiced flavor and subtle caramel notes that make every bite satisfying. They are easy to prepare, require only a handful of ingredients, and offer a homemade alternative that feels both nourishing and indulgent.
One of the reasons these biscuits are so special is their incredible spice profile. Cinnamon, nutmeg, ginger, cloves, and cardamom work together to create the distinctive flavor that has made speculoos famous around the world. These warming spices not only contribute wonderful depth and aroma, but also make the biscuits especially cozy during cooler months, holiday gatherings, or whenever you crave something comforting with your afternoon coffee.
The star ingredient in this recipe is oats. Oats are among the most nutritious whole grains available and deserve a regular place in a balanced diet. They are naturally rich in fiber, particularly beta-glucan, a type of soluble fiber known for supporting heart health and helping maintain healthy cholesterol levels. Oats also provide complex carbohydrates that release energy gradually, helping promote longer-lasting satiety and stable energy levels. In addition, they contain valuable minerals such as manganese, phosphorus, magnesium, and iron, along with beneficial antioxidants. Incorporating oats into everyday recipes is a simple and delicious way to increase whole-grain consumption while supporting digestive health and overall wellness. In these biscuits, oats create a wonderfully crisp texture while adding wholesome nutrition to every bite.
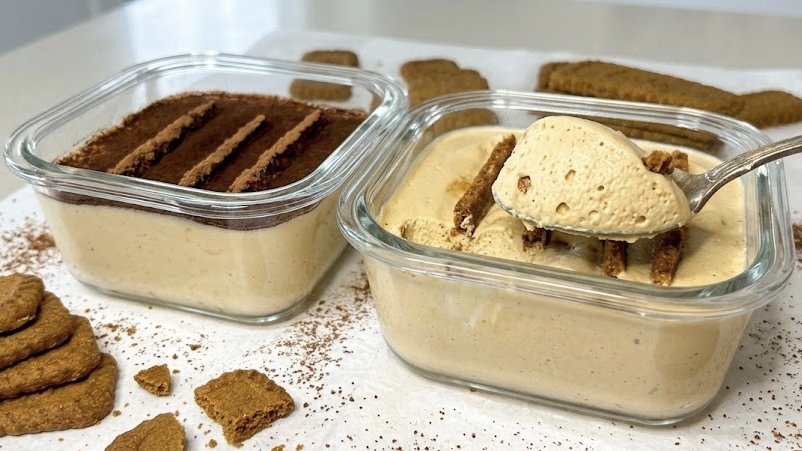
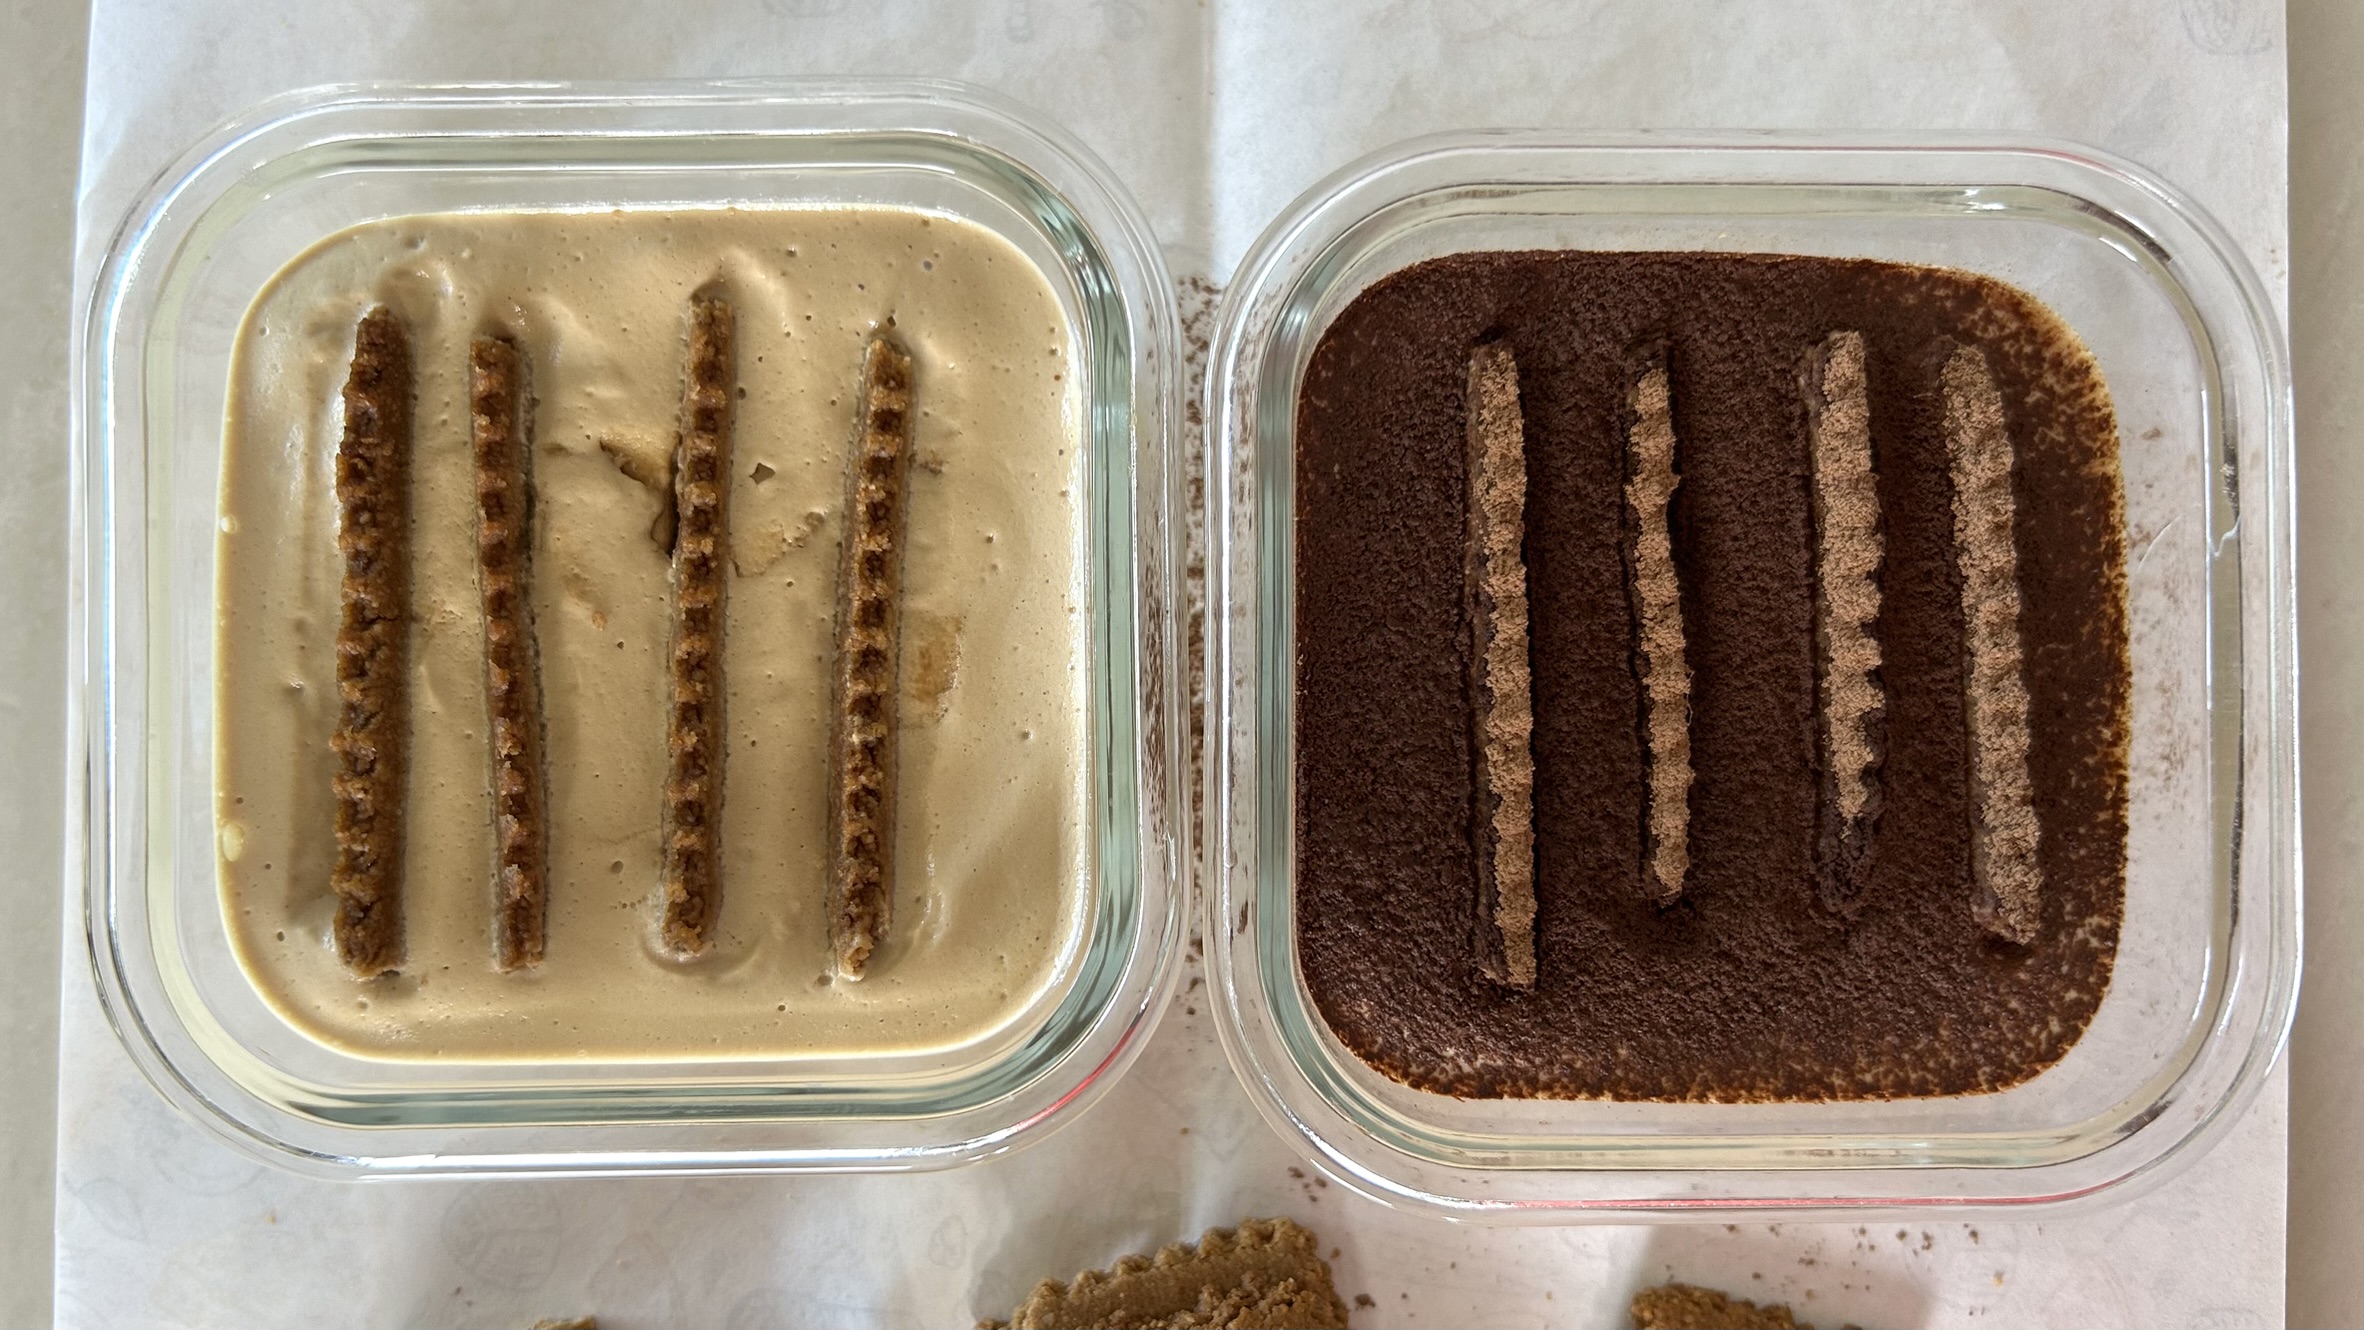
Whether you enjoy them with a warm beverage, share them with family and friends, or use them in layered desserts such as Japanese Cheesecake Tiramisu, these homemade speculoos biscuits are a recipe worth keeping on repeat.
Ingredients
- 2 cups (180 g) rolled oats, blended into fine oat flour (or store-bought oat flour)
- ½ tsp baking soda
- ½ tsp baking powder
- Pinch of salt
- 1 tsp speculoos spice mix (cinnamon, nutmeg, ginger, cloves, and cardamom)
- ⅓ cup (50 g) coconut sugar
- ¼ cup olive oil
- Up to 3 tbsp milk of choice (dairy or non-dairy)
Directions
- Preheat your oven to 350°F (180°C) and line a baking tray with parchment paper.
- If using rolled oats, blend them into a fine flour consistency.
- In a large mixing bowl, combine the oat flour, baking soda, baking powder, salt, and speculoos spice mix. Stir until evenly distributed.
- In a separate bowl, whisk together the coconut sugar, olive oil, and milk until smooth.
- Add the wet ingredients to the dry ingredients and mix until a dough begins to form.
- Knead the dough gently with your hands until smooth and cohesive. If the dough feels too dry, add a small splash of milk as needed.
- Place the dough between two sheets of parchment paper and roll it out evenly to approximately ⅛ inch (3 mm) thickness for crisp biscuits.
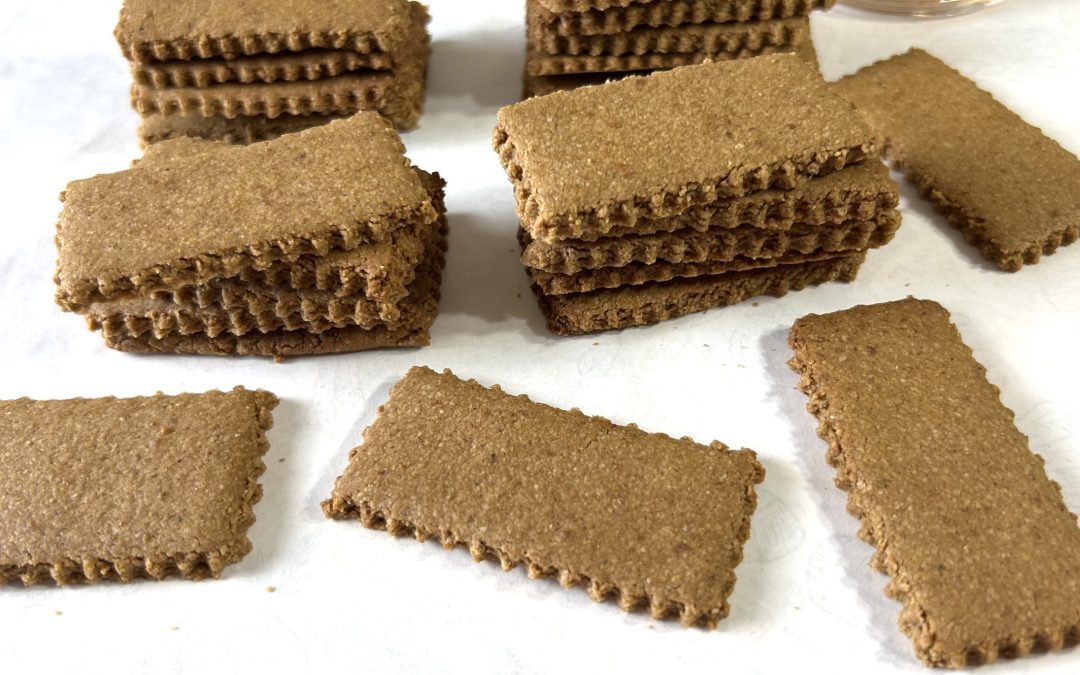
- Cut into rectangular biscuit shapes, approximately 3 x 1½ inches (7.5 x 3.5 cm).
- Transfer the biscuits onto the prepared baking tray and bake for 15–20 minutes, or until lightly golden and fragrant.
- Allow the biscuits to cool completely on the tray. They will continue to crisp as they cool.
Prep Time, Baking Time & Yield
- Prep Time: 30 minutes
- Baking Time: 15–20 minutes
- Total Time: 45–50 minutes
- Yield: 28 biscuits
Nutritional Information
Per 1 biscuit:
- Calories: 47
- Protein: 1.03 g
- Fat: 2.36 g
- Carbohydrates: 5.71 g
- Fiber: 0.6 g
Storage & Recommendations
- Store in an airtight container at room temperature for up to 1 week.
- Allow the biscuits to cool completely before storing to maintain maximum crispness.
- Keep away from humidity, which can soften their texture.
- Freeze in a freezer-safe container or bag for up to 3 months.
- Let frozen biscuits thaw at room temperature before serving.
- These biscuits pair beautifully with coffee, tea, or hot chocolate.
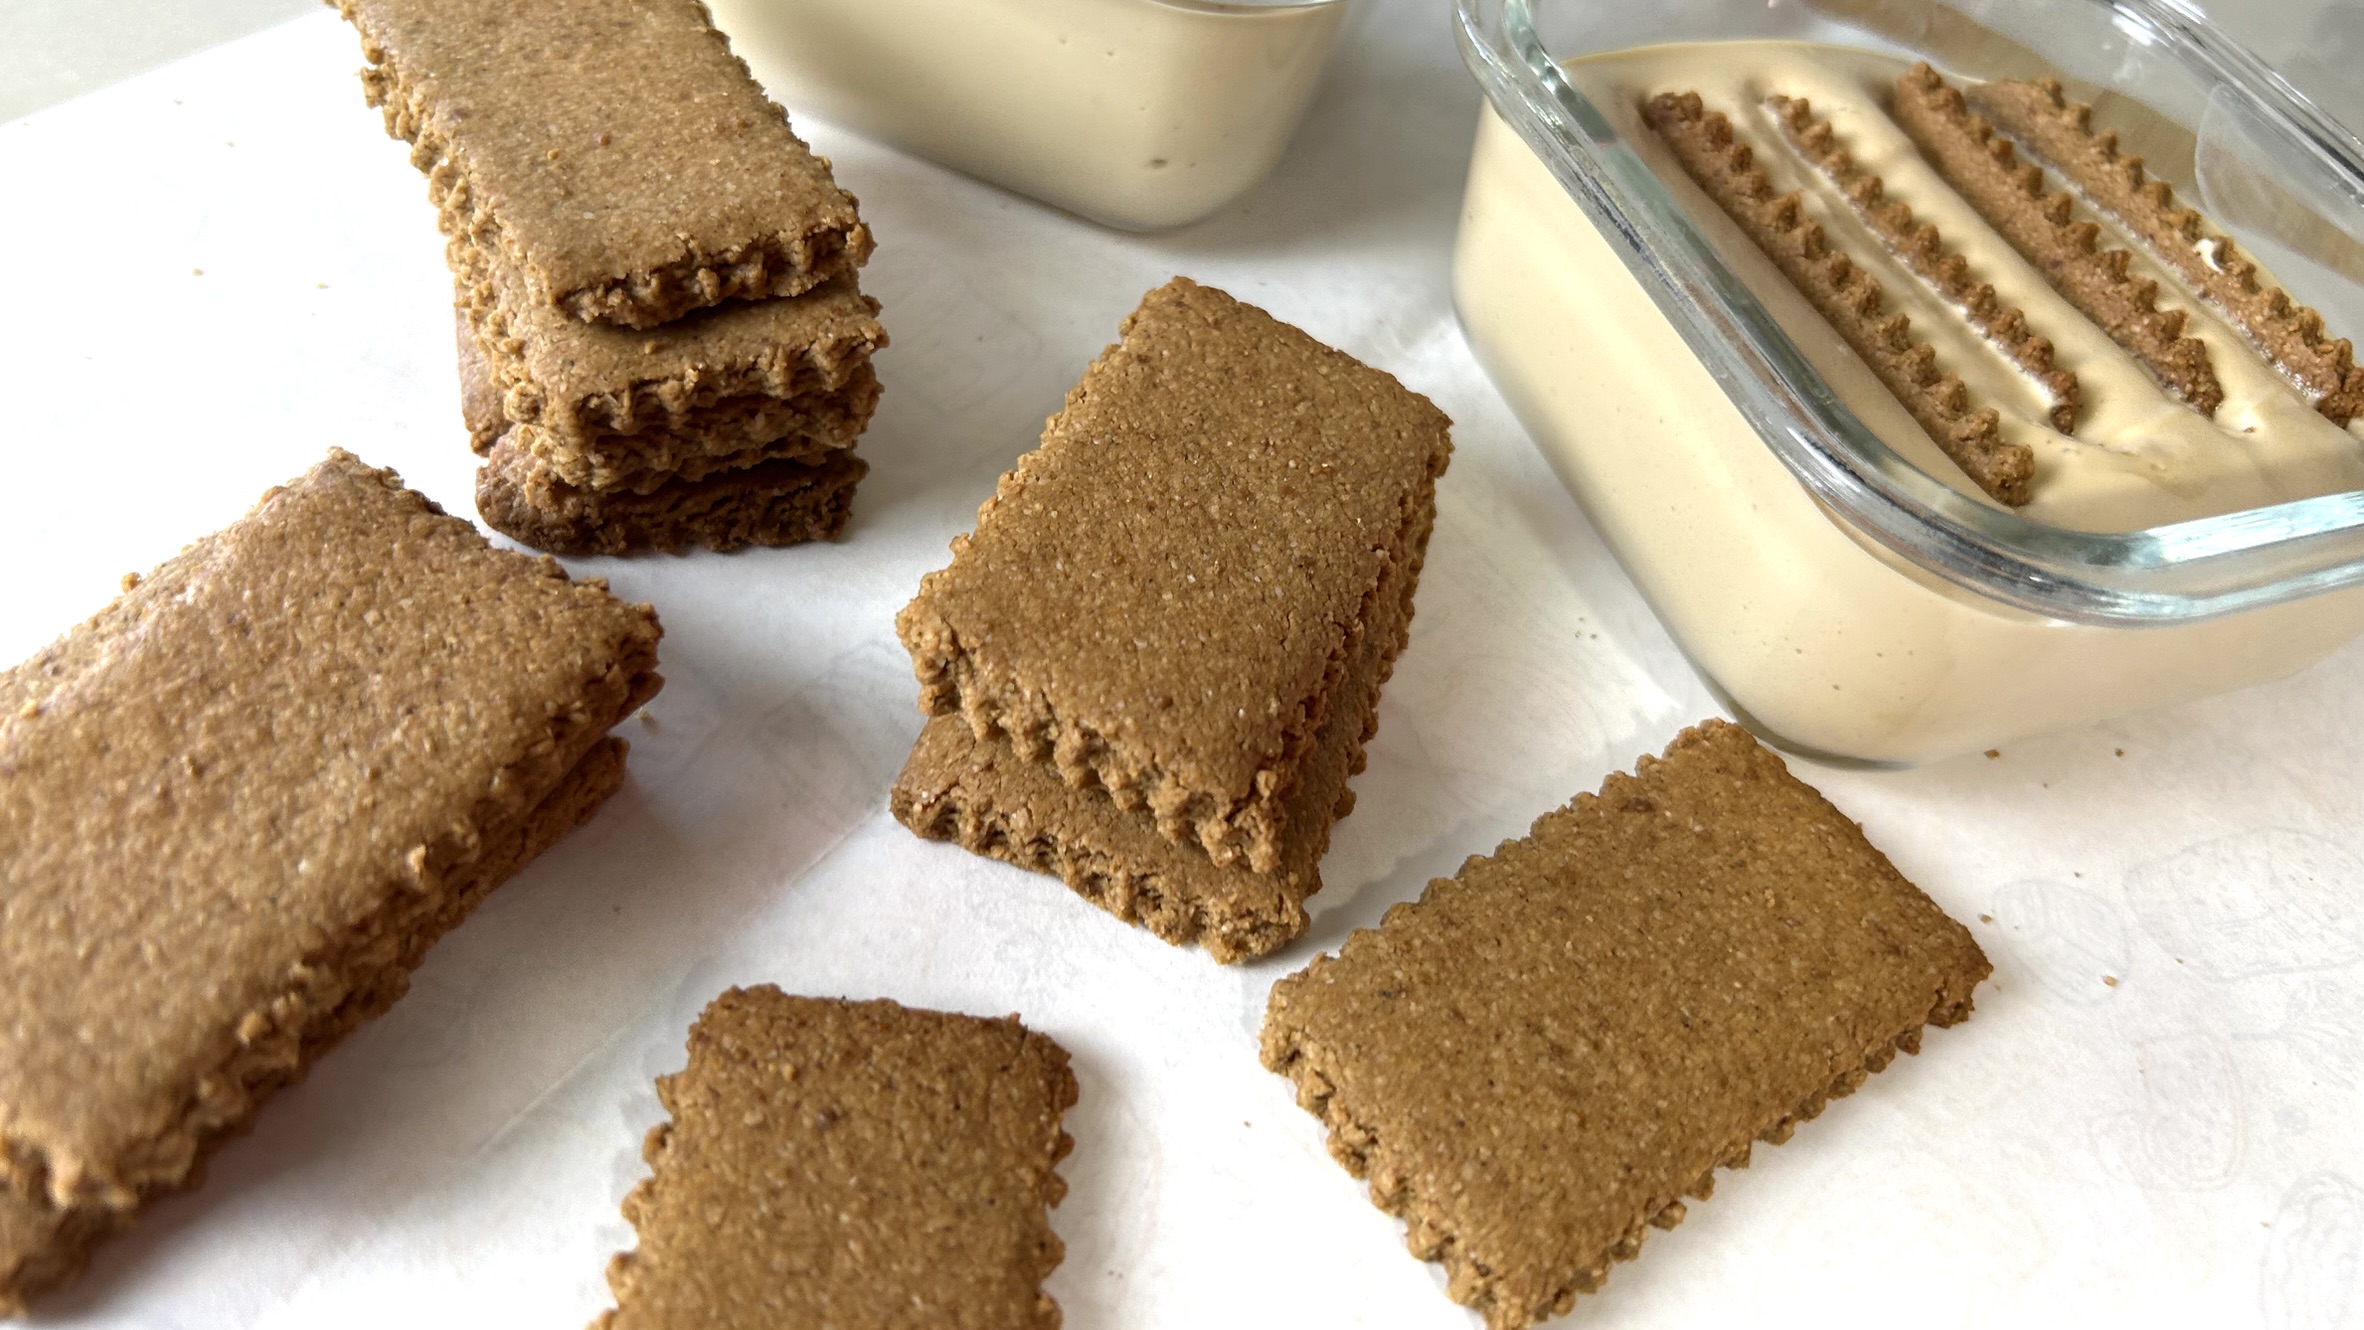
- Use them as a base for cheesecakes, dessert crusts, and layered desserts.
- They are especially delicious in homemade Japanese Cheesecake Tiramisu, where they soften slightly while retaining their signature spiced flavor.
Dietary Information: Gluten-Free (when certified gluten-free oats are used), Vegan, Dairy-Free Option Available, Refined Sugar-Free.