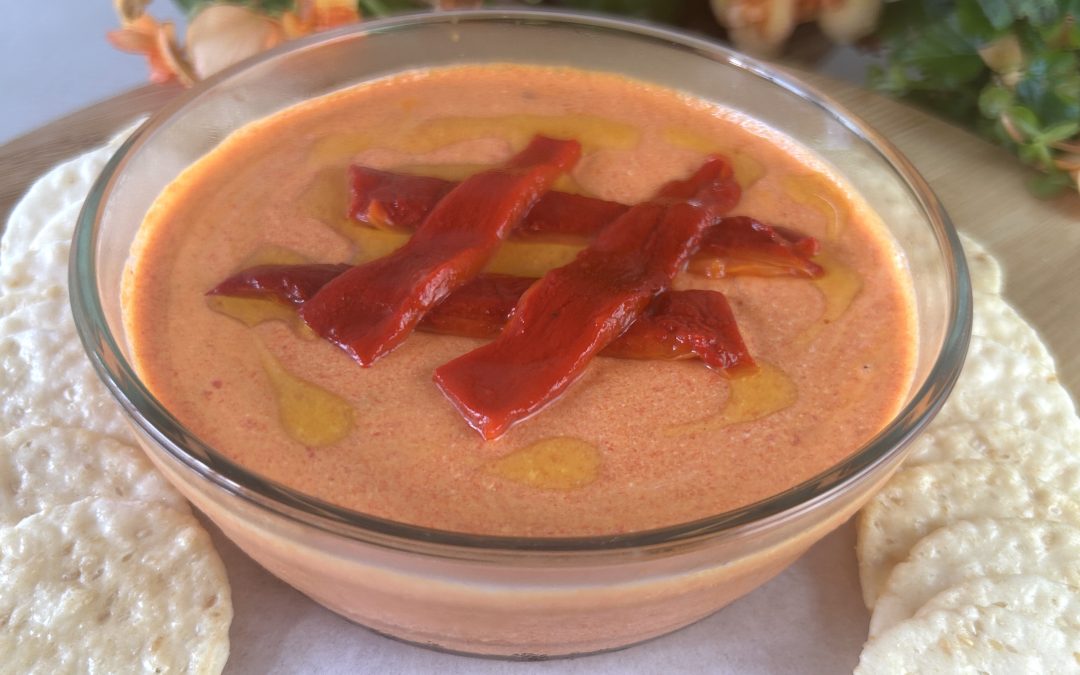
Red Pepper Dip
Red Pepper Dip
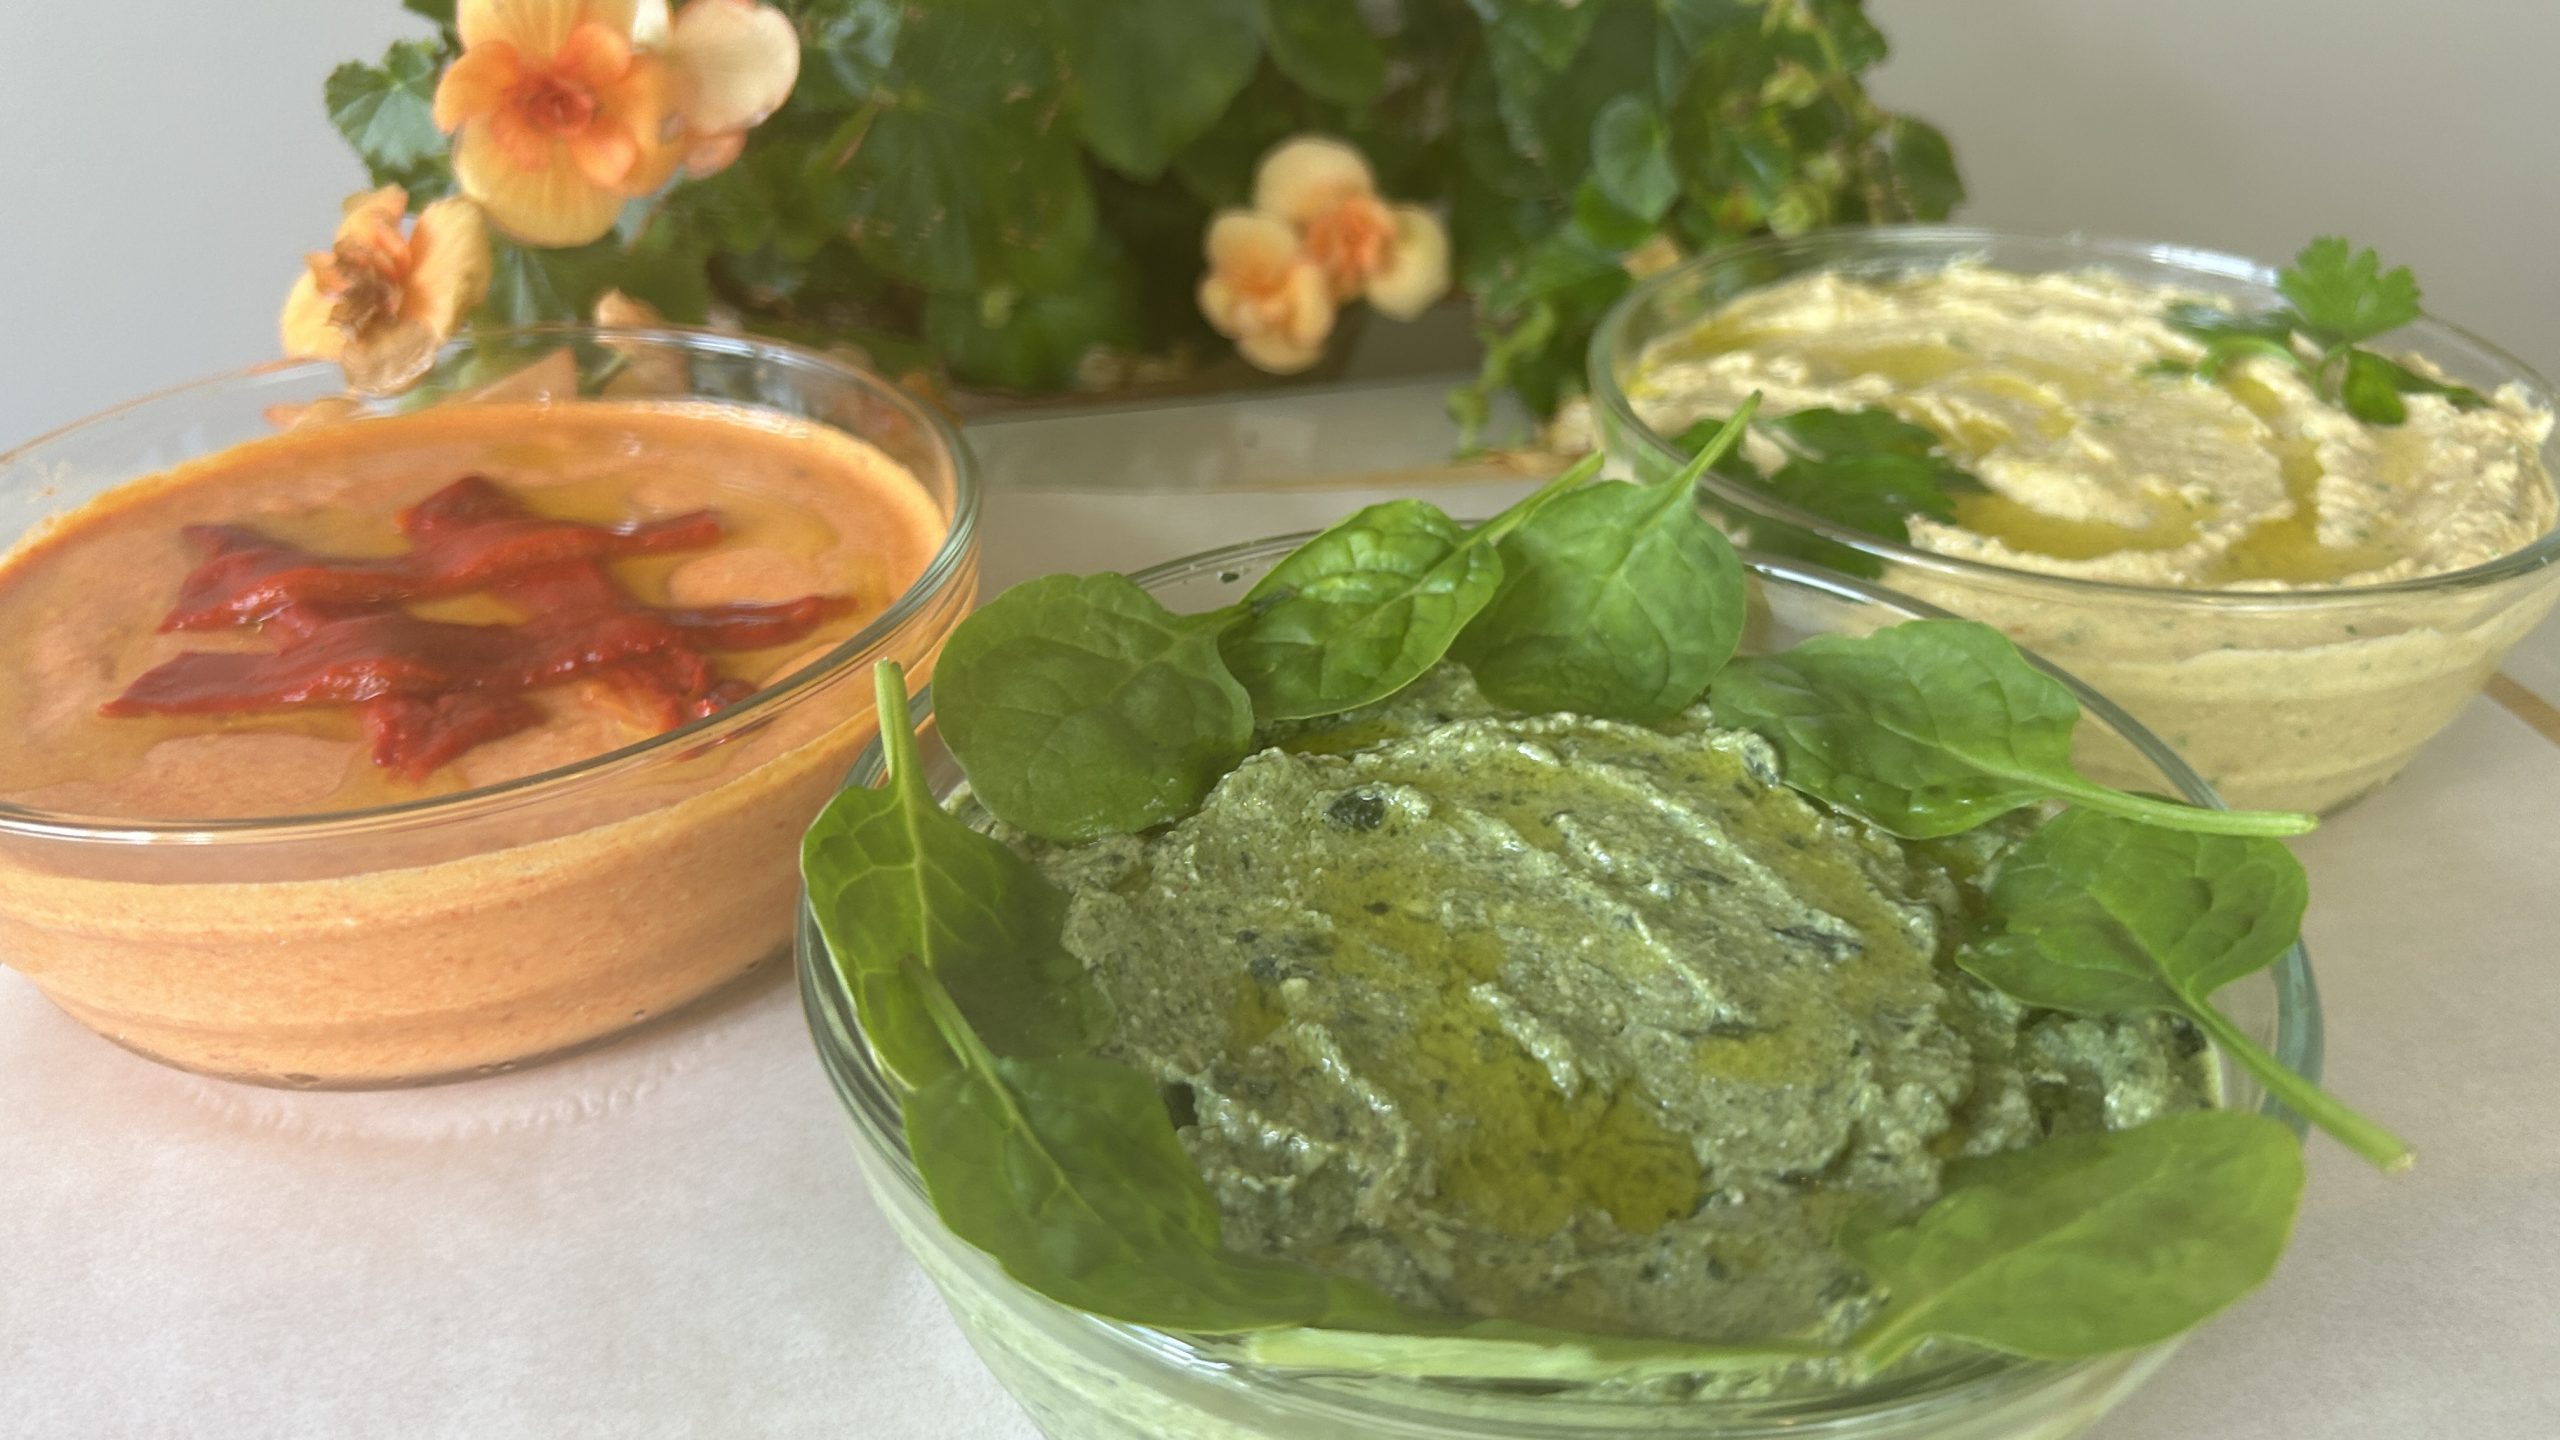
Spice up your snack time with this vibrant and flavorful Red Pepper Dip! This recipe combines the smoky sweetness of roasted red peppers with the creamy richness of cottage cheese, creating a dip that’s both satisfying and healthy. Cottage cheese, a protein-rich, low-calorie ingredient, ensures that this dip not only tastes great but also provides essential nutrients without the guilt.
Red peppers are the highlight of this dish, offering a wealth of health benefits. They are packed with vitamins A and C, antioxidants, and fiber, making them a great addition to your diet. The roasting process enhances their natural sweetness, adding depth and complexity to the dip. Cottage cheese, on the other hand, brings in a creamy texture and a boost of protein, which is essential for muscle repair and overall health. Including red peppers and cottage cheese in your regular diet can support your immune system, improve skin health, and provide lasting energy.
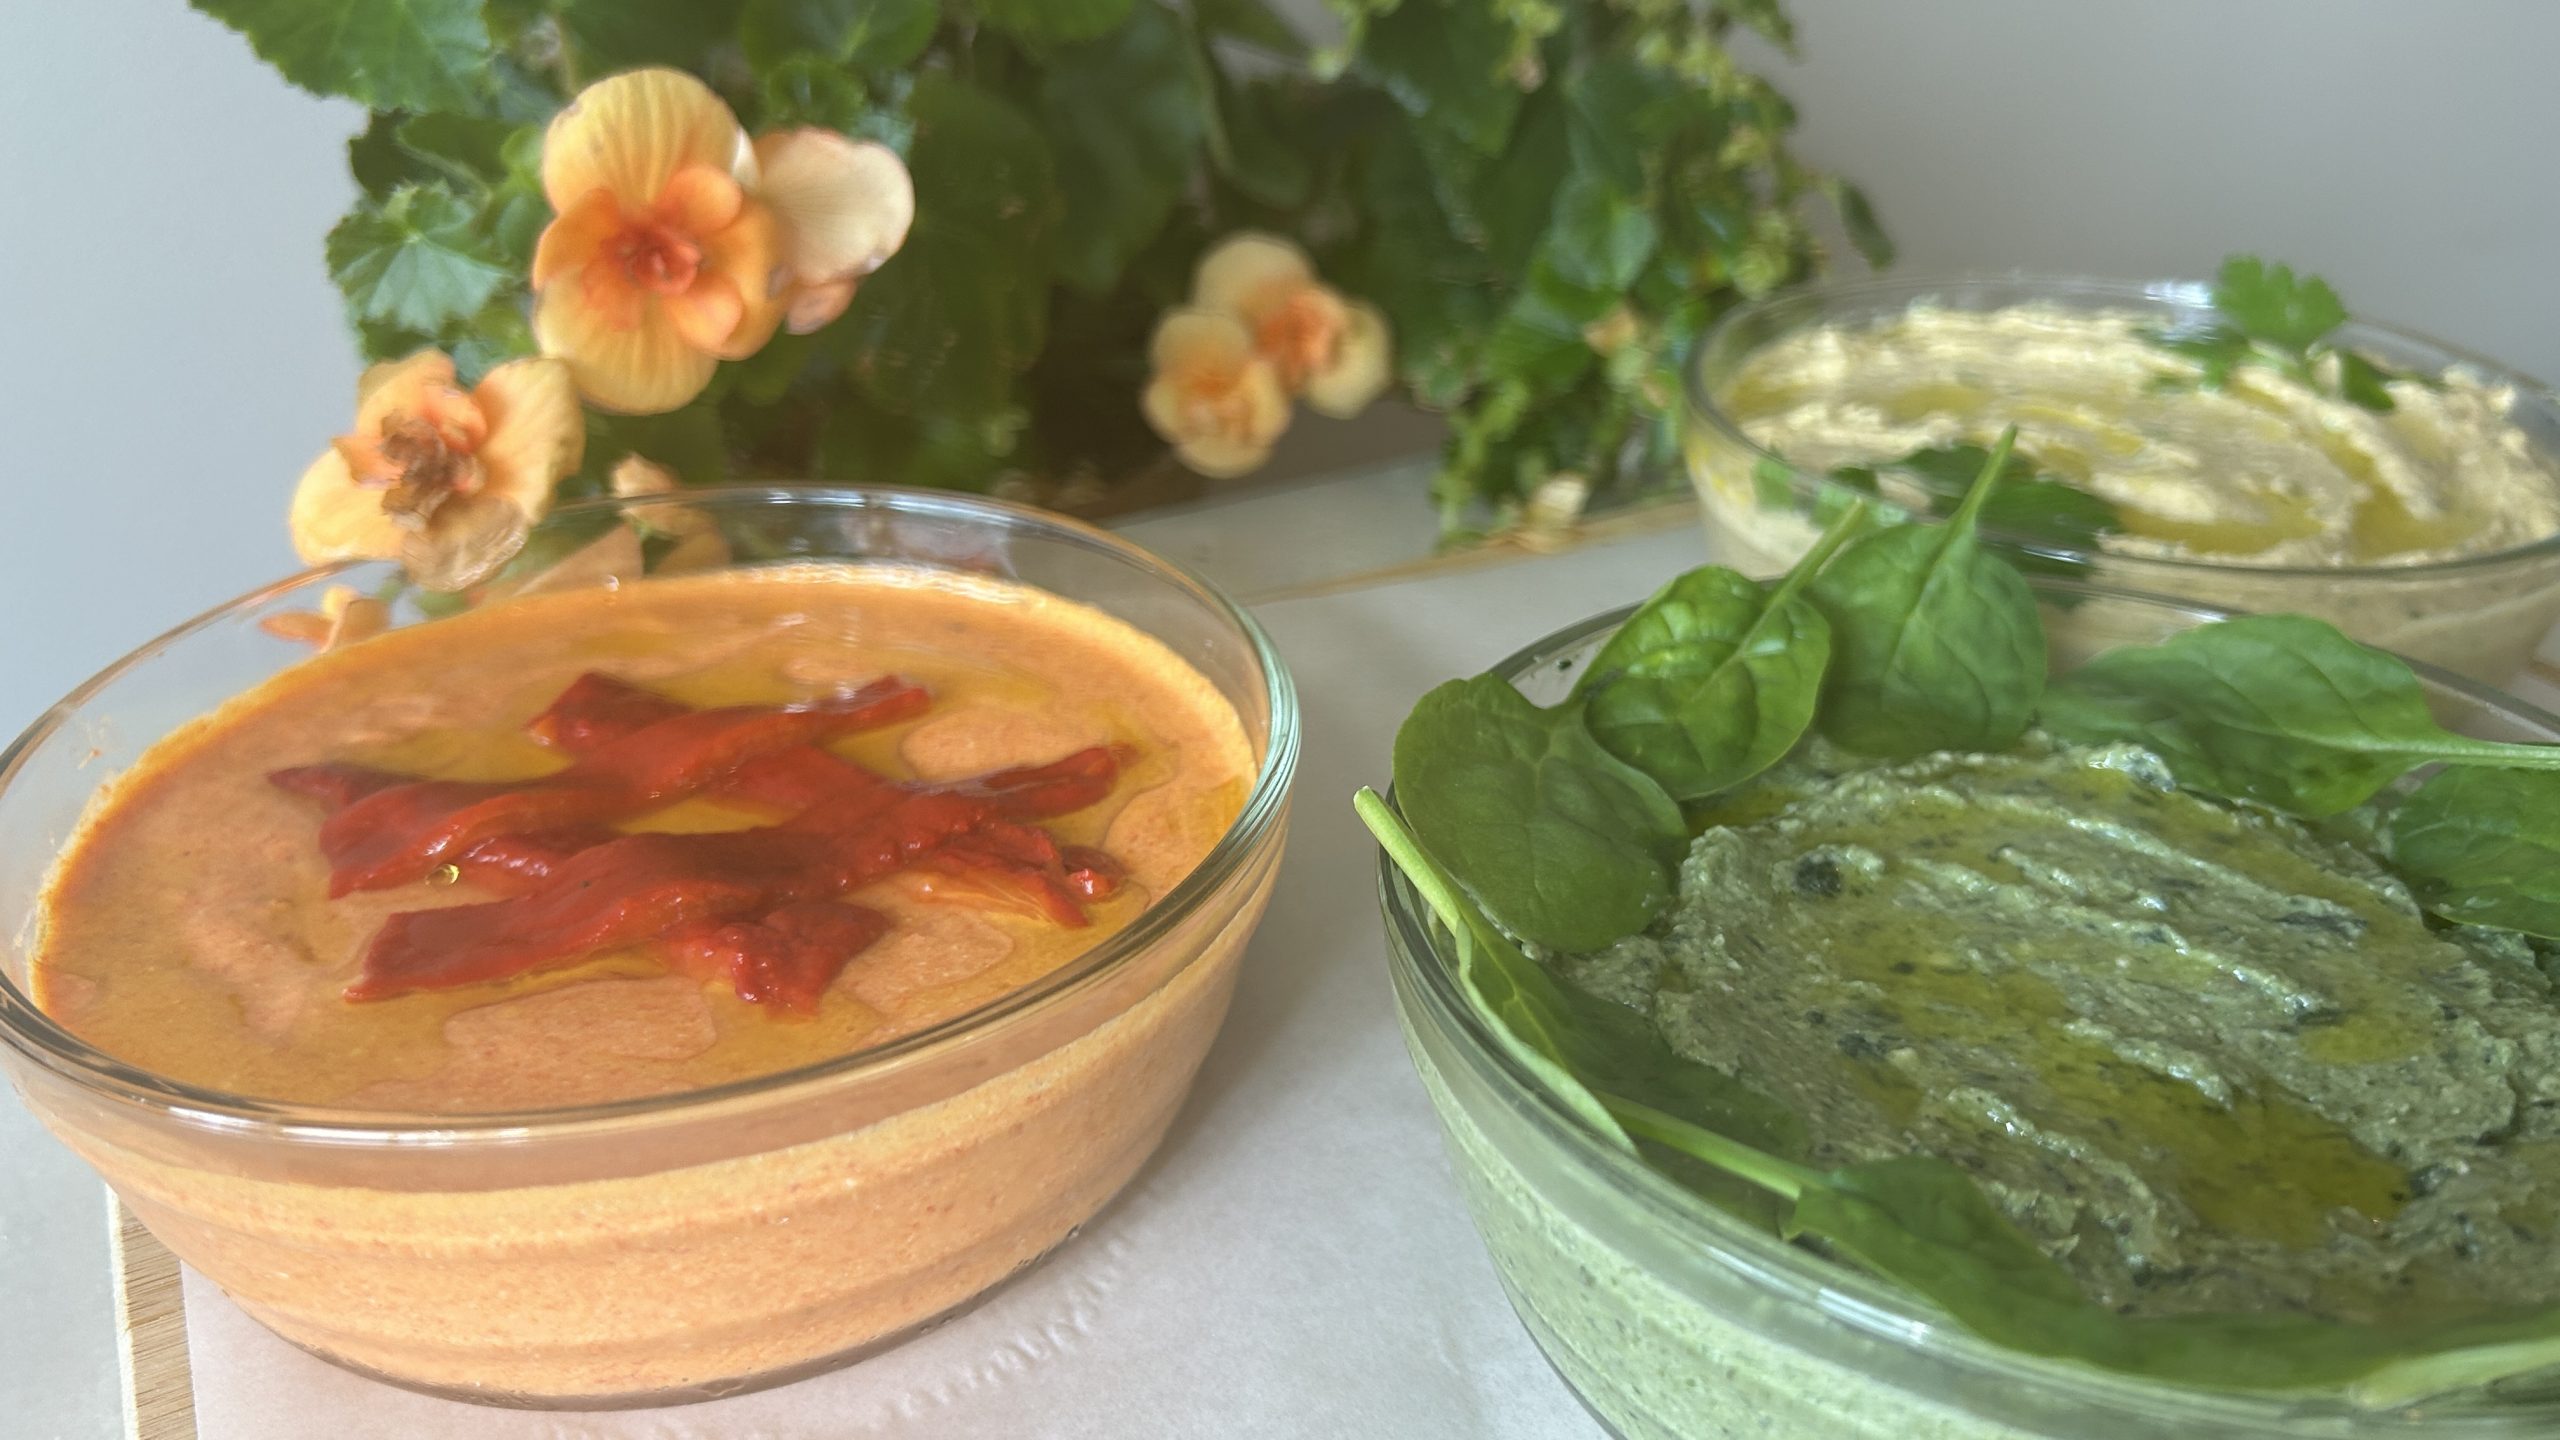
This Red Pepper Dip is perfect for adding a burst of color and flavor to any dish. Use it as a spread on sandwiches, as a topping for grilled meats, or as a flavorful dip for your favorite snacks. Enjoy the blend of smoky and sweet flavors in every bite!
Ingredients
- 3 large red peppers (400 g)
- 3 ½ tbsp. olive oil
- 1 cup (200 g) cottage cheese
- 1 garlic clove
- ¼ tsp. salt
- ½ tsp. smoked paprika
- Chili flakes to taste
- 1 tbsp. lemon juice
Directions
- Clean and pat dry the red peppers. Brush the red peppers with some olive oil.
- Place the red peppers on a baking sheet and broil for 10 to 15 minutes or until the skin looks dark and roasted on one side.
- Flip the red peppers and broil the other side for another 10 to 15 minutes.
- Transfer the hot roasted peppers into a bowl and cover with plastic wrap. Let sit for 30 minutes to cool slightly and make the skin easier to remove.
- Once cooled, peel off the skin and remove the seeds from the peppers. Set the cleaned red pepper flesh aside to continue cooling.
- In a mixing bowl, add the cottage cheese and blend it until smooth and creamy.
- Add the red pepper flesh to the blended cottage cheese, olive oil, garlic, salt, smoked paprika, chili flakes, and lemon juice to the mixture.
- Blend again until you reach a smooth consistency.
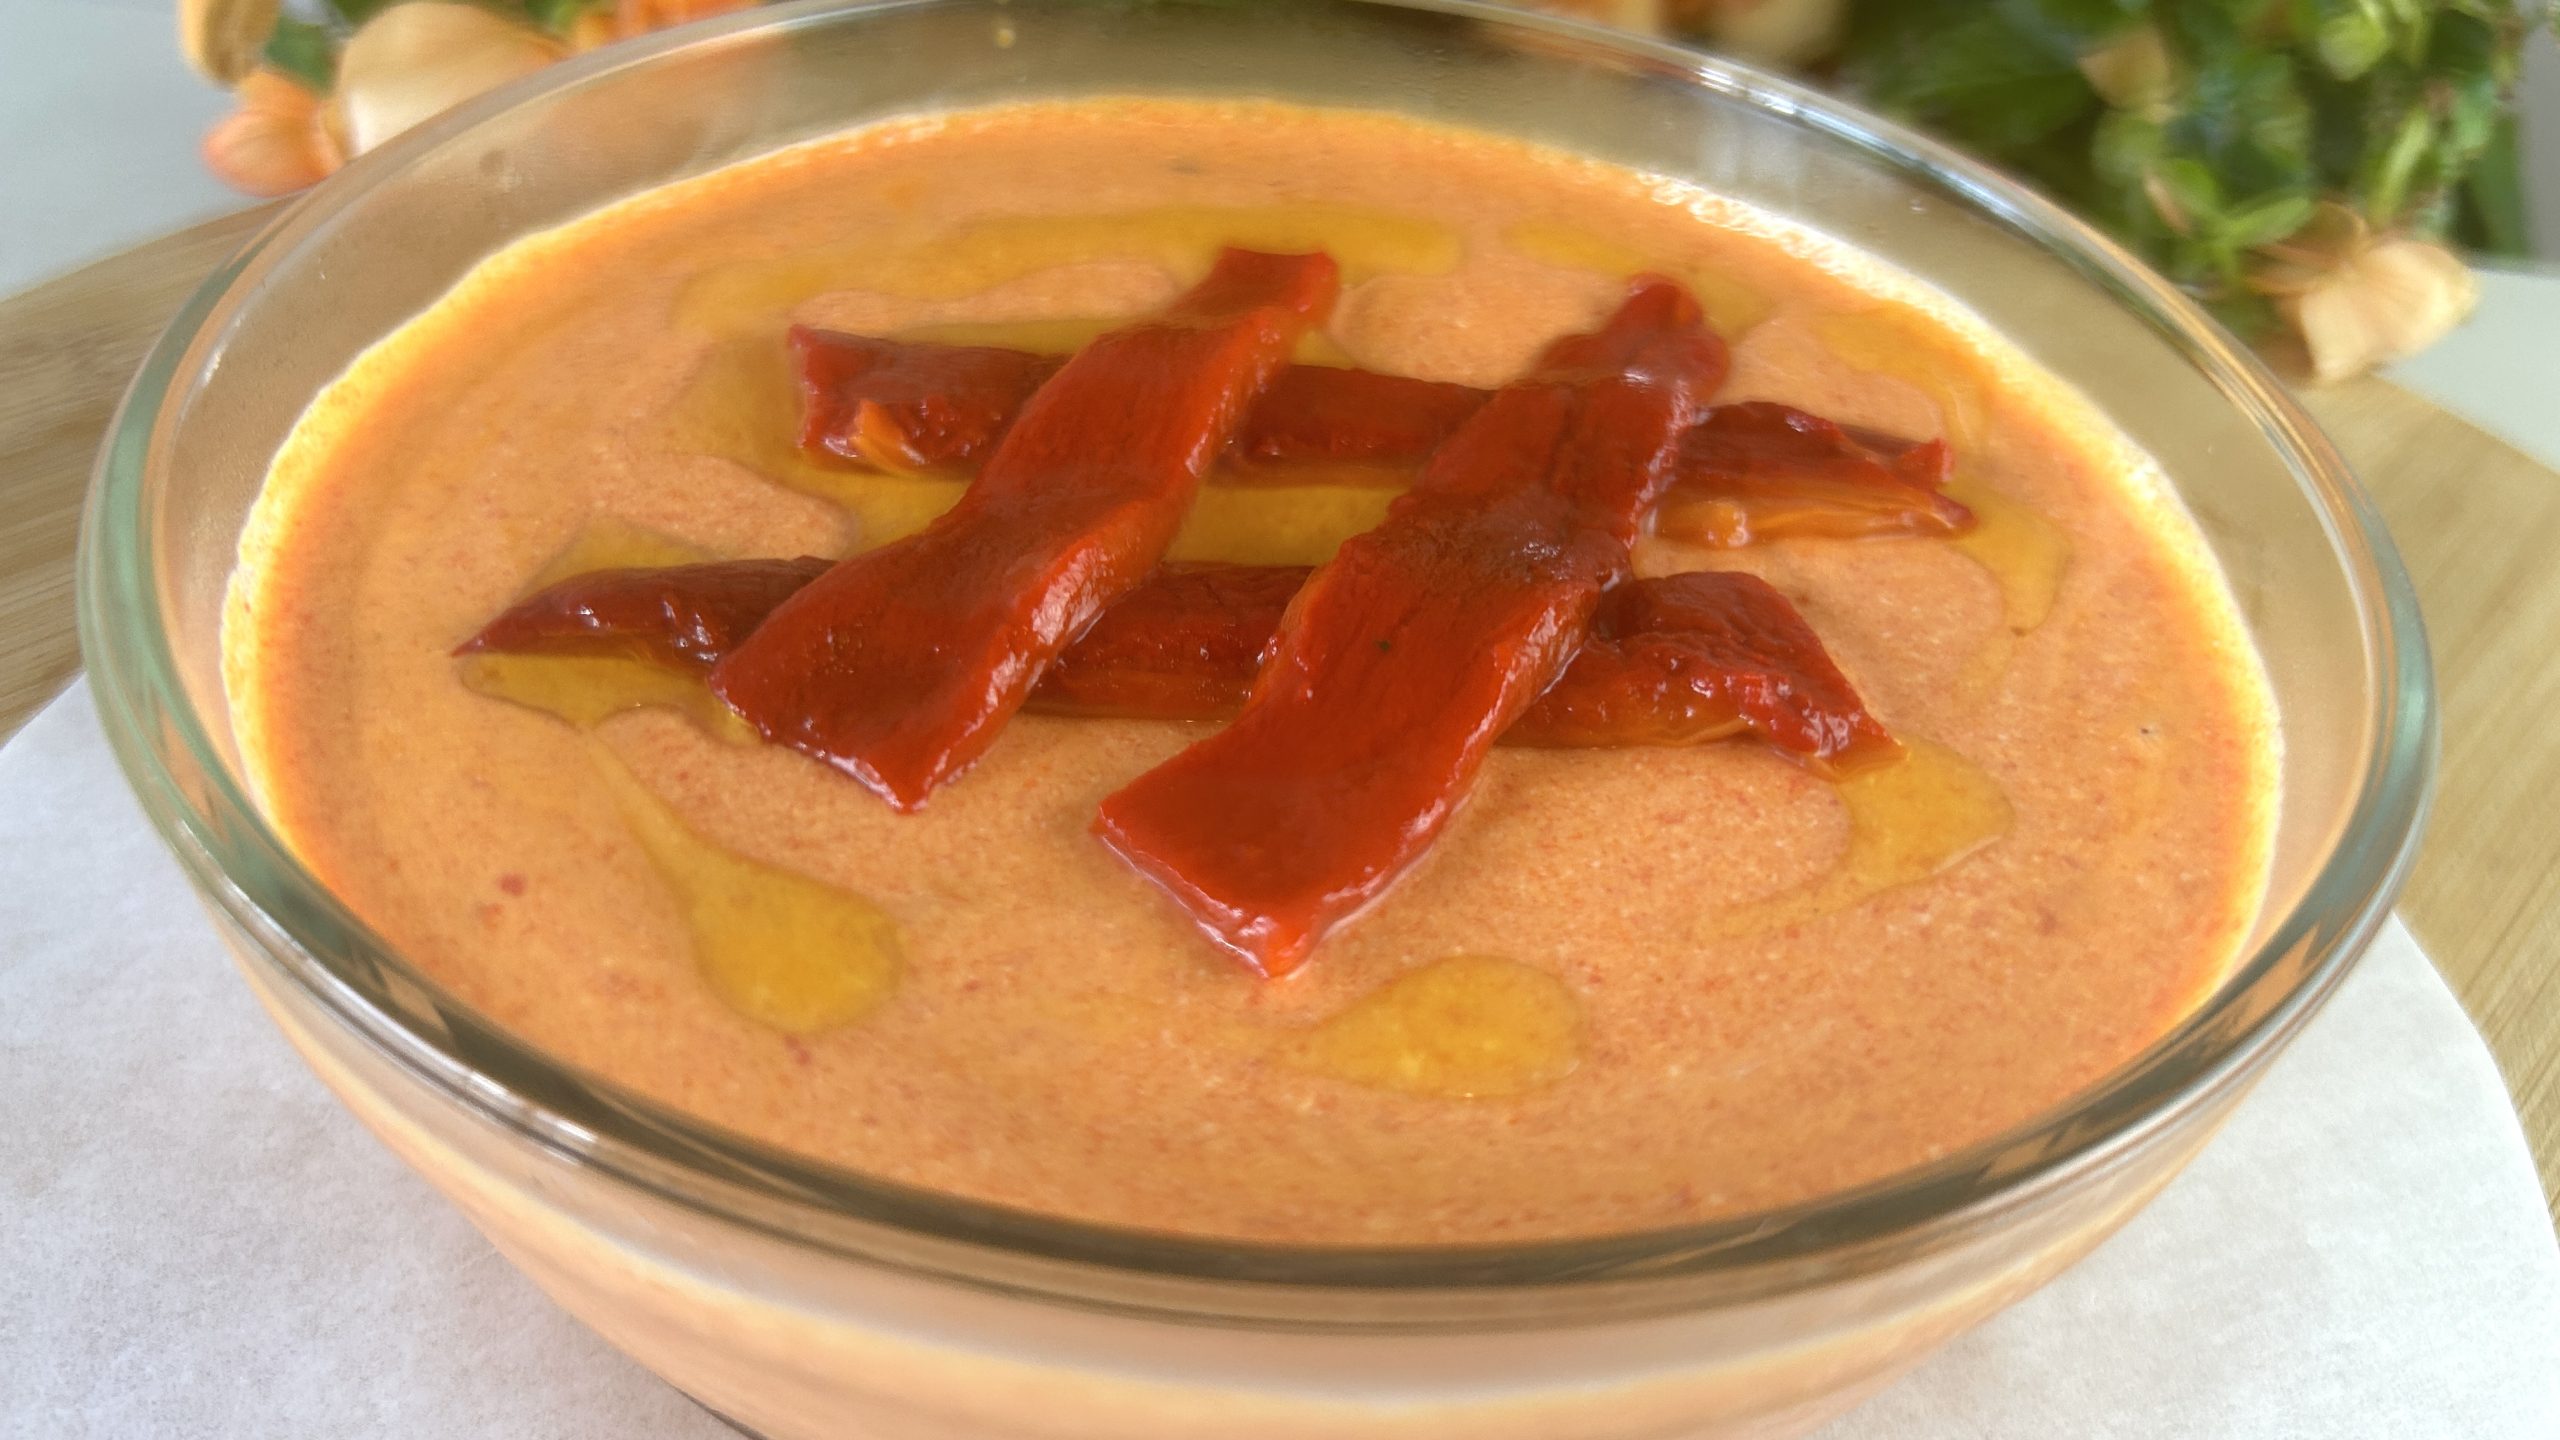
- Transfer the dip into a glass container and let sit in the fridge for at least 1 hour to thicken and allow the flavors to infuse.
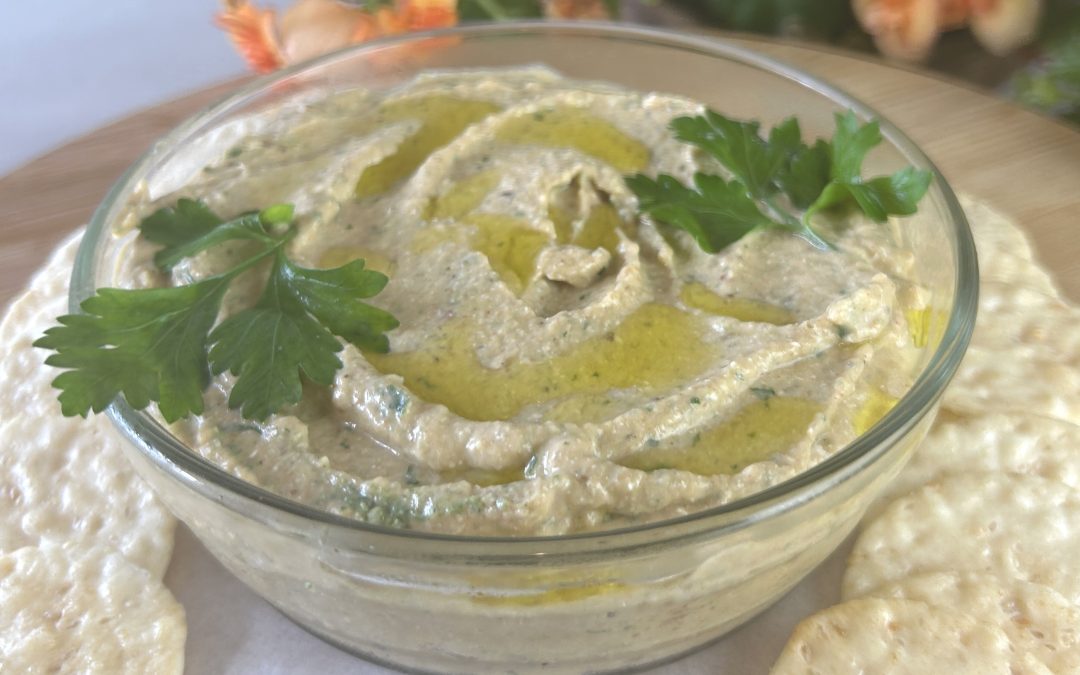
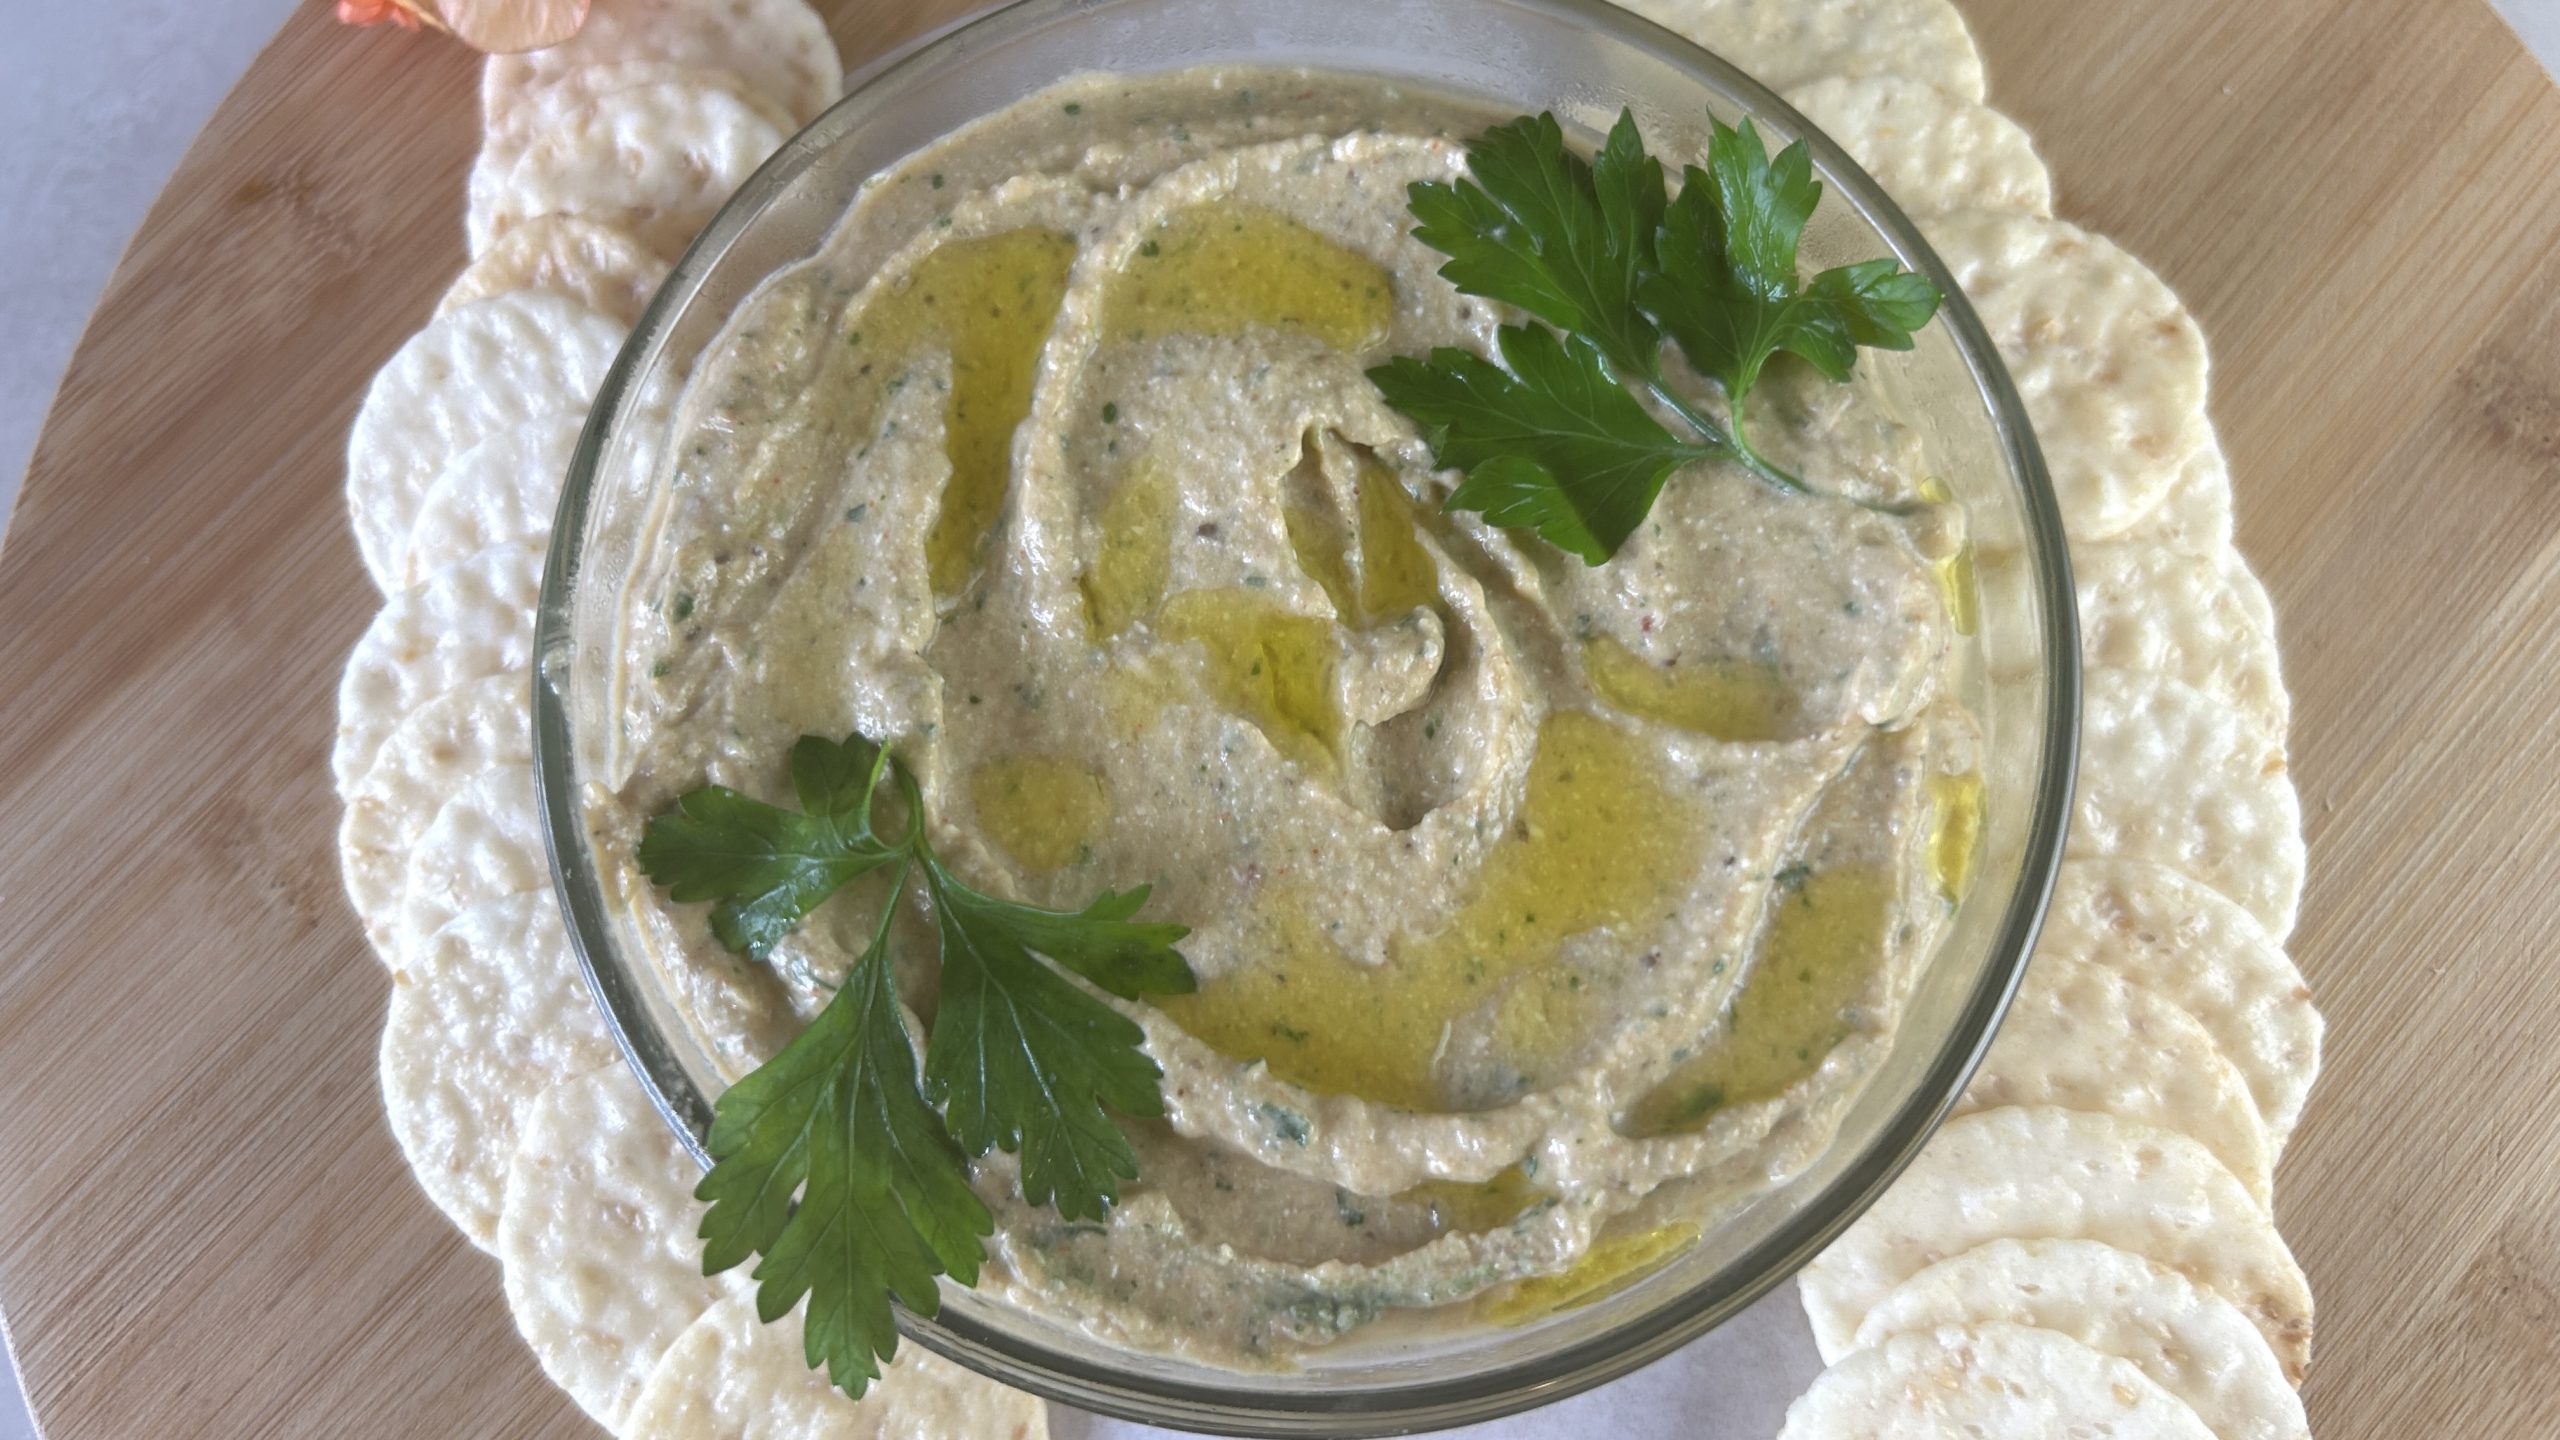
- Garnish with slices of roasted red pepper and drizzle with some extra olive oil on top before serving.
Prep Time: 20 minutes
Broiling Time: 30 minutes
Fridge Time: 1 hour
Servings: 6
Nutritional Information (Per Serving)
- Energy: 131 calories
- Protein: 5.02 g
- Fat: 9.64 g
- Carbohydrates: 7.45 g
- Fiber: 1.1 g
Storage
- Store the leftover red pepper dip in an airtight container in the refrigerator. It will stay fresh for up to 5 days.
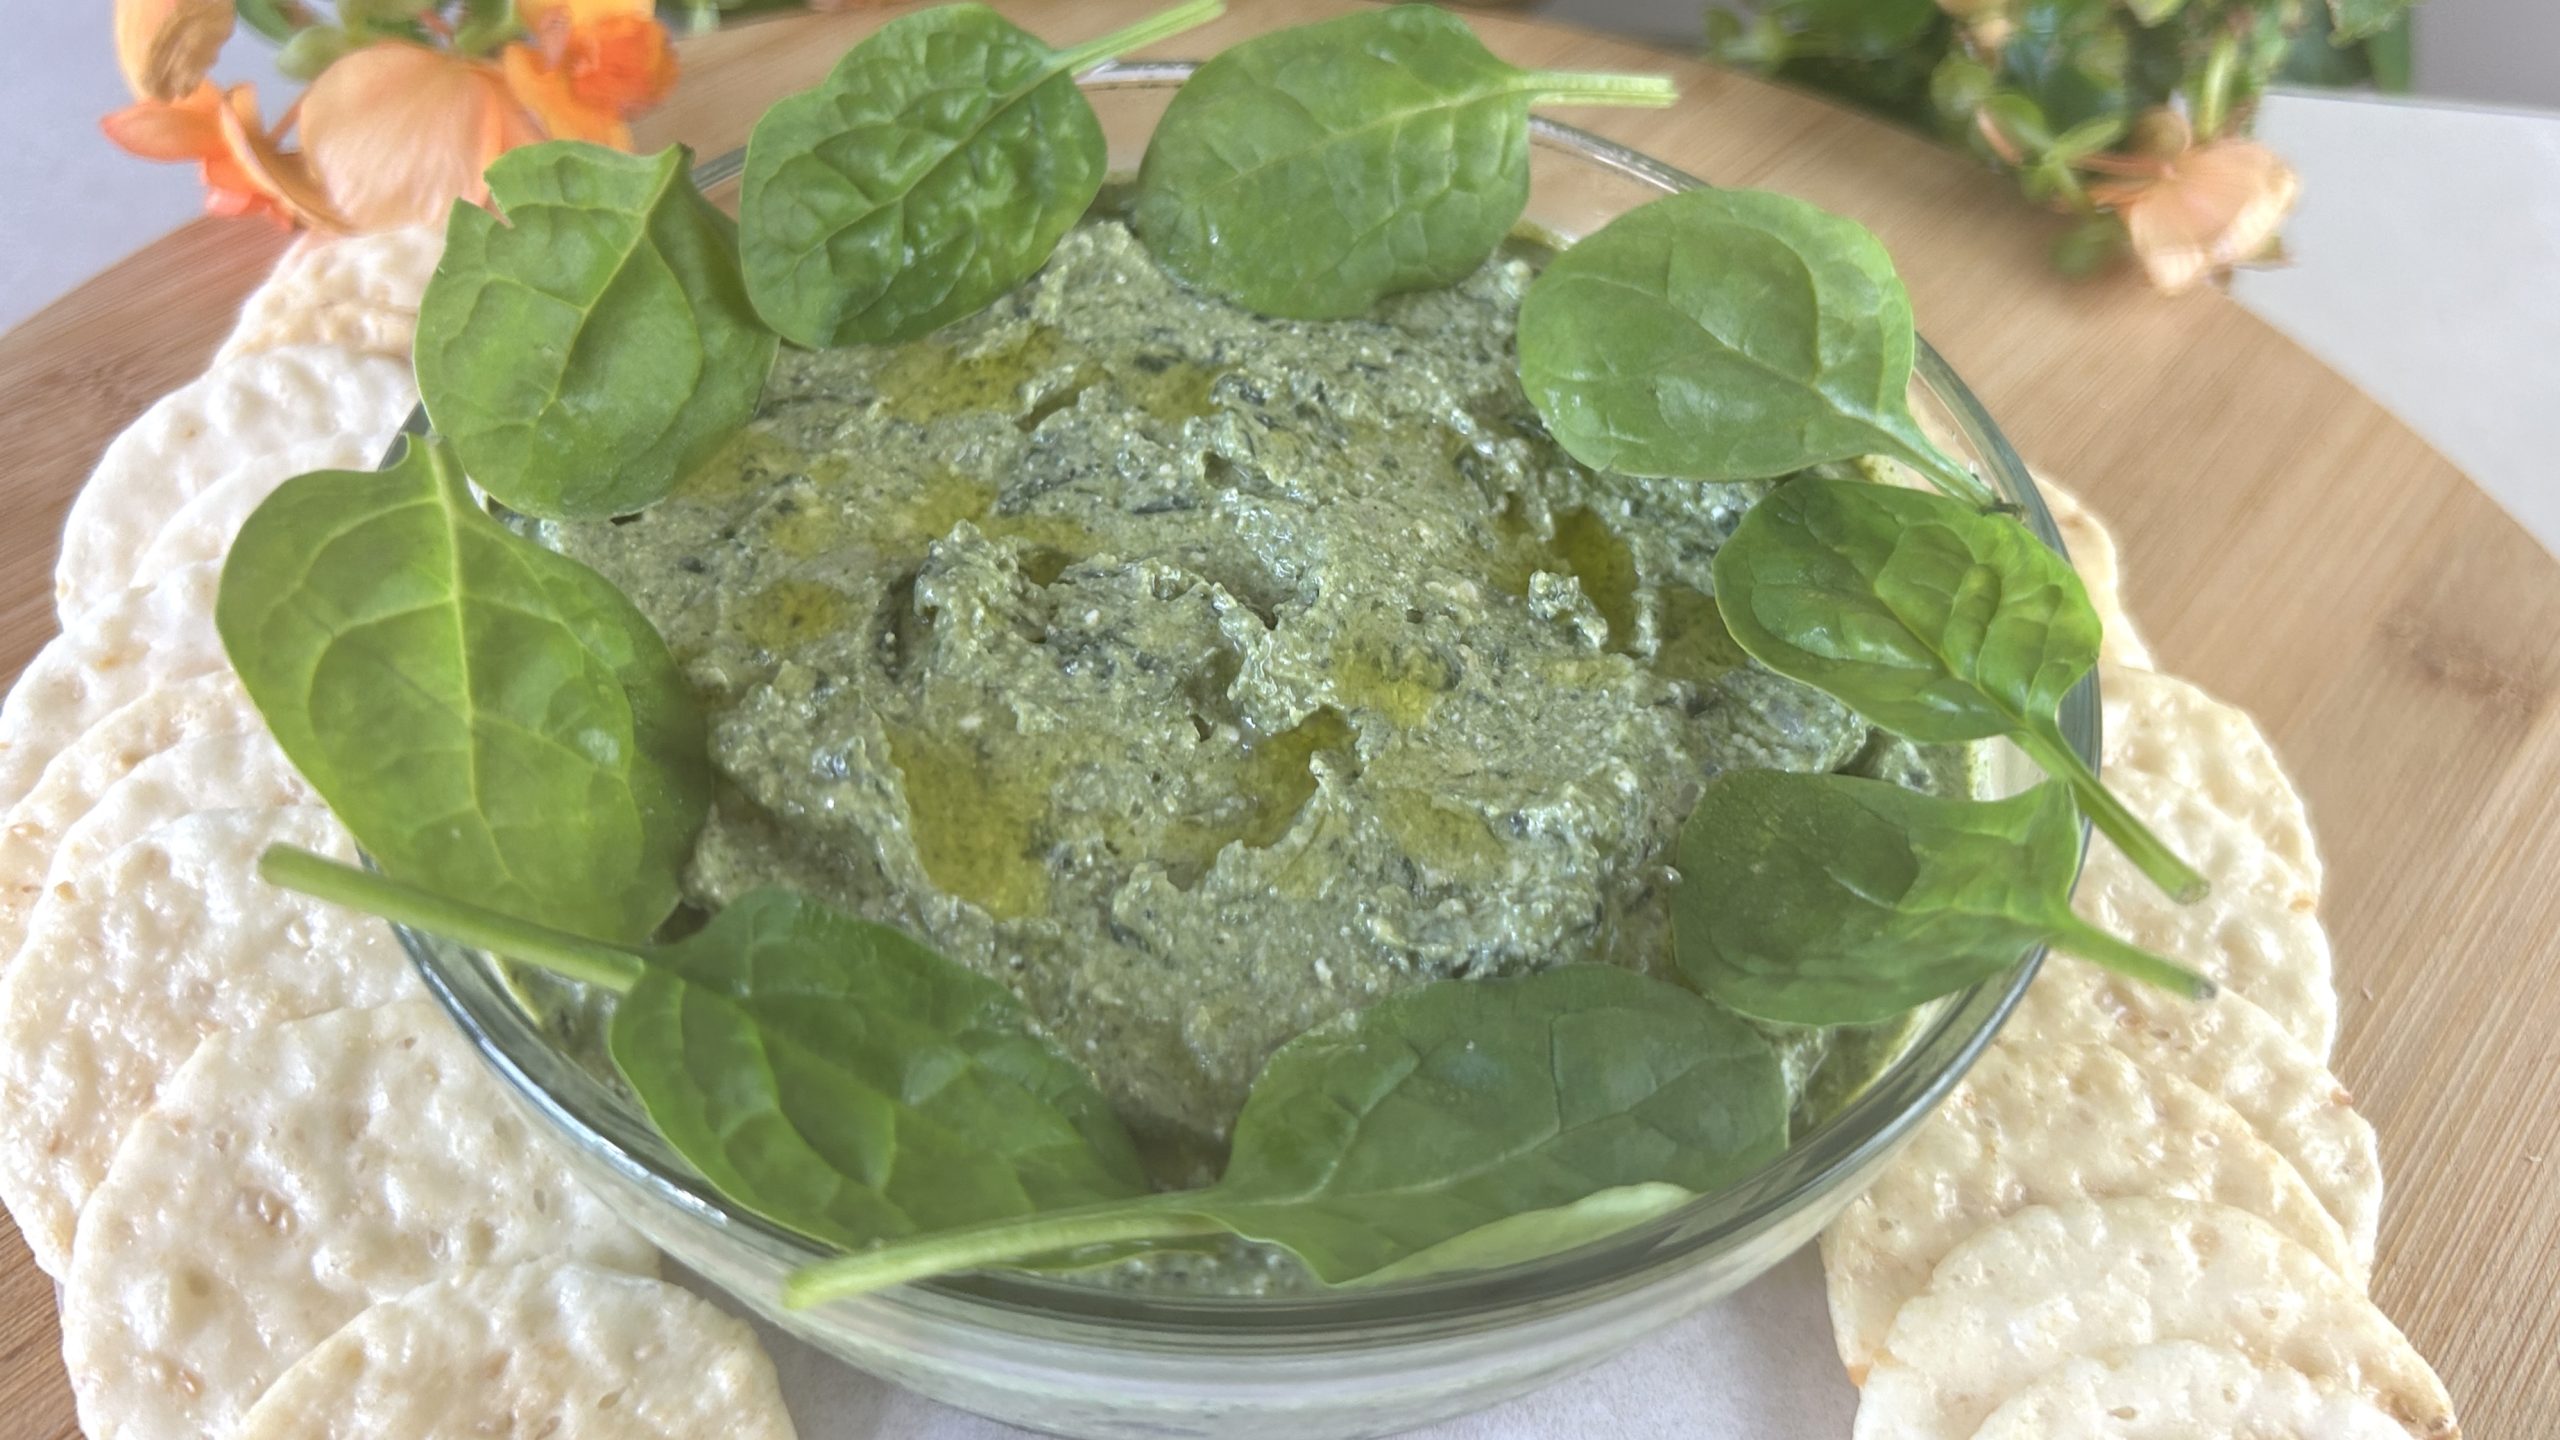
- This dip pairs wonderfully with a variety of crackers, toasted bread, or fresh vegetables. It also works as a spread on sandwiches or wraps.