Veggies-Rich Pizza

Veggies-Rich Pizza

Veggies-Rich Pizza

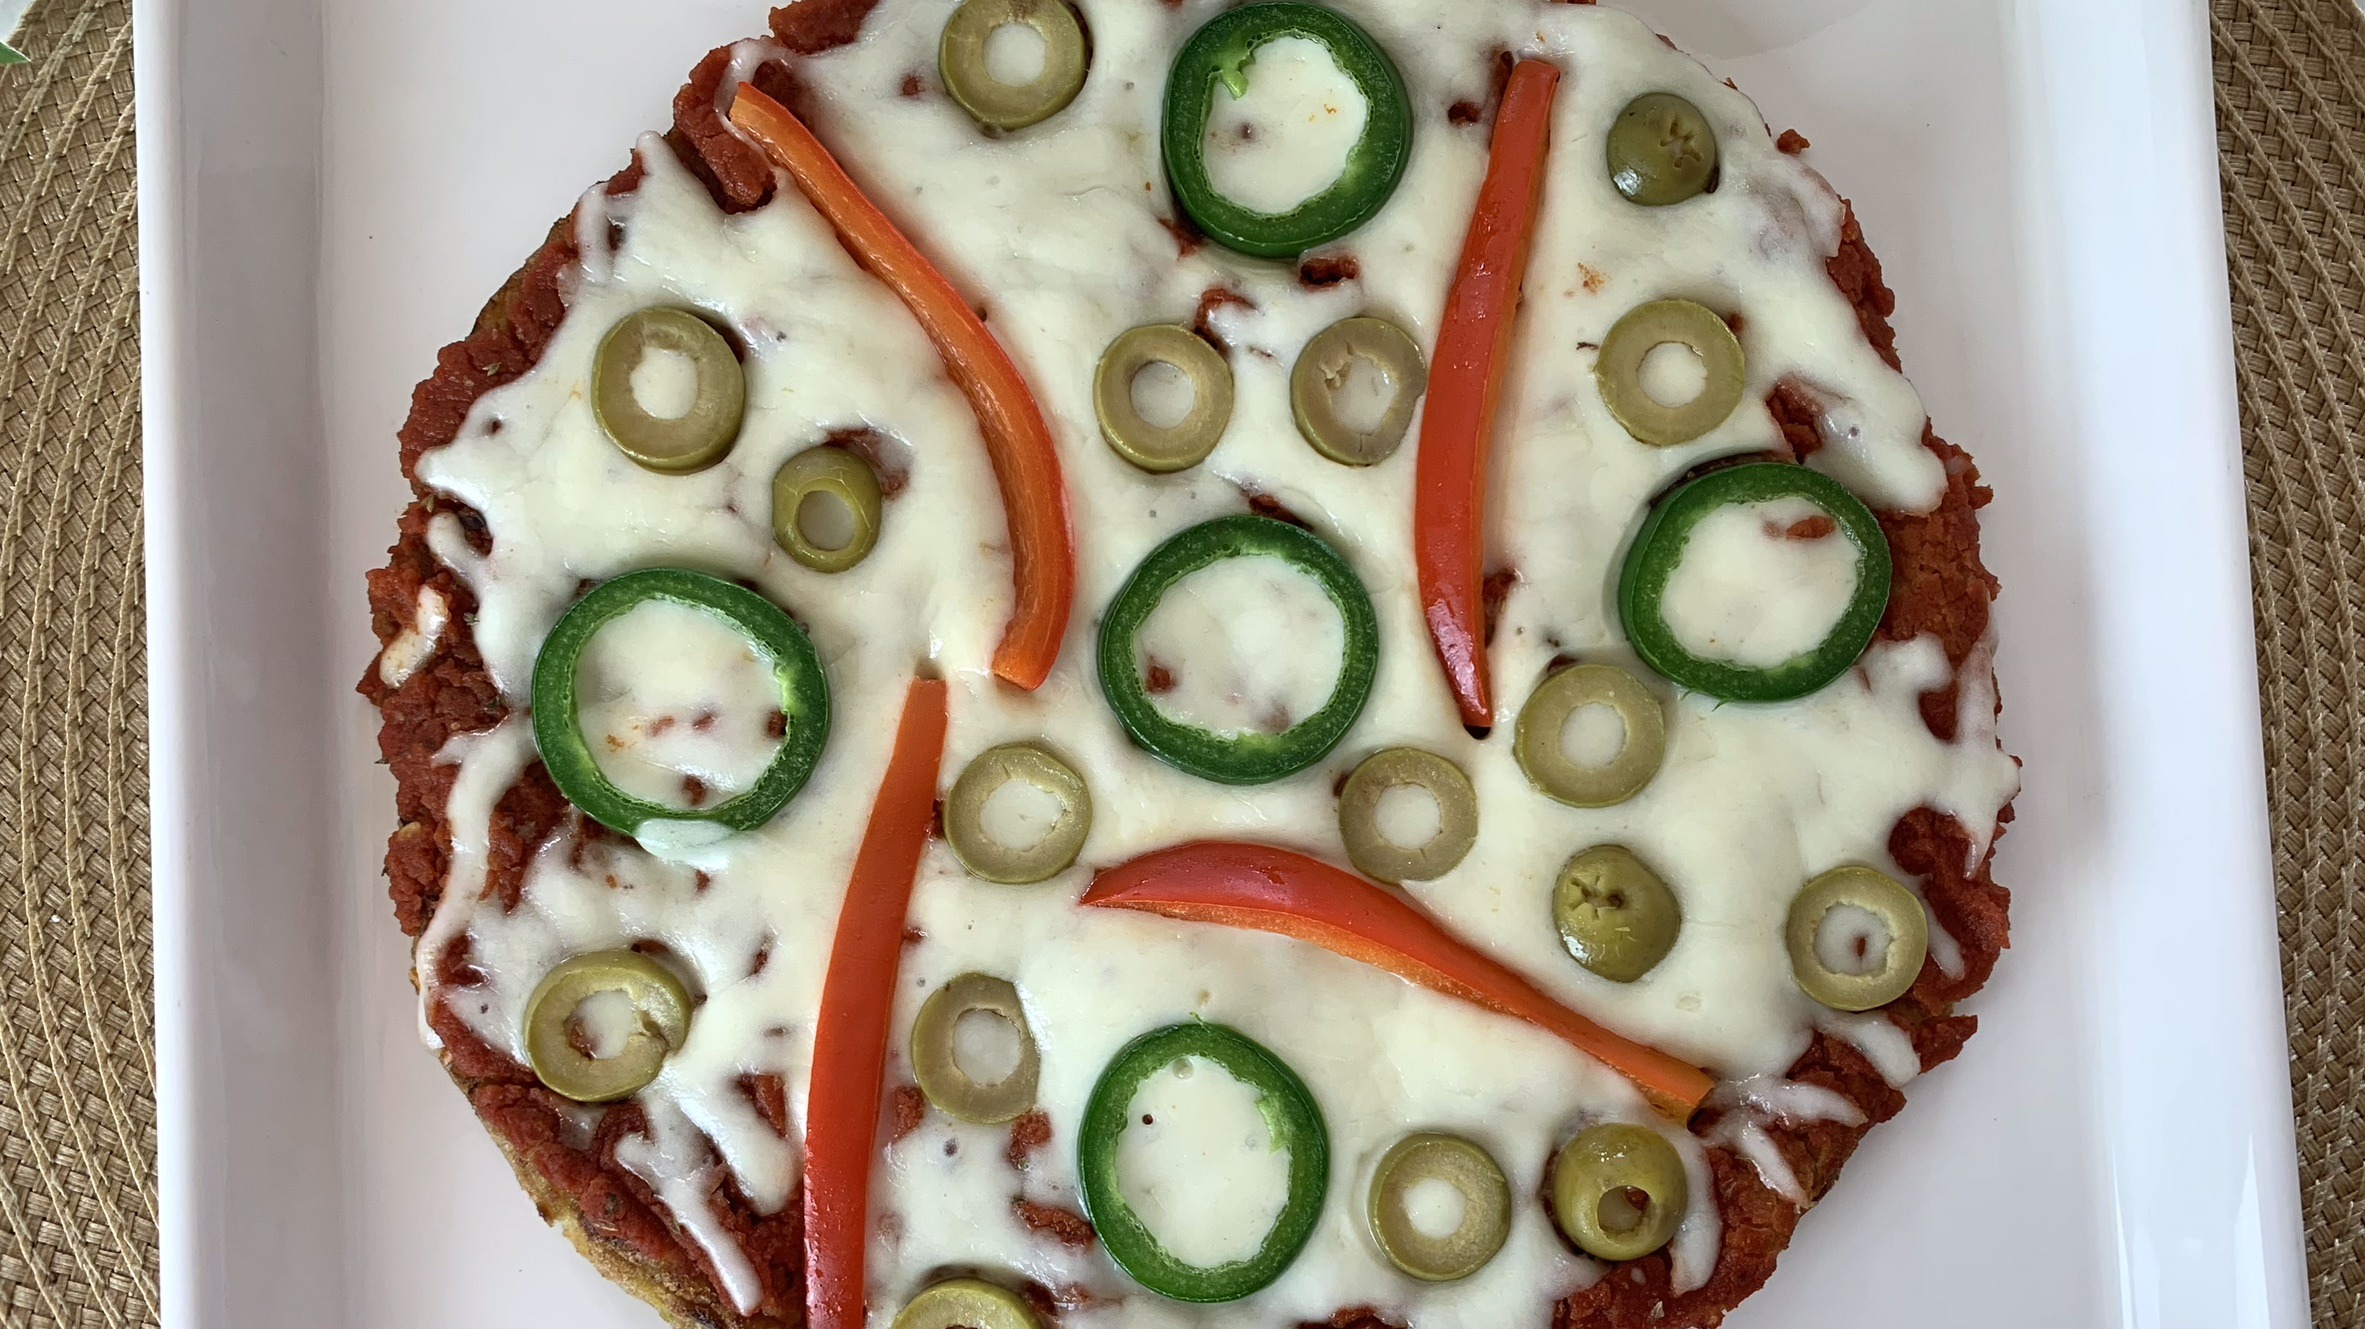
Craving pizza but looking for a healthier option that’s just as satisfying? This Veggies-Rich Pizza is exactly what you need! Packed with fresh vegetables and wholesome ingredients, this pizza is not only delicious but also incredibly nutritious. Perfect for those who follow a gluten-free diet or anyone wanting to add more veggies to their meals, this pizza is a guilt-free treat that can be enjoyed any time of the day, even for breakfast.

Zucchini, the star ingredient in this recipe, is a versatile and nutrient-dense vegetable. It’s low in calories yet high in essential vitamins like vitamin C and potassium. Zucchini is also rich in antioxidants, which are beneficial for reducing inflammation and protecting your body from free radicals. Including zucchini in your regular diet can support heart health, aid in digestion, and even promote healthy vision.

So why not give this veggie-packed pizza a try and make it a regular part of your meal rotation?

Ingredients

For the pizza crust (or dough):

  • 140 g zucchini
  • 40 g red pepper
  • 40 g onion
  • 1/2 tsp. salt
  • 1/2 cup or 40 g oats flour
  • 1/2 tbsp instant yeast

For the pizza garnish (customizable to your preference):

  • 1/4 cup tomato sauce
  • Pizza seasoning to taste
  • 60 g shredded mozzarella cheese
  • 20 g red pepper, sliced
  • 20 g jalapeños pepper, sliced
  • 25 g green olive slices

Directions

  1. In a bowl, combine shredded zucchini, red pepper, and onion. Sprinkle a bit of salt over the shredded veggies and mix to extract the excess moisture.
  2. To the veggie mixture, add oats flour and instant yeast. Mix everything together until well combined.
  3. Allow the dough to “proof” for approximately 20 minutes, allowing it to rise a bit and develop its flavor.
  4. Onto a nonstick pan brushed with a fraction of oil and before turning on the heat, shape the dough into a round crust.
  5. Heat the pan over medium-low heat, cover, and let cook the first side of the crust for about 7 minutes, or until it’s lightly browned.
  6. Flip the crust to cook on the other side. On the cooked side, spread your garnishes of choice. You can use tomato sauce sprinkled with pizza seasoning for that classic pizza flavor. Then, layer shredded mozzarella cheese, sliced red pepper, sliced jalapeños, and green olive slices.
  7. Cover the pan and let it cook for another 7 minutes, allowing the cheese to melt and the flavors to meld together.

Prep Time

  • Prep Time: 20 minutes
  • Proofing Time: 20 minutes
  • Cooking Time: 20 minutes

Nutritional Information (per serving)

  • Energy: 211 calories
  • Protein: 16.45 g
  • Fat: 2.45 g
  • Carbohydrates: 31.19 g
  • Fiber: 6.1 g

Storage and Tips

  • Enjoy the pizza fresh and warm from the pan for the best taste and texture.
  • Store any leftovers in an airtight container in the refrigerator for up to 3 days.
  • Customize your toppings according to your preferences for a pizza that’s uniquely yours!
No-Knead Brioche

No-Knead Brioche

No-Knead Brioche

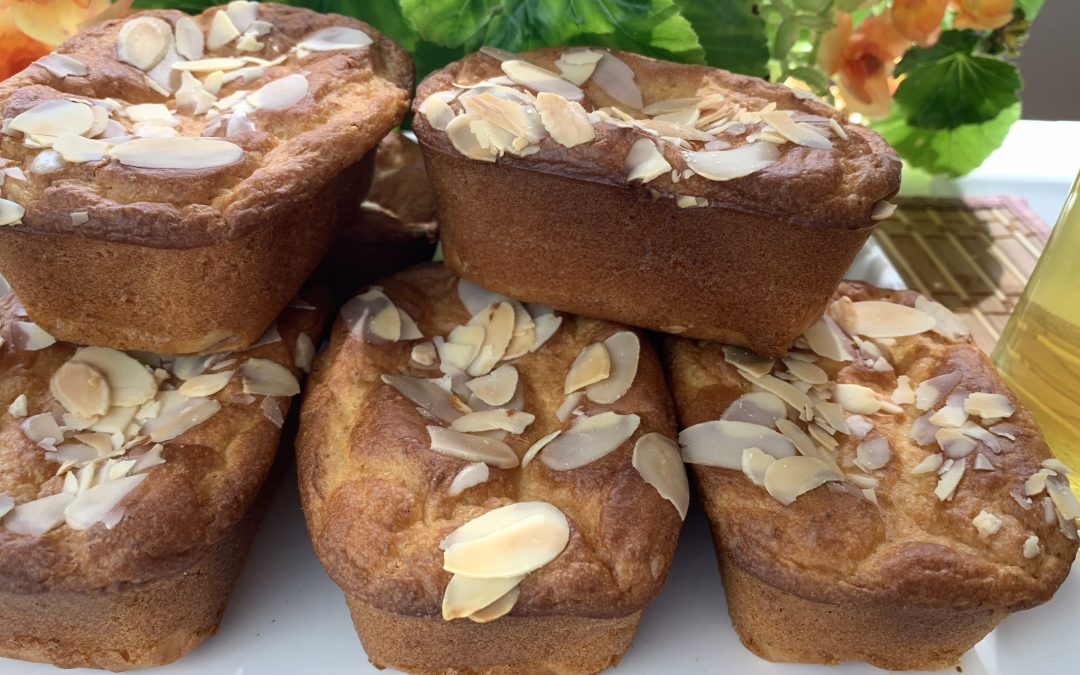
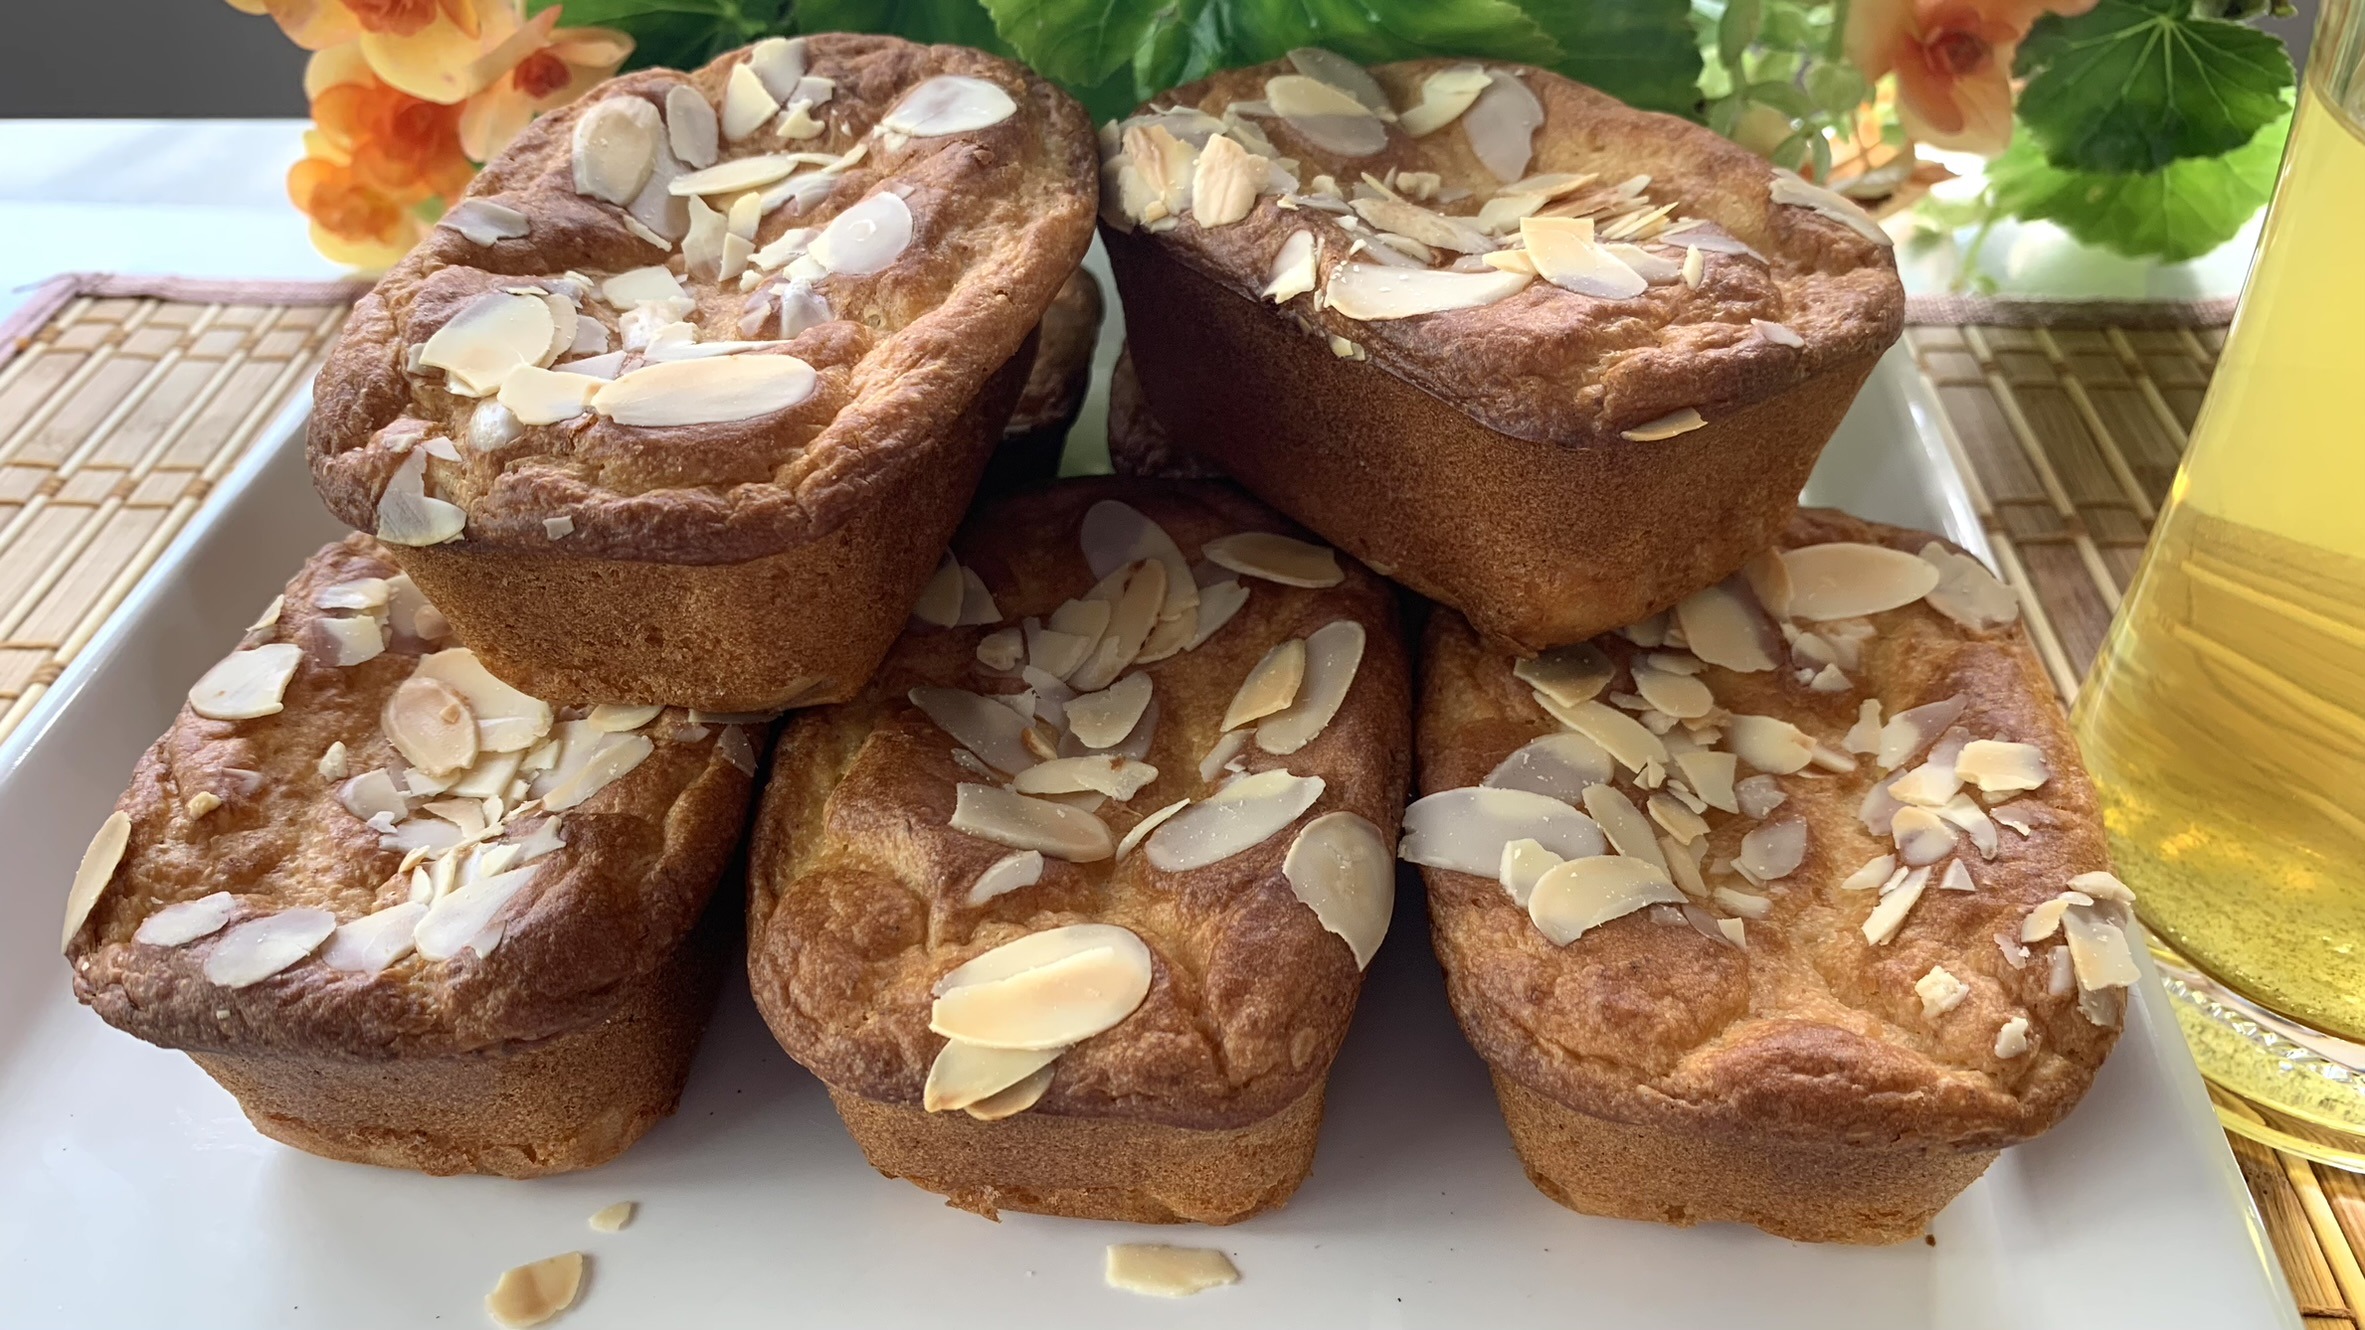
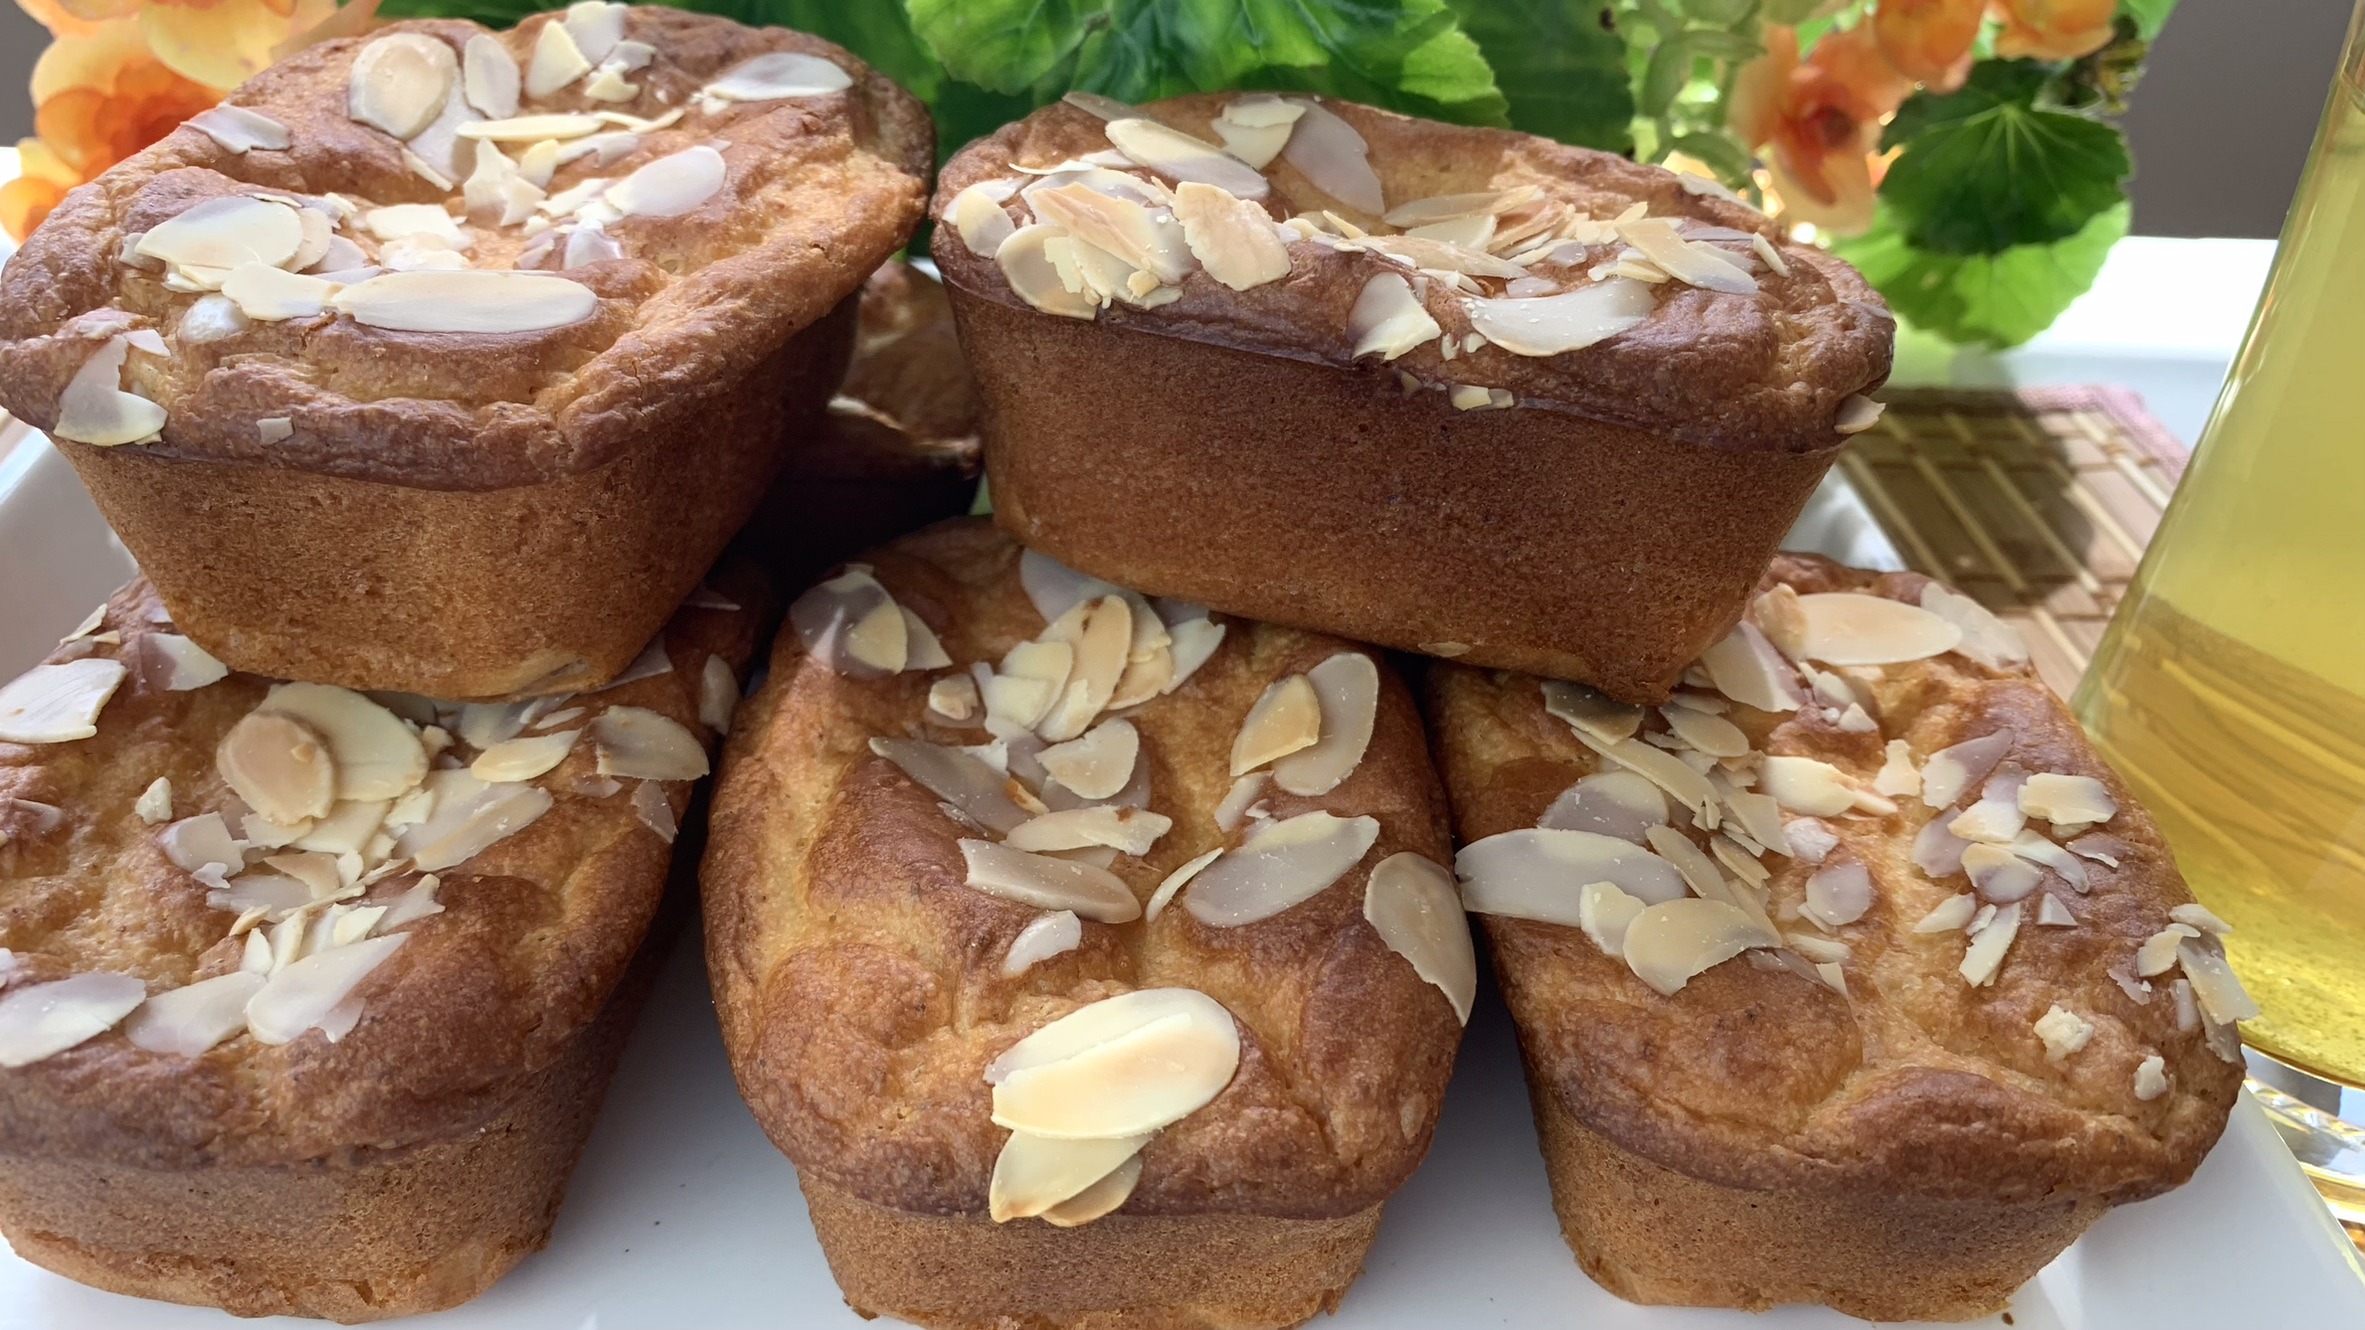
There’s something incredibly comforting about a warm, freshly baked brioche, especially when it’s homemade. But let’s face it, the thought of kneading dough can be daunting, especially for those of us who are short on time or just beginning our baking journey. That’s where this no-knead brioche comes in—it’s a game-changer! This recipe allows you to enjoy all the rich, buttery goodness of traditional brioche without the hassle of kneading. It’s perfect for a leisurely weekend breakfast with a cup of coffee, a cozy afternoon tea, or even a simple late-night snack.

The hero of this recipe is the unbleached flour, which brings both substance and nutrition to the table. Unlike bleached flour, unbleached flour is more natural, retaining more of its original nutrients because it hasn’t undergone chemical processing. This means that your brioche isn’t just a treat for the taste buds, but also a more wholesome choice. Unbleached flour is packed with B vitamins, which are essential for energy production and maintaining healthy skin, hair, and eyes. It’s also a good source of iron, which is crucial for carrying oxygen in your blood, helping to keep you energized throughout the day. Including unbleached flour in your diet is a simple way to support your overall health while indulging in a delicious, homemade treat.

This no-knead brioche is not only a breeze to make but also brings a touch of homemade warmth and nutrition to your day. Enjoy every bite, knowing that you’ve created something delicious and nourishing with minimal effort!

Ingredients:

  • 1 ½ cups unbleached flour
  • 1 egg
  • 1 cup lukewarm milk
  • 3 tbsp. maple syrup (or any other sugar of your choice except honey)
  • 30 g melted butter
  • Zest of an orange
  • 1 ½ tbsp instant yeast
  • ⅛ tsp. salt
  • 30 g almond slices (optional for garnish)

Directions:

  1. Grease your mini loaf or muffin pan and cover with a piece of parchment paper to prevent sticking.
  2. In a large mixing bowl, combine the unbleached flour, instant yeast, and a pinch of salt. Add the orange zest for a fresh burst of flavor.
  3. Add the egg, lukewarm milk, and maple syrup to the bowl. Stir with a fork until the ingredients are just combined. The goal is to mix everything together without overworking the batter.
  4. Pour in the melted butter and gently incorporate it into the mixture. The batter will be slightly runny, which is just what you want for this recipe.
  5. Carefully pour the batter into your prepared mini loaf or muffin pans, filling each cavity about halfway. Allow the batter to rise for 15 to 30 minutes. This is when the yeast works its magic, giving your brioche that signature light and fluffy texture.
  6. Before baking, sprinkle almond slices over the tops for an extra touch of crunch and flavor.
  7. Place the pan in a preheated oven and bake at 350°F (175°C) for approximately 30 minutes or until the brioche is golden brown and slightly crisp on the outside.
  8. Remove the pans from the oven and let the brioches cool slightly on a wire rack before serving.

Prep Time:

  • 20 minutes prep
  • 20 minutes proofing
  • 35 minutes baking

Nutritional Information (Per 1 Serving):

  • Energy: 207 calories
  • Protein: 6.71 g
  • Fat: 6.94 g
  • Carbohydrates: 29.69 g
  • Fiber: 1.5 g

Storage and Recommendations:

  • Store your brioche in an airtight container at room temperature for up to 2 days, or in the fridge for up to 1 week.
  • To customize your brioche, consider adding flavors like cinnamon or vanilla extract. You can also experiment with different toppings such as seeds or dried fruit to make this recipe your own.


Red Lentil Savory Muffins

Red Lentil Savory Muffins

Red Lentil Savory Muffins

Today, I’m super excited to share with you a recipe that has become a staple in my kitchen, Red Lentil Savory Muffins. These muffins are the perfect blend of nutritious and delicious, making them a go-to snack or meal addition. Whether you’re packing lunch for work, prepping snacks for the kids, or just need a quick, wholesome bite, these muffins have got you covered!

But before we dive into the recipe, let’s talk about the star of the show, red lentils. Red lentils are not only quick-cooking and versatile, but they’re also packed with protein, fiber, vitamins, and antioxidants. Including red lentils in your diet can help improve digestion, support heart health, and provide a steady source of energy throughout the day. Plus, they’re naturally gluten-free and low in fat, making them an excellent choice for anyone looking to maintain a balanced diet.

These Red Lentil Savory Muffins are not just a tasty treat; they’re a nutritious powerhouse packed with plant-based protein and essential nutrients. Perfect for meal prep or a quick snack, they’re bound to become a favorite in your household just as they are in mine.

So, let’s embrace the goodness of lentils with these easy and tasty muffins!

Ingredients:

  • 1/2 cup raw red lentils
  • 1 egg
  • 1/4 cup plain yogurt (or Greek yogurt or sour cream)
  • 80 g shredded carrot
  • 30 g diced red pepper
  • 20 g diced green onion
  • 2 tablespoons olive oil
  • 1 tsp. baking powder
  • 1/2 tsp. salt
  • Ground black pepper, to taste

Directions:

  1.  Start by soaking the red lentils for at least 6 hours or overnight in the refrigerator. This step is crucial to ensure the lentils are soft and blend smoothly into the batter.
  2.  Once soaked, rinse the lentils thoroughly under running water and drain them well.
  3.  In a blender or using a hand blender, combine the drained red lentils, egg, and plain yogurt. Blend until smooth and creamy.
  4. Transfer the lentil mixture to a mixing bowl. Add in the shredded carrot, diced red pepper, diced green onion, olive oil, salt, ground black pepper, and baking powder. Stir everything together until well combined.
  5. Spoon equally sized portions of the batter into silicone cups or high-quality cupcake liners. Lentil batter tends to stick easily, so using non-stick or silicone molds is recommended.
  6. Place the muffin tray in a preheated oven and bake at 365°F (185°C) for about 35 minutes or until the muffins turn golden brown and a toothpick inserted into the center comes out clean.
  7.  Remove the muffins from the oven, allow them to cool for a bit, and then enjoy!

Nutritional Information (Per Serving):

  • Energy: 124 calories
  • Protein: 5.45 g
  • Fat: 6.02 g
  • Carbohydrates: 12.81 g
  • Fiber: 2.3 g

Storage and Tips:

  • Storage: Store your savory lentil muffins in an airtight container in the fridge for up to 1 week or in the freezer for up to 3 months. Reheat them in the oven or microwave before serving.
  • Customization: Feel free to experiment with different vegetable combinations to customize the flavor of your muffins. You could add some spinach, zucchini, or even a bit of cheese for extra richness.


Zucchini Cheese Bites

Zucchini Cheese Bites

Zucchini Cheese Bites

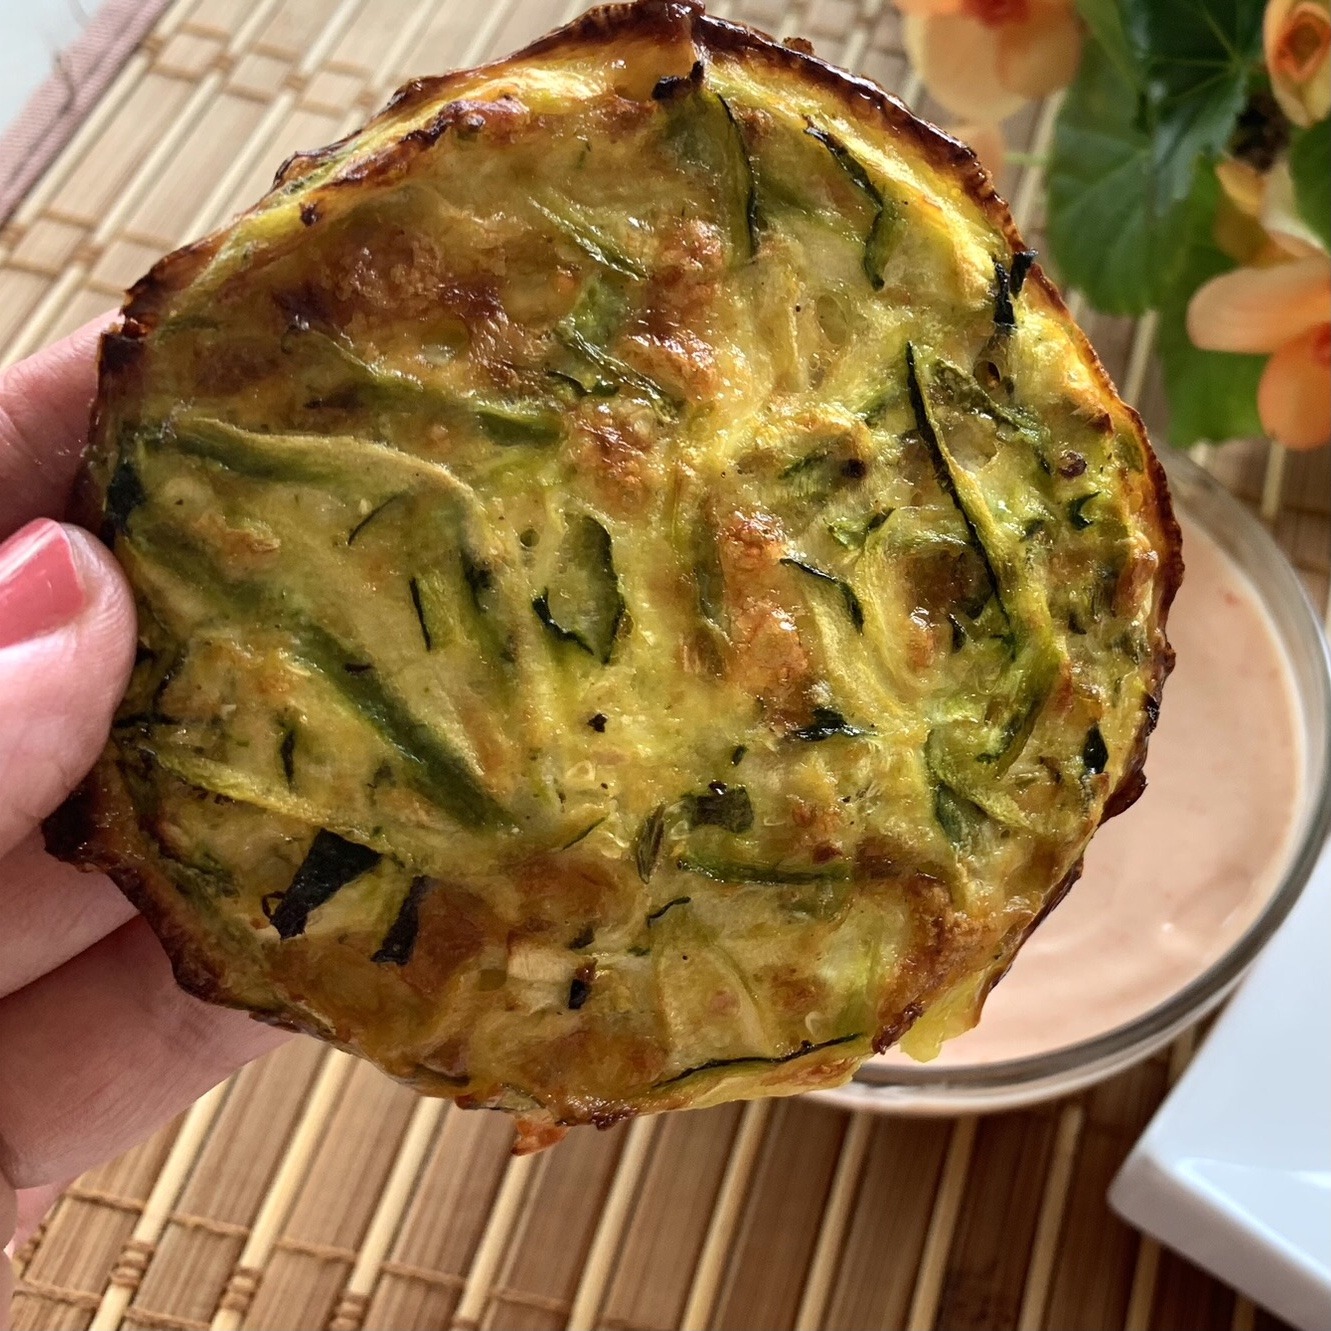
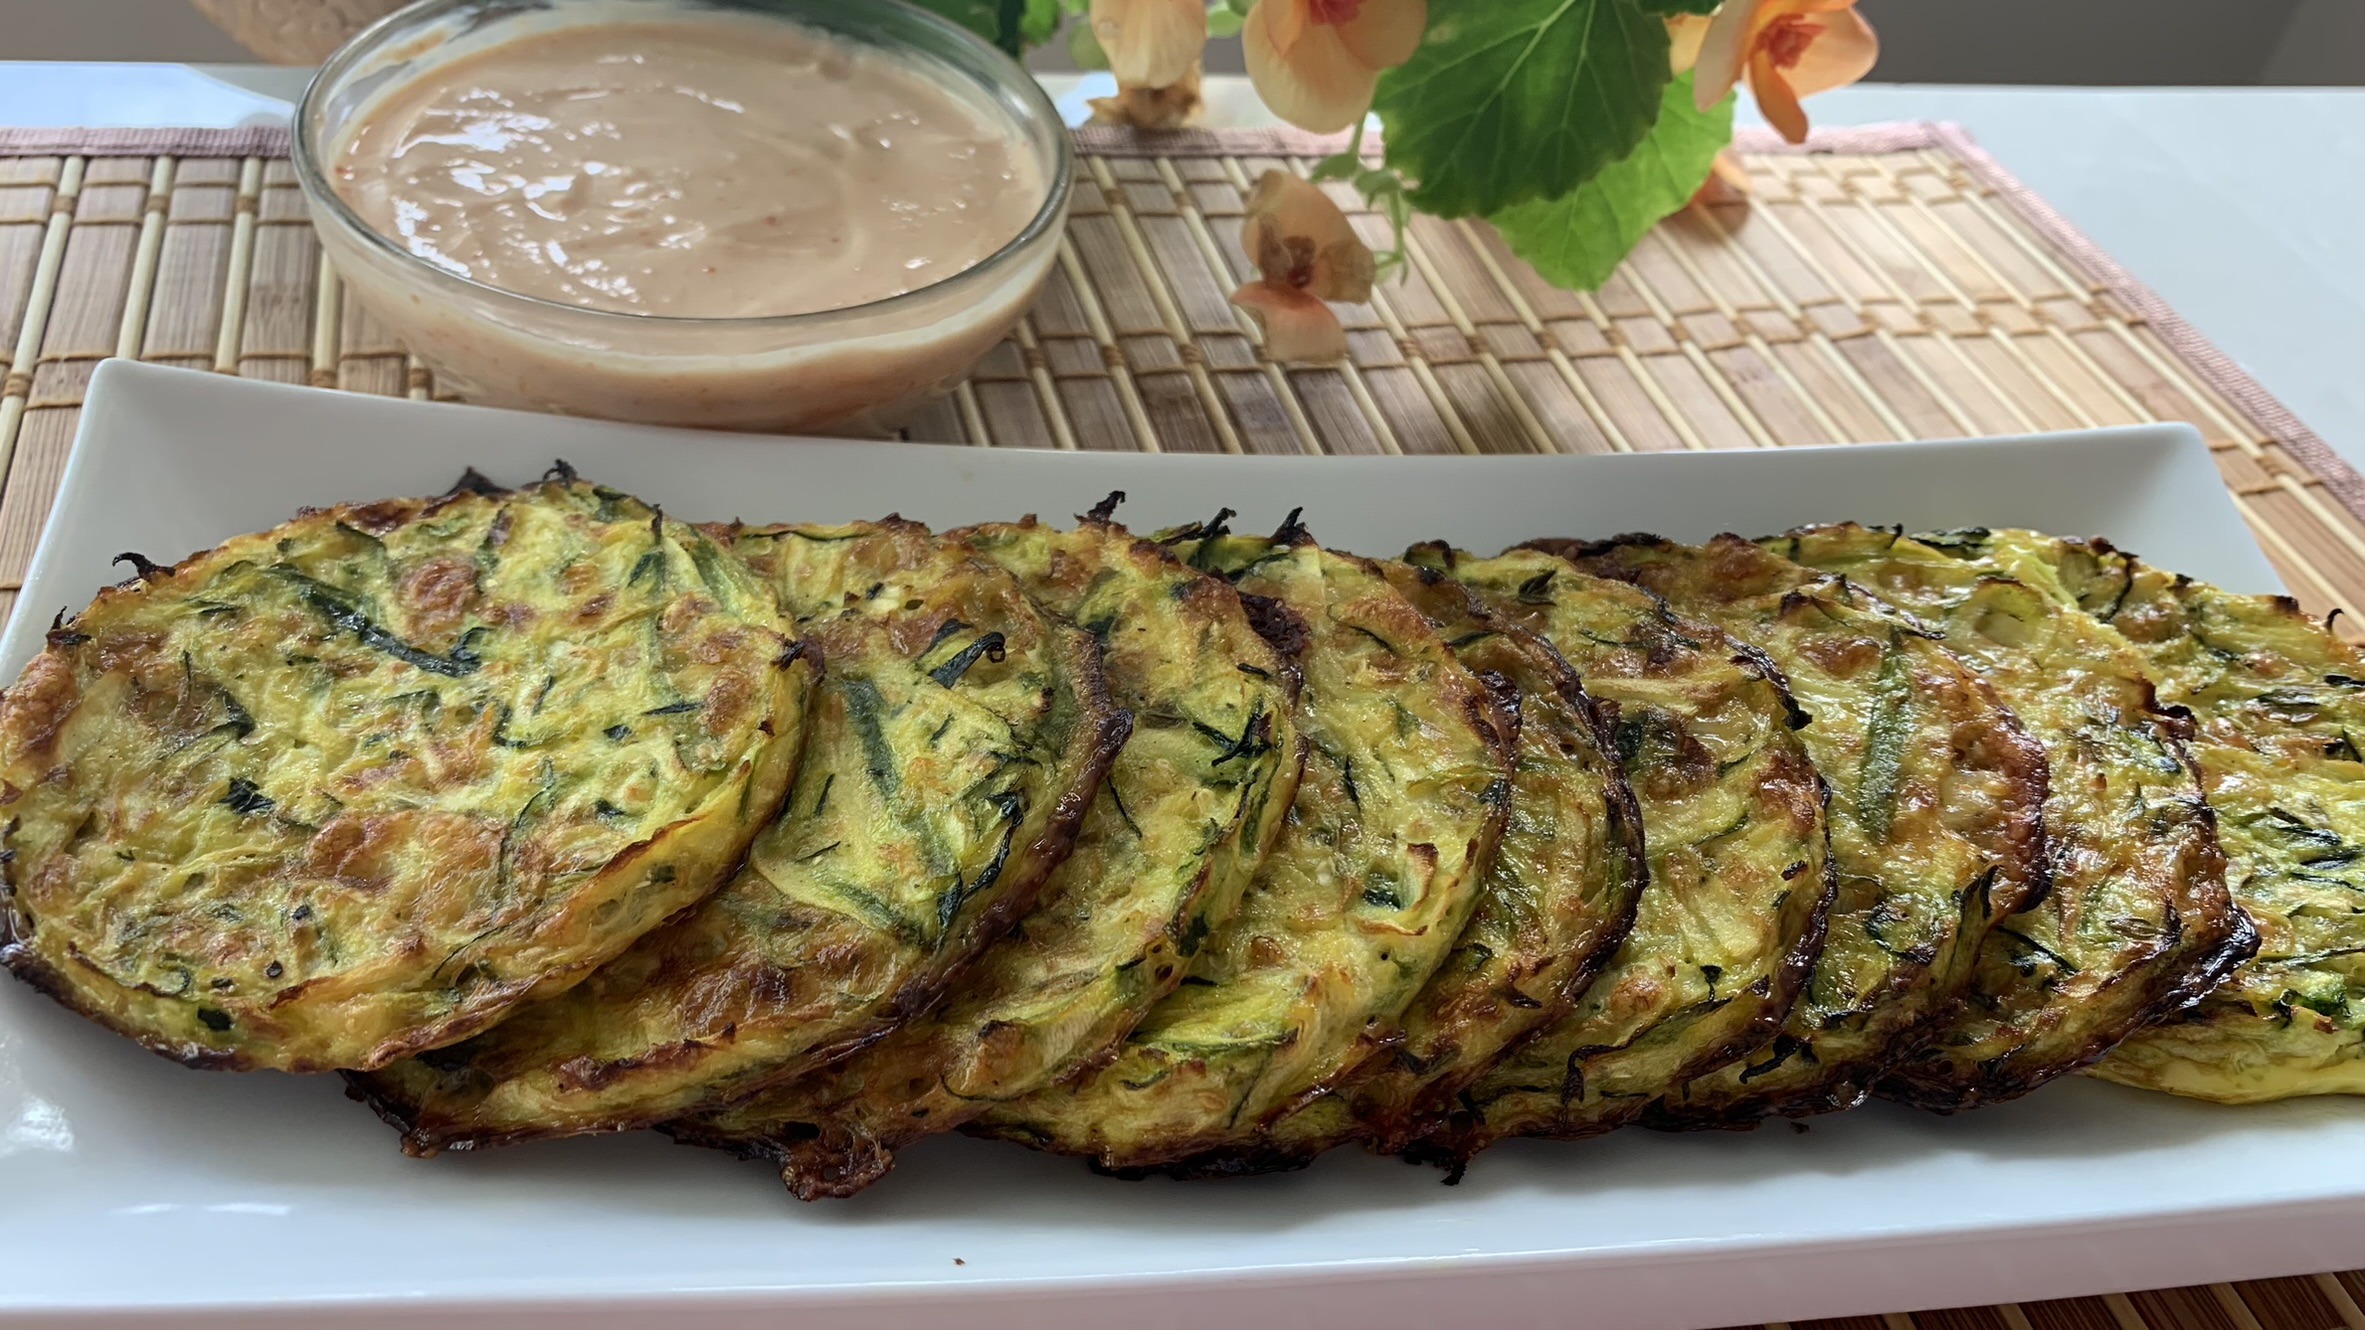
If you’re looking for a tasty way to get more vegetables into your diet, these Zucchini Cheese Bites are the perfect solution! These bites are not only easy to make but also a delightful treat that even the pickiest eaters will enjoy. The combination of zucchini and cheese creates a light yet flavorful snack or side dish that pairs well with almost anything.

Zucchini is the star of this recipe, and it’s a nutritional powerhouse. Low in calories but high in essential vitamins and minerals, zucchini is an excellent source of vitamin C, potassium, and antioxidants. It’s also a good source of dietary fiber, which promotes healthy digestion and can help keep you feeling full longer. The inclusion of cheese adds a touch of richness and protein, making these bites satisfying as well as nutritious.

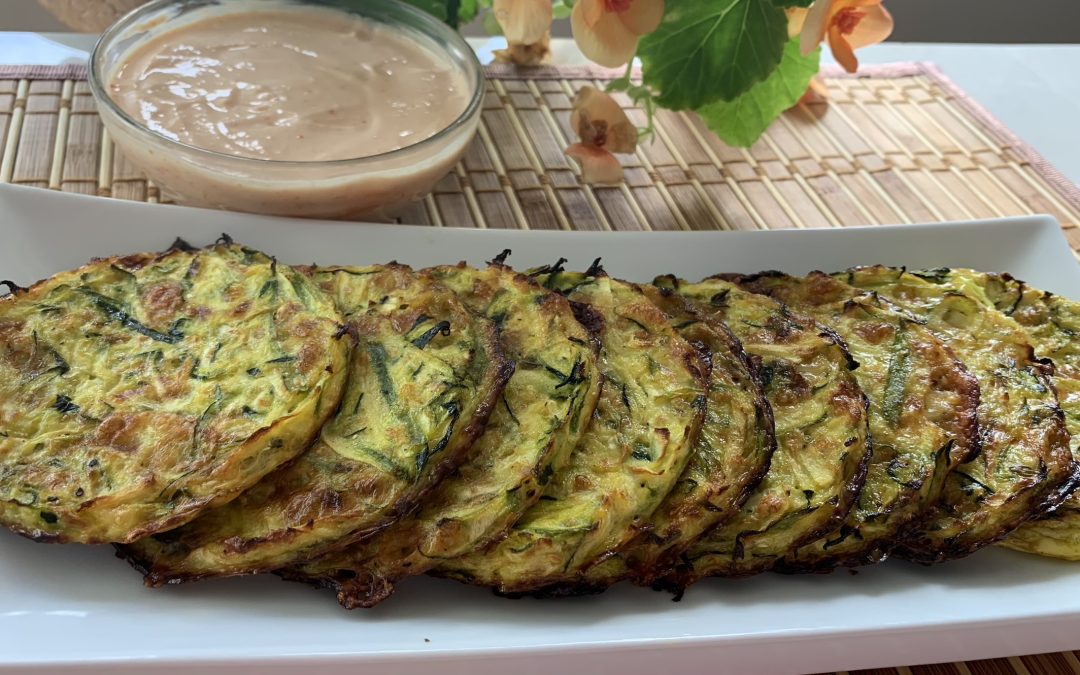
These Zucchini Cheese Bites offer a crispy edge with a gooey, cheesy center, making them a perfect alternative to traditional calorie-dense snacks like chips or pizza. Whether you serve them as an appetizer, a side dish, or a snack, they’re sure to be a hit with everyone at the table.

So, let’s get started and bring some nutritious deliciousness to your kitchen!

Ingredients:

  • 450 g zucchini
  • 2 egg yolks
  • 30 g shredded cheddar cheese (or preferred cheese)
  • 5 or 6 fresh thyme stems
  • Black pepper to taste

Directions:

  1. Using a hand grater or a food processor, shred the zucchini.
  2. Add a pinch of salt (~⅛ tsp.) to the shredded zucchini, massage for a minute, and gently squeeze out any excess moisture.
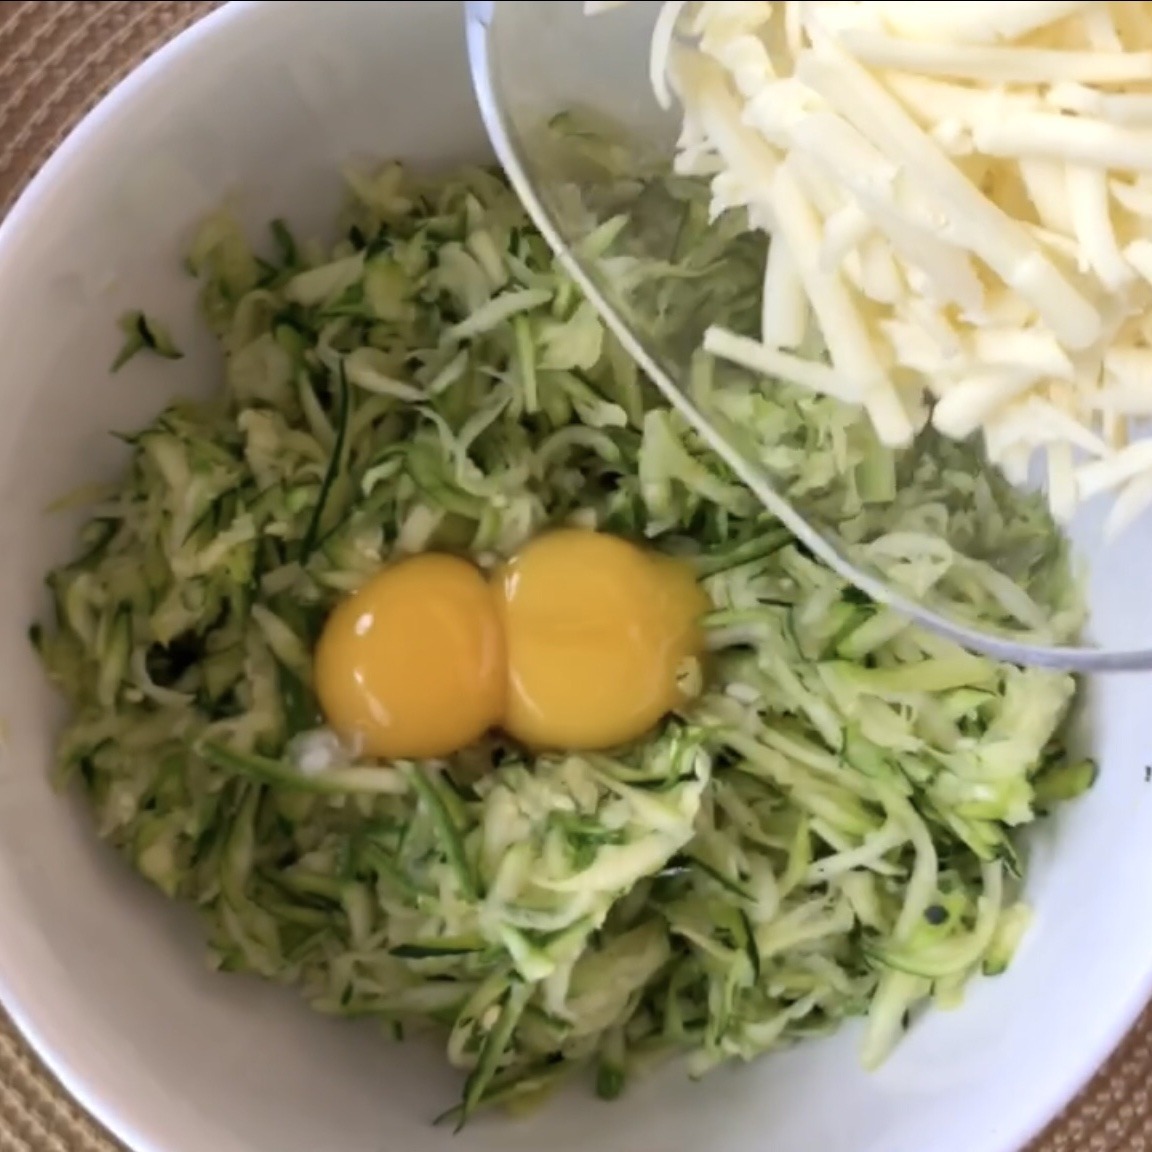
  3. In a mixing bowl, combine shredded zucchini, egg yolks, shredded cheddar cheese, fresh thyme leaves, and freshly ground black pepper. Mix well until all ingredients are evenly incorporated.
  4. Place egg rings (or pancake molds) on a baking sheet lined with parchment paper. Spoon the zucchini mixture into the rings, filling them about halfway, and press down gently to compact the mixture.
  5. Bake in a preheated oven at 365°F (185°C) for 30 minutes or until they turn golden brown.
  6. Remove the zucchini cheese bites from the oven and let them cool for a few minutes.
  7. Serve the zucchini cheese bites with your favorite sauce or spread on the side.

Prep Time, Baking Information, and Servings:

  • Prep Time: 30 minutes
  • Baking Time: 30 minutes
  • Servings: 9

Nutritional Information (Per Serving):

  • Energy: 48 calories
  • Protein: 2.81 g
  • Fat: 3.42 g
  • Carbohydrates: 1.78 g
  • Fiber: 0.5 g

Storage and Particular Recommendations:

  • Store any leftovers in an airtight container in the fridge for up to 3 days. Reheat before serving.
  • Enjoy the zucchini cheese bites fresh and warm from the oven for the best taste and texture. You might find them even better than pizza!
Dried Apricot Mousse

Dried Apricot Mousse

Dried Apricot Mousse

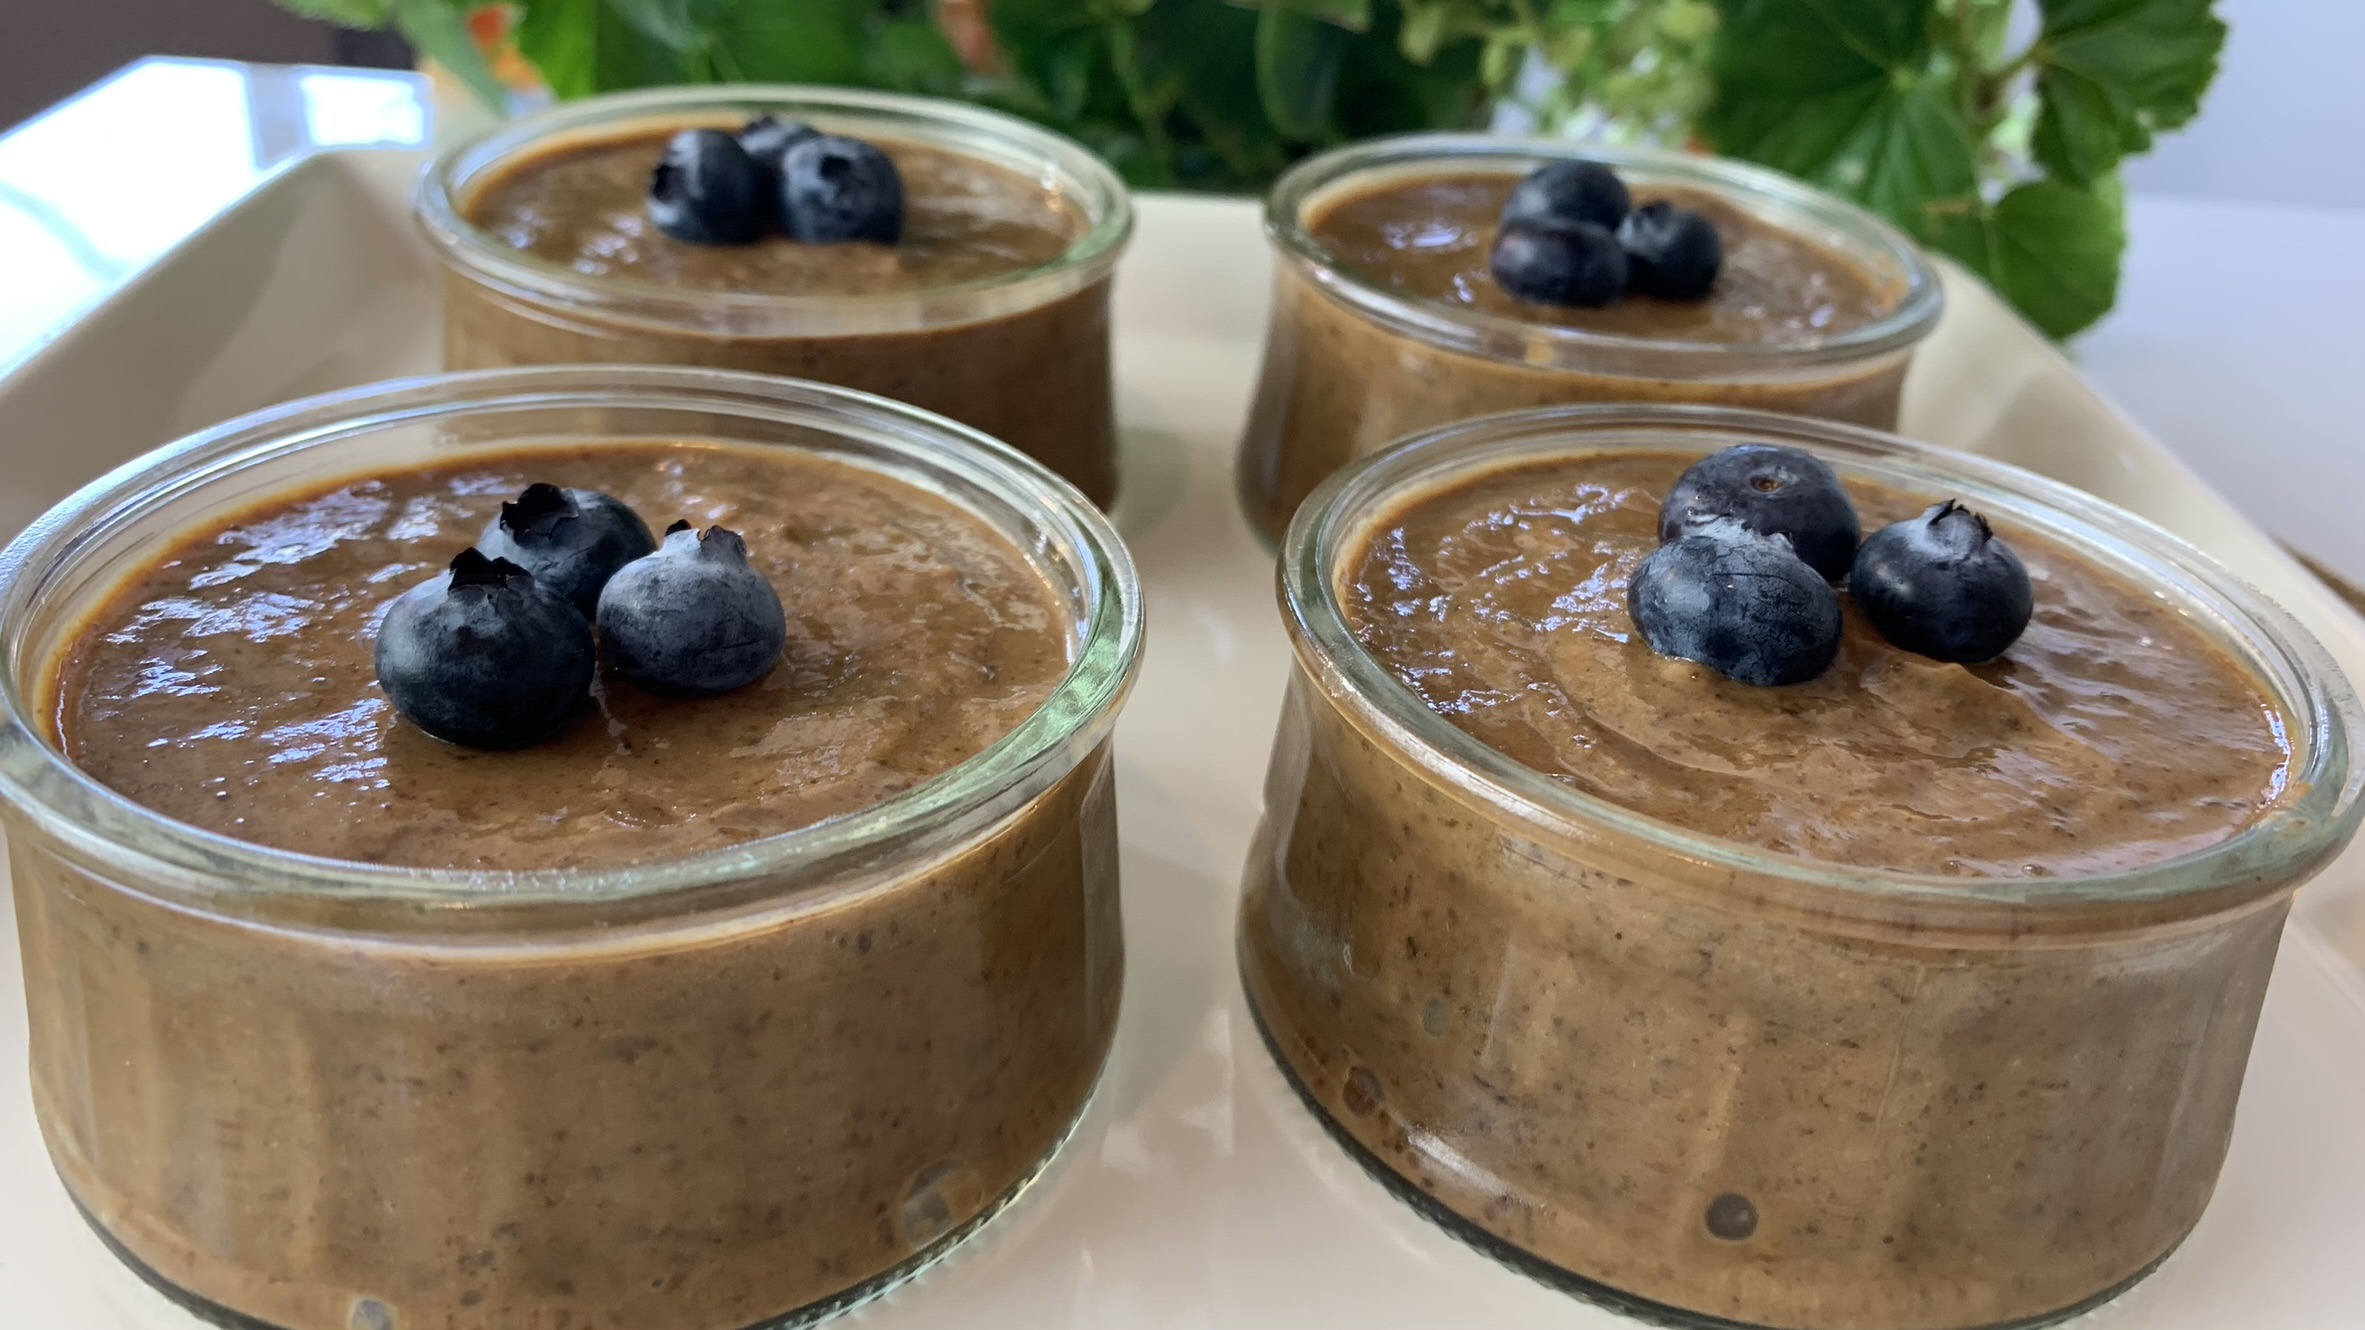
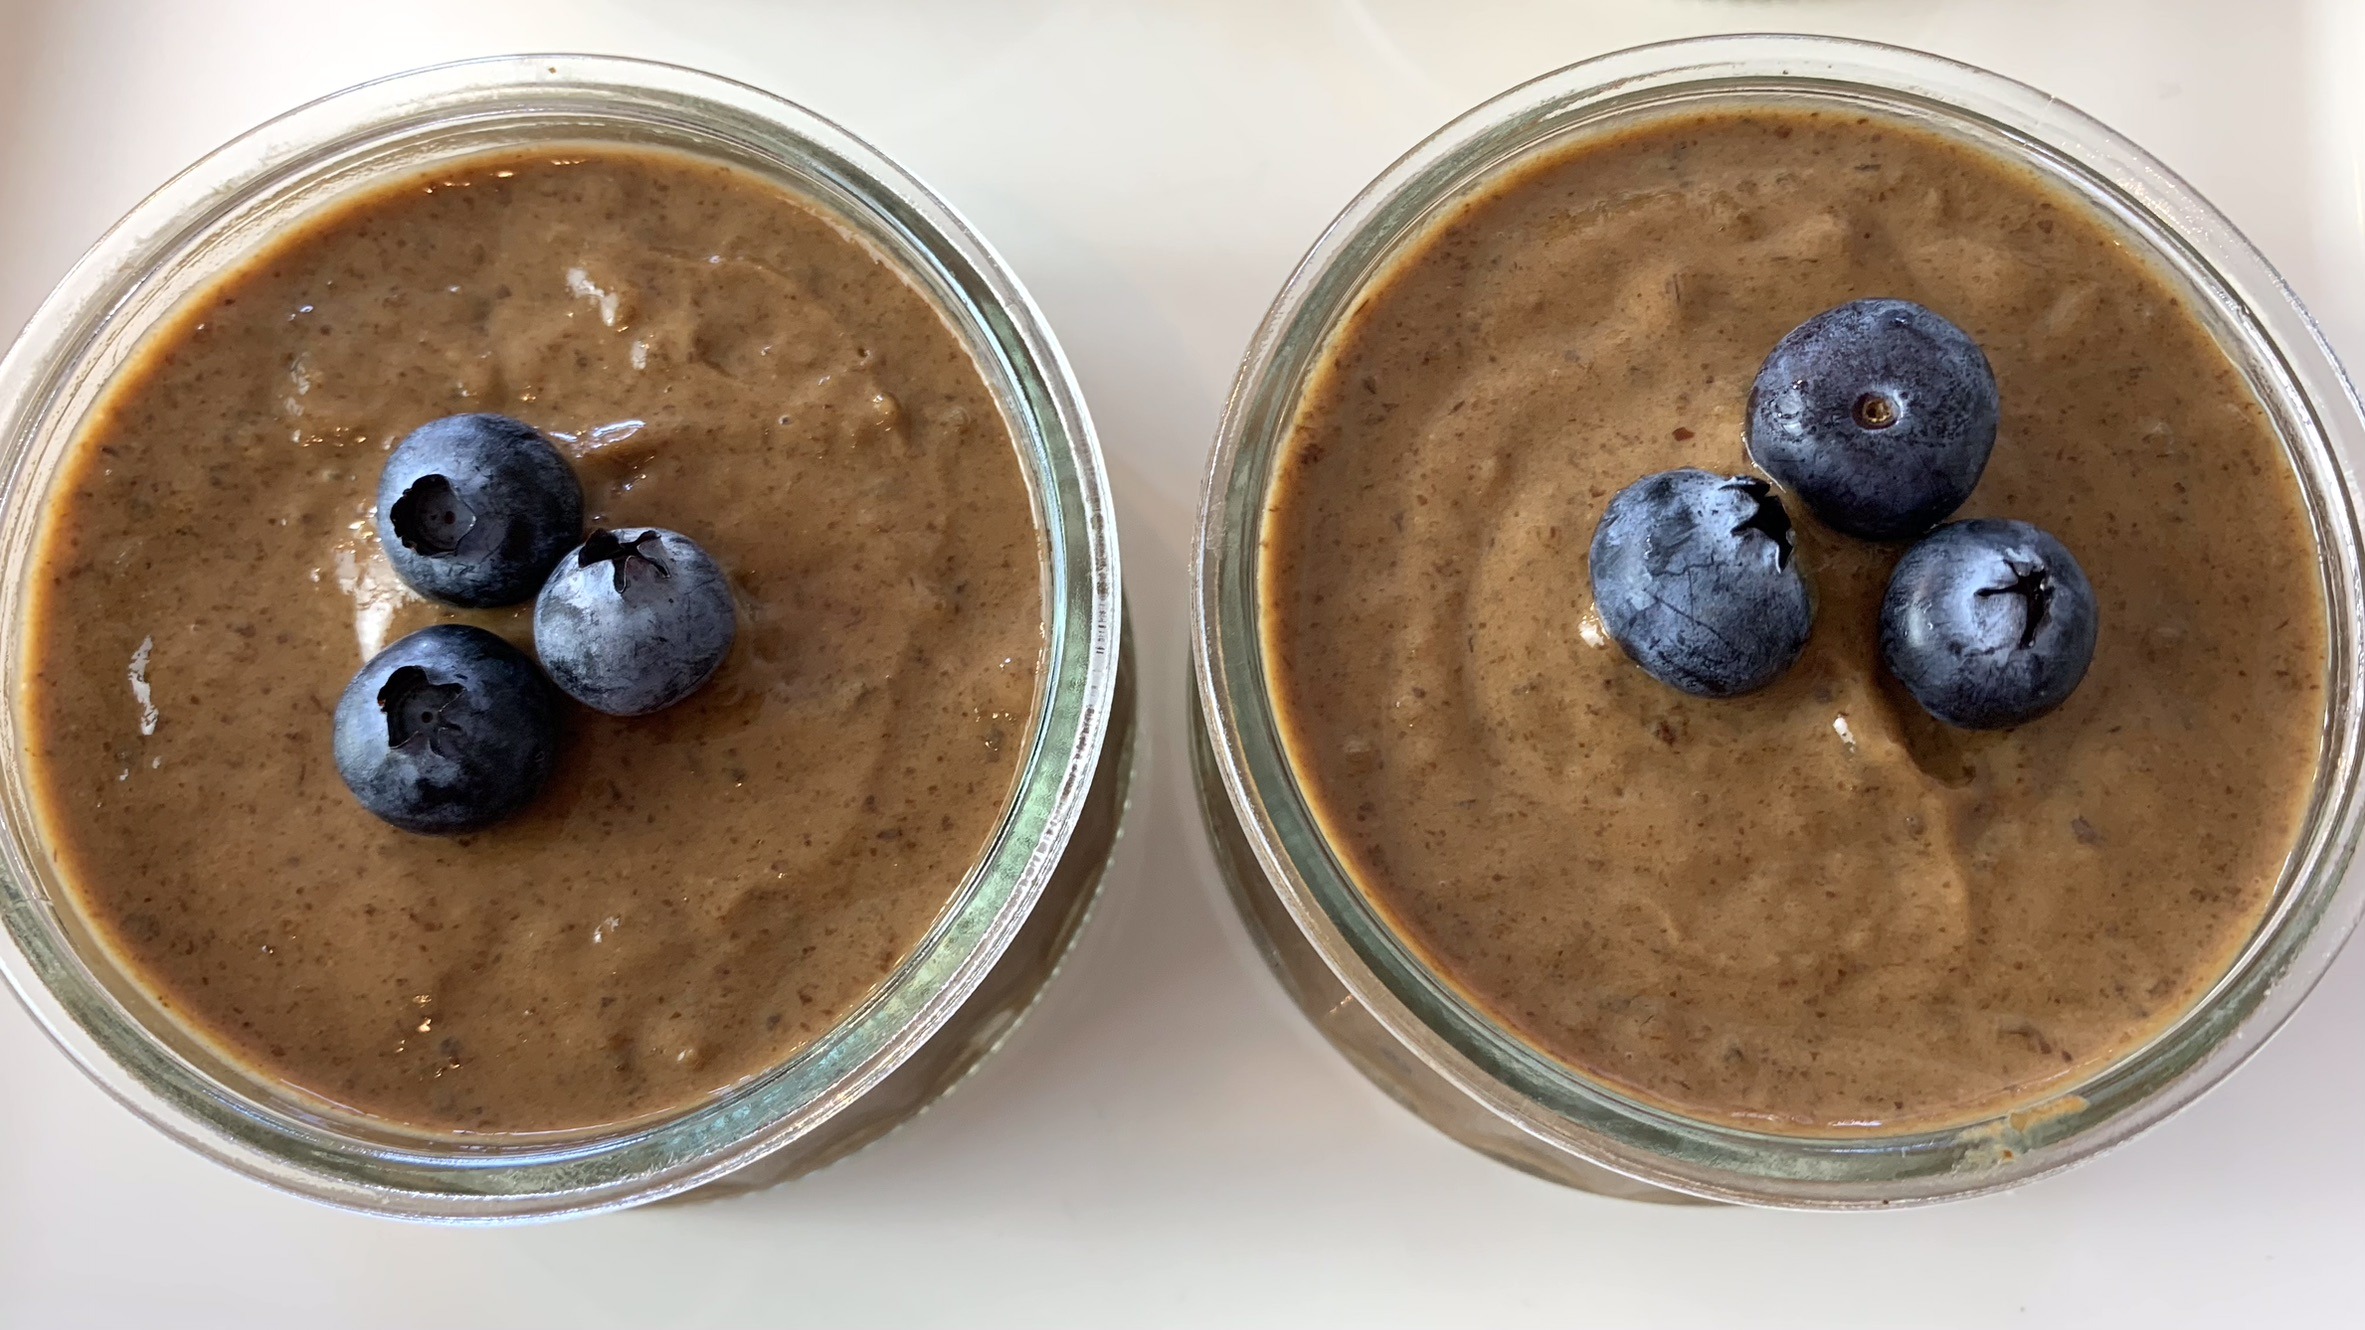
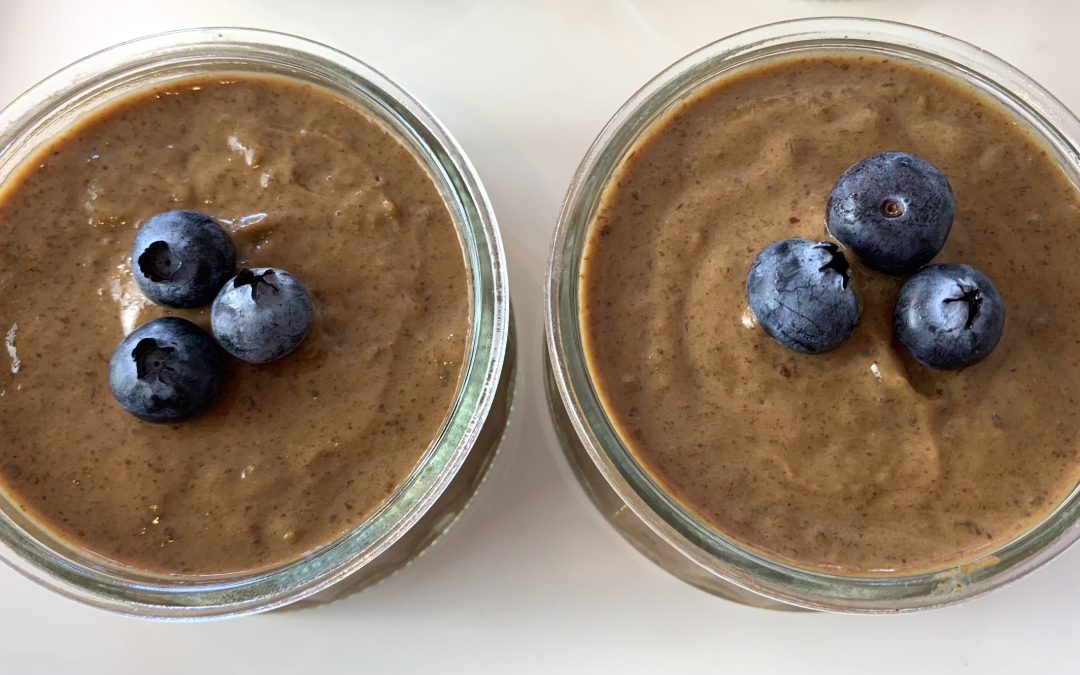
If you’re on the lookout for a sweet treat that’s both delightful and packed with nutritional goodness, this Dried Apricot Mousse is just what you need. Inspired by the famous Turkish recipe “İncirli Muhallebi,” this mousse offers a delicious fusion of creamy texture and fruity flavor that will satisfy your cravings with ease.

Dried apricots are the star of this dish, and they bring a wealth of benefits to the table. Rich in essential nutrients like vitamin A, fiber, and potassium, dried apricots are not only good for your vision and immune system but also help maintain healthy blood pressure levels. They are naturally sweet, which means you can enjoy this dessert without adding excessive sugar, making it a healthier option compared to many traditional sweets.

The creamy texture of the mousse comes from blending the apricots with milk, which adds a smooth and luscious consistency to the dessert. This mousse is incredibly easy to prepare, requiring minimal effort while delivering maximum flavor. It’s perfect for a light dessert after dinner, or even as a sweet snack during the day. And with the option to garnish it with fresh fruit or nuts, you can elevate both the presentation and flavor of this delightful treat.

So, let’s get started and indulge in this nutrient-rich Dried Apricot Mousse that’s sure to become a favorite in your dessert repertoire!

Ingredients:

  • 140 g dried apricots
  • 400 ml hot milk

Directions:

  1. Soak the dried apricots in hot water for about 30 minutes or until they become soft and plump.
  2. Drain the apricots and transfer them to a blender or food processor.
  3. Add the hot milk to the blender with the soaked apricots.
  4. Blend the mixture until smooth and creamy, ensuring there are no lumps.
  5. Pour the apricot mousse into individual serving bowls or ramekins.
  6. Refrigerate the mousse for at least 4 hours or until it is fully set and chilled.
  7. Before serving, garnish with additional dried apricots, fresh fruit, or nuts to add texture and flavor.

Prep Time, Chilling Information, and Servings:

  • Soaking Time: 30 minutes
  • Prep Time: 10 minutes
  • Chilling Time: 4 hours in the fridge
  • Servings: 6

Nutritional Information (Per Serving):

  • Energy: 159 calories
  • Protein: 5.03 g
  • Fat: 4.17 g
  • Carbohydrates: 27.76 g
  • Fiber: 2.6 g

Storage and Particular Recommendations:

  • Store your apricot mousse in airtight containers for up to 1 week in the fridge.
  • Try different garnishes such as fresh fruit, or nuts to elevate the presentation and flavor of your apricot mousse. This dessert is versatile and can be customized to suit your taste preferences!