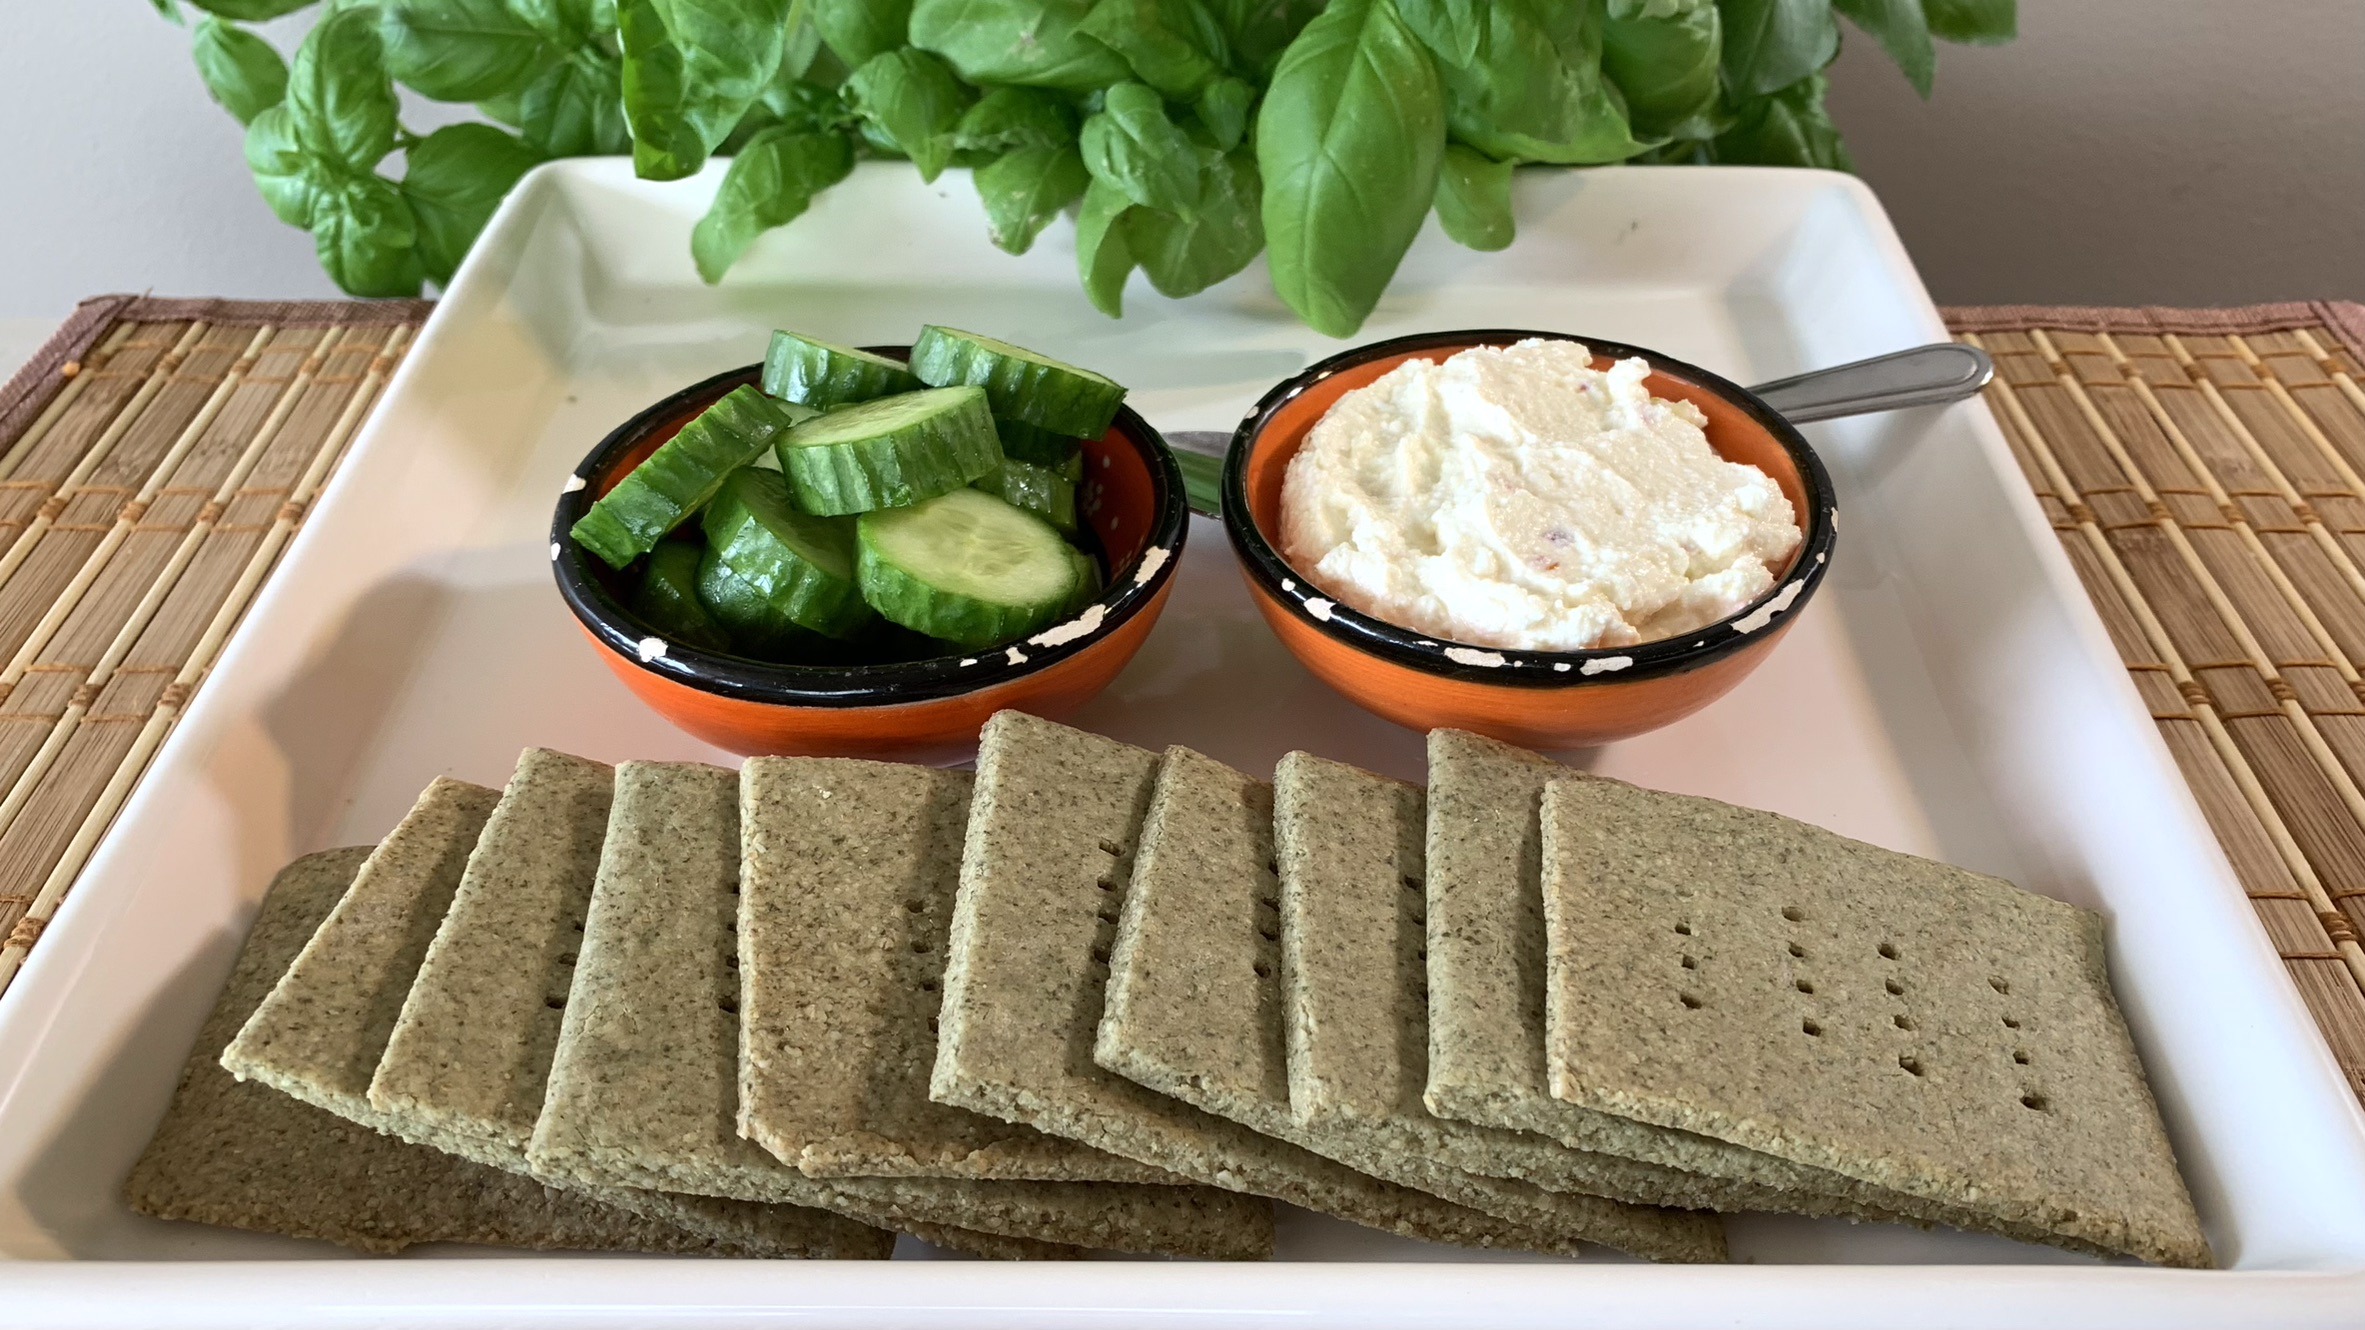
Sunflower Seed Crackers

Sunflower Seed Crackers

Sunflower Seed Crackers

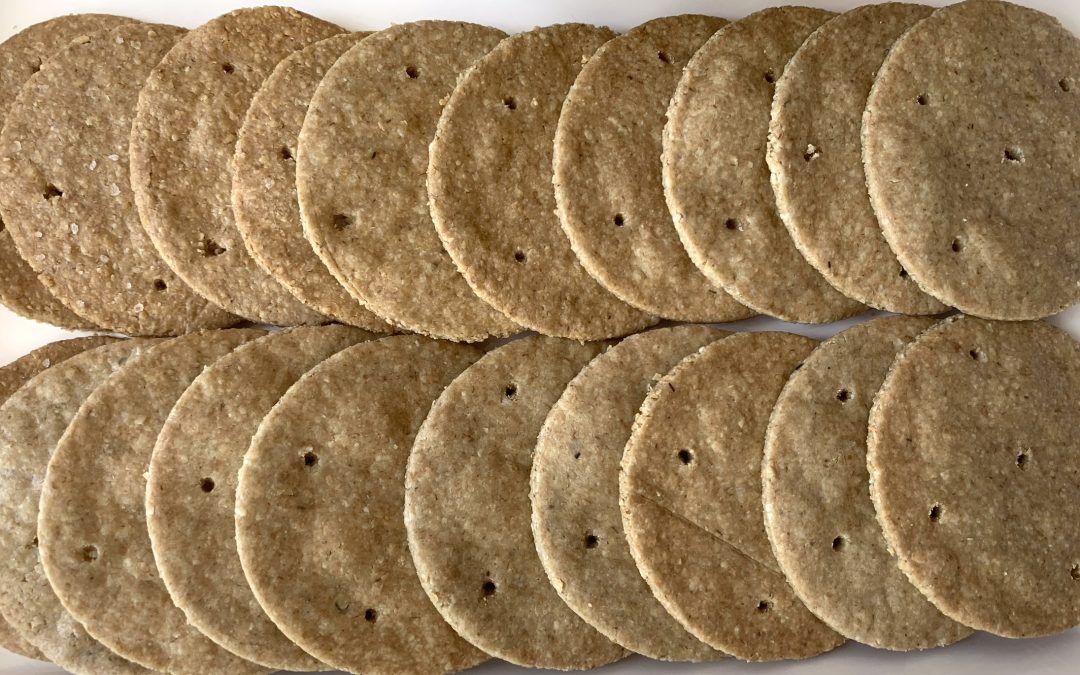
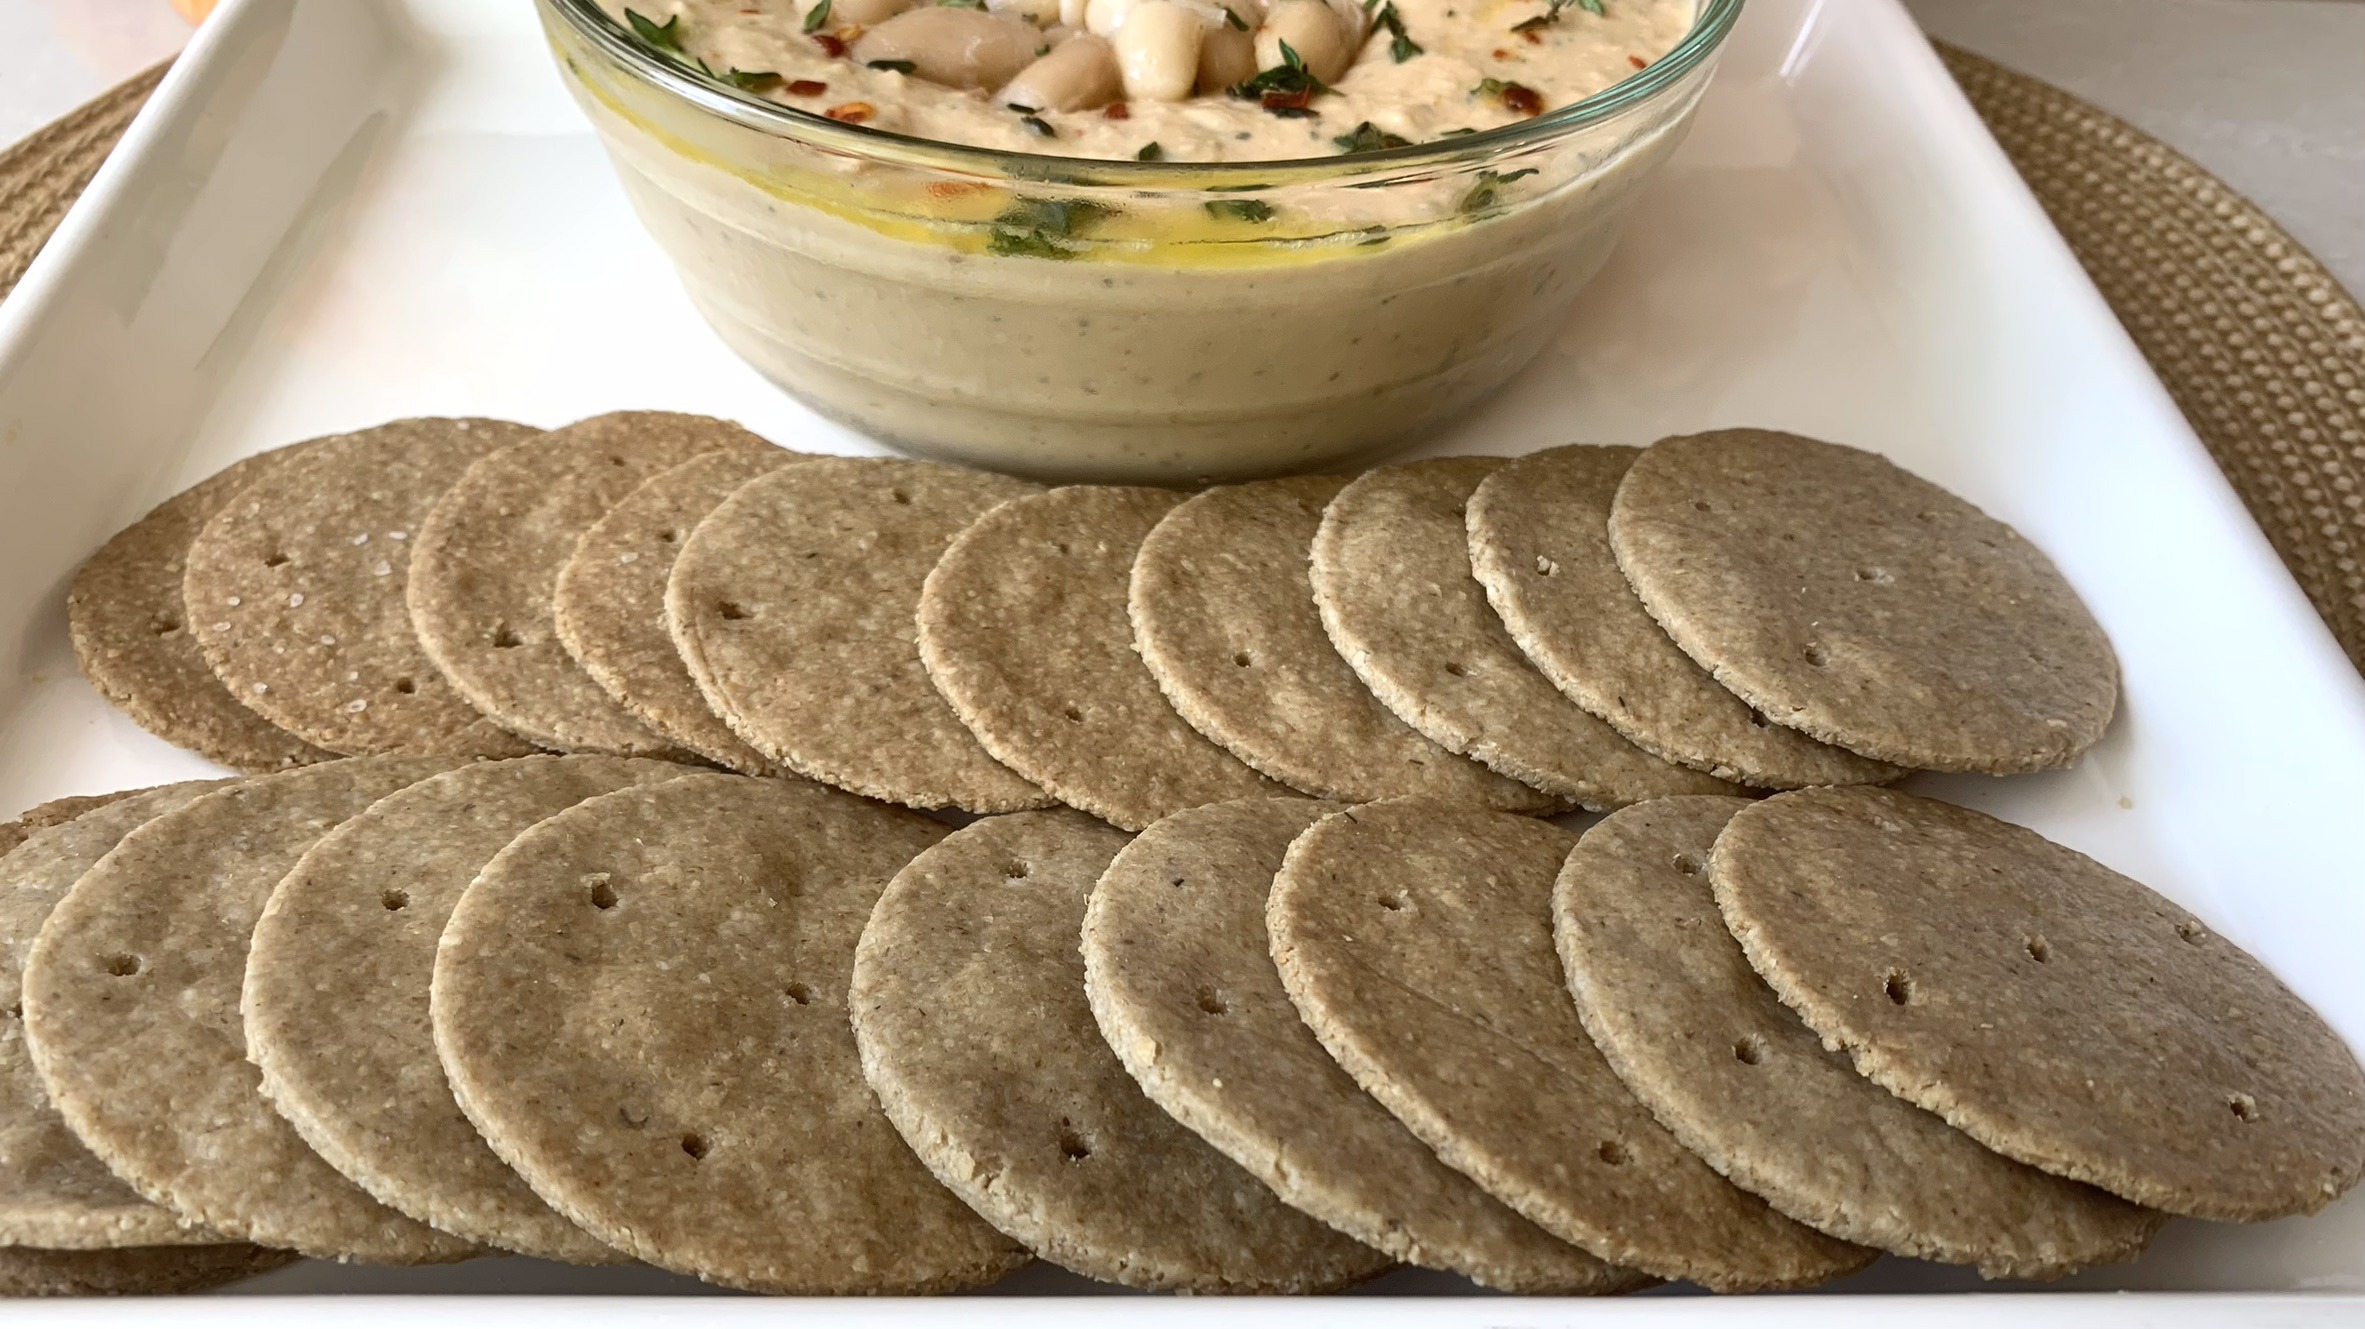
If you’re searching for a healthy and crunchy treat that’s both easy to make and packed with nutrition, these Sunflower Seed Crackers are just what you need. Made with wholesome ingredients like sunflower seeds and old-fashioned rolled oats, these crackers are a fantastic alternative to store-bought varieties, offering a homemade snack that’s as nutritious as it is delicious.

Sunflower seeds are the star of this recipe, and they bring a lot of benefits to the table. They’re rich in healthy fats, particularly polyunsaturated fats, which are great for heart health. They’re also a good source of plant-based protein, making these crackers not only satisfying but also a great way to get in some extra nutrition. Plus, sunflower seeds are loaded with vitamin E, a powerful antioxidant that helps protect your cells from damage, and magnesium, which is essential for muscle and nerve function.

Paired with the fiber-rich oats, these crackers offer a satisfying crunch that’s perfect for snacking any time of the day. They’re also highly customizable, so feel free to add your favorite herbs, spices, or even a sprinkle of cheese to make them your own. Whether you enjoy them on their own or paired with your favorite dips, these Sunflower Crackers are sure to become a staple in your healthy snack rotation.

So, let’s get baking and whip up a batch of these nutritious, homemade crackers!

Ingredients:

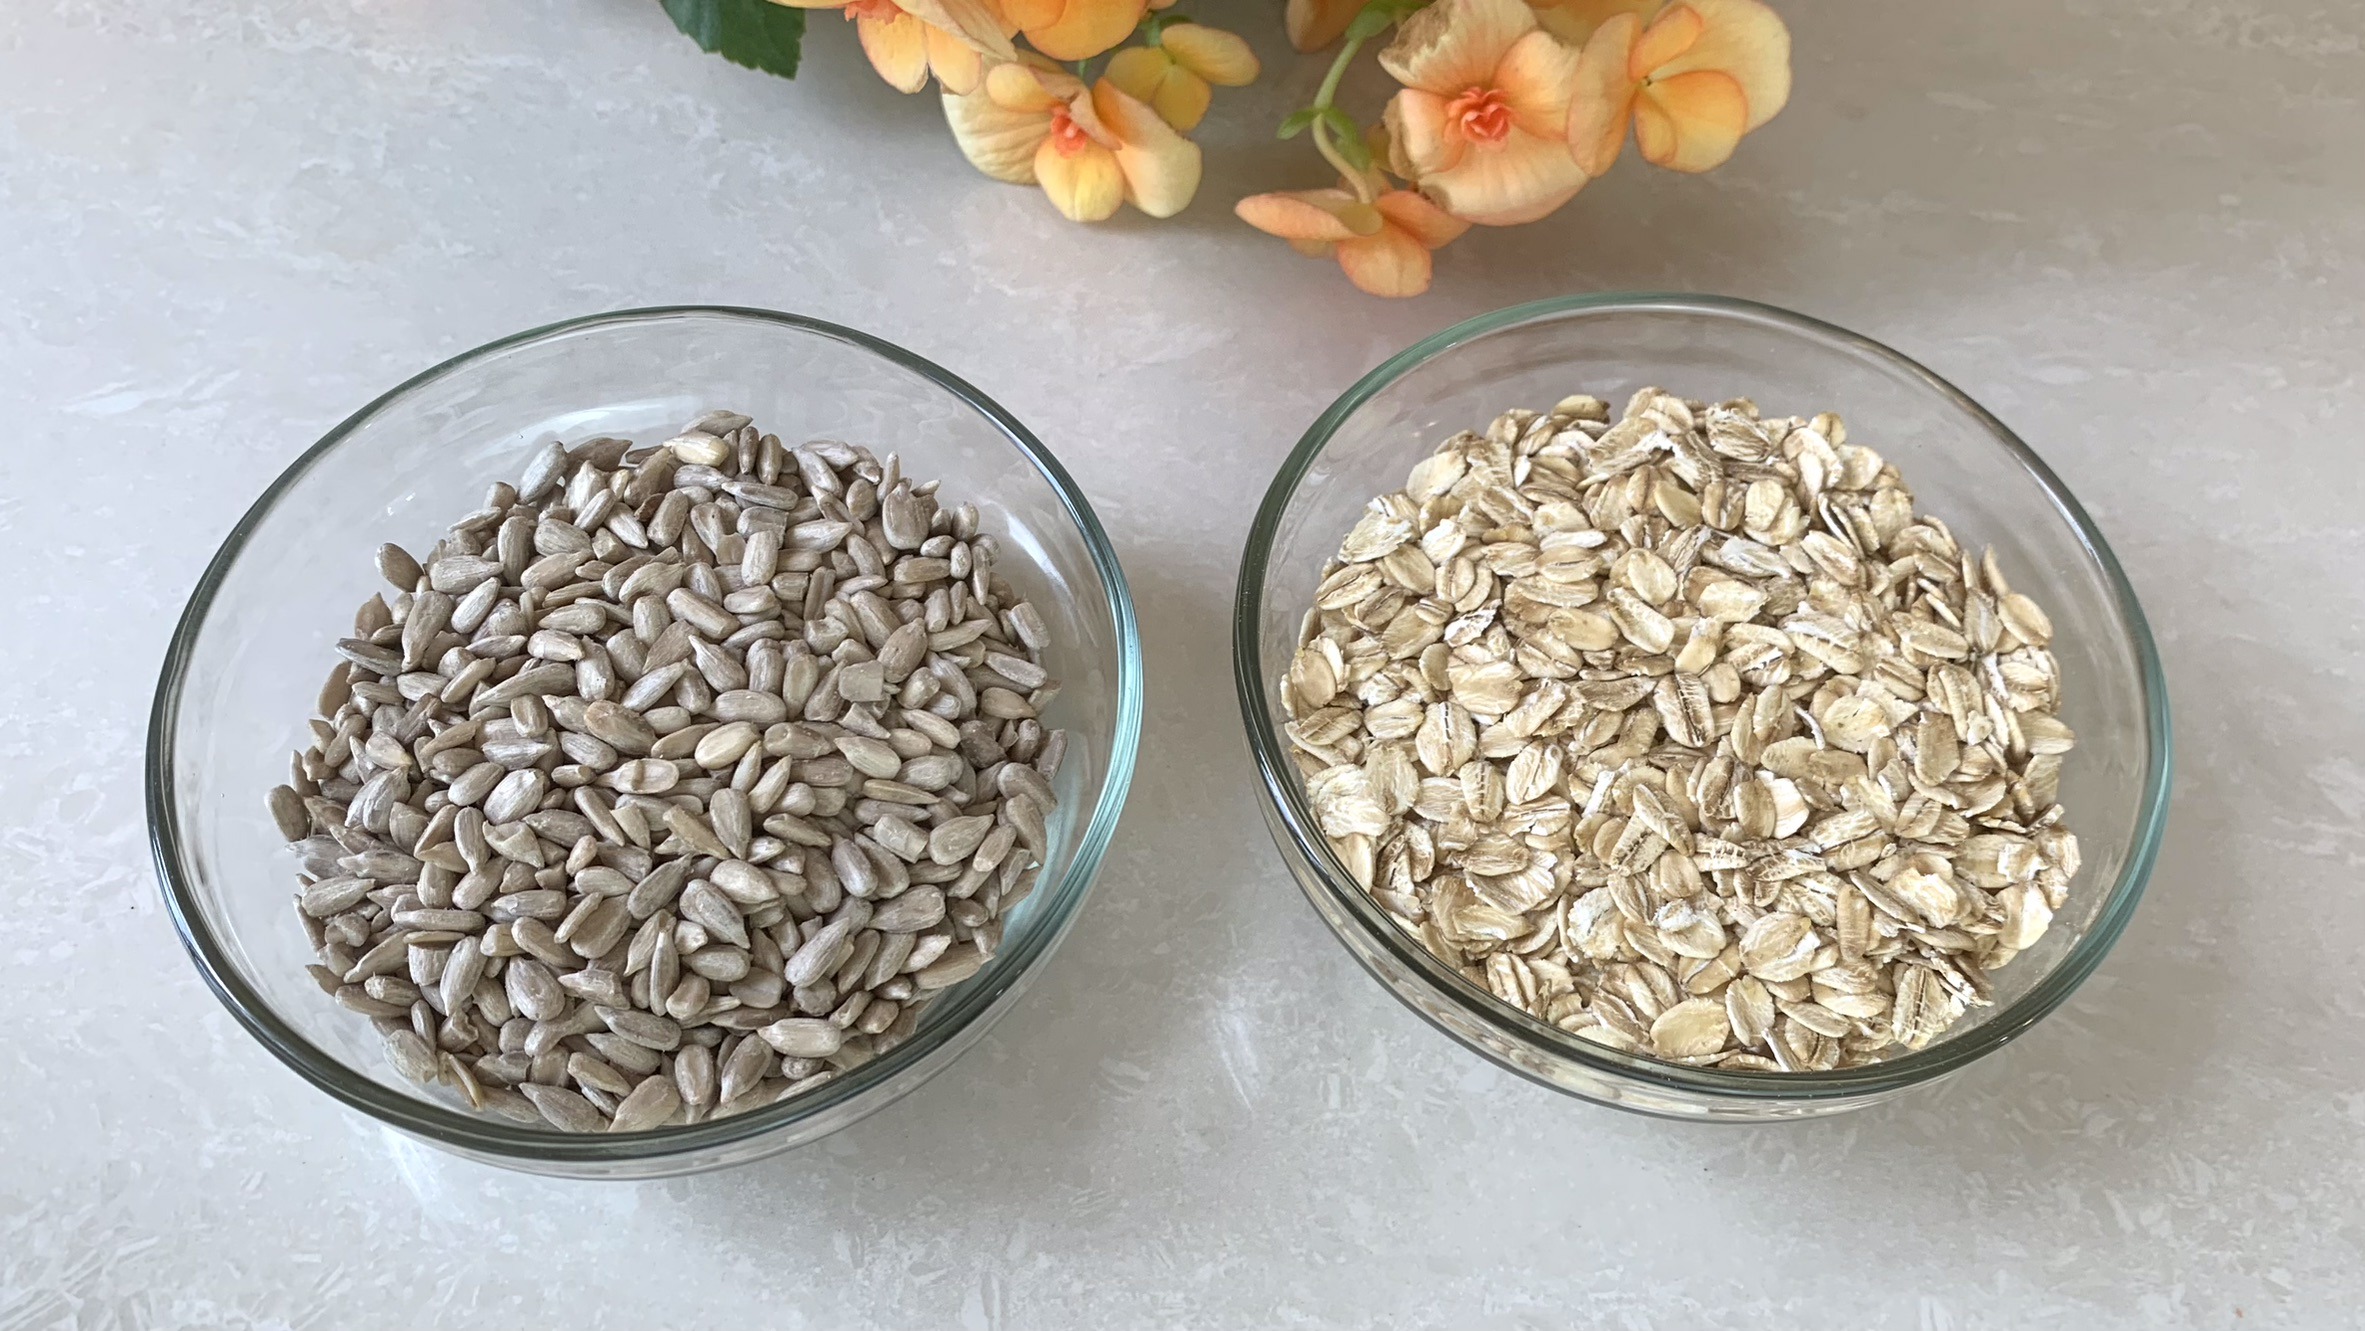
  • ½ cup old-fashioned rolled oats
  • ½ cup sunflower seeds
  • ¼ tsp. salt
  • ½ tsp. baking powder
  • 3 tbsp. cold water (add gradually to achieve desired dough consistency)

Directions:

  1. Begin by grinding the rolled oats and sunflower seeds in a food processor until they form a fine flour-like consistency.
  2. Add salt, baking powder, and water to the ground oats and sunflower seeds. Add water all at once or gradually, blending until the mixture starts to come together and forms a dough. Adjust the water quantity as needed to achieve a firm yet pliable dough.
  3. Transfer the dough onto a working surface lined with parchment paper. Roll out the dough into a thin, even layer, aiming for a thickness of about 1/9 inch (2-3 mm) or thicker if you prefer denser crackers.
  4. Preheat your oven to 350°F (175°C).
  5. Use a biscuit cutter to cut circular shapes or other desired shapes of your choice.
  6. Place the dough circles onto a baking sheet lined with parchment paper.
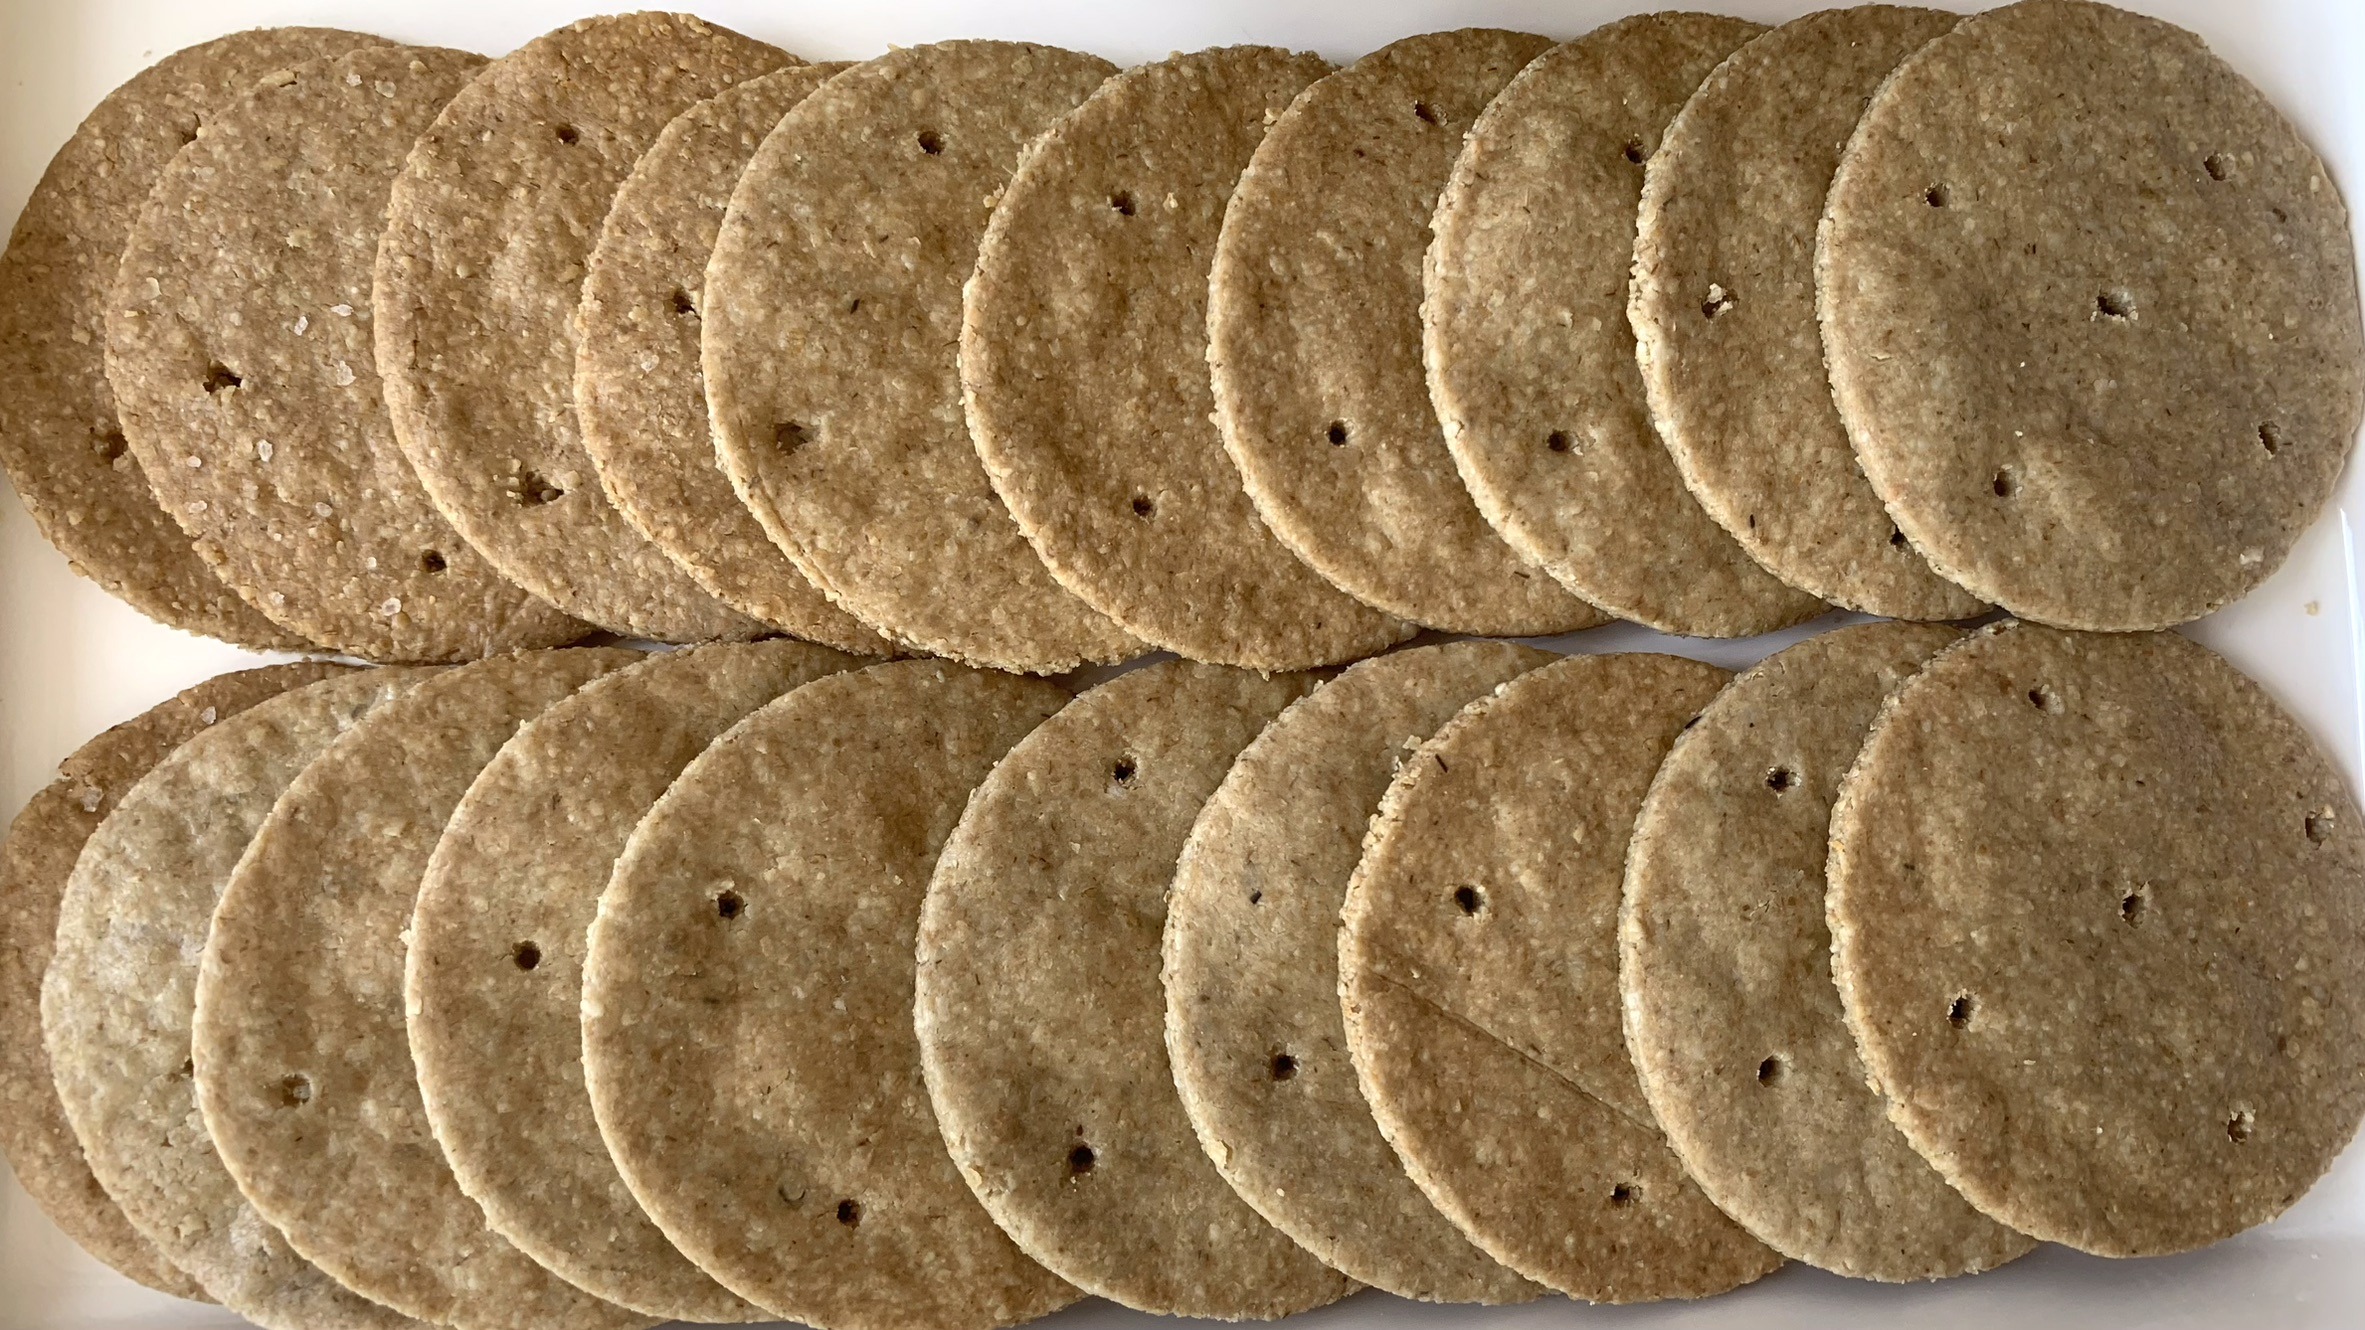
  7. Bake for approximately 15-20 minutes at 350°F or until they turn crisp and golden brown.
  8. Allow the crackers to cool completely on a wire rack. They will continue to harden as they cool.
  9. The crackers are ready to be enjoyed as a healthy and nutritious snack!

Prep Time, Baking Information, and Servings:

  • Prep Time: 30 minutes
  • Baking Time: 15-20 minutes
  • Servings: 20 crackers

Nutritional Information (Per Cracker):

  • Energy: 29 calories
  • Protein: 1.3 g
  • Fat: 2.03 g
  • Carbohydrates: 2.94 g
  • Fiber: 0.8 g

Storage and Particular Recommendations:

  • Store your crackers in an airtight container at room temperature for up to 2 weeks.
  • Experiment by adding herbs, spices, or grated cheese to customize the flavor of your crackers according to your own preference. These crackers are versatile and can be tailored to suit any palate!
Cauliflower Omelet

Cauliflower Omelet

Cauliflower Omelet

Good morning! If you’re looking to kickstart your day with a nutritious and satisfying meal, this Cauliflower Omelet is exactly what you need. Combining the rich flavors of eggs and tahini with the wholesome goodness of cauliflower, this omelet is not only delicious but also packed with nutrients that will keep you fueled and energized throughout the day.

Cauliflower is a low-calorie vegetable that’s high in fiber and loaded with vitamins C and K, which are essential for maintaining a healthy immune system and strong bones. When you blend cauliflower into this omelet, you’re adding a boost of nutrients without sacrificing taste or texture. The eggs provide high-quality protein that helps build and repair tissues, while tahini—made from sesame seeds—adds a creamy texture along with a dose of healthy fats and minerals like magnesium and iron.

This omelet is incredibly versatile, so you can easily customize it with your favorite vegetables and herbs for extra flavor and nutrition. It’s perfect for breakfast, but it’s also hearty enough for a light lunch or dinner. Whether you’re sticking to a healthy eating plan or just want a quick and easy meal, this Cauliflower Omelet is sure to become a go-to recipe in your kitchen.

So, let’s get cooking and enjoy this nutritious and flavorful dish!

Ingredients:

  • 2 large eggs
  • 100 g cauliflower florets
  • 1 tbsp. tahini
  • ⅛ tsp. salt
  • Black pepper to taste
  • 20 parsley leaves for garnish (optional)
  • 1 tsp. olive oil to brush onto the pan

Directions:

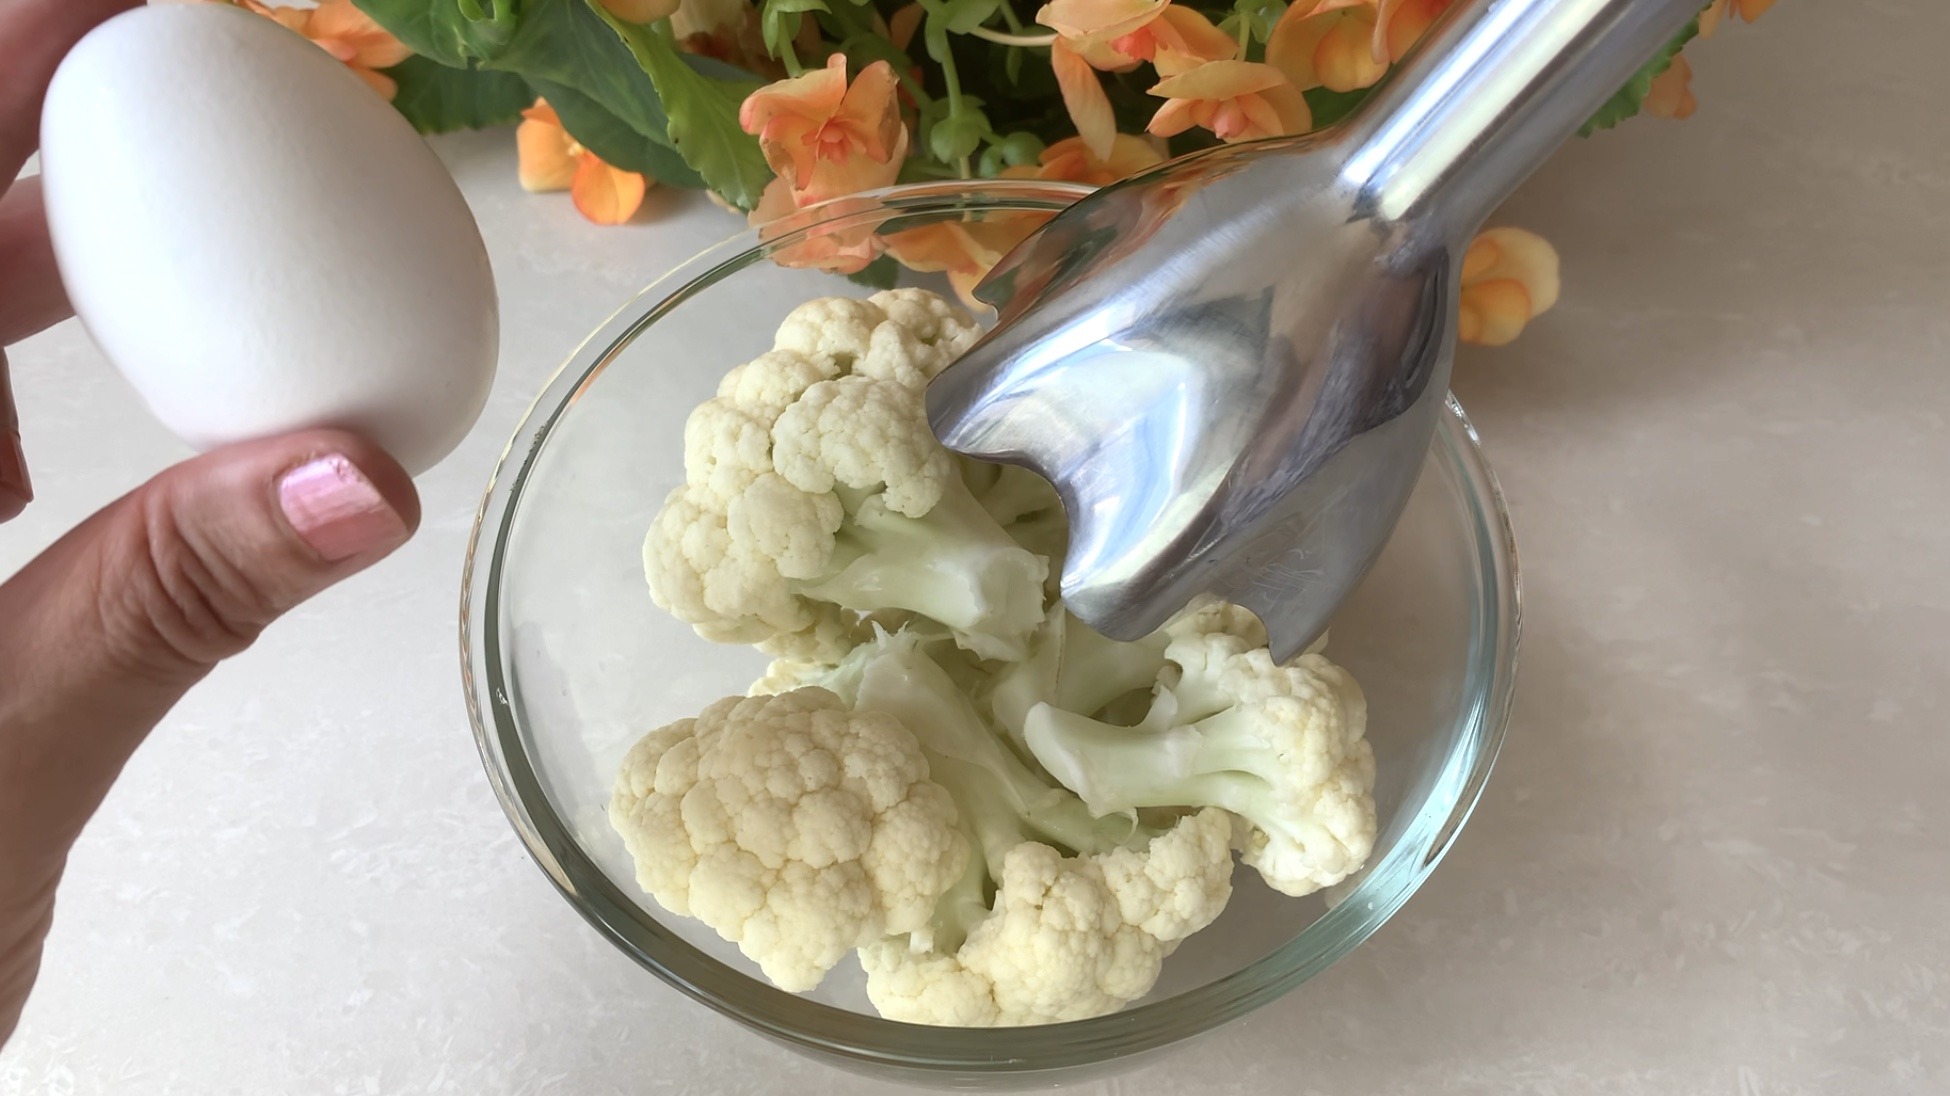
  1. Wash the cauliflower florets and pat them dry with a paper towel. Break the florets into small pieces for even blending.
  2. Using a hand blender, blend cauliflower florets, eggs, and tahini until smooth and creamy.
  3. Heat a non-stick pan over medium heat and brush it lightly with olive oil or other oil.
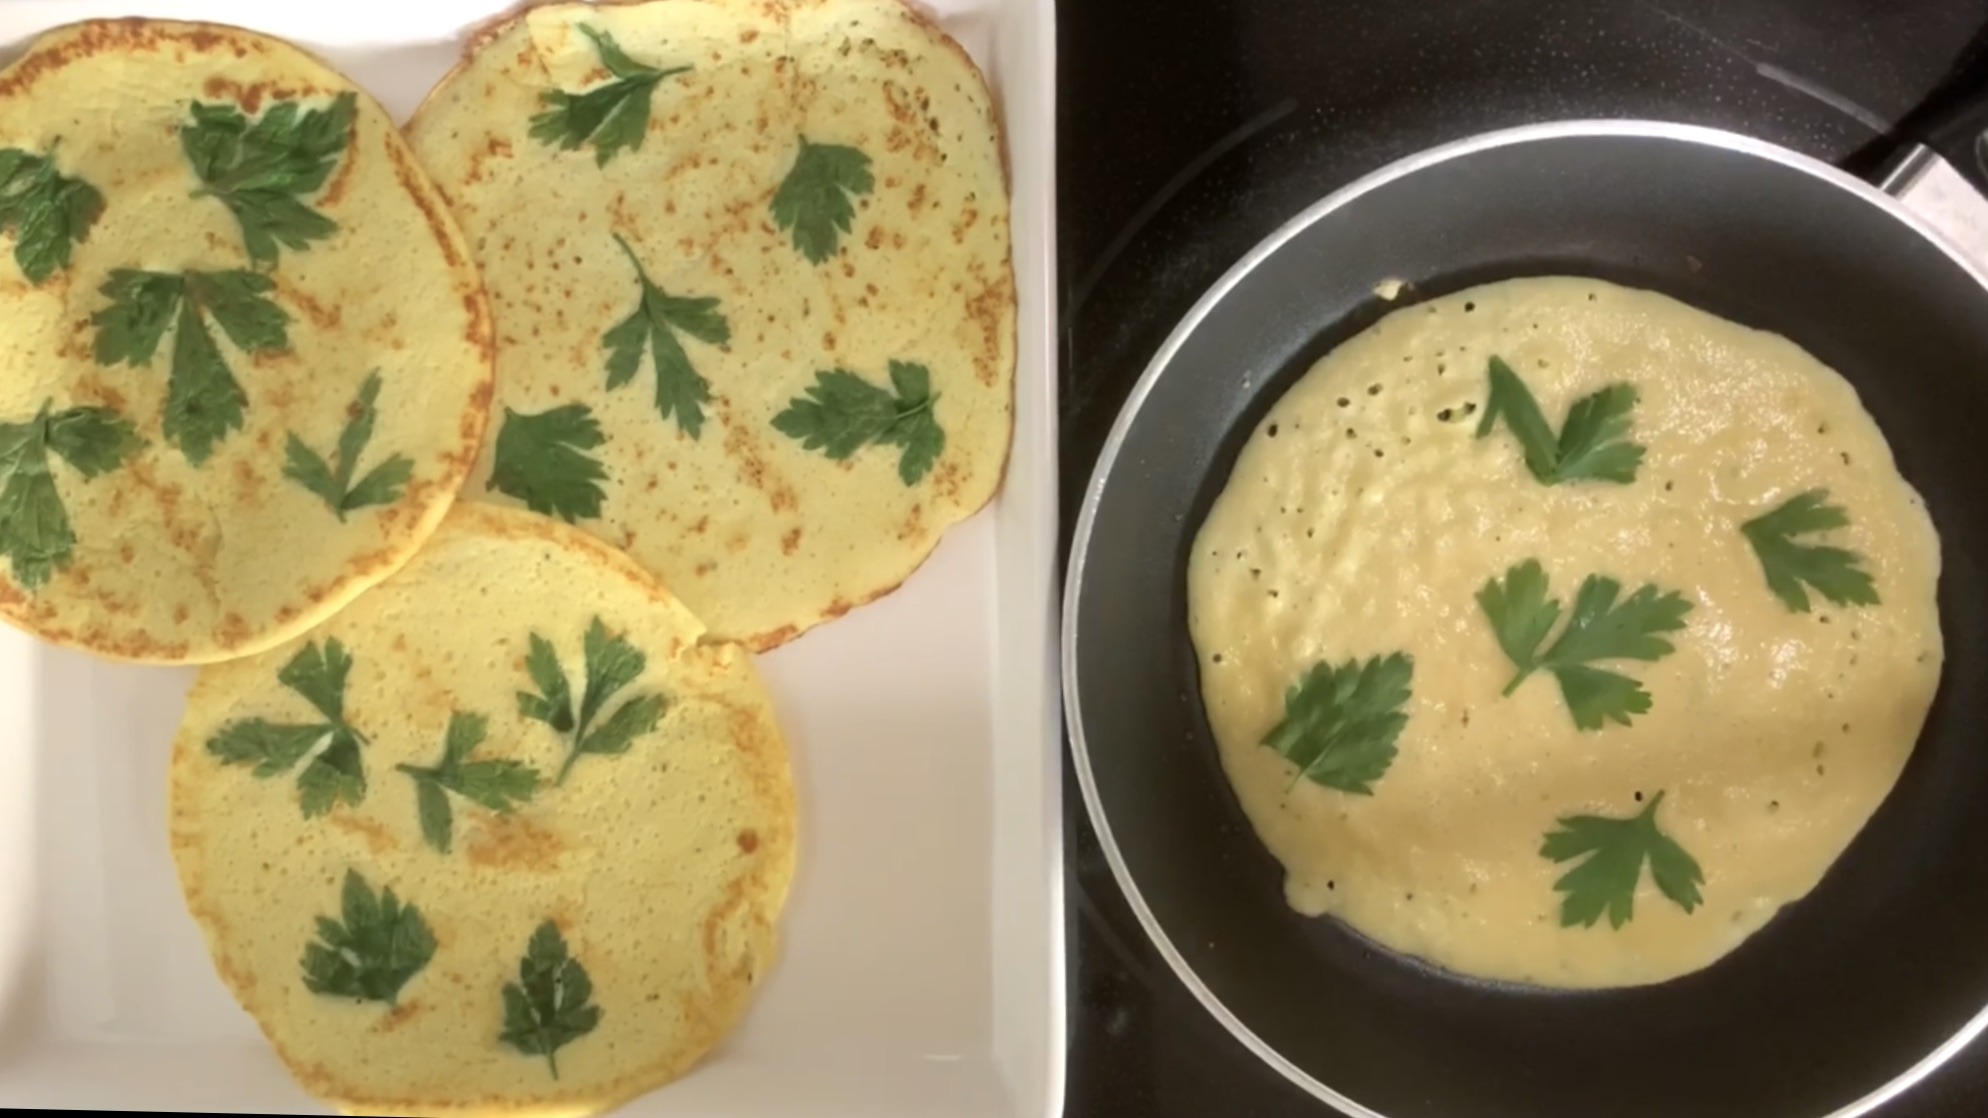
  4. Pour approximately a ¼ cup or an ice scoop of batter onto the heated pan, spreading it evenly to form a thin omelet.
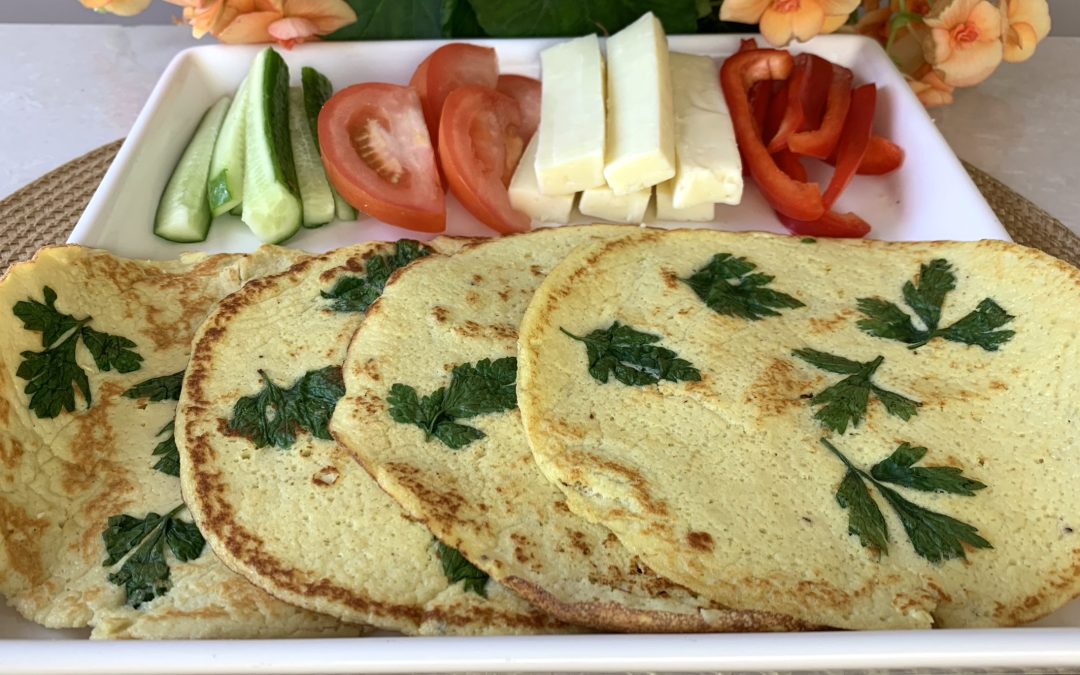
  5. Garnish with parsley leaves if desired, and season with black pepper to taste.
  6. Cover the pan and cook the omelet for 1 to 1:30 minutes until the edges begin to lift and the bottom turns lightly golden.
  7. Carefully flip the omelet using a spatula and cook the other side for an additional 1 minute, ensuring both sides are evenly cooked and golden brown.
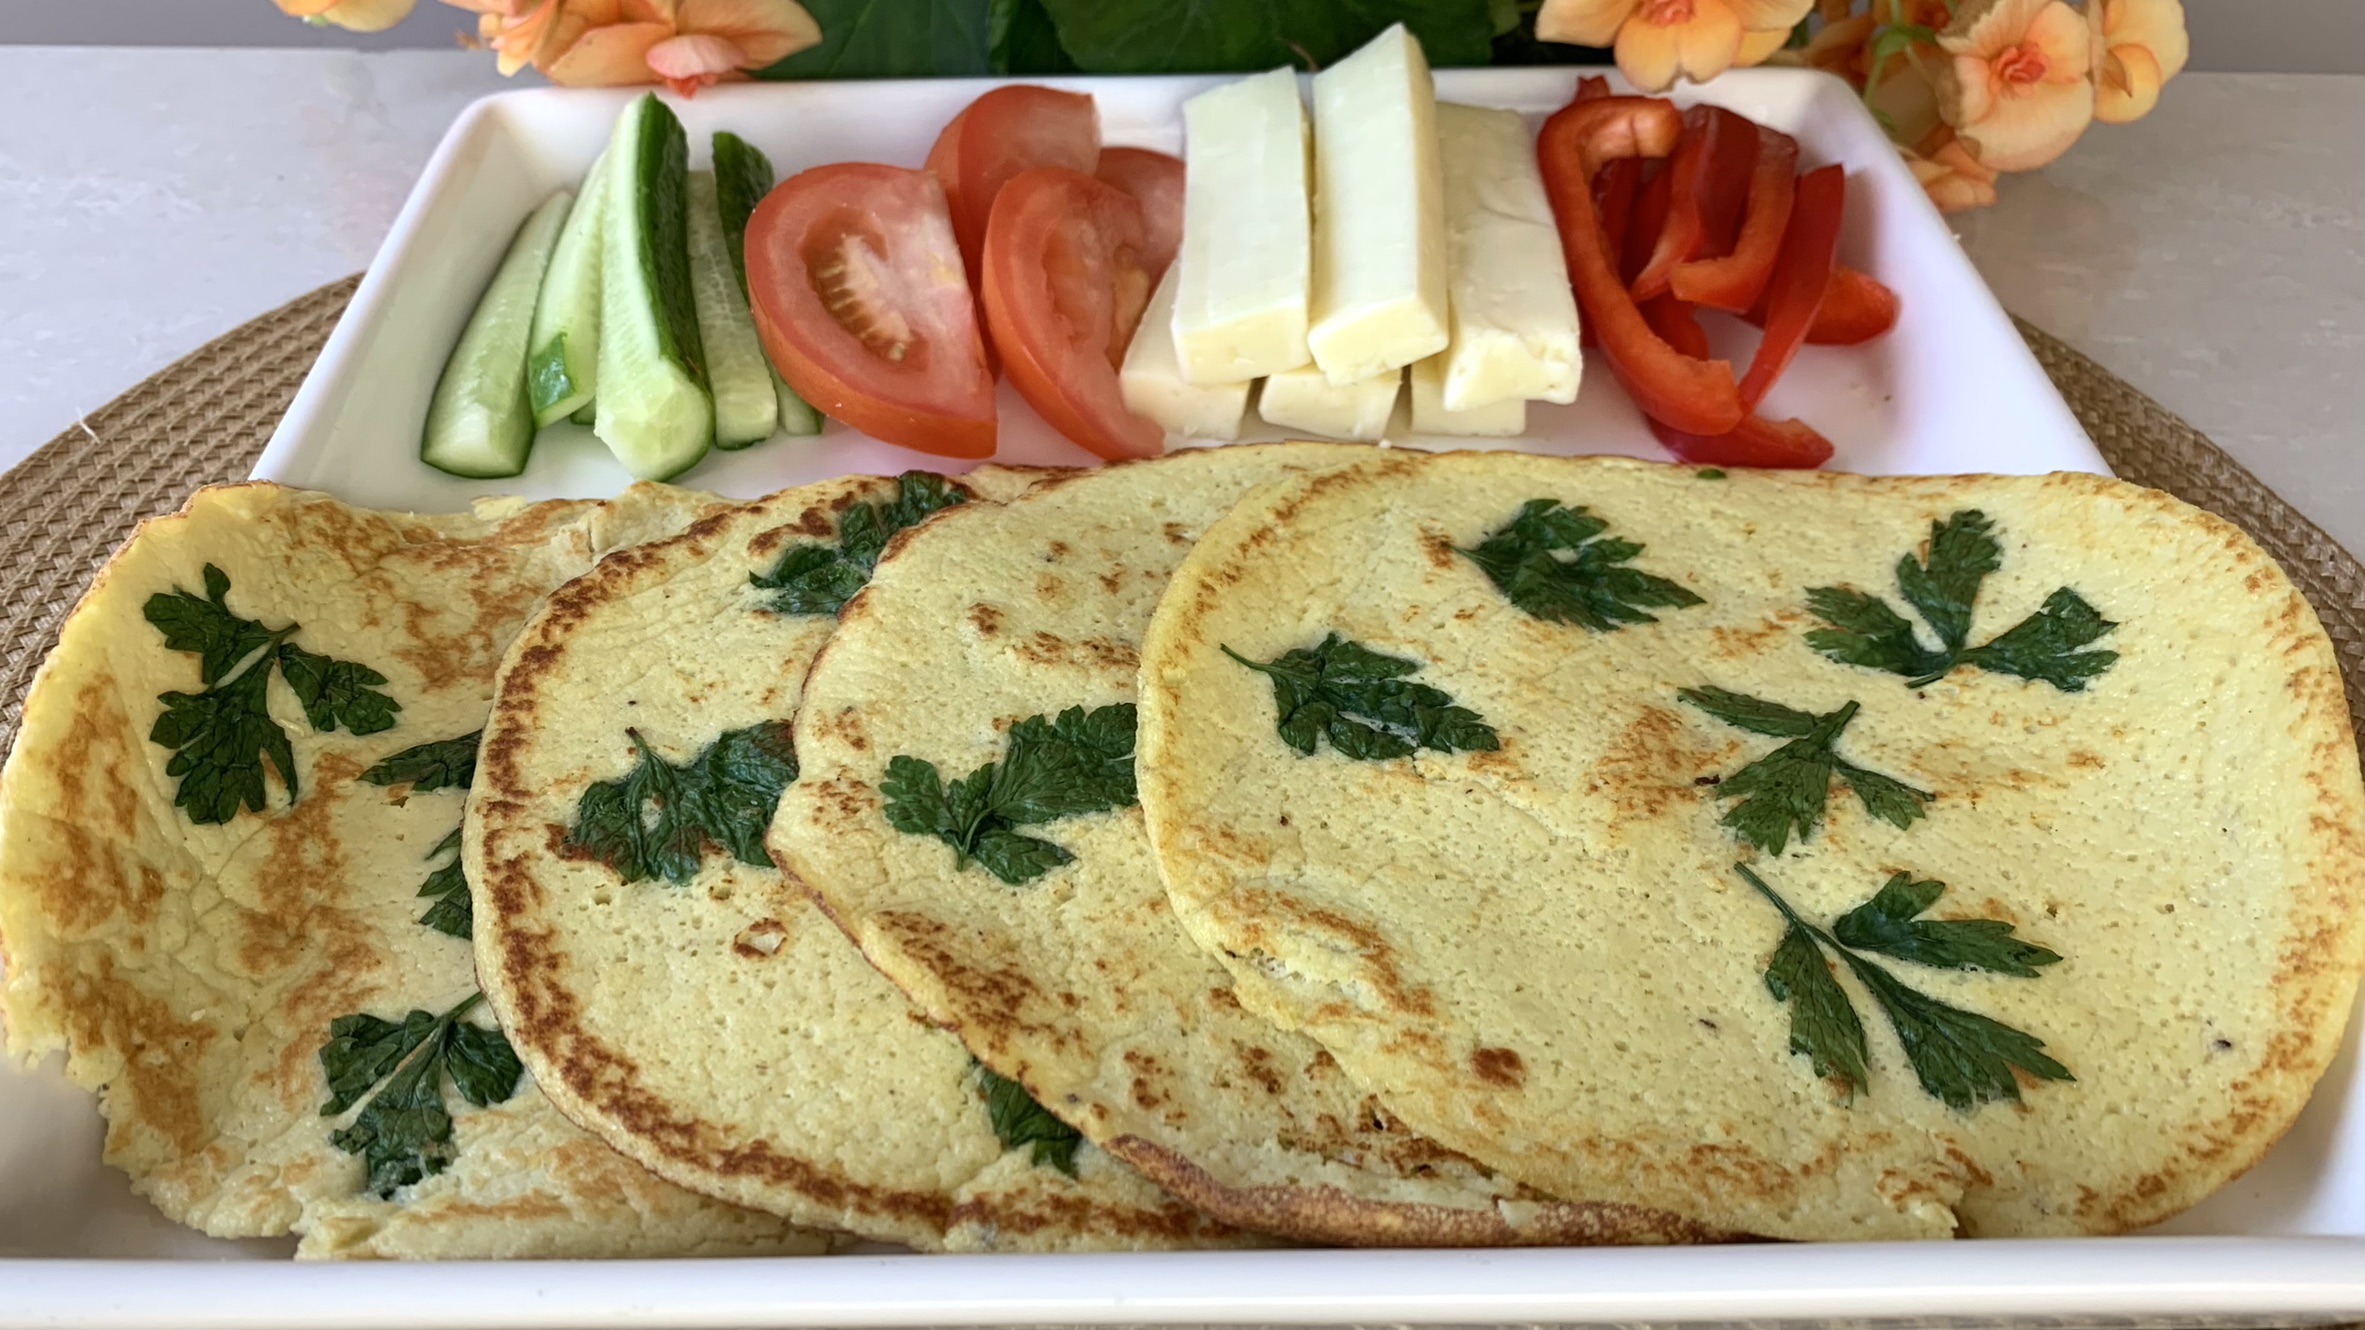
  8. Serve hot and enjoy as a nutritious breakfast, light lunch, or dinner, accompanied by your favorite side dishes.

Prep Time, Cooking Information, and Servings:

  • Prep Time: 20 minutes
  • Cooking Time: 30 minutes
  • Servings: 9

Nutritional Information (Per Serving):

  • Energy: 69 calories
  • Protein: 4.26 g
  • Fat: 4.94 g
  • Carbohydrates: 2.22 g
  • Fiber: 0.8 g

Storage and Particular Recommendations:

  • Enjoy the cauliflower and tahini omelet fresh off the pan for the best taste and texture. However, if you have leftovers, store them in an airtight container in the fridge for up to 3 days.
  • Experiment with different vegetable combinations to create your own omelet variations! This dish is versatile and can be easily customized to suit your preferences.
Barley Chocolate Pudding

Barley Chocolate Pudding

Barley Chocolate Pudding

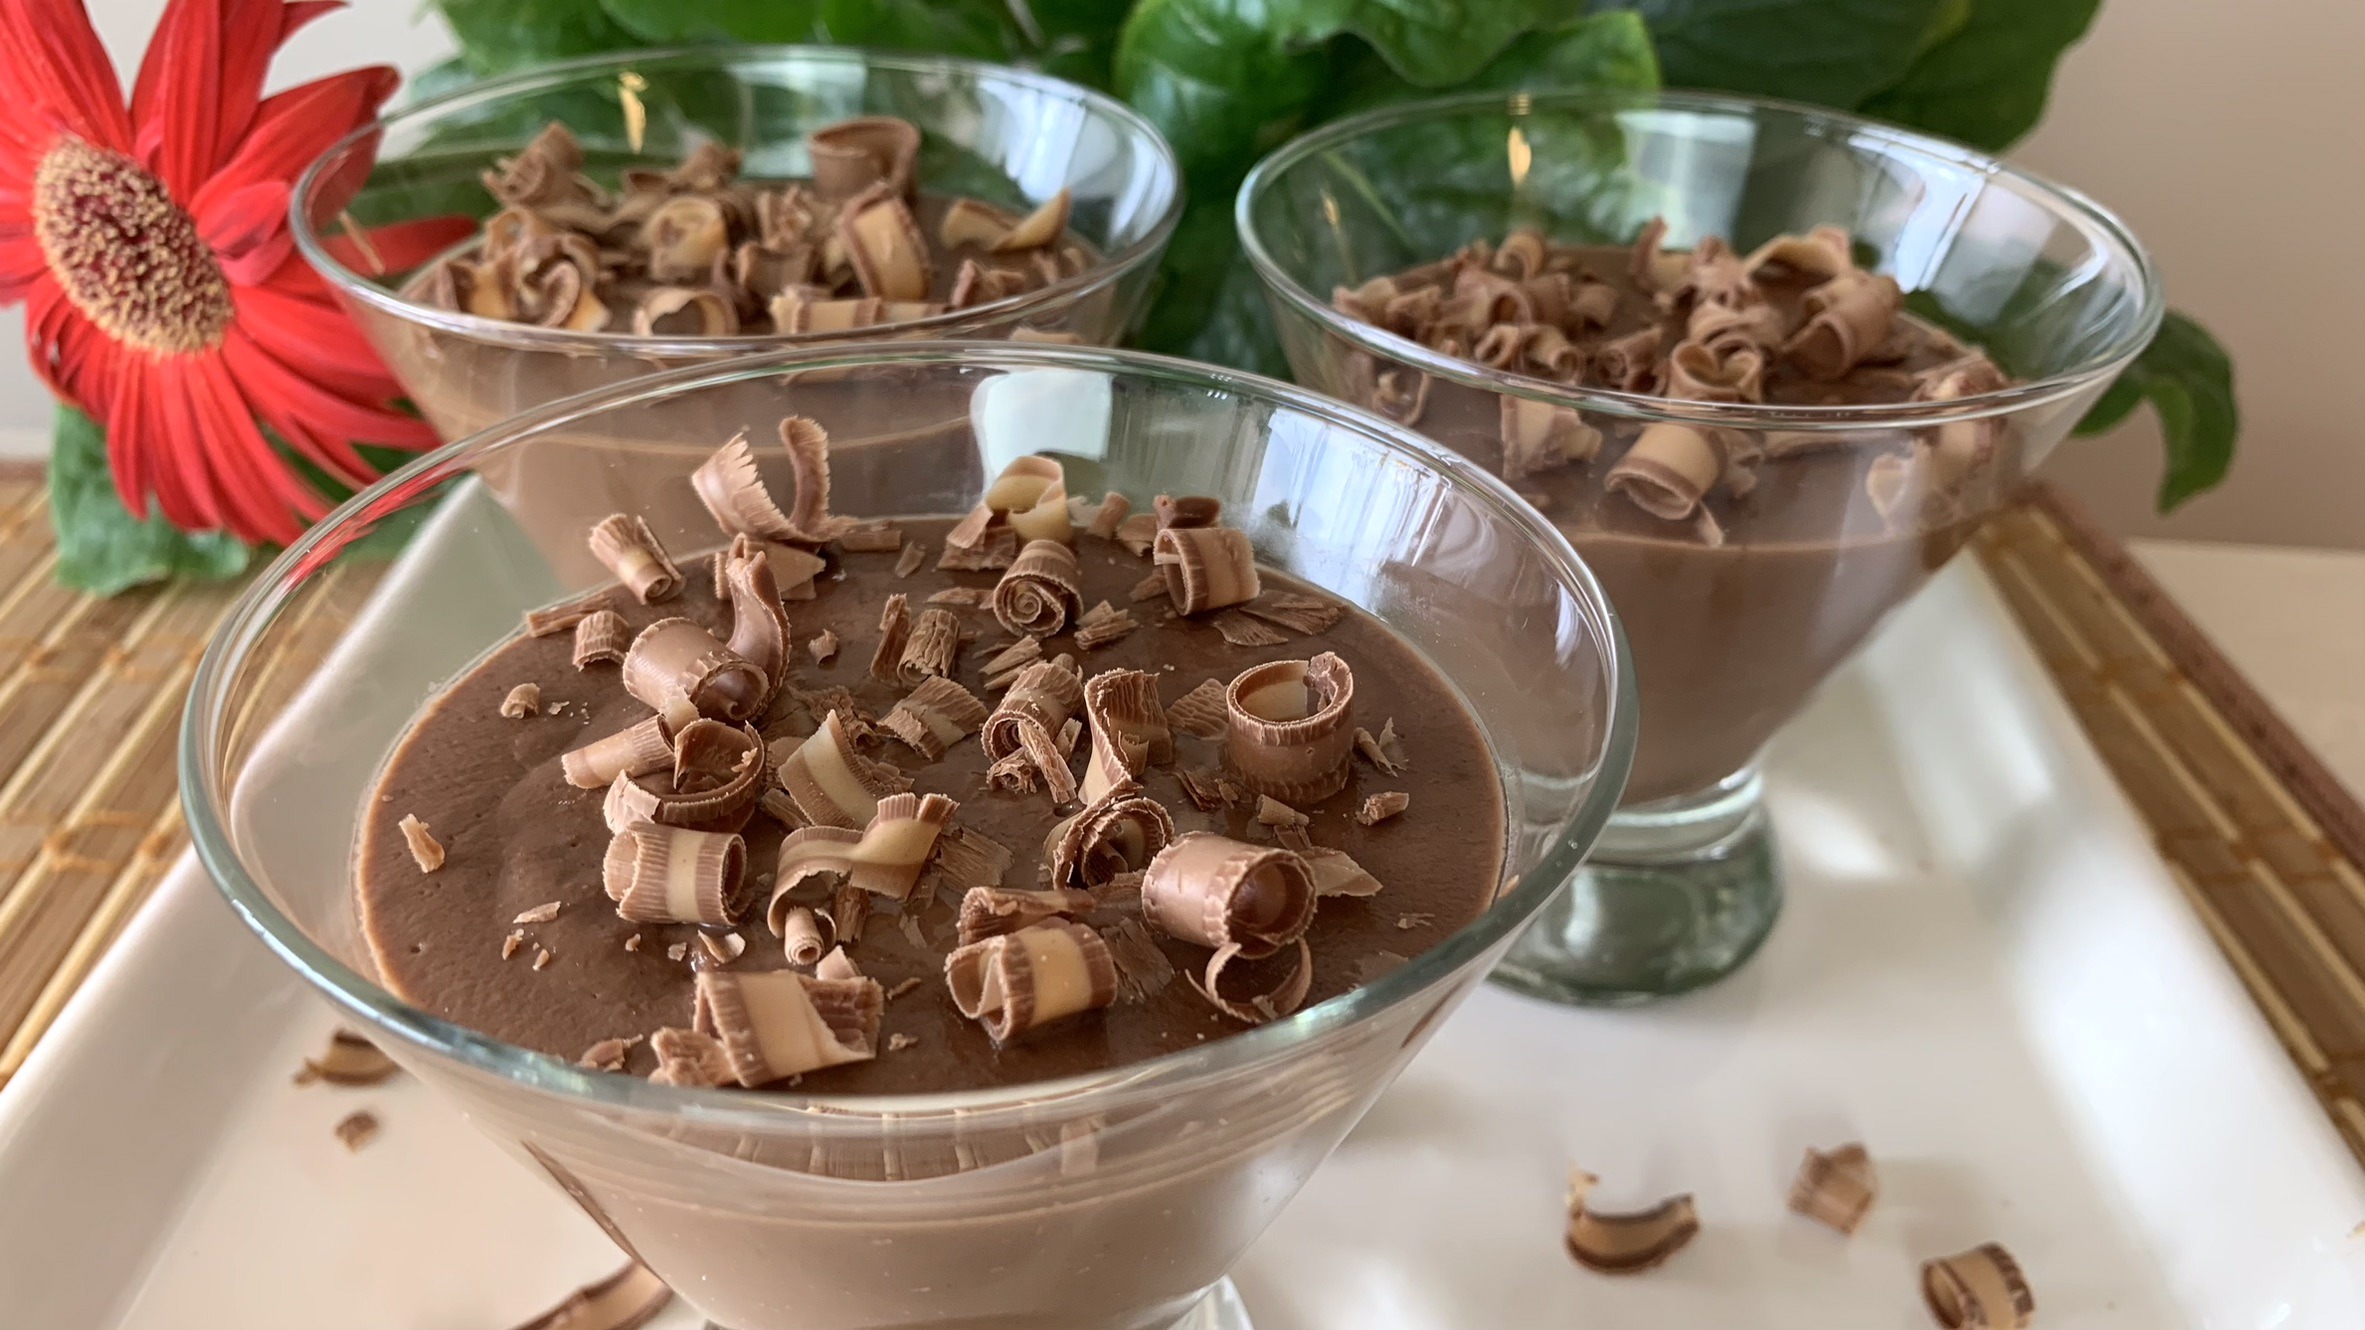
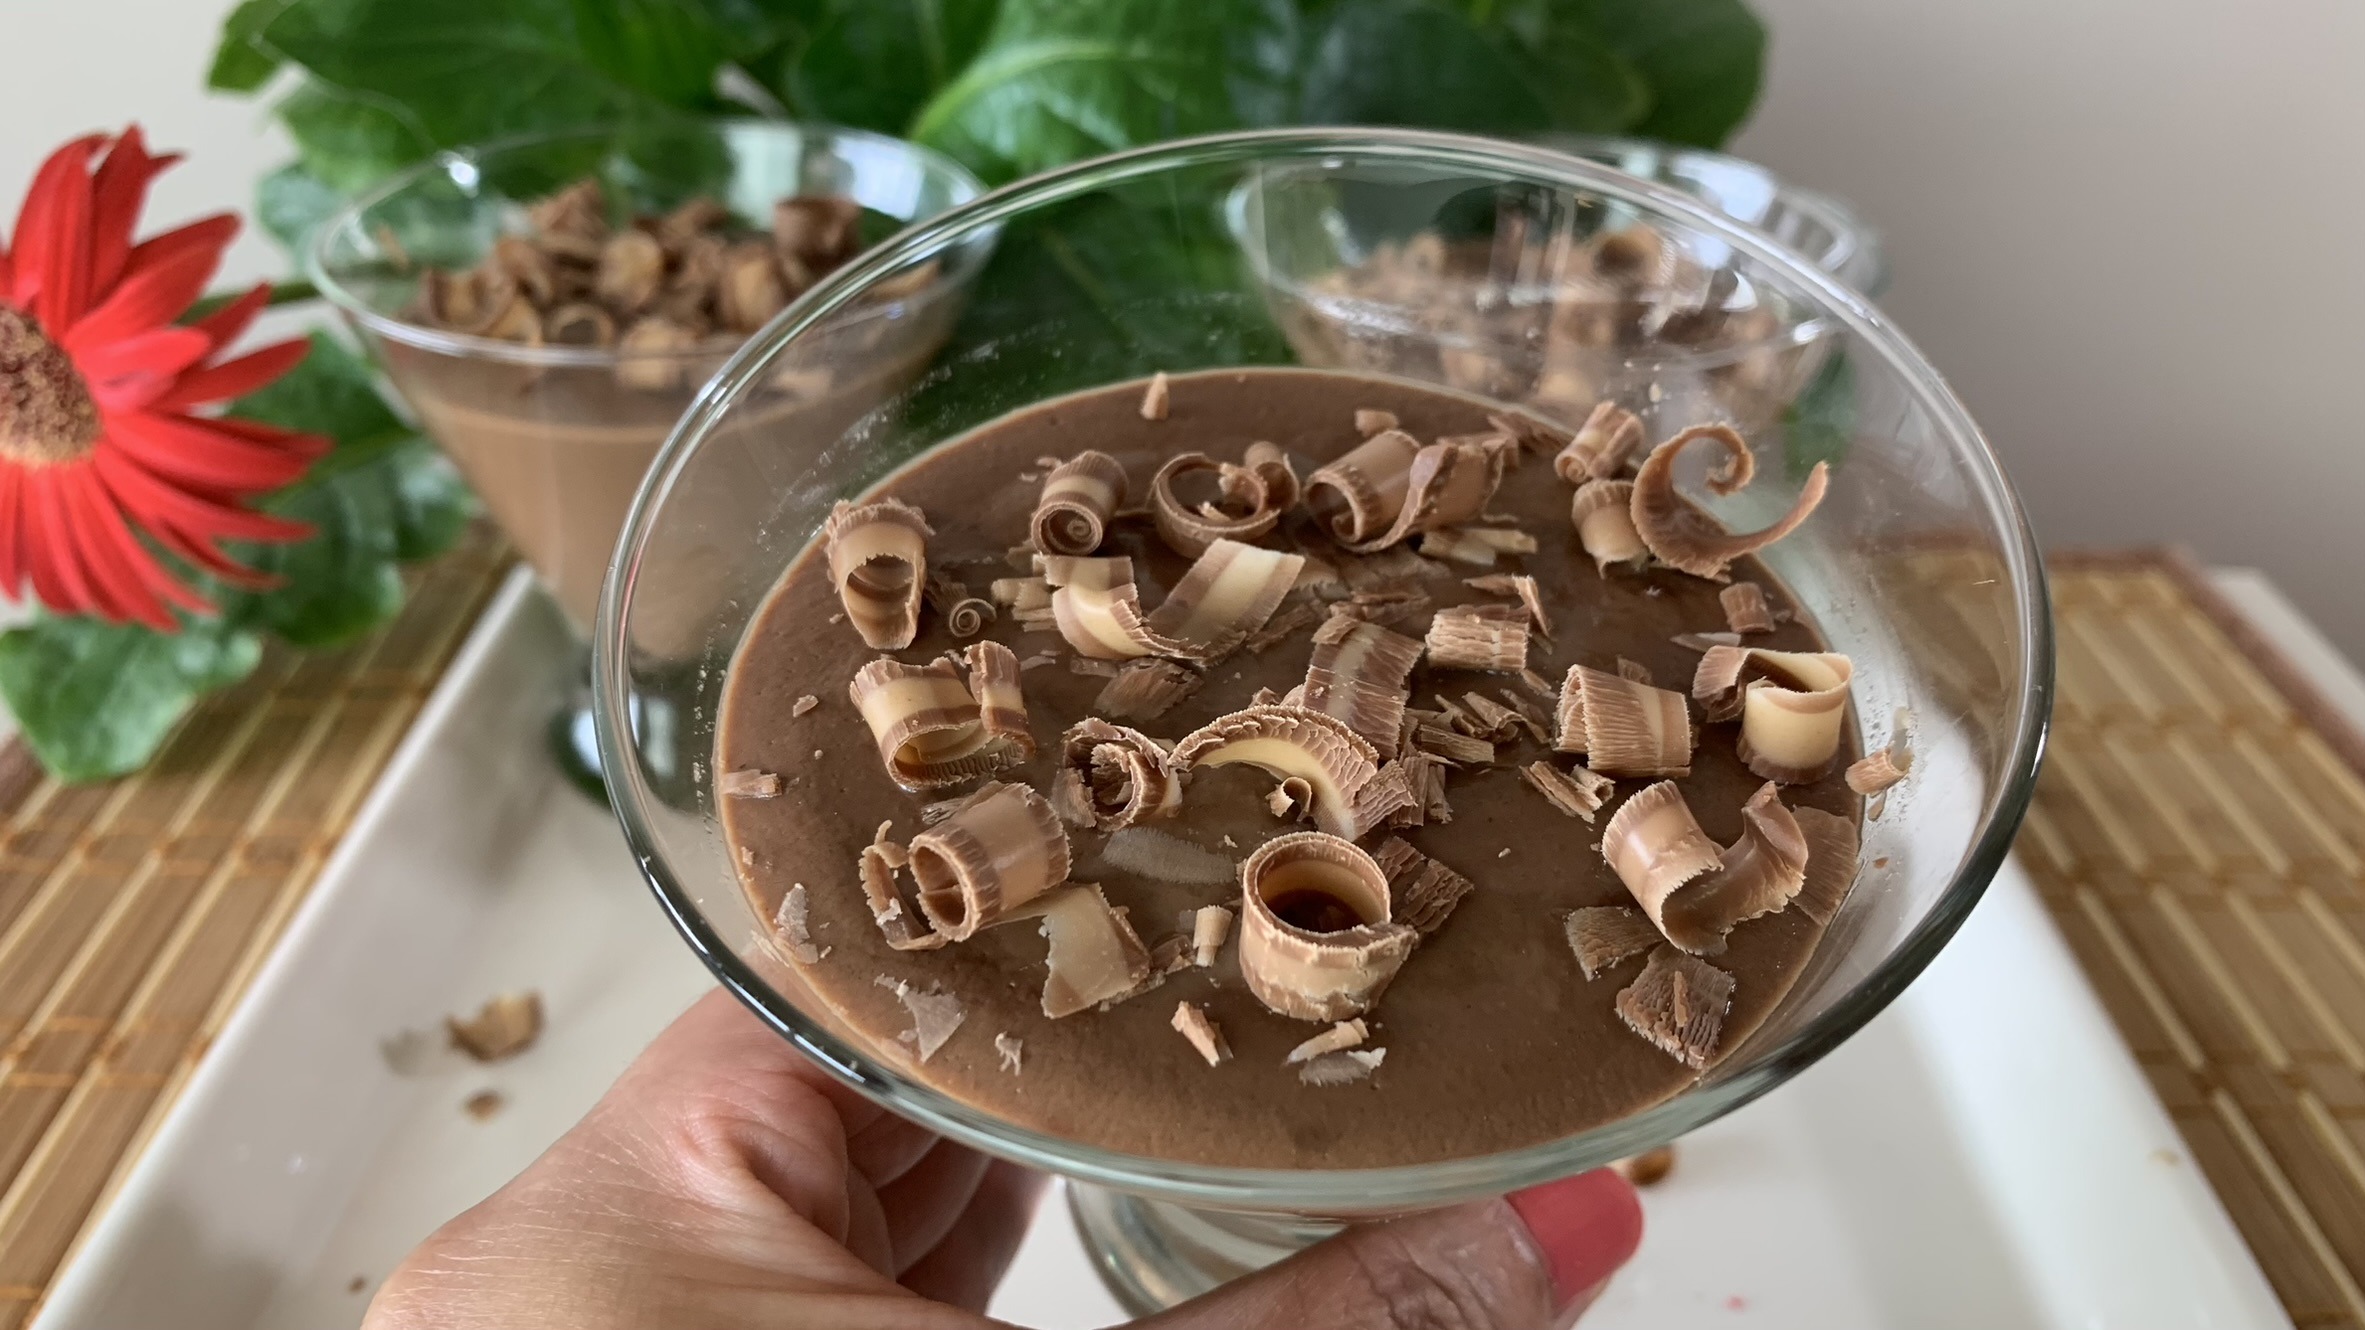
Hey chocolate lovers! If you’re craving something rich and decadent but still want to keep things on the healthier side, this Barley Chocolate Pudding is going to be your new best friend. It’s got all the creamy, velvety goodness of a classic chocolate pudding but with a nutritious twist thanks to the wholesome barley flour. Barley flour is a bit of a superstar when it comes to nutrition—it’s packed with dietary fiber, protein, and a bunch of essential vitamins and minerals. It’s also great for keeping your blood sugar stable, which is a big plus if you’re looking to satisfy your sweet tooth without the sugar crash.

This pudding is super easy to make and is perfect for a quick dessert that doesn’t compromise on flavor. The barley flour adds a subtle nuttiness that pairs beautifully with the rich cocoa and the natural sweetness of maple syrup.

So, let’s dive into this indulgent yet wholesome treat—you’re going to love every spoonful!

Ingredients:

  • 400 ml milk (dairy or non-dairy)
  • 30 g barley flour (substitutable with oat flour or cornstarch)
  • 15 g or 2 tbsp. cocoa powder
  • ¼ cup maple syrup (or preferred sweetener)
  • Pinch of salt

Directions:

  1. In a large bowl, gather milk, barley flour, cocoa powder, maple syrup, and a pinch of salt. Using a whisk, vigorously stir the ingredients in the bowl until they are thoroughly combined and there are no lumps formed.
  2. Transfer the mixture into a saucepan, and start cooking the mixture under medium heat, while continuously whisking to prevent lumps from forming and to ensure even cooking.
  3. As the mixture begins to simmer, set a timer for 5 minutes and continue cooking and whisking until the mixture thickens to a pudding-like consistency.
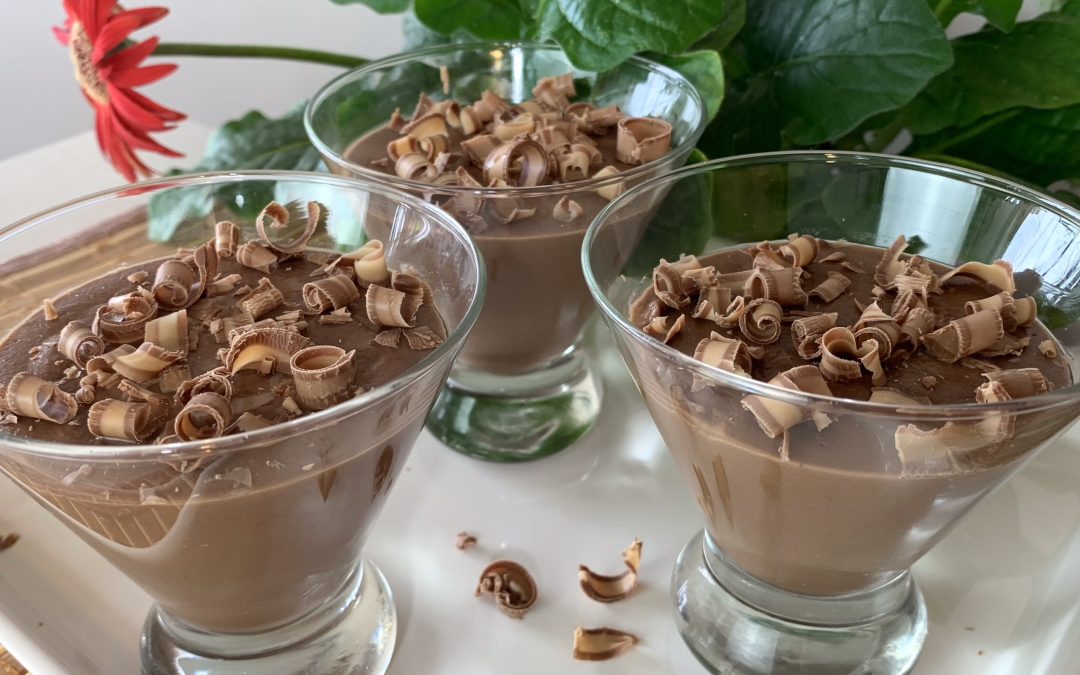
  4. Pour the warm chocolate pudding into serving glasses of your choice, distributing it evenly among them.
  5. Cover the serving glasses with plastic wrap to prevent a skin from forming on the surface of the pudding.
  6. Place the glasses in the refrigerator and let the pudding chill for at least 2 hours or until it is fully set and chilled.
  7. Garnish the chocolate pudding with chocolate shavings or a sprinkle of cocoa powder for an added touch of indulgence.

Prep Time, Baking Information, and Servings:

  • Prep Time: 30 minutes
  • Chilling Time: 4 hours in the fridge
  • Servings: 3

Nutritional Information (Per Serving):

  • Energy: 192 calories
  • Protein: 7.29 g
  • Fat: 1.93 g
  • Carbohydrates: 37.15 g
  • Fiber: 1.1 g

Storage and Particular Recommendations:

  • Consume the pudding within 3-4 days for optimal taste and quality.
  • Consider incorporating the pudding into other dessert recipes, such as parfaits or trifle, for a decadent treat.
Pumpkin Seed Crackers

Pumpkin Seed Crackers

Pumpkin Seed Crackers

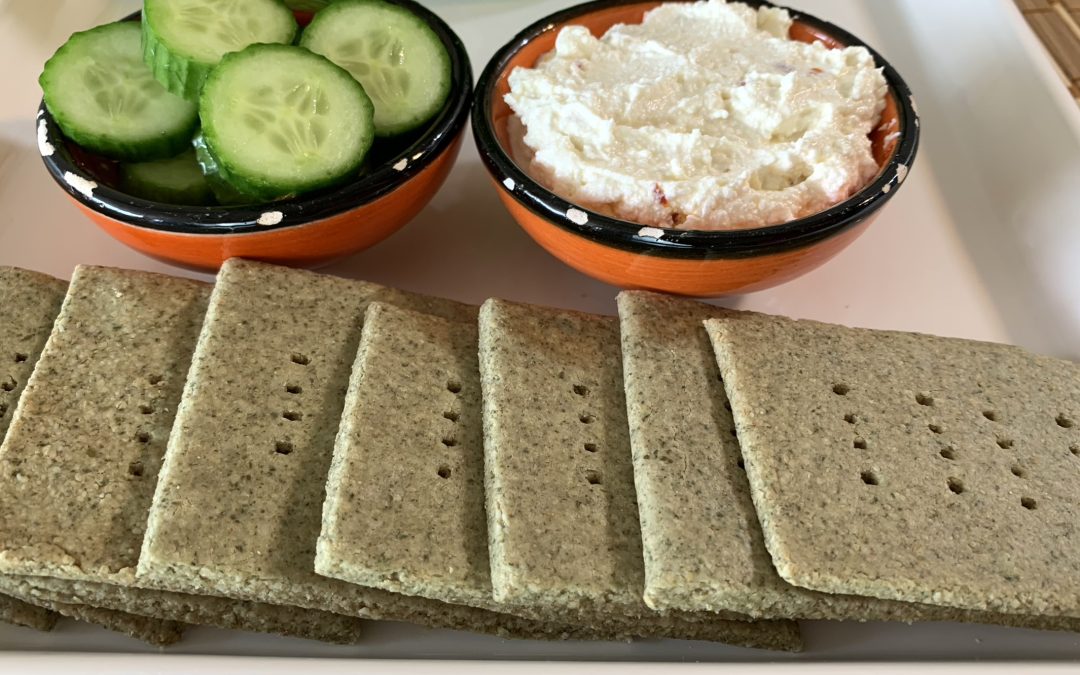
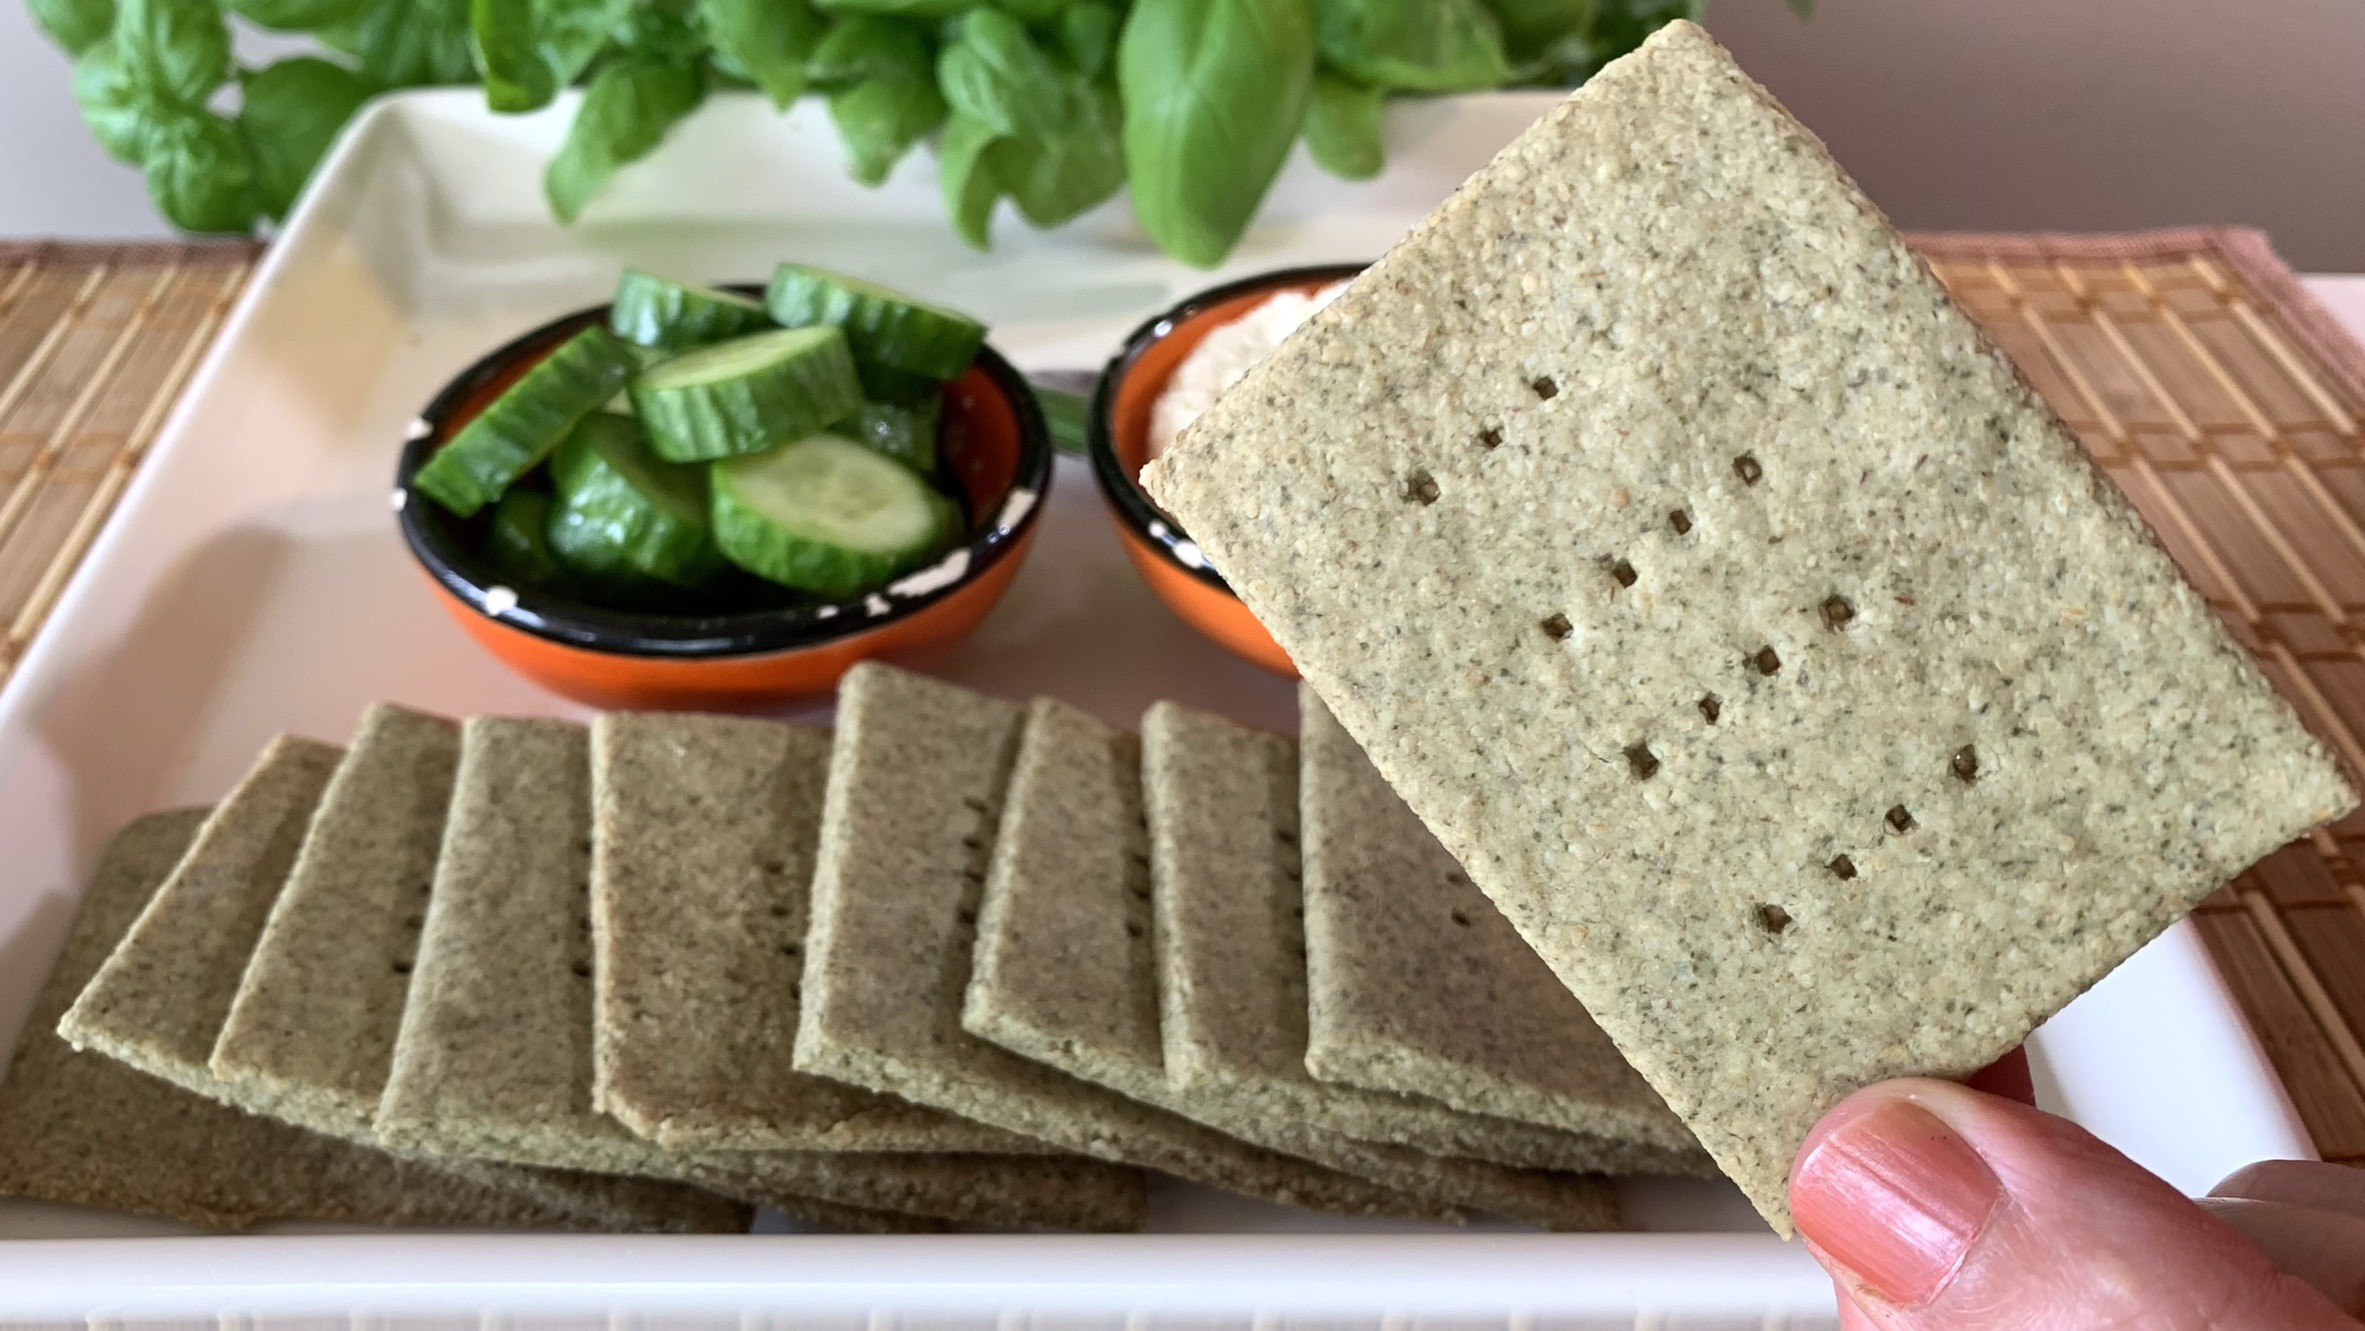
If you’re like me, you probably love a good snack that’s not only tasty but also good for you. Well, these Pumpkin Seed Crackers are just the ticket! Forget those store-bought crackers that are packed with who-knows-what. These homemade goodies are made with simple, wholesome ingredients like rolled oats and pumpkin seeds. And let me tell you, they’re not just delicious, they’re loaded with nutrients too!

Pumpkin seeds are little powerhouses of goodness, full of minerals like magnesium, zinc, and iron, which are great for keeping your heart healthy, boosting your immune system, and giving you the energy you need to tackle your day. Plus, they’ve got healthy fats and antioxidants to keep your body feeling its best. And let’s not forget the oats! They’re packed with fiber, which is fantastic for keeping your digestion on track and your blood sugar stable.

These crackers are super easy to make and totally customizable, so you can tweak them to fit your taste buds. Whether you like a bit of spice or prefer them plain, these crunchy, nutritious treats are perfect for snacking anytime.

So, let’s get baking and whip up a batch of these tasty crackers—you’re going to love them!

Ingredients:

  • ½ cup old-fashioned rolled oats (45 g)
  • ½ cup pumpkin seeds (75 g)
  • ¼ teaspoon salt
  • ½ teaspoon baking powder
  • ¼ cup cold water (adjust as needed to form a dough)

Directions:

  1. Using a food processor or blender, grind the rolled oats and pumpkin seeds until they turn into a fine flour. Add salt and baking powder, and mix again for a few seconds.
  2. Add water to the mixture all at once or gradually, 1 tablespoon at a time, while grinding until the mixture starts to come together and form a dough. Adjust the amount of water as needed to achieve a firm but pliable dough.
  3. Transfer the dough onto a surface covered with parchment paper. Use a rolling pin to roll out the dough into a thin rectangular shape, aiming for a thickness of about 1/8 inch (3-4 mm).
  4. Preheat your oven to 350°F (175°C) while you’re working with the dough.
  5. Use a sharp knife or a pizza cutter to cut the rolled-out dough into rectangular or square cracker shapes.
  6. Place the baking sheet with the crackers into the preheated oven. Bake for approximately 15-20 minutes at 350°F or until the crackers turn crisp.
  7. Once the crackers are done, remove them from the oven and allow them to cool down completely. They will continue to harden as they cool.

Prep Time, Baking Information, and Servings:

  • Prep Time: 30 minutes
  • Baking Time: 15-20 minutes
  • Servings: 10

Nutritional Information (Per Serving):

  • Energy: 60 calories
  • Protein: 3.03 g
  • Fat: 3.99 g
  • Carbohydrates: 3.9 g
  • Fiber: 0.9 g

Storage and Particular Recommendations:

  • Store your crackers in an airtight container at room temperature for up to 2 weeks.
  •  These homemade crackers are perfect for snacking, dipping into hummus or cheese, or serving alongside soups and salads.
  •  Feel free to customize the flavor by adding your favorite spices like chili flakes, garlic powder, or dried herbs!
Potato Pizza

Potato Pizza

Potato Pizza

Craving pizza but trying to avoid the carbs from traditional flour crusts? This Potato Pizza is your perfect solution! By using potatoes as the base, you not only cut down on carbs but also gain a range of nutritional benefits. Potatoes are packed with essential nutrients such as vitamins C and B6, potassium, and fiber. They support a healthy immune system, promote heart health, and can help regulate blood pressure. The fiber content in potatoes aids in digestion and helps keep you full longer, which is great for maintaining a healthy weight. Additionally, potatoes are a good source of antioxidants, which help fight off free radicals in the body, contributing to overall health.

Including potatoes in your diet can also provide sustained energy, making them an excellent choice for active individuals. This Potato Pizza is not only delicious but also a smart choice for anyone looking to maintain a balanced diet without sacrificing flavor.

Let’s dive into this incredibly tasty recipe that’s sure to satisfy your pizza cravings while keeping things light and healthy!

Ingredients:

  • 300 g small-sized white potato or any potato of your choice (12 small potatoes)
  • 100 g fresh mozzarella cheese or any cheese of your choice
  • 2 garlic cloves
  • 2 tbsp. olive oil
  • ¼ cup tomato paste
  • ½ tsp. pizza seasoning powder (homemade or store-bought)
  • ~1 tbsp. water
  • Salt to taste

Directions:

  1. Place the small white potatoes in a pot and boil them for about 20 minutes or until they get tender.
  2. Once cooked, drain them and gently smash them with a hand potato masher until they flatten.
  3. Drizzle the potatoes with olive oil infused with garlic and sprinkle some salt to taste.
  4. Place the potatoes on a baking pan and bake them for approximately 25 minutes at 400°F or until they become crispy and golden brown.
  5. Once the potatoes are baked, remove them from the oven and spread pizza tomato sauce over each potato, ensuring even coverage.
  6. Add a slice of fresh mozzarella cheese on top. If desired, top each mini potato pizza with garnishes of your preference such as basil leaves, shrimp, and black olives.
  7. Return the baking pan to the oven and broil quickly for about 5 minutes or until the cheese is melted.
  8. Enjoy while still warm and gooey.

Prep Time, Baking Information, and Servings:

  • Prep Time: 40 minutes
  • Baking Time: 25 minutes
  • Broiling Time: 5 minutes
  • Servings: 12

Nutritional Information (Per Serving):

  • Energy: 69 calories
  • Protein: 2.62 g
  • Fat: 4.16 g
  • Carbohydrates: 5.76 g
  • Fiber: 0.8 g

Storage and Particular Recommendations:

  • While these mini pizzas can be stored and reheated, they are best enjoyed when freshly made for optimal crispiness and flavor.
  •  Experiment with different toppings and garnishes to suit your taste preferences.
  •  The versatility of potatoes allows you to customize this recipe endlessly, making it perfect for any occasion!