Red Lentil Mini Bread
Red Lentil Mini Bread
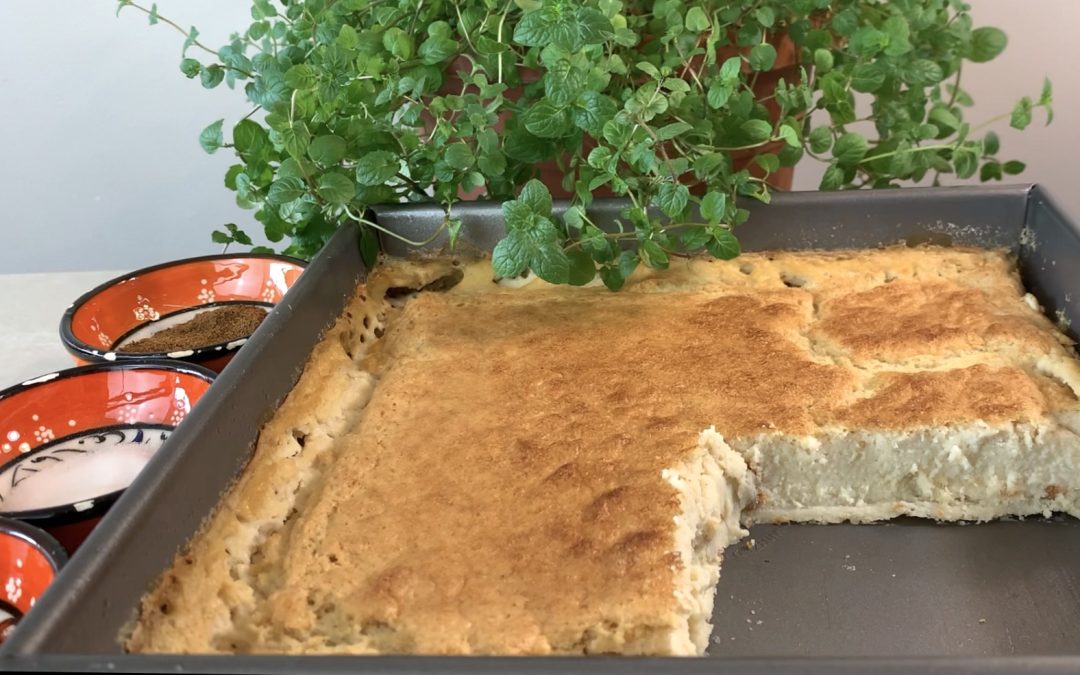
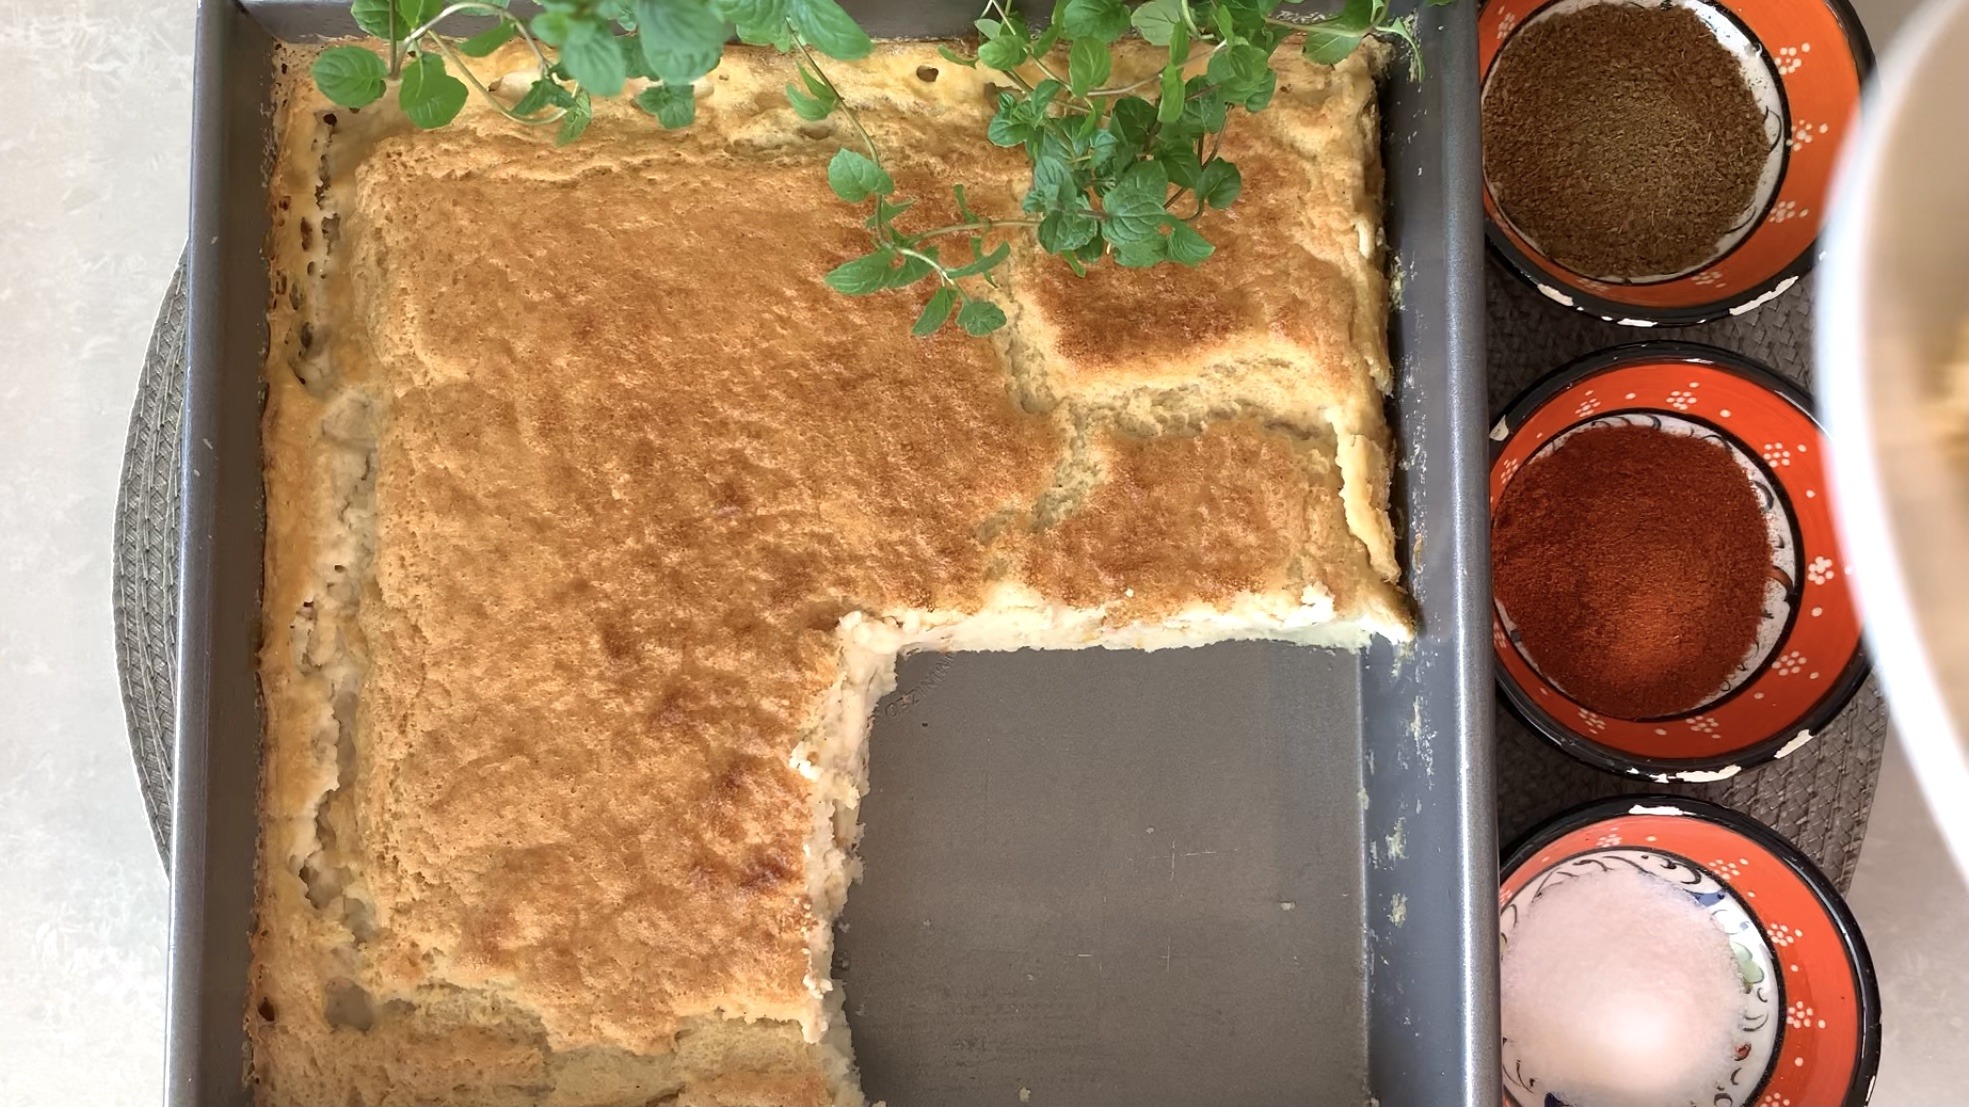
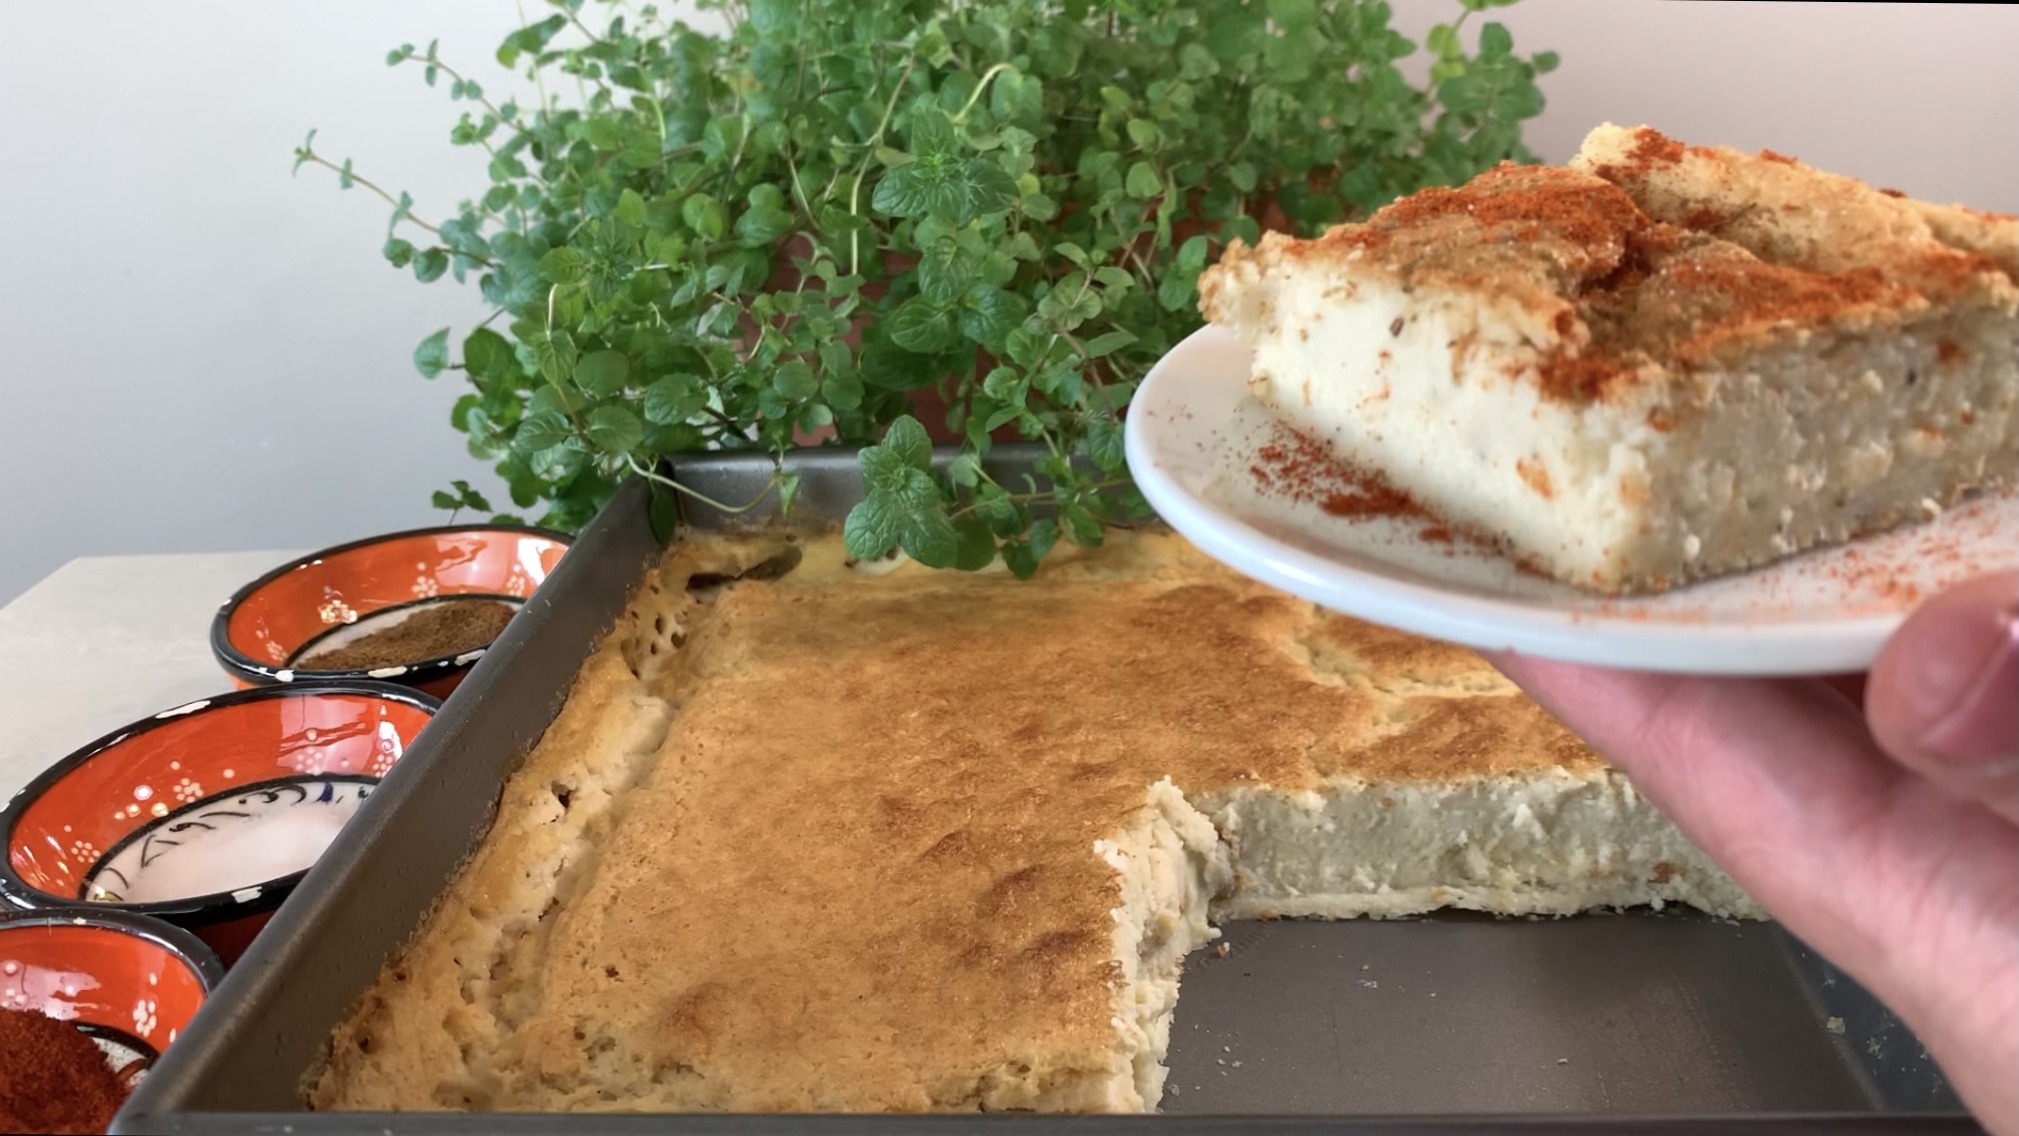
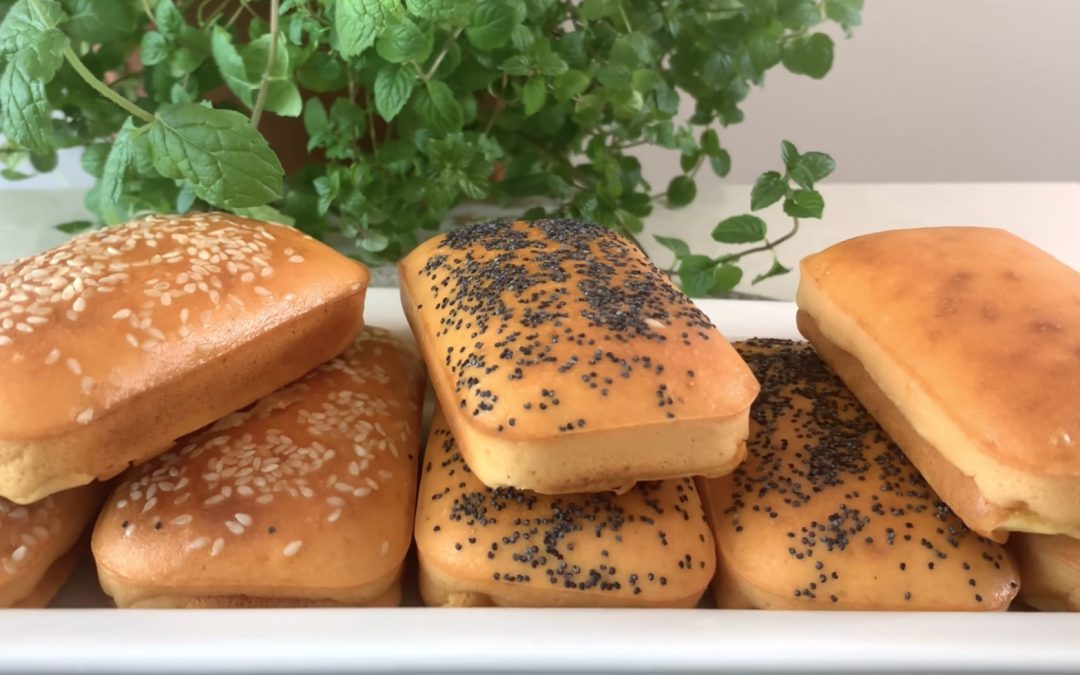
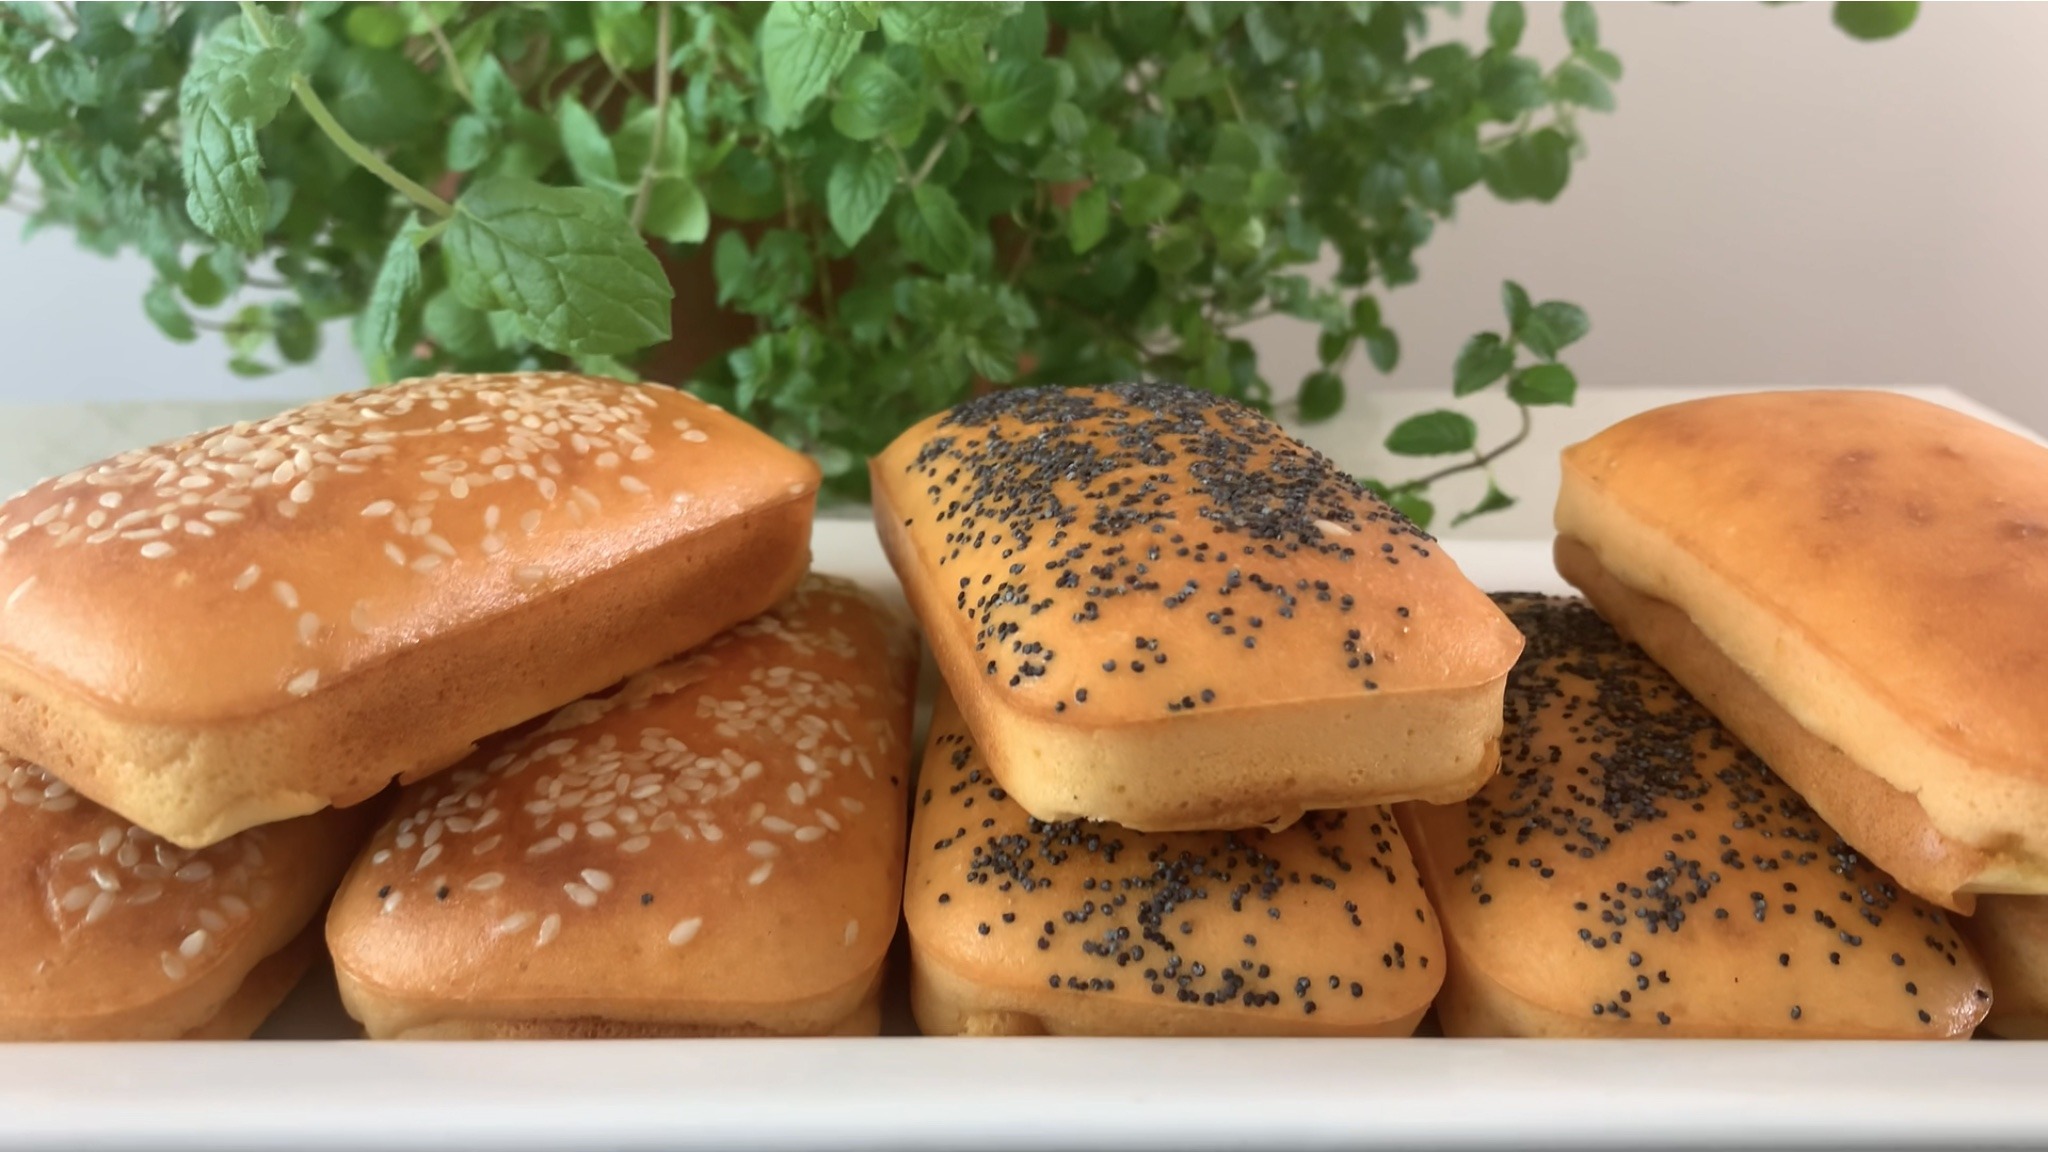
 Indulge in the extraordinary flavors and nutritional benefits of these incredible mini loaf breads, perfect for those seeking vegetarian, gluten-free, and grain-free alternatives. These breads are not just a delightful addition to your meals but also a powerhouse of nutrition, ensuring you get the best of both taste and health.
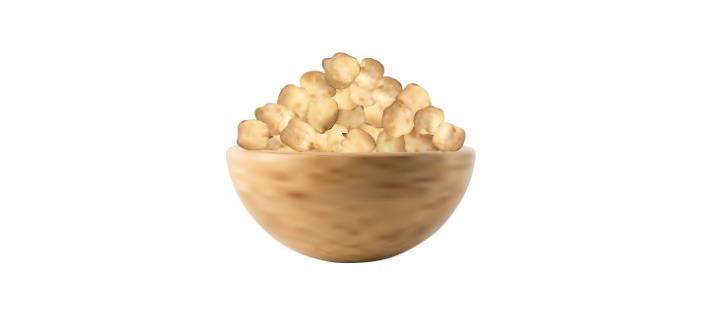
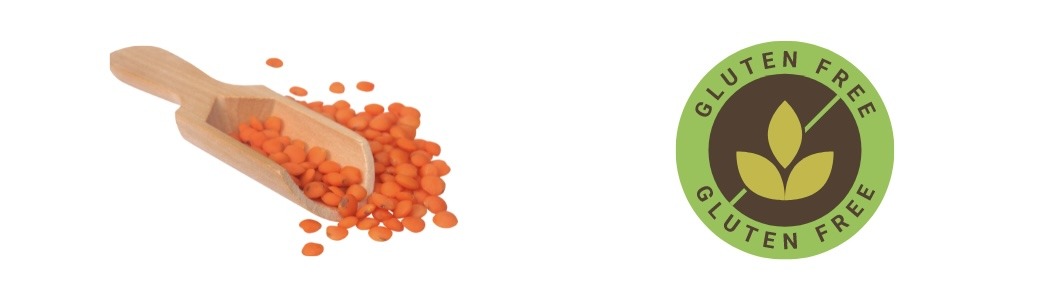
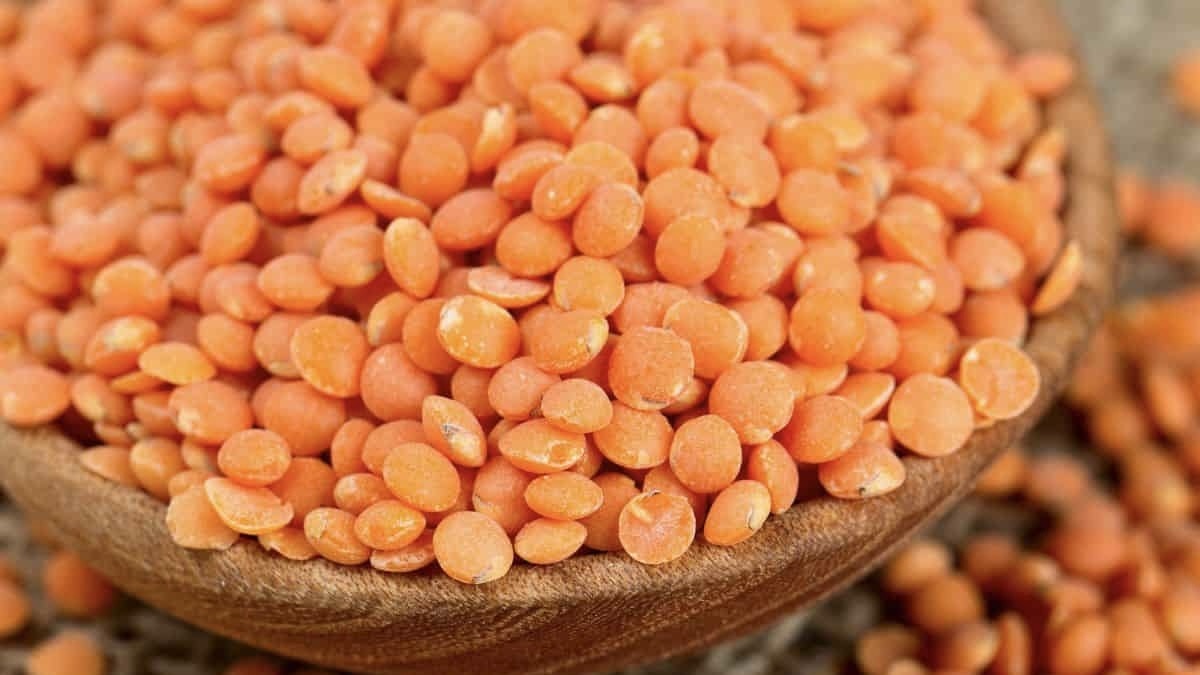
Red lentils, the star ingredient of this recipe, offer a plethora of health benefits. They are rich in protein, making them an excellent source of plant-based protein, especially for vegetarians and vegans. Along with their high protein content, red lentils are packed with dietary fiber, which aids in digestion and helps maintain a healthy gut. They are also a good source of iron, essential for the production of red blood cells and overall energy levels. The inclusion of red lentils in your diet can contribute to weight management, lower cholesterol levels, and improved heart health, making these mini breads not only delicious but also a great choice for your daily nutrition.
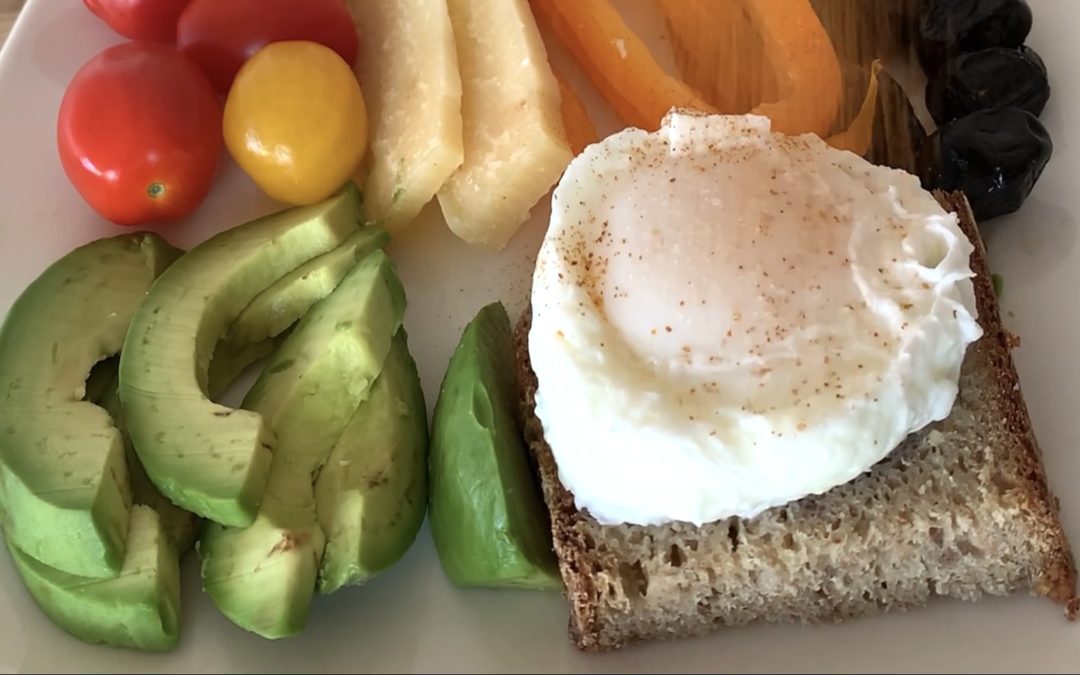
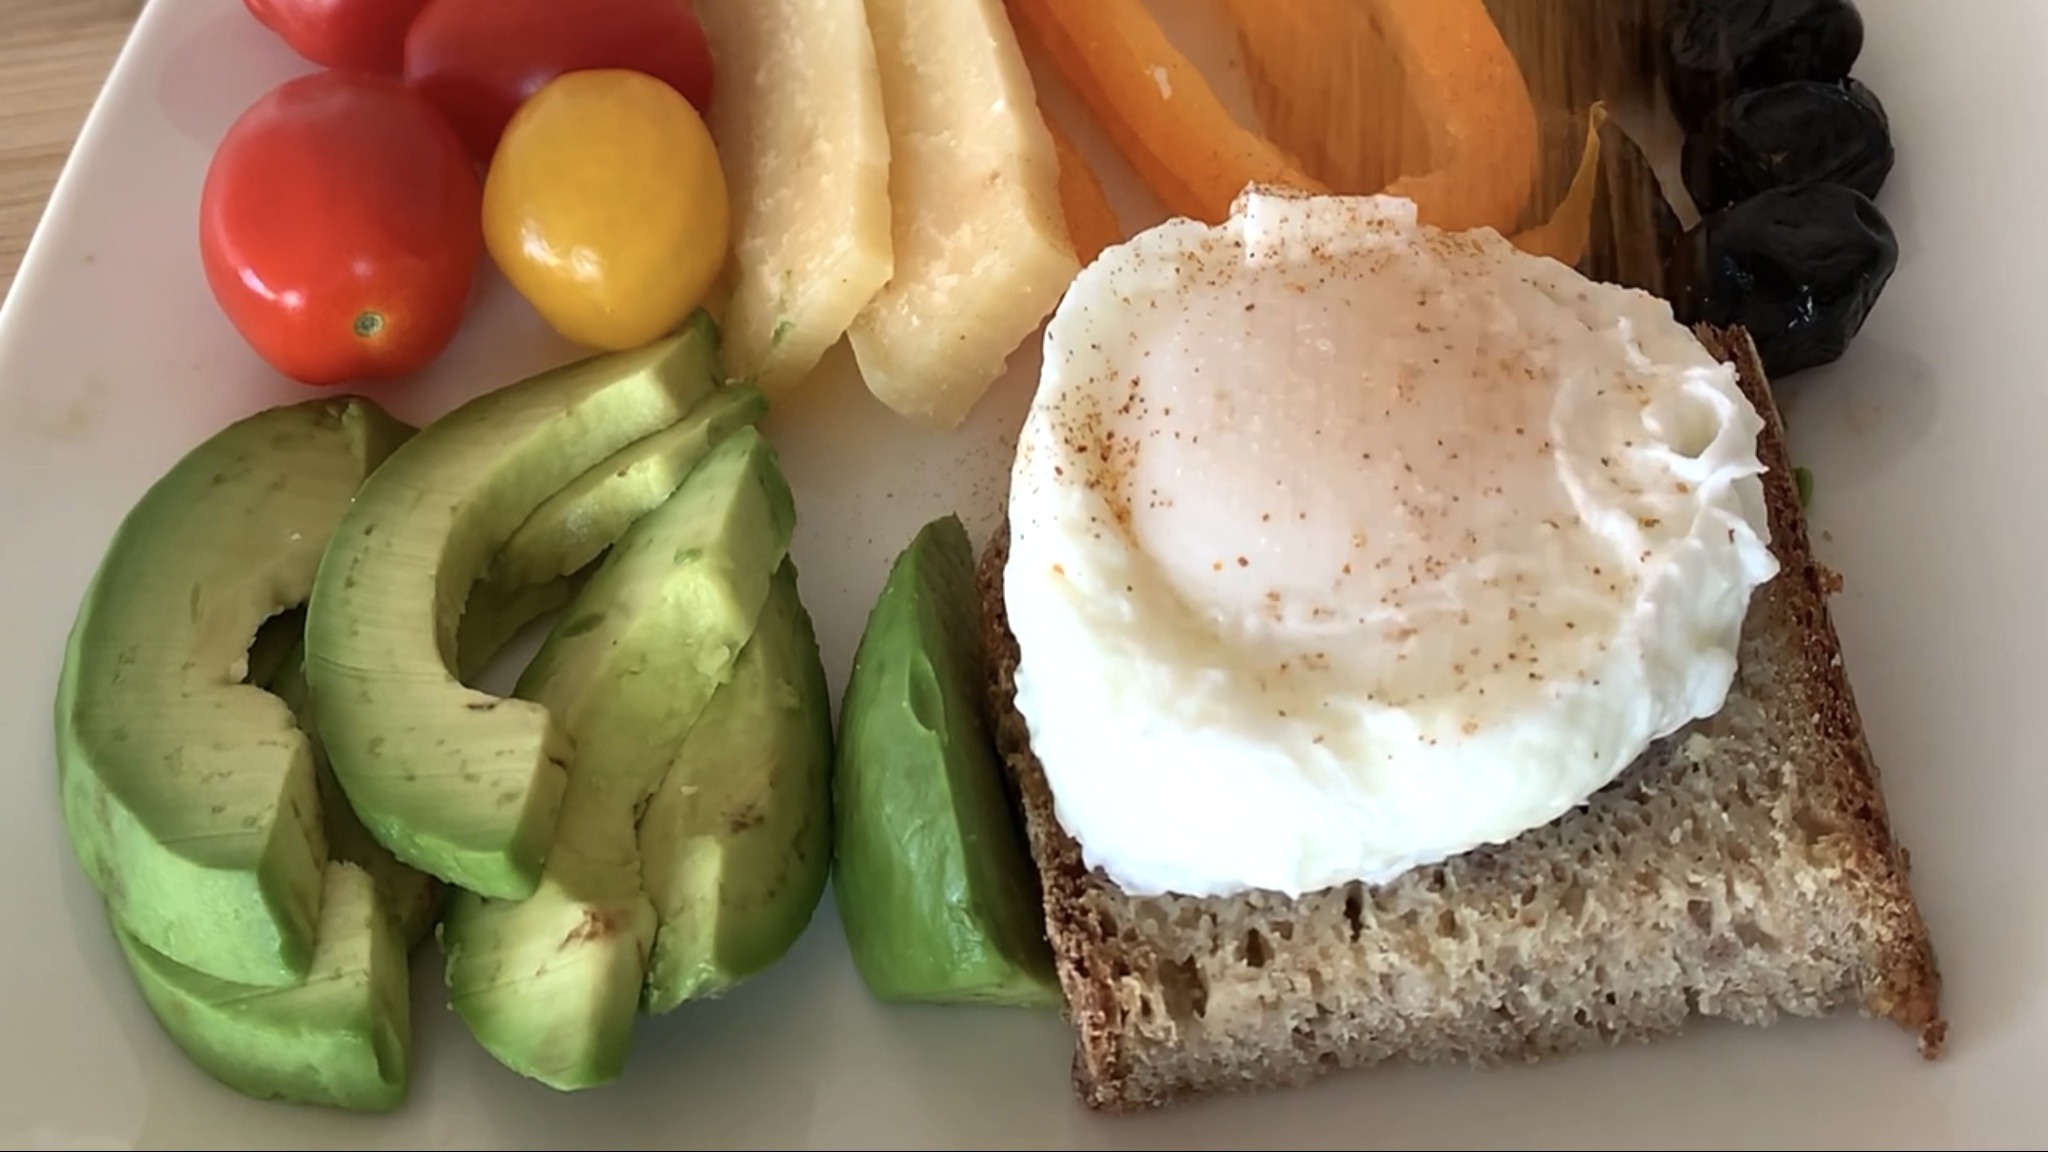
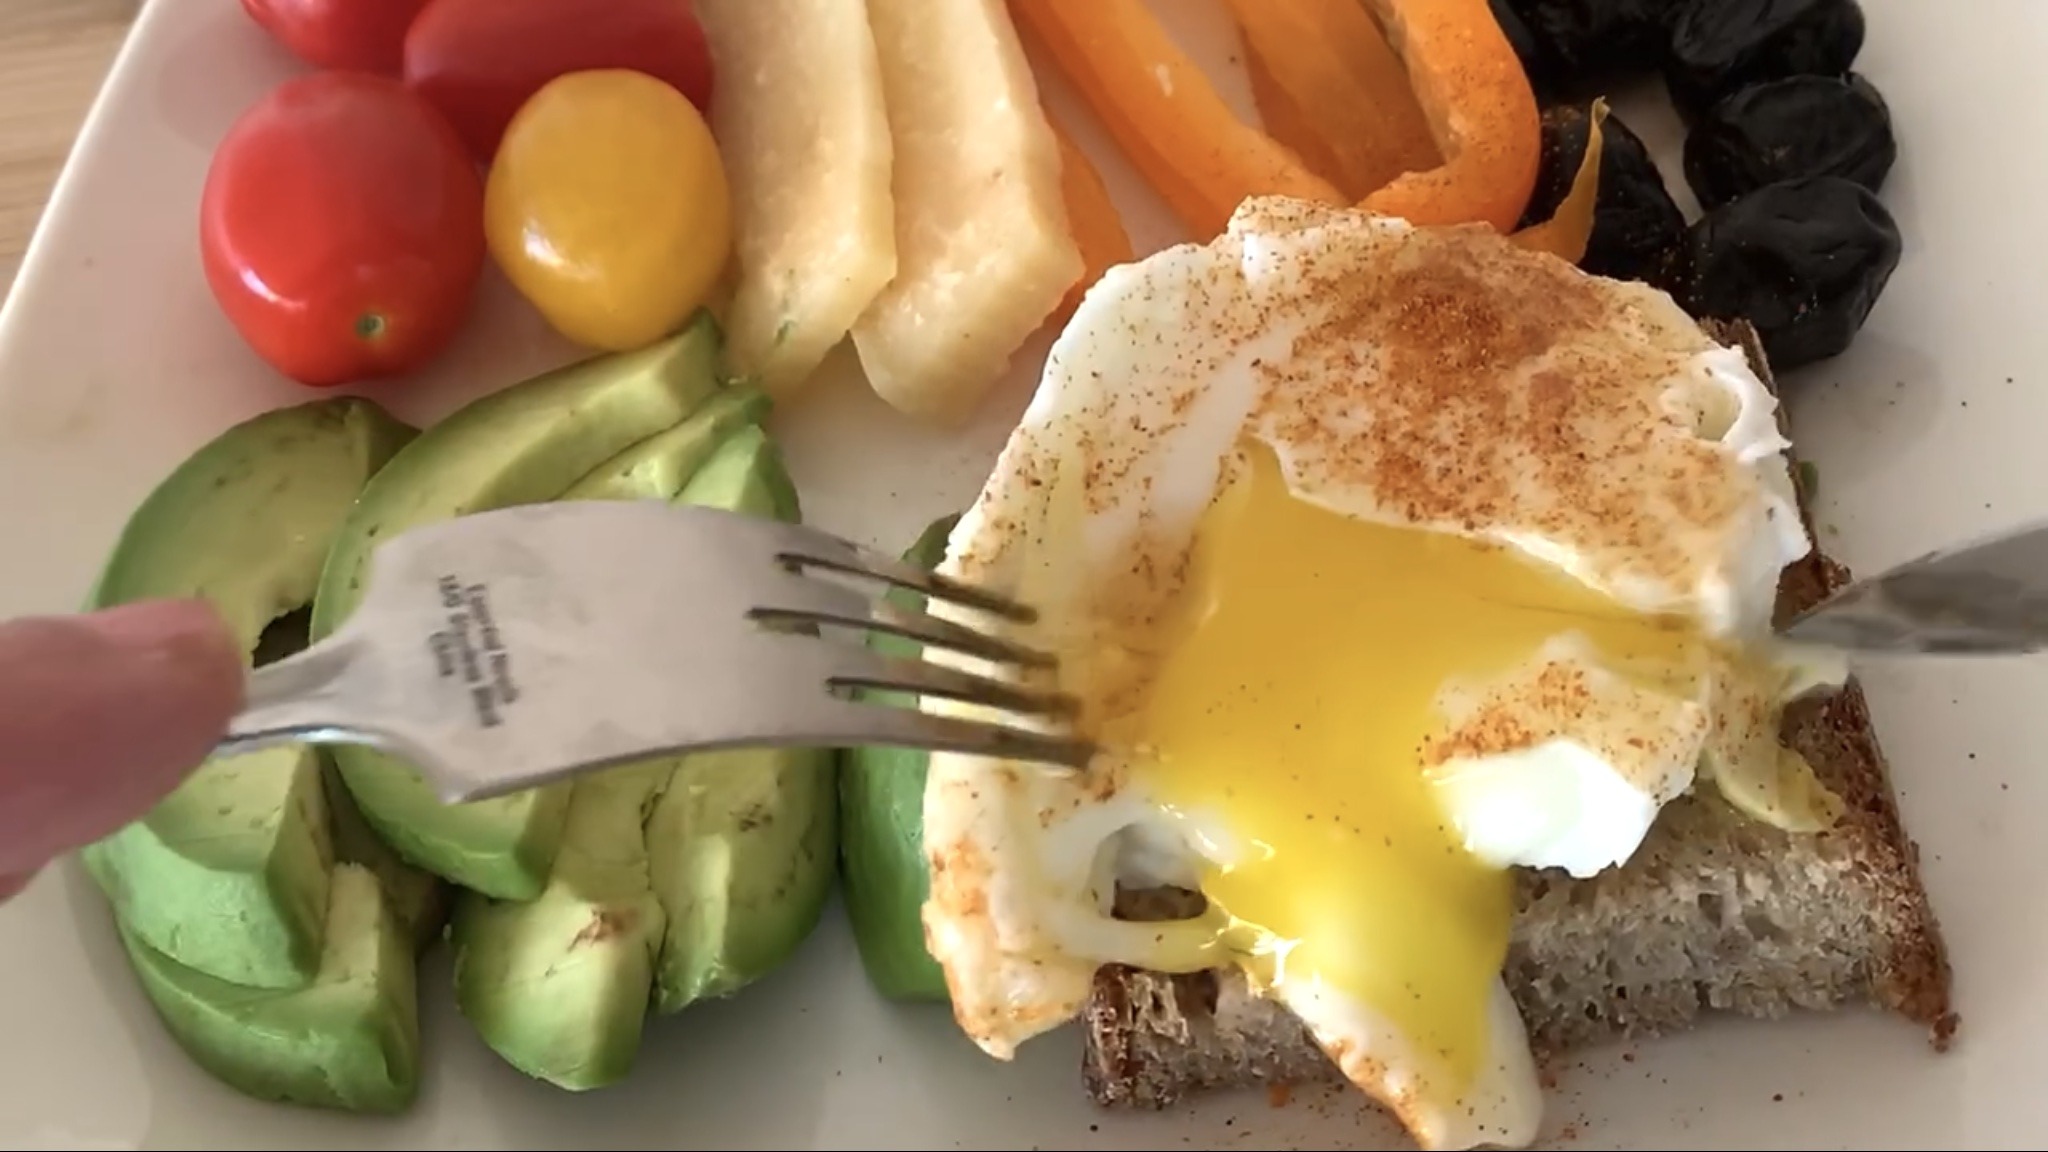
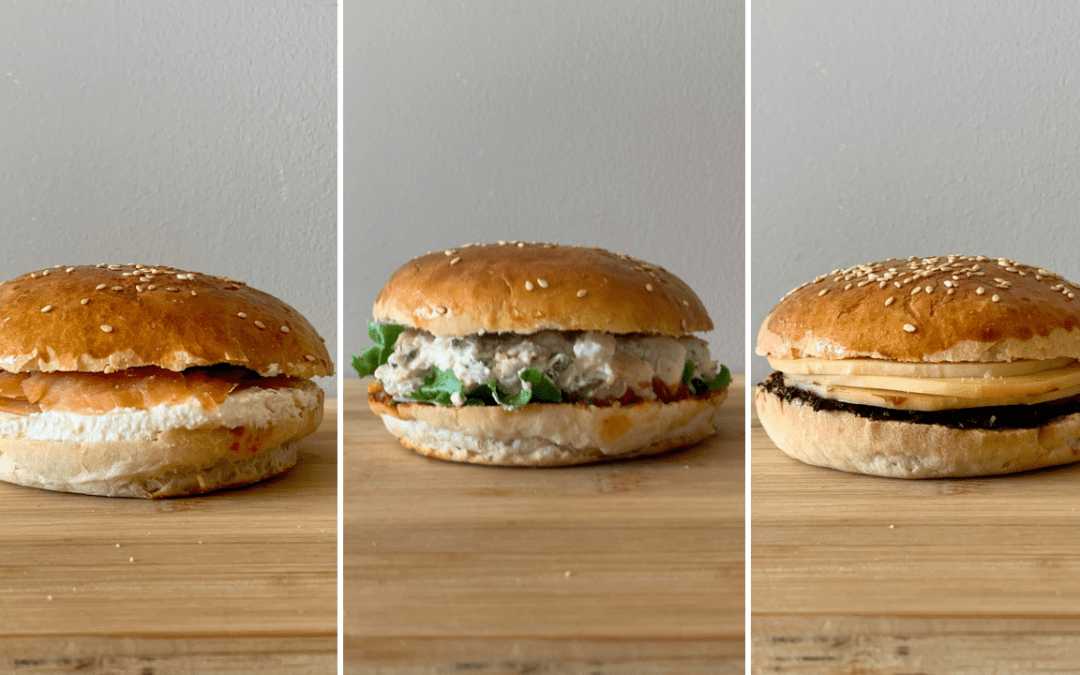
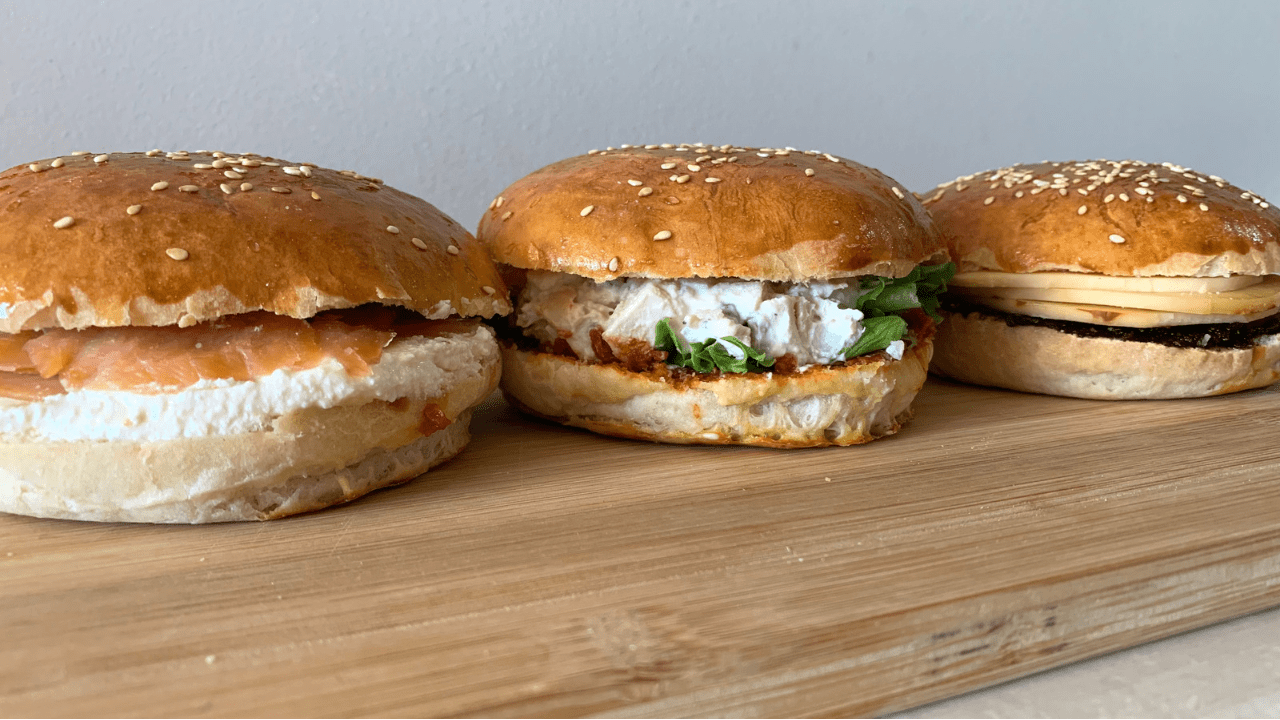
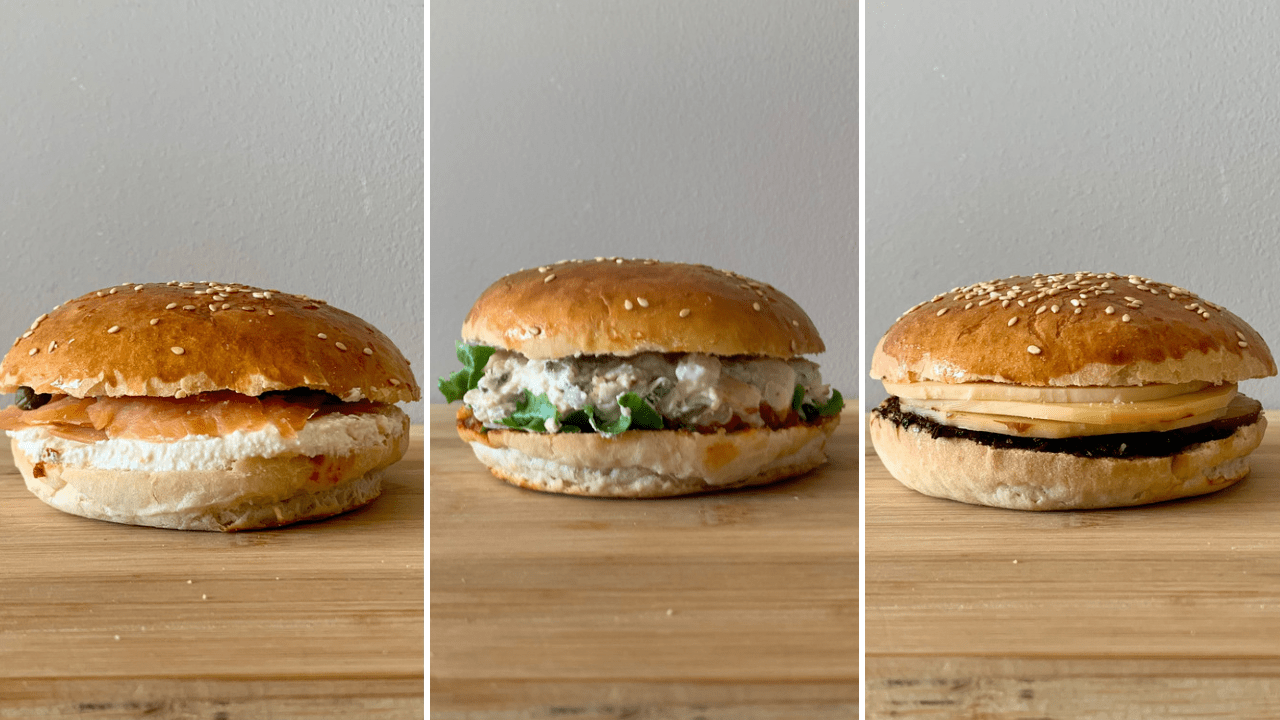
Paired with cottage cheese and eggs for added protein, these mini loaves are not only incredibly filling but also versatile. Whether enjoyed warm with a spread of butter, as a base for a healthy toast, or even as sandwich bread, these mini loaves are sure to become a staple in your kitchen.
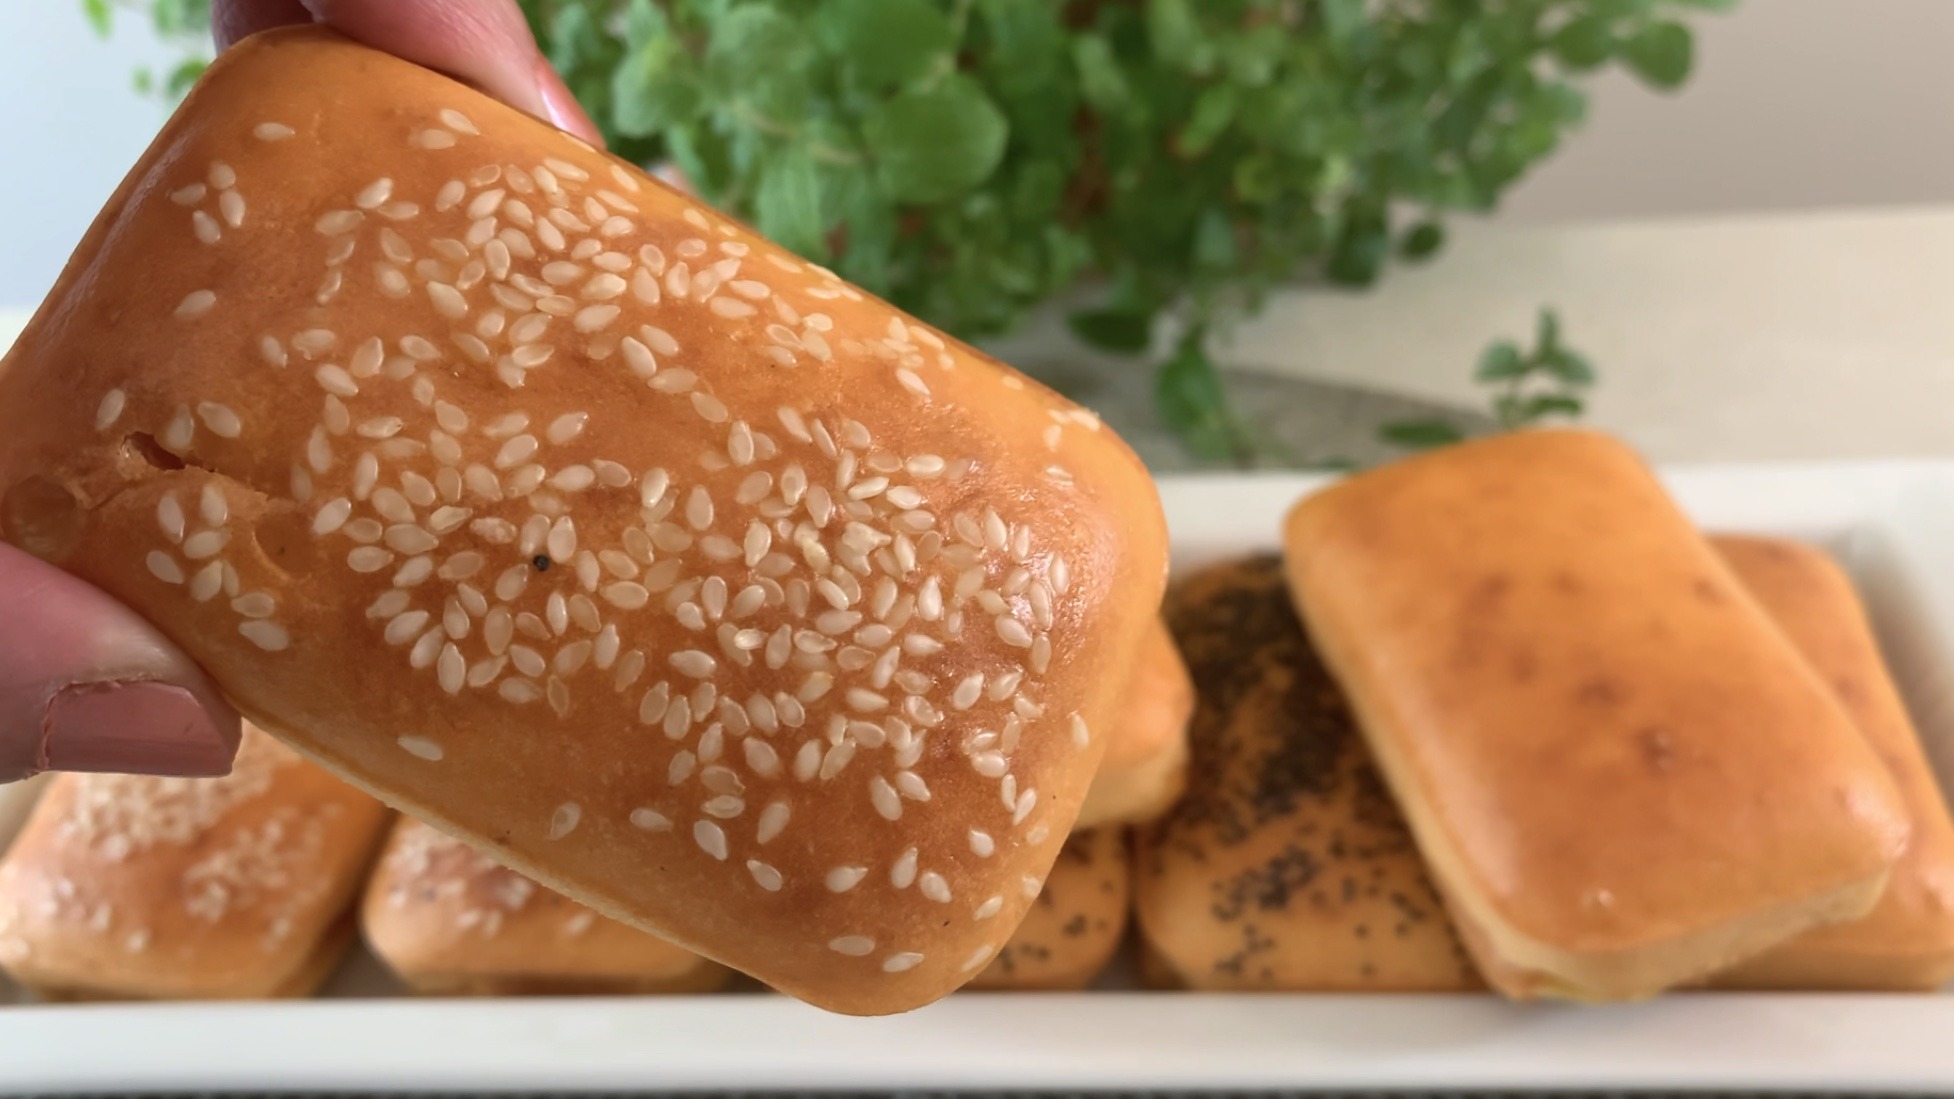
Get ready to be amazed by the exceptional taste and texture of these lentil-based bread alternatives!
Ingredients
- 1 cup red lentils (190 g)
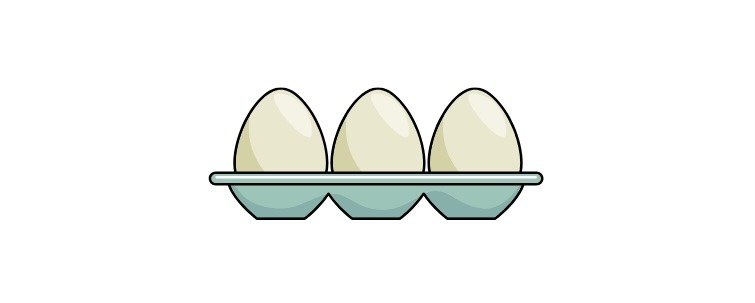
- 2 eggs
- 1 cup cottage cheese, sour cream, or yogurt
- 4 tbsp. olive oil
- 1 tsp. salt
- Black pepper (optional)
- ½ tbsp. baking powder
- 1 tsp. sesame seeds or other seeds of your choice for garnish (optional)
- 1 tsp. poppy seeds or other seeds of your choice for garnish (optional)
Directions
- Soak red lentils overnight in the refrigerator. Rinse them thoroughly, drain extremely well from all the rinsing water, and transfer them into a blender.
- Add eggs, cottage cheese, olive oil, salt, black pepper (if using), and baking powder to the blender.
- Blend until you achieve a smooth and silky consistency.
- Brush the cups of your mini loaf pan with oil and line them with parchment paper to prevent sticking.
- Pour the equivalent of ⅓ cup of the batter into each mini loaf cup.
- Sprinkle sesame seeds, poppy seeds, or any other seeds of your choice on top for garnish.
- Preheat your oven to 365°F (185°C).
- Bake the mini loaf breads for approximately 40 minutes, or until they turn golden and are well cooked through.
- Remove from the loaves pan and let them cool down before enjoying.
Prep Time, Baking Information, and Servings
- Servings: 9 Mini Breads
- Overnight Soaking: Required
- Prep Time: 30 minutes
- Baking Time: 40 minutes
Nutritional Information (Per 1 Mini Bread)
- Energy: 168 calories
- Protein: 9.18 g
- Fat: 8.4 g
- Carbohydrates: 14.72 g
- Fiber: 2.4 g
Notes & Storage
- Store your mini loaf breads in an airtight container in the fridge for up to 1 week or up to 3 months in the freezer.
- Enjoy these versatile and nutritious mini loaves warm with butter or as a healthy toast, or sandwich bread.