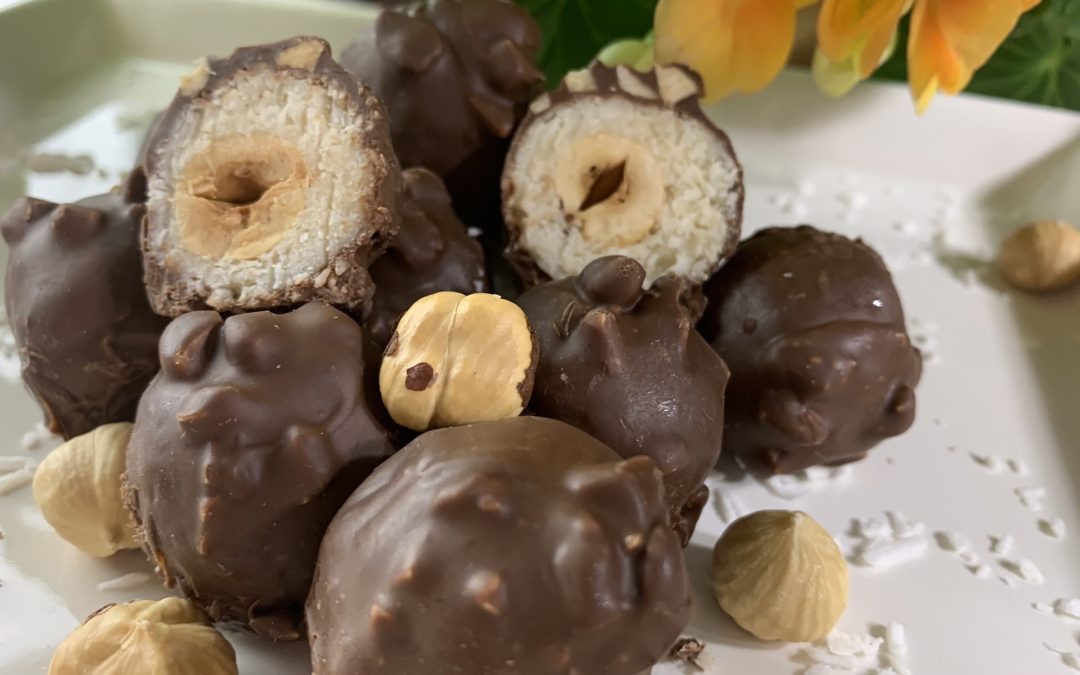
Chocolate Coconut Balls
Chocolate Coconut Balls

Embark on the joy of creating homemade chocolate coconut hazelnut balls, a delightful treat perfect for sharing during the holiday season and all year long. Whether you’re enjoying them yourself or gifting them to loved ones, these easy and delicious treats are sure to bring pleasure and satisfaction.

Coconut and dark chocolate are the stars of this recipe, each bringing their own unique health benefits. Coconut provides a good source of healthy fats, particularly medium-chain triglycerides (MCTs), which are known for providing quick energy and supporting metabolism. Dark chocolate, rich in antioxidants, particularly flavonoids, supports heart health and can even boost your mood.
With familiar ingredients and simple steps, this recipe offers a wholesome and sweet choice to enjoy.
These Chocolate Coconut Balls are a perfect blend of rich chocolate and coconut flavor, offering a luxurious treat that’s easy to make and even easier to enjoy. Perfect for any occasion, they’re sure to be a hit!
Ingredients
1 cup finely shredded coconut
3 tbsp coconut oil
3 tbsp maple syrup
Pinch of salt (optional)
20 g hazelnuts (12 units, roasted)
90 g dark chocolate
15 g extra hazelnuts (to mix with the melted chocolate)
Directions
- In a mixing bowl, combine finely shredded coconut, coconut oil, a pinch of salt, and maple syrup. Mix until a sticky mixture forms.
- Allow the mixture to rest in the fridge for a minimum of 30 minutes to ease shaping.
- Meanwhile, roast hazelnuts in the oven at 350°F for 10 minutes.
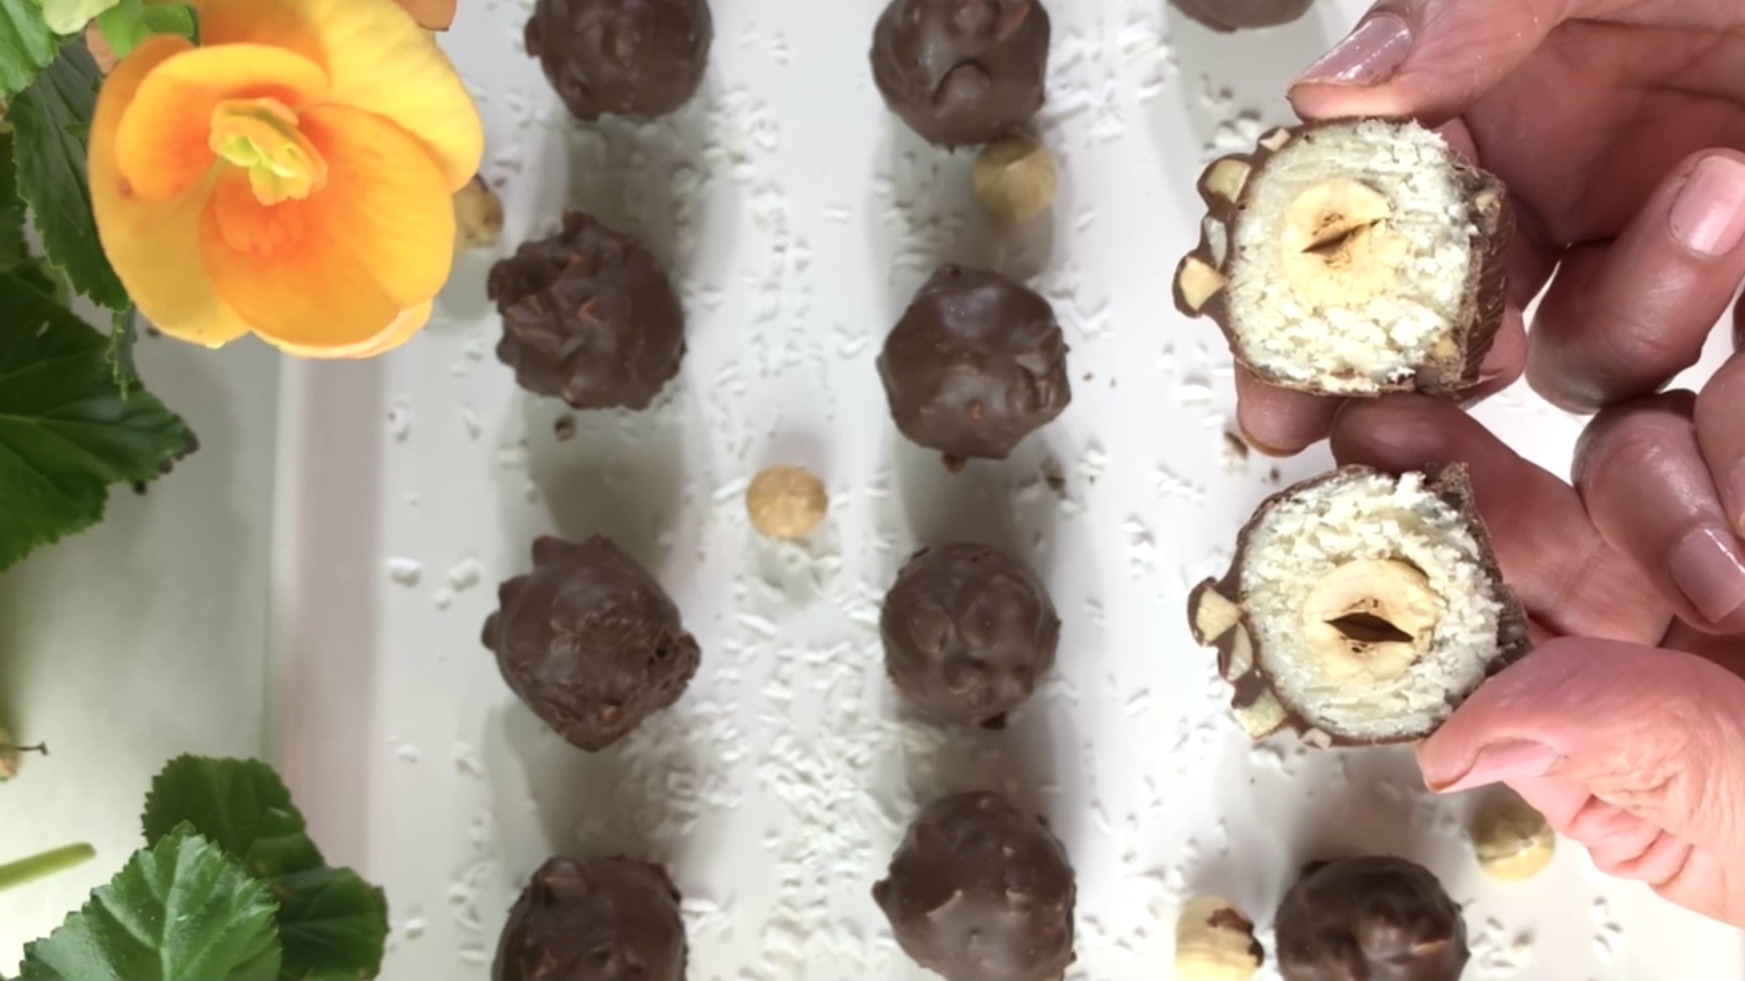
- Once cooled, insert one roasted hazelnut into each coconut ball.
- Melt dark chocolate and set aside.
- Finely chop a handful of roasted hazelnuts and combine with the melted chocolate.
- Generously coat each coconut ball with the chocolate hazelnut mixture.
- Chill the chocolate coconut hazelnut balls in the fridge for another 30 minutes before serving.
Yields: 12 Servings
Prep Time: 30 minutes
Fridge Time: 1 hour
Nutritional Information
Per 1 Serving:
Energy: 144 calories
Protein: 1.25 g
Fat: 11.12 g
Carbohydrates: 10.98 g
Fiber: 1.4 g
Storage
- Store your chocolate coconut balls in an airtight container in the fridge for up to 1 week or in the freezer for up to 3 months.
- Serve as a delightful treat or pack them into decorative containers for homemade holiday gifts.