Easy Pumpkin Soup
Easy Pumpkin Soup

As the cool winds of autumn begin to whisper and pumpkins take their rightful place at the heart of the season, there’s nothing more comforting than a warm, velvety bowl of pumpkin soup. This simple yet nourishing recipe transforms the humble pumpkin into a rich, flavorful dish that embodies everything cozy and wholesome about fall.
Roasting the pumpkin enhances its natural sweetness, unlocking layers of flavor that pair beautifully with the subtle warmth of ginger, the earthiness of roasted red pepper, and the creamy richness of coconut milk. It’s the kind of dish you’ll find yourself craving as the days get shorter and the temperatures drop.
Pumpkin is more than just a fall favorite for decorating doorsteps or making pies—it’s a nutritional powerhouse that deserves a regular spot on your table. It’s packed with beta-carotene, a powerful antioxidant that your body converts into vitamin A, supporting vision health, immune function, and skin vitality. With its high fiber content, pumpkin also aids digestion and helps to keep you feeling full longer, making it an ideal choice for those looking to manage their weight. Additionally, the low-calorie nature of pumpkin allows you to indulge in generous servings without guilt, while its potassium content supports heart health and helps balance fluids in the body. Incorporating pumpkin into your diet isn’t just delicious; it’s an easy way to give your body a natural boost of vital nutrients.

This recipe’s combination of roasted pumpkin, garlic, and bell peppers not only adds flavor complexity but also brings together a range of health benefits, from anti-inflammatory properties to immune support. The inclusion of coconut milk offers a dairy-free alternative that enhances the soup’s creaminess while adding healthy fats to promote brain and heart health. With all these ingredients working together, this soup is a bowl of wellness as much as it is comfort, making it a go-to meal for any time of year, especially when you need something easy, delicious, and packed with nutrients.
Ingredients
-
For the soup:
- 600 g pumpkin
- 160 g bell pepper
- 100 g medium onion
- ½ bulb of garlic (or 5 cloves)
- 2 tbsp. olive oil, for brushing
- Salt and pepper, to taste
- 8 g fresh ginger
- 1 cup coconut milk
- 1 cup chicken broth
-
For the garnish (optional):
- 2 tbsp. coconut milk or olive oil
- 15 g roasted sliced almonds
Directions
- Preheat your oven to 385°F (195°C).
- Peel the pumpkin and cut into large chunks.
- Cut the bell pepper into large chunks.
- Quarter the onion and slice the bulb of garlic in half, using only one half.
- Brush the pumpkin, bell pepper, onion, and garlic with olive oil and arrange them on a baking tray lined with parchment paper.
- Season the vegetables with salt and pepper.
- Roast in the preheated oven for 45 minutes, or until the vegetables are soft and have a golden color.
- Once roasted, transfer the vegetables to a blender.
- Add the fresh ginger for a zesty kick and blend until smooth.
- Transfer the puree to a saucepan, pour in the coconut milk and chicken broth, and heat over low-medium heat for about 5 minutes, allowing the flavors to meld.
- Taste and adjust the seasoning with more salt and pepper as needed.
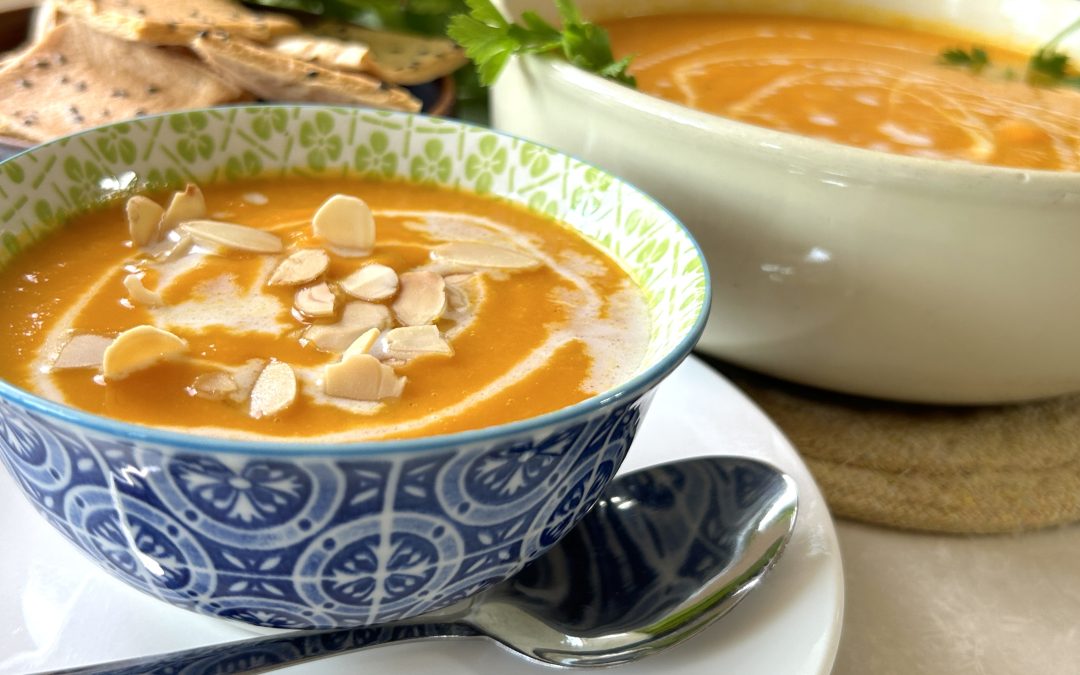
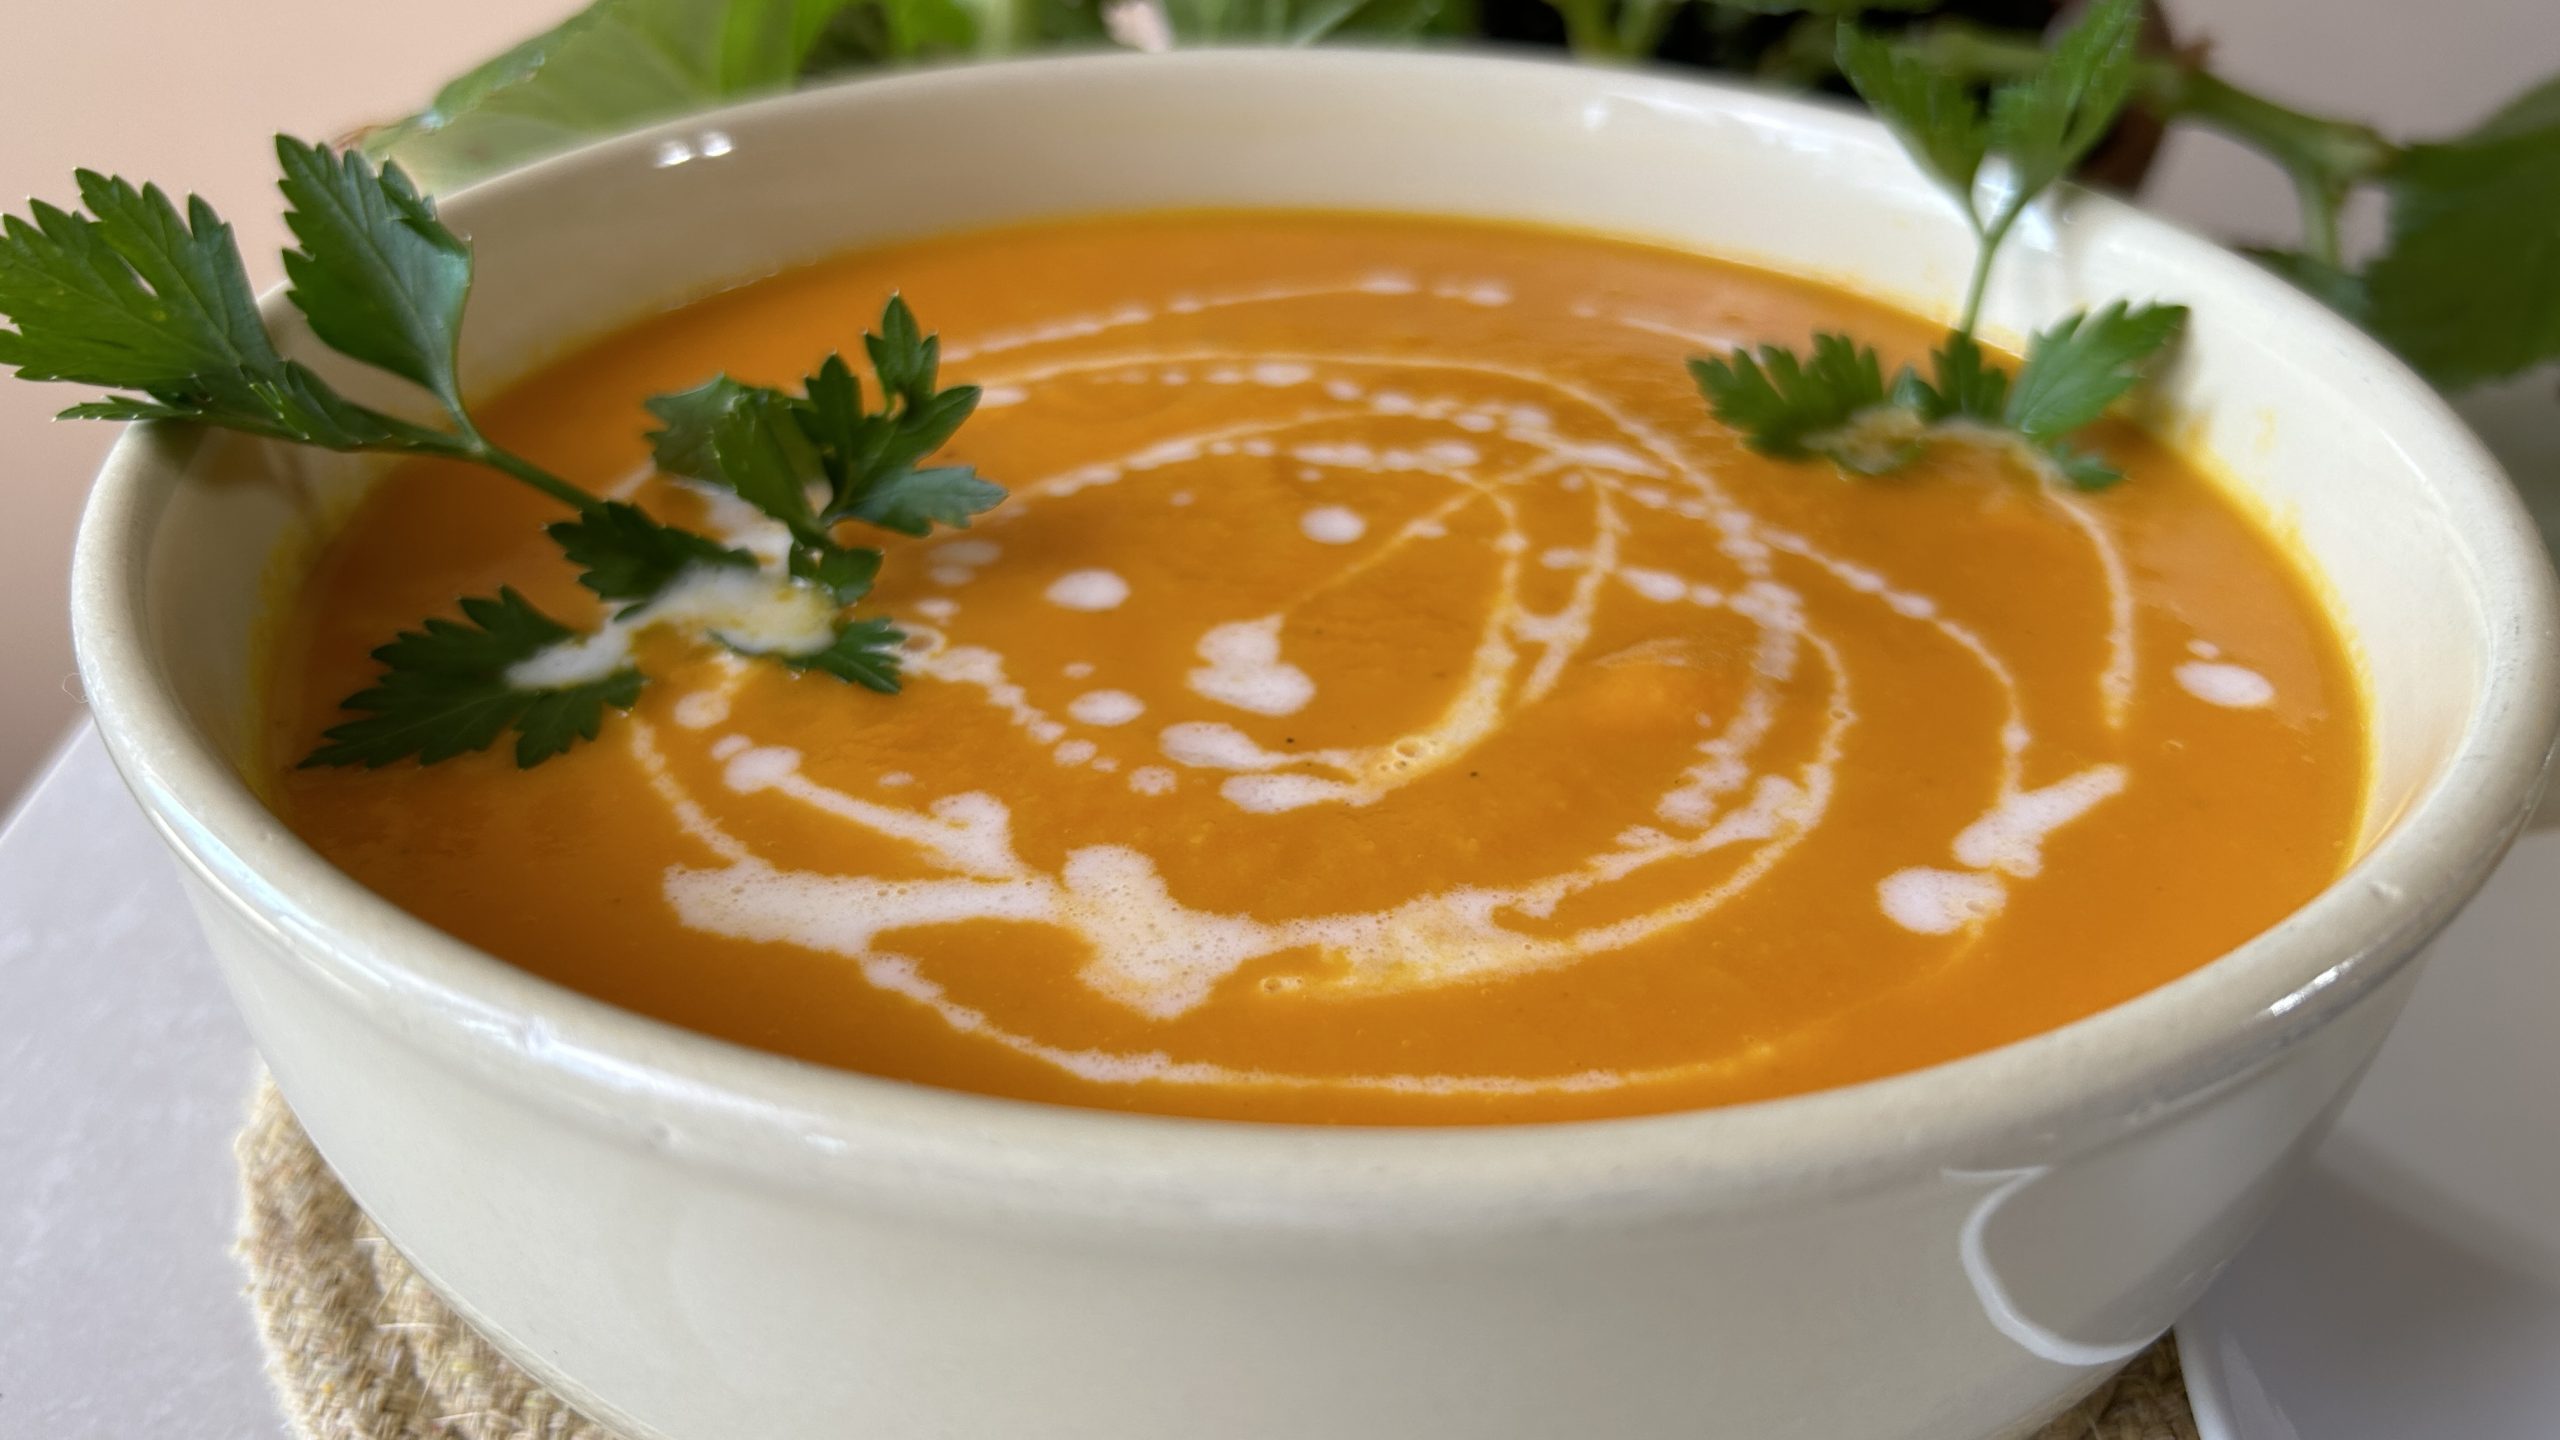
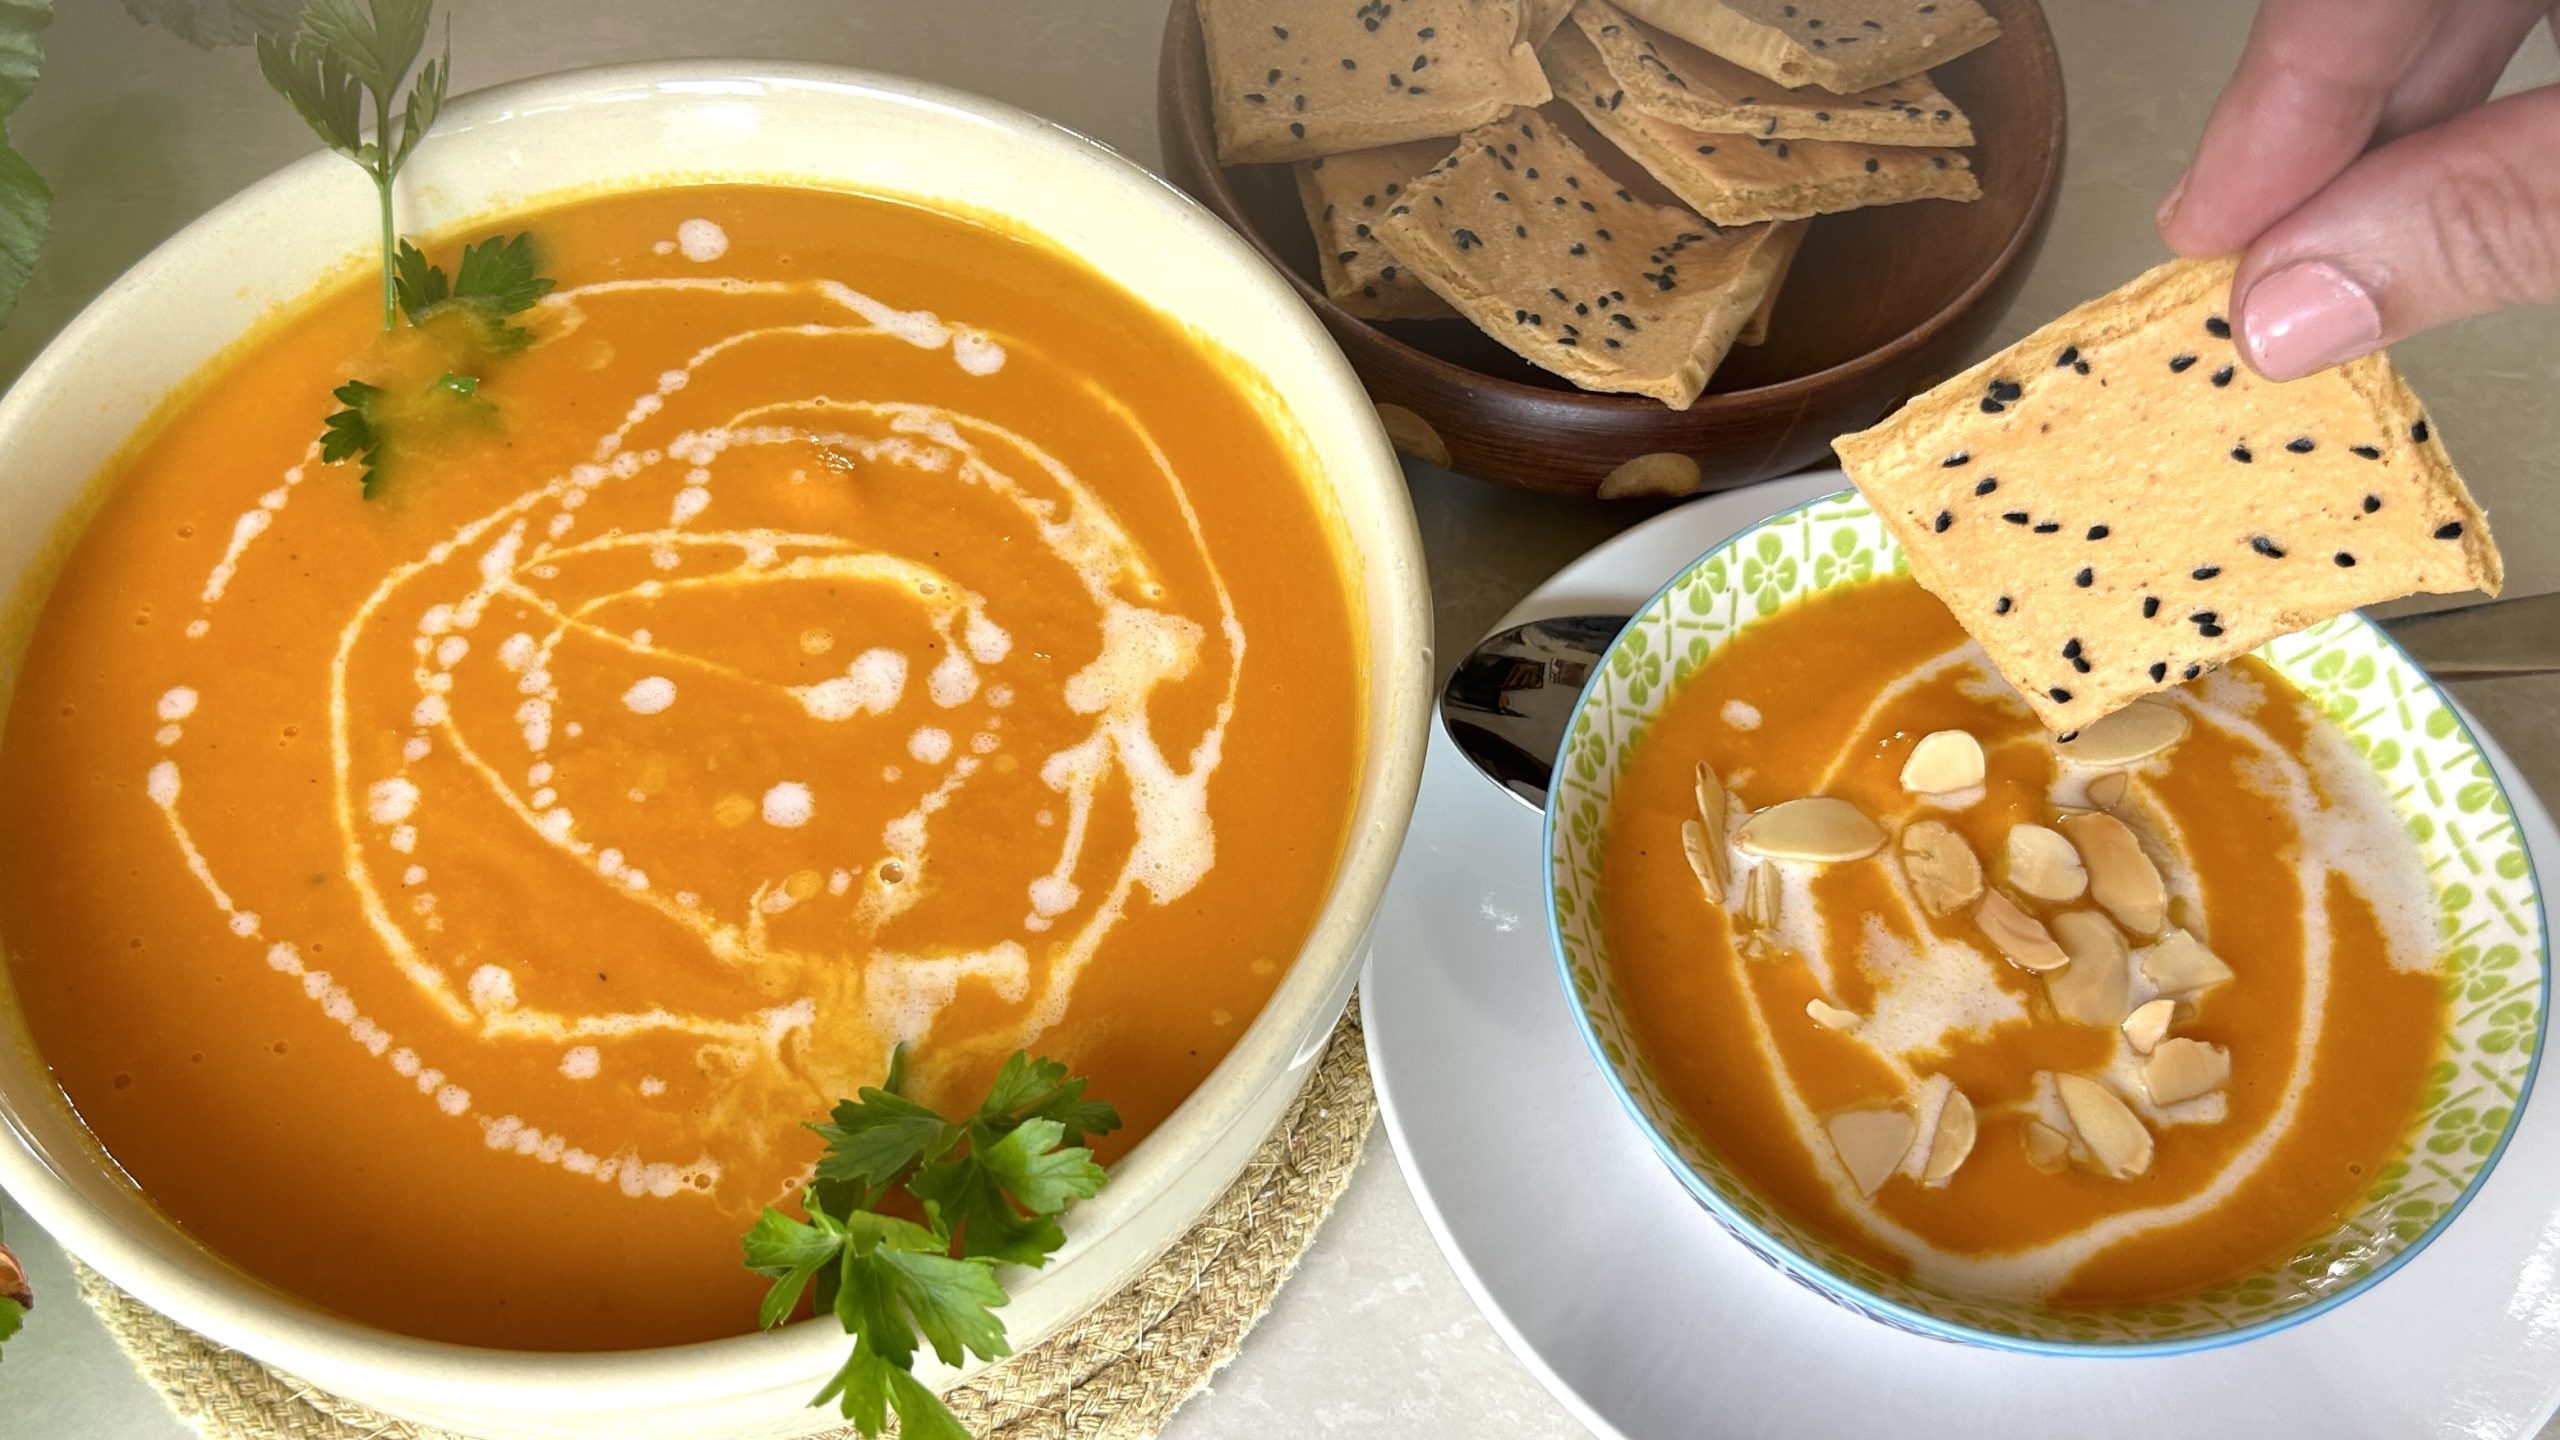
- Serve the soup hot, garnished with a drizzle of coconut milk or olive oil and a sprinkle of roasted almonds.
Prep Time, Baking Information, and Servings
- Prep time: 20 minutes
- Baking time: 45 minutes
- Servings: 6
Nutritional Information
- Per Serving:
- Energy: 177 calories
- Protein: 2.84 g
- Fat: 14.32 g
- Carbohydrates: 12.71 g
- Fiber: 2.2 g
Storage and Particular Recommendations
- Store the soup in an airtight container in the fridge for up to 5 days.
- For longer storage, freeze in portioned containers for up to 3 months.
- Roasted almonds or a drizzle of coconut milk or olive oil adds a nice texture contrast when serving.
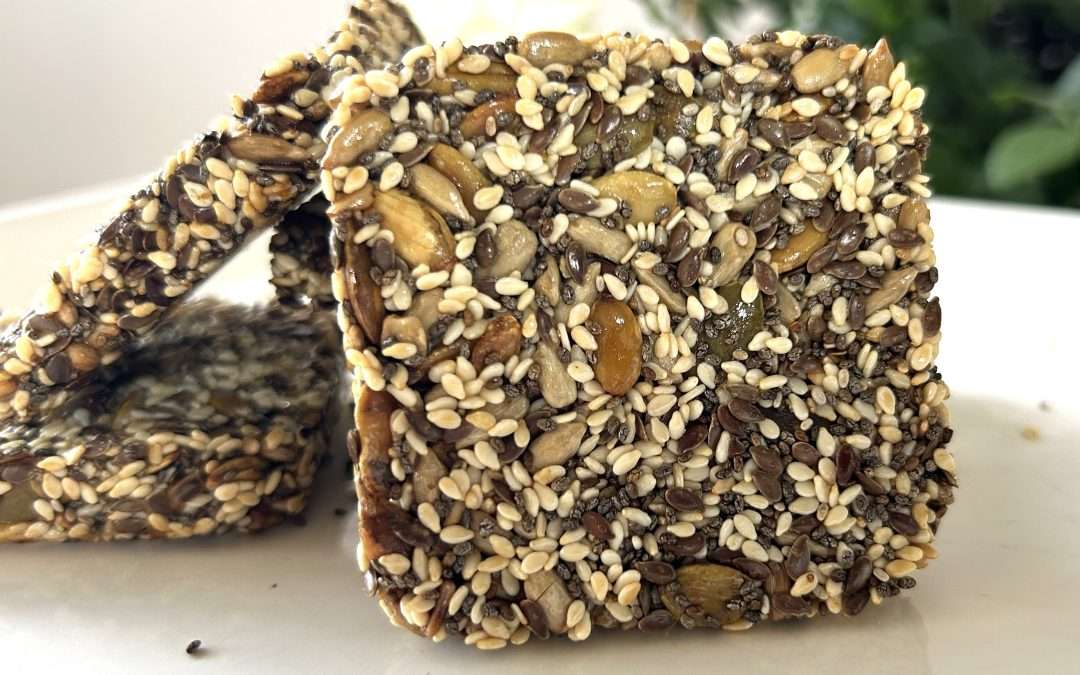

 Let’s take a closer look at the benefits of each seed in this recipe: