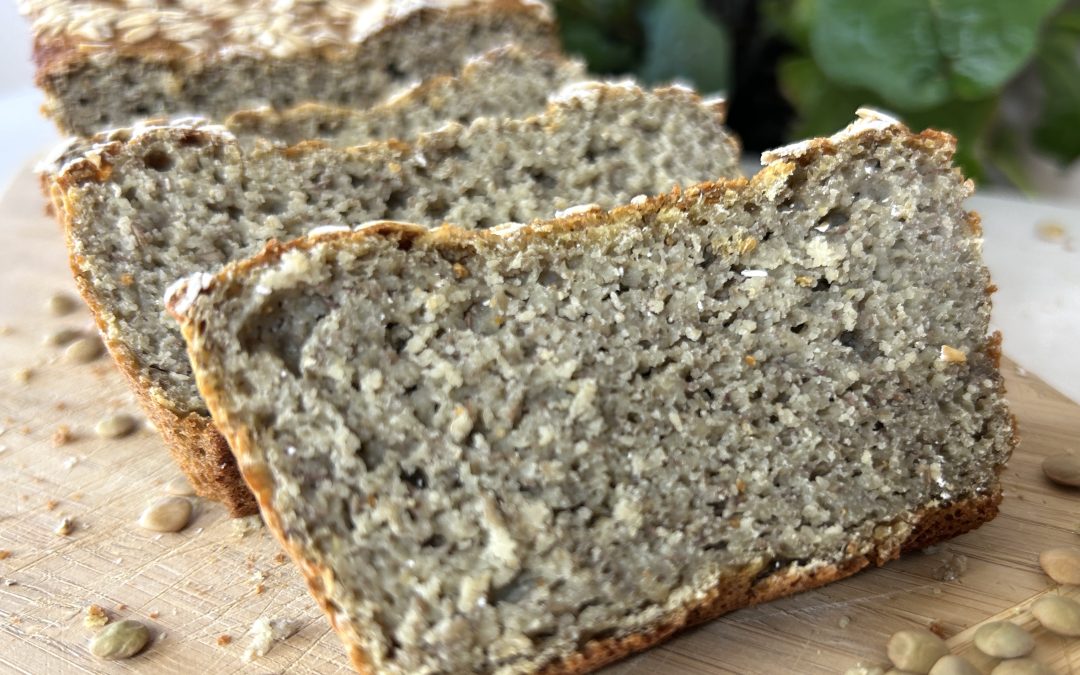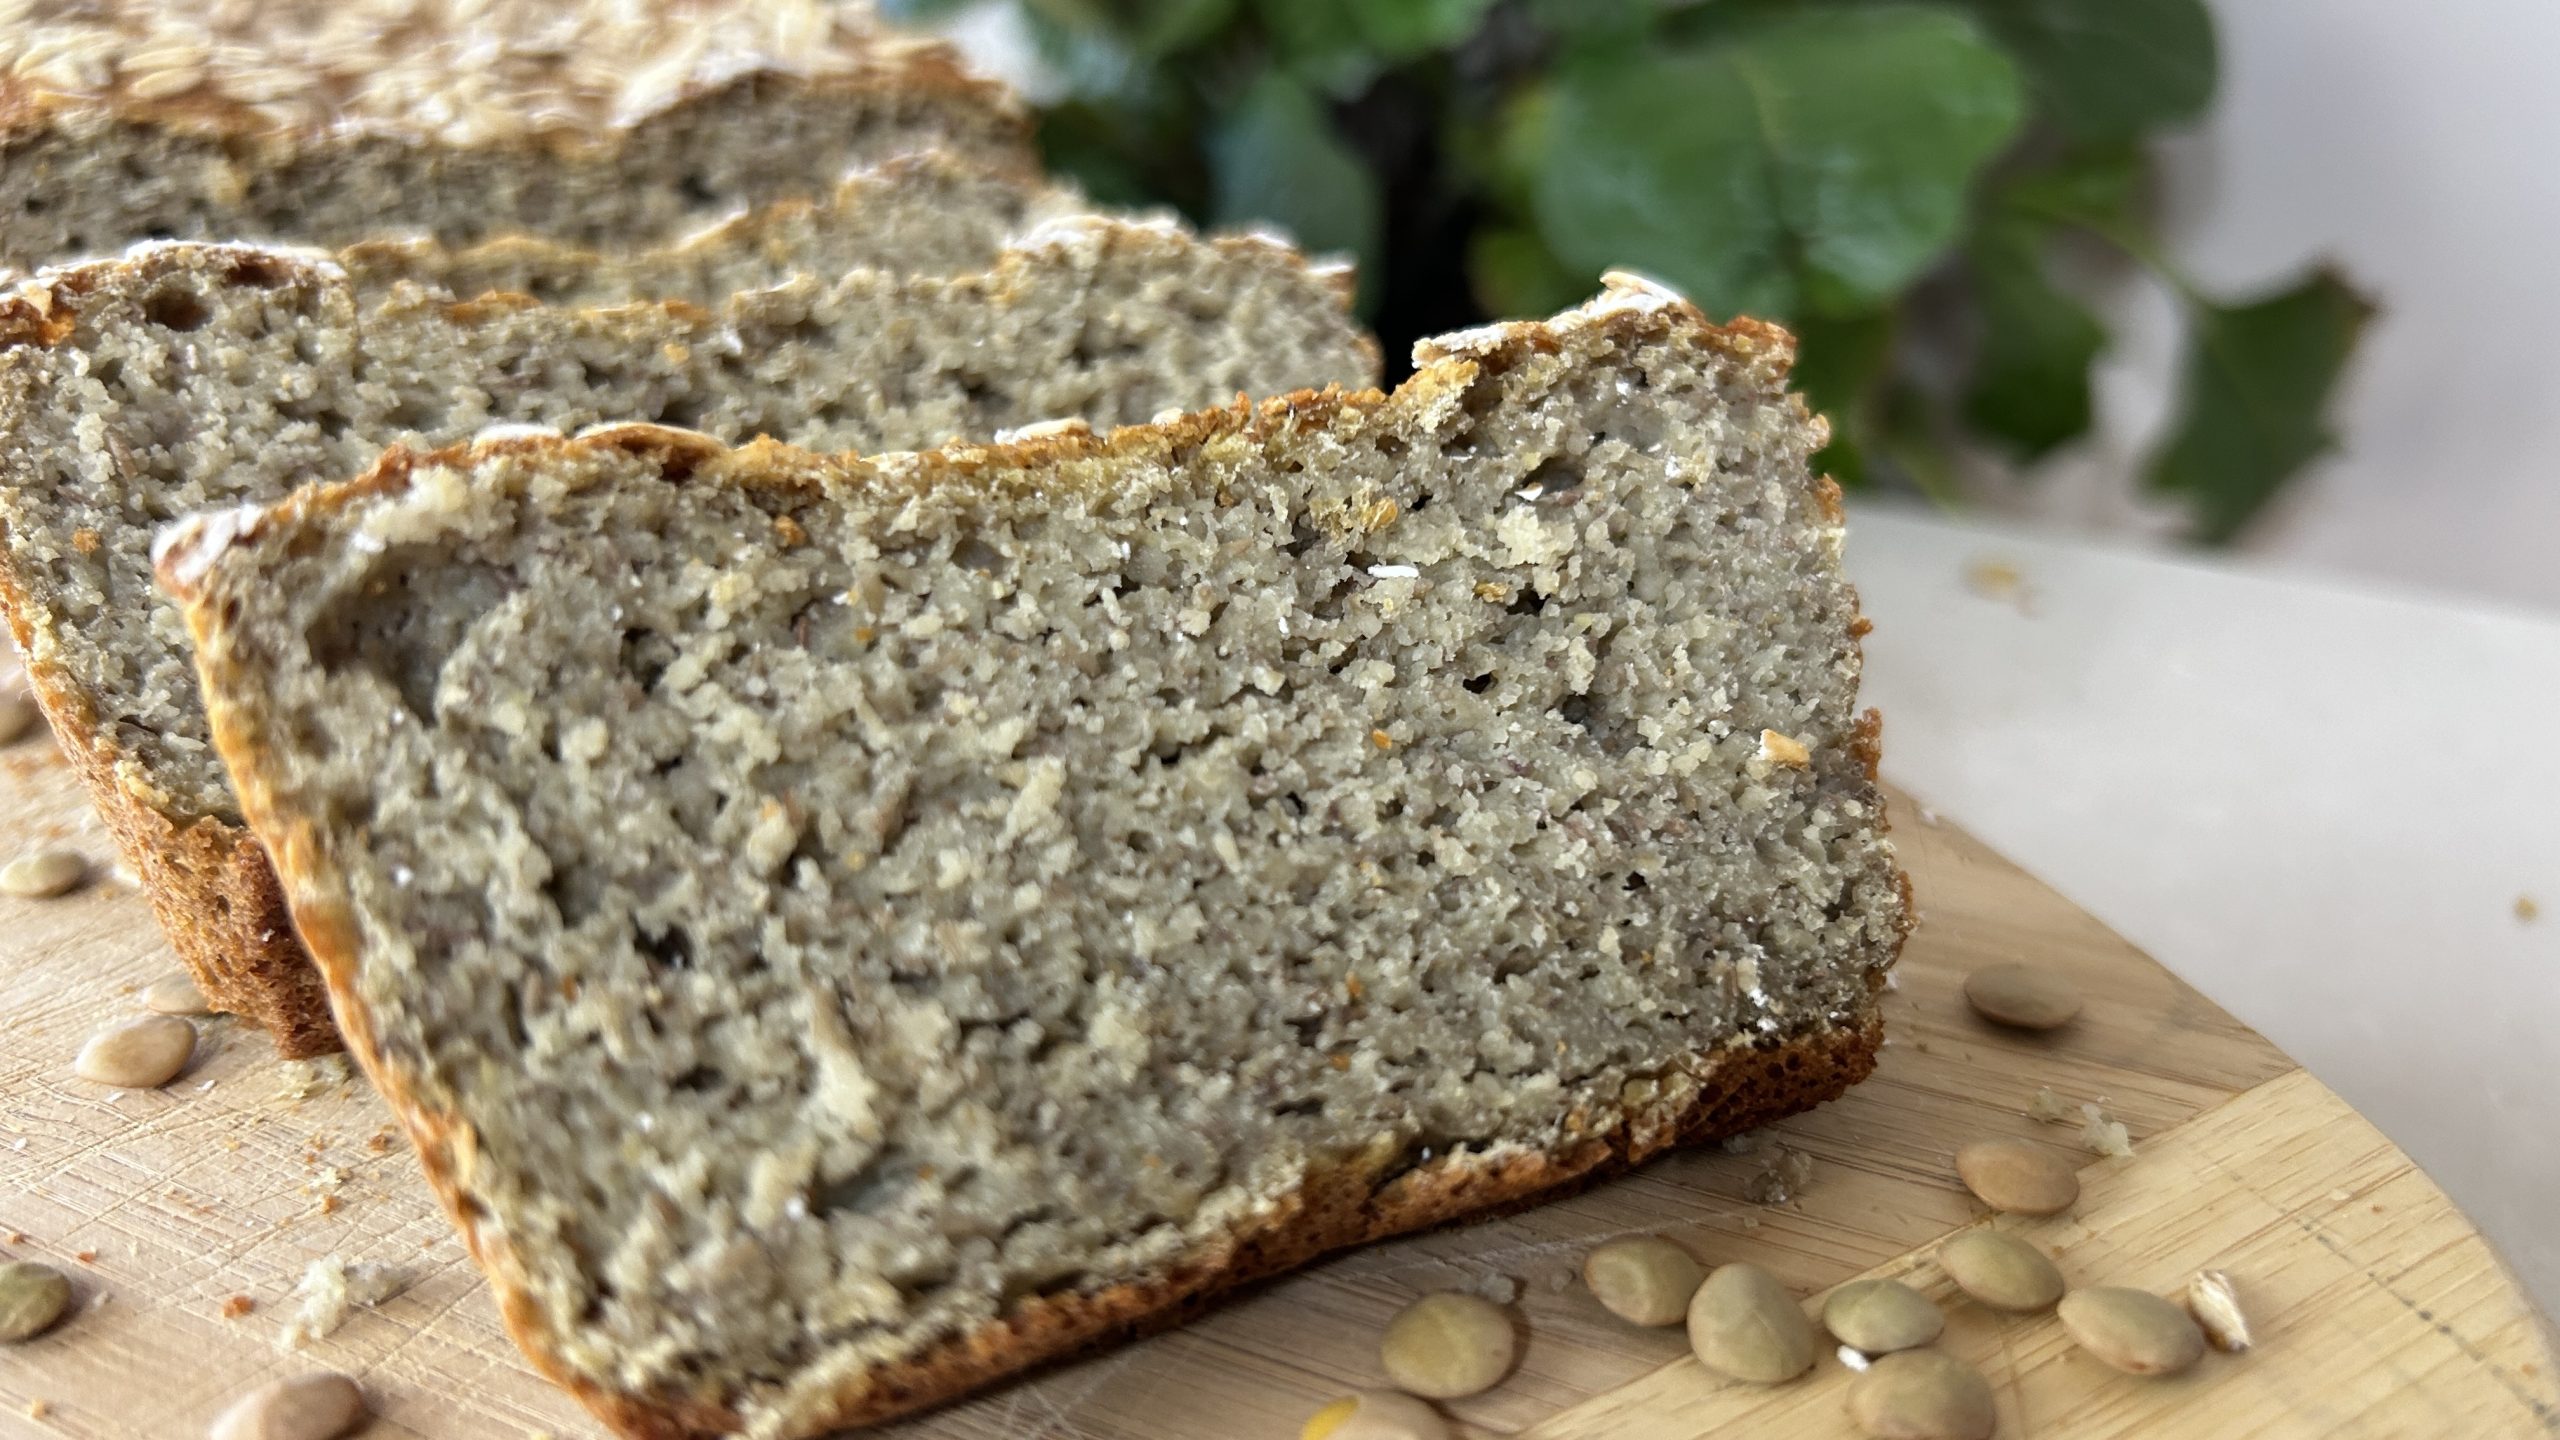
Multi-Seeds Gluten Free Breads
Multi-Seeds Gluten Free Breads

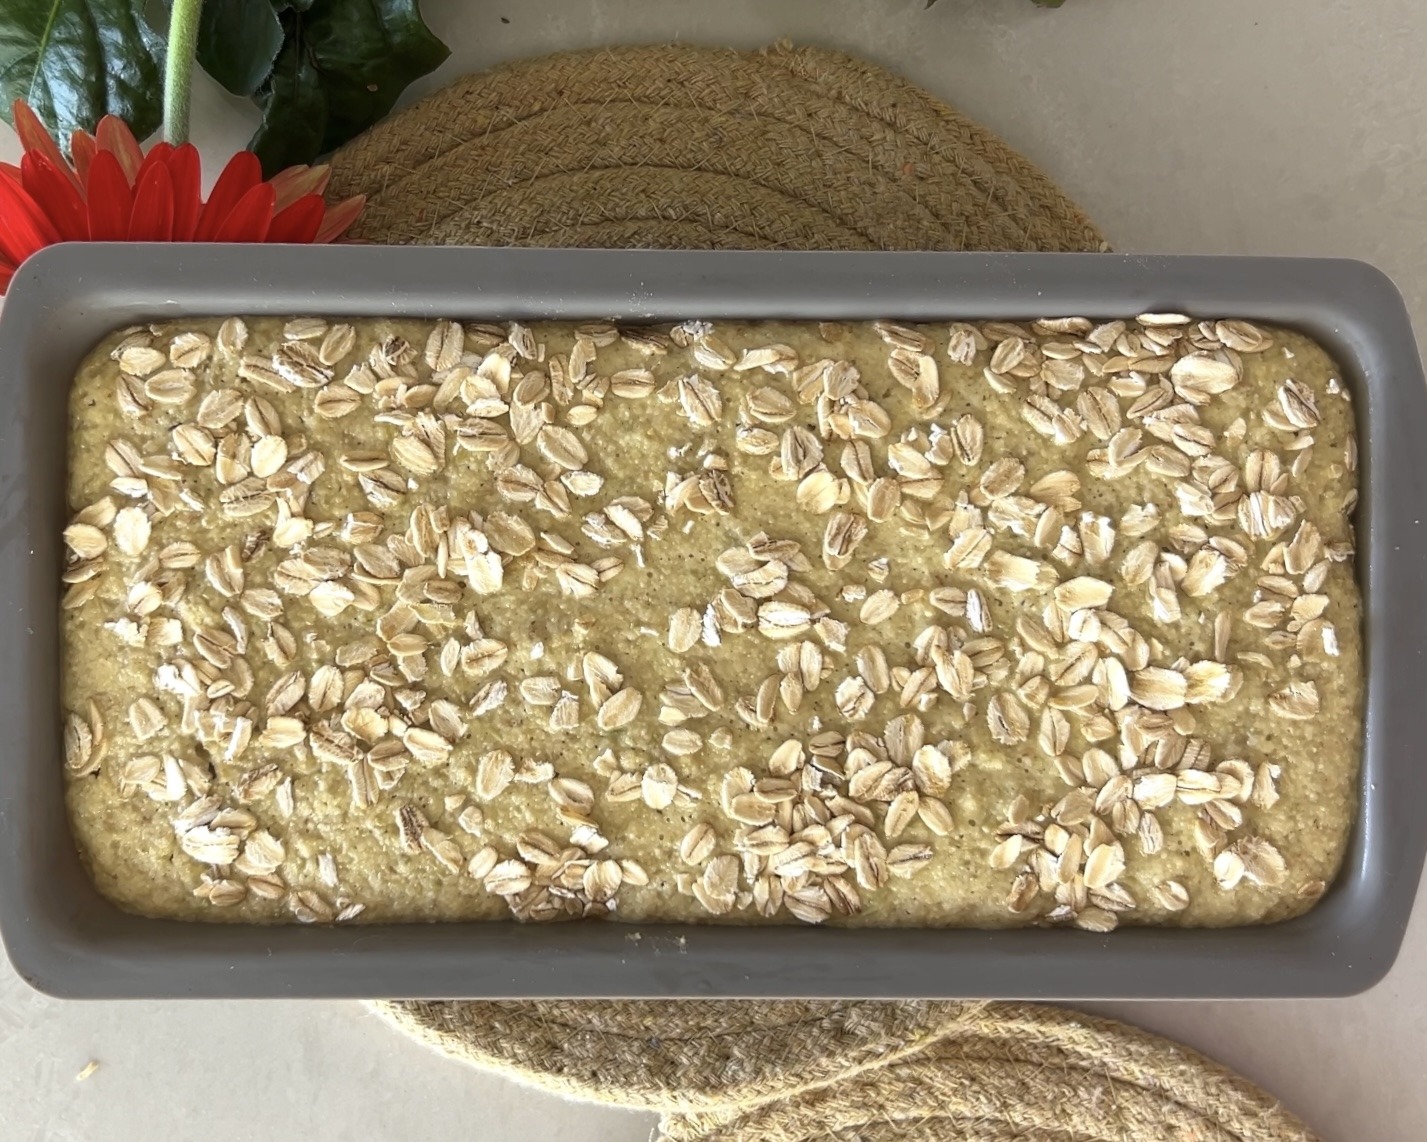
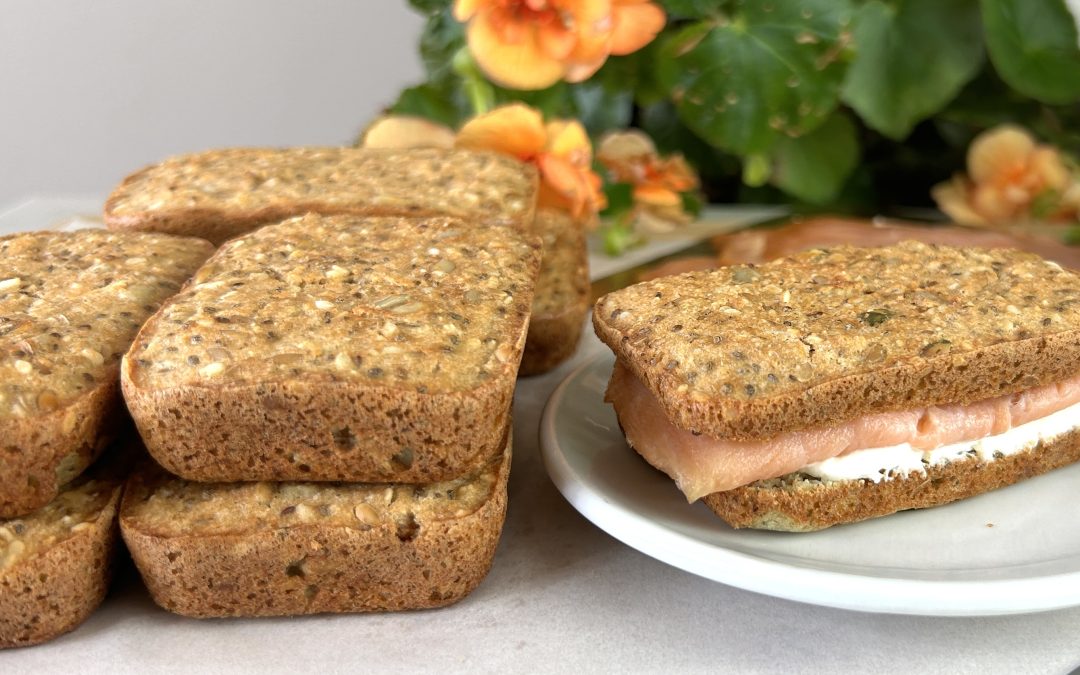
Embrace the health benefits of seeds with these delicious Multi Seeds Breads! Perfect for those who follow a vegan and gluten-free diet, these mini breads are crafted from a nutritious blend of red lentils, rolled oats, and a variety of highly nutritious seeds. By swapping out traditional grain flour, these breads offer a unique, wholesome alternative that doesn’t compromise on taste or texture.
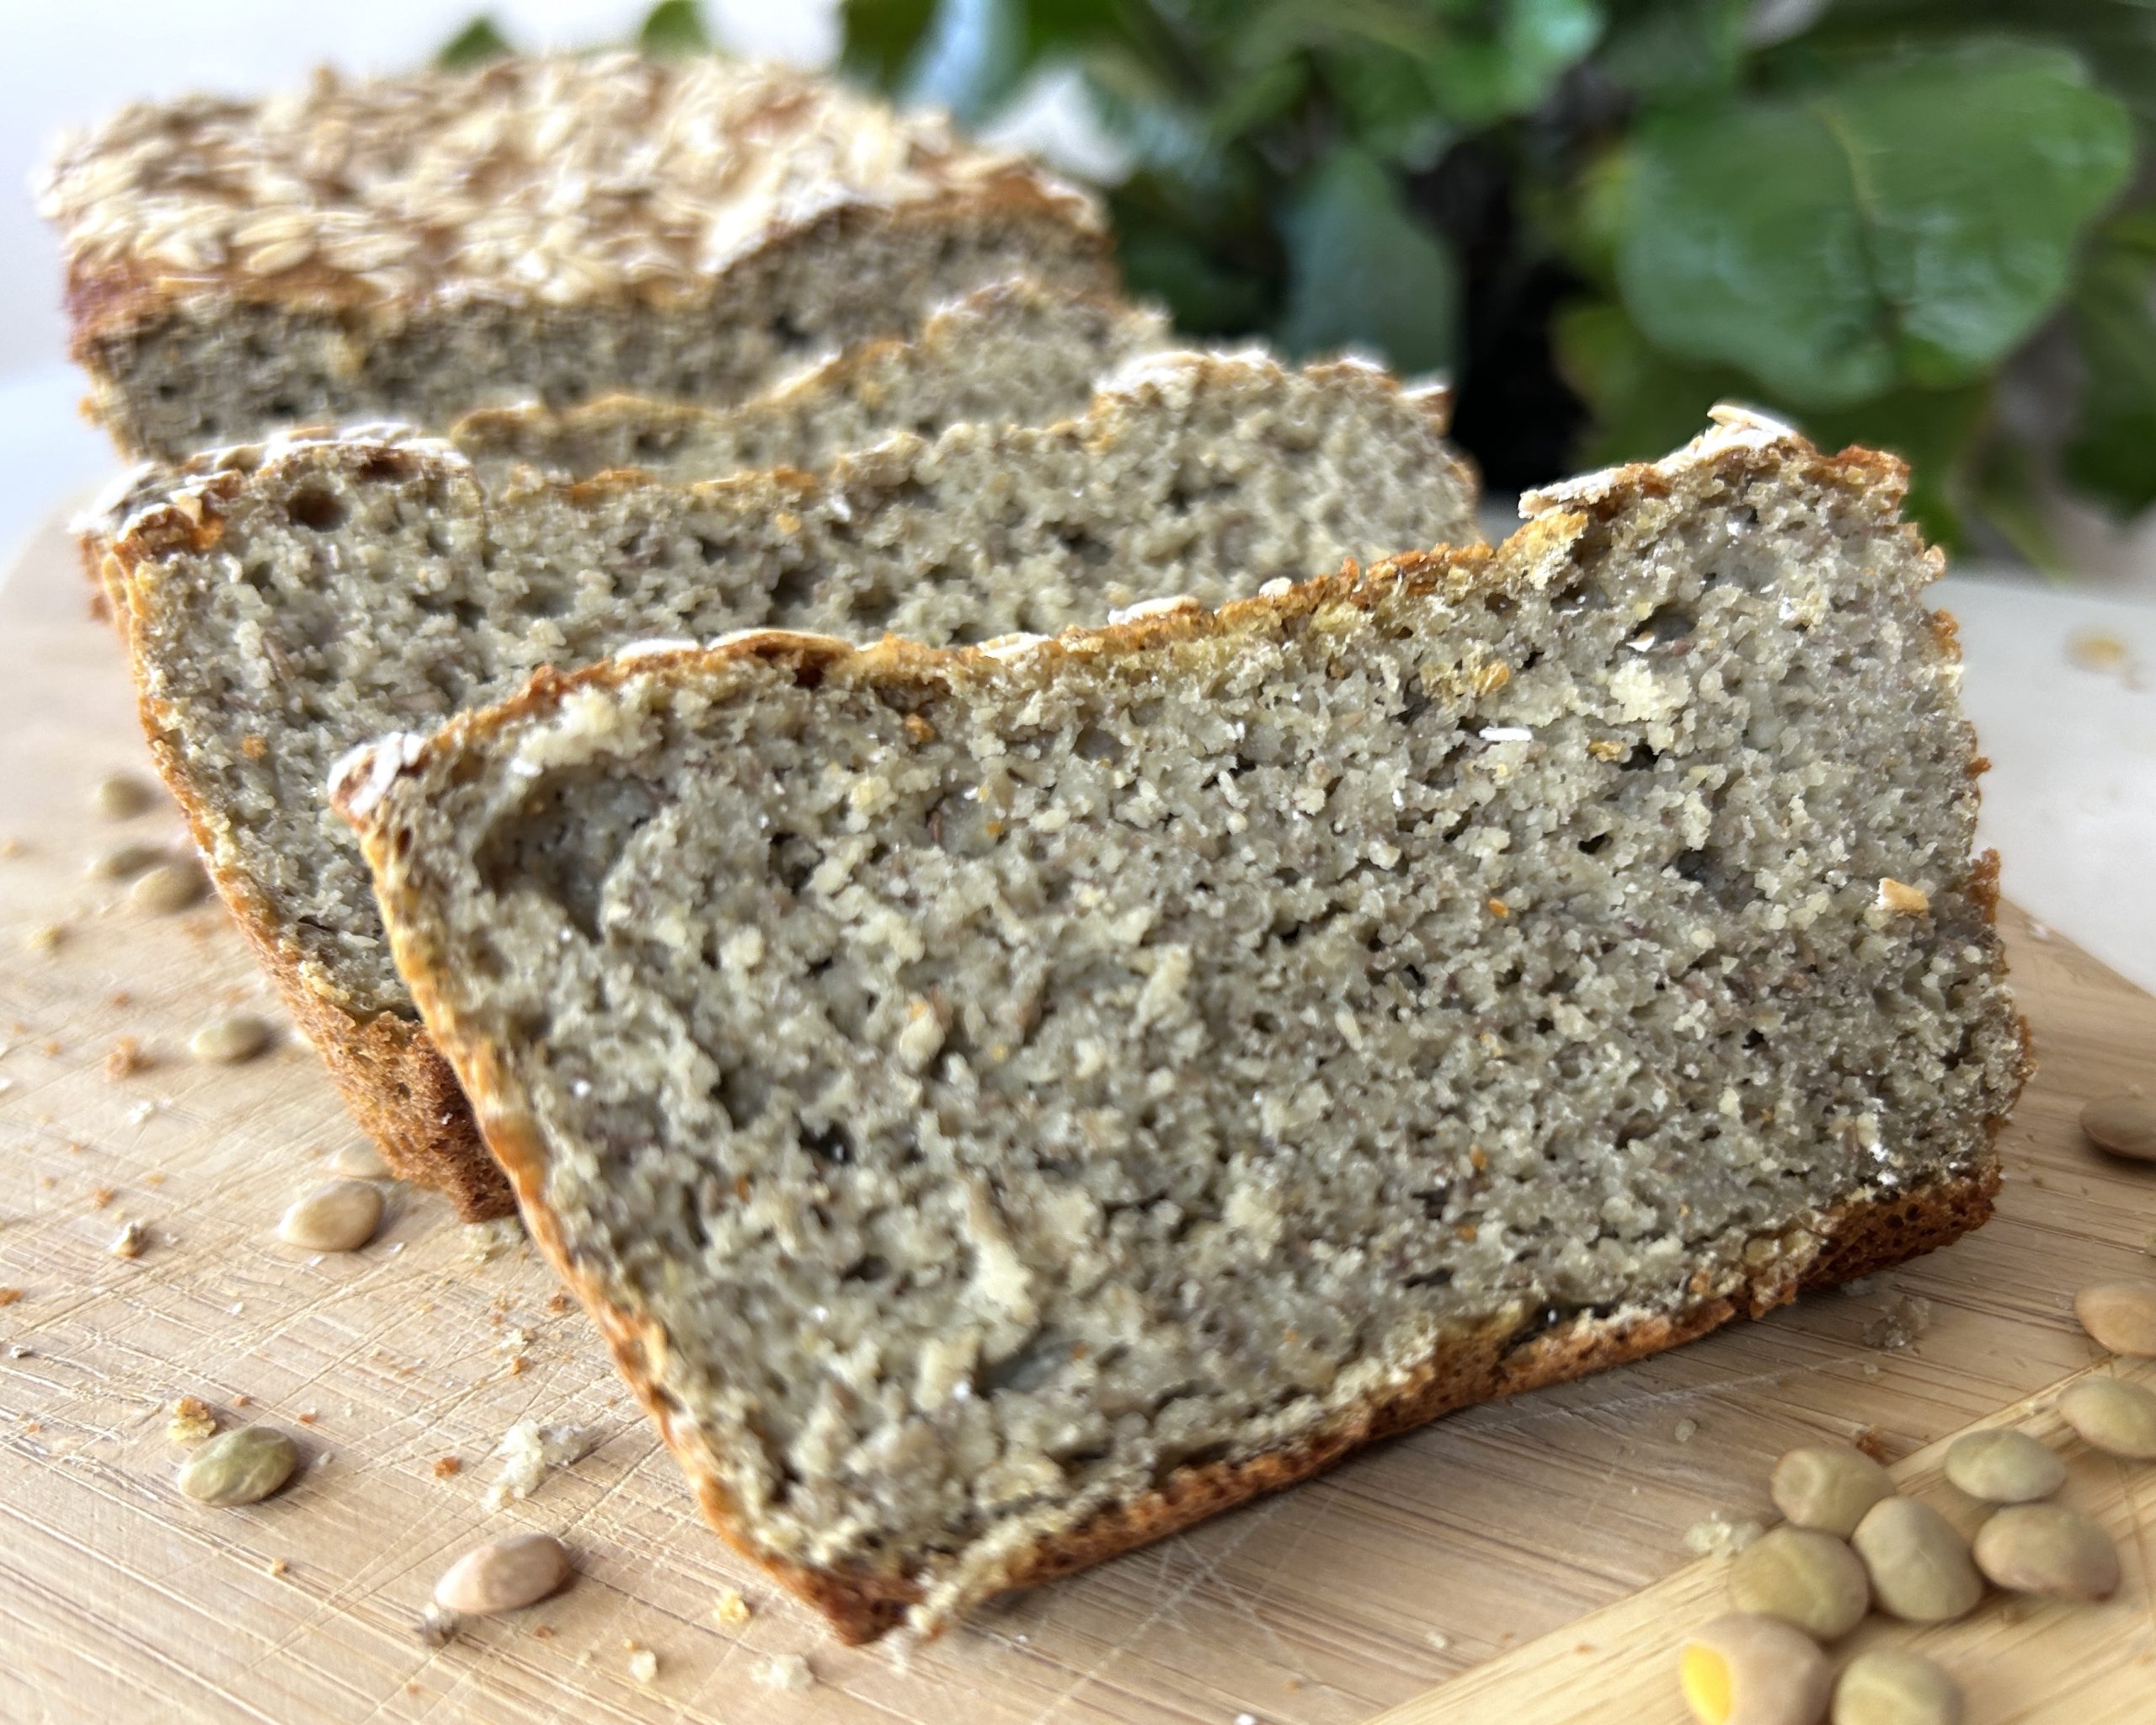
Red lentils are a standout ingredient in this recipe, known for their high protein and fiber content, which supports digestion and helps keep you full for longer. Lentils are also rich in essential vitamins and minerals, such as iron, which is crucial for maintaining energy levels. The variety of seeds—sunflower, pumpkin, flax, chia, and sesame—add not only texture but also omega-3 fatty acids, antioxidants, and other nutrients that support heart health, reduce inflammation, and contribute to overall wellness. The inclusion of rolled oats adds an extra layer of fiber and helps bind the ingredients together.
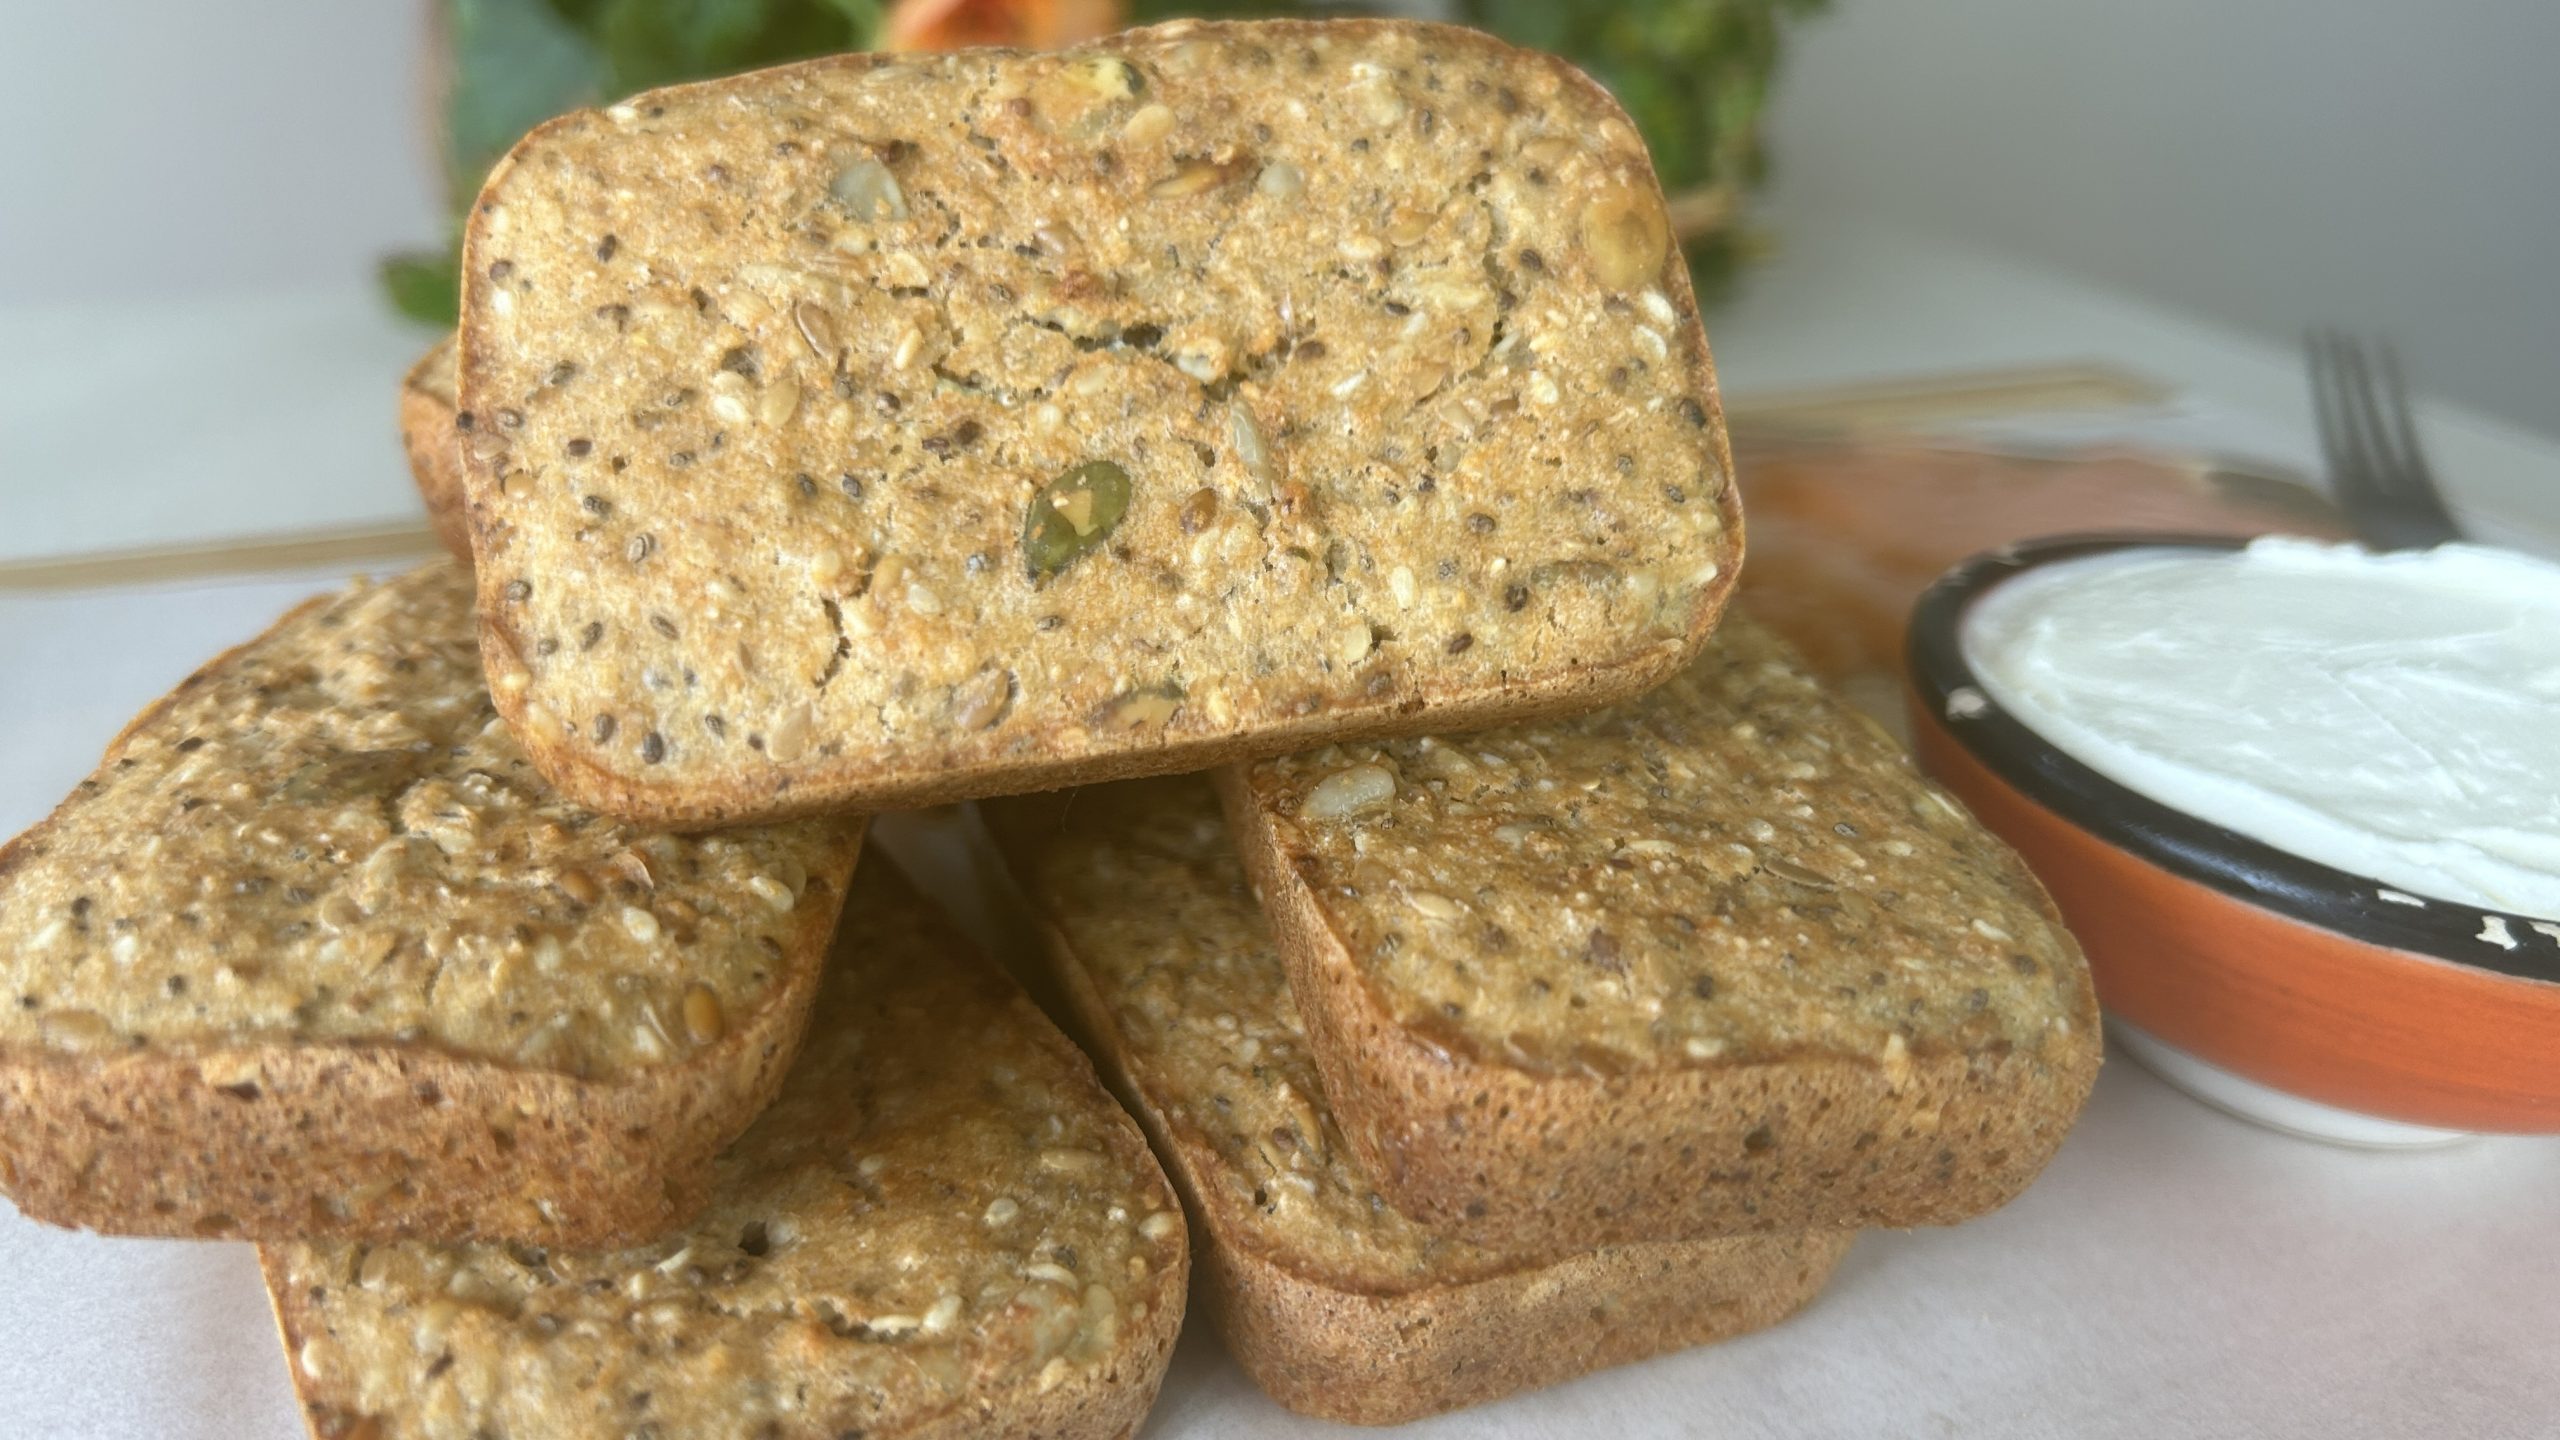
These breads are perfect for sandwiches or simply enjoyed with fresh butter. Their dense and nutrient-rich composition makes them an excellent choice for a healthy snack or meal, offering a satisfying and flavorful alternative to traditional breads.
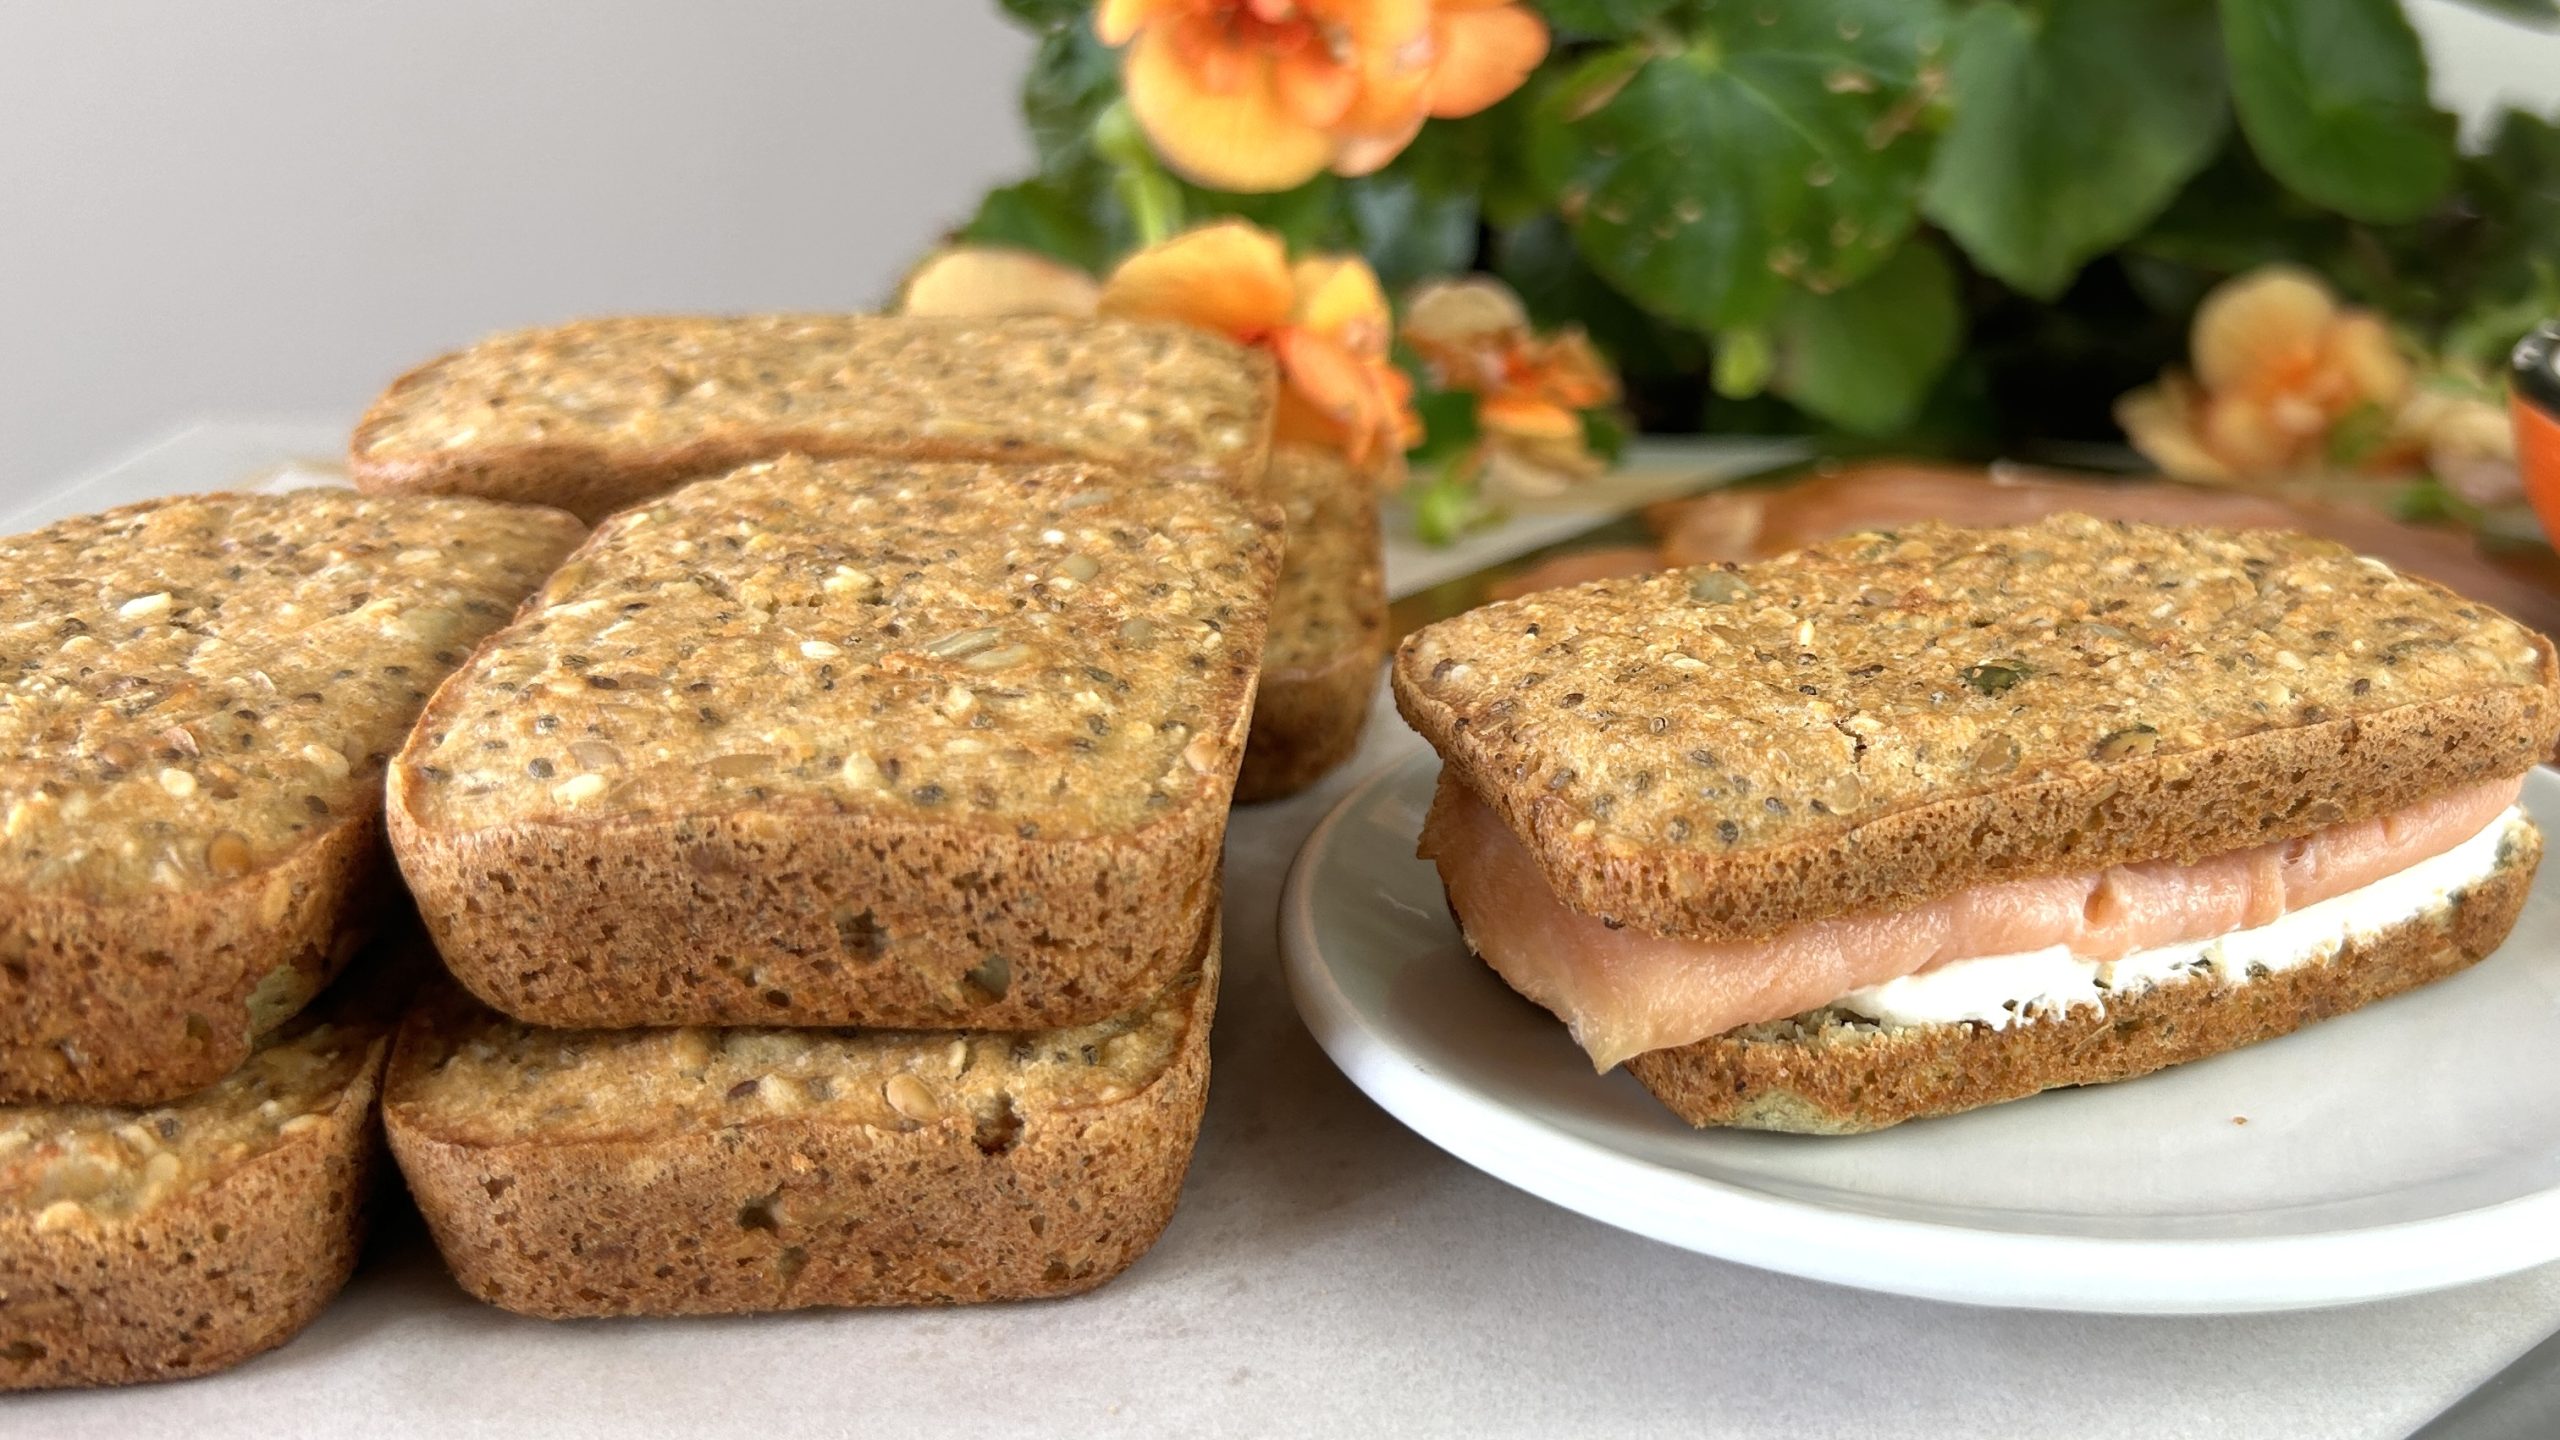
These mini breads are a fantastic option for anyone seeking a gluten-free, nutritious bread alternative that’s perfect for sandwiches or as a standalone snack. Enjoy the nutty flavor and hearty texture that make these breads a satisfying addition to your daily meals.
Ingredients
- ½ cup (90 g) red lentils
- 2 tbsp (18 g) sunflower seeds
- 2 tbsp (18 g) pumpkin seeds
- 2 tbsp (18 g) flaxseed
- 2 tbsp (16 g) chia seeds
- 2 tbsp (16 g) sesame seeds
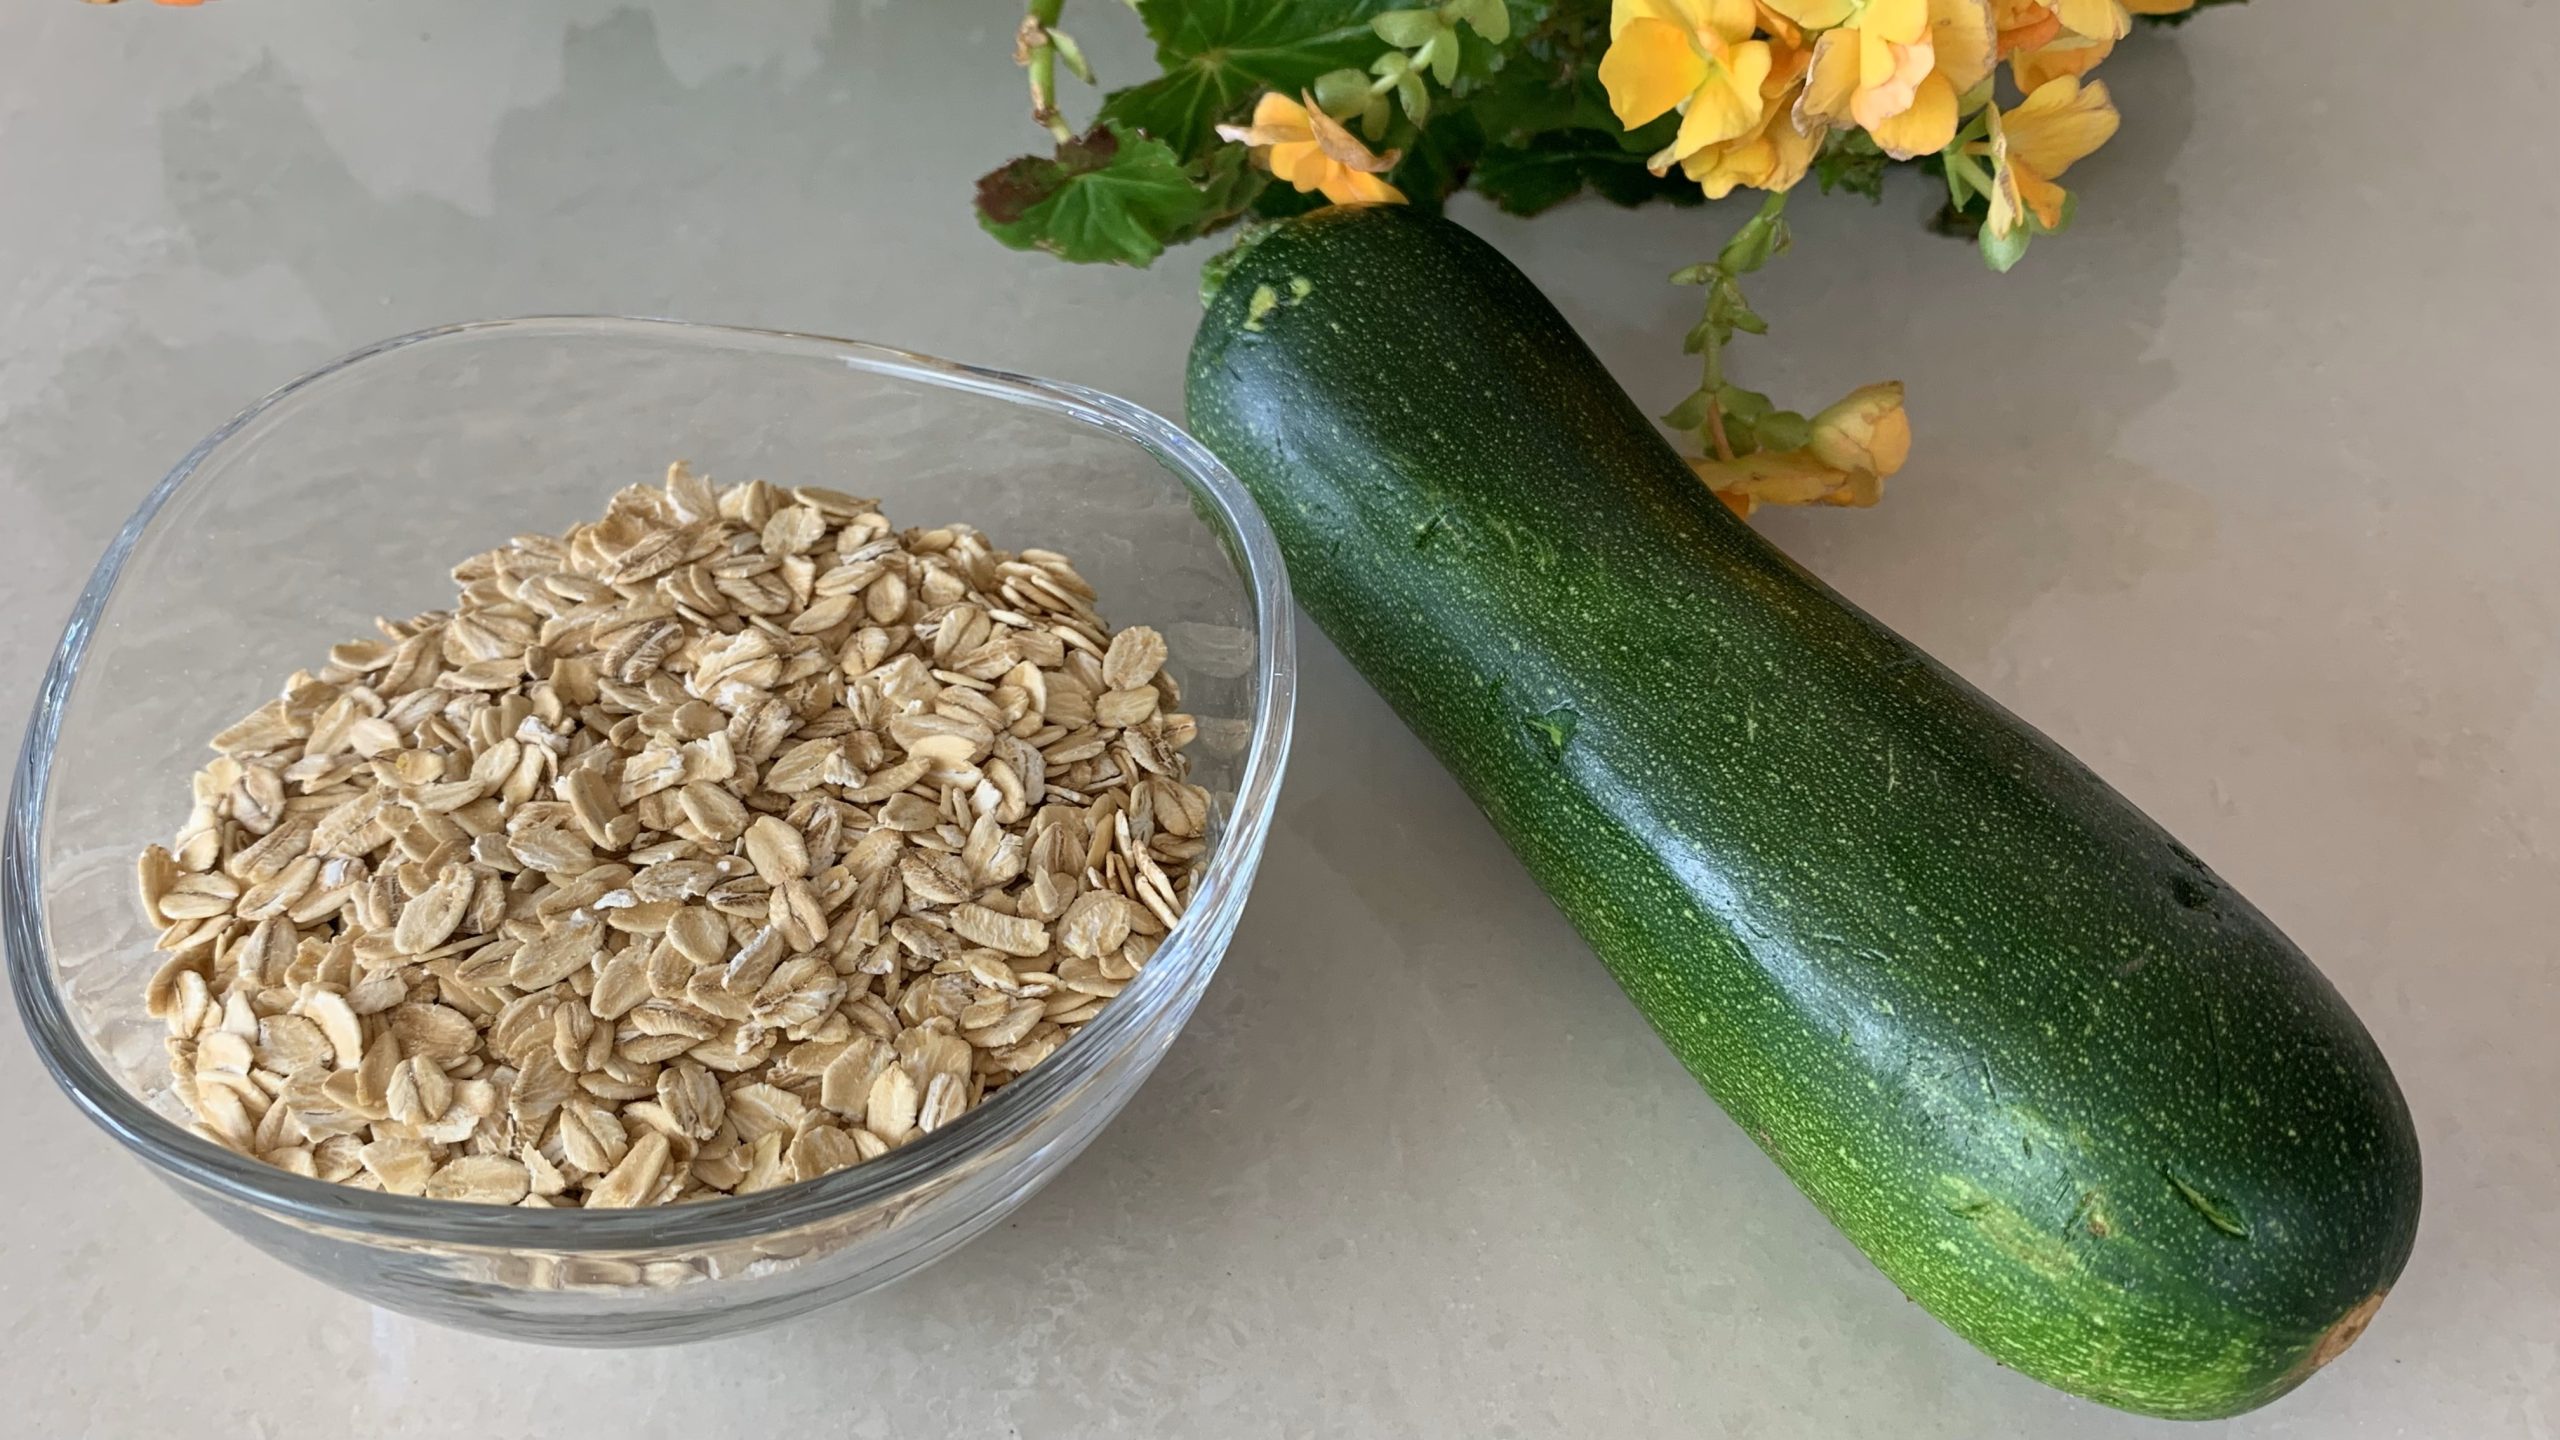
- ¼ cup (25 g) rolled oats
- 1 cup lukewarm water (for seed mixture)
- ½ cup water (for lentil mixture)
- ½ tsp salt
- 1 tsp honey
- 1½ tbsp (12 g) instant yeast
- Up to ½ cup oat flour
Directions
- Soak the red lentils for at least 3 hours or overnight in the fridge. Rinse thoroughly and strain out all the water.
- In a mixing bowl, combine sunflower seeds, pumpkin seeds, flaxseed, chia seeds, sesame seeds, and rolled oats. Add lukewarm water and stir thoroughly to combine. Cover with plastic wrap and let soak for 1 to 2 hours. Once soaked, the seed mixture will become soft and sticky.
- Transfer soaked red lentils to a mixing bowl. Add lukewarm water, salt, honey, and instant yeast. Blend the ingredients until smooth.
- Add the soaked seed mixture to the blended lentil mixture and stir thoroughly to combine.
- Gradually add oat flour to the mixture, stirring to create a thick but still soft and sticky batter.
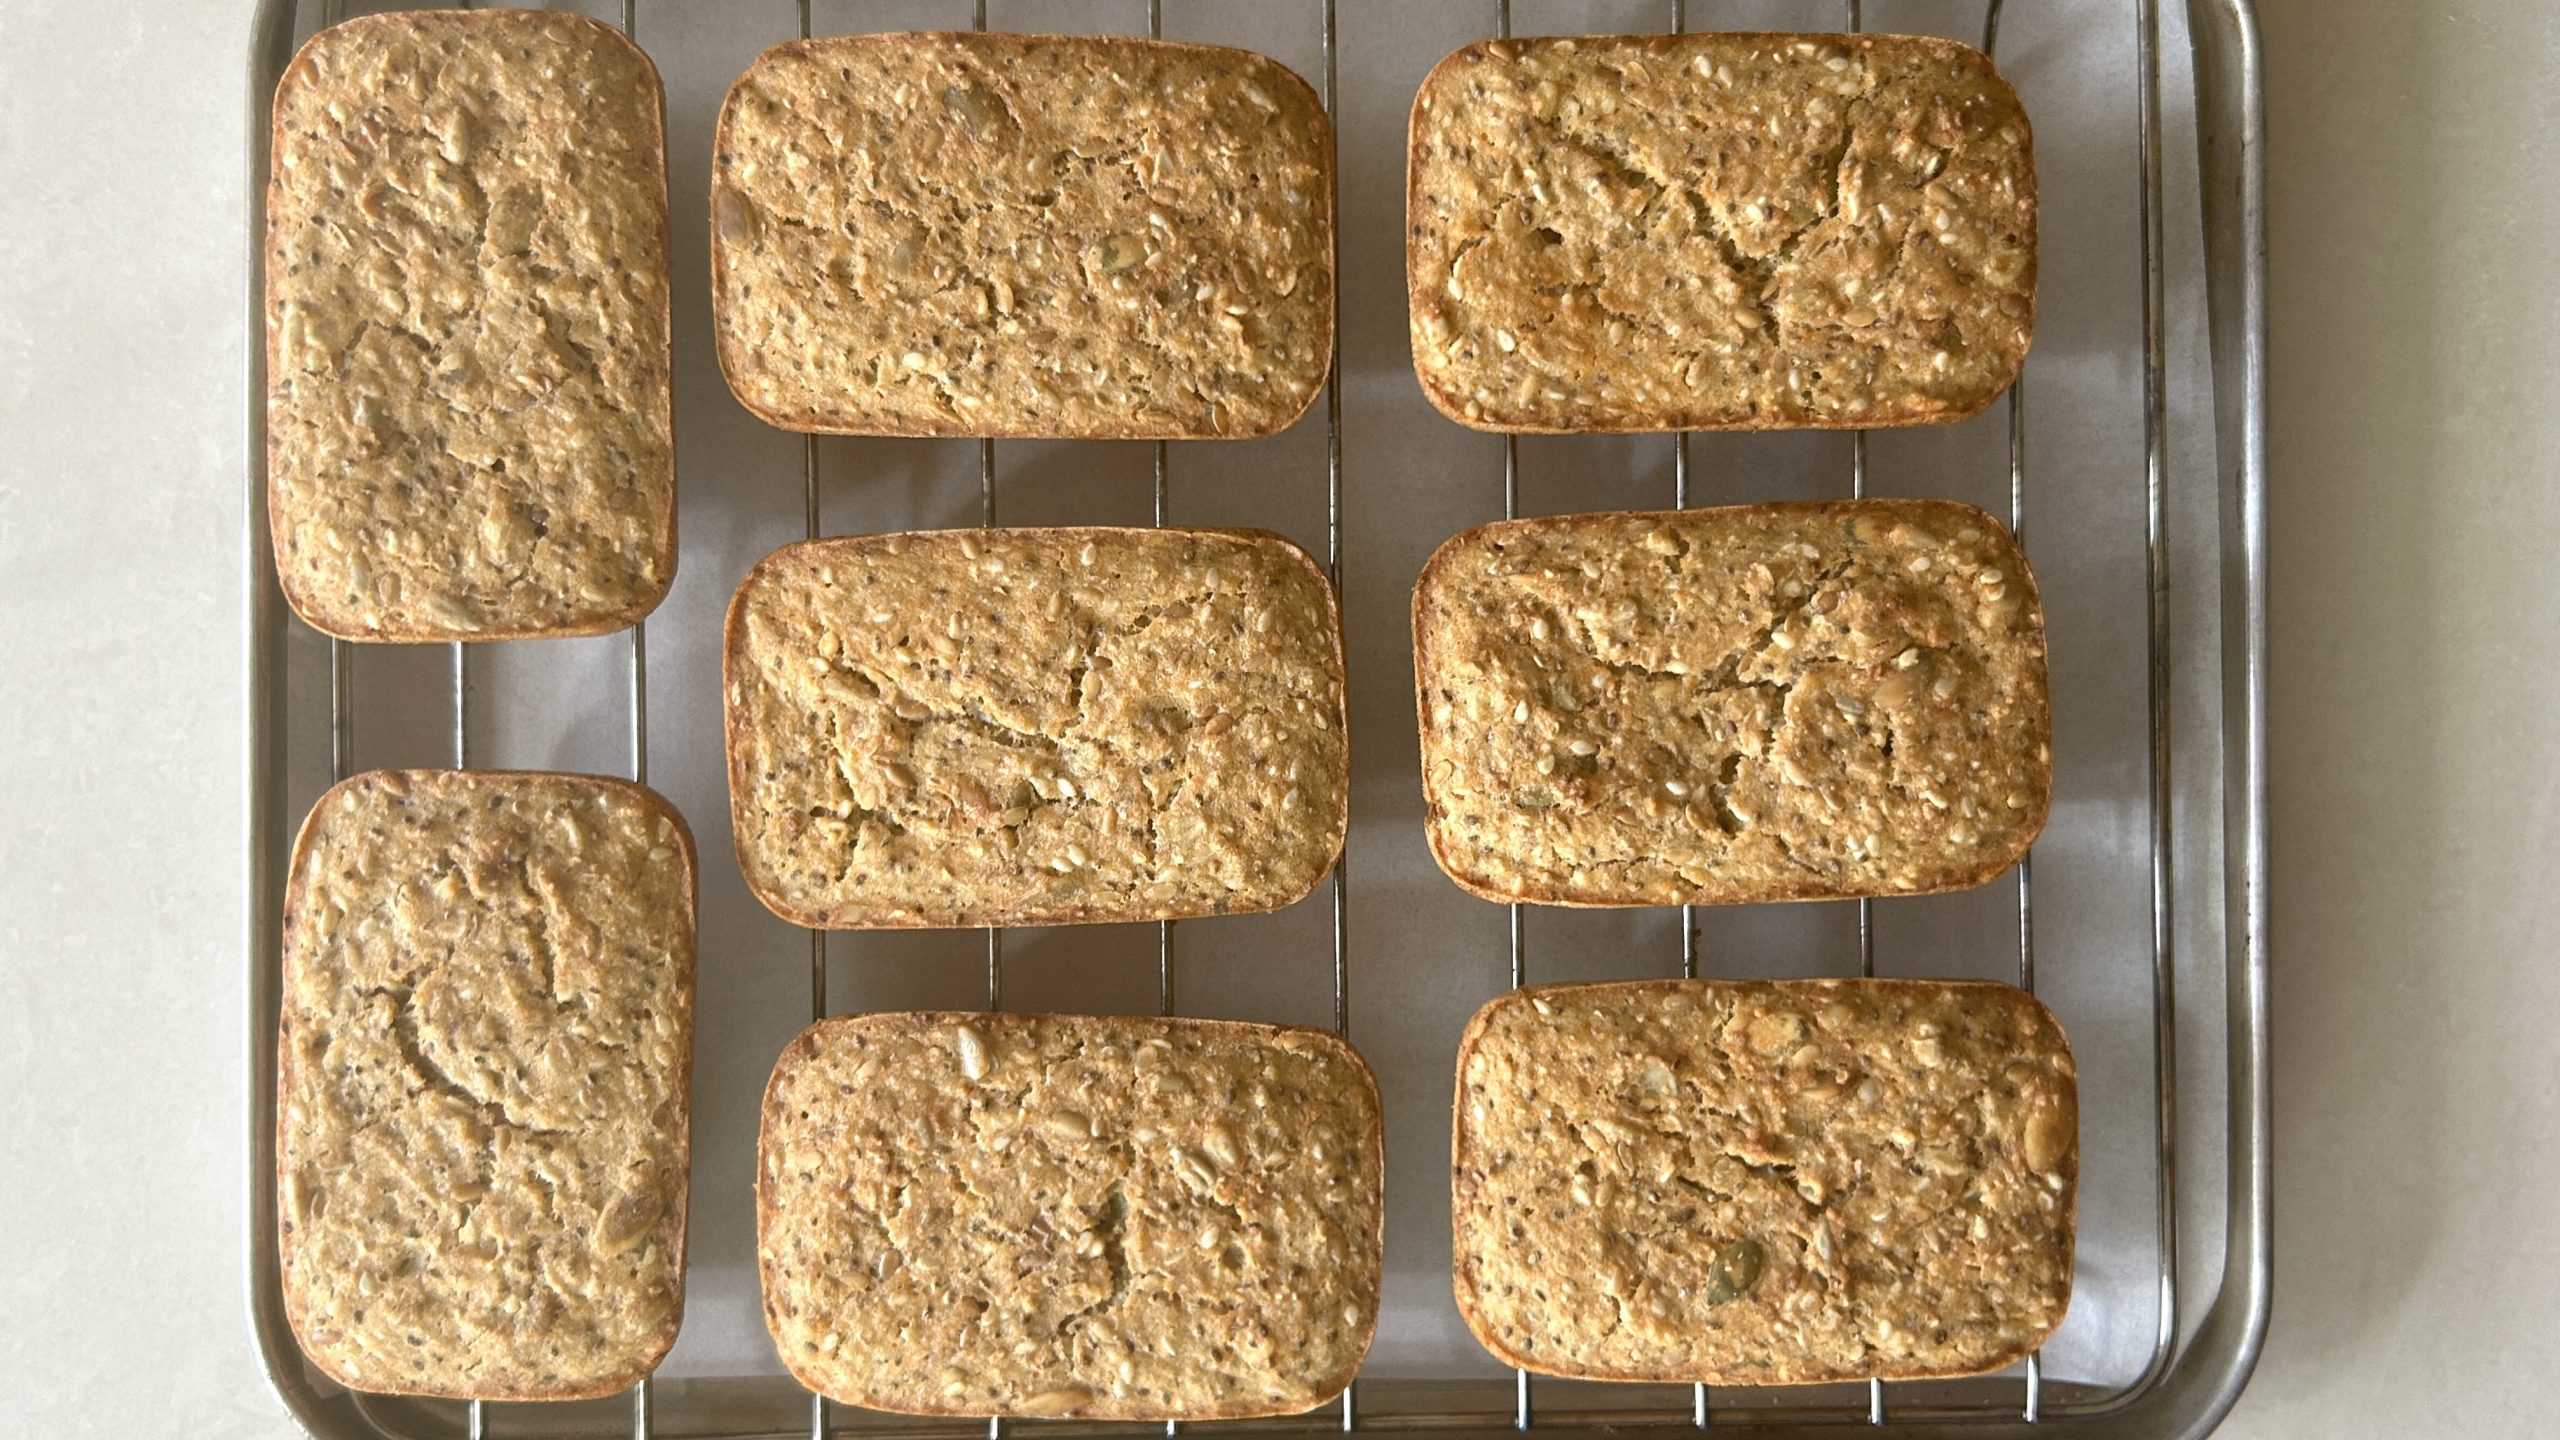
- Pour equal quantities of the batter into mini loaf cups. Let the batter proof for 15 to 30 minutes.
- In a preheated oven, bake the mini loaves at 350°F (180°C) for 30 minutes or until golden and crispy on the outside.
- Transfer the loaves onto a cooling rack.
Prep Time: Soaking overnight + 1 hour
Baking Time: 30 minutes
Servings: 9
Nutritional Information (Per Serving)
- Energy: 127 calories
- Protein: 6.1 g
- Fat: 5.39 g
- Carbohydrates: 15 g
- Fiber: 4 g
Storage
- Store these mini breads in an airtight container at room temperature for up to 3 days.
- For longer storage, keep them in the fridge for up to a week, or freeze them for up to 3 months.