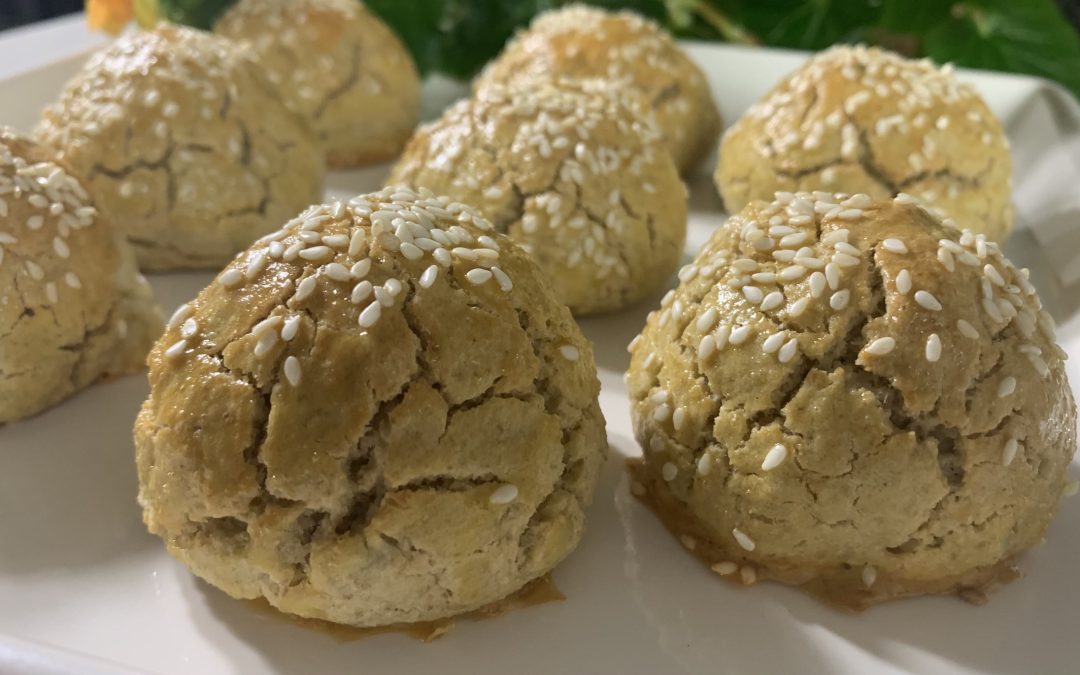
Mung Bean Wraps
Mung Bean Wraps

Hey everyone! Today, I’m so excited to share a unique and wholesome recipe that has quickly become a staple in my kitchen, Mung Bean Wraps! These gluten-free wraps or tortillas are made entirely out of mung beans, a small but mighty legume that’s been a part of Indian and Asian cuisines for centuries. Not only are these wraps incredibly versatile, but they are also packed with an abundance of health benefits.
So, what makes mung beans so special? For starters, they are a powerhouse of nutrition. Mung beans are high in protein, providing a plant-based protein source that’s perfect for anyone looking to reduce their meat consumption or follow a vegetarian or vegan diet. They are also rich in dietary fiber, which is essential for a healthy digestive system and helps to keep you feeling full and satisfied for longer periods. But that’s not all—mung beans are also loaded with essential vitamins and minerals, including iron, magnesium, potassium, and folate, which support everything from energy production to heart health.

Incorporating mung beans into your diet can be a game-changer. They are low in fat, high in antioxidants, and have been shown to have anti-inflammatory properties. Plus, they are incredibly easy to digest, making them an ideal food for those with sensitive stomachs. Whether you’re looking to add more plant-based proteins to your diet or simply want to enjoy a delicious and nutritious meal, these mung bean wraps are a fantastic choice.
These mung bean wraps are gluten-free, vegan, and packed with plant-based protein, making them a nutritious and delicious addition to any meal. Try them out and let me know how you like to enjoy your wraps!
Let’s get started!
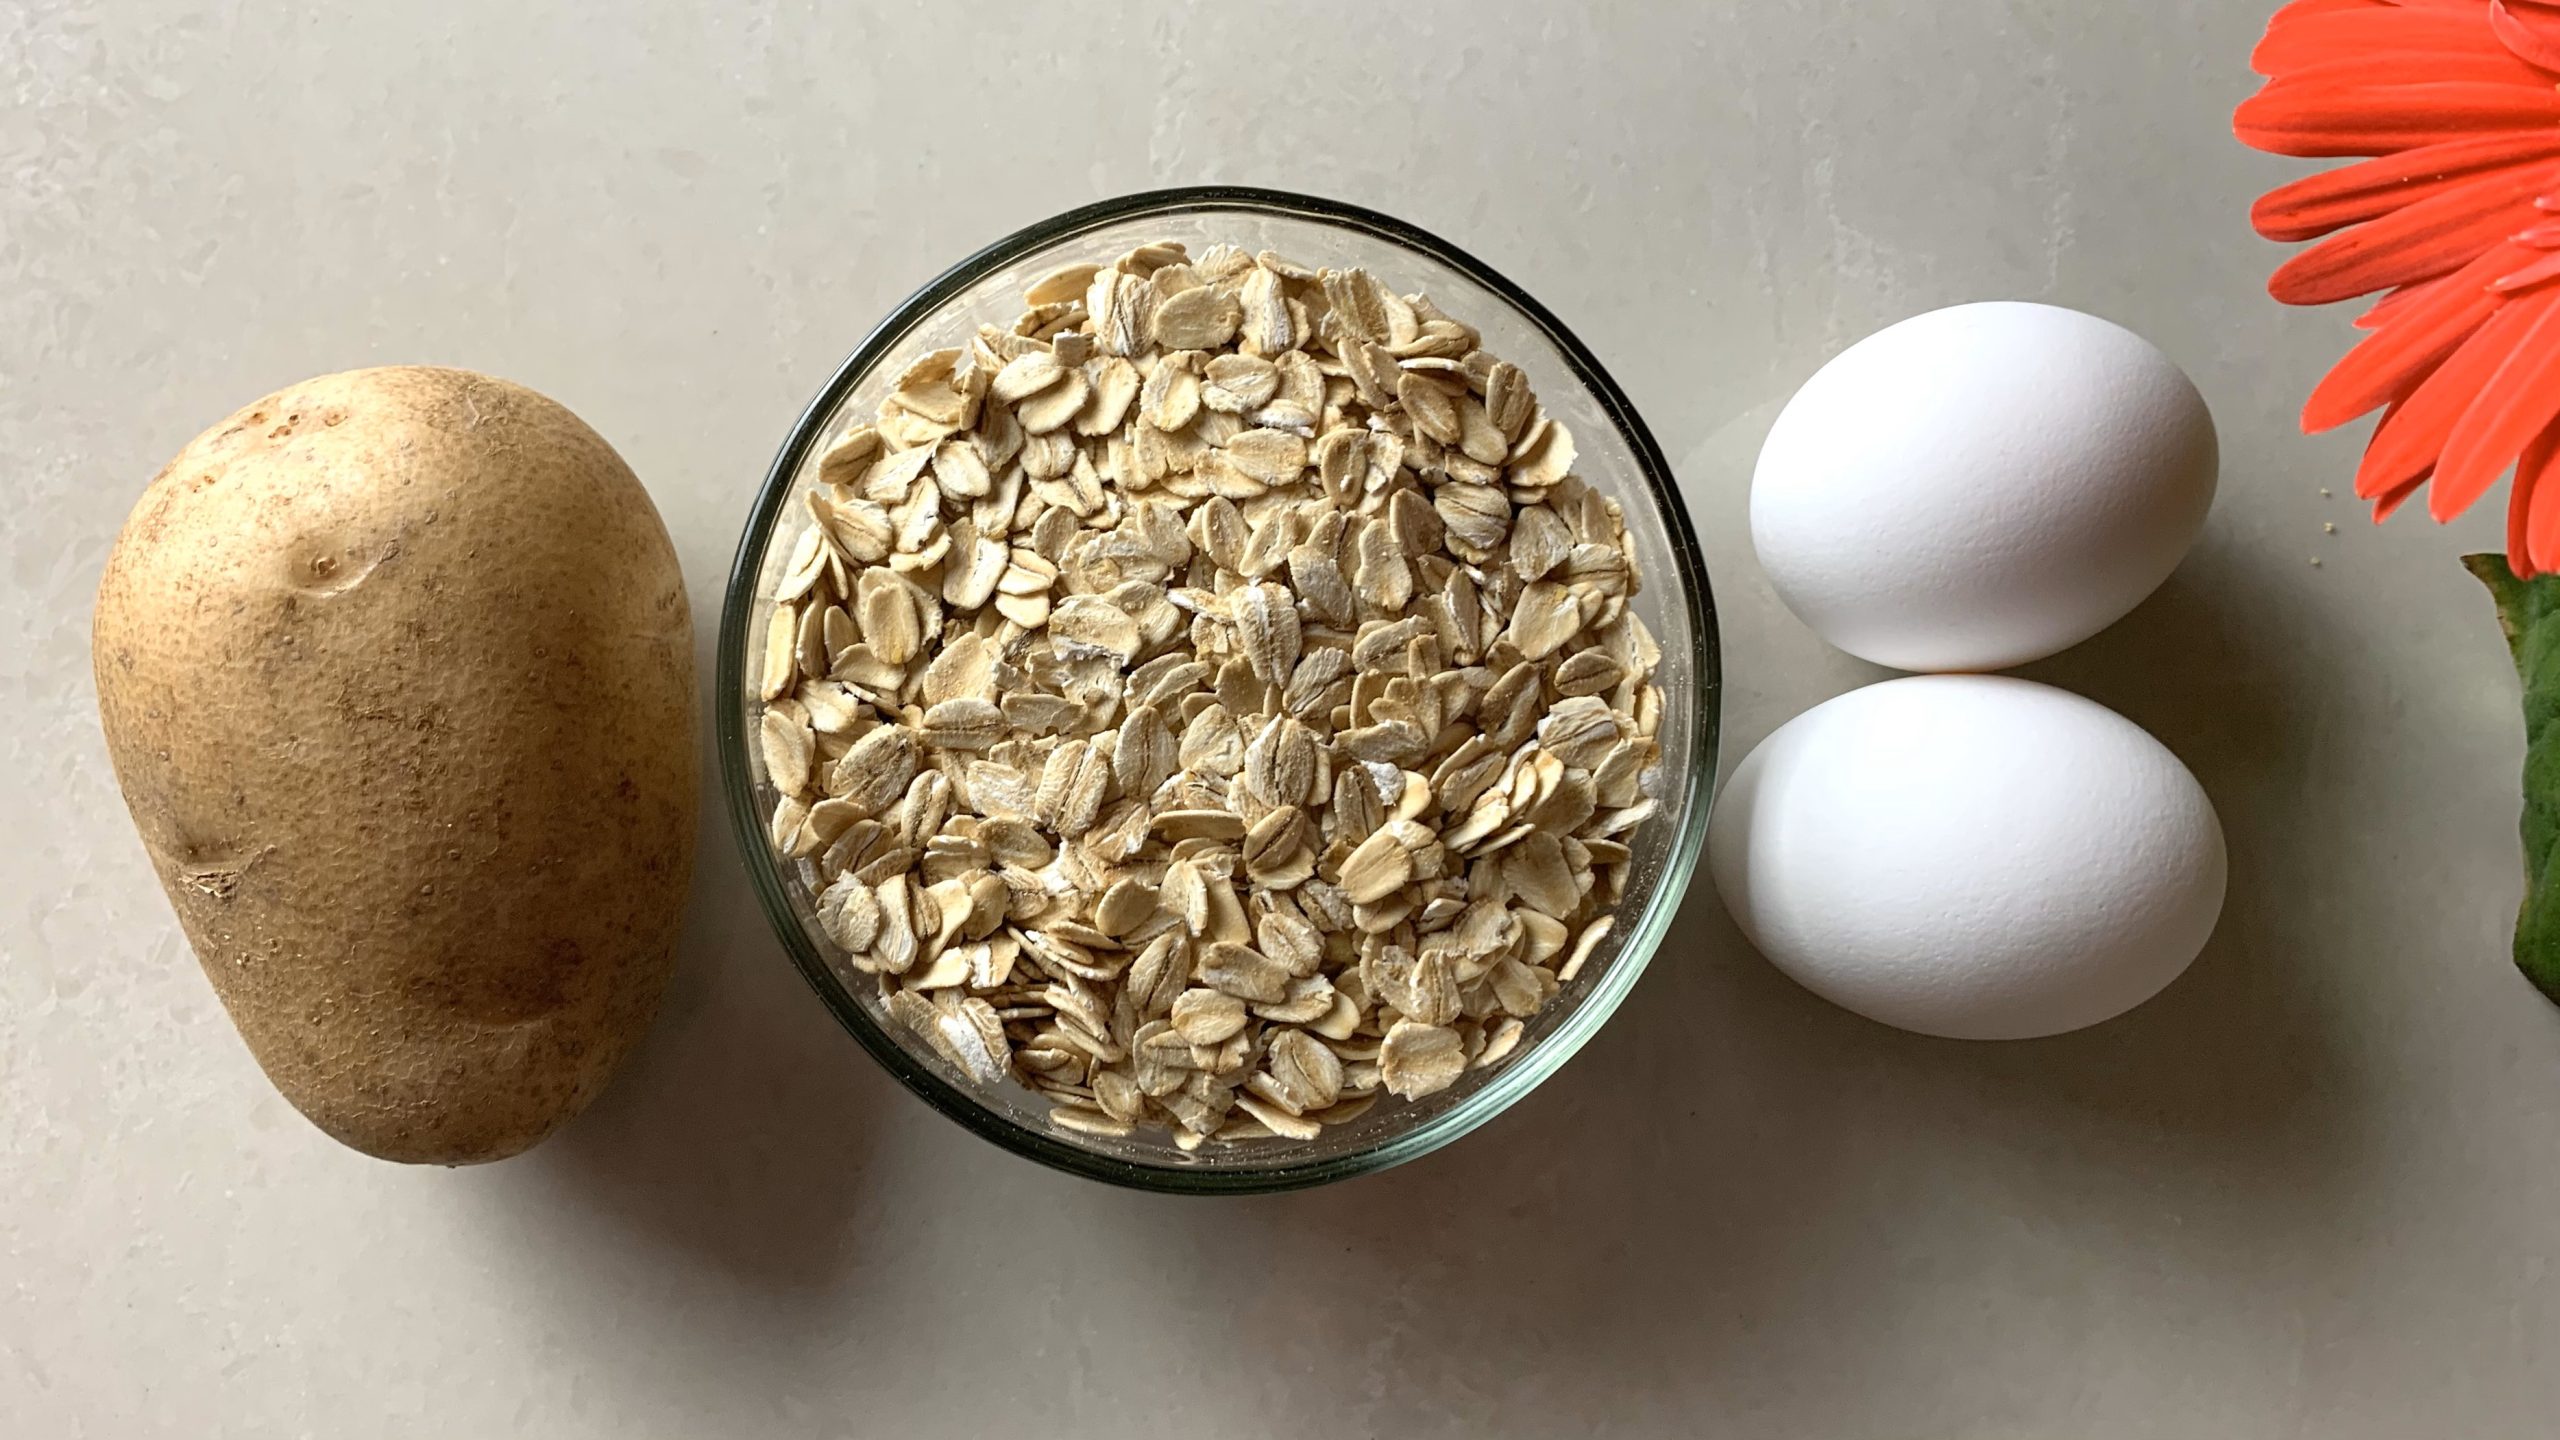
Ingredients
- 1 cup raw mung beans (205 g)
- 2 cups water
- 1/2 tsp salt
Directions
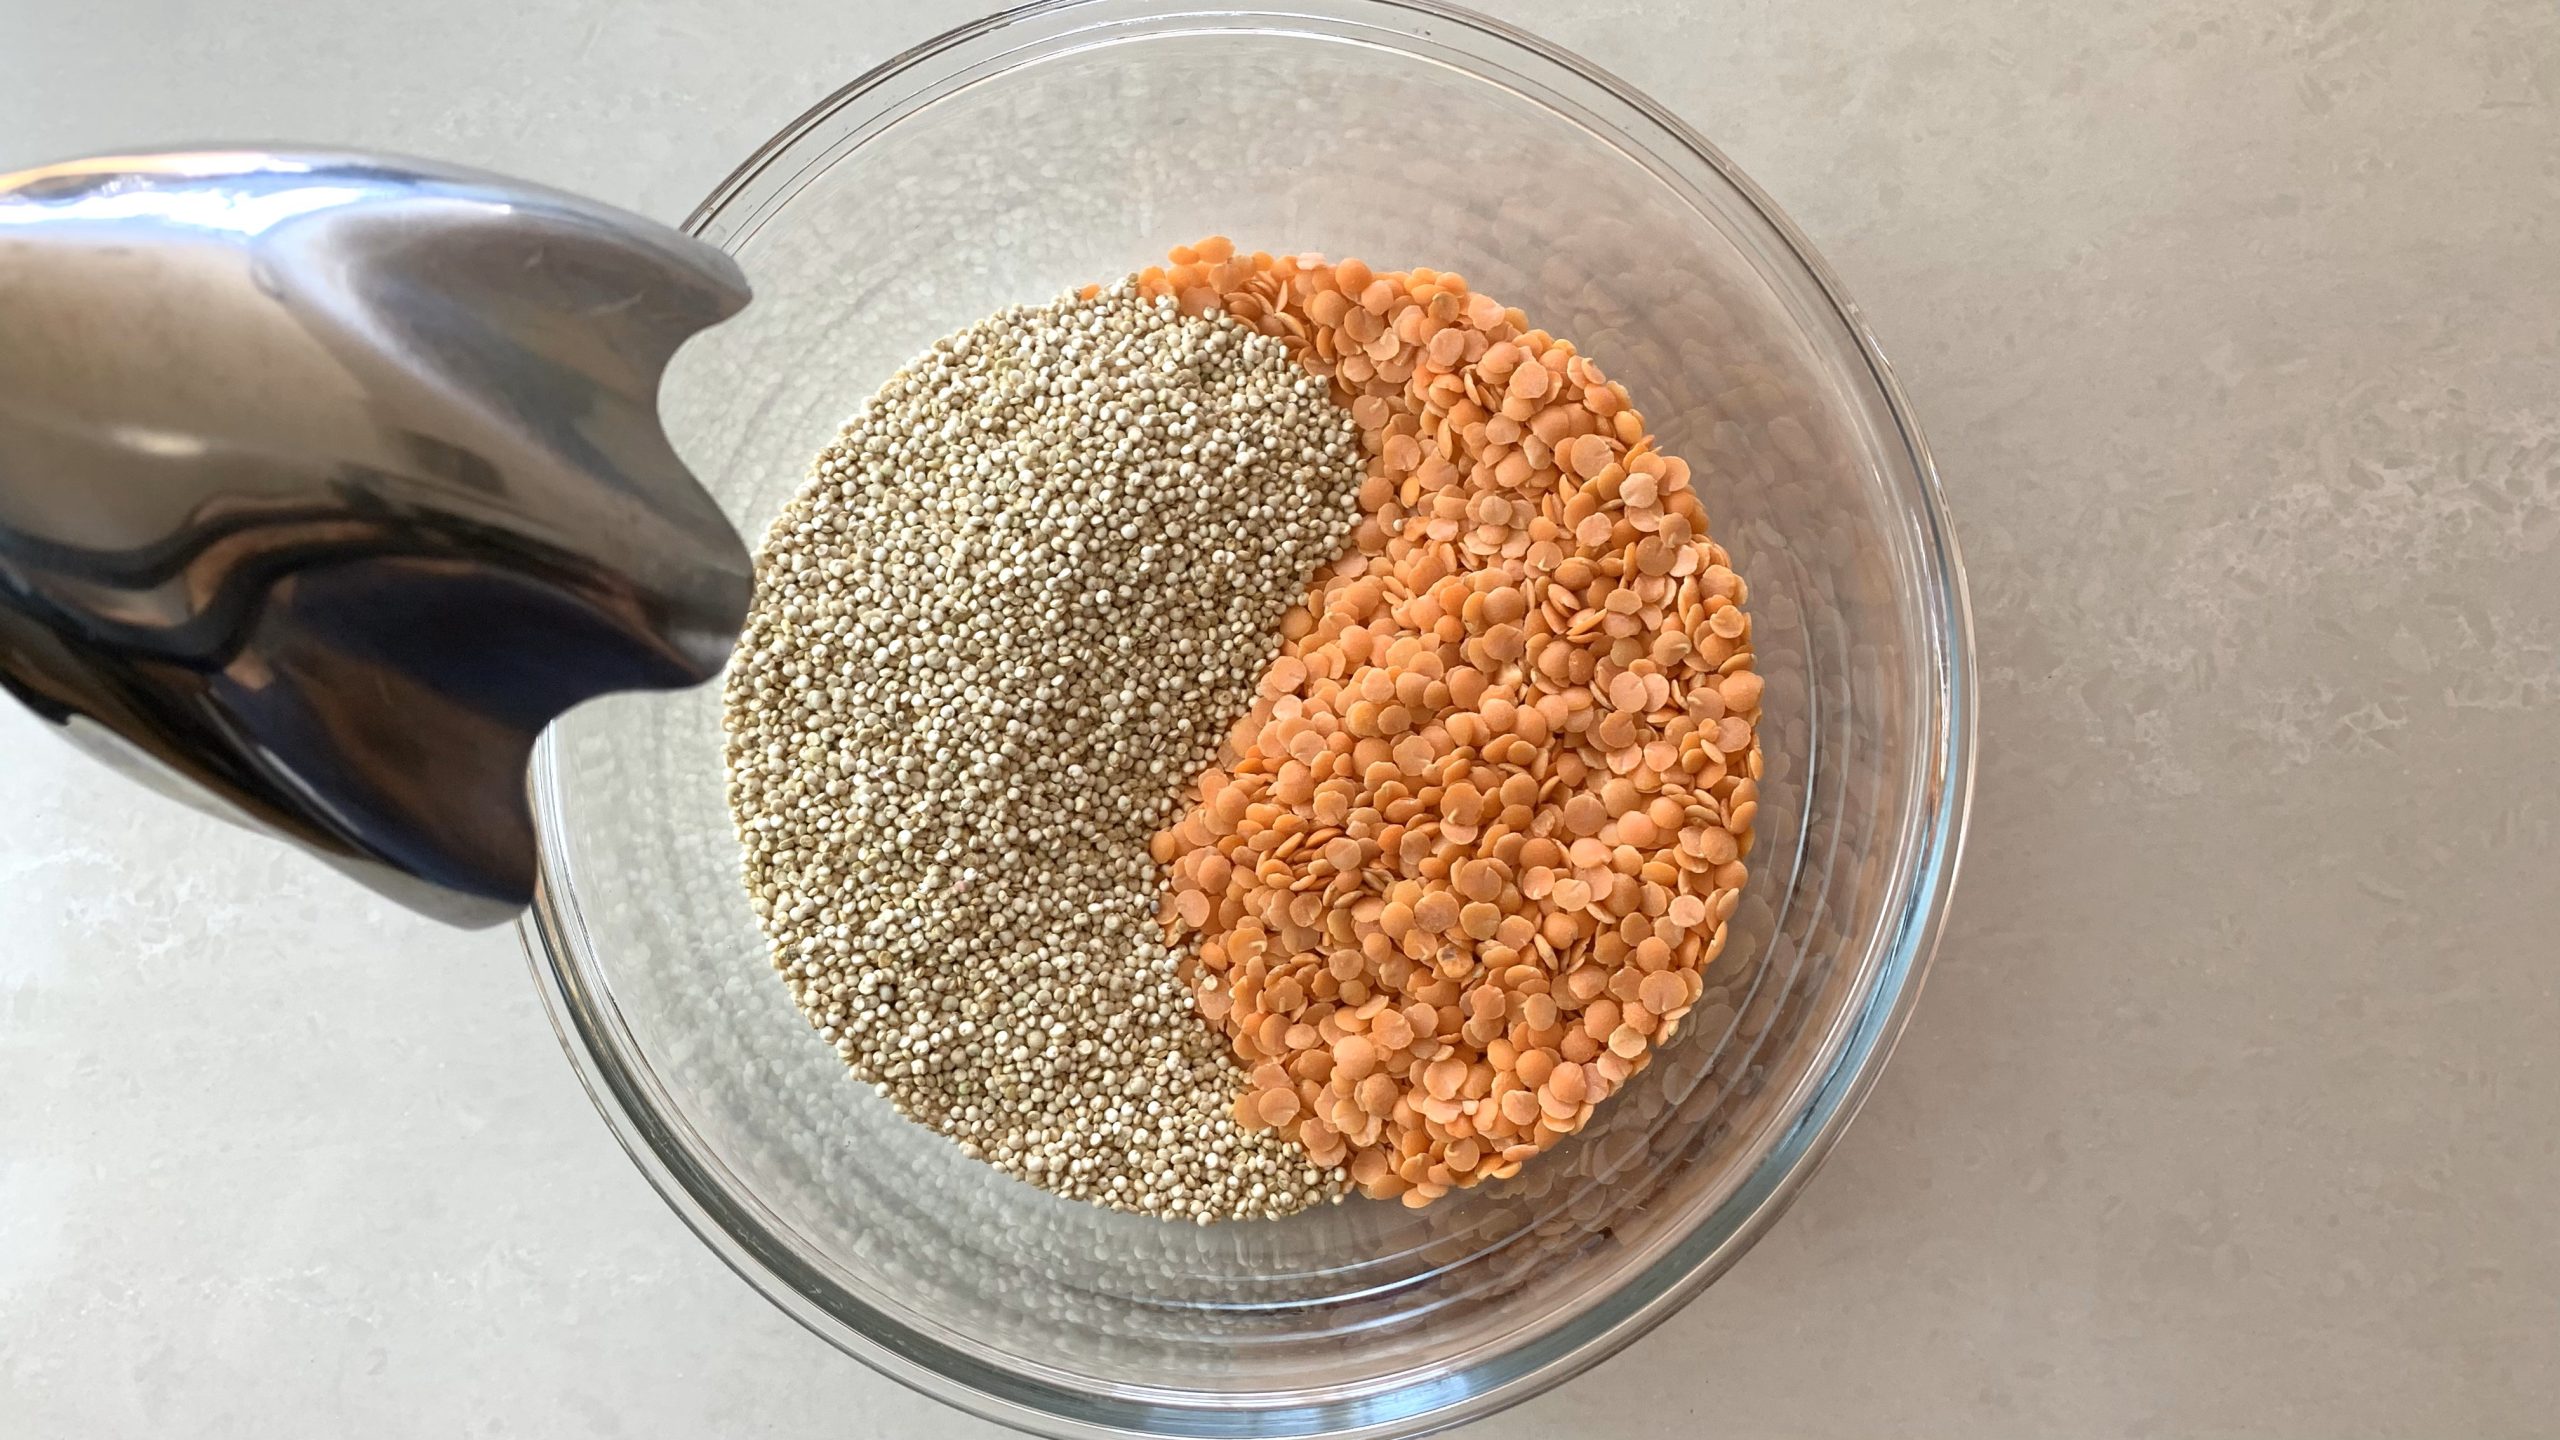
- Place the mung beans in a bowl and cover them with water. Soak them overnight in the fridge. This step is crucial as it softens the beans, making them easier to blend and reducing their strong bean taste. If you prefer, you can change the soaking water a few times to dampen the taste further.
- Thoroughly rinse the soaked mung beans and strain them extremely well to remove excess water.
- In a blender, combine the soaked mung beans, fresh water, and salt. Blend until smooth and creamy. The batter should have a consistency similar to pancake batter.
- Optionally, you can add spices and herbs to the batter for added flavor. Popular choices include cumin, turmeric, or fresh herbs like cilantro.
- Heat a nonstick pan over medium-low heat and brush it lightly with coconut oil to prevent sticking.
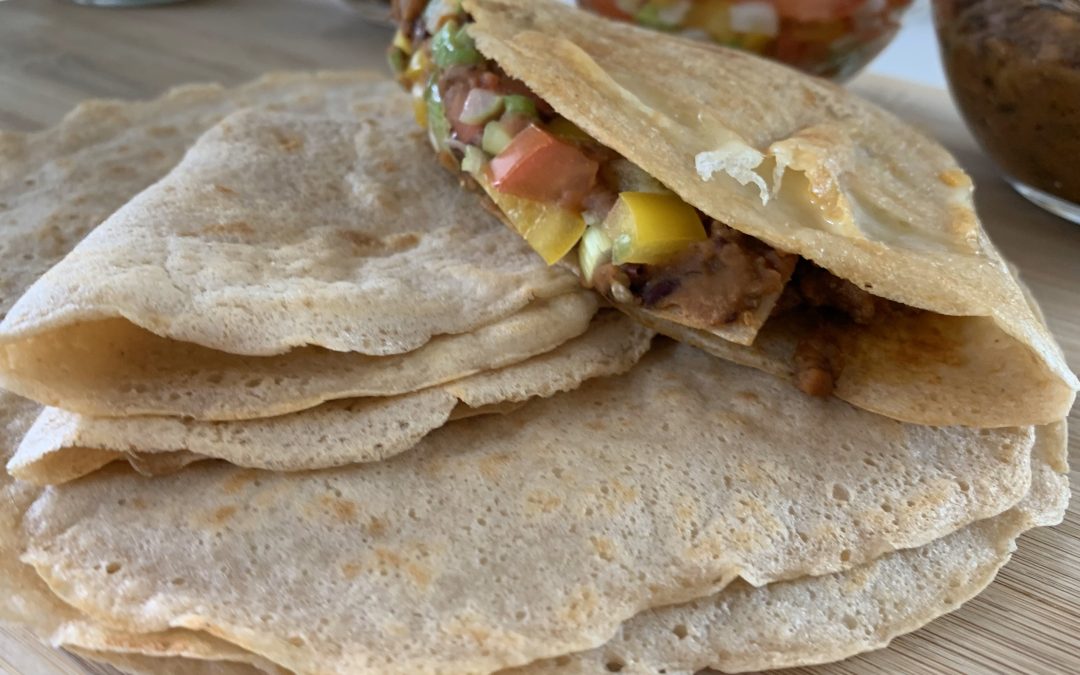
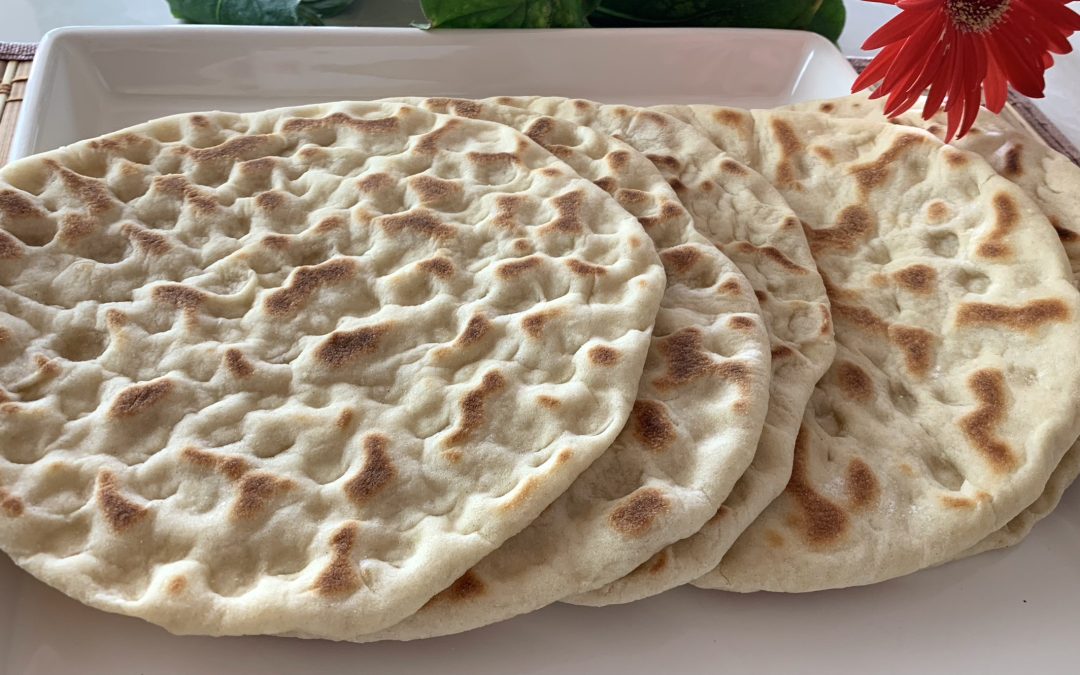
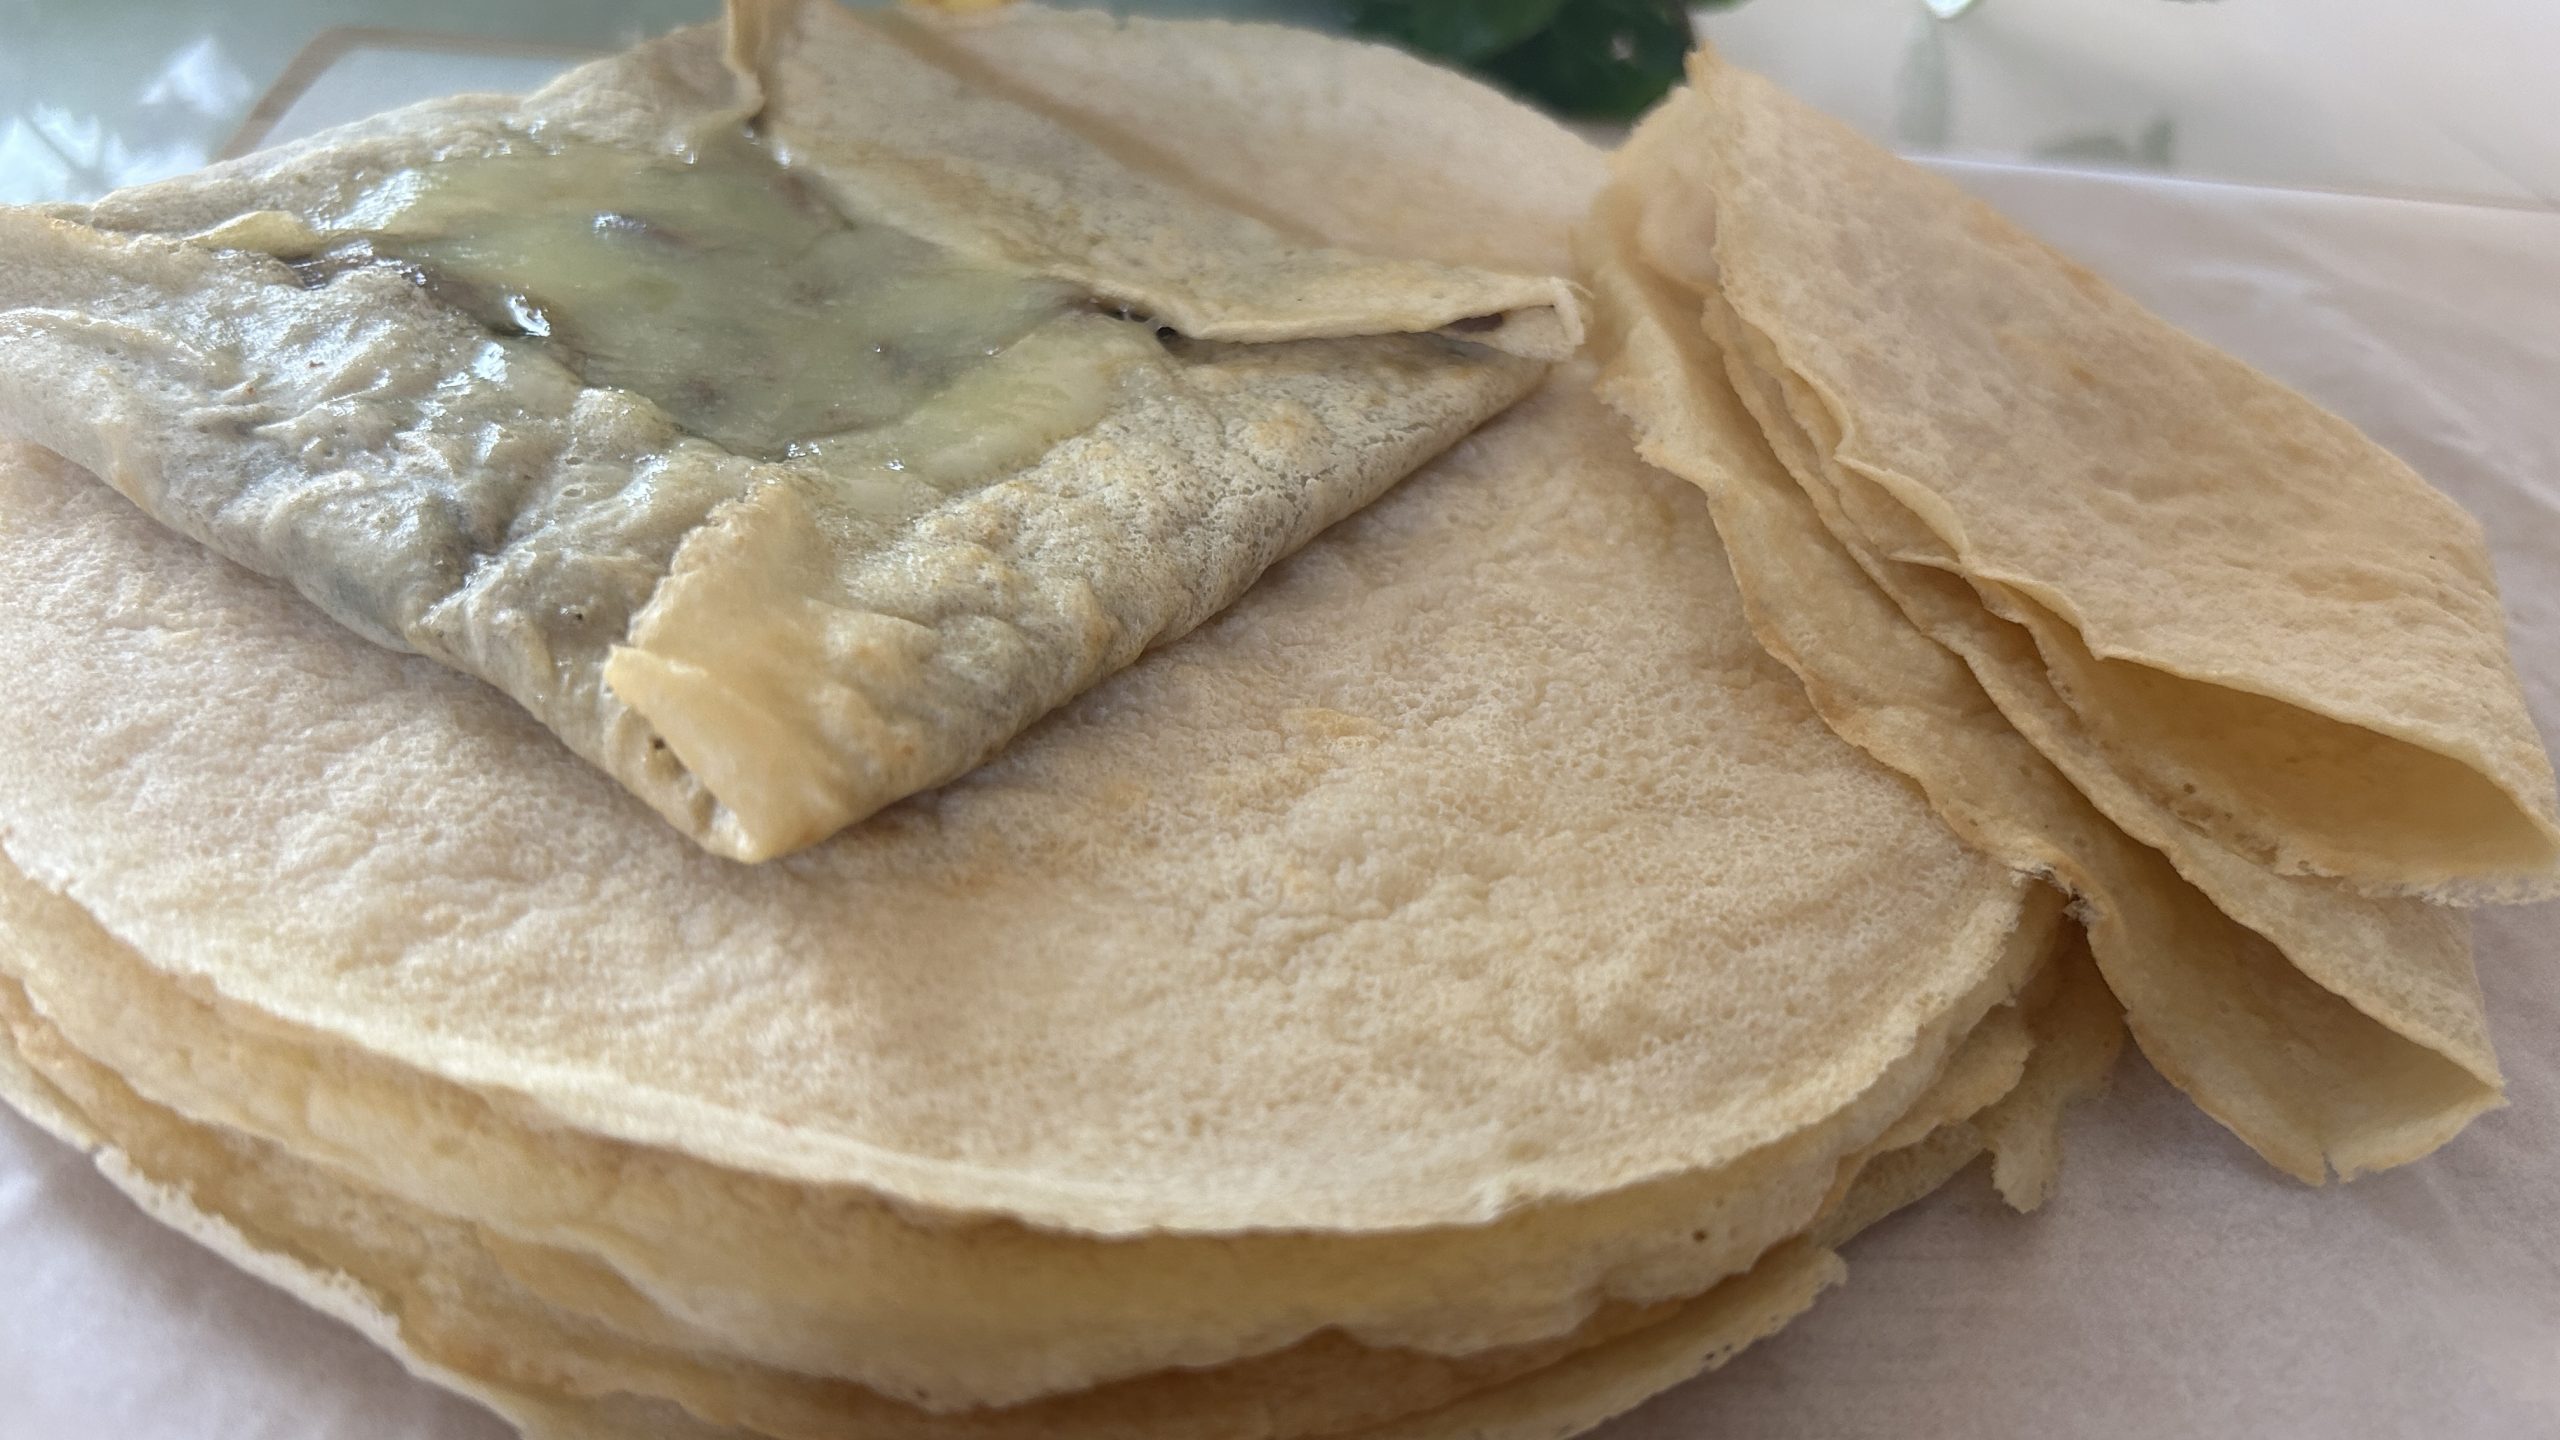
- Pour the equivalent of half a cup of batter onto the medium-hot pan and spread it evenly to form a thin layer. The thinner the layer, the crispier the wrap will be.
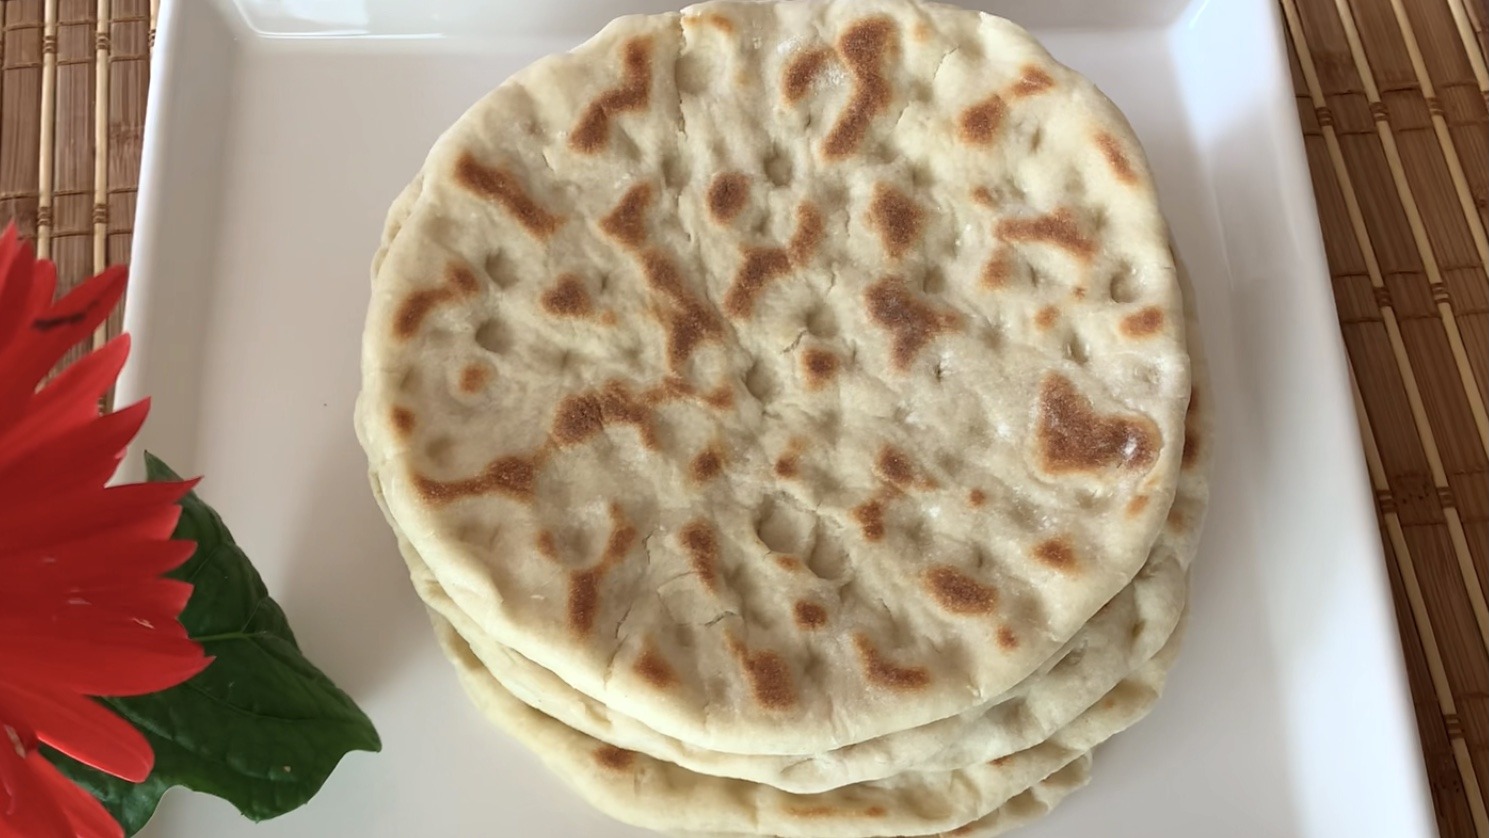
- Cook the wrap under medium-low heat until the top side looks dry, which should take approximately 2 minutes. Flip and cook the other side for another 2 minutes.
- You can flip back and forth while pressing gently on the wraps until they puff up slightly, indicating they’re well-cooked and ready.
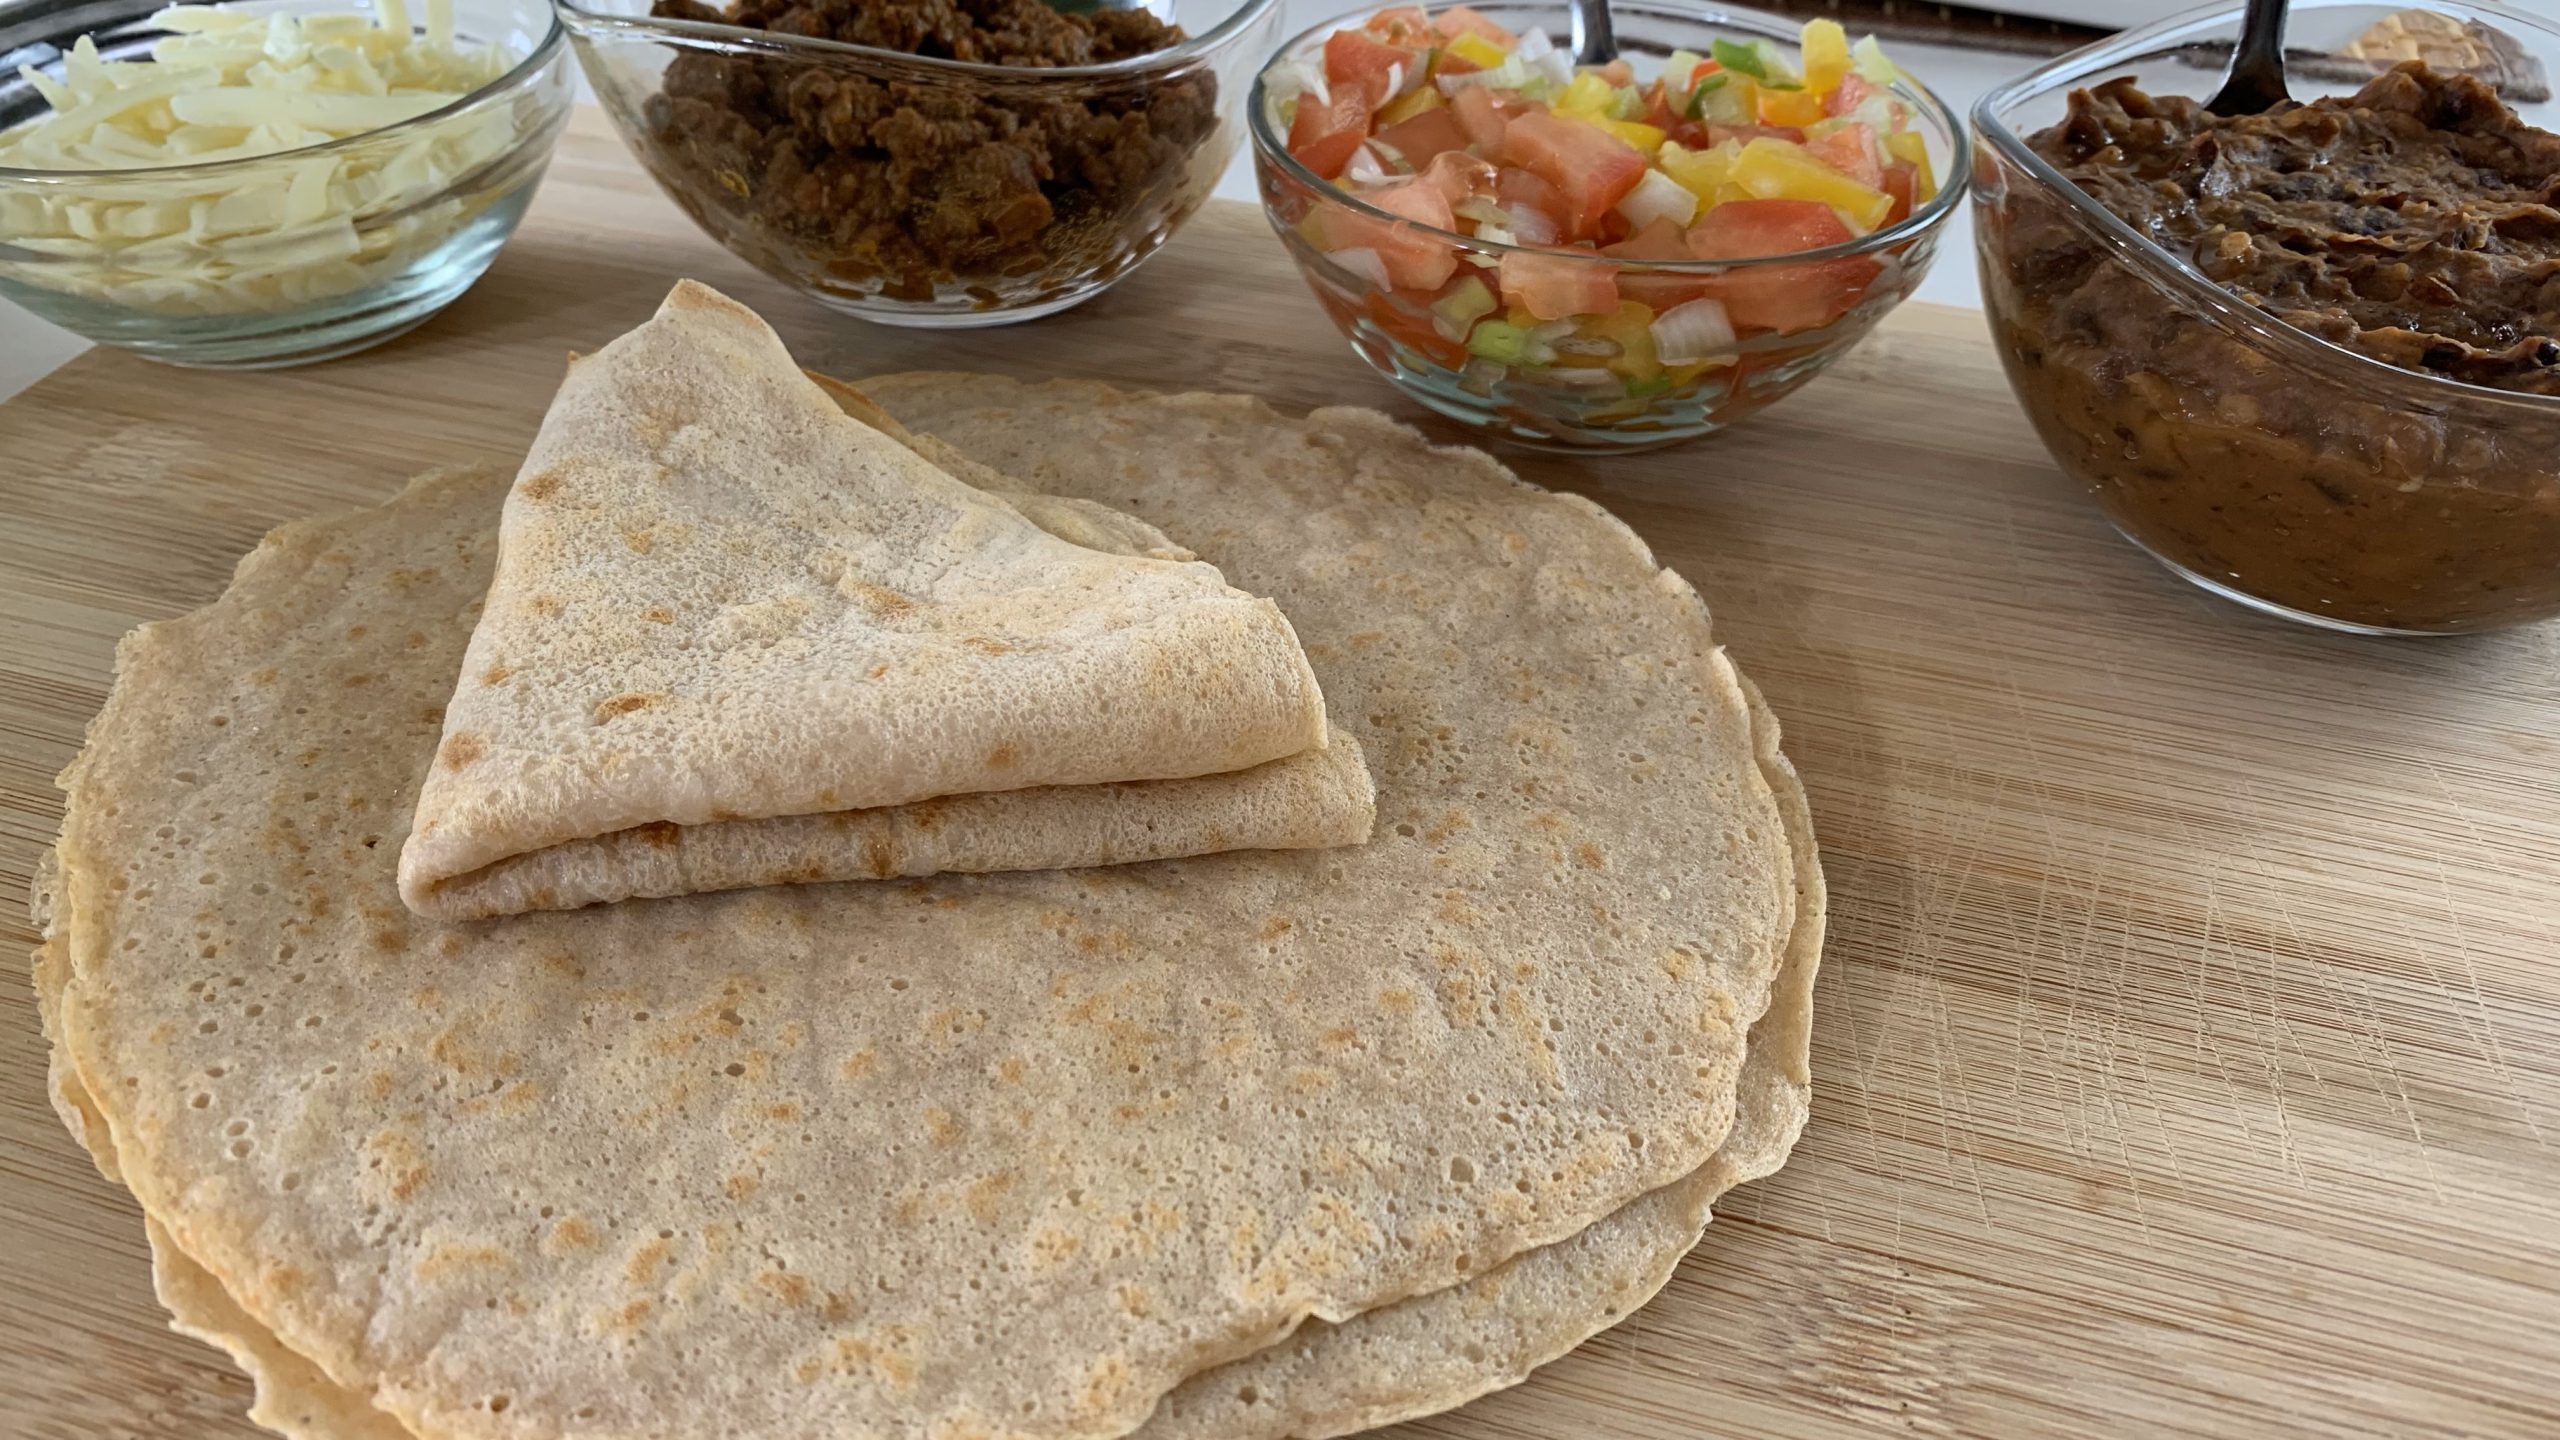
- Once cooked to your liking, place them while warm on top of the other wraps to keep them soft and pliable. They’re now ready to be filled with your favorite ingredients or stored for later use.
Prep Time, Cooking Information, and Servings
- Servings: 8 Servings
- Prep Time: 15 mins (plus overnight soaking)
- Cooking Time: 50 mins Pan Cooking
Nutritional Information
- Energy: 89 calories
- Protein: 6.11 g
- Fat: 0.29 g
- Carbohydrates: 16.05 g
- Fiber: 4.2 g
Storage and Particular Recommendations
- Store your mung bean wraps in a sealed ziplock bag in the refrigerator for up to 7 days or in the freezer for up to 3 months.
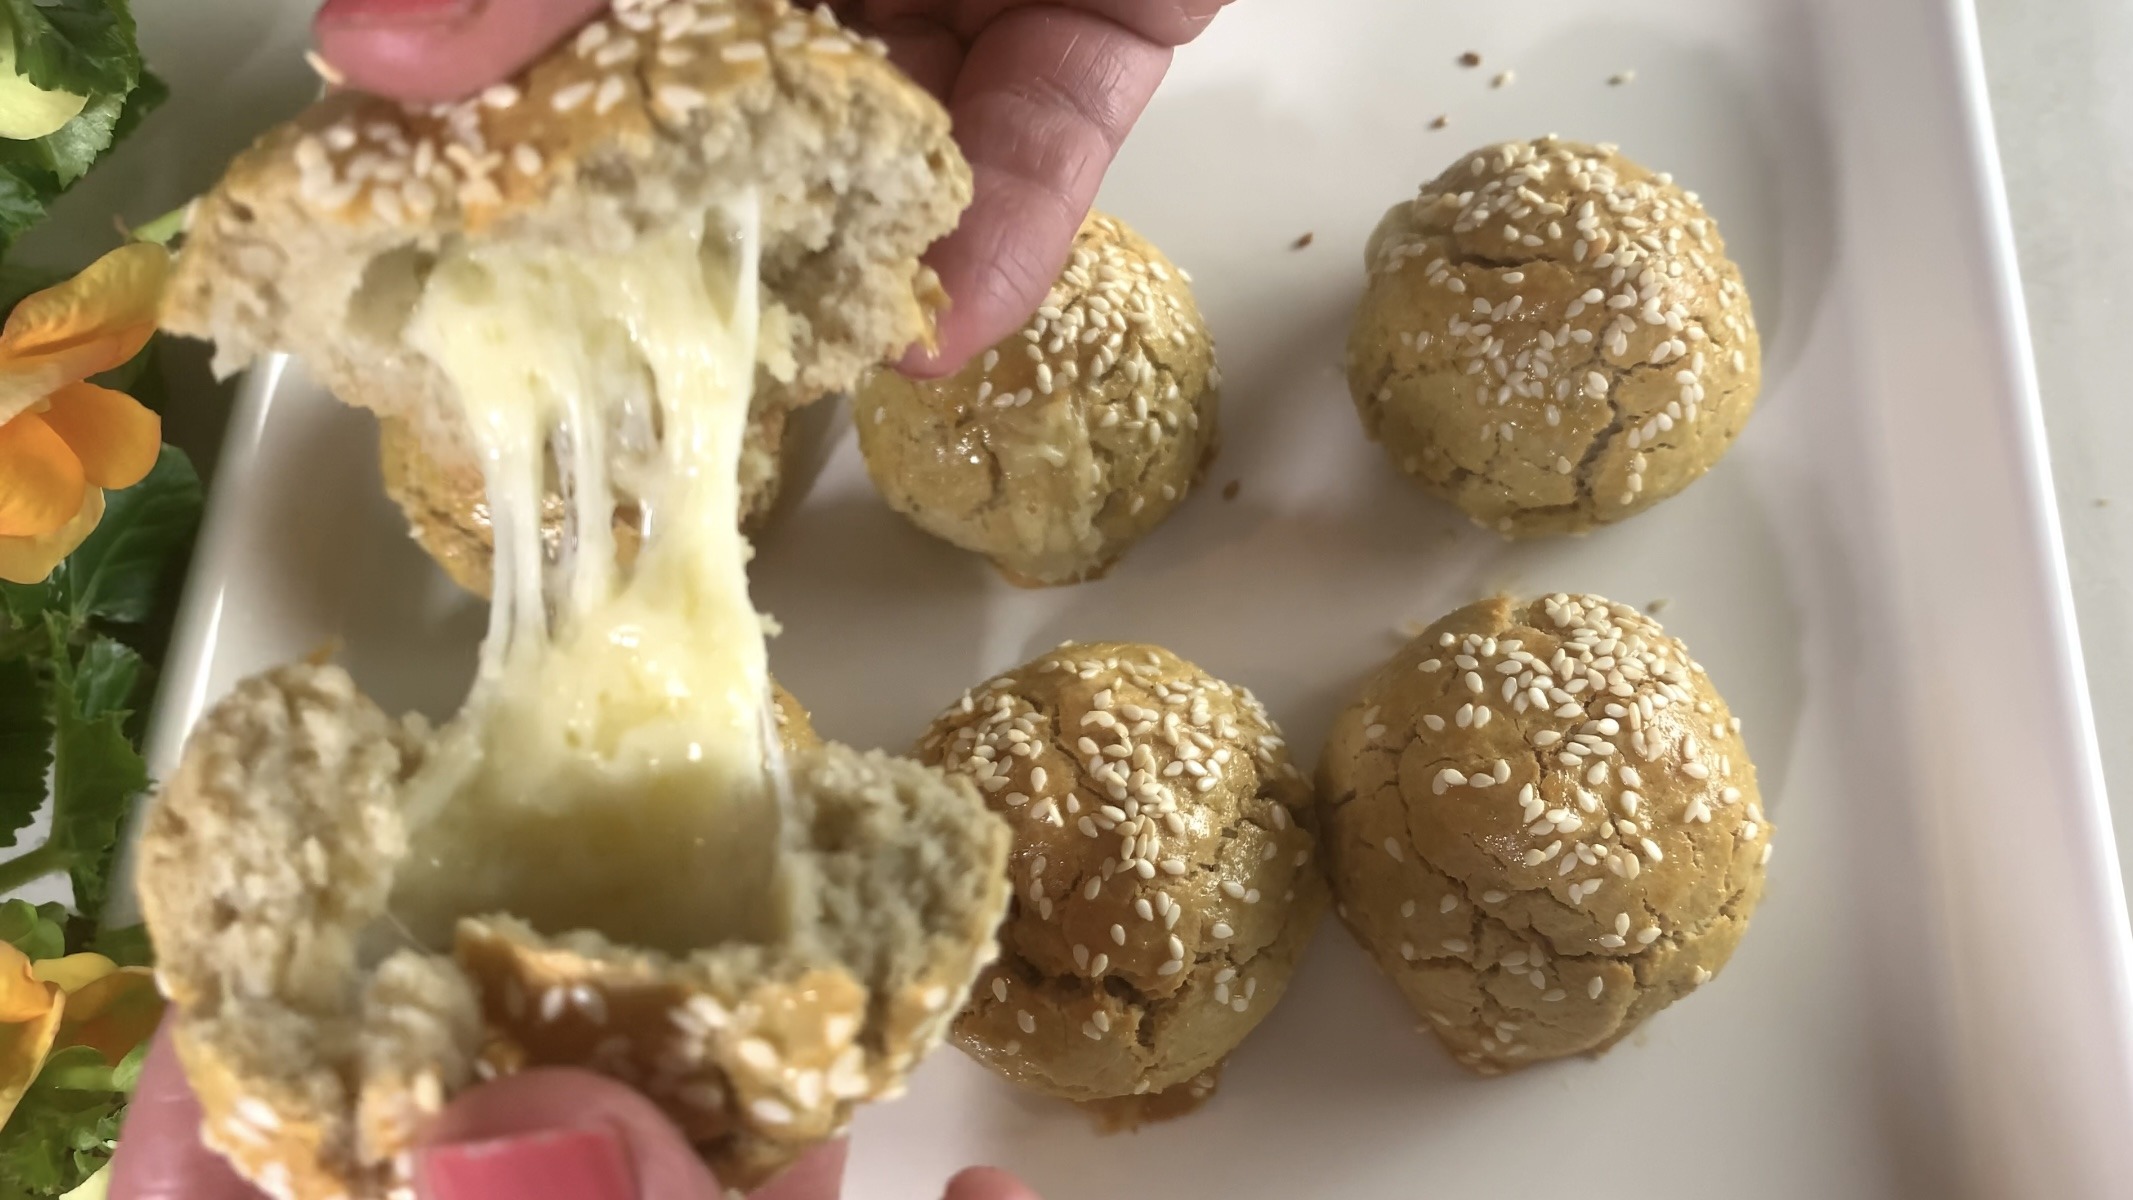
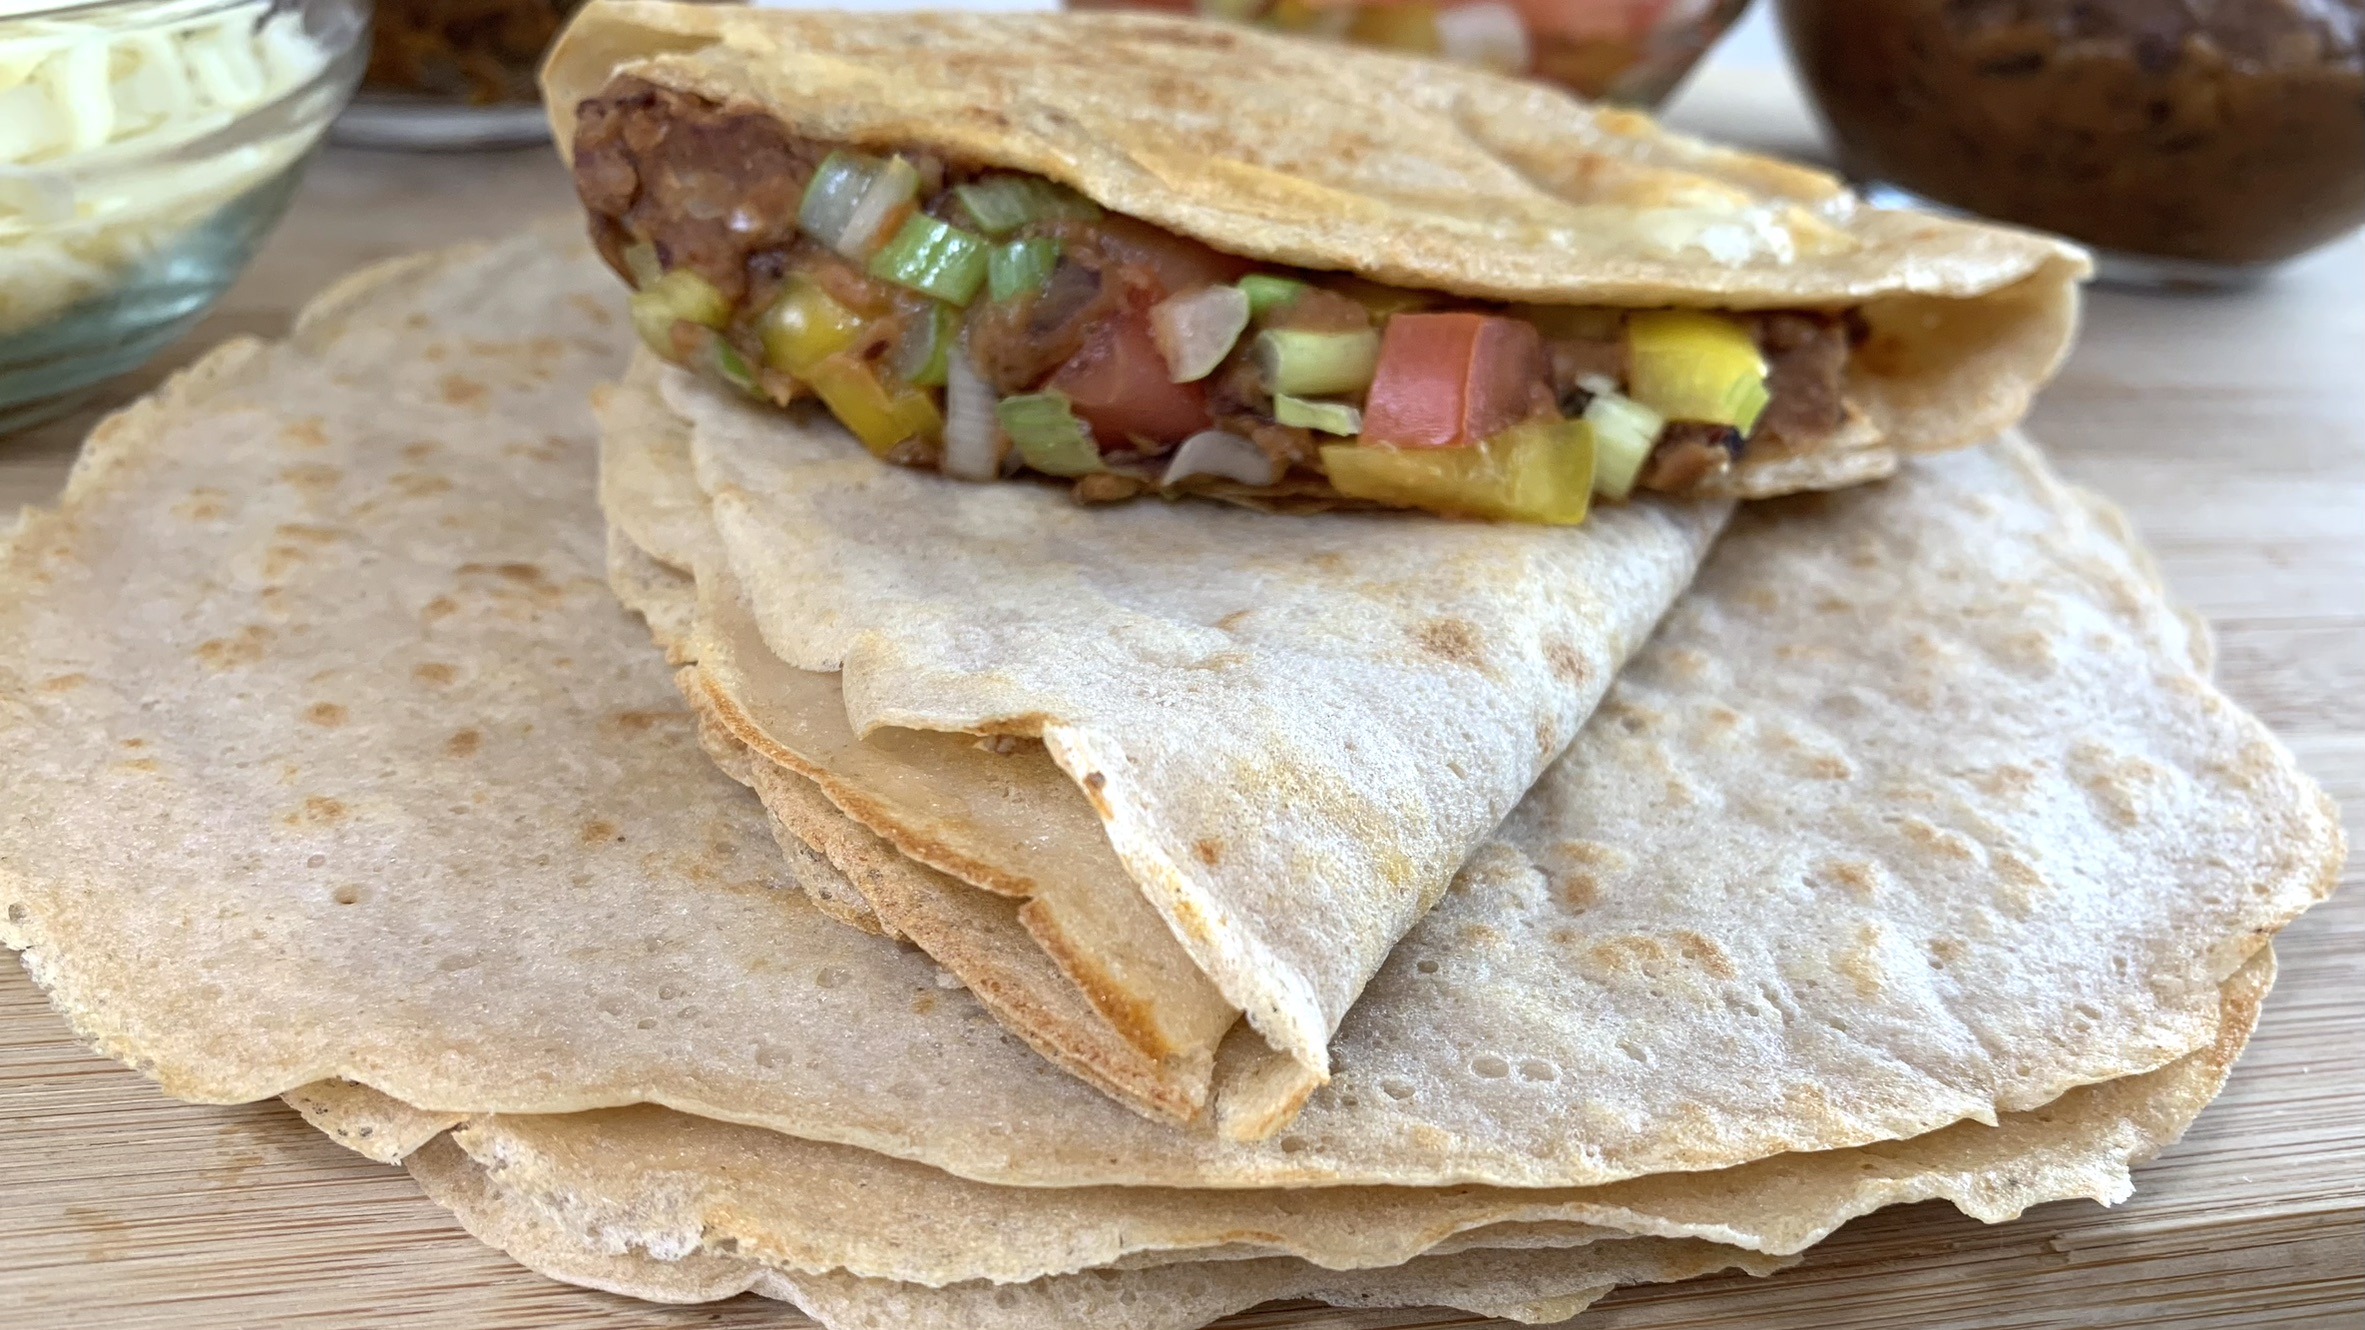
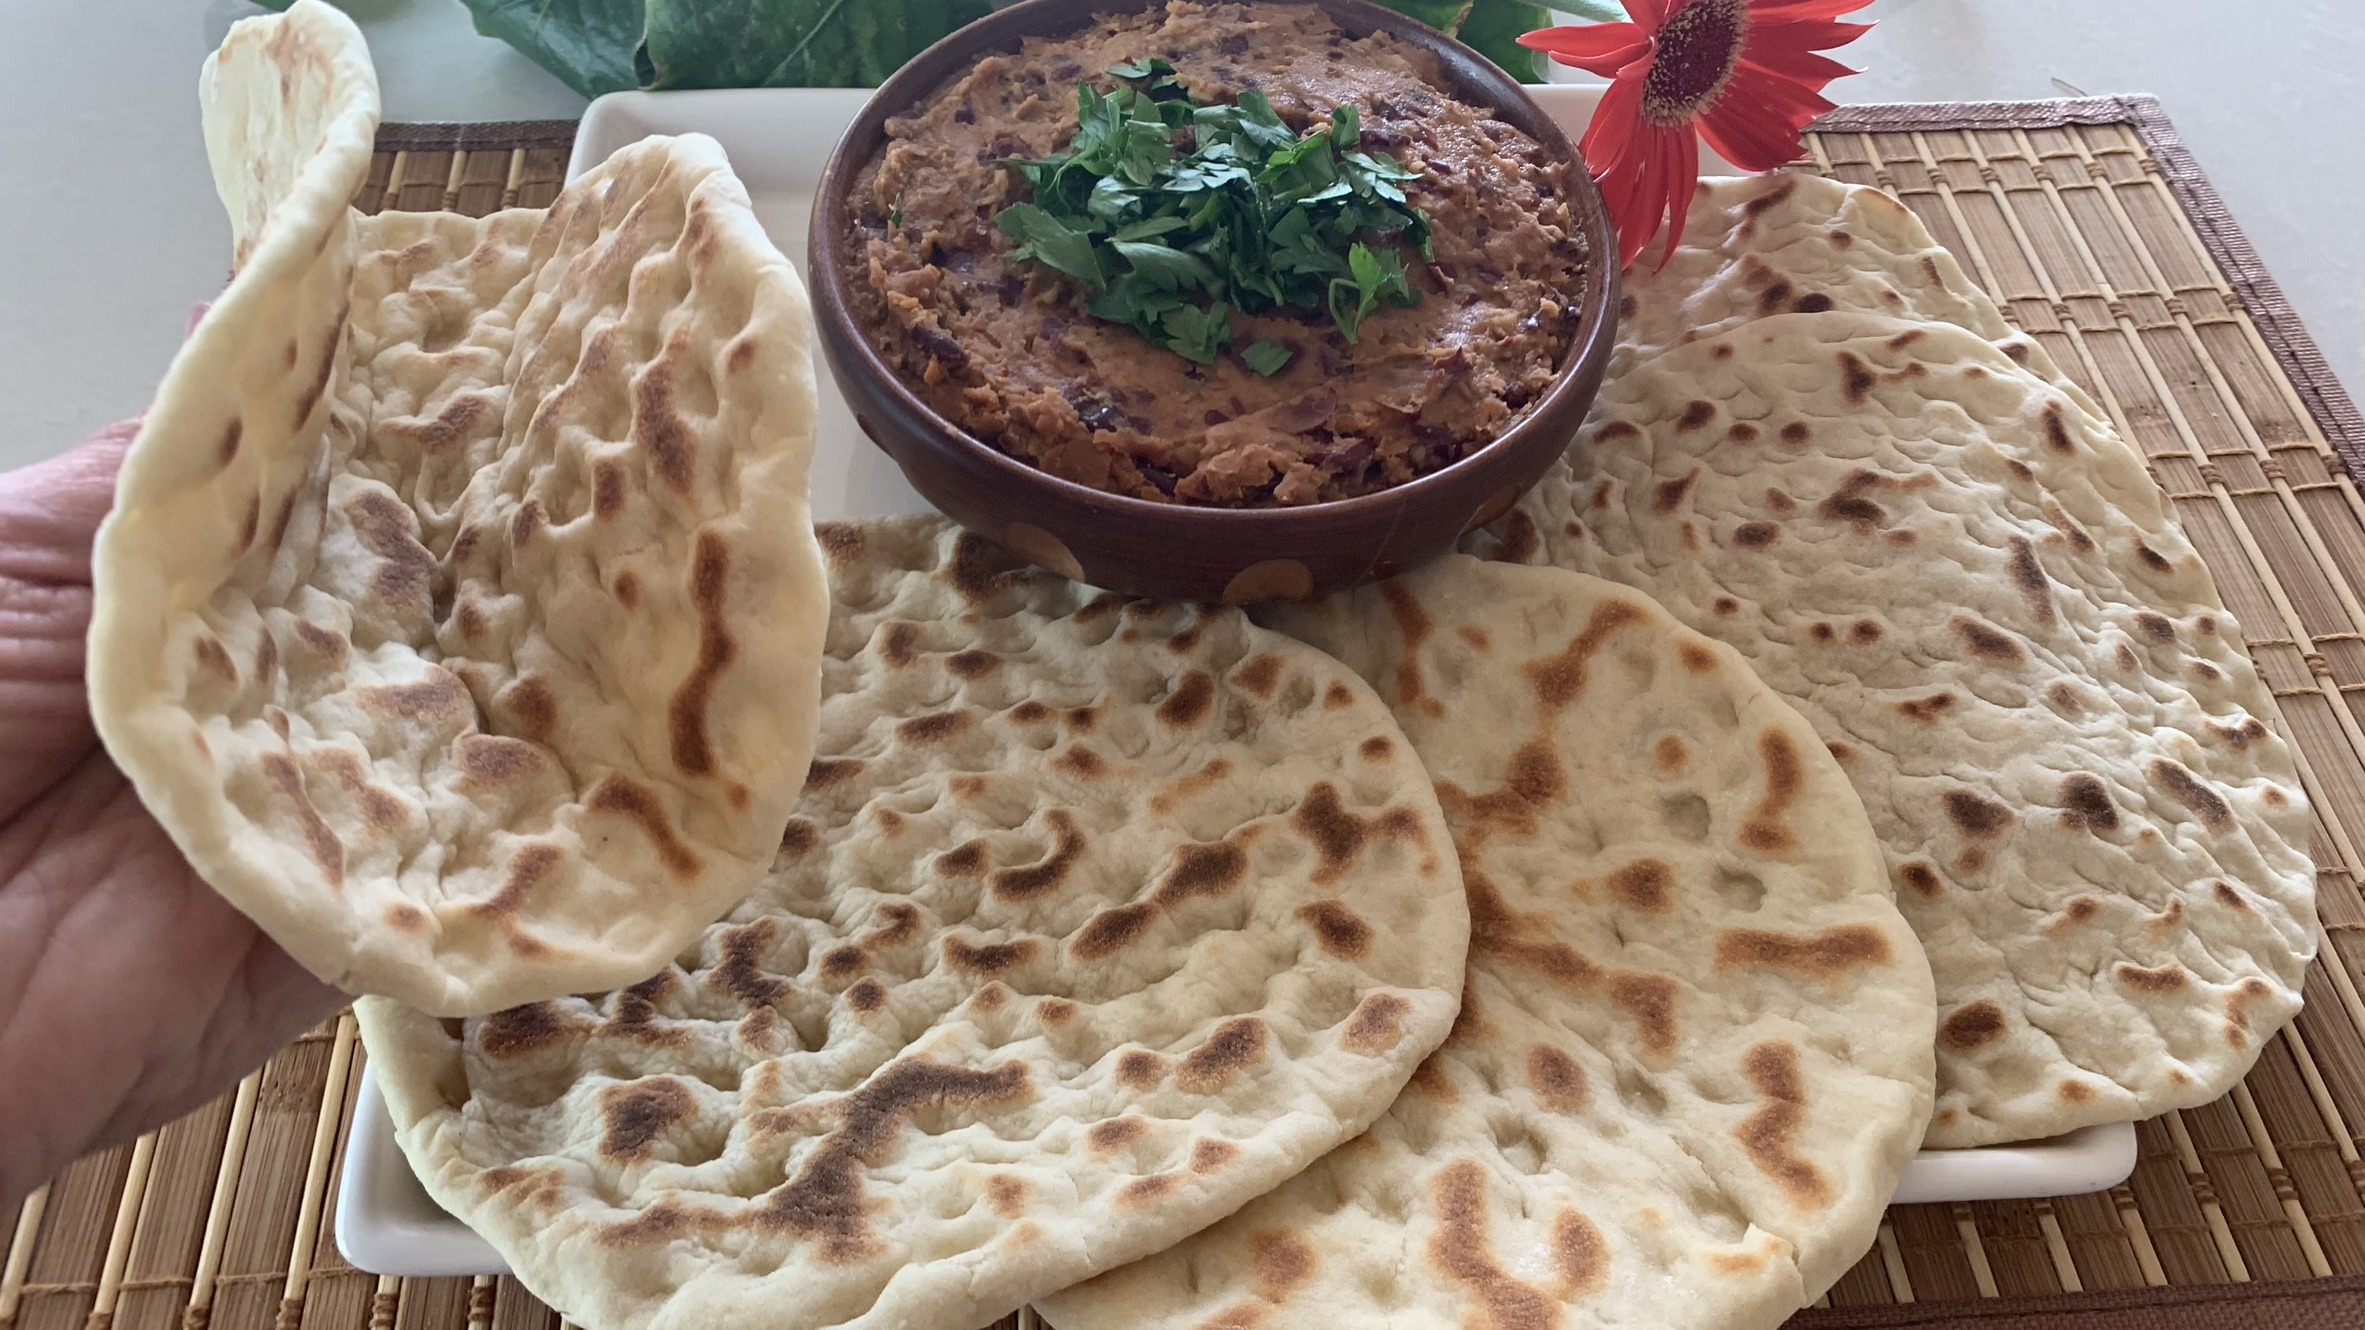
- These wraps are incredibly versatile. Fill them with your favorite ingredients like grilled vegetables, beans, chicken, or tofu.
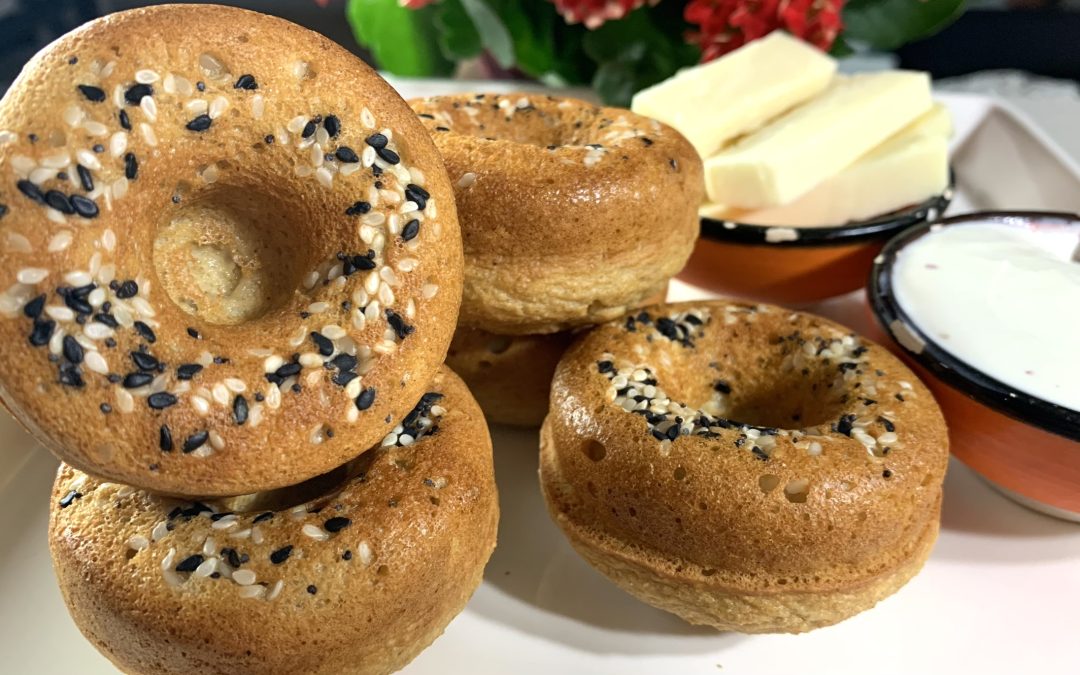
- You can also use them as a base for a quick pizza or as a substitute for traditional tortillas in tacos or burritos.