Veggies-Rich Pizza
Veggies-Rich Pizza

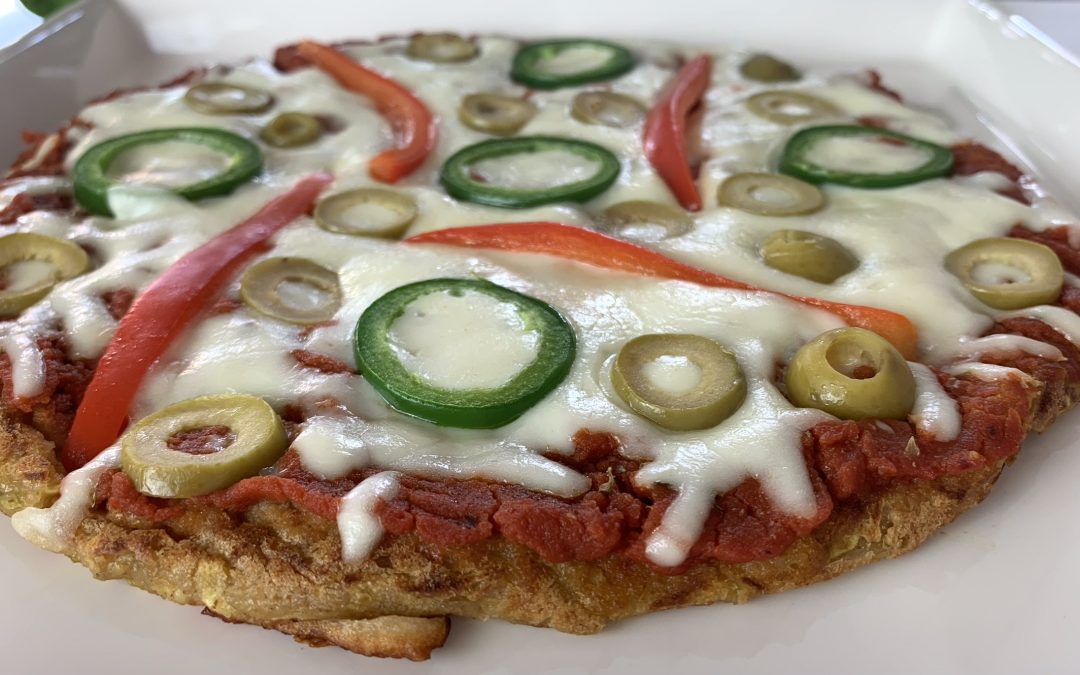
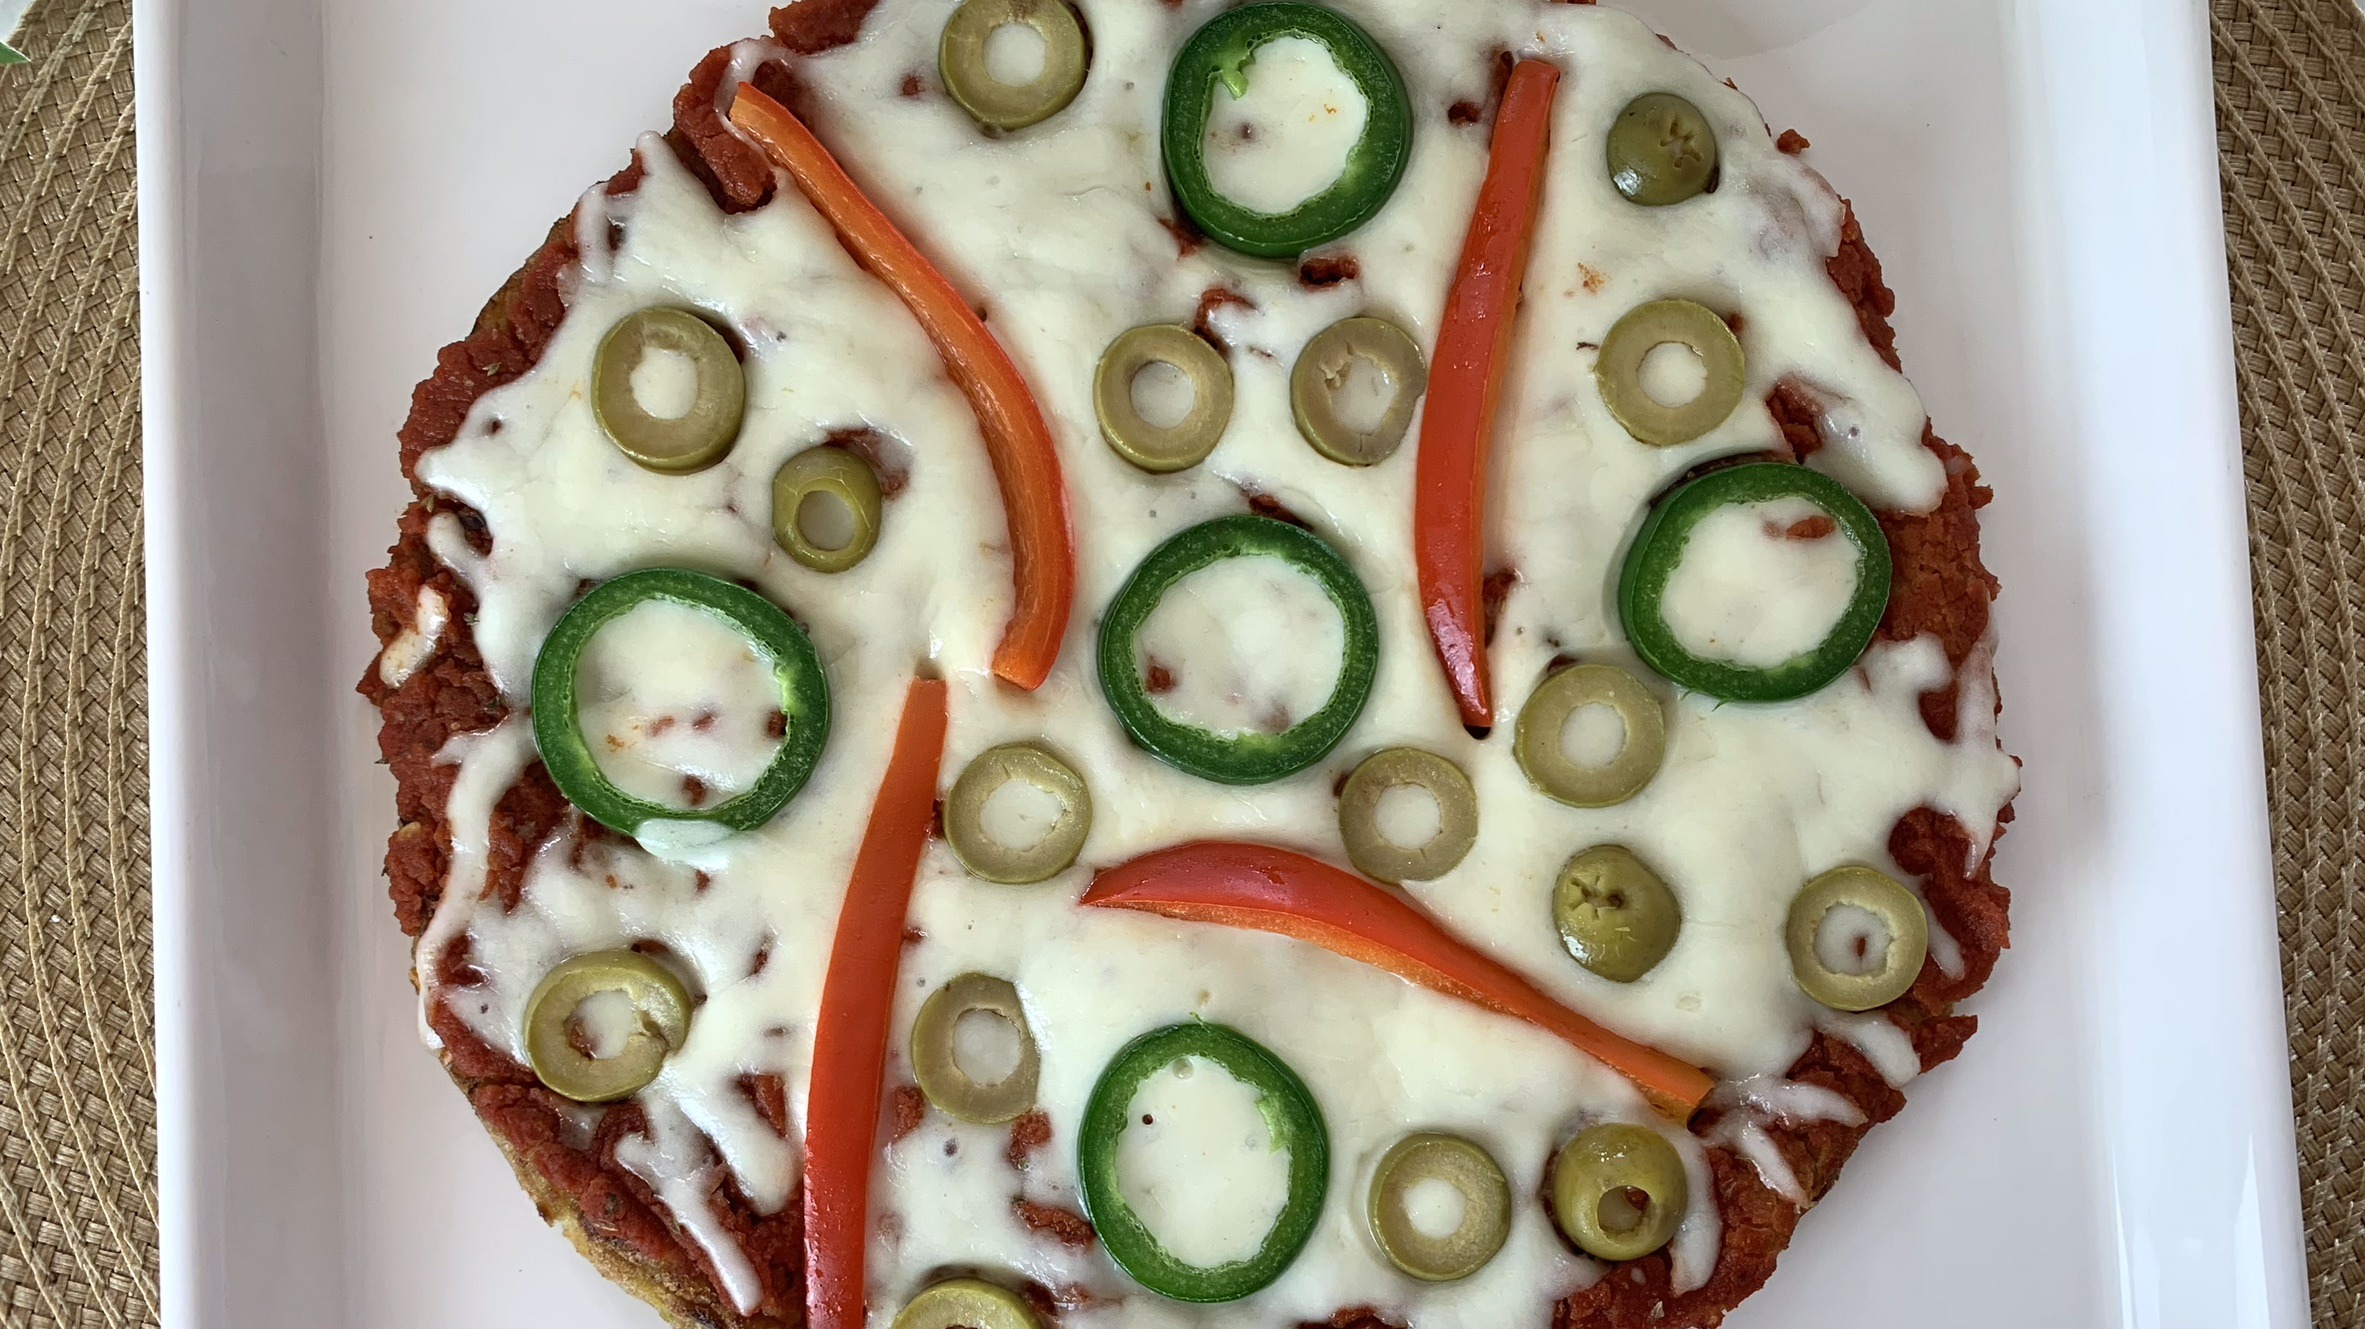
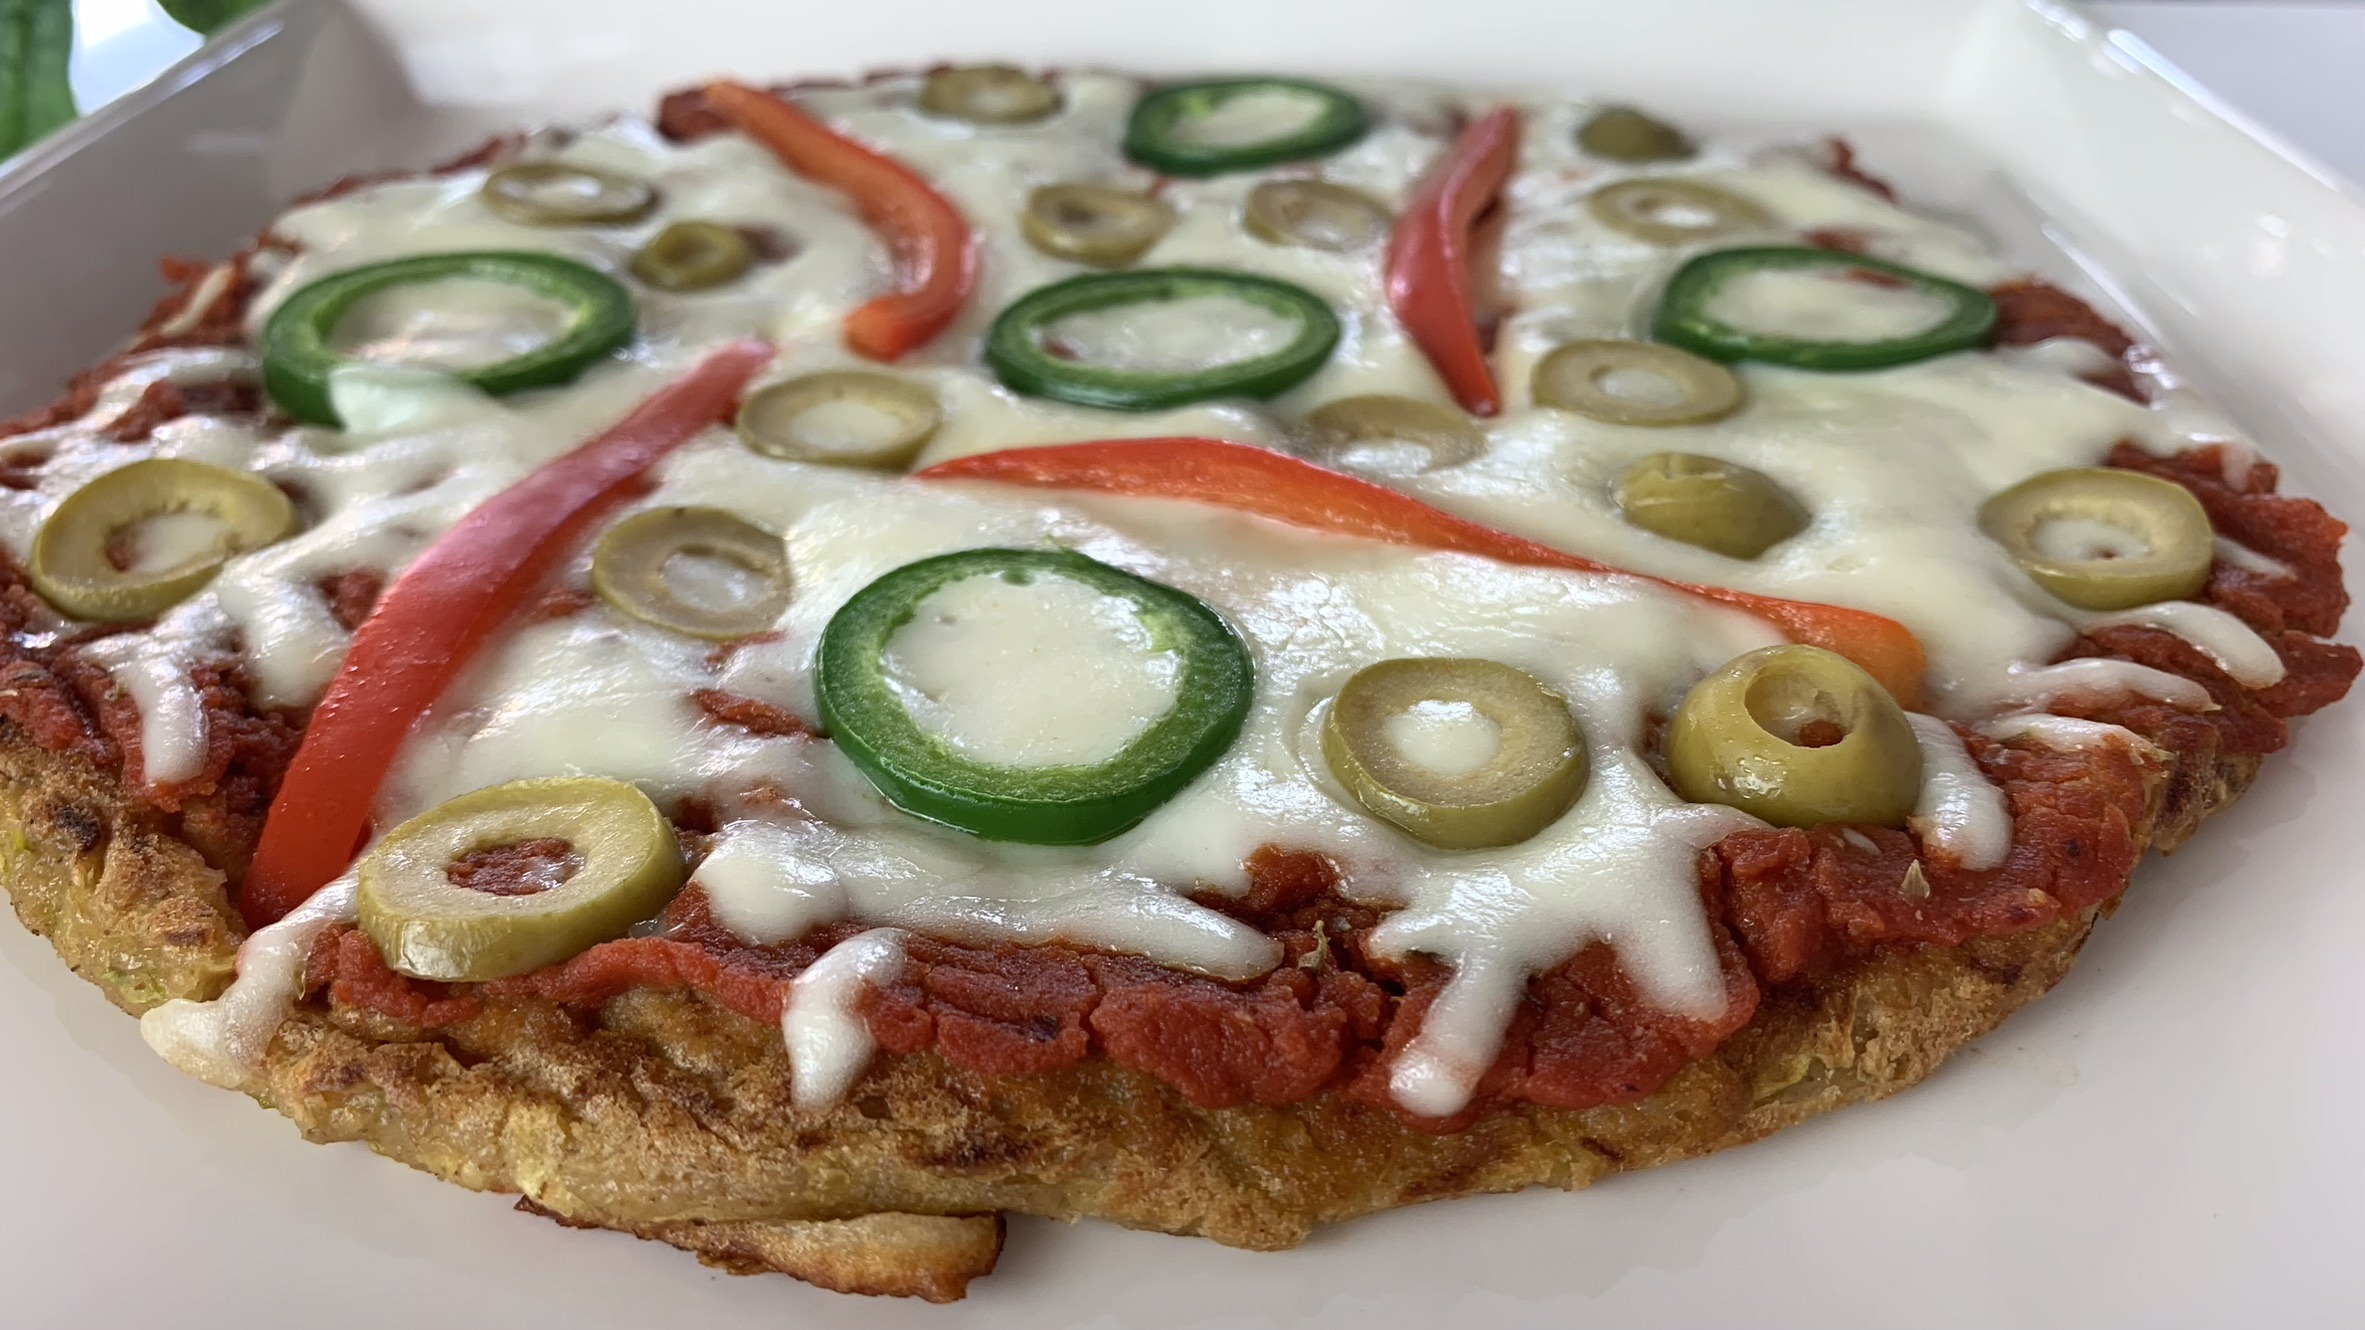
Craving pizza but looking for a healthier option that’s just as satisfying? This Veggies-Rich Pizza is exactly what you need! Packed with fresh vegetables and wholesome ingredients, this pizza is not only delicious but also incredibly nutritious. Perfect for those who follow a gluten-free diet or anyone wanting to add more veggies to their meals, this pizza is a guilt-free treat that can be enjoyed any time of the day, even for breakfast.
Zucchini, the star ingredient in this recipe, is a versatile and nutrient-dense vegetable. It’s low in calories yet high in essential vitamins like vitamin C and potassium. Zucchini is also rich in antioxidants, which are beneficial for reducing inflammation and protecting your body from free radicals. Including zucchini in your regular diet can support heart health, aid in digestion, and even promote healthy vision.
So why not give this veggie-packed pizza a try and make it a regular part of your meal rotation?
Ingredients
For the pizza crust (or dough):
- 140 g zucchini
- 40 g red pepper
- 40 g onion
- 1/2 tsp. salt
- 1/2 cup or 40 g oats flour
- 1/2 tbsp instant yeast
For the pizza garnish (customizable to your preference):
- 1/4 cup tomato sauce
- Pizza seasoning to taste
- 60 g shredded mozzarella cheese
- 20 g red pepper, sliced
- 20 g jalapeños pepper, sliced
- 25 g green olive slices
Directions
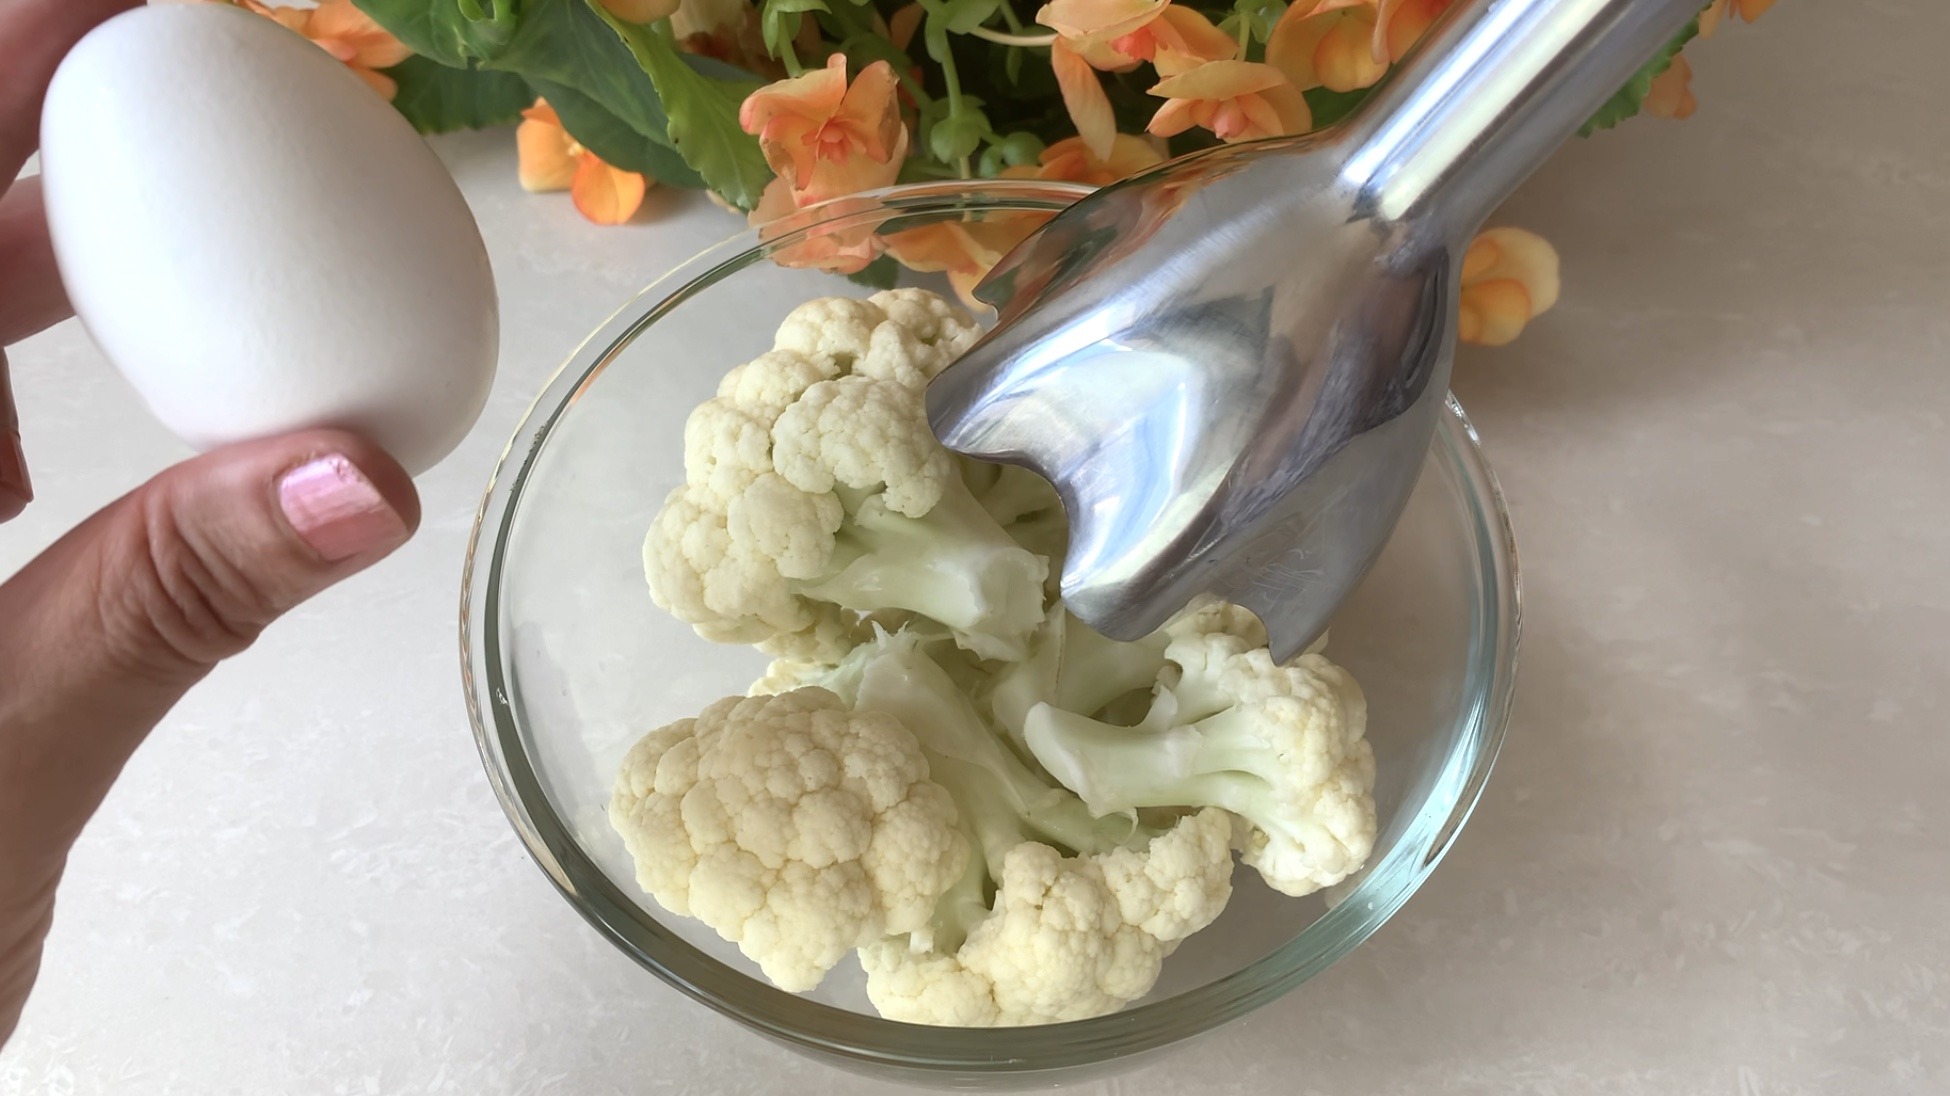
- In a bowl, combine shredded zucchini, red pepper, and onion. Sprinkle a bit of salt over the shredded veggies and mix to extract the excess moisture.
- To the veggie mixture, add oats flour and instant yeast. Mix everything together until well combined.
- Allow the dough to “proof” for approximately 20 minutes, allowing it to rise a bit and develop its flavor.
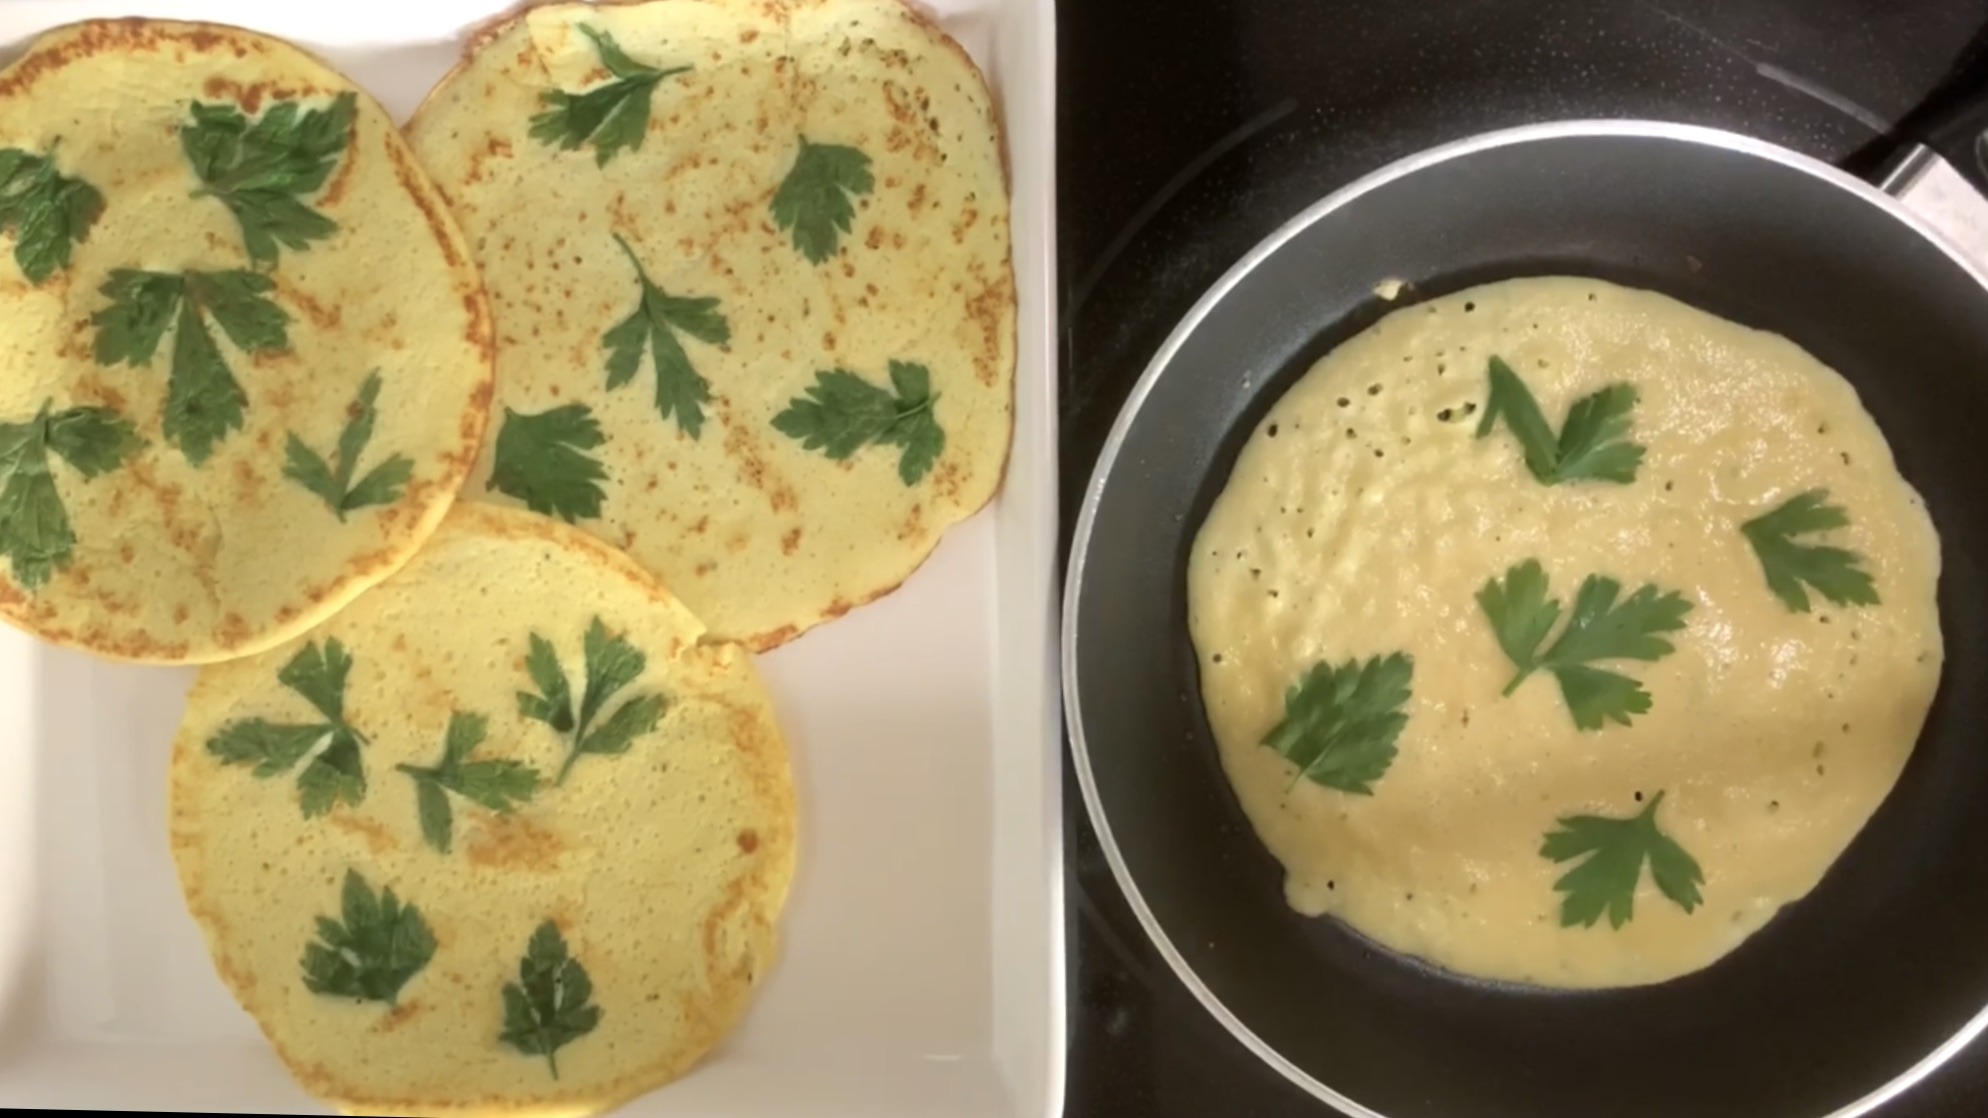
- Onto a nonstick pan brushed with a fraction of oil and before turning on the heat, shape the dough into a round crust.
- Heat the pan over medium-low heat, cover, and let cook the first side of the crust for about 7 minutes, or until it’s lightly browned.
- Flip the crust to cook on the other side. On the cooked side, spread your garnishes of choice. You can use tomato sauce sprinkled with pizza seasoning for that classic pizza flavor. Then, layer shredded mozzarella cheese, sliced red pepper, sliced jalapeños, and green olive slices.
- Cover the pan and let it cook for another 7 minutes, allowing the cheese to melt and the flavors to meld together.
Prep Time
- Prep Time: 20 minutes
- Proofing Time: 20 minutes
- Cooking Time: 20 minutes
Nutritional Information (per serving)
- Energy: 211 calories
- Protein: 16.45 g
- Fat: 2.45 g
- Carbohydrates: 31.19 g
- Fiber: 6.1 g
Storage and Tips
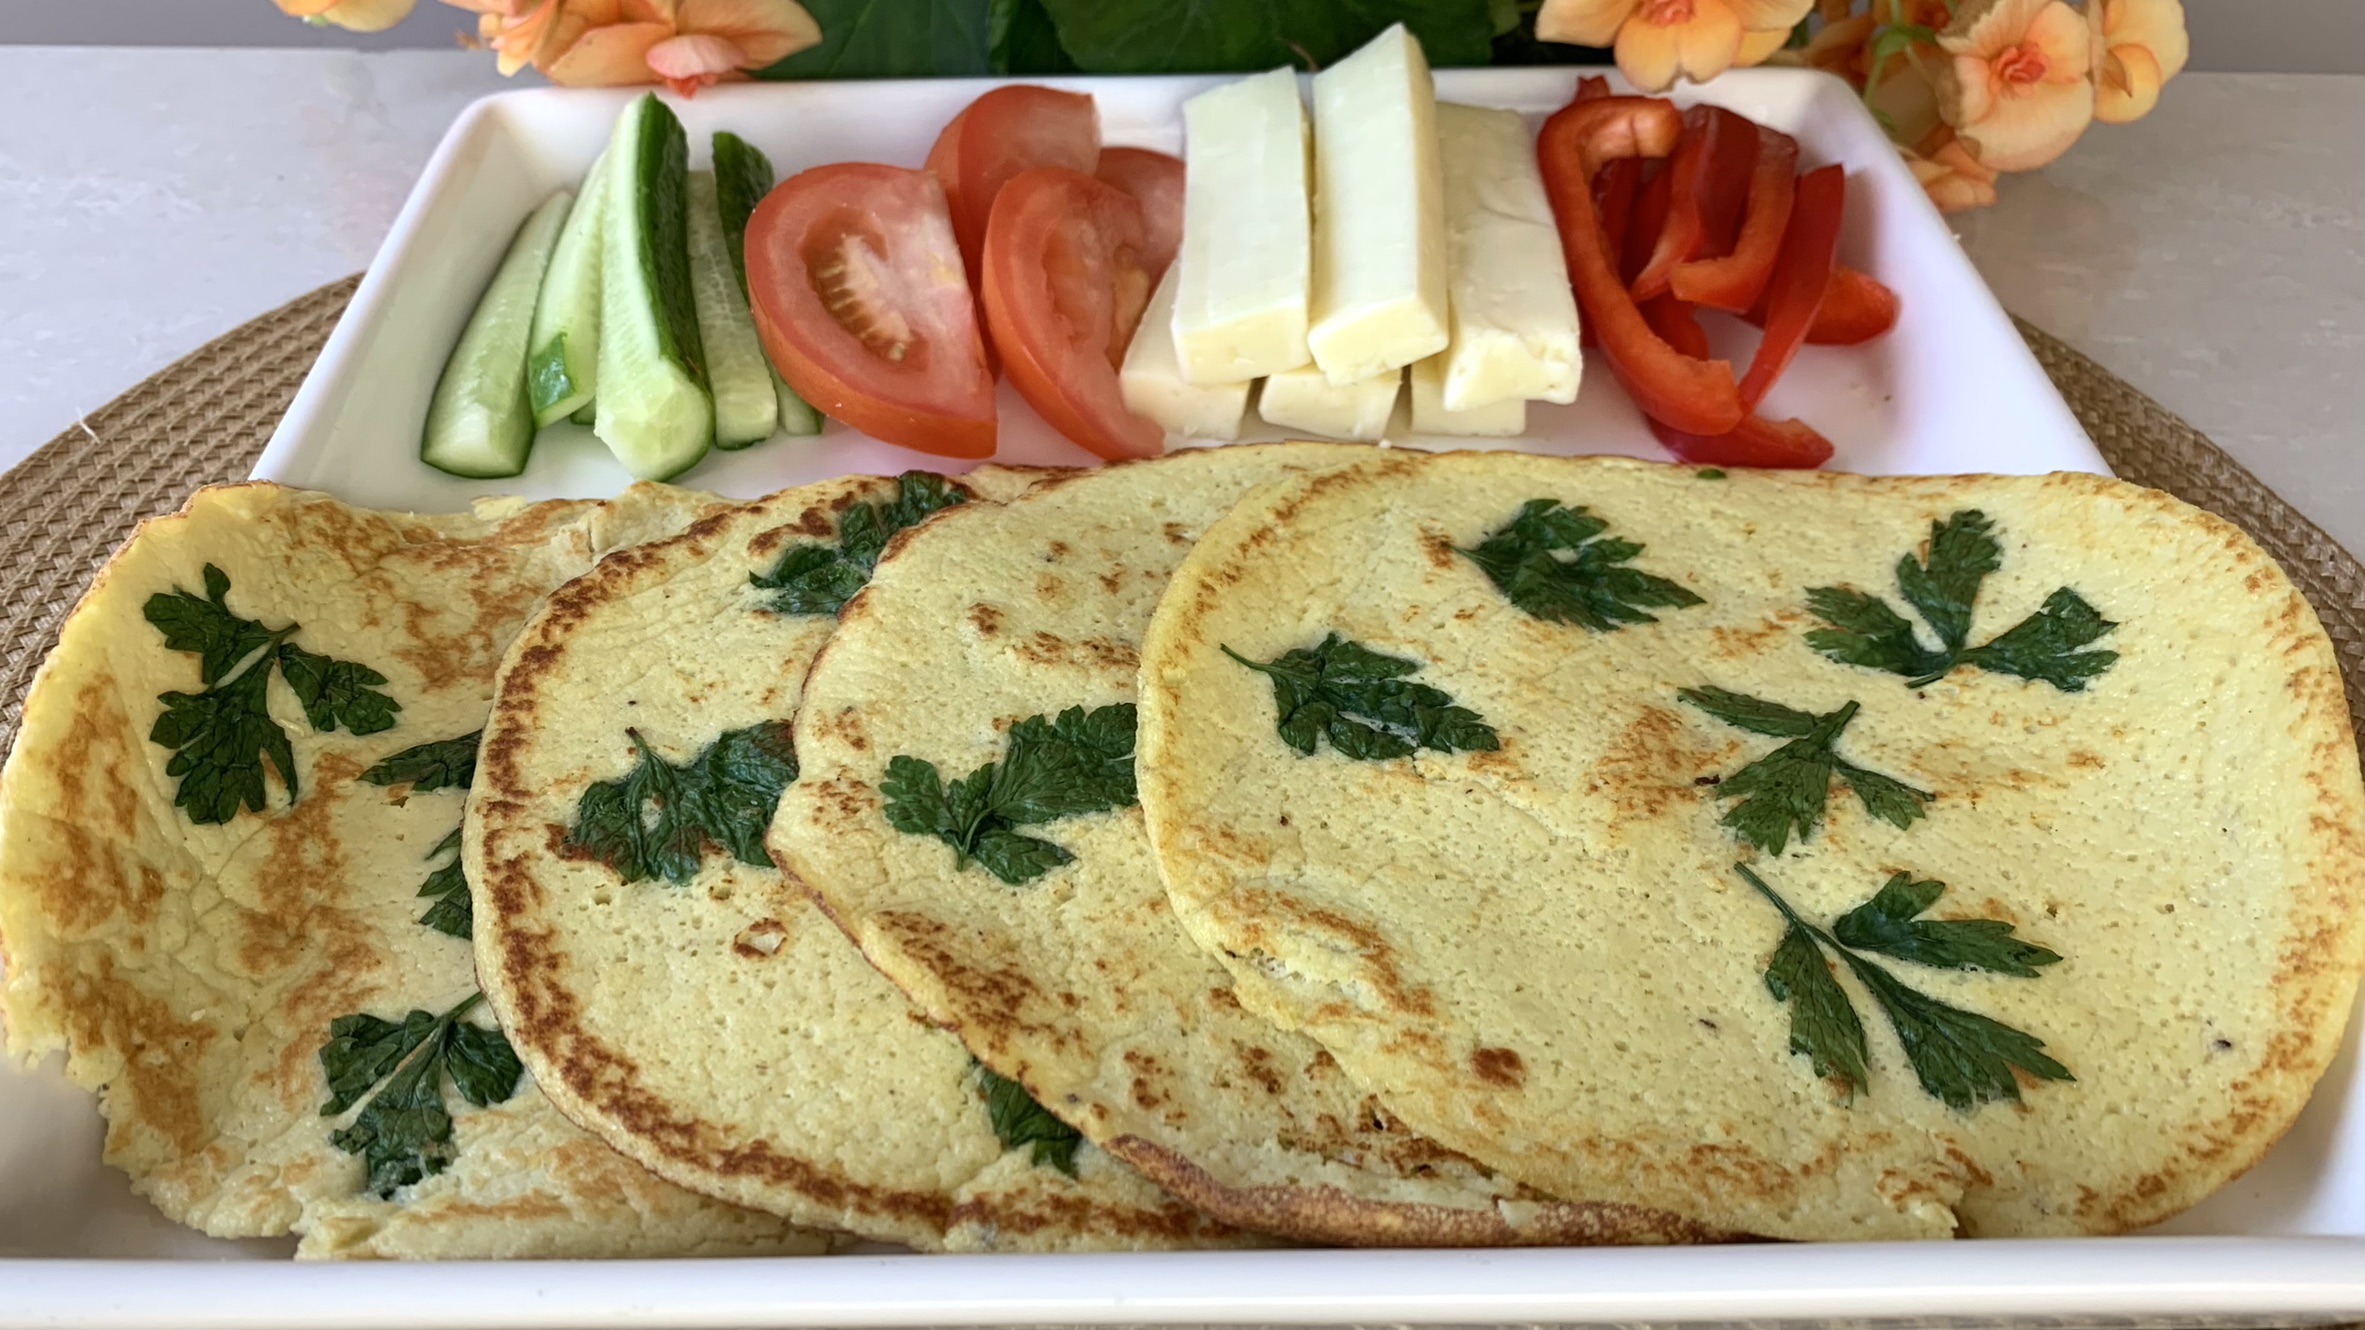
- Enjoy the pizza fresh and warm from the pan for the best taste and texture.
- Store any leftovers in an airtight container in the refrigerator for up to 3 days.
- Customize your toppings according to your preferences for a pizza that’s uniquely yours!