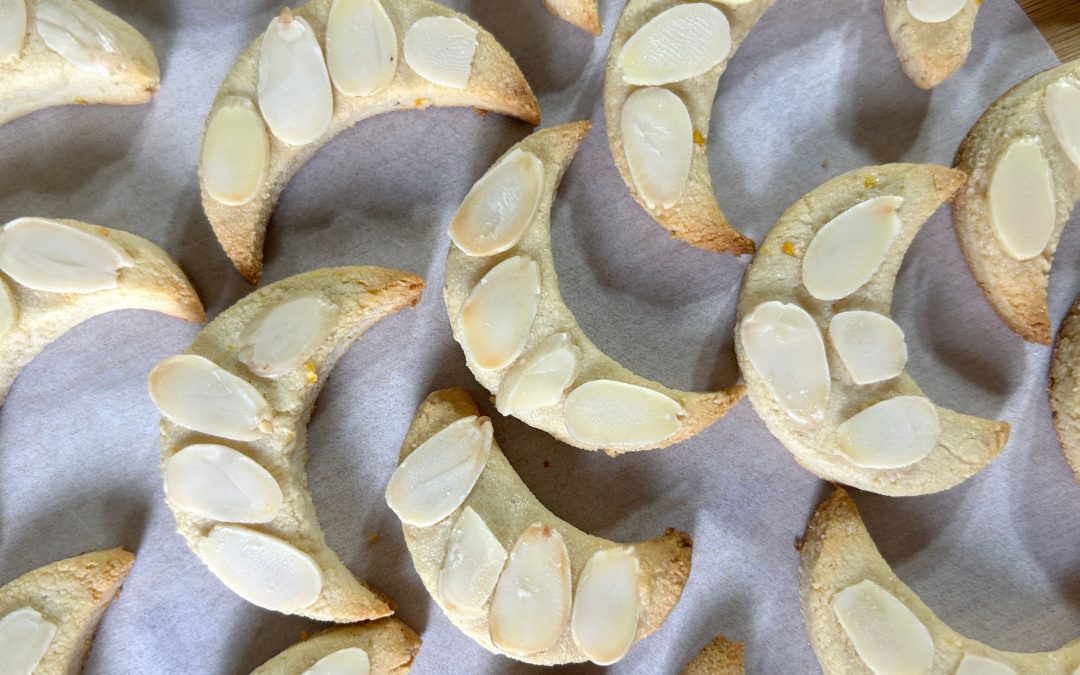
Almond Crescent Cookies
Almond Crescent Cookies

There’s something magical about the holiday season that calls for warm kitchens, the sweet aroma of baking, and a touch of creativity. Crescent cookies, with their charming shape and delicate, melt-in-your-mouth texture, have been a cherished tradition for generations. Our almond crescent cookies take this classic treat to a whole new level with a wholesome twist. Made primarily with almond flour and sweetened naturally with maple syrup, these cookies offer not only comfort and joy but also a nutritional boost.
Almond flour, the star ingredient, is packed with essential nutrients like vitamin E, magnesium, and heart-healthy fats. These nutrients contribute to glowing skin, strong bones, and a robust immune system. The addition of maple syrup provides a lower-glycemic alternative to refined sugar, making these cookies a slightly healthier indulgence. For a touch of freshness, the optional lemon zest and juice add a zesty brightness that beautifully complements the nutty richness of the almonds.
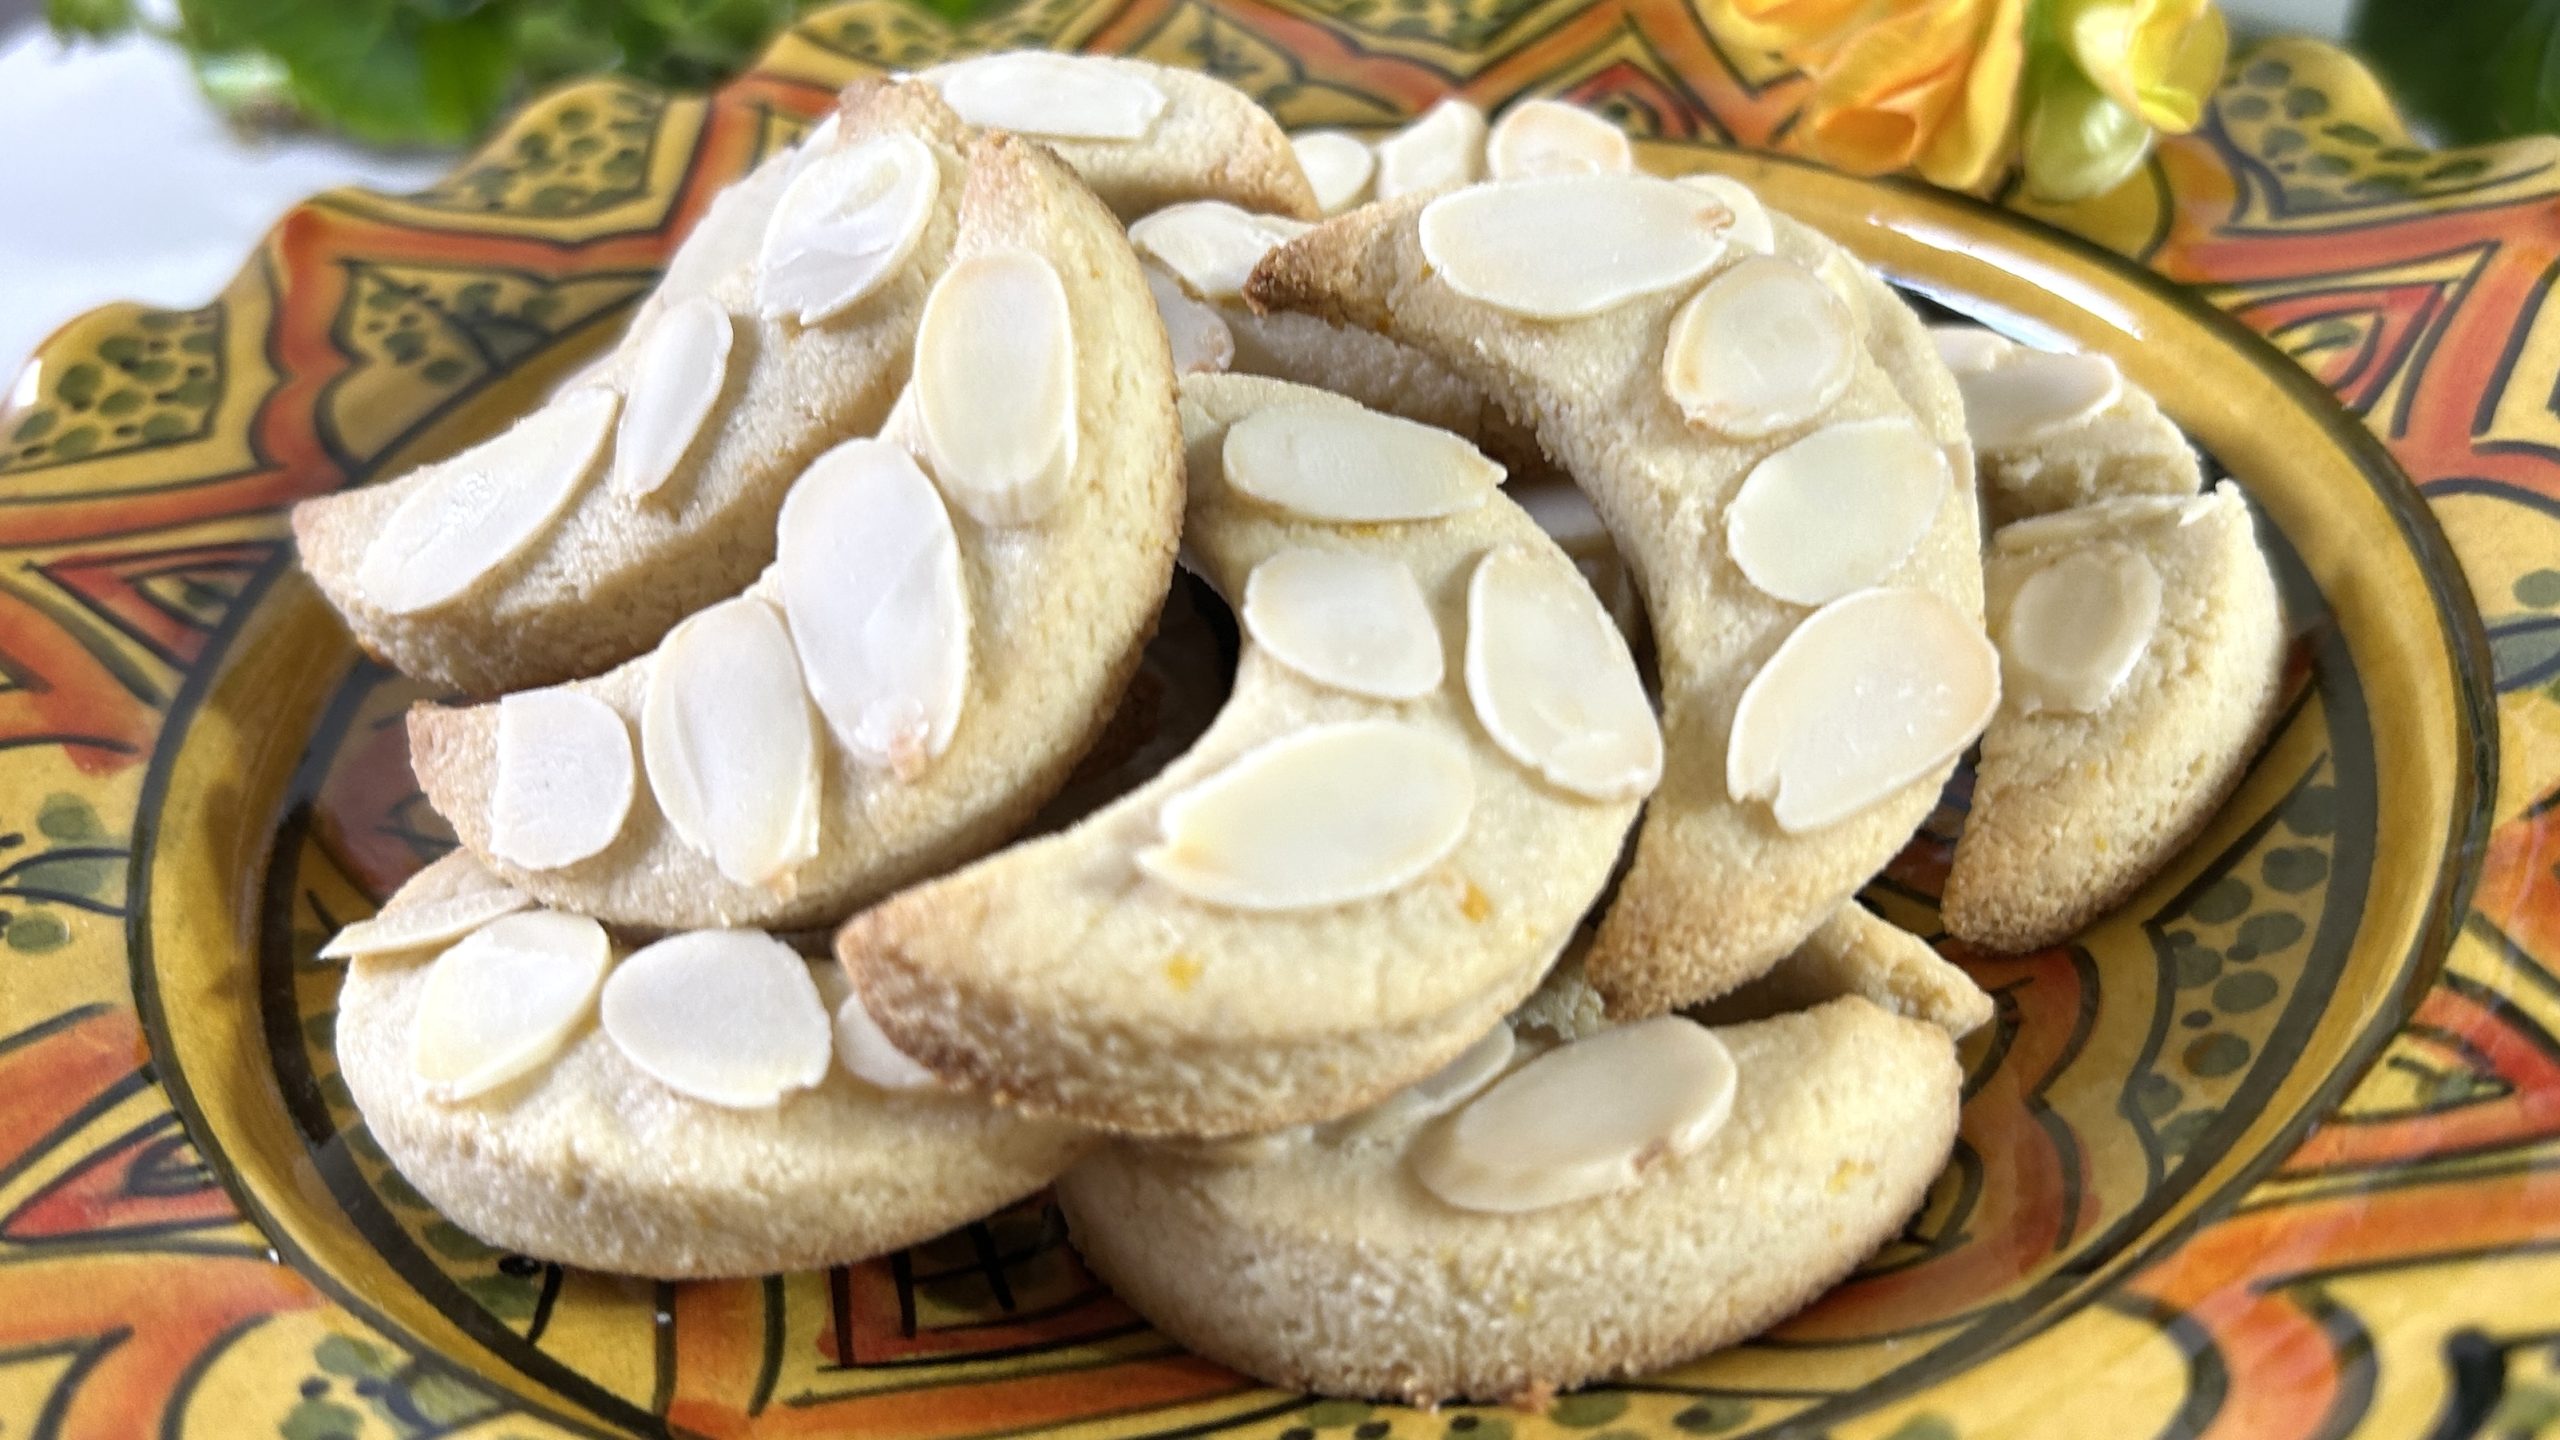
Including almonds in your diet can support heart health, help maintain stable blood sugar levels, and provide a satisfying source of plant-based protein. Whether you savor these cookies alongside a warm beverage or gift them in festive packaging, they’re sure to spread cheer this season.
Ingredients
- 1 ½ cups (140 g) almond flour
- Up to 4 tbsp maple syrup (as needed)
- Zest of 1 lemon (optional)
- 1 tbsp lemon juice (optional)
- 1 extra tbsp maple syrup (for brushing)
- 15 g sliced almonds (for garnish)
Directions
- Add almond flour to a large mixing bowl along with lemon zest and juice, if using.
- Gradually mix in maple syrup with a spatula until the dough forms and holds together.
- Let the dough rest for 30 minutes.
- Divide the dough into two portions.
- Roll each portion into a cylinder, then flatten with a rolling pin to about 1 cm thickness.
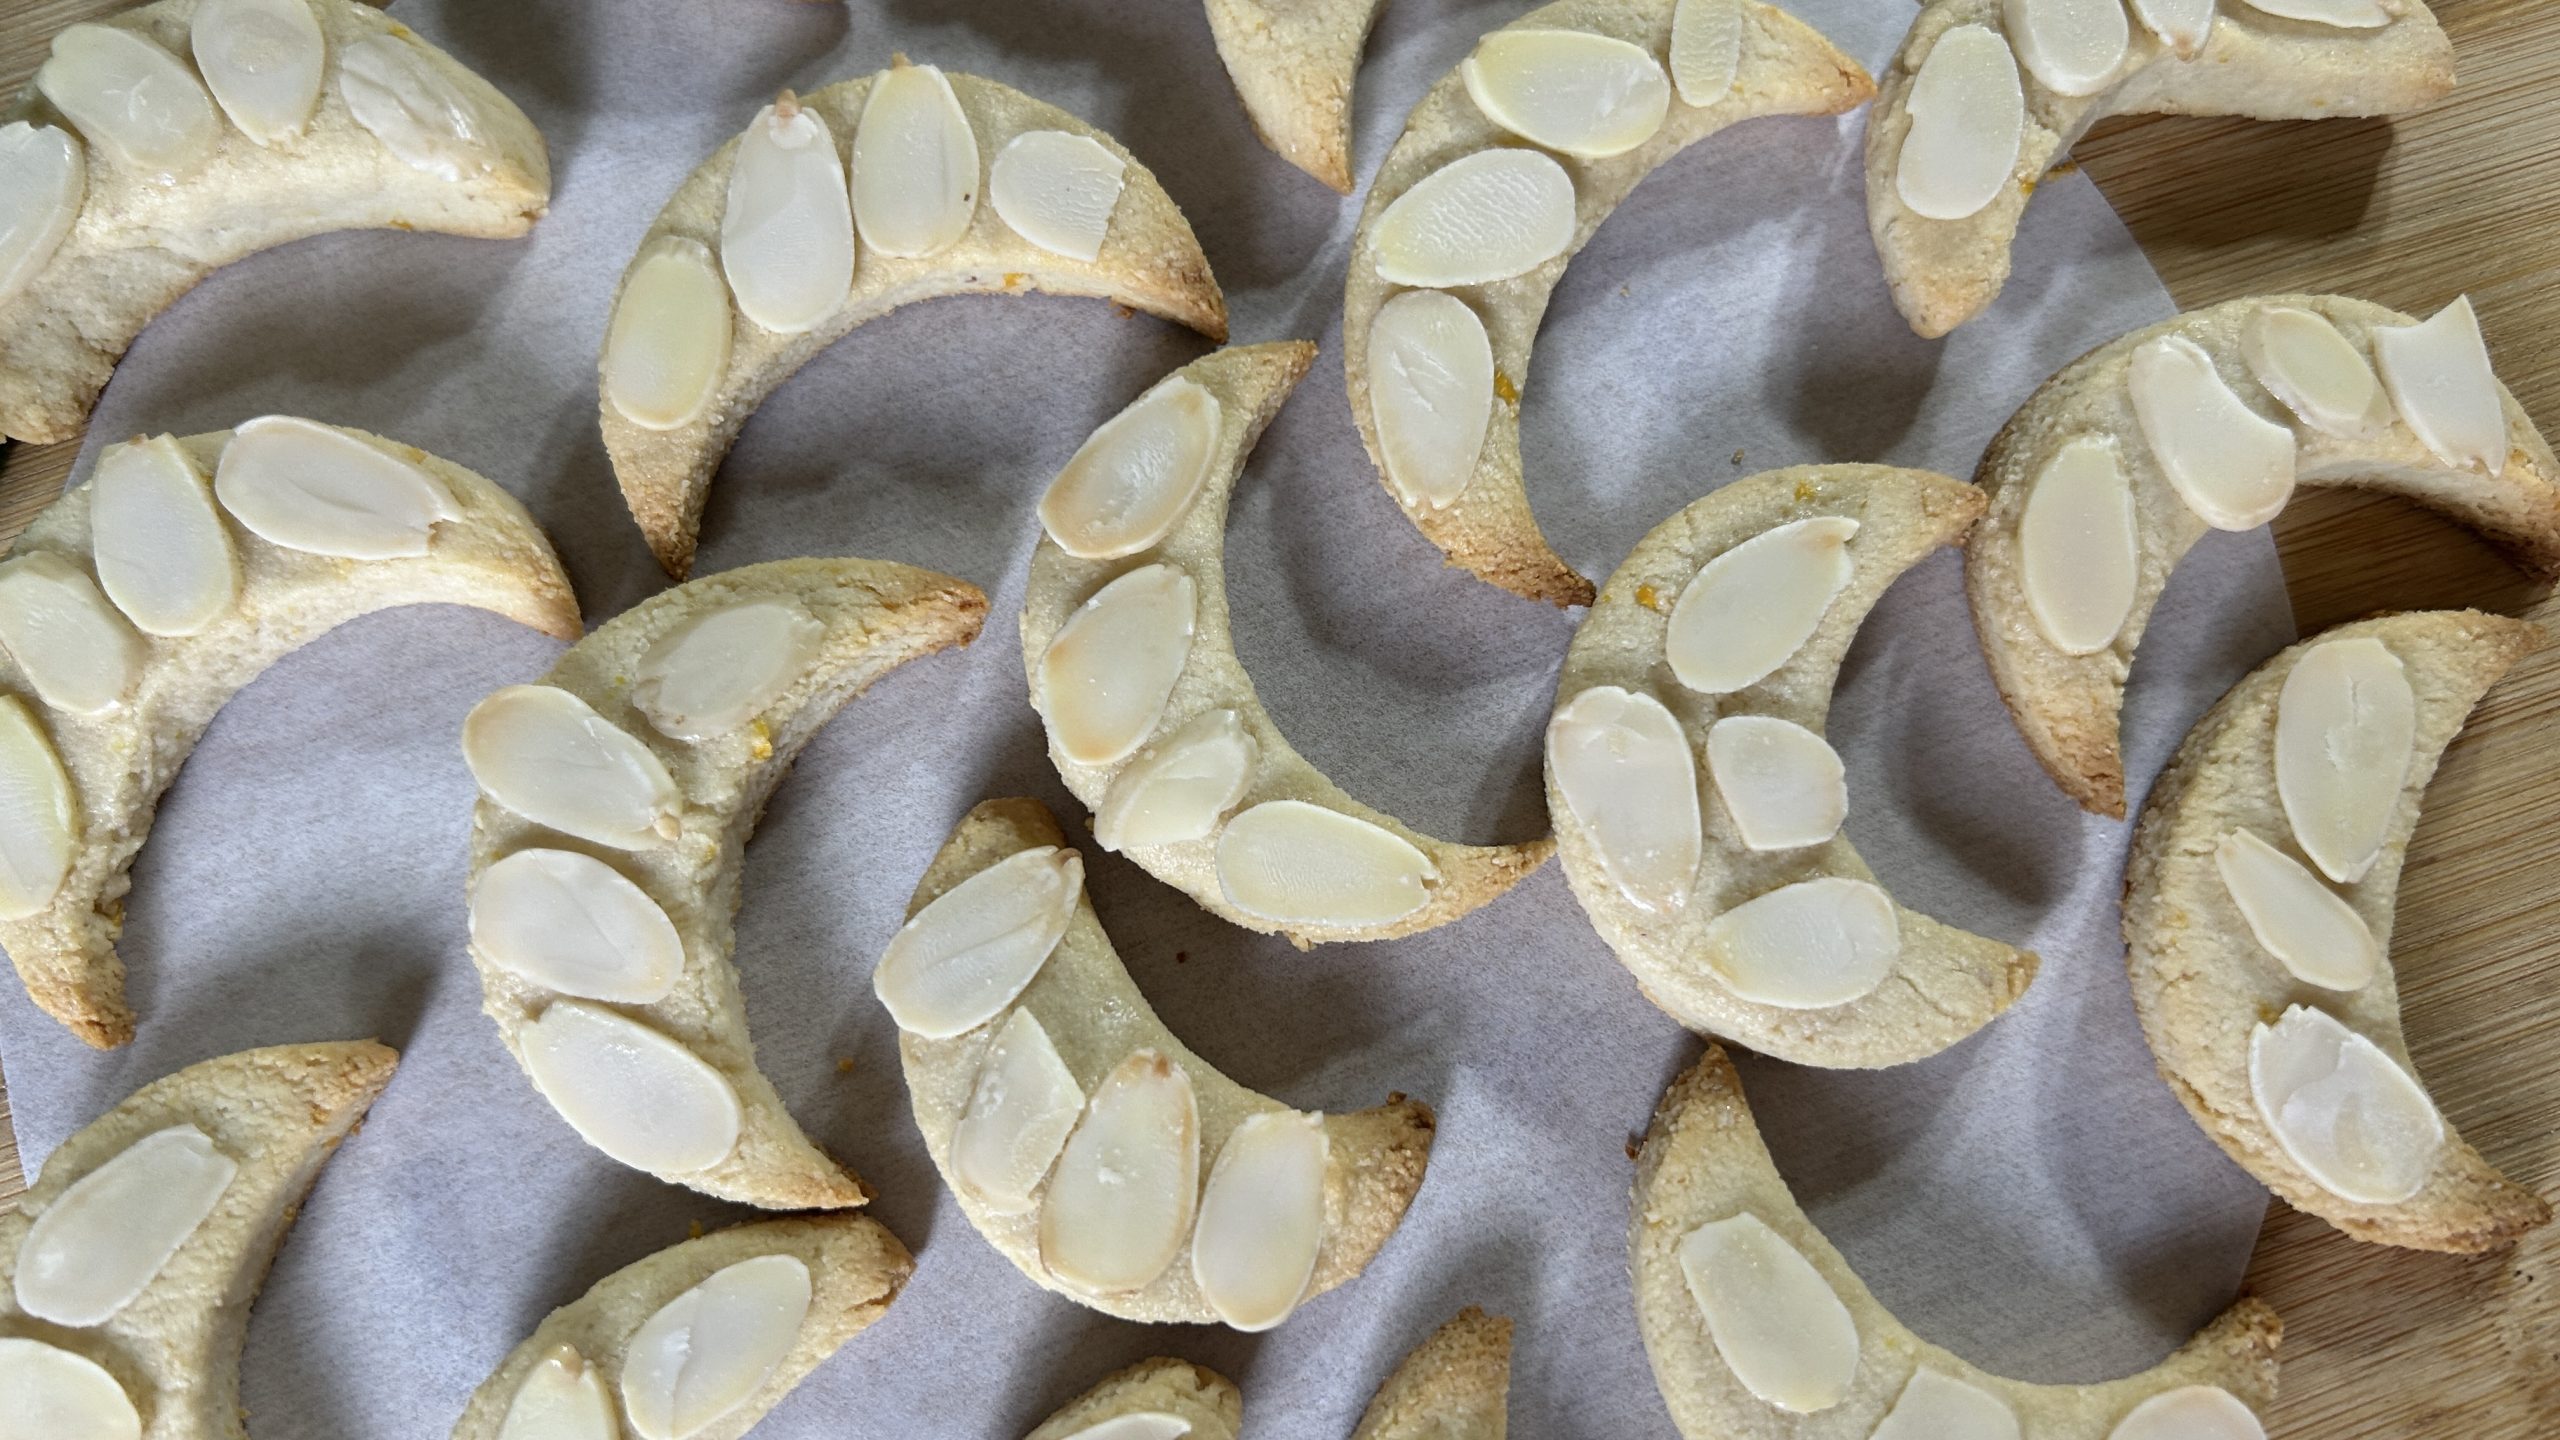
- Use a circular biscuit cutter to create crescent shapes and arrange them on a parchment-lined baking sheet.
- Lightly brush the tops with maple syrup and garnish with sliced almonds.
- Bake in a preheated oven at 330°F (165°C) for 15-18 minutes, keeping the tops white.
- Allow the cookies to cool completely before serving or gifting.
Prep Time: 20 minutes
Baking Time: 15-18 minutes
Servings: 19 cookies
Nutritional Information (Per Cookie):
- Energy: 60 calories
- Protein: 1.7 g
- Fat: 4.12 g
- Carbohydrates: 4.99 g
- Fiber: 0.8 g
Storage
- Store in an airtight container at room temperature for up to one week.
- For longer storage, refrigerate for up to two weeks.
- These cookies make perfect holiday gifts; pack them in decorative boxes or bags for a festive touch.
- Enjoy these wholesome almond crescent cookies as a treat that combines the best of tradition, flavor, and nutrition.