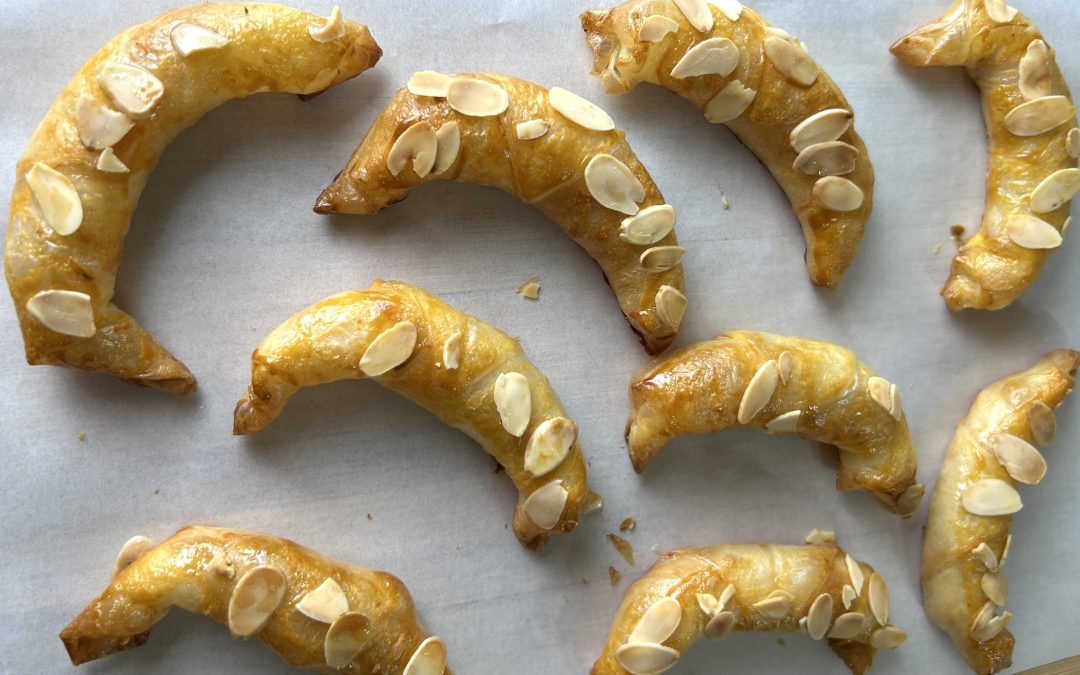
Rice Paper Almond Croissants
Rice Paper Almond Croissants

Who says you need layers of buttery puff pastry to enjoy a delicious homemade croissant? These Rice Paper Almond Croissants are proof that simple ingredients can create something truly special. Inspired by the classic French almond croissant, this lighter version swaps traditional puff pastry for rice paper, creating beautifully crisp, golden layers that shatter delicately with every bite while hiding a rich, soft almond filling inside. They look elegant, taste bakery-worthy, yet require only a fraction of the work involved in making laminated dough.

This clever recipe has become increasingly popular because it offers the satisfying experience of a croissant without the lengthy process of folding and chilling butter into pastry. Rice paper softens just enough to be shaped, then transforms in the oven into crisp, flaky-like layers that closely resemble traditional pastry while remaining naturally gluten-free and significantly lighter in calories. It’s an excellent recipe for anyone looking for healthier baking alternatives without sacrificing texture or flavor.

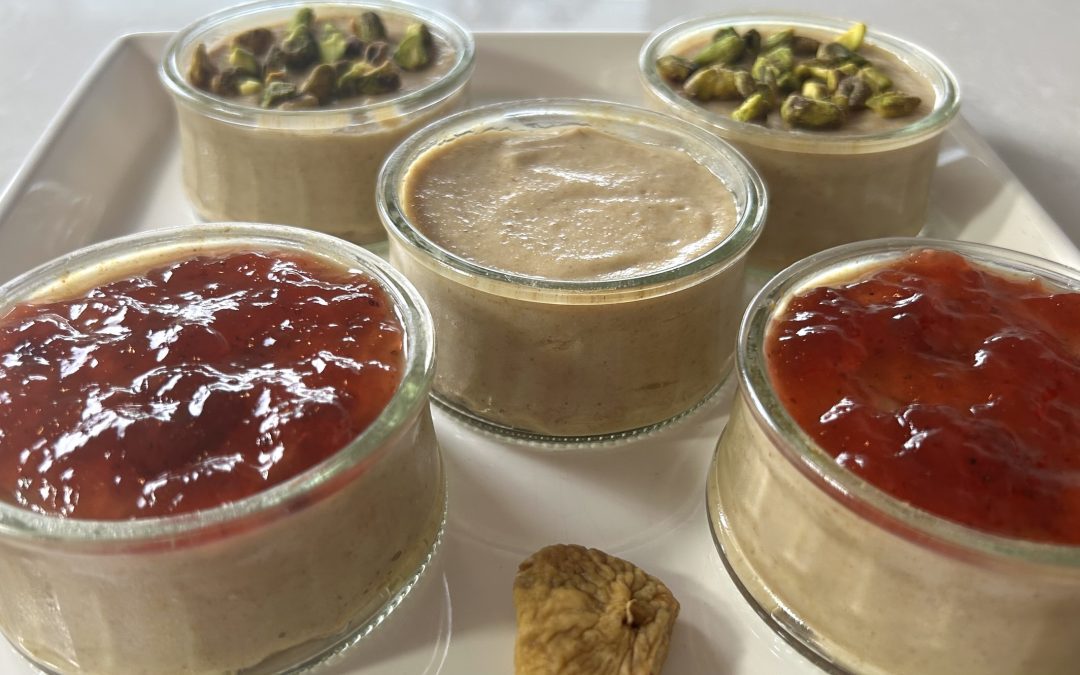
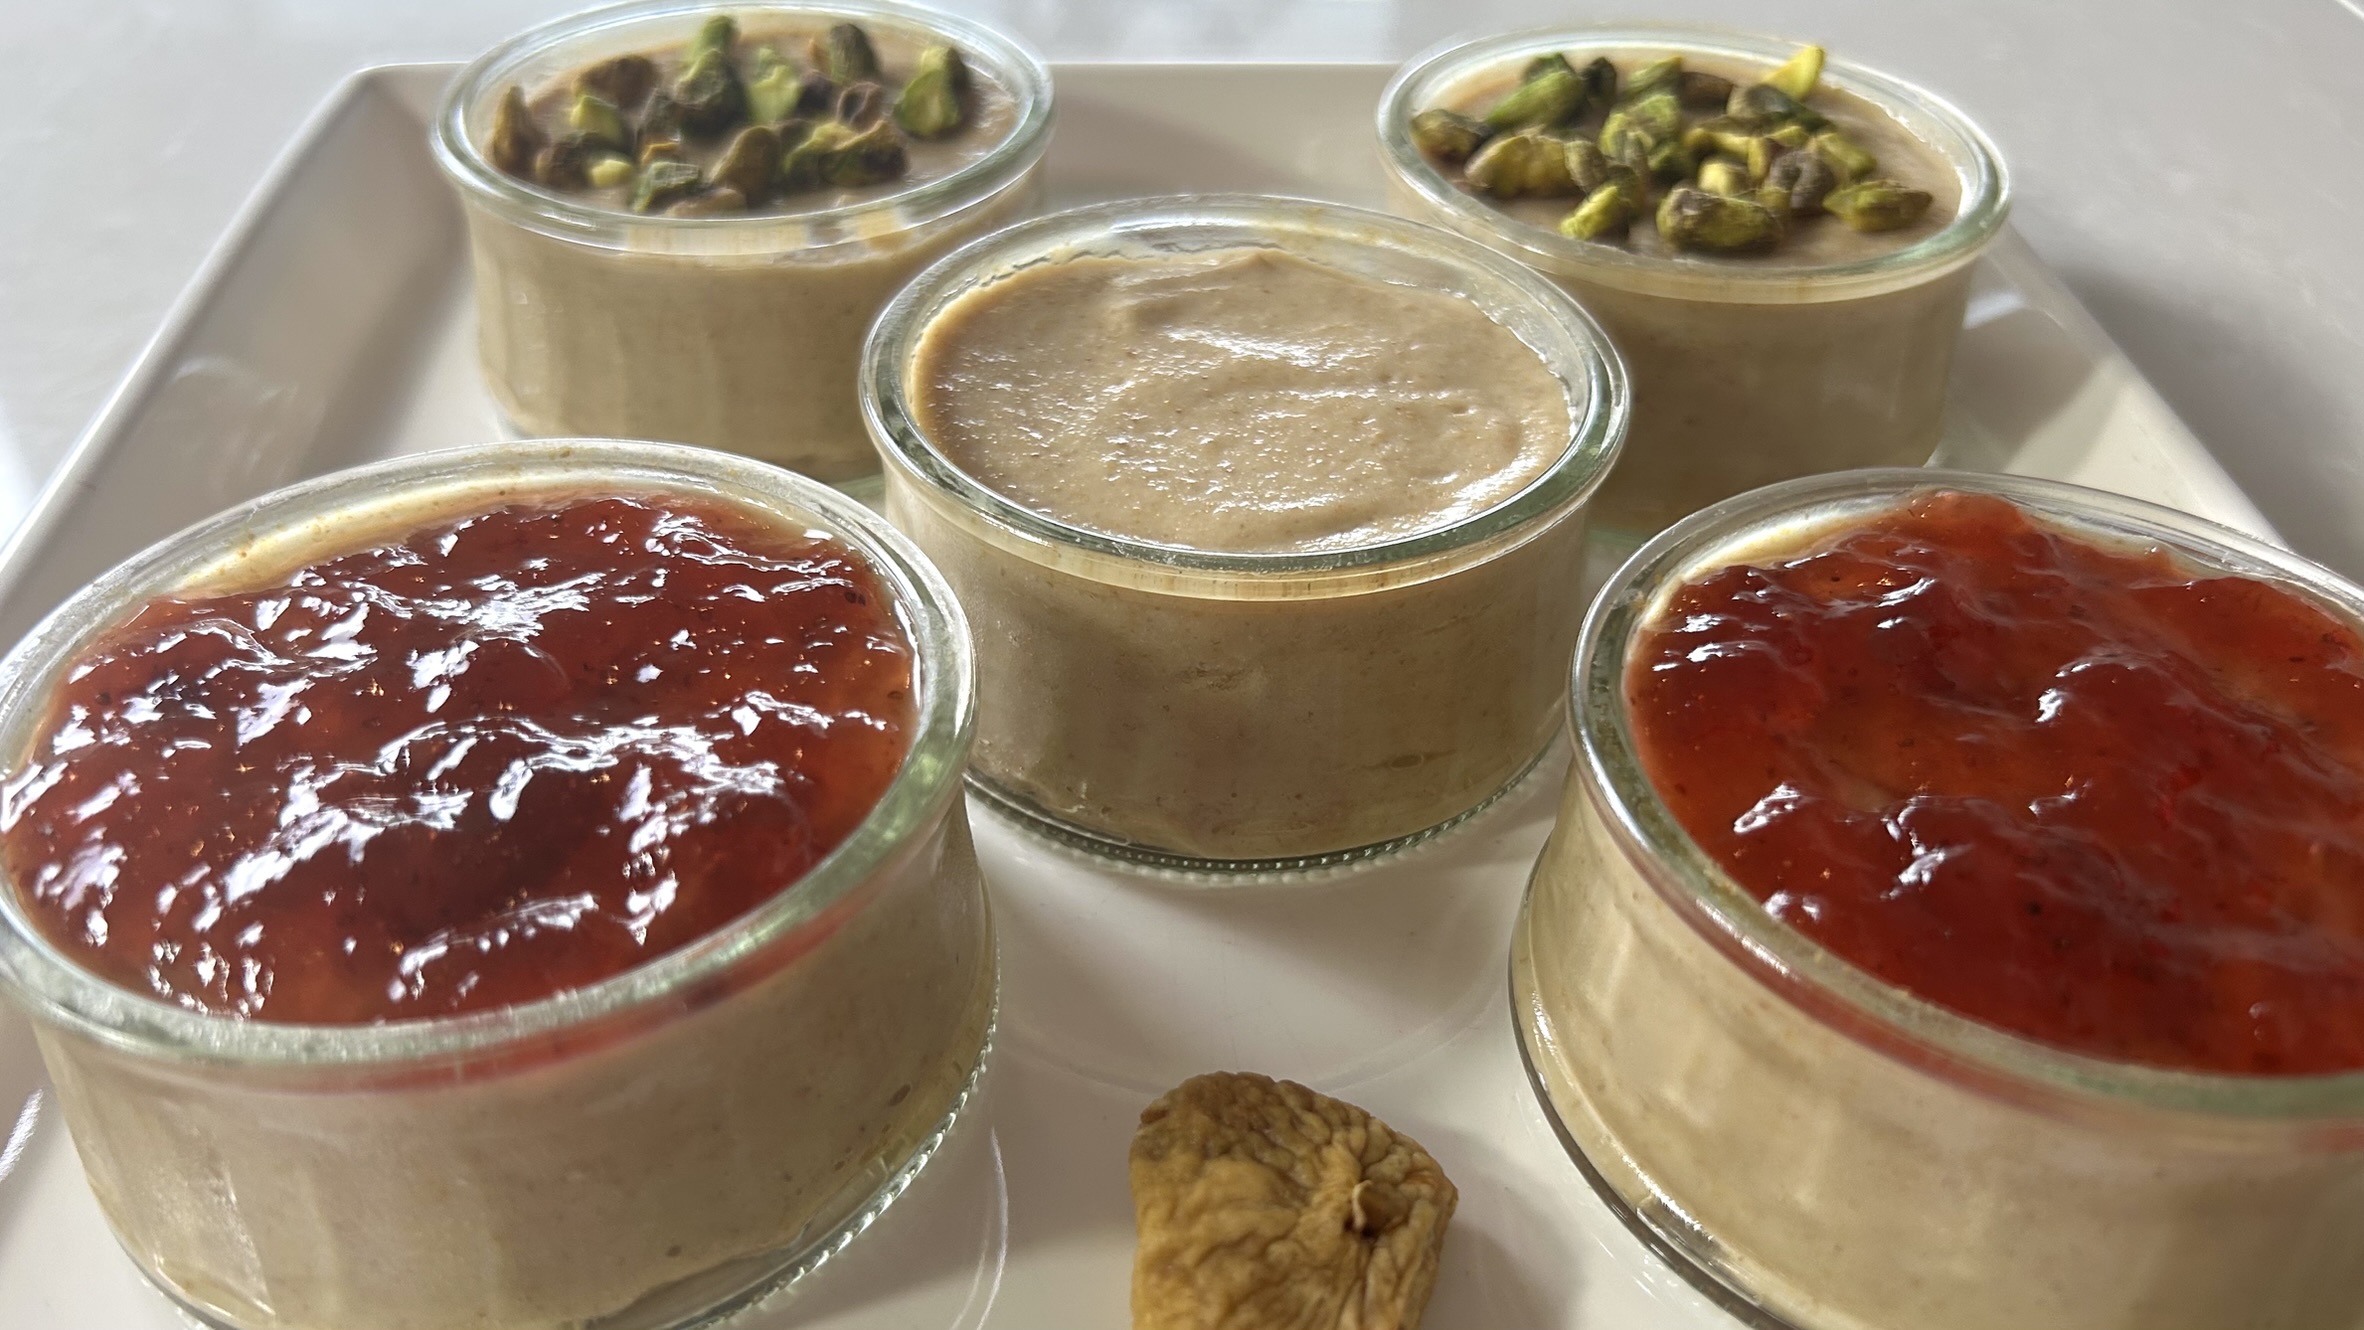
The contrast between the crunchy shell and the moist almond center is what makes these croissants so irresistible. Every bite combines delicate crispness with a naturally sweet, nutty filling that feels both indulgent and wholesome. They are perfect for breakfast alongside coffee, as an afternoon snack, or served as a light dessert after dinner. Better yet, they can easily be customized with different fillings such as pistachio cream, dark chocolate spread, pastry cream, lemon curd, fruit preserves, or even savory combinations, making them a versatile recipe you’ll return to again and again.
One of the greatest advantages of this recipe is its accessibility. There is no yeast, no rising time, and no complicated pastry techniques involved. Whether you’re an experienced baker or trying homemade croissants for the very first time, these rice paper croissants deliver impressive results with minimal effort. They come together quickly, bake into beautifully golden crescents, and are guaranteed to surprise anyone who discovers they’re made from rice paper instead of puff pastry.
 Almond flour, the star ingredient of this recipe, contributes much more than wonderful flavor. Naturally rich in healthy monounsaturated fats, plant-based protein, vitamin E, magnesium, manganese, and antioxidants, almonds provide lasting energy while supporting heart health, healthy skin, brain function, and muscle performance. Compared to refined wheat flour, almond flour contains fewer carbohydrates and more fiber, helping create a more satisfying filling that may support steadier blood sugar levels. Including almonds regularly in your diet is an excellent way to increase your intake of healthy fats and essential nutrients while enjoying naturally delicious foods. Combined with the lightness of rice paper, these croissants become a wonderful example of how wholesome ingredients can transform a beloved classic into a healthier homemade treat.
Ingredients
For the almond filling
- 100 g almond flour
- 1 tbsp oil or melted butter
- 3–4 tbsp maple syrup (enough for the mixture to hold together)
- ½ tsp vanilla extract
For the custard mixture
- 1 egg
- 2 tbsp maple syrup
- ¾ cup (200 ml) milk
- ¼ tsp vanilla extract
For assembling
- 10 rice paper sheets
- 1 egg yolk, for brushing
- 15 g sliced almonds (optional)
Directions
- Preheat your oven to 350°F (180°C) and line a baking tray with parchment paper.
- In a medium bowl, combine the almond flour, oil (or melted butter), maple syrup, and vanilla extract.
- Mix until the ingredients form a soft, cohesive dough that easily holds together. Divide it into 10 equal portions and gently shape each into a small oval or log.
- In another bowl, whisk together the egg, maple syrup, milk, and vanilla extract until completely smooth.
- Pour this custard mixture into a wide, shallow dish to make dipping easier.
- Dip one rice paper sheet into the custard, gently turning it until it becomes flexible. Avoid soaking it for too long, as it should remain strong enough to handle without tearing.
- Transfer the softened rice paper onto a clean work surface and smooth out any wrinkles.
- Fold the upper right and upper left edges inward to create a triangular shape.
- Place one portion of the almond filling along the bottom edge.
- Fold the bottom edge over the filling, then fold both side edges inward to fully enclose it.
- Continue rolling tightly toward the top until completely sealed.
- Gently curve the ends inward to create the classic croissant shape.
- Transfer the croissant to the prepared baking tray.
- Repeat with the remaining rice paper sheets and almond filling.
- Brush each croissant generously with egg yolk.
- Sprinkle with sliced almonds if desired.
- Bake for 30–35 minutes, or until deeply golden, crisp, and beautifully crunchy.
- Allow the croissants to cool for several minutes before serving. They are at their crispiest when enjoyed fresh from the oven, although they remain delicious later with a slightly chewier texture.
Prep Time, Baking Time & Servings
- Prep Time: 20 minutes
- Baking Time: 30–35 minutes
- Total Time: 50–55 minutes
- Servings: 10 croissants
Nutritional Information
Per croissant (approximate):
- Calories: 126
- Protein: 3.86 g
- Fat: 8.45 g
- Carbohydrates: 9.82 g
- Fiber: 1.1 g
Storage & Recommendations
- These croissants are naturally gluten-free.
- They are best enjoyed fresh from the oven while the exterior is at its crispiest.
- Store leftovers in an airtight container for up to 5 days.
- Reheat in an oven or air fryer for a few minutes to restore much of their crisp texture.
- Avoid microwaving if you want to preserve the crunchy exterior.
- Feel free to experiment with different fillings such as pistachio cream, dark chocolate spread, vanilla pastry cream, lemon curd, fruit preserves, peanut butter, hazelnut spread, sweetened cream cheese, coconut cream, or even savory fillings for a unique twist.
- For extra flavor and a more bakery-style finish, sprinkle additional sliced almonds on top before baking.
- These croissants pair wonderfully with coffee, tea, or a glass of warm milk and also make an elegant addition to brunch or dessert platters.