Chickpea Energy Bars

Chickpea Energy Bars

Chickpea Energy Bars
If you’re on the lookout for a snack that’s both nutritious and easy to make, these Chickpea Energy Bars are an excellent option! Whether you need a quick post-workout snack or a tasty energy boost throughout your day, these bars will hit the spot. Combining roasted chickpeas, almond chunks, creamy peanut butter, and a hint of maple syrup, they offer a delicious blend of flavors and textures.

Chickpeas, the star of this recipe, are not only high in protein but are also rich in fiber, vitamins, and minerals. They’re an excellent plant-based protein source, ideal for anyone looking to maintain balanced energy levels and support muscle repair.

Including chickpeas in your diet can also help with digestion, thanks to their high fiber content, and can assist in maintaining stable blood sugar levels. Plus, they provide a good dose of iron, making them a great ingredient for those focused on boosting their iron intake.

Why should chickpeas be part of your regular diet? Chickpeas are a nutrient powerhouse. They support heart health by reducing bad cholesterol levels, offer sustained energy due to their low glycemic index, and promote gut health with their fiber content. Including them regularly can contribute to a healthy, balanced diet and offer long-term health benefits.

Ingredients

  • 1 cup (180 g) raw chickpeas (soaked overnight or used raw)
  • ½ cup (75 g) roasted almonds or your nut of choice
  • ⅛ tsp. salt
  • ⅛ tsp. cardamom powder
  • ⅛ tsp. cinnamon powder
  • ⅓ cup (80 g) peanut butter or your nut butter of choice
  • 6 tbsp. maple syrup or honey

Directions

  1. Preheat the oven to 330°F (165°C) and line a baking tray with parchment paper.
  2. Use raw or soaked chickpeas. If soaked, rinse, strain, and pat dry.
  3. Spread chickpeas on the tray and roast for 60-75 minutes, stirring occasionally. Let cool completely.
  4. Blend the cooled chickpeas into a fine flour using a coffee grinder or food processor.
  5. Chop the roasted almonds into small chunks and set aside.
  6. In a bowl, mix chickpea flour, chopped almonds, salt, cardamom, and cinnamon.
  7. Add peanut butter and maple syrup to the dry ingredients, mixing until smooth and sticky.
  8. Press the mixture into a parchment-lined 22 cm x 12 cm container, smoothing the surface.
  9. Refrigerate for at least 3 hours, then cut into bars and enjoy!

Prep Time:
20 minutes

Cooking Time:
60 minutes for roasting

Chilling Time:
At least 3 hours in the fridge

Servings:
Makes 10 bars

Nutritional Information (per serving)

  • Energy: 191 calories
  • Protein: 7.1 g
  • Fat: 8.95 g
  • Carbohydrates: 22.28 g
  • Fiber: 3.6 g

Storage:

  • Store the chickpea bars in an airtight container in the fridge for up to one week.
  • For longer storage, freeze them for up to 3 months and thaw as needed.
  • Perfect as a post-workout snack or a quick energy boost throughout the day.

Coconut Mini-Cakes

Coconut Mini-Cakes

Coconut Mini-Cakes

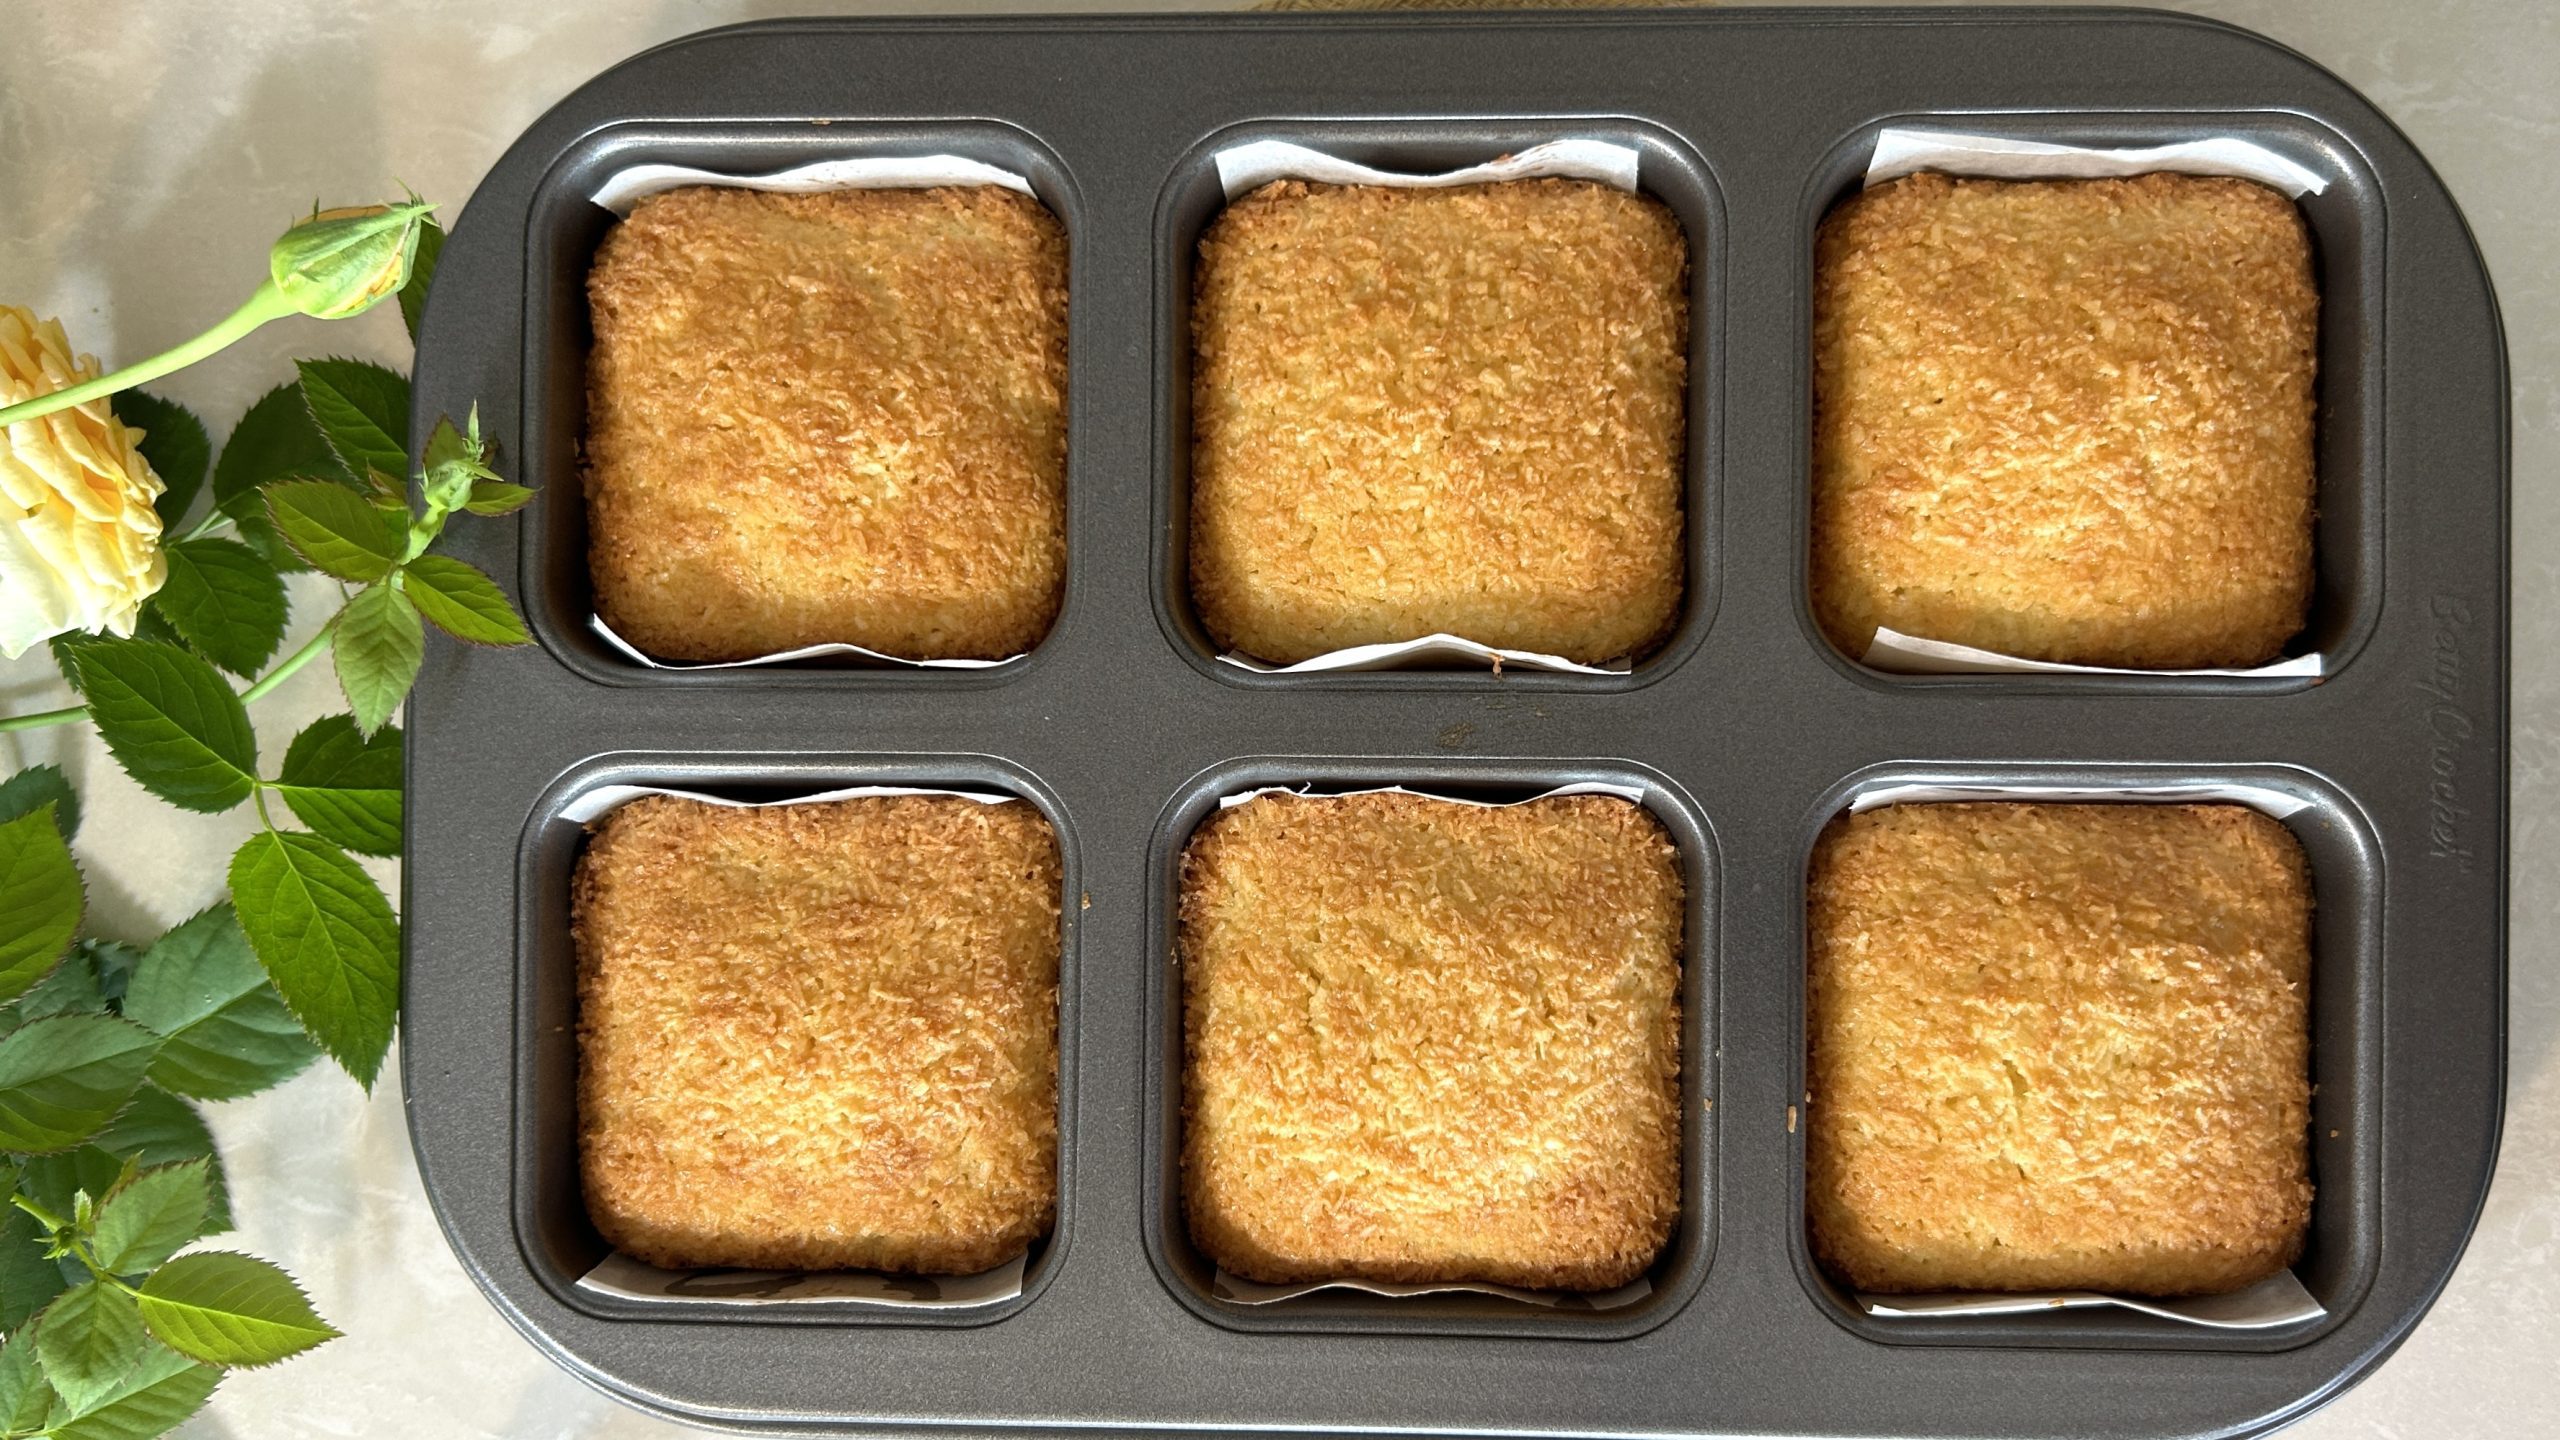
If you’re in the mood for something sweet but also looking for a treat that’s wholesome and satisfying, these coconut mini-cakes are exactly what you need. Light, fluffy, and naturally sweetened with maple syrup, these cakes are a delightful way to indulge without the guilt. With just a handful of ingredients, they come together quickly, making them perfect for busy mornings, afternoon snacks, or even as a guilt-free dessert after dinner. Each bite offers the perfect balance of sweetness and texture, with the eggs providing a soft and airy base, while the shredded coconut adds a subtle crunch and tropical flavor that feels like a mini escape with every bite. Whether you’re enjoying them fresh out of the oven or the next day, these little cakes will easily become a staple in your recipe rotation.

But beyond their delicious taste, these mini cakes pack a nutritional punch thanks to their star ingredient: coconut. Coconut is more than just a tropical delight—it’s a nutrient powerhouse. Rich in healthy fats, especially medium-chain triglycerides (MCTs), coconut can help boost your metabolism and provide sustained energy throughout the day. The high fiber content supports digestion and can help maintain a healthy weight by promoting feelings of fullness. Plus, coconut contains important minerals like manganese, which is essential for bone health and supports the metabolism of carbohydrates, proteins, and fats.

Including coconut in your regular diet can have numerous health benefits. It’s great for heart health, as the fats in coconut may improve cholesterol levels by increasing HDL (good) cholesterol while reducing LDL (bad) cholesterol. It’s also believed to have antioxidant properties, helping to reduce inflammation in the body and promote overall well-being. So, not only are you treating yourself to a tasty snack, but you’re also feeding your body with essential nutrients that support long-term health. These coconut mini cakes are a perfect way to enjoy something sweet while giving your body the nourishment it deserves. Plus, they’re gluten-free, making them a wonderful option for those with dietary restrictions.

So, the next time you’re looking for a treat that’s as delicious as it is nutritious, look no further than these mini coconut cakes—simple to make, packed with good-for-you ingredients, and sure to satisfy every craving!


Ingredients:

  • 2 eggs
  • 1/3 cup maple syrup (or equivalent sweetener of your choice)
  • 1 cup (100 g) finely shredded coconut
  • 1/4 tsp. vanilla extract
  • 1/4 tsp. baking powder
  • 15 g white chocolate (optional, for topping)

Directions:

  1. Preheat your oven to 350°F (180°C).
  2. In a large mixing bowl, crack the eggs and add the maple syrup and vanilla extract.
  3. Whisk until fully combined, and the mixture becomes slightly frothy.
  4. Gradually add the finely shredded coconut to the egg mixture, stirring continuously until the batter becomes airy and sticky. Ensure all the coconut is evenly coated.
  5. Prepare the mini cake cups by lightly brushing them with oil to prevent sticking. Optionally, line each cup with parchment paper for easier removal.
  6. Spoon the coconut batter into the prepared mini cake cups, filling each cup evenly but not too full to allow for slight expansion. Use the back of a spatula to press gently to smooth the surface.
  7. Bake for 25 to 30 minutes or until the tops turn golden brown.
  8. Transfer the mini cakes onto a cooling rack and allow them to fully cool.
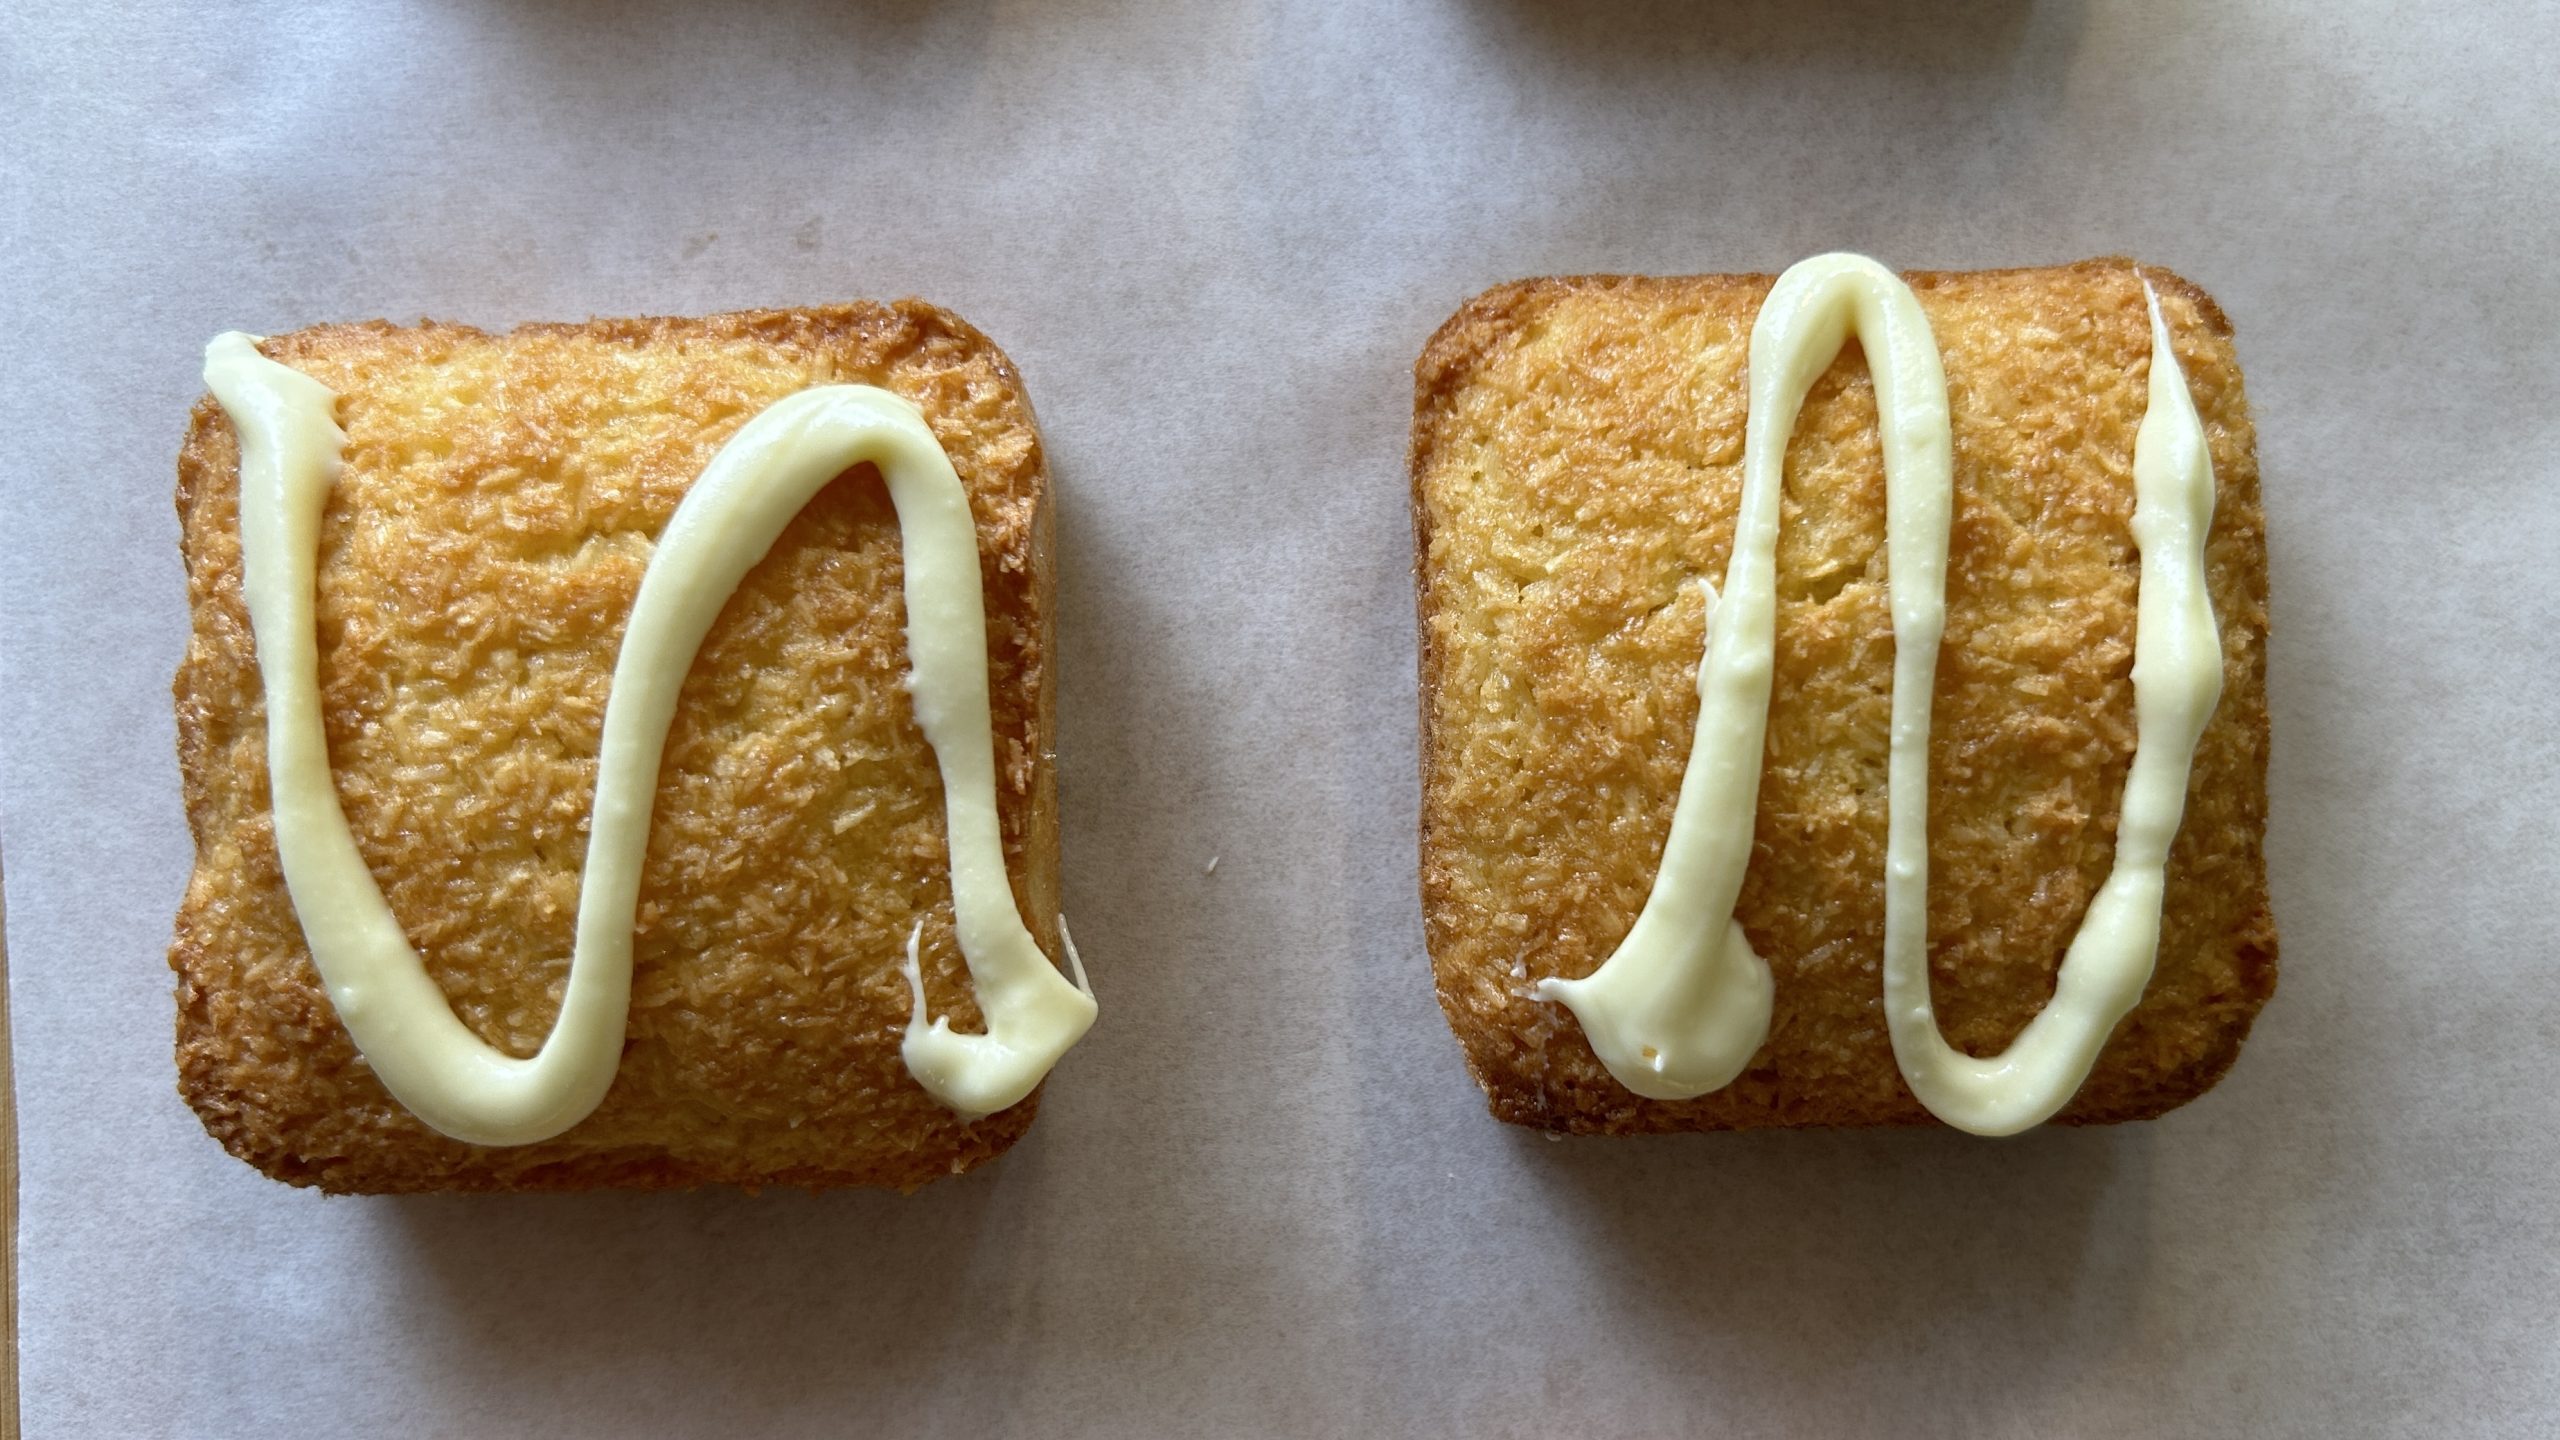
  9. If desired, garnish the cakes with a drizzle of melted white chocolate before serving.

Prep Time, Baking Information, and Servings:

  • Prep Time: 15 minutes
  • Baking Time: 30 minutes
  • Servings: 6 servings

Nutritional Information (Per Serving):

  • Energy: 190 calories
  • Protein: 3.38 g
  • Fat: 13.06 g
  • Carbohydrates: 16.57 g
  • Fiber: 2.9 g

Storage:

  • Store the mini cakes in an airtight container at room temperature for up to 3 days.
  • For longer storage, refrigerate for up to 1 week or freeze for up to 3 months.

Notes:

  • These mini cakes are perfect for afternoon snacks or a breakfast treat.
  • For a gluten-free and dairy-free option, you can omit the white chocolate or replace it with a dairy-free alternative.
Apple Ring Pancakes

Apple Ring Pancakes

Apple Ring Pancakes

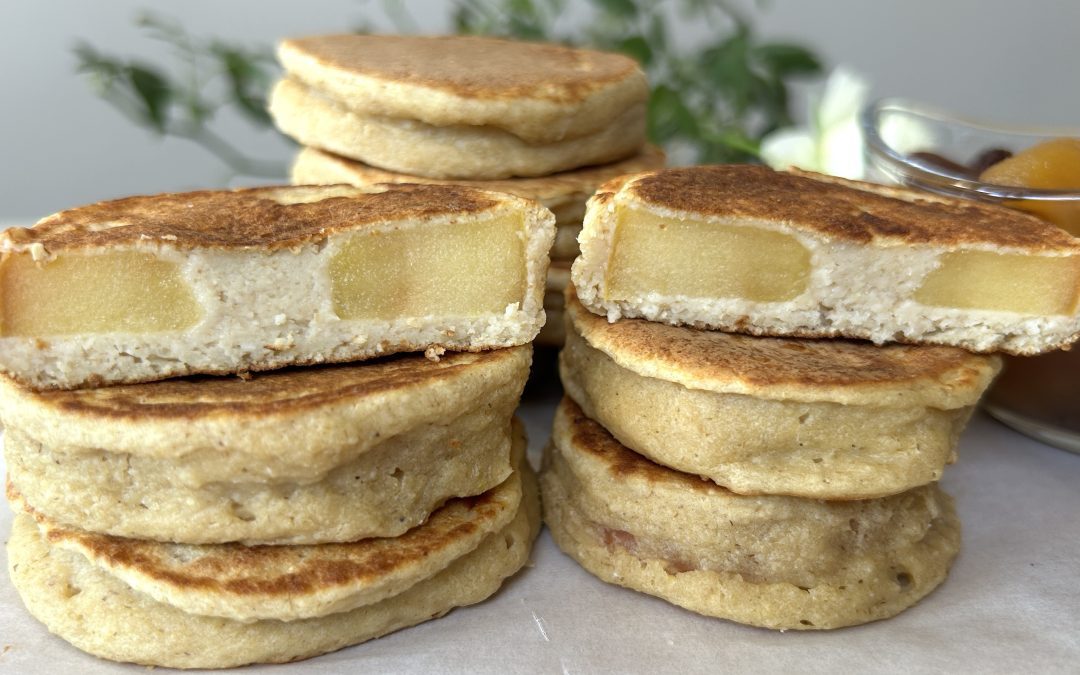
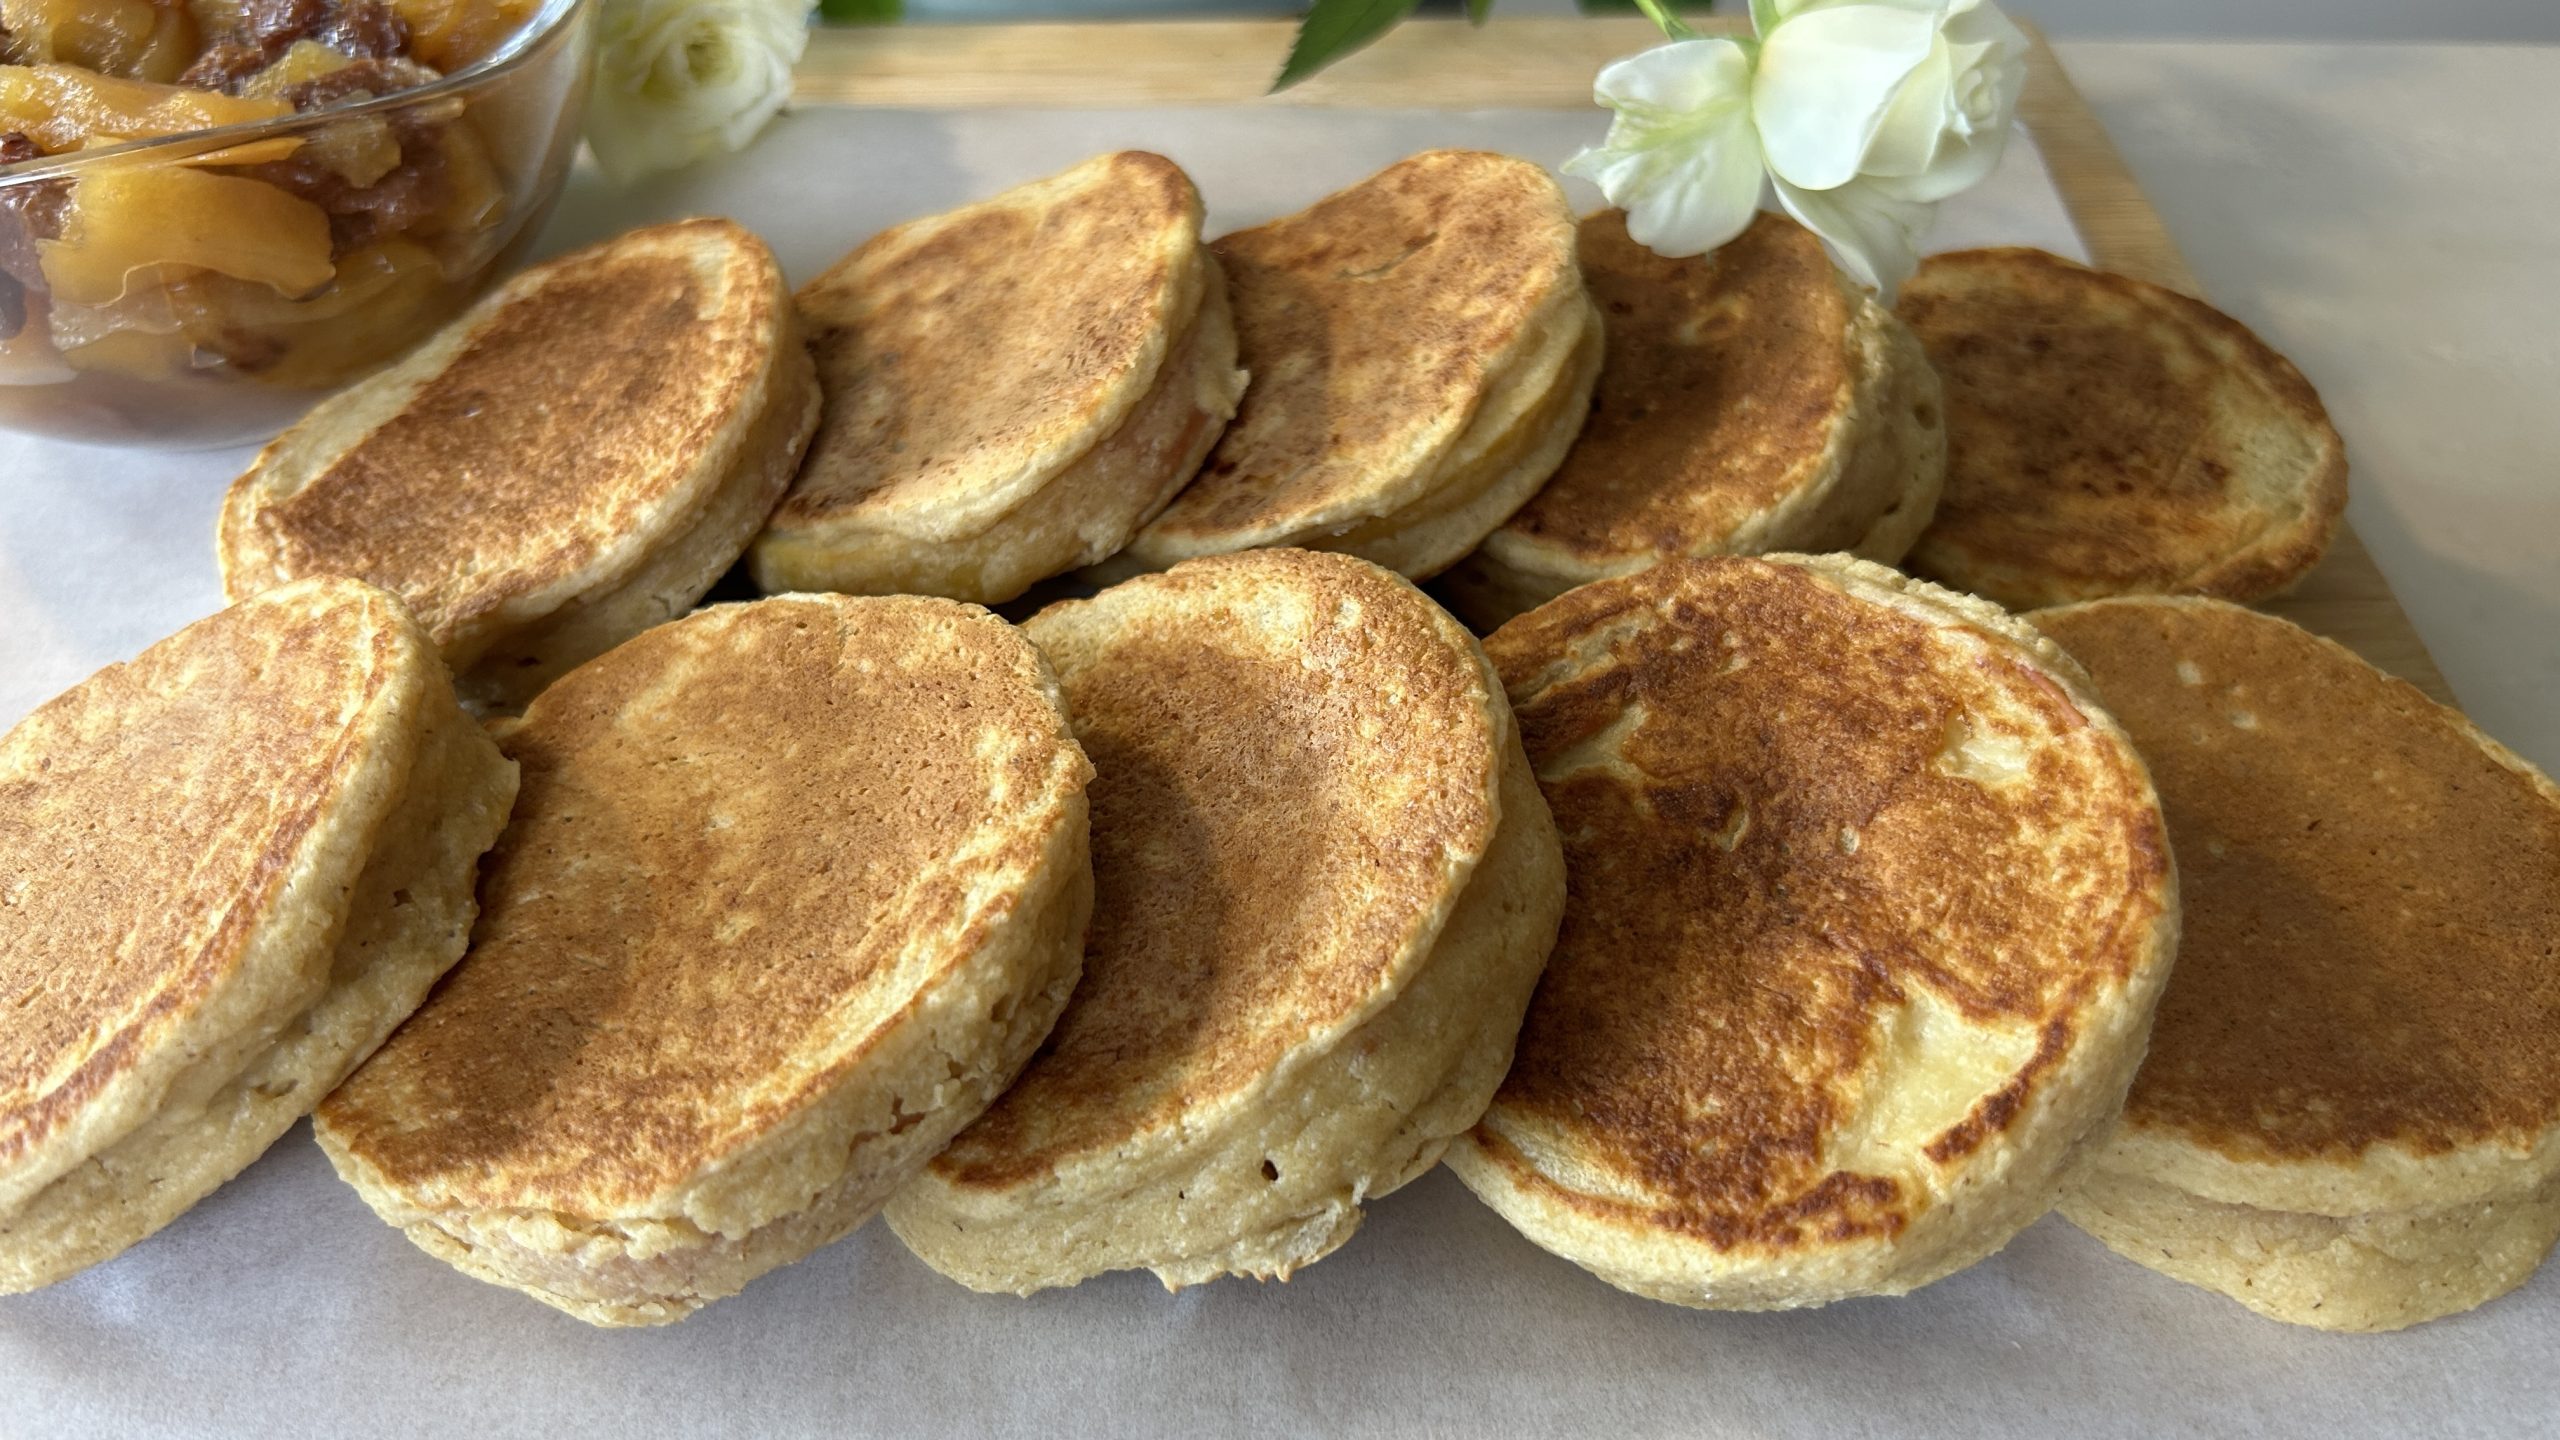
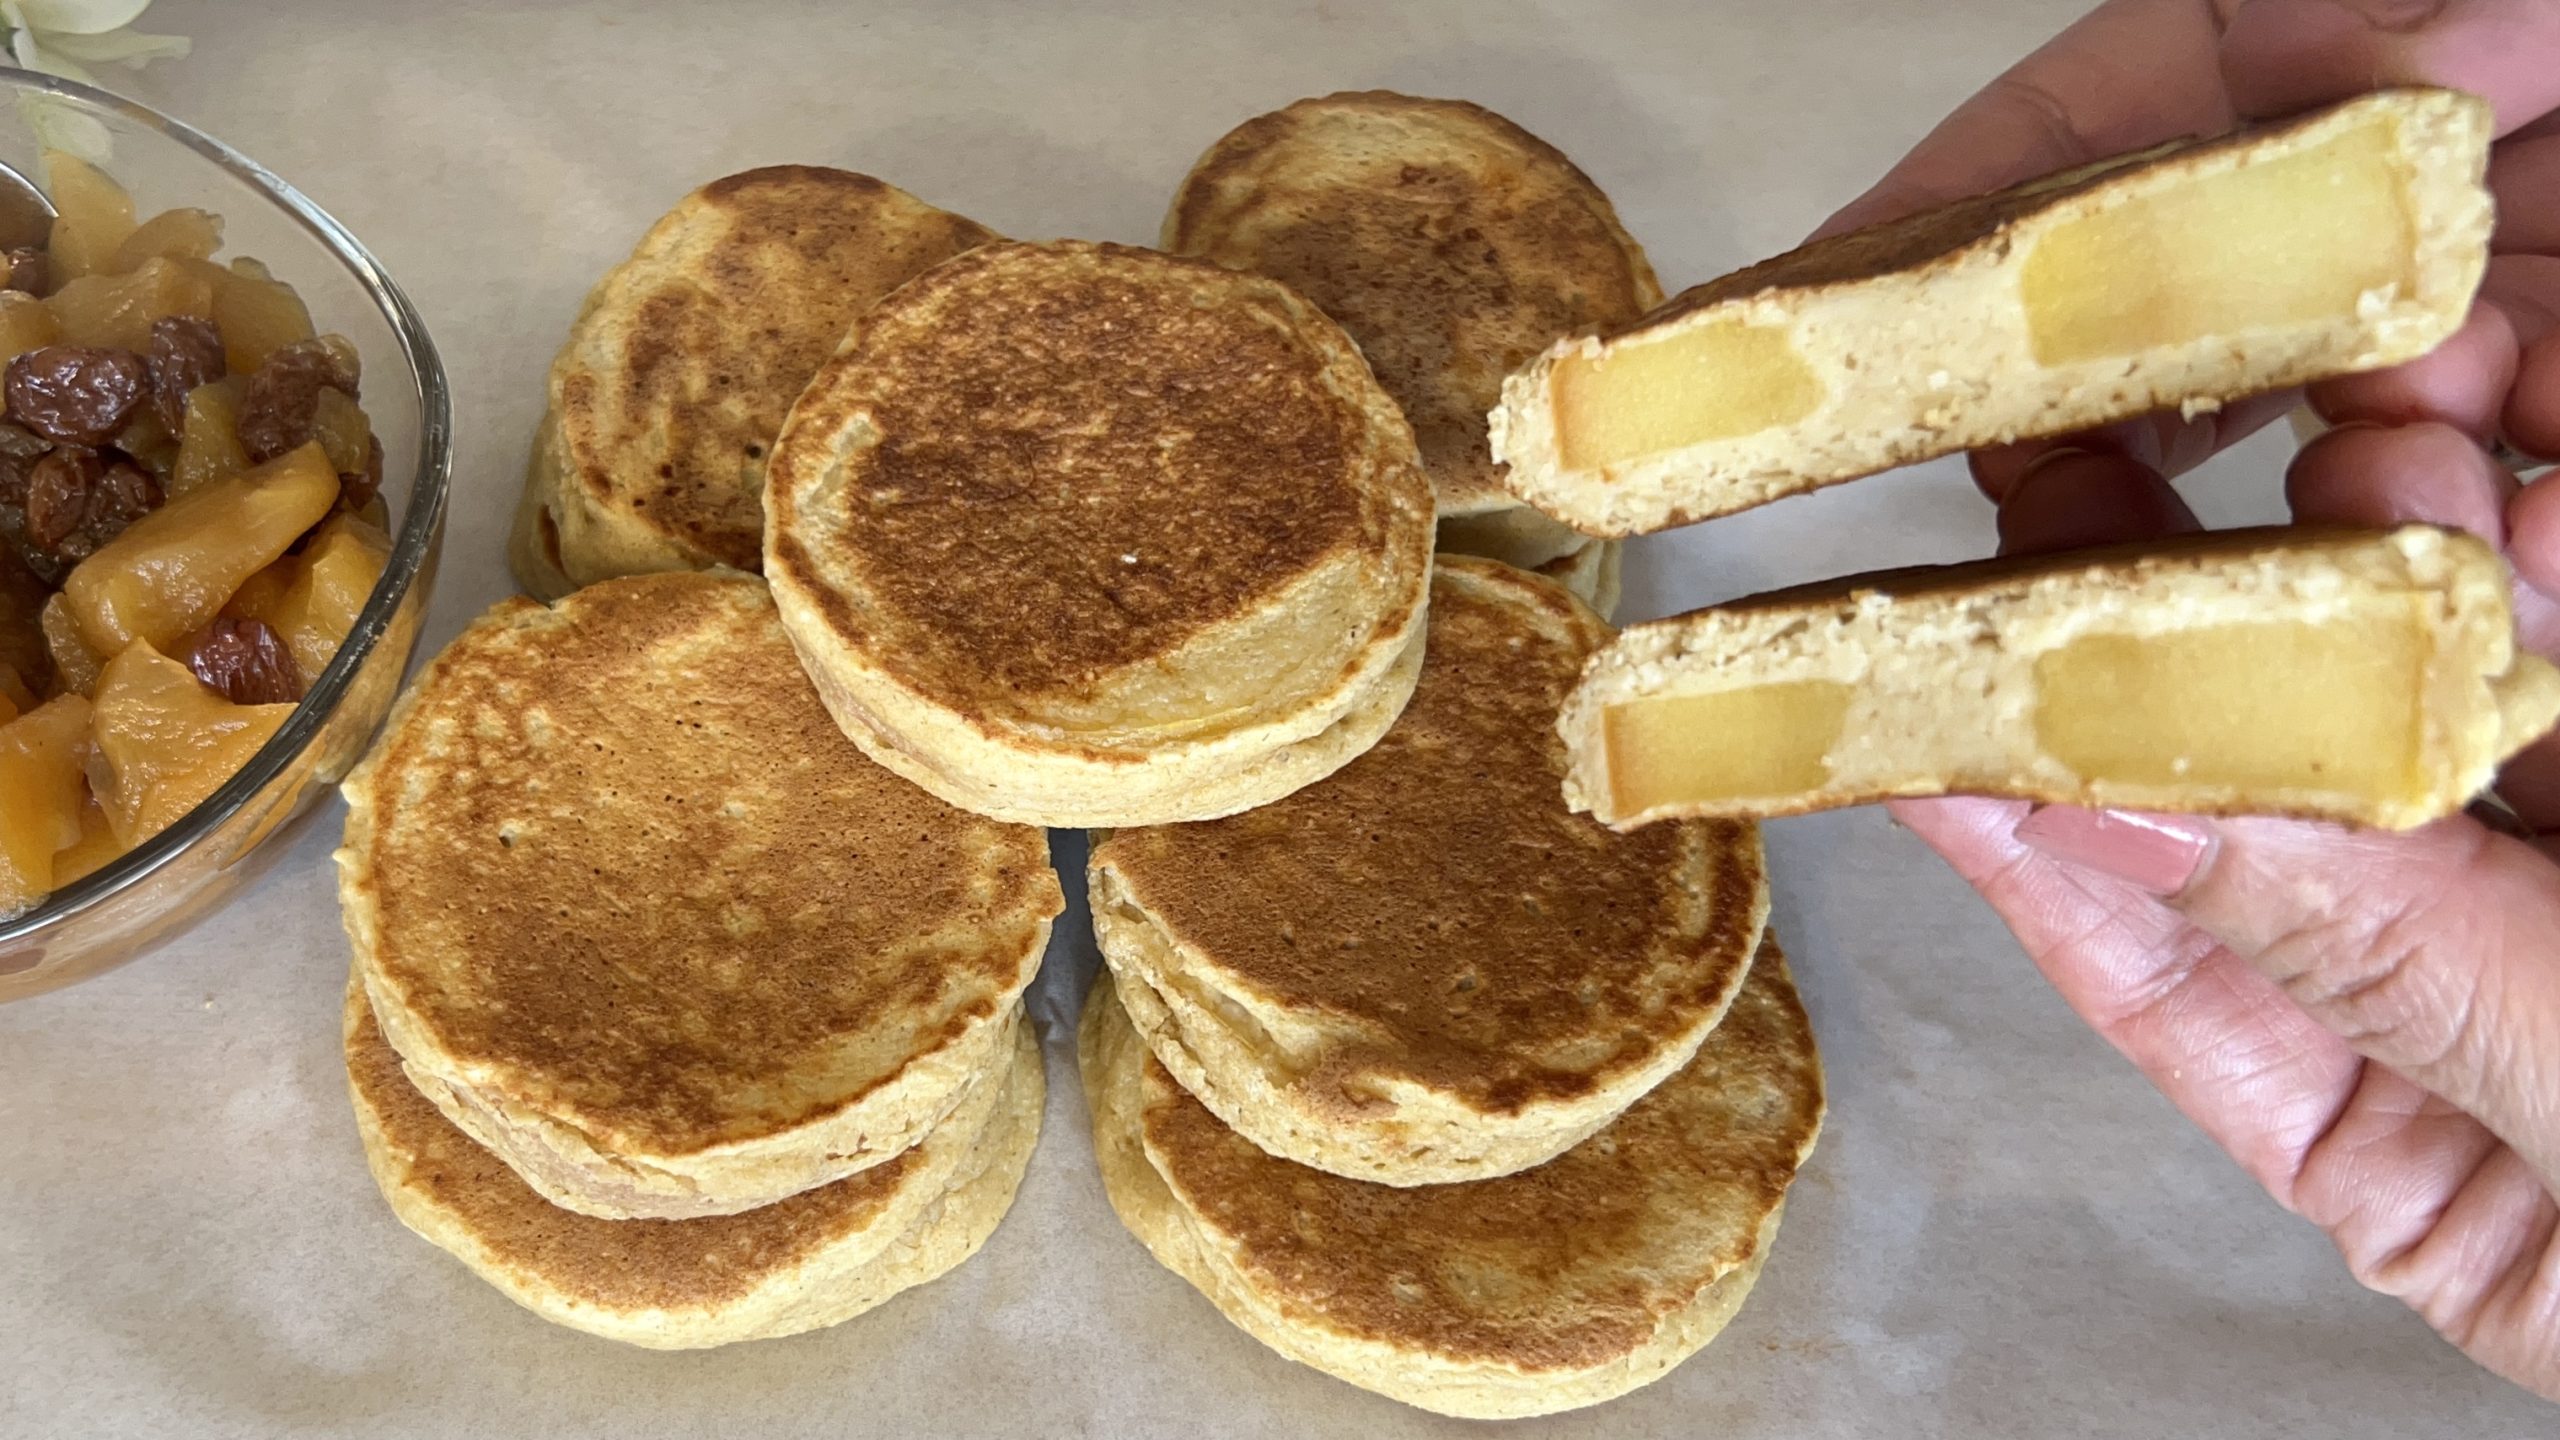
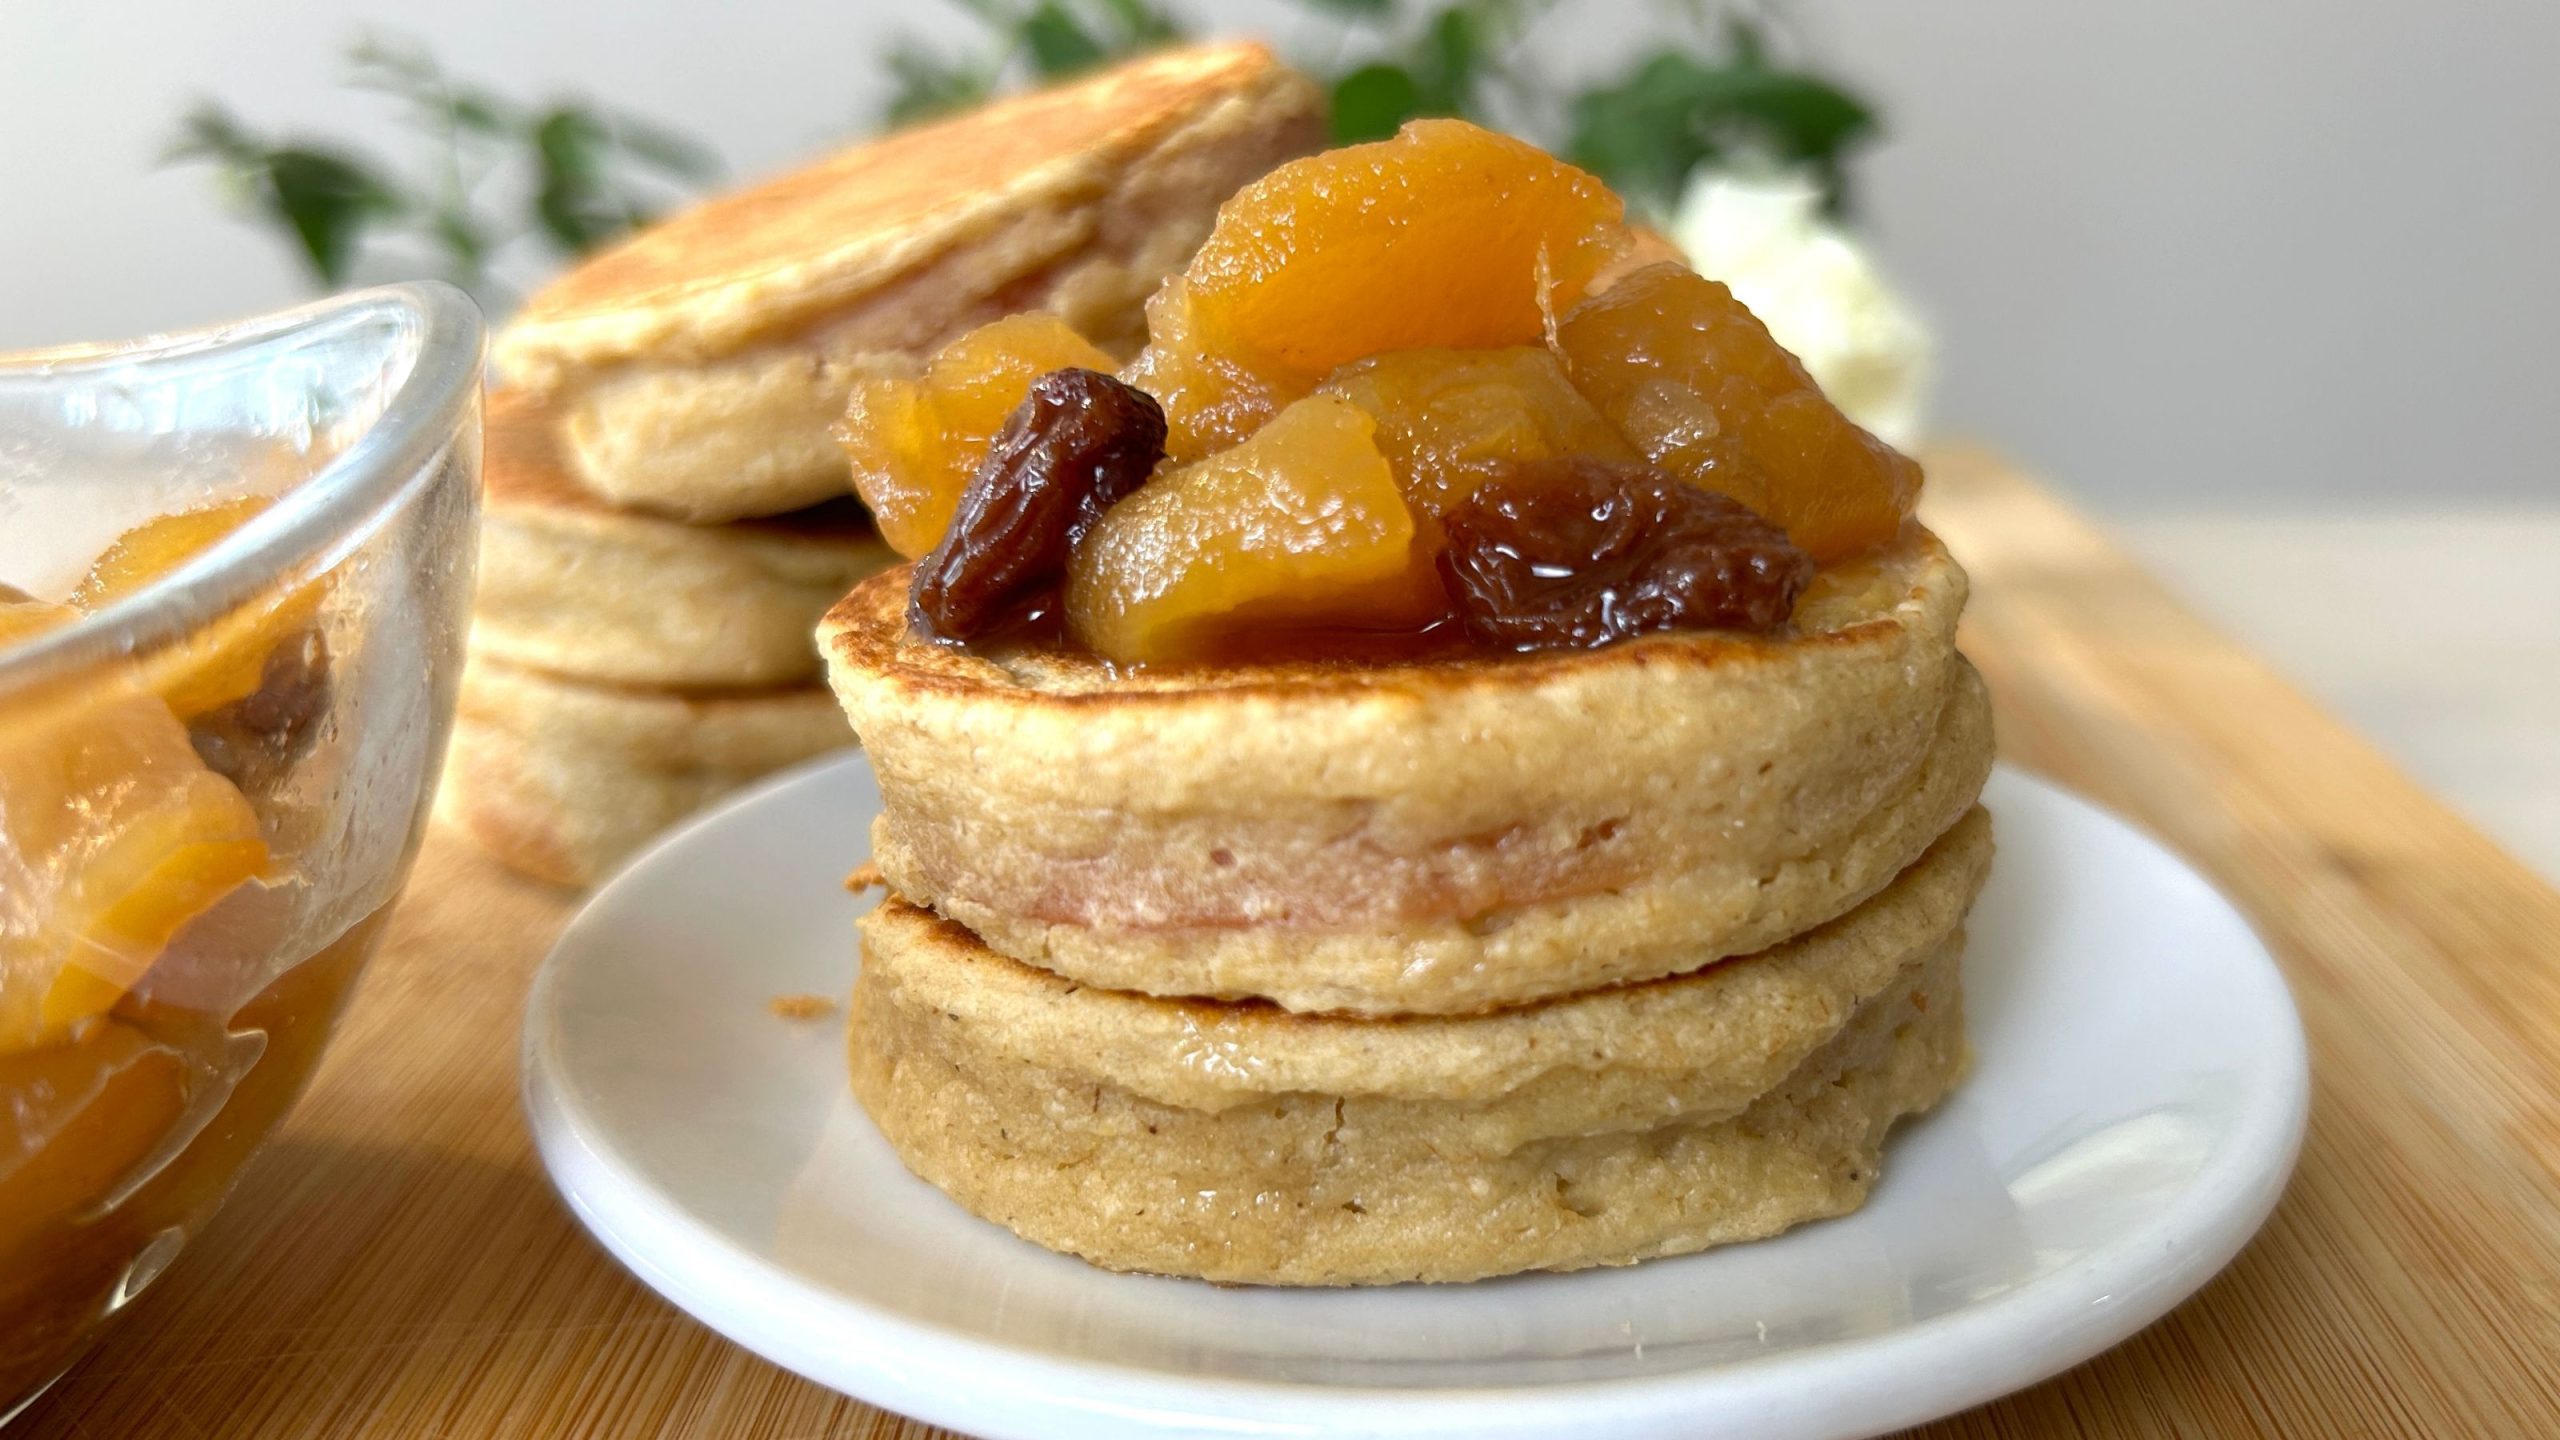
There’s nothing quite like starting your day with a stack of warm, homemade pancakes, but these Apple Ring Pancakes take breakfast to a whole new level. Imagine biting into a fluffy, golden-brown pancake, only to discover a sweet, tender apple slice nestled inside, pure comfort on a plate.

These pancakes combine the natural sweetness of apples with the hearty texture of oat flour, creating a breakfast that’s both indulgent and nourishing. With every bite, you get the perfect balance of soft apple and crispy pancake, making it an irresistible option for both kids and adults alike. Whether you’re enjoying them plain, topped with a sprinkle of cinnamon, or drizzled with maple syrup, these pancakes are sure to become a regular in your morning routine.

At the heart of this recipe is oats—a powerhouse ingredient that adds far more than just flavor. Oats are an excellent source of dietary fiber, particularly beta-glucan, which has been shown to lower cholesterol levels and support heart health. This makes oats a smart choice for those looking to improve cardiovascular well-being. Beyond their heart benefits, oats provide a steady release of energy, helping to keep you full and focused throughout the morning without the spikes and crashes caused by refined grains. They also help in stabilizing blood sugar, making them a great choice for individuals who are mindful of managing their glucose levels. Oats are naturally gluten-free, making this recipe accessible to those with gluten sensitivities or anyone seeking to add more nutrient-dense, whole grains to their diet. Plus, they’re incredibly versatile and can be used in everything from breakfast bowls to baked goods.

By including oats in your regular diet, you’re not just adding a whole grain; you’re embracing a food that nourishes your body from the inside out. Their high fiber content supports gut health, aiding in digestion and promoting regularity. Additionally, oats are packed with important vitamins and minerals like manganese, phosphorus, magnesium, and zinc, all of which contribute to your overall well-being. So when you whip up these Apple Ring Pancakes, you’re not only treating yourself to a delicious breakfast but also making a health-conscious choice that will leave you feeling great throughout the day.
Ingredients

  • 1 egg
  • ½ cup (115 g) applesauce
  • ¼ cup sour cream or yogurt
  • 1 cup (90 g) oat flour (or rolled oats blended into flour)
  • 1 tsp. baking powder
  • ½ tsp. vanilla extract
  • 2 large apples (about 240 g)
  • Half a lemon (for rubbing on apple slices)

Directions

  1. Blend rolled oats into flour or use oat flour.
  2. In a mixing bowl, combine the egg, applesauce, and sour cream. Mix until smooth.
  3. Gradually add the oat flour, baking powder, and vanilla extract to the wet mixture. Stir until just combined; the batter should be thick.
  4. Let the batter rest while you core and slice the apples into 0.5 to 0.7 cm rings. Rub the slices with lemon.
  5. Preheat a nonstick pan over low heat.
  6. Dip each apple slice into the batter, ensuring an even coating.
  7. Place the apple slices on the pan and cook for about 2 minutes or until the edges begin to dry.
  8. Flip and cook the other side for another 2 minutes until golden brown.
  9. Continue flipping if needed to ensure even cooking. Repeat with the remaining slices and batter.
  10. Serve warm with your choice of toppings.

Prep Time: 20 minutes
Cooking Time: 50 minutes (pan cooking)
Servings: 10 pancakes

Nutritional Information (Per 1 Pancake)

  • Energy: 68 calories
  • Protein: 2.44 g
  • Fat: 1.75 g
  • Carbohydrates: 11.11 g
  • Fiber: 1.4 g

Storage and Recommendations

  • Store in an airtight container in the fridge for up to 5 days.
  • Freeze for up to 1 month; reheat directly from frozen.
  • Enjoy with your favorite toppings like cinnamon apples or maple syrup.
Chocolate Cheesecake

Chocolate Cheesecake

Chocolate Cheesecake

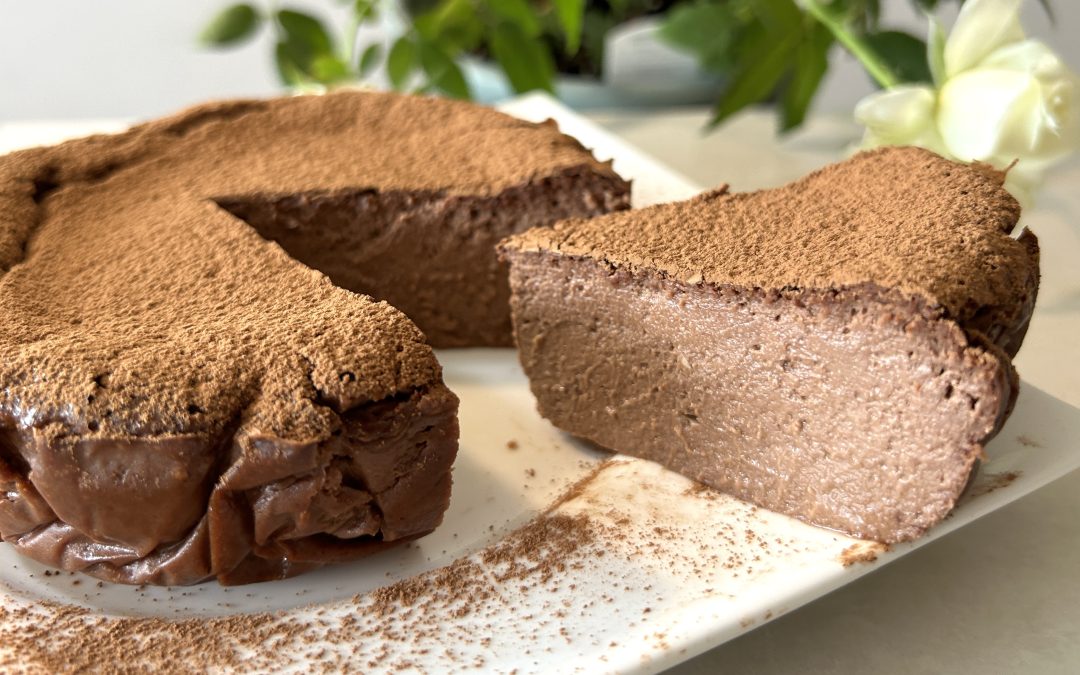
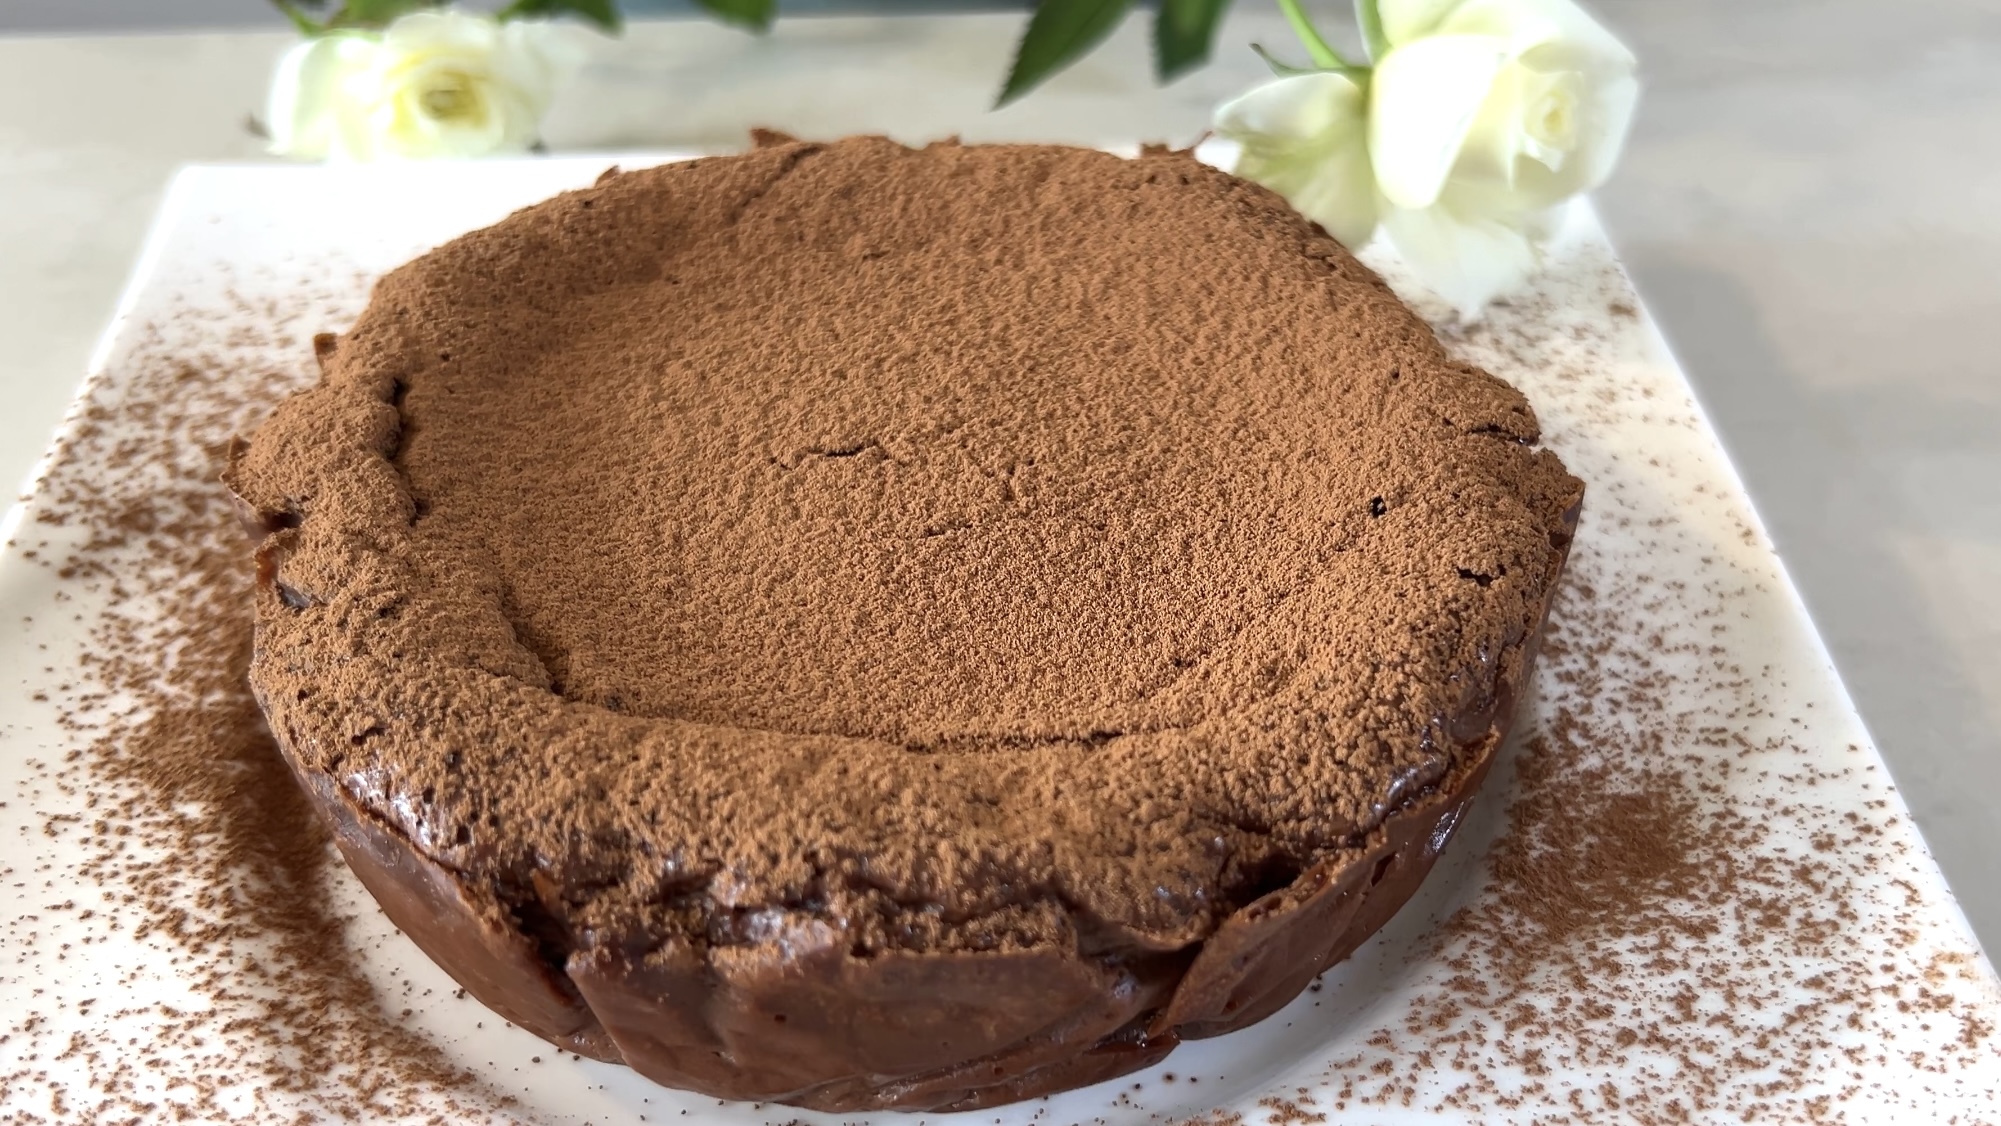
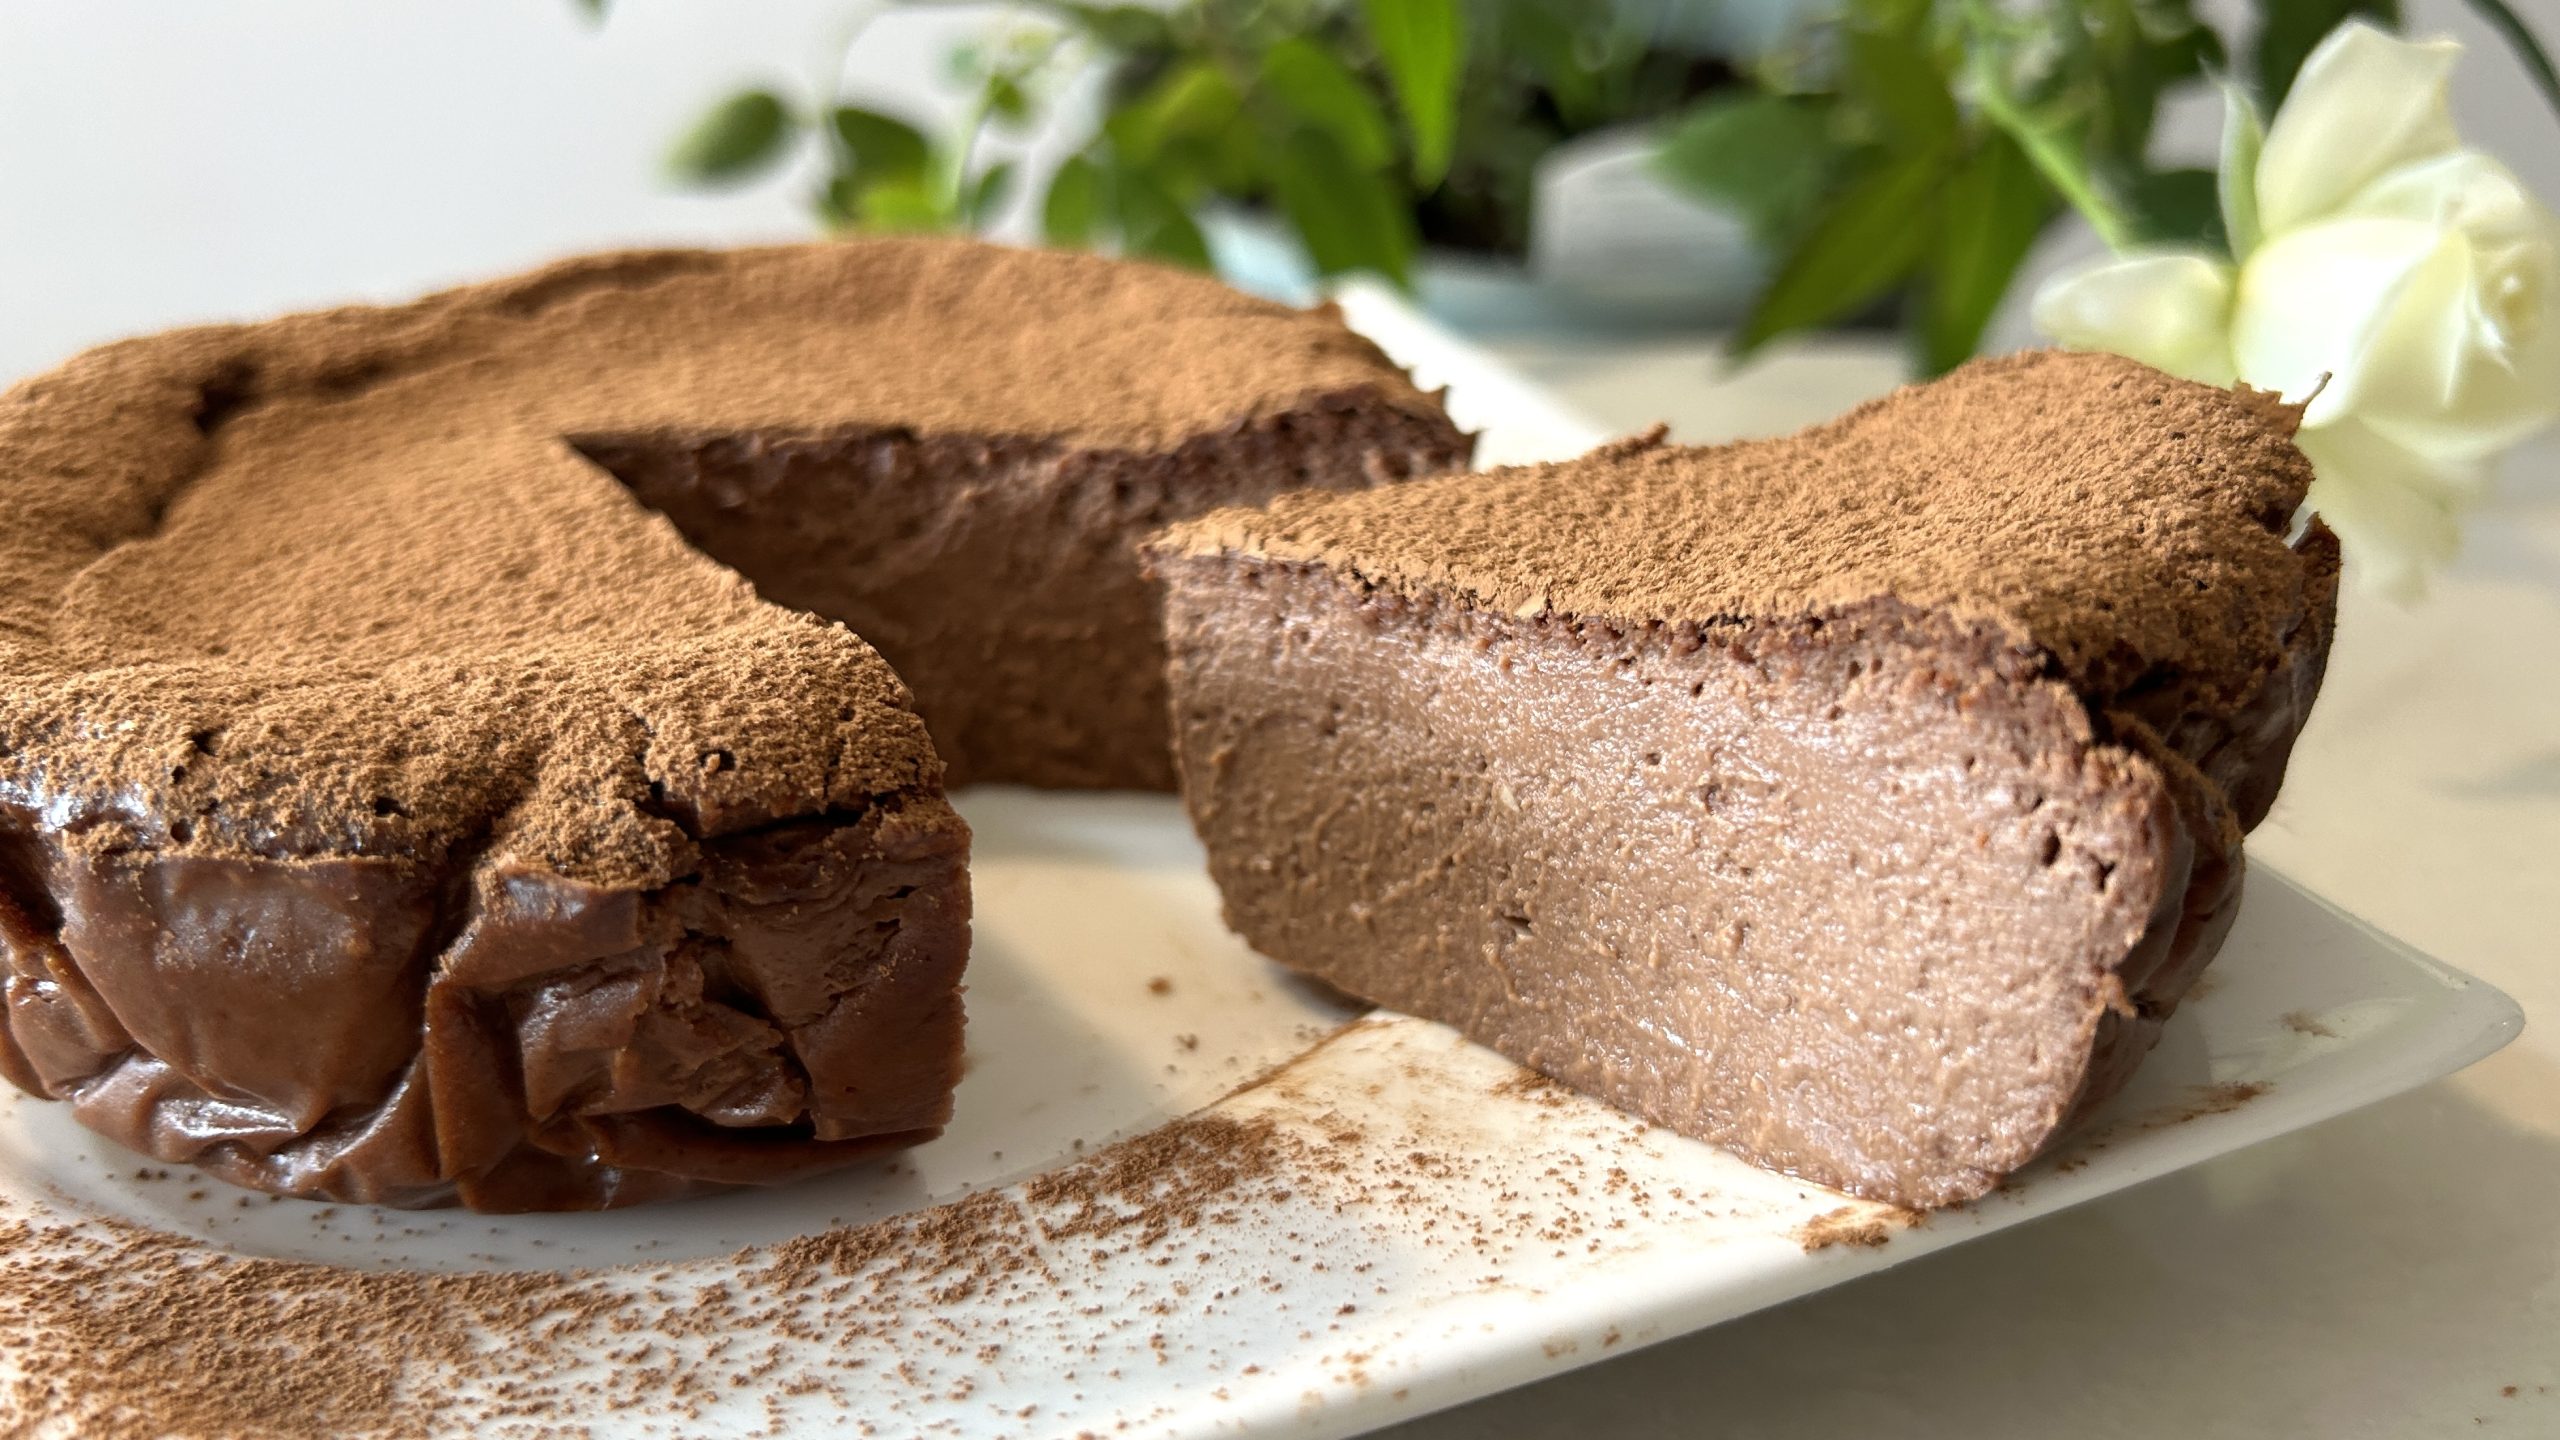
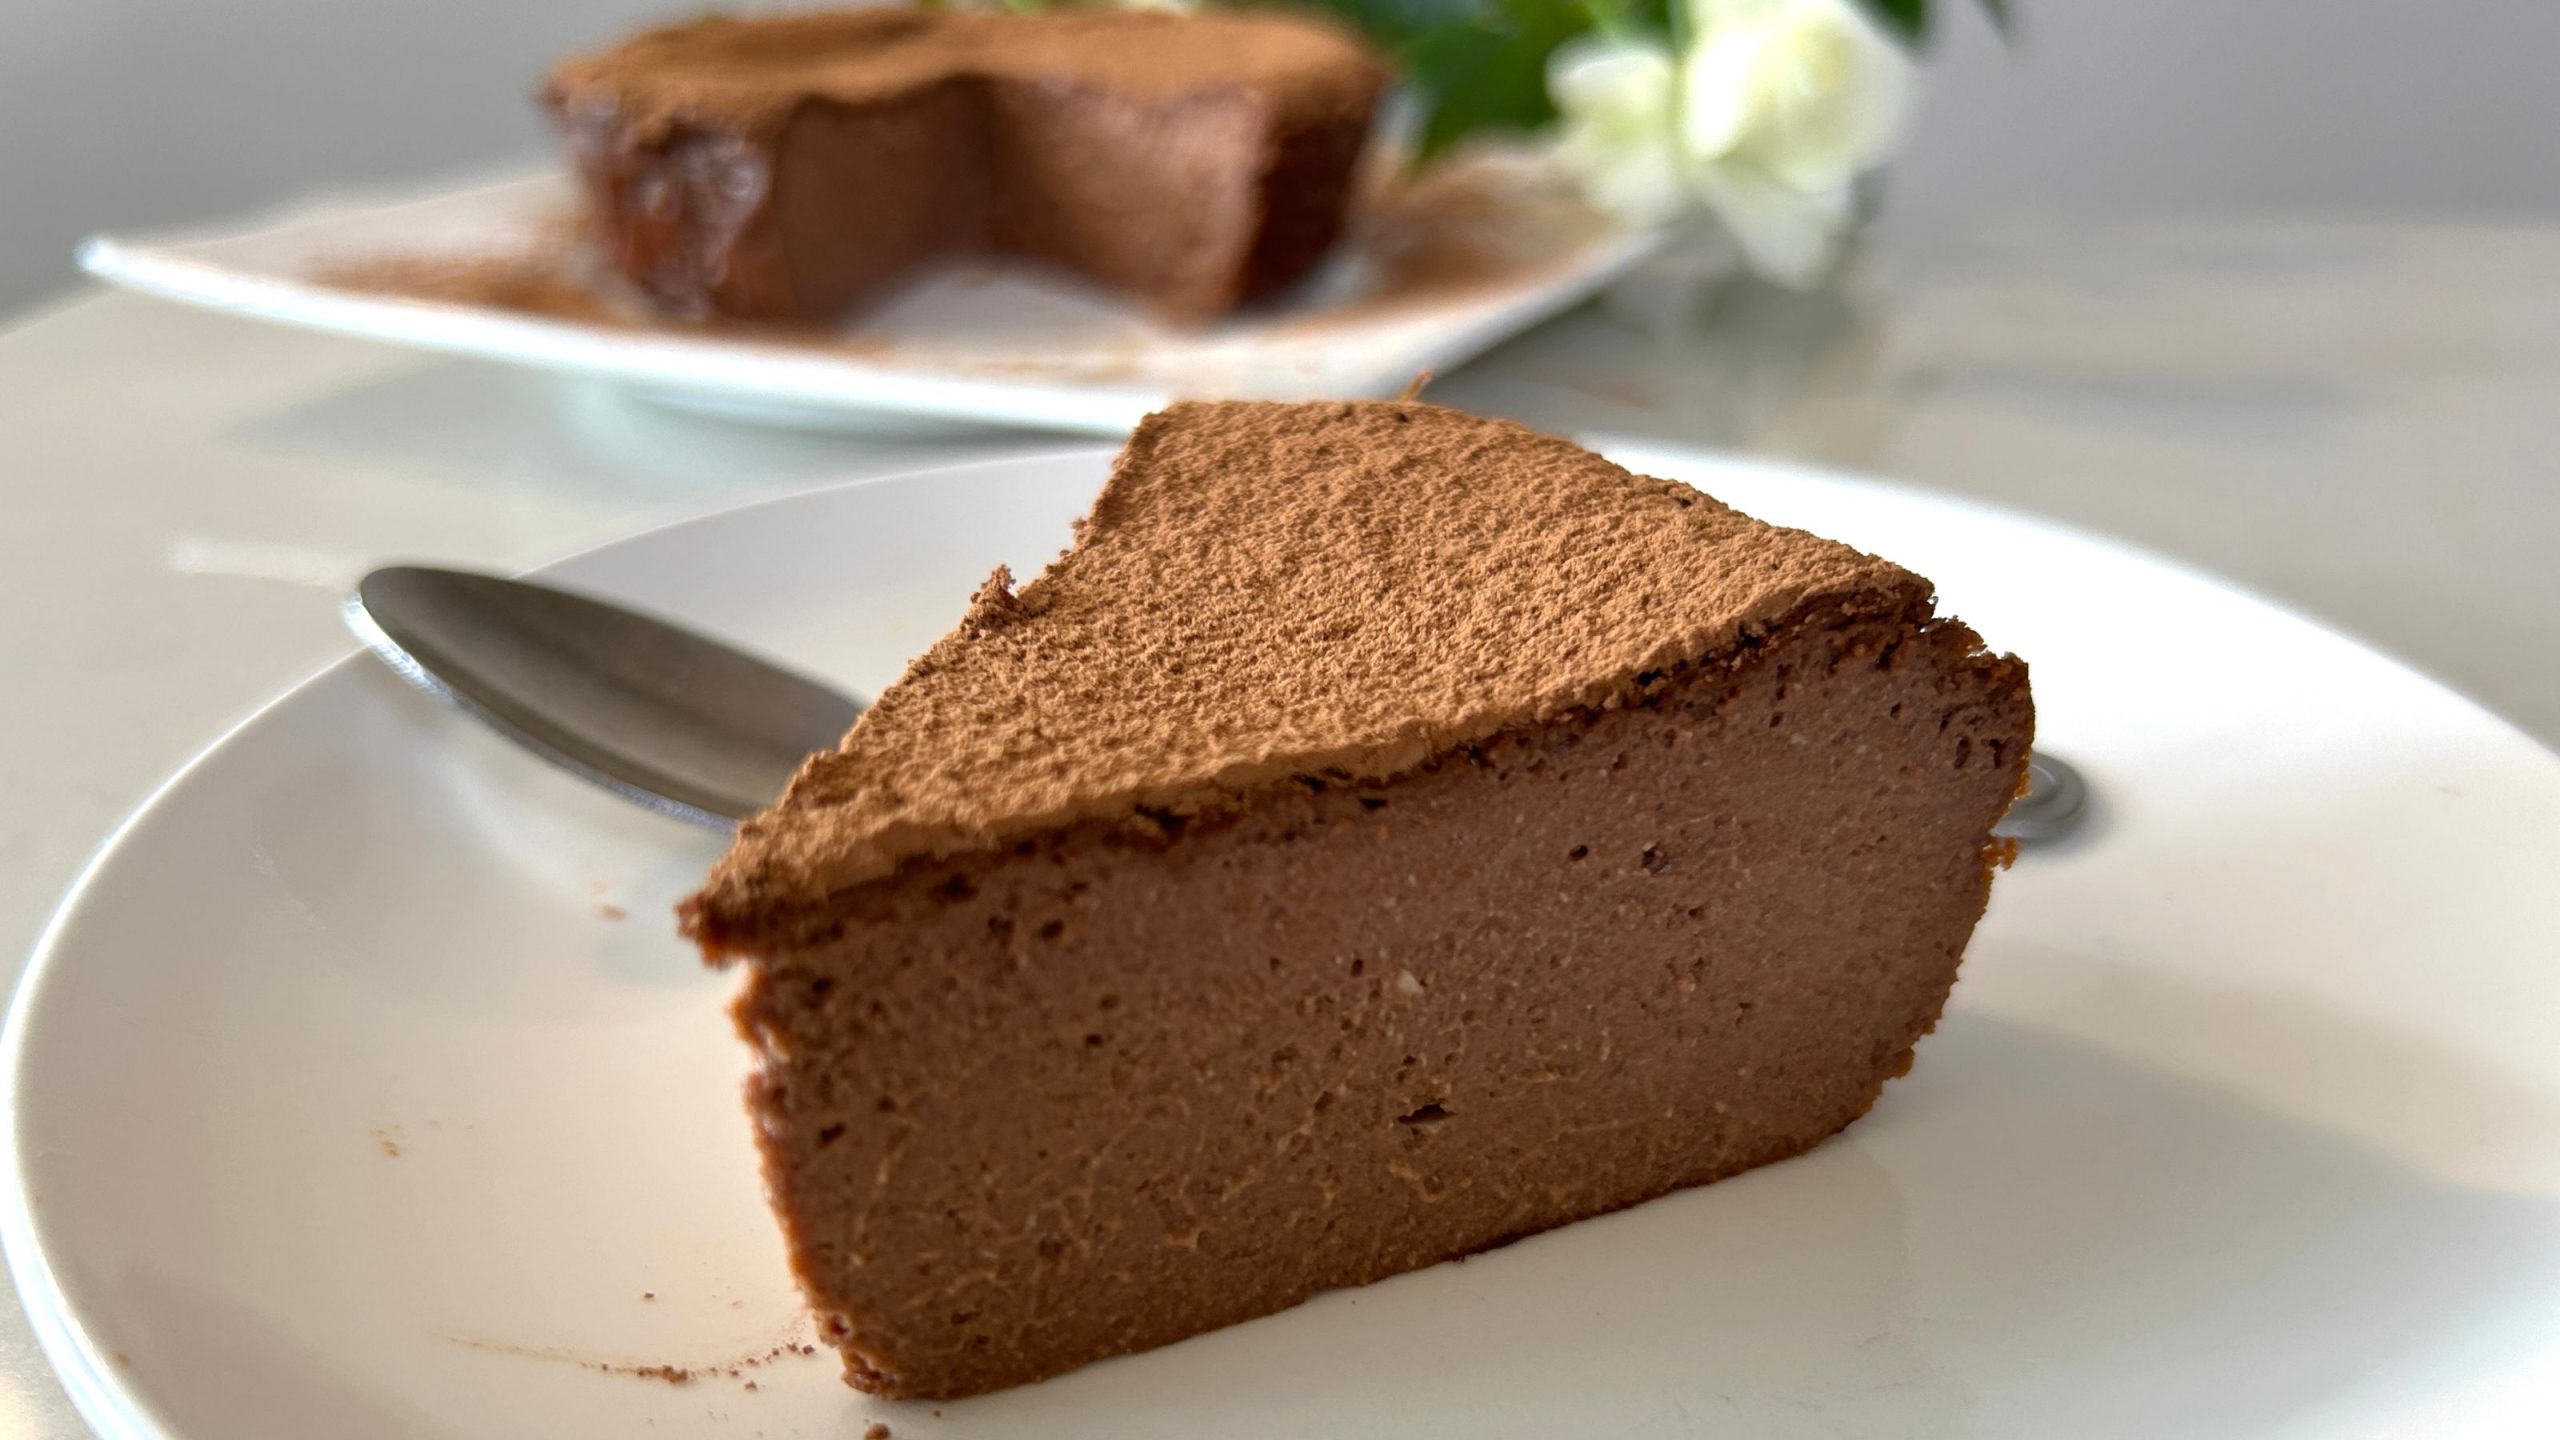
Looking for a dessert that tastes indulgent but is still packed with nutrition? This guilt-free chocolate cheesecake is your answer! Made with cottage cheese, eggs, and dark chocolate, this recipe offers a healthier twist on the classic cheesecake without sacrificing flavor. Unlike traditional cheesecakes that rely on heavy cream and cream cheese, this one uses cottage cheese to create that same creamy texture with fewer calories and more protein.

Cottage cheese is the star here, bringing not only creaminess but also a rich source of protein to help keep you full longer. It’s also a great source of calcium and B vitamins, promoting bone health and energy production. But that’s not all, eggs also play an important role in this cheesecake. Eggs are packed with high-quality protein, healthy fats, and essential vitamins like Vitamin D and B12, all of which are essential for your body’s daily functions. The combination of eggs and cottage cheese makes this cheesecake a protein powerhouse that supports muscle growth and repair.

And let’s not forget the dark chocolate! Aside from being delicious, dark chocolate is rich in antioxidants, specifically flavonoids, which have been shown to support heart health. It also contains important minerals like iron, magnesium, and zinc, which contribute to overall wellness. Plus, dark chocolate gives this cheesecake its rich, decadent flavor while keeping the sugar content relatively low.

The best part? This recipe is both low in calories and high in nutrition, making it the perfect treat when you want something sweet and satisfying without derailing your health goals. It’s easy to prepare, packed with nutrients, and bursting with chocolatey goodness—what more could you ask for?


Ingredients

  • 100 g dark chocolate or your chocolate of choice
  • 1 cup (200 g) cottage cheese, at room temperature
  • 3 eggs, at room temperature
  • 1 tbsp cocoa powder (optional, for garnish)

Directions

  1. Preheat your oven to 340°F (180°C) and line a baking pan with parchment paper.
  2. Cut the dark chocolate into small chunks and melt it. You can use a microwave or a double boiler to melt the chocolate. Stir and let it cool slightly before moving on to the next step.
  3. Add the eggs and cottage cheese to the melted chocolate. Use a hand mixer to blend the mixture until smooth and creamy with no lumps.
  4. Pour the smooth batter into the prepared baking pan, spreading it evenly.
  5. Bake for 30 minutes if you prefer a soft and creamy cheesecake center.
  6. Once baked, take the cheesecake out of the oven and allow it to cool. It may deflate slightly during cooling.
  7. Refrigerate the cheesecake for at least 1 hour to set and develop a firmer texture.
  8. Optional: Before serving, sprinkle cocoa powder over the top for a rich, chocolatey finish.

Prep Time

  • 15 minutes preparation
  • 30 minutes baking
  • 1 hour chilling in the fridge
  • Serves 4

Nutritional Information (per serving):

  • Energy: 255 calories
  • Protein: 12.46 g
  • Fat: 16.55 g
  • Carbohydrates: 14.22 g
  • Fiber: 3.1 g

Storage

  • Store the cheesecake in an airtight container in the fridge for up to 3 days.
  • For a firmer texture, let the cheesecake chill overnight.
  • This cheesecake pairs beautifully with fresh berries or a drizzle of dark chocolate ganache for an extra indulgence.
Red Lentil Waffles

Red Lentil Waffles

Red Lentil Waffles

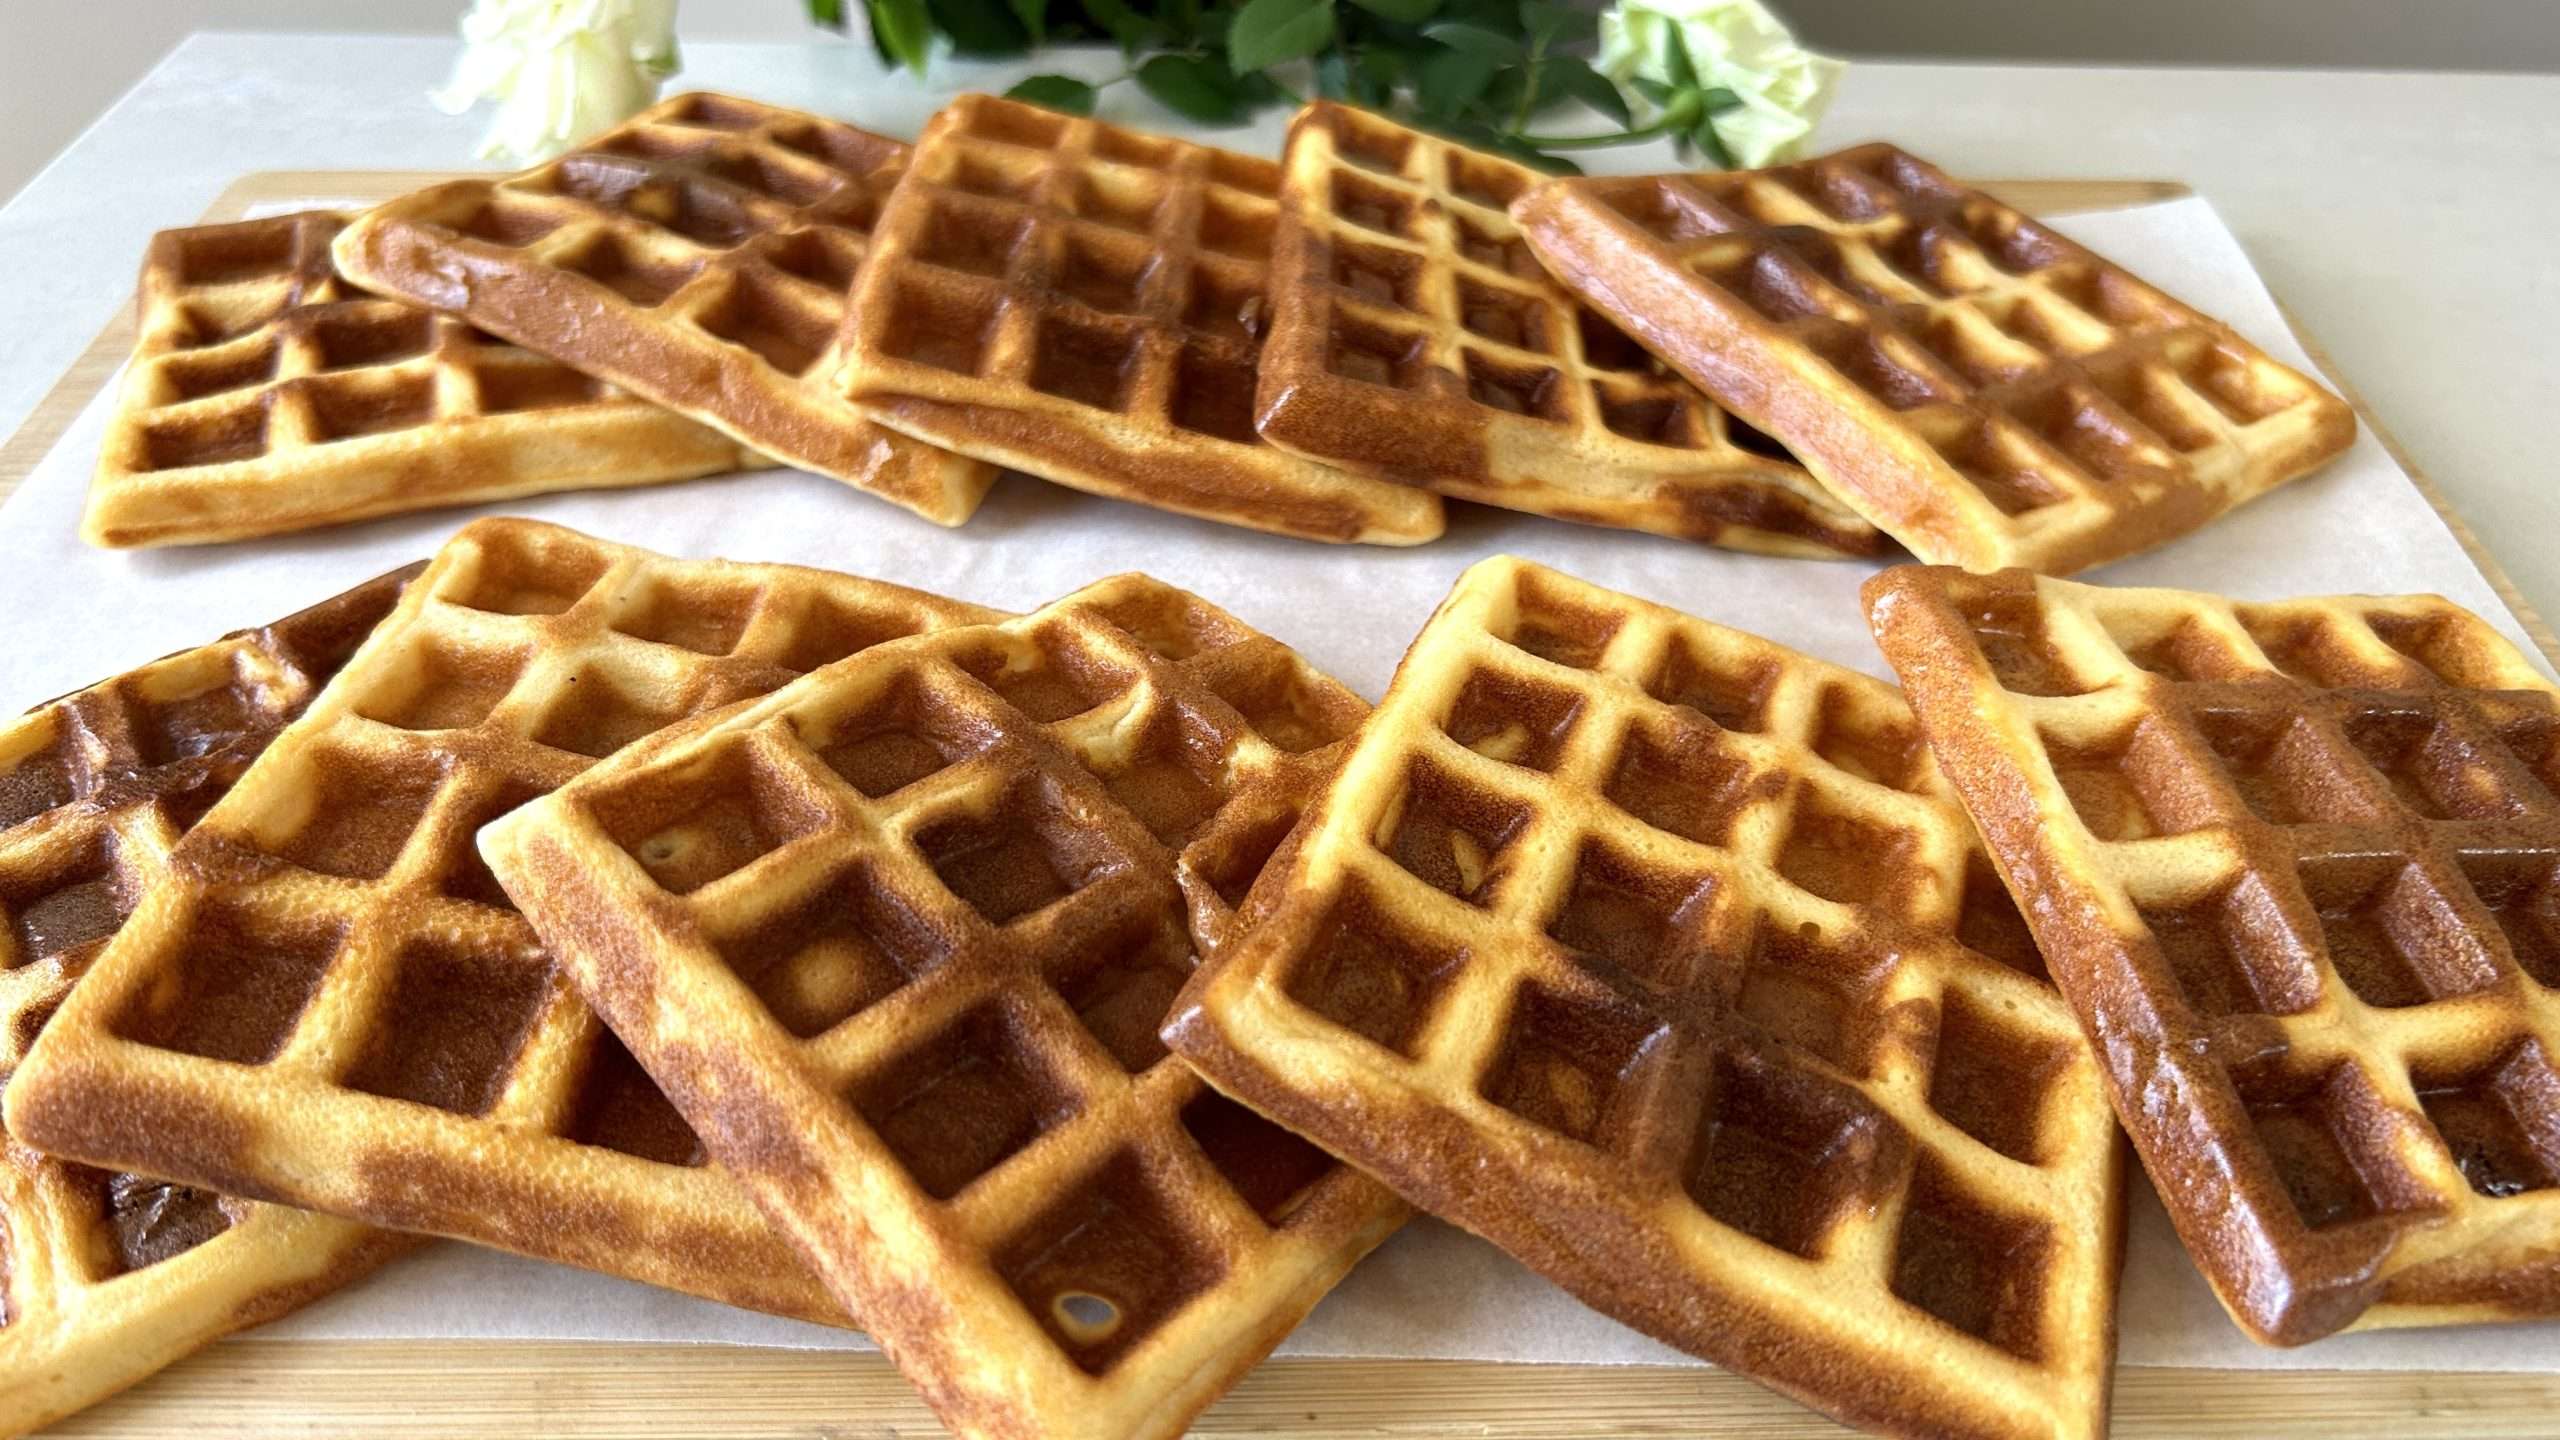
If you’re looking for a healthier and nutrient-dense alternative to traditional waffles, these red lentil waffles are a game-changer. Red lentils, a powerhouse of plant-based protein, fiber, and essential nutrients, replace refined flours in this recipe, making these waffles naturally gluten-free, lower in carbohydrates, and more filling. Unlike traditional flour-based waffles, which can be high in empty carbohydrates, red lentils provide sustained energy, making this recipe an excellent choice for breakfast or a mid-day snack.

Red lentils have been praised for their ability to improve digestive health, boost energy levels, and support heart health, thanks to their high fiber and nutrient content. They are a rich source of iron and folate, two essential nutrients that can help prevent fatigue and support proper red blood cell production. These waffles are versatile, moderatly sweet with a neutral flavor, they can be topped with either savory or sweet ingredients, giving you endless ways to enjoy them at any time of the day.

Not only are red lentils beneficial for maintaining steady blood sugar levels, but they also offer a fantastic alternative for those looking to reduce their intake of refined gluten-rich flours. Refined flours are often stripped of nutrients during processing, leaving behind mostly simple carbs that can cause energy spikes and crashes. With red lentils, you’re fueling your body with complex carbohydrates, high quality protein, and essential vitamins and minerals, all of which contribute to better digestion, improved energy, and even enhanced mood.

Let’s dive into the nutritional powerhouse of each key ingredient in these waffles:

  • Red Lentils: These legumes are rich in protein, fiber, and iron, helping to support muscle repair, improve digestion, and prevent anemia. They’re also packed with folate and magnesium, making them excellent for heart health and overall energy production.
  • Cottage Cheese: An excellent source of protein and calcium, cottage cheese helps add a creamy texture to the waffles while providing essential nutrients for bone health and muscle maintenance. It also contributes to the overall protein content of the waffles, making them even more satisfying.
  • Eggs: Eggs are a complete protein source, offering all essential amino acids your body needs. They also contain important vitamins and minerals, such as vitamin B12 and choline, which support brain health and metabolism.
  • Olive Oil: Known for its heart-healthy fats, olive oil provides a rich source of monounsaturated fats, which help reduce inflammation and promote cardiovascular health.
  • Maple Syrup: While it adds a touch of natural sweetness to the waffles, maple syrup also contains antioxidants and trace minerals like zinc and manganese, which help support immune function.

This combination of nutrient-dense ingredients results in a waffle that is both delicious and nourishing. Perfect for fueling your body, supporting healthy digestion, and providing sustained energy throughout the day!

Ingredients

  • 1 cup (180 g) raw red lentils
  • 1 cup (200 g) cottage cheese
  • 2 eggs
  • 3 tbsp olive oil (or your preferred oil)
  • 3 tbsp maple syrup (or your preferred sweetener)
  • ½ tbsp baking powder
  • 1 tsp vanilla extract

Directions

  1. Soak the raw red lentils for at least 4 hours or overnight in the fridge. Once soaked, drain and rinse them thoroughly.
  2. In a blender, combine the soaked lentils, cottage cheese, eggs, olive oil, and maple syrup. Blend the ingredients until the mixture becomes smooth and silky.
  3. Add baking powder and vanilla extract to the mixture and blend briefly to ensure everything is evenly incorporated.
  4. Transfer the blended mixture into a mixing bowl, allowing it to rest for a minute.
  5. Preheat your waffle maker and brush the plates with oil to prevent sticking.
  6. Pour enough batter into the waffle maker to cover the plates. Close the lid and cook for about 5 to 6 minutes, or until the waffles are golden brown and fully cooked through.
  7. Carefully remove the waffles and place them on a surface lined with paper towels to absorb any excess moisture.
  8. Repeat the process until all the batter is used.
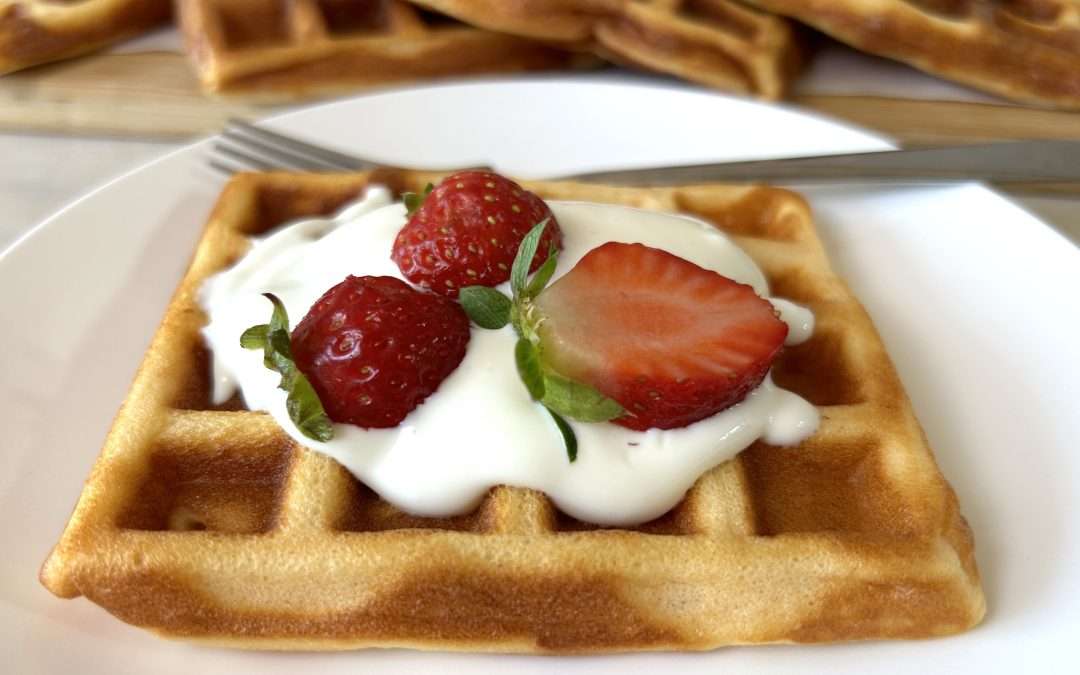
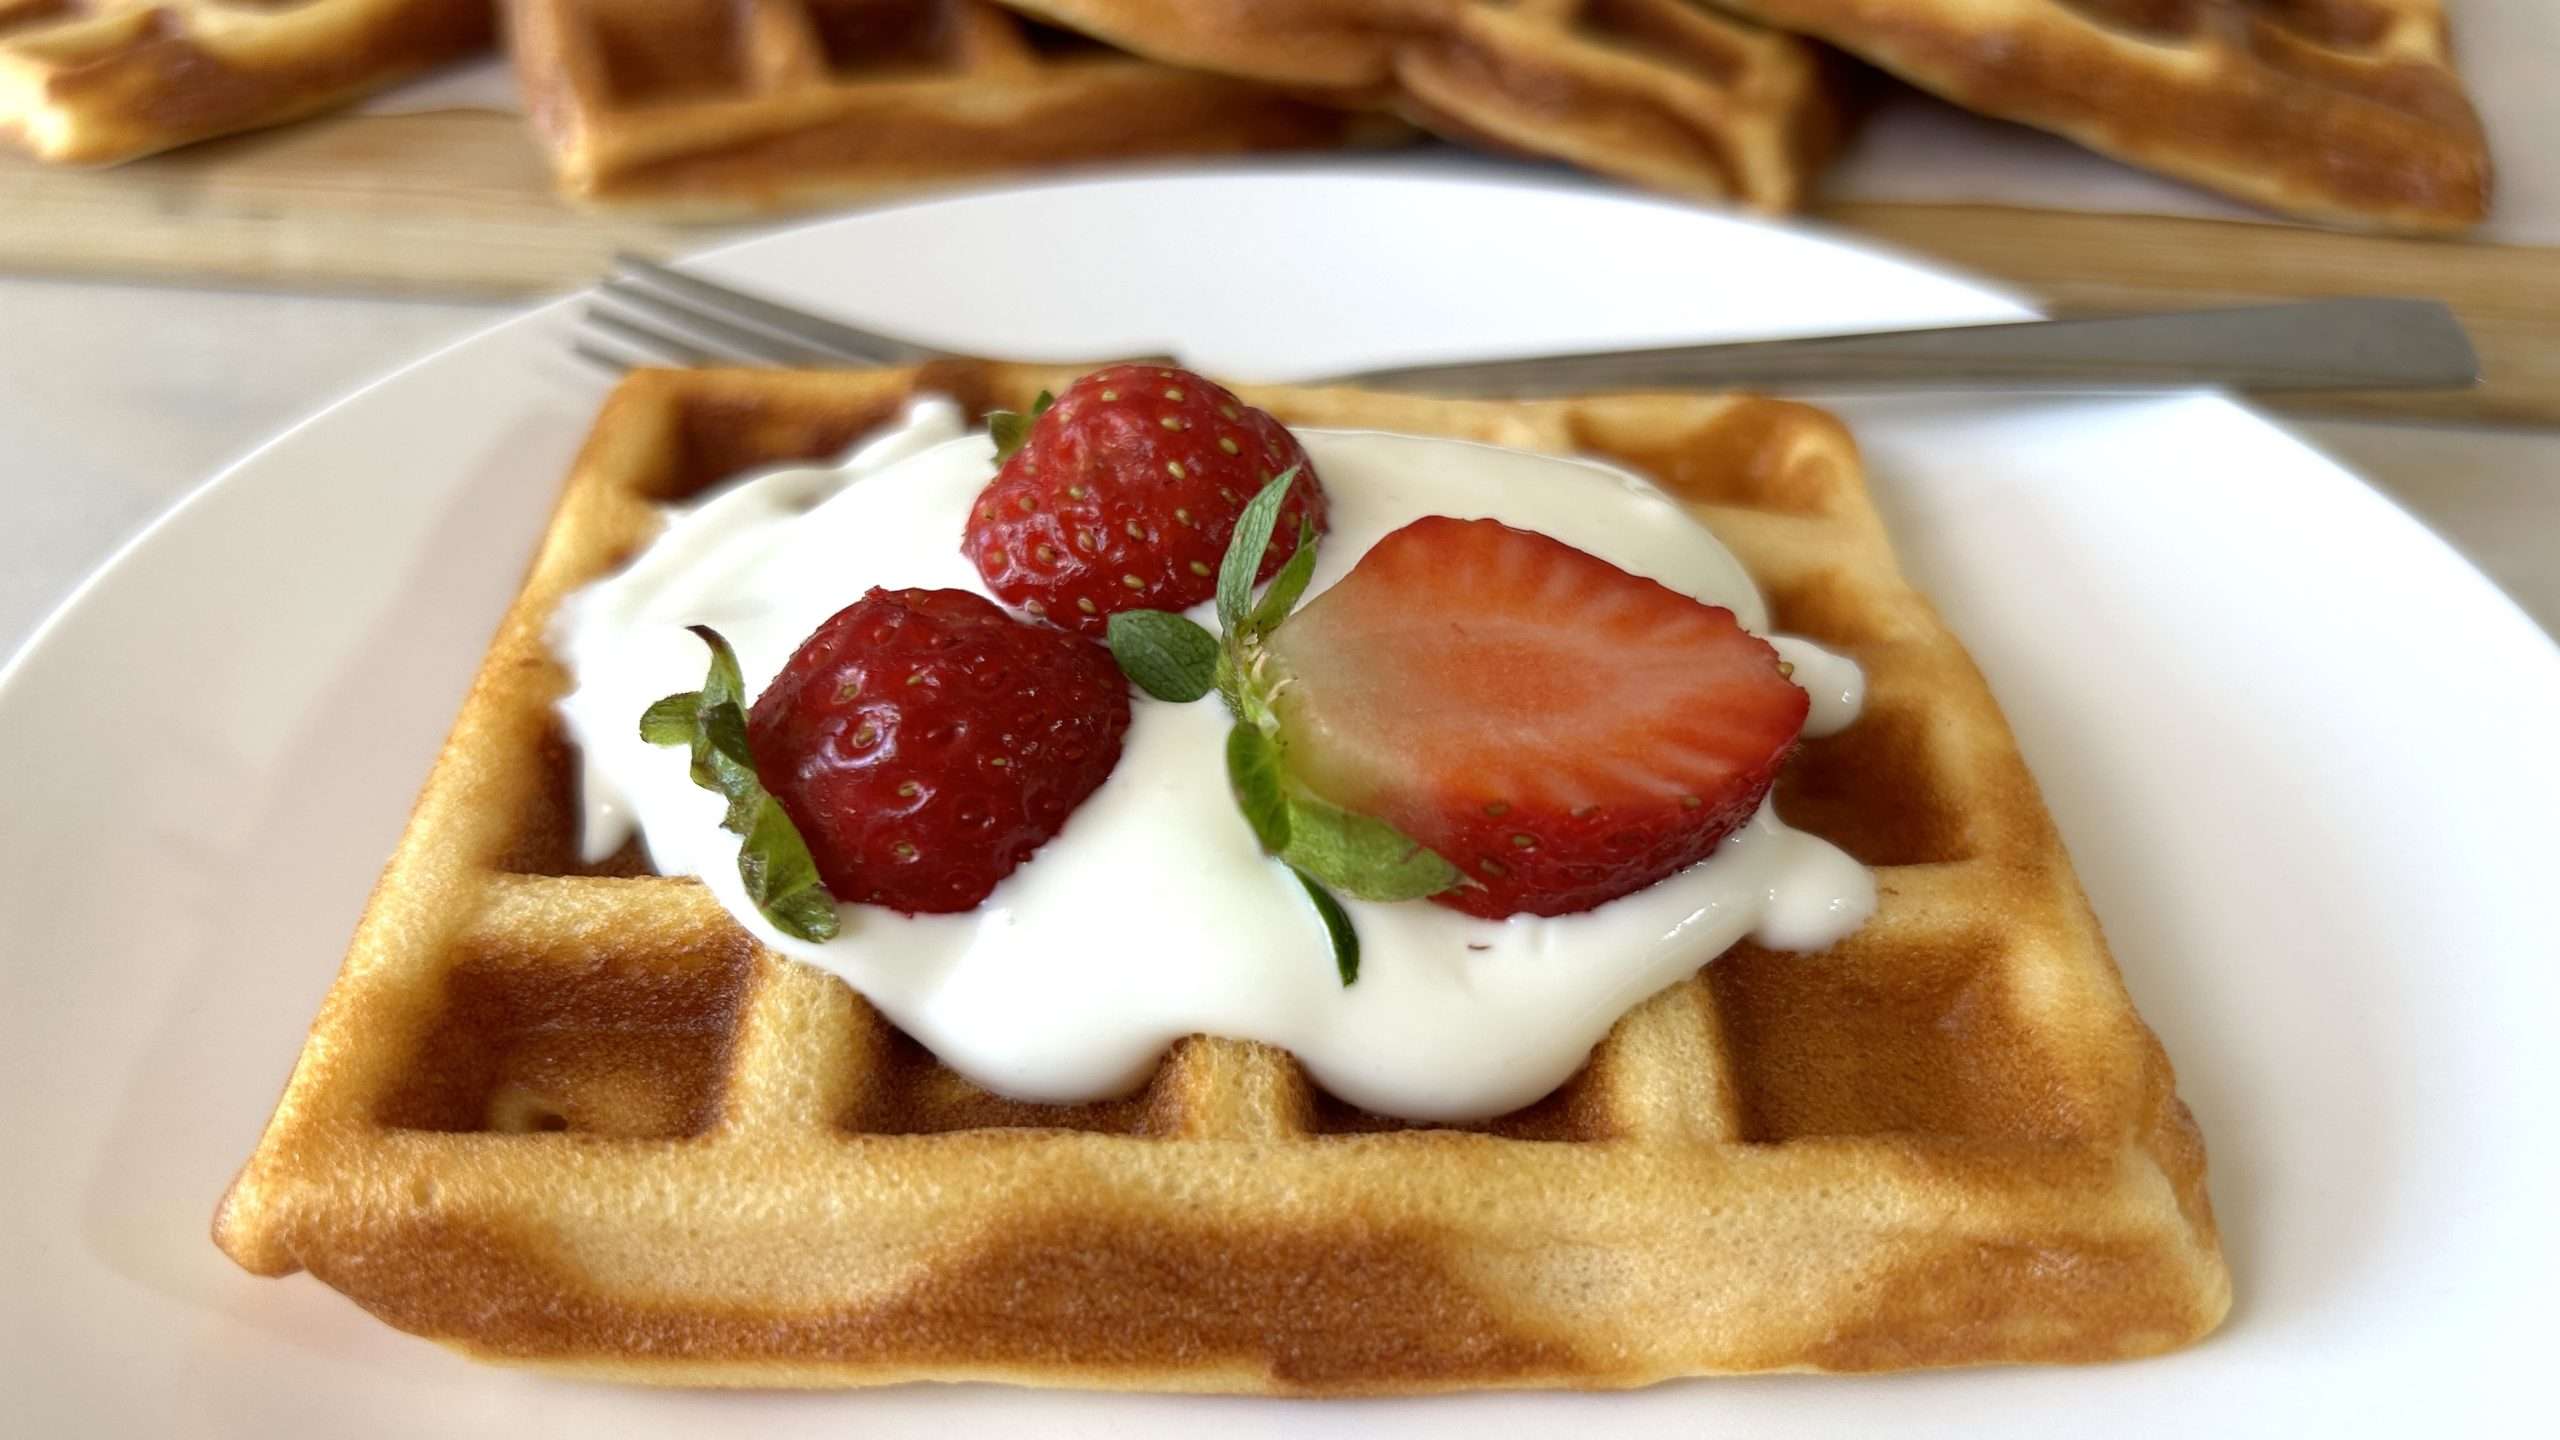
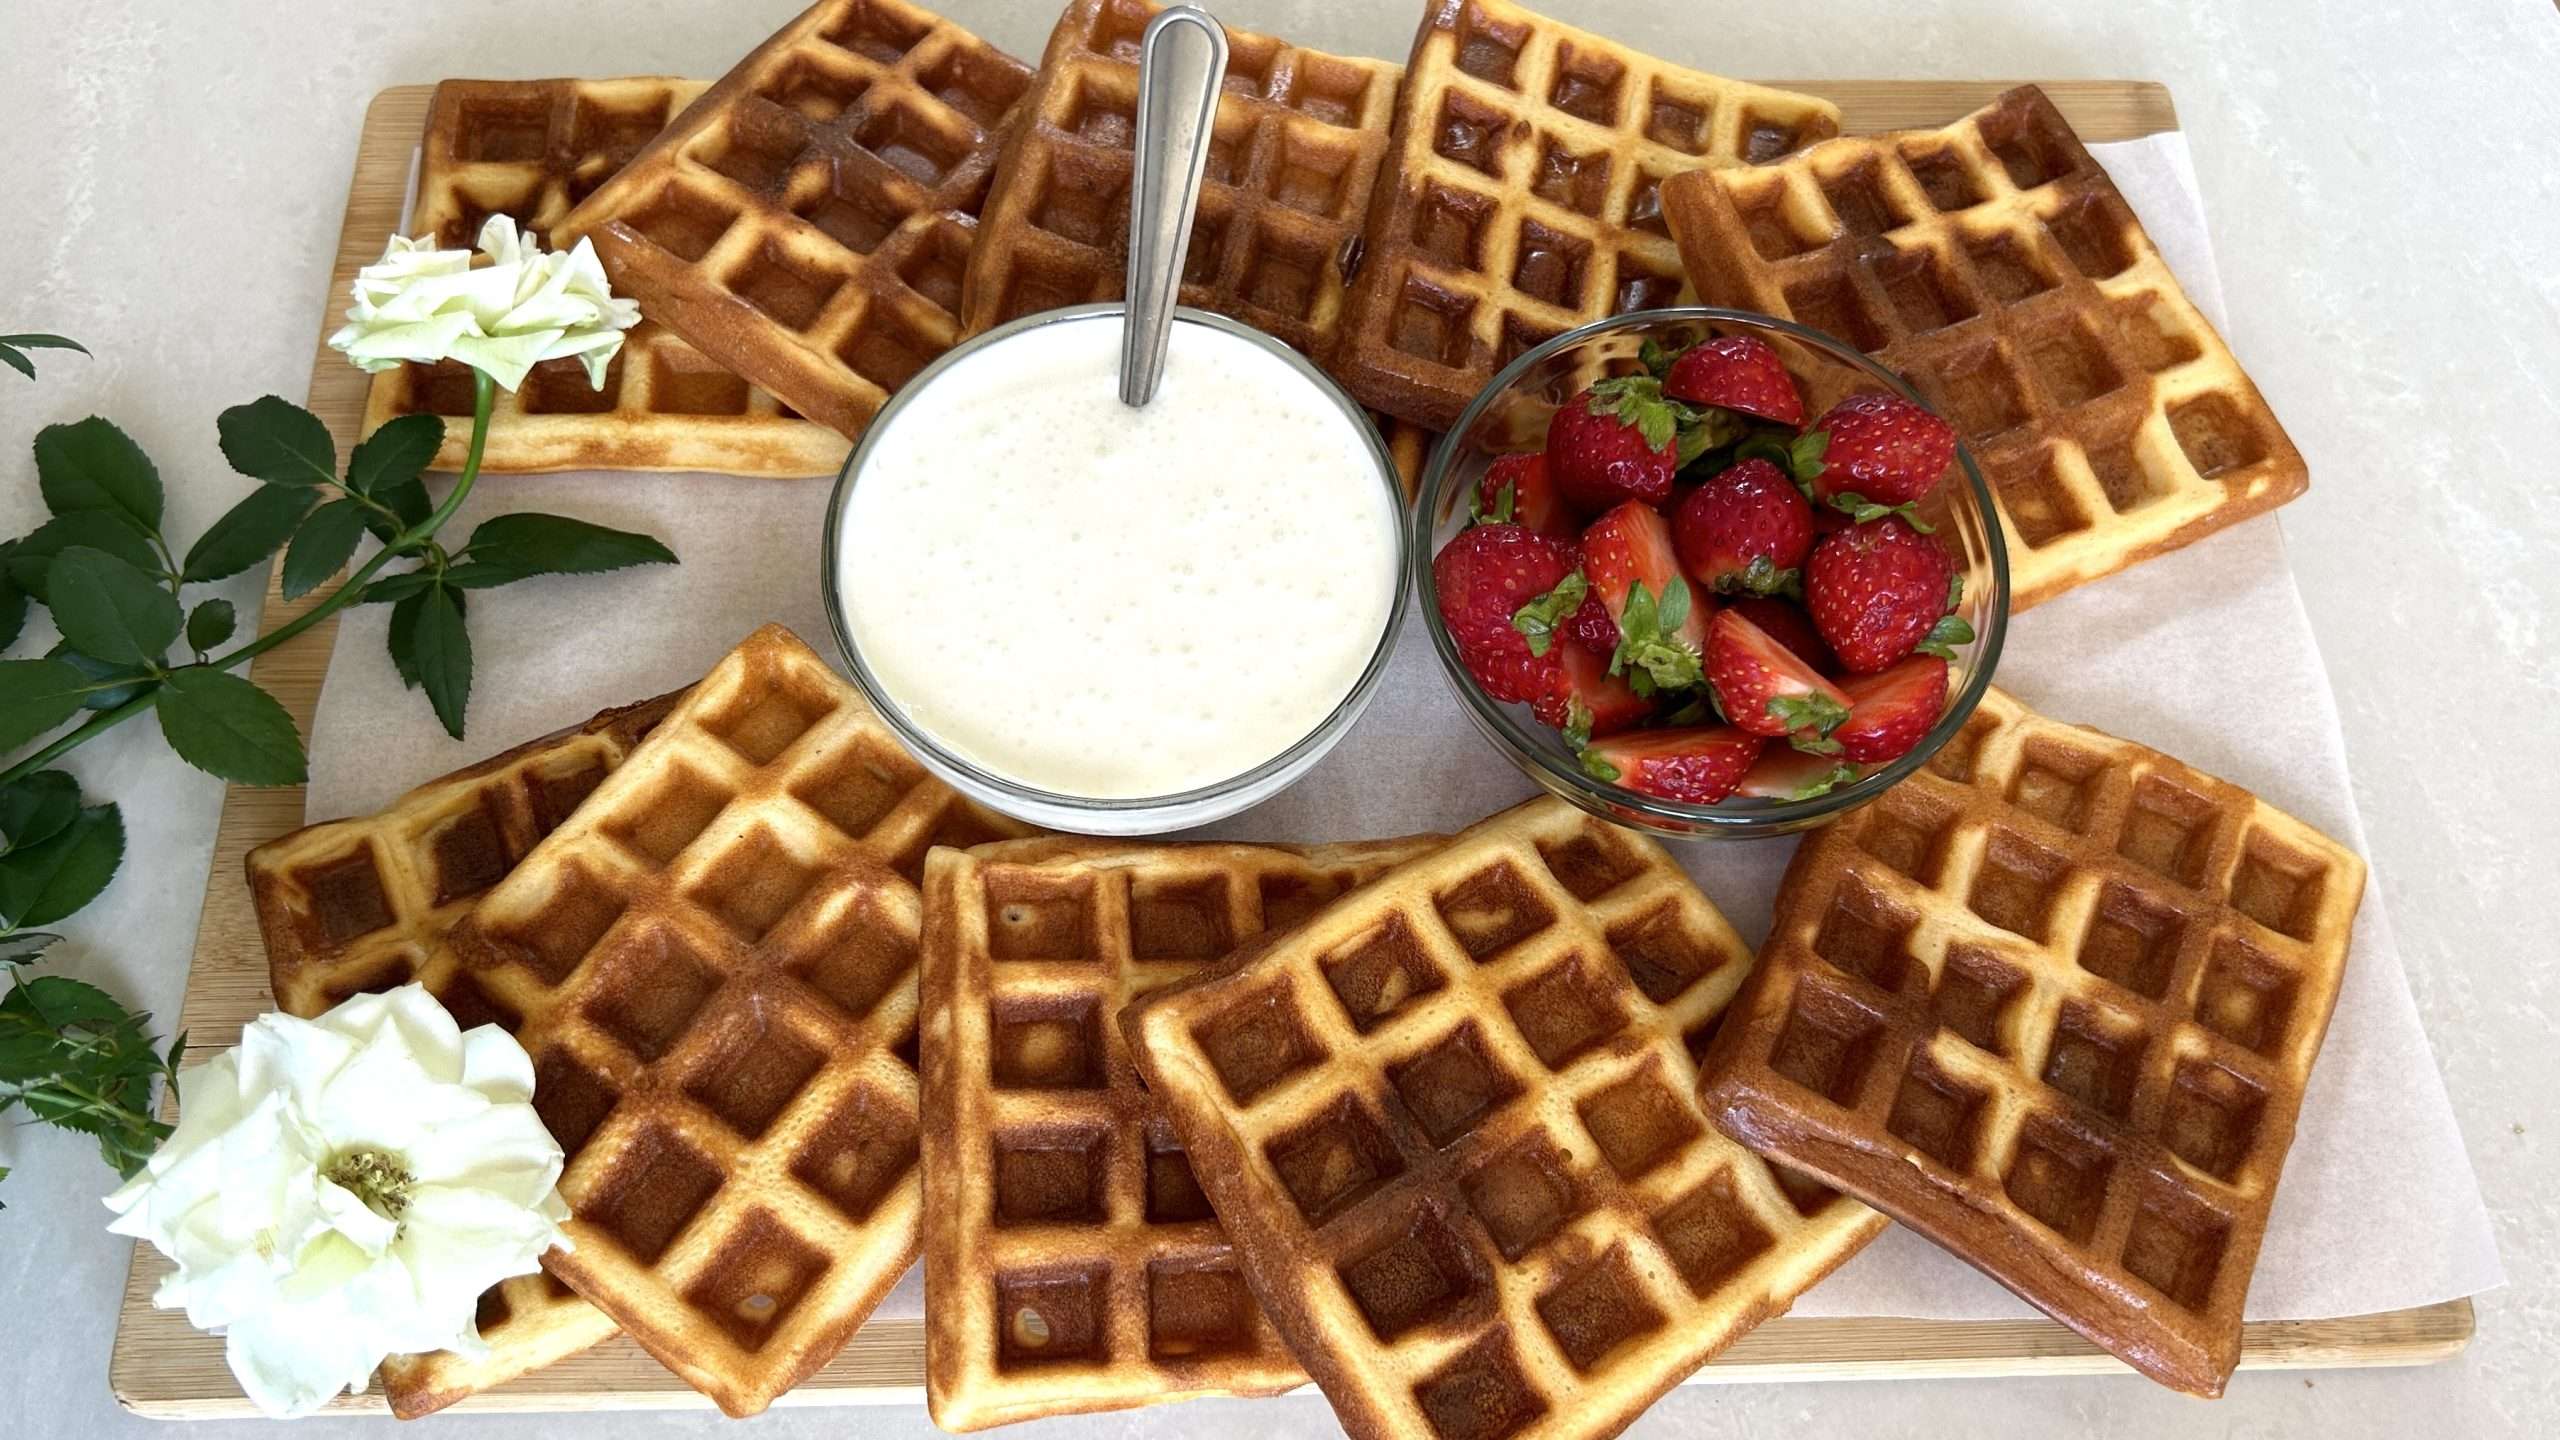
  9. Serve the waffles with your favorite toppings. We topped ours with a blend of cottage cheese and maple syrup and some fresh fruits like strawberries.

Prep Time and Cooking Information

  • Soaking for at least 4 hours or overnight
  • 15 minutes prep
  • 60 minutes cooking
  • 10 waffles

Nutritional Information (per waffle)

  • Energy: 150 calories
  • Protein: 7.8 g
  • Fat: 6.26 g
  • Carbohydrates: 16.48 g
  • Fiber: 2 g

Storage

  • Store leftover waffles in an airtight container in the fridge for up to 5 days.
  • They can be kept in the freezer for up to 3 months and reheated directly from frozen.
  • To reheat, use a toaster or oven to get them crispy again.

Notes

  • These waffles are a fantastic way to incorporate more plant-based protein and fiber into your diet while avoiding refined flours. They’re perfect for anyone seeking to maintain steady energy levels, improve digestion, or simply enjoy a delicious and nutritious breakfast option.