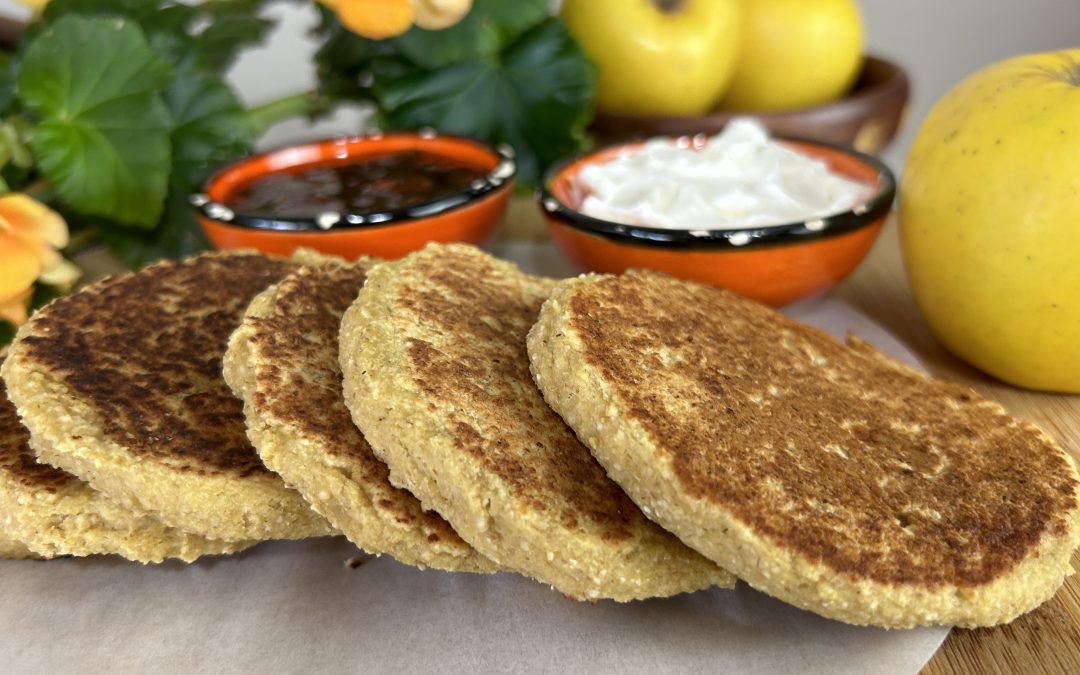
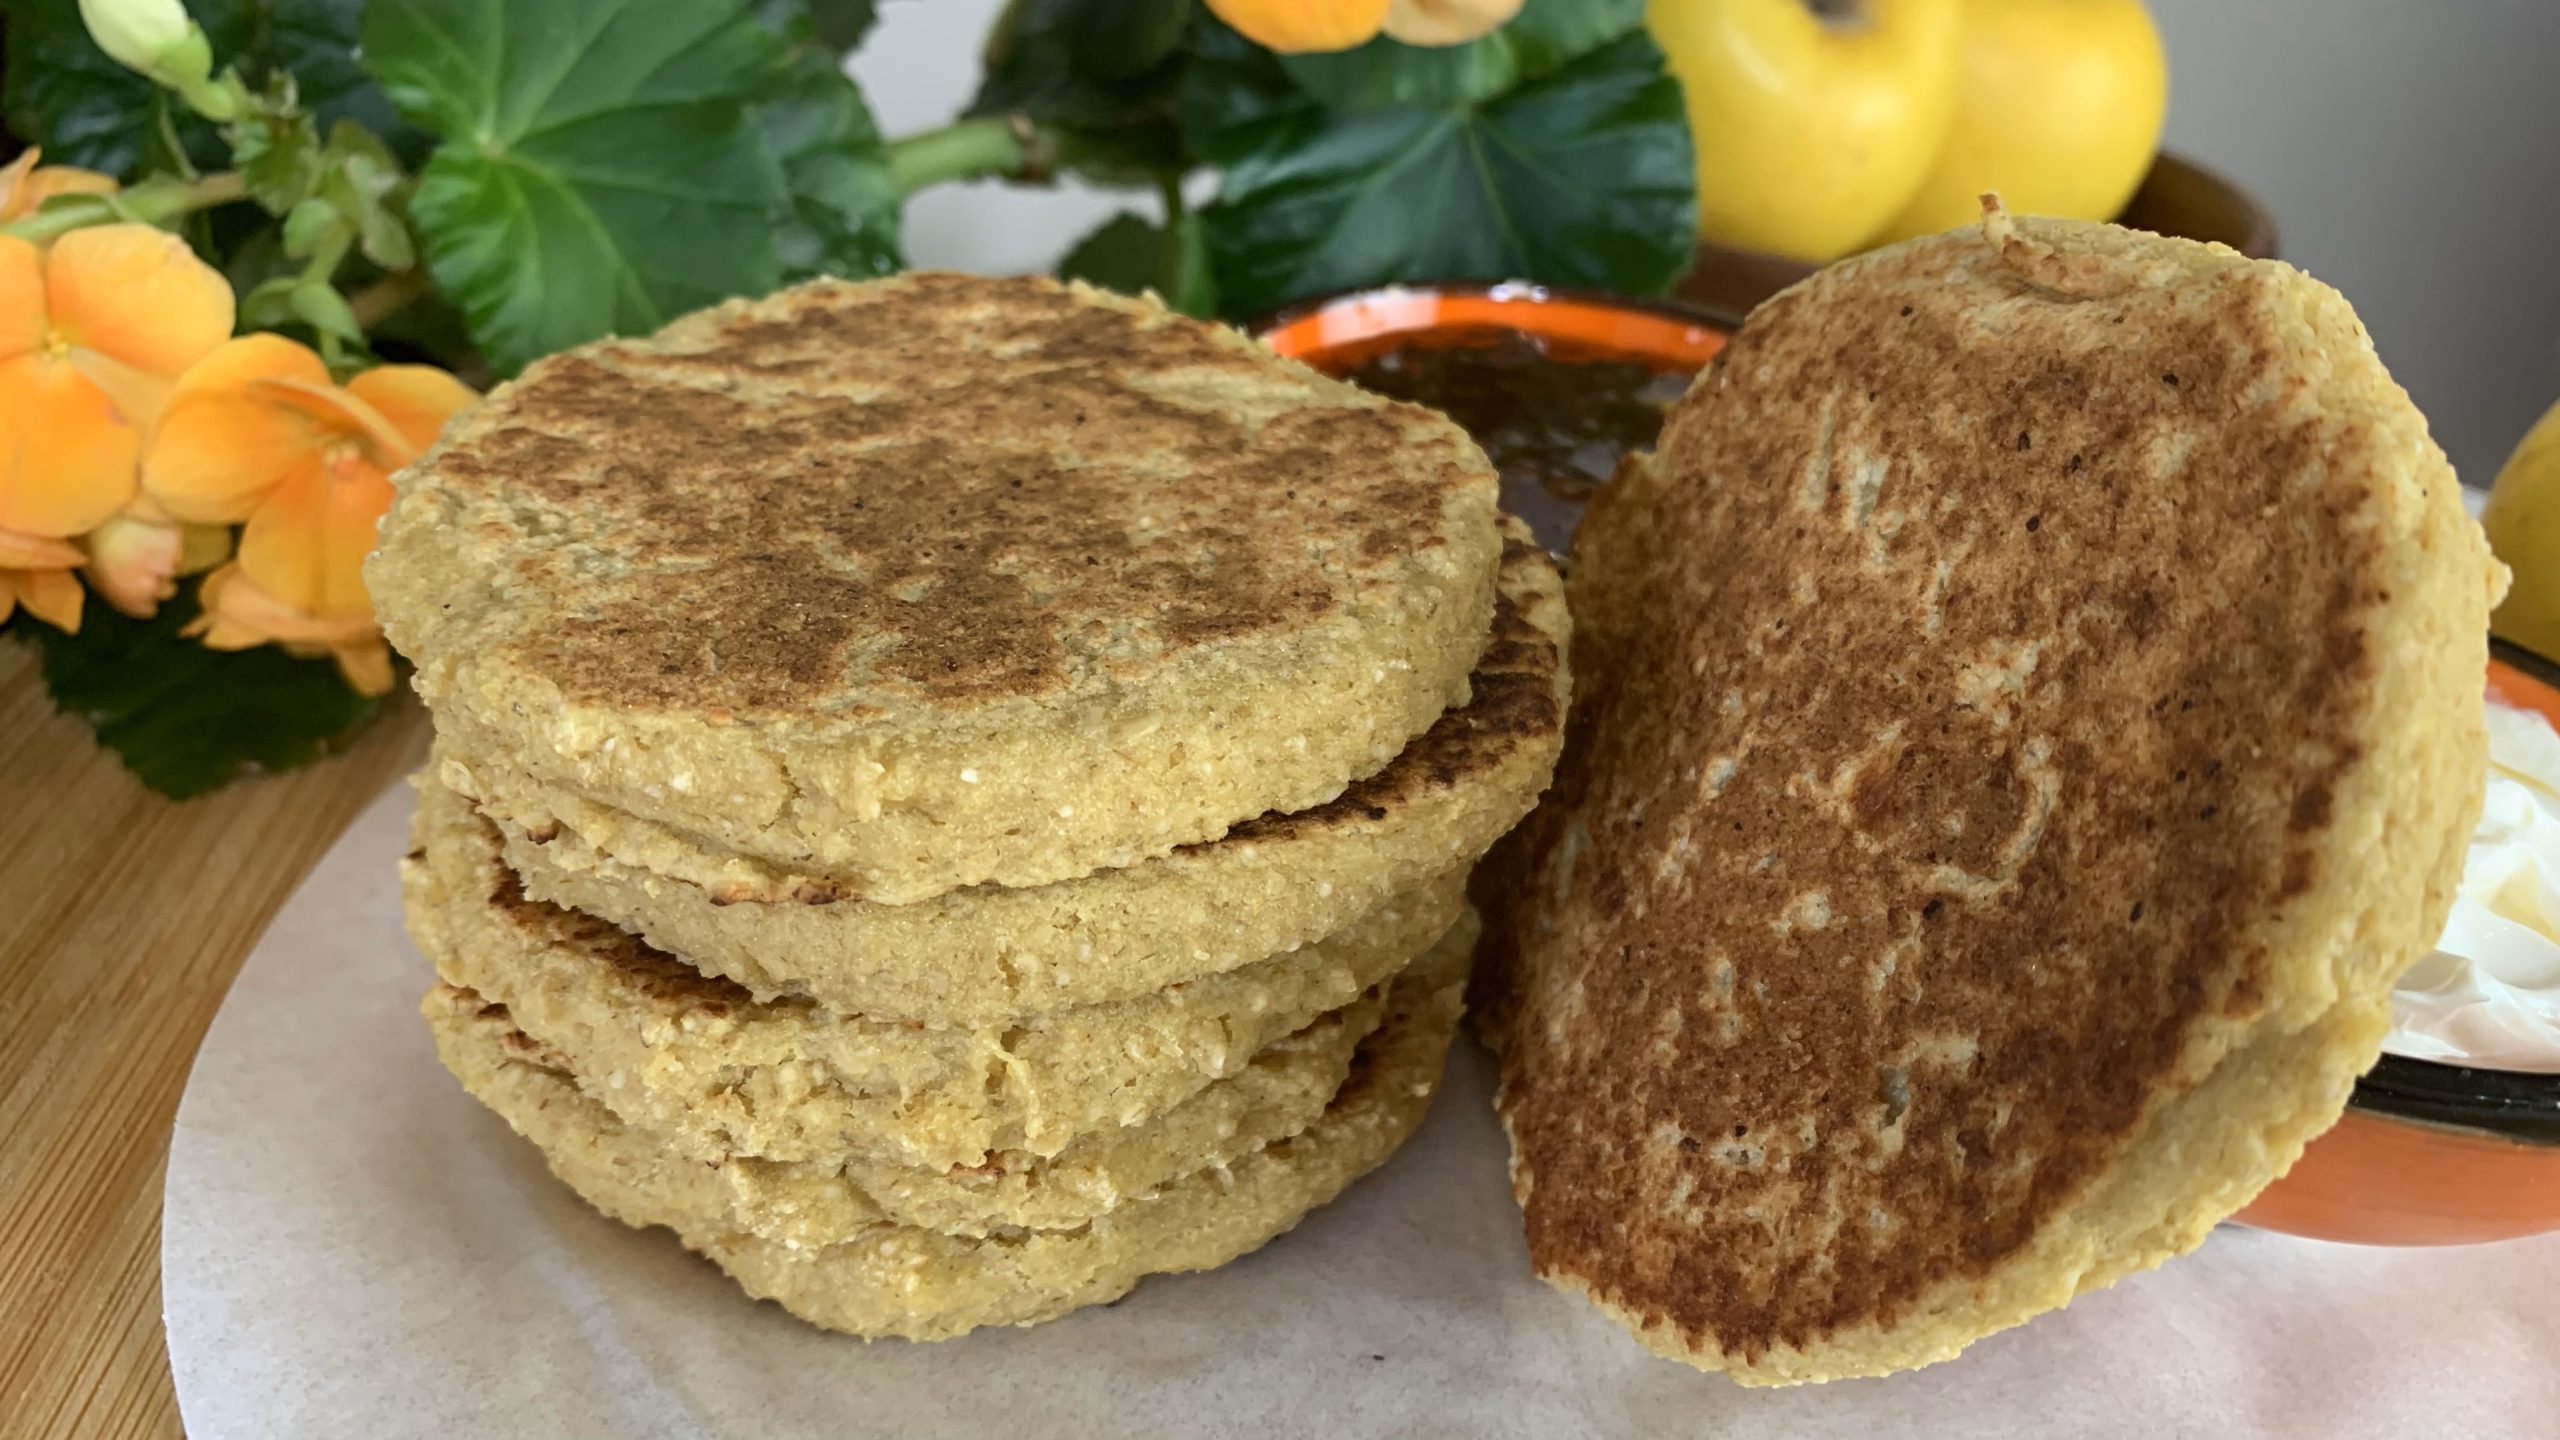
Apple Oat Pancakes
Apple Oat Pancakes

Start your day with a burst of wholesome flavor and nutrition with these apple and oatmeal pancakes. Packed with fiber, vitamins, and minerals, these pancakes are the perfect guilt-free breakfast option. They are simple to make and will leave you feeling satisfied and energized throughout the morning.
Oats are the star ingredient in this recipe, and they bring a wealth of nutritional benefits. Rich in dietary fiber, particularly beta-glucan, oats help promote heart health by reducing cholesterol levels.
They also provide a slow-releasing source of energy, keeping you full and focused throughout the day. Oats are a great addition to your regular diet, offering essential vitamins, minerals, and antioxidants that support overall health and well-being.
Incorporating oats into your breakfast routine can also aid in digestion and support weight management by keeping hunger at bay. These apple oat pancakes are not only delicious but also an excellent way to start your day on a healthy note, making them a staple in your morning menu.
Ingredients
- 1 cup (90 g) rolled oats
- 2 apples (275 g, cleaned and cut into chunks)
- 1 tsp baking powder
Directions
- Begin by blending the rolled oats into a fine flour texture.
- Clean and cut the apples into chunks, then use a hand blender or food processor to reduce them to a smooth purée.
- Gradually add the oat flour and baking powder to the apple purée, mixing well to combine.
- Add the remaining oat flour and mix again, being careful not to overmix the batter.
- Spoon equal amounts of the pancake batter onto a hot nonstick pan, then use a spatula to spread the mixture and shape it into pancake forms.
- Cook the pancakes over low-medium heat until the edges start to appear dry, approximately 1 to 2 minutes.
- Carefully flip the pancakes and cook for an additional 1 to 2 minutes, or until golden brown and cooked to your liking.
- Repeat the process with the remaining batter until all the pancakes are cooked.
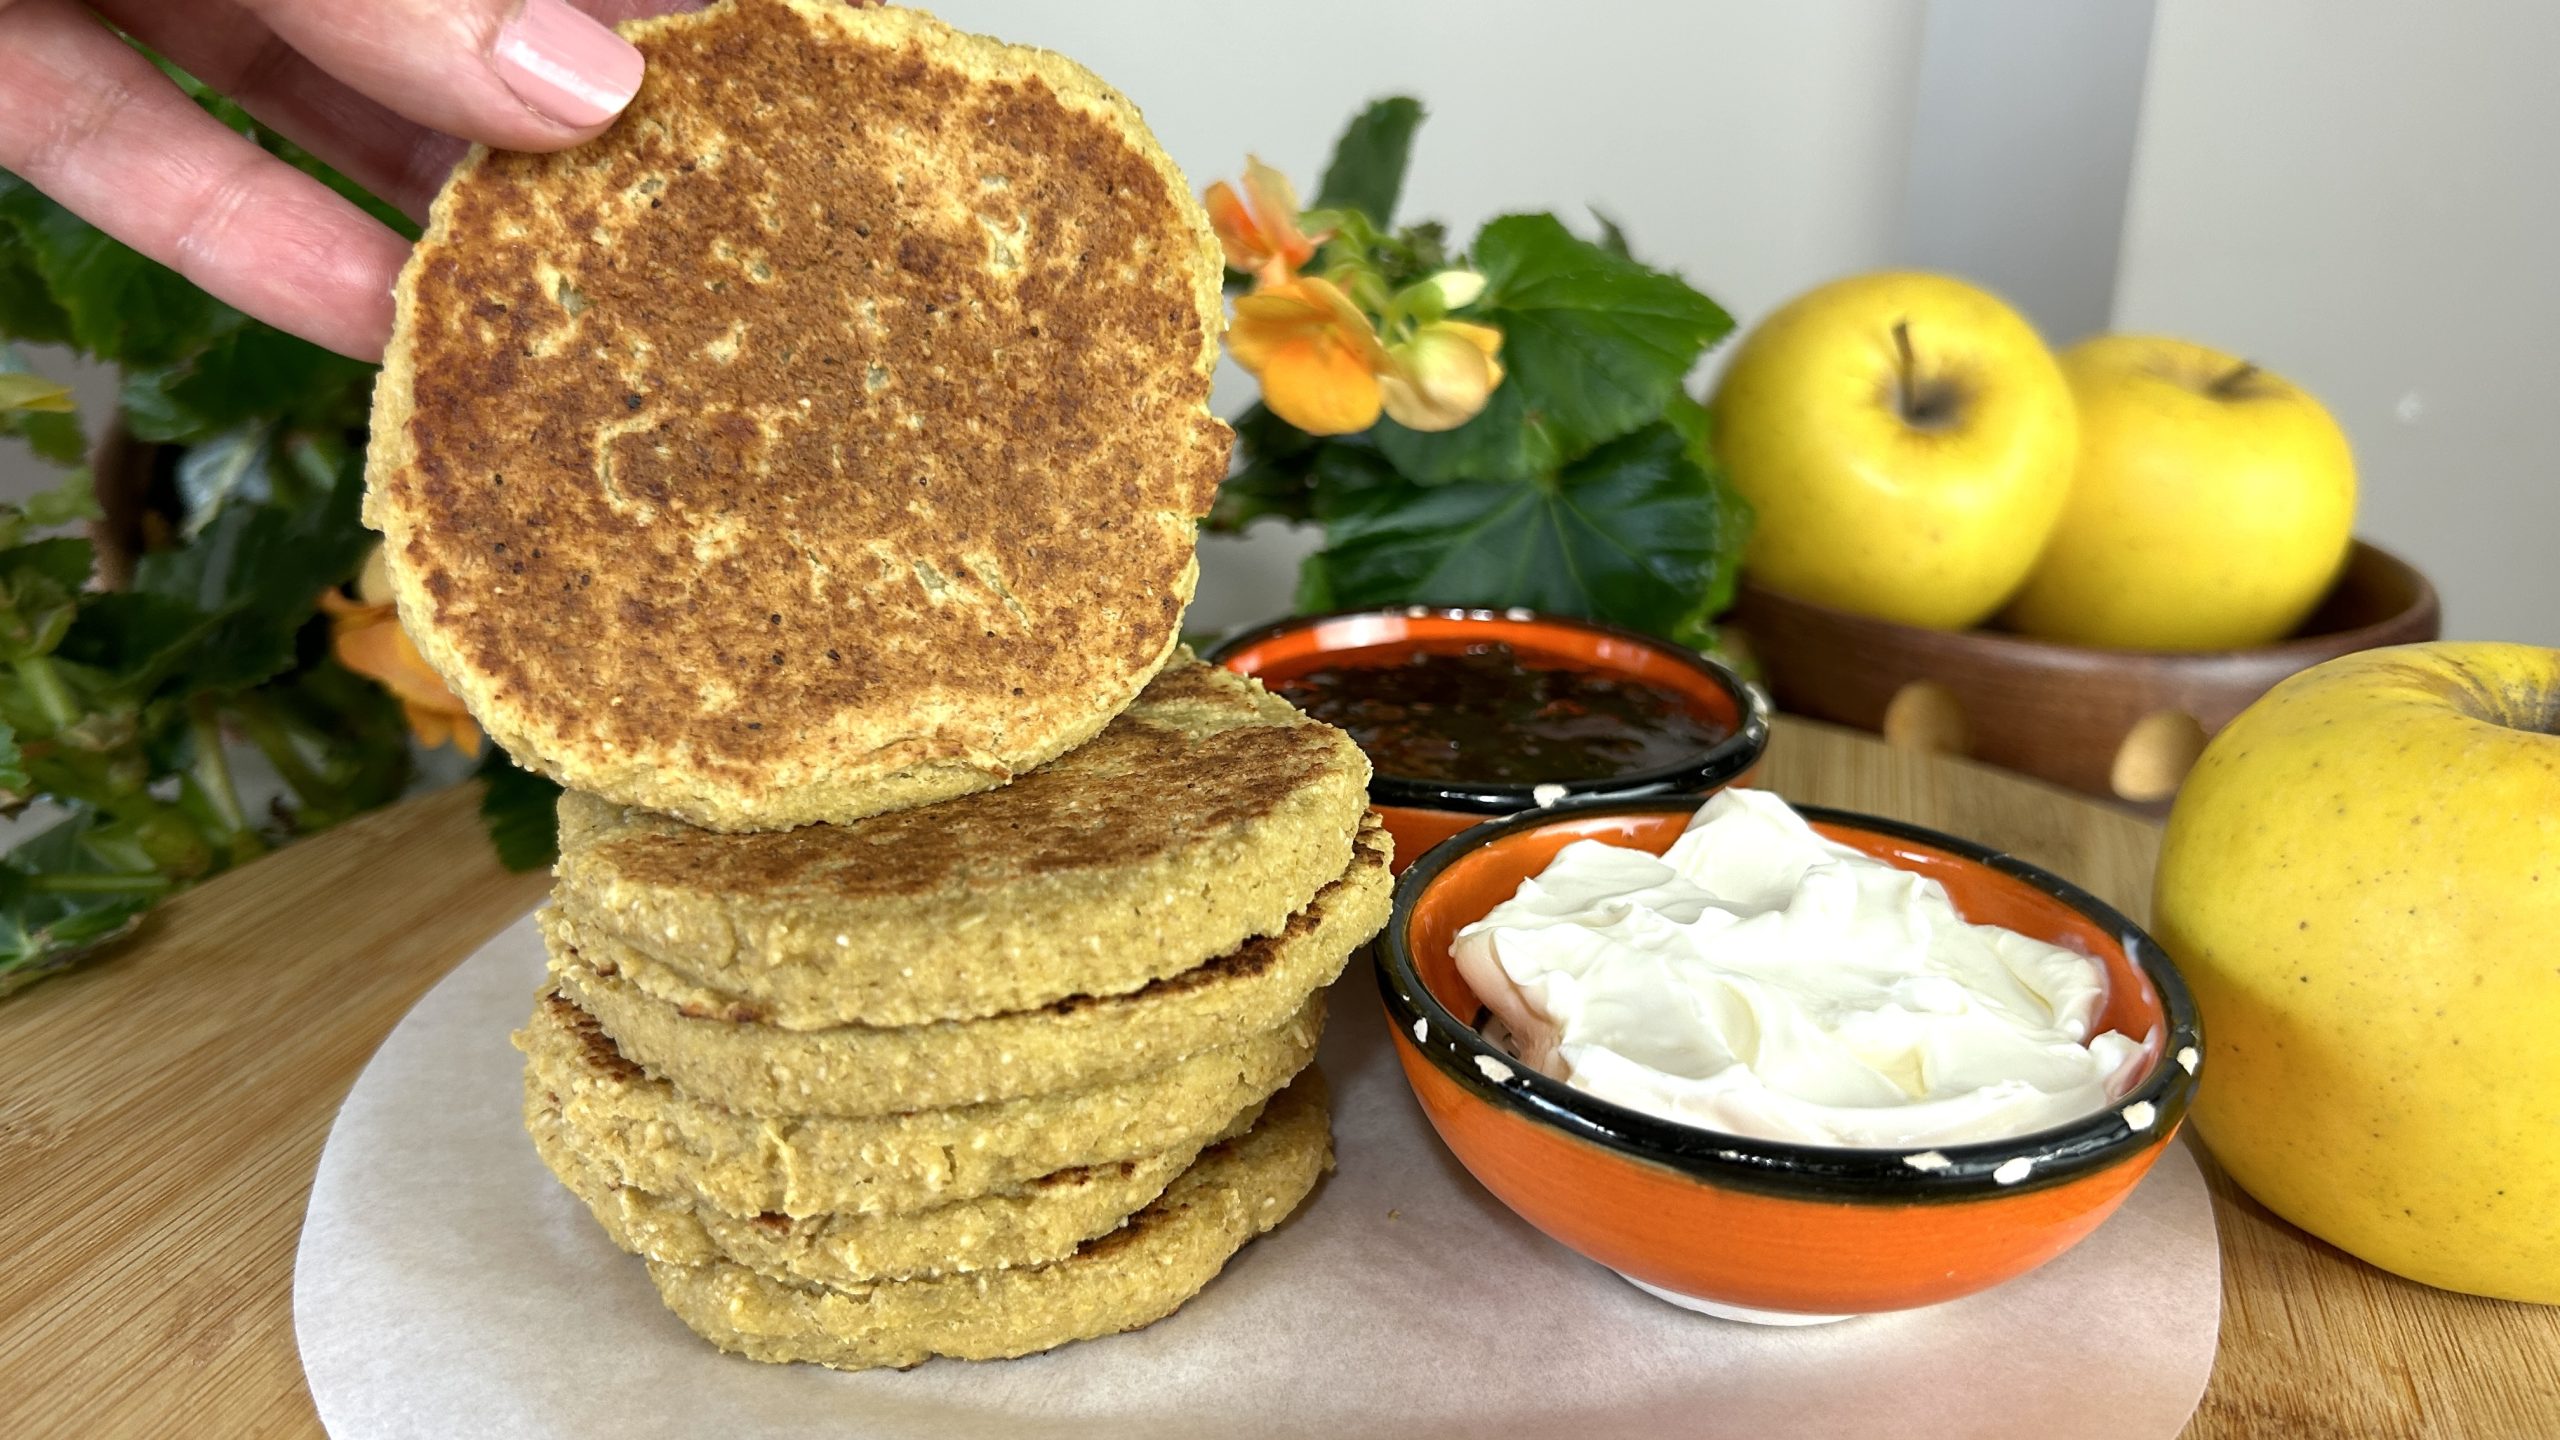
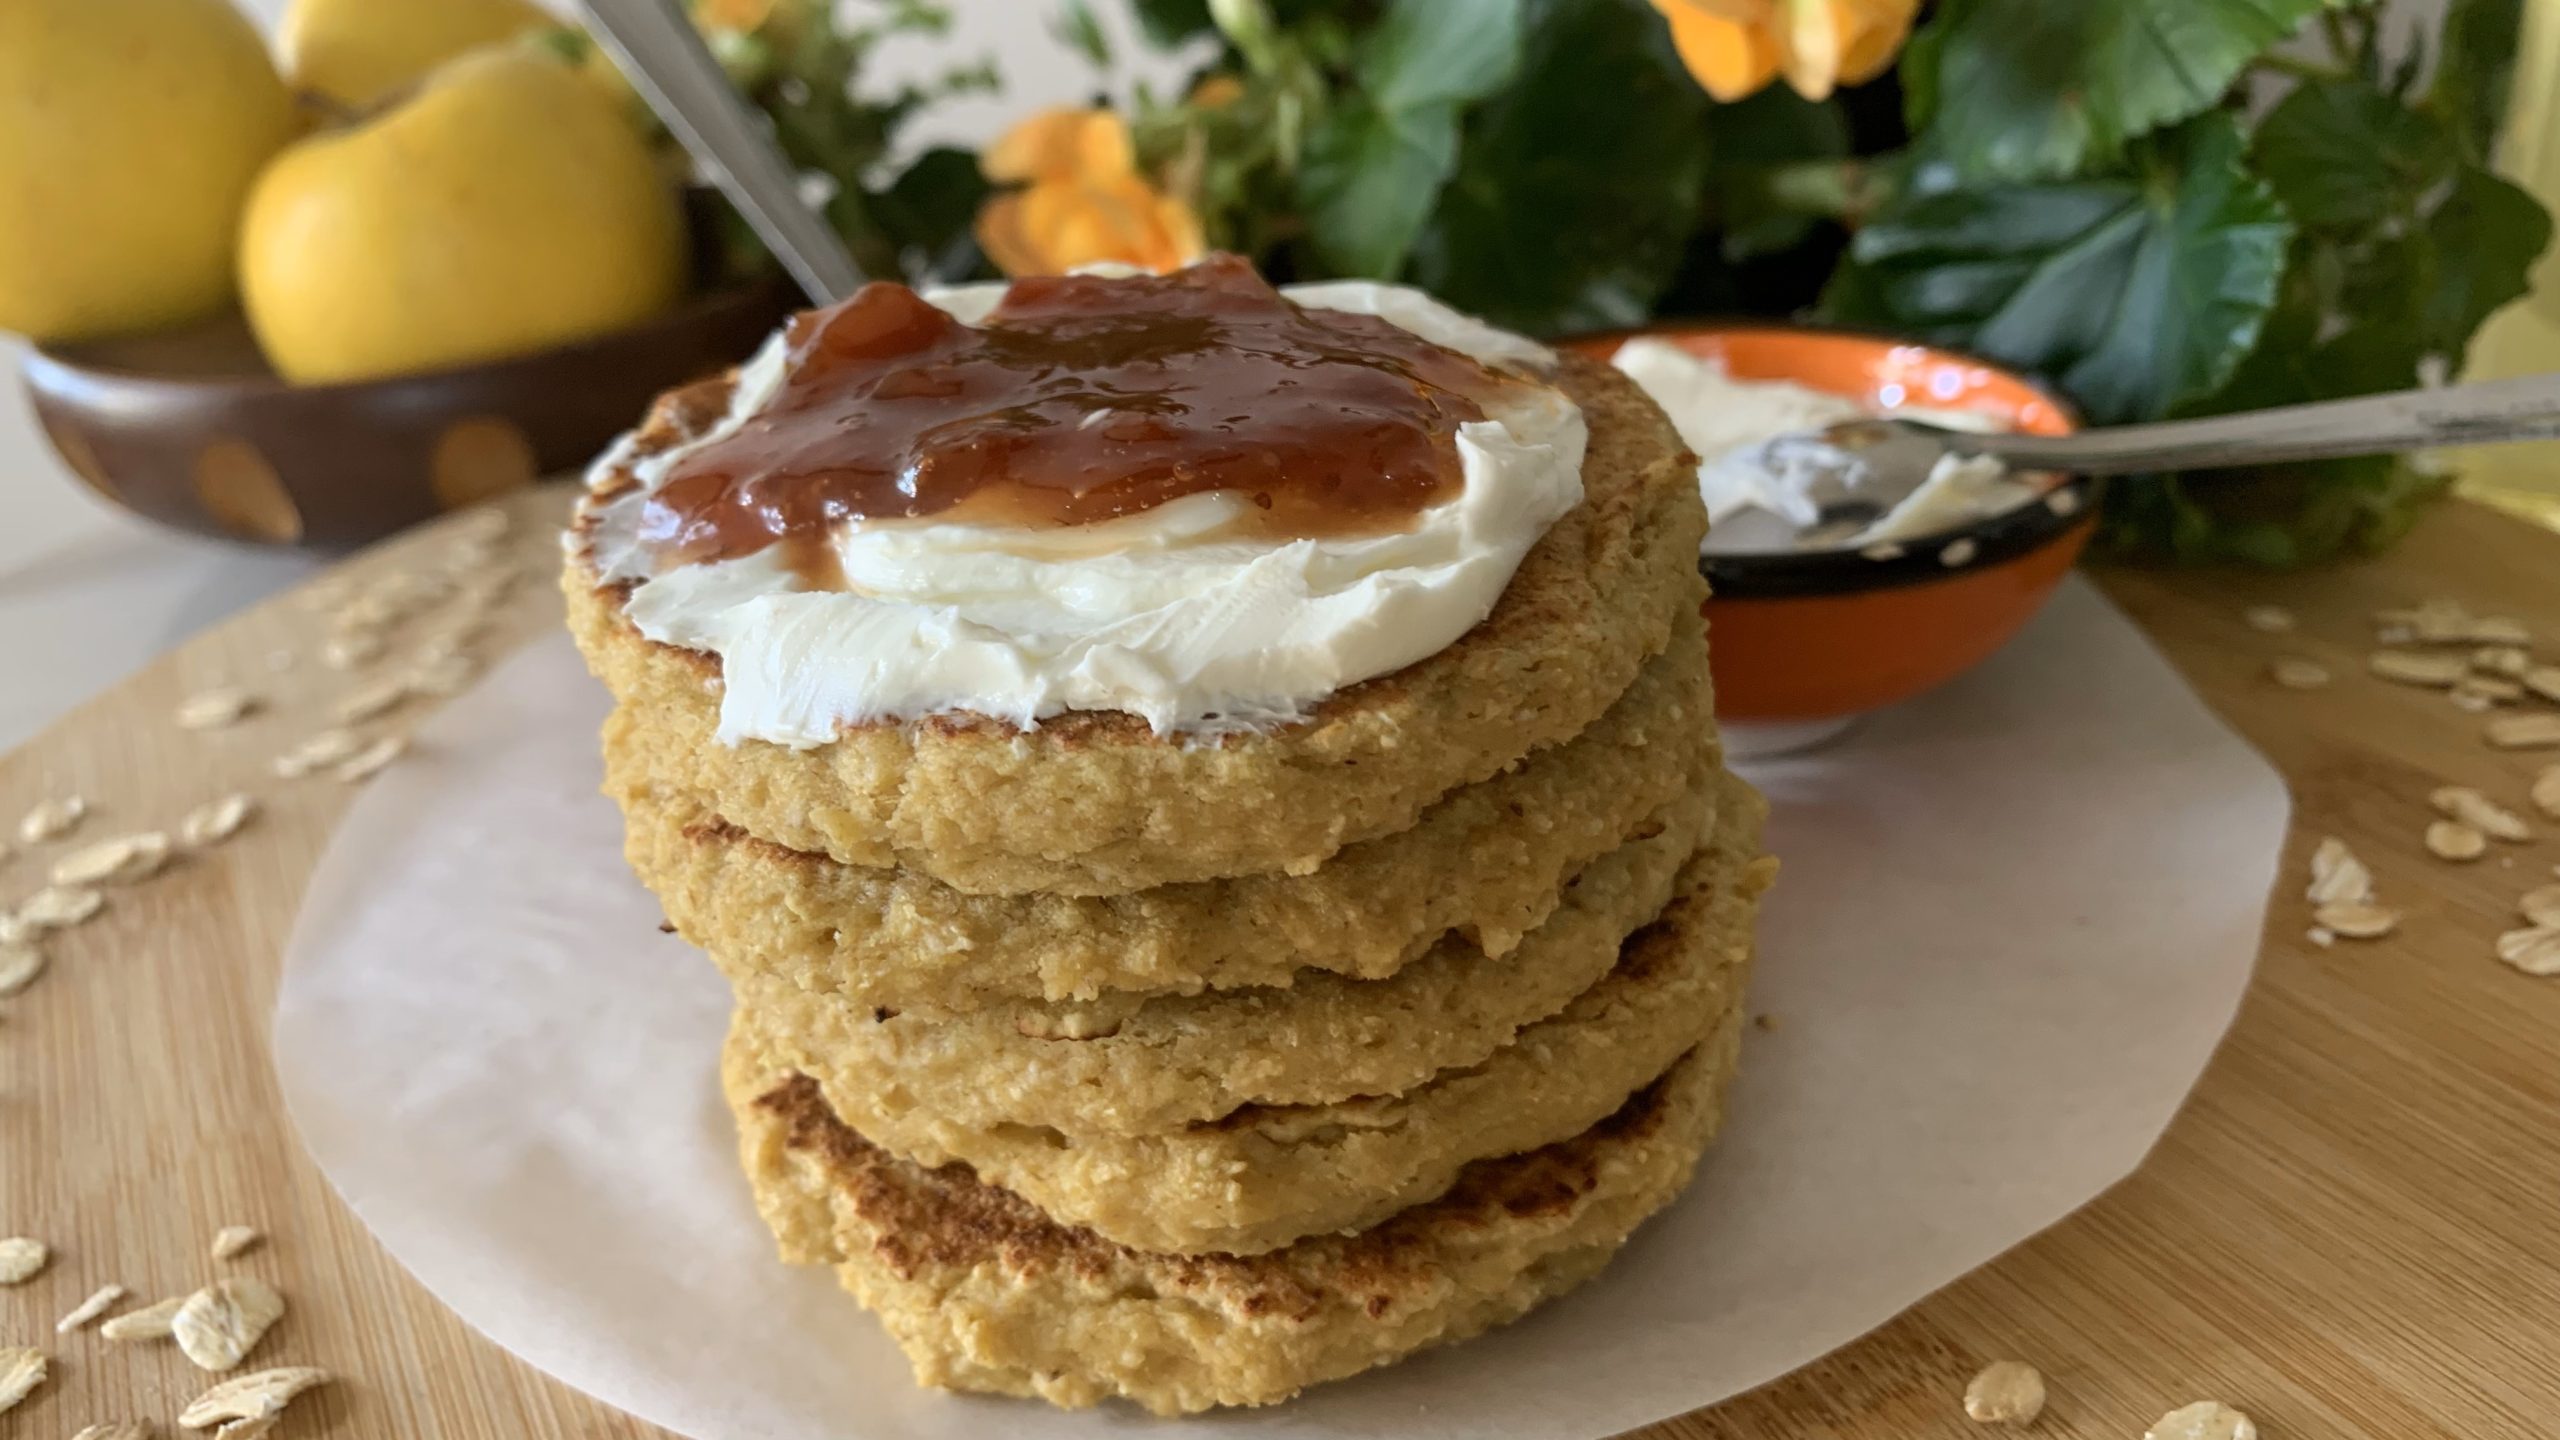
- Serve with your favorite toppings.
Prep Time:20 minutes
Cooking Time:35 minutes Pan Cooking
Servings: 6 Pancakes
Nutrition (Per 1 Serving)
- Energy: 71 calories
- Protein: 2.6 g
- Fat: 1.08 g
- Carbohydrates: 13.39 g
- Fiber: 2.2 g
- Vegan, Gluten-Free
Notes
- Store leftover apple pancakes in the fridge for up to a week. They can also be frozen for up to 3 months.
- Serve the pancakes with your favorite toppings. Try cream cheese and your favorite jam for a delightful combination of flavors.