Dried Prunes Mousse

Dried Prunes Mousse

Dried Prunes Mousse

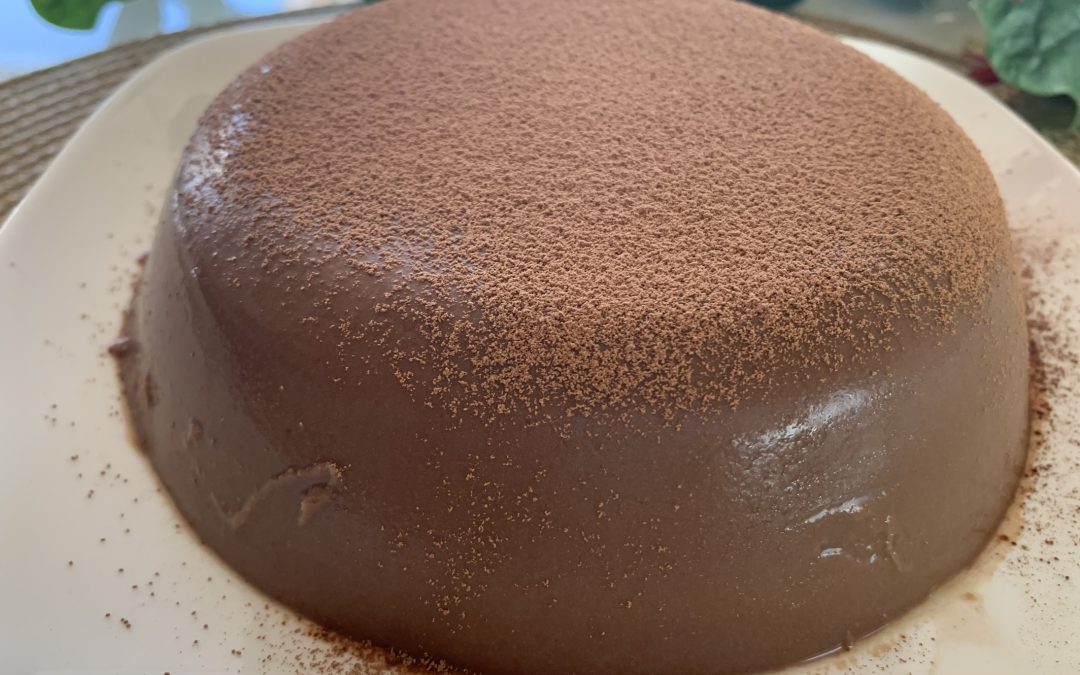
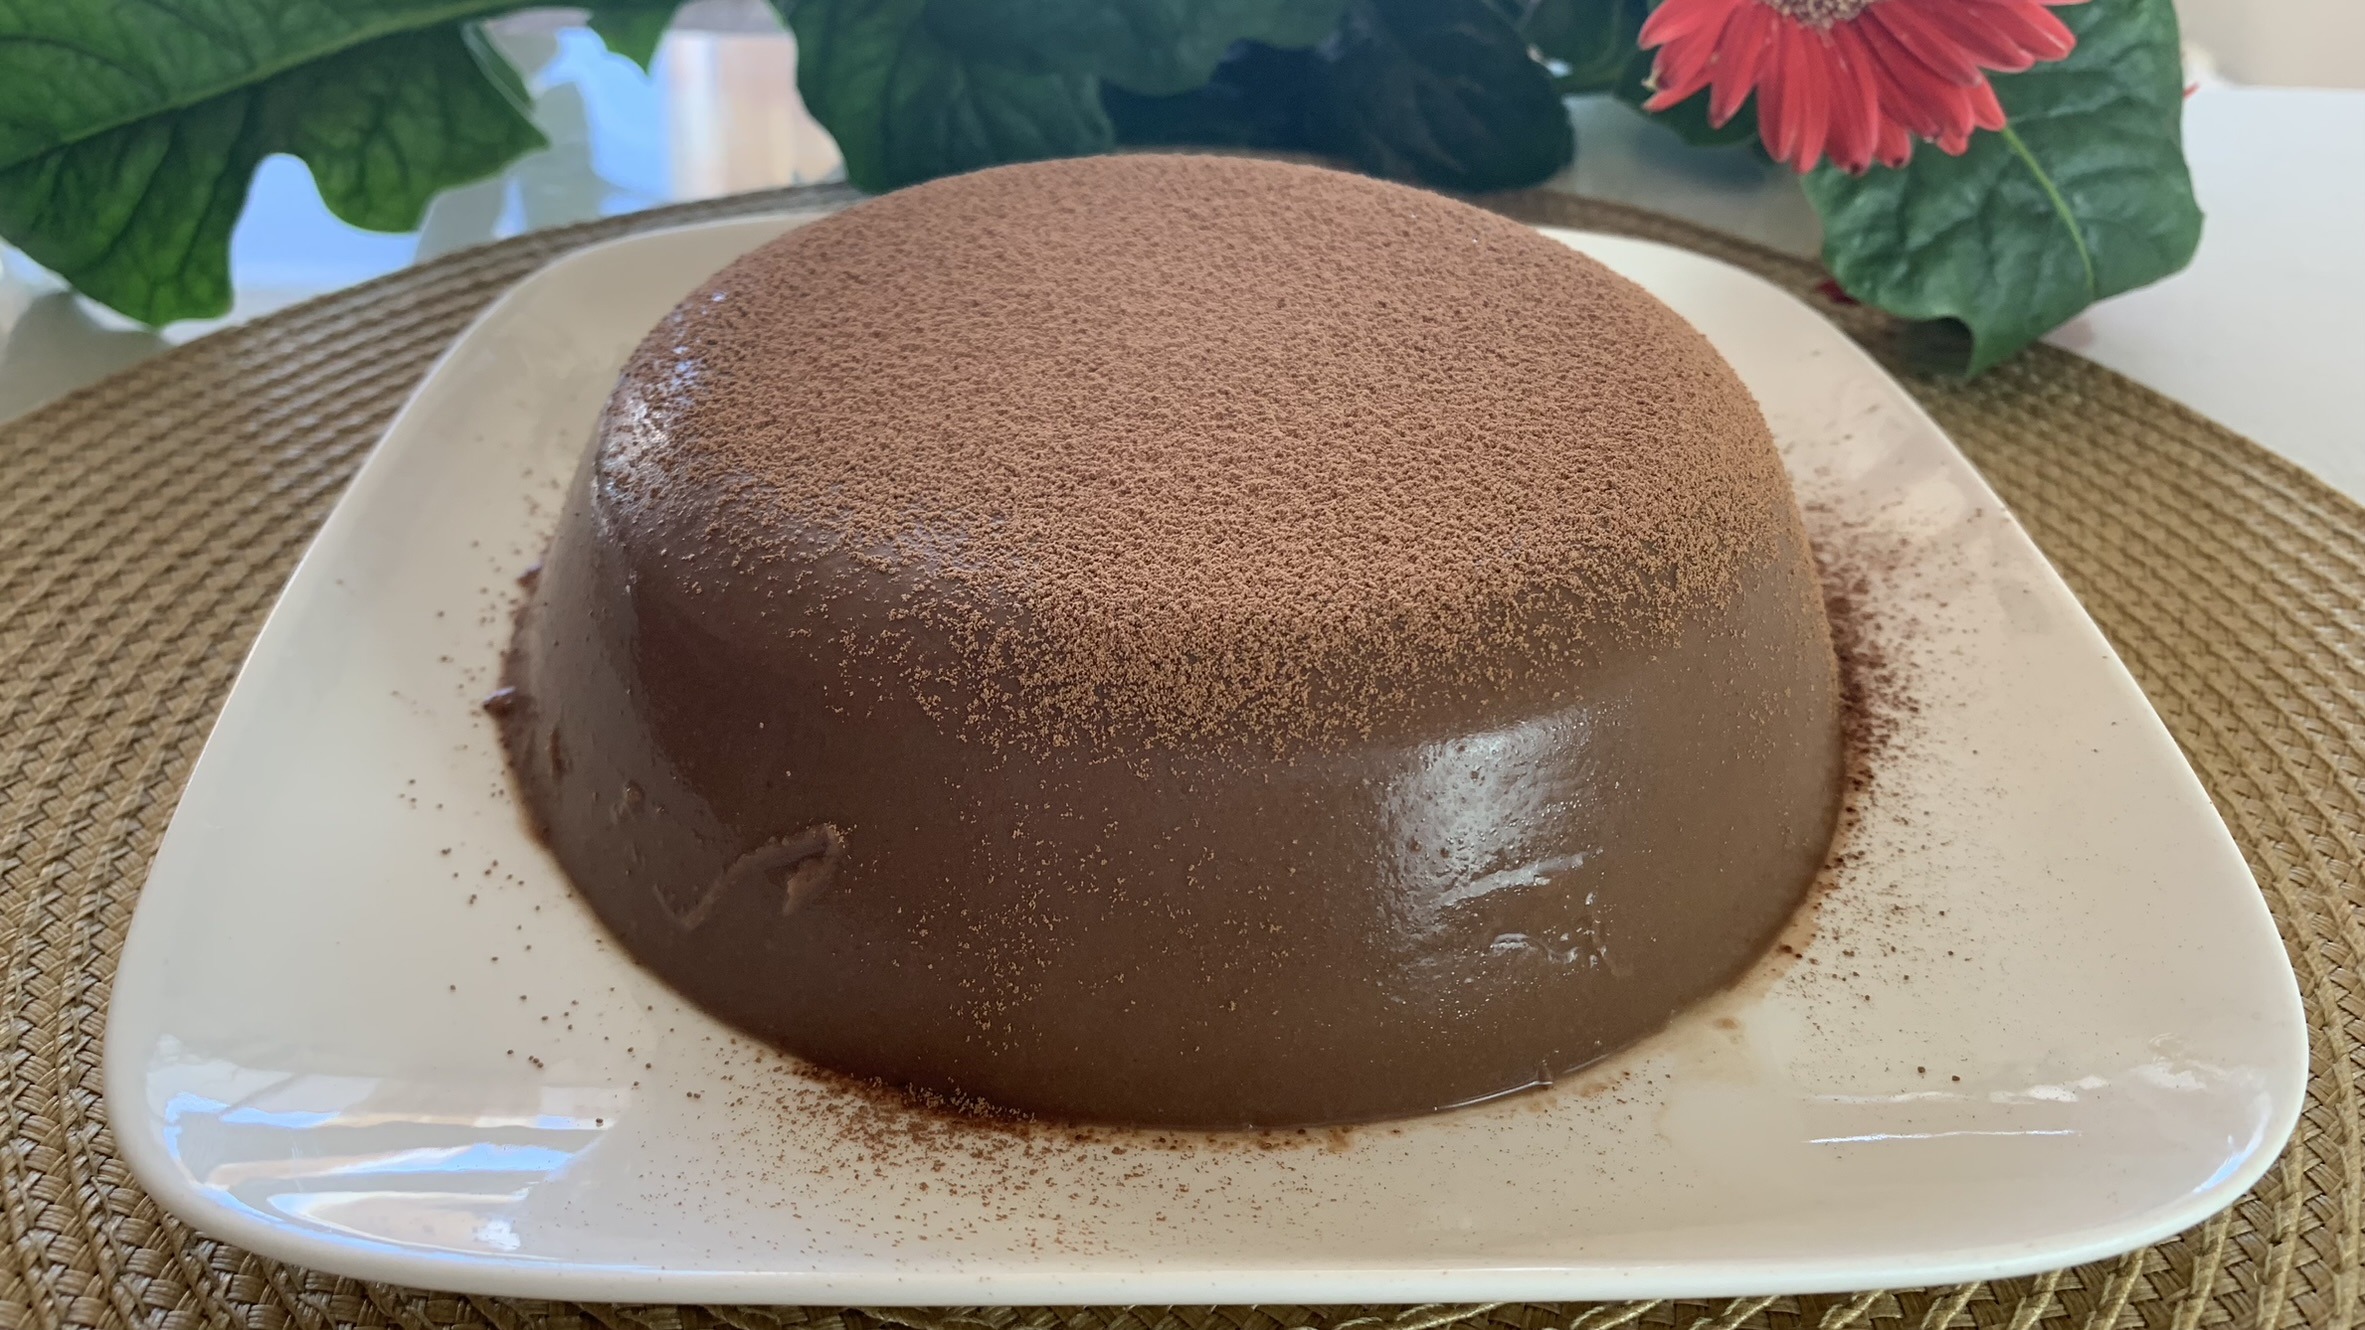
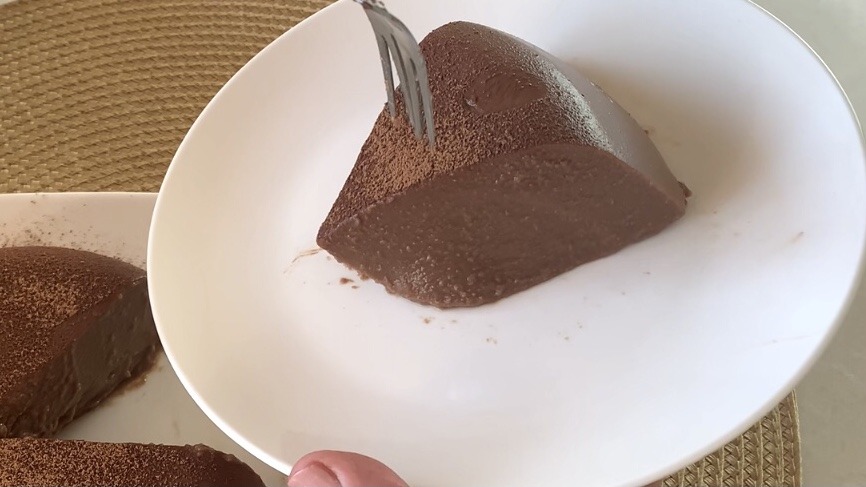
Indulge in one of the easiest and tastiest 2-ingredient recipes with this creamy dried prune mousse. Made with pitted dried prunes or plums and hot milk (or cream for a richer version), this dessert offers a wonderful mousse-like texture that is naturally sweet and amazingly delicious.

Dried prunes are not only tasty but also rich in fiber, vitamins, antioxidants, and other important nutrients, making this mousse a wholesome and satisfying treat. The high fiber content in prunes aids digestion and helps regulate blood sugar levels, making it a great choice for a healthy dessert. Prunes are also known for their bone health benefits, thanks to their high vitamin K and potassium content.

Incorporating prunes into your regular diet can support heart health, improve digestion, and provide a natural source of energy. This mousse is not just a dessert, it’s a nutritious option that can be enjoyed guilt-free. Whether you’re looking for a quick snack or a post-meal treat, this dried prune mousse is sure to satisfy your cravings while providing essential nutrients.

Ingredients:

  • 180 g dried pitted prunes or plums
  • 2 cups or 400 ml hot milk
  • A handful of fresh blueberries for garnish (optional)

Directions:

  1. Pour hot milk over the pitted dried prunes in a bowl or container.
  2. Allow the prunes to sit in the hot milk for approximately 20 minutes to soften.
  3. After soaking, transfer the mixture to a blender or food processor.
  4. Blend the mixture until you achieve a smooth and creamy purée consistency.
  5. Carefully pour the prune purée into ramekins or serving dishes of your choice.
  6. Allow the mousse to set in the fridge for at least 2 hours before serving.
  7. Garnish with fresh blueberries before serving, if desired.

Prep Time: 10 minutes
Chilling Time: 2 hours in the fridge
Servings: 4

Nutritional Information (Per 1 Serving):

  • Energy: 177 calories
  • Protein: 4.97 g
  • Fat: 2.51 g
  • Carbohydrates: 35.15 g
  • Fiber: 1.5 g

Storage:

Store your leftover mousse in the fridge for up to 1 week.

Notes:

  • Enjoy this creamy dried prune mousse as a delightful dessert or snack option.
No-Cook Walnut Cookies

No-Cook Walnut Cookies

No-Cook Walnut Cookies

If you’re on the hunt for a wholesome treat that’s as nutritious as it is delicious, these Walnut & Date Cookie Treats are just what you need! These no-bake cookies are the perfect example of how simple ingredients can be transformed into something truly satisfying. At the heart of this recipe are dates, nature’s candy, known for their natural sweetness and chewy texture. Dates are not only a great source of quick energy, but they also provide a healthy dose of dietary fiber, which aids digestion and helps maintain steady blood sugar levels. Unlike refined sugars, dates offer a variety of essential nutrients like potassium, magnesium, and vitamins, making them an excellent choice for those looking to indulge in something sweet without the guilt.

Paired with the rich, earthy flavor of raw walnuts, these cookies offer a delightful contrast in textures and tastes. Walnuts are a powerhouse of nutrition, loaded with omega-3 fatty acids, which are essential for brain health and reducing inflammation. They’re also packed with antioxidants and vitamins that contribute to heart health and overall well-being. Including walnuts in your diet can support cognitive function, lower bad cholesterol, and even help manage weight, thanks to their protein and fiber content that promotes satiety. By combining walnuts with dates, you’re not just creating a treat that’s delicious; you’re also fueling your body with ingredients that are beneficial for your health in numerous ways.

And let’s not forget the finishing touch: a drizzle of dark chocolate. Known for its rich flavor and health benefits, dark chocolate adds a touch of decadence to these treats without overpowering their natural goodness. Dark chocolate is rich in antioxidants, particularly flavonoids, which can improve heart health by reducing blood pressure and improving blood flow. It’s also a mood booster, thanks to its ability to increase serotonin levels in the brain.

With this combination of dates, walnuts, and dark chocolate, these cookies aren’t just a snack; they’re a perfect blend of nutrition and indulgence, offering a satisfying treat that you can feel good about eating.
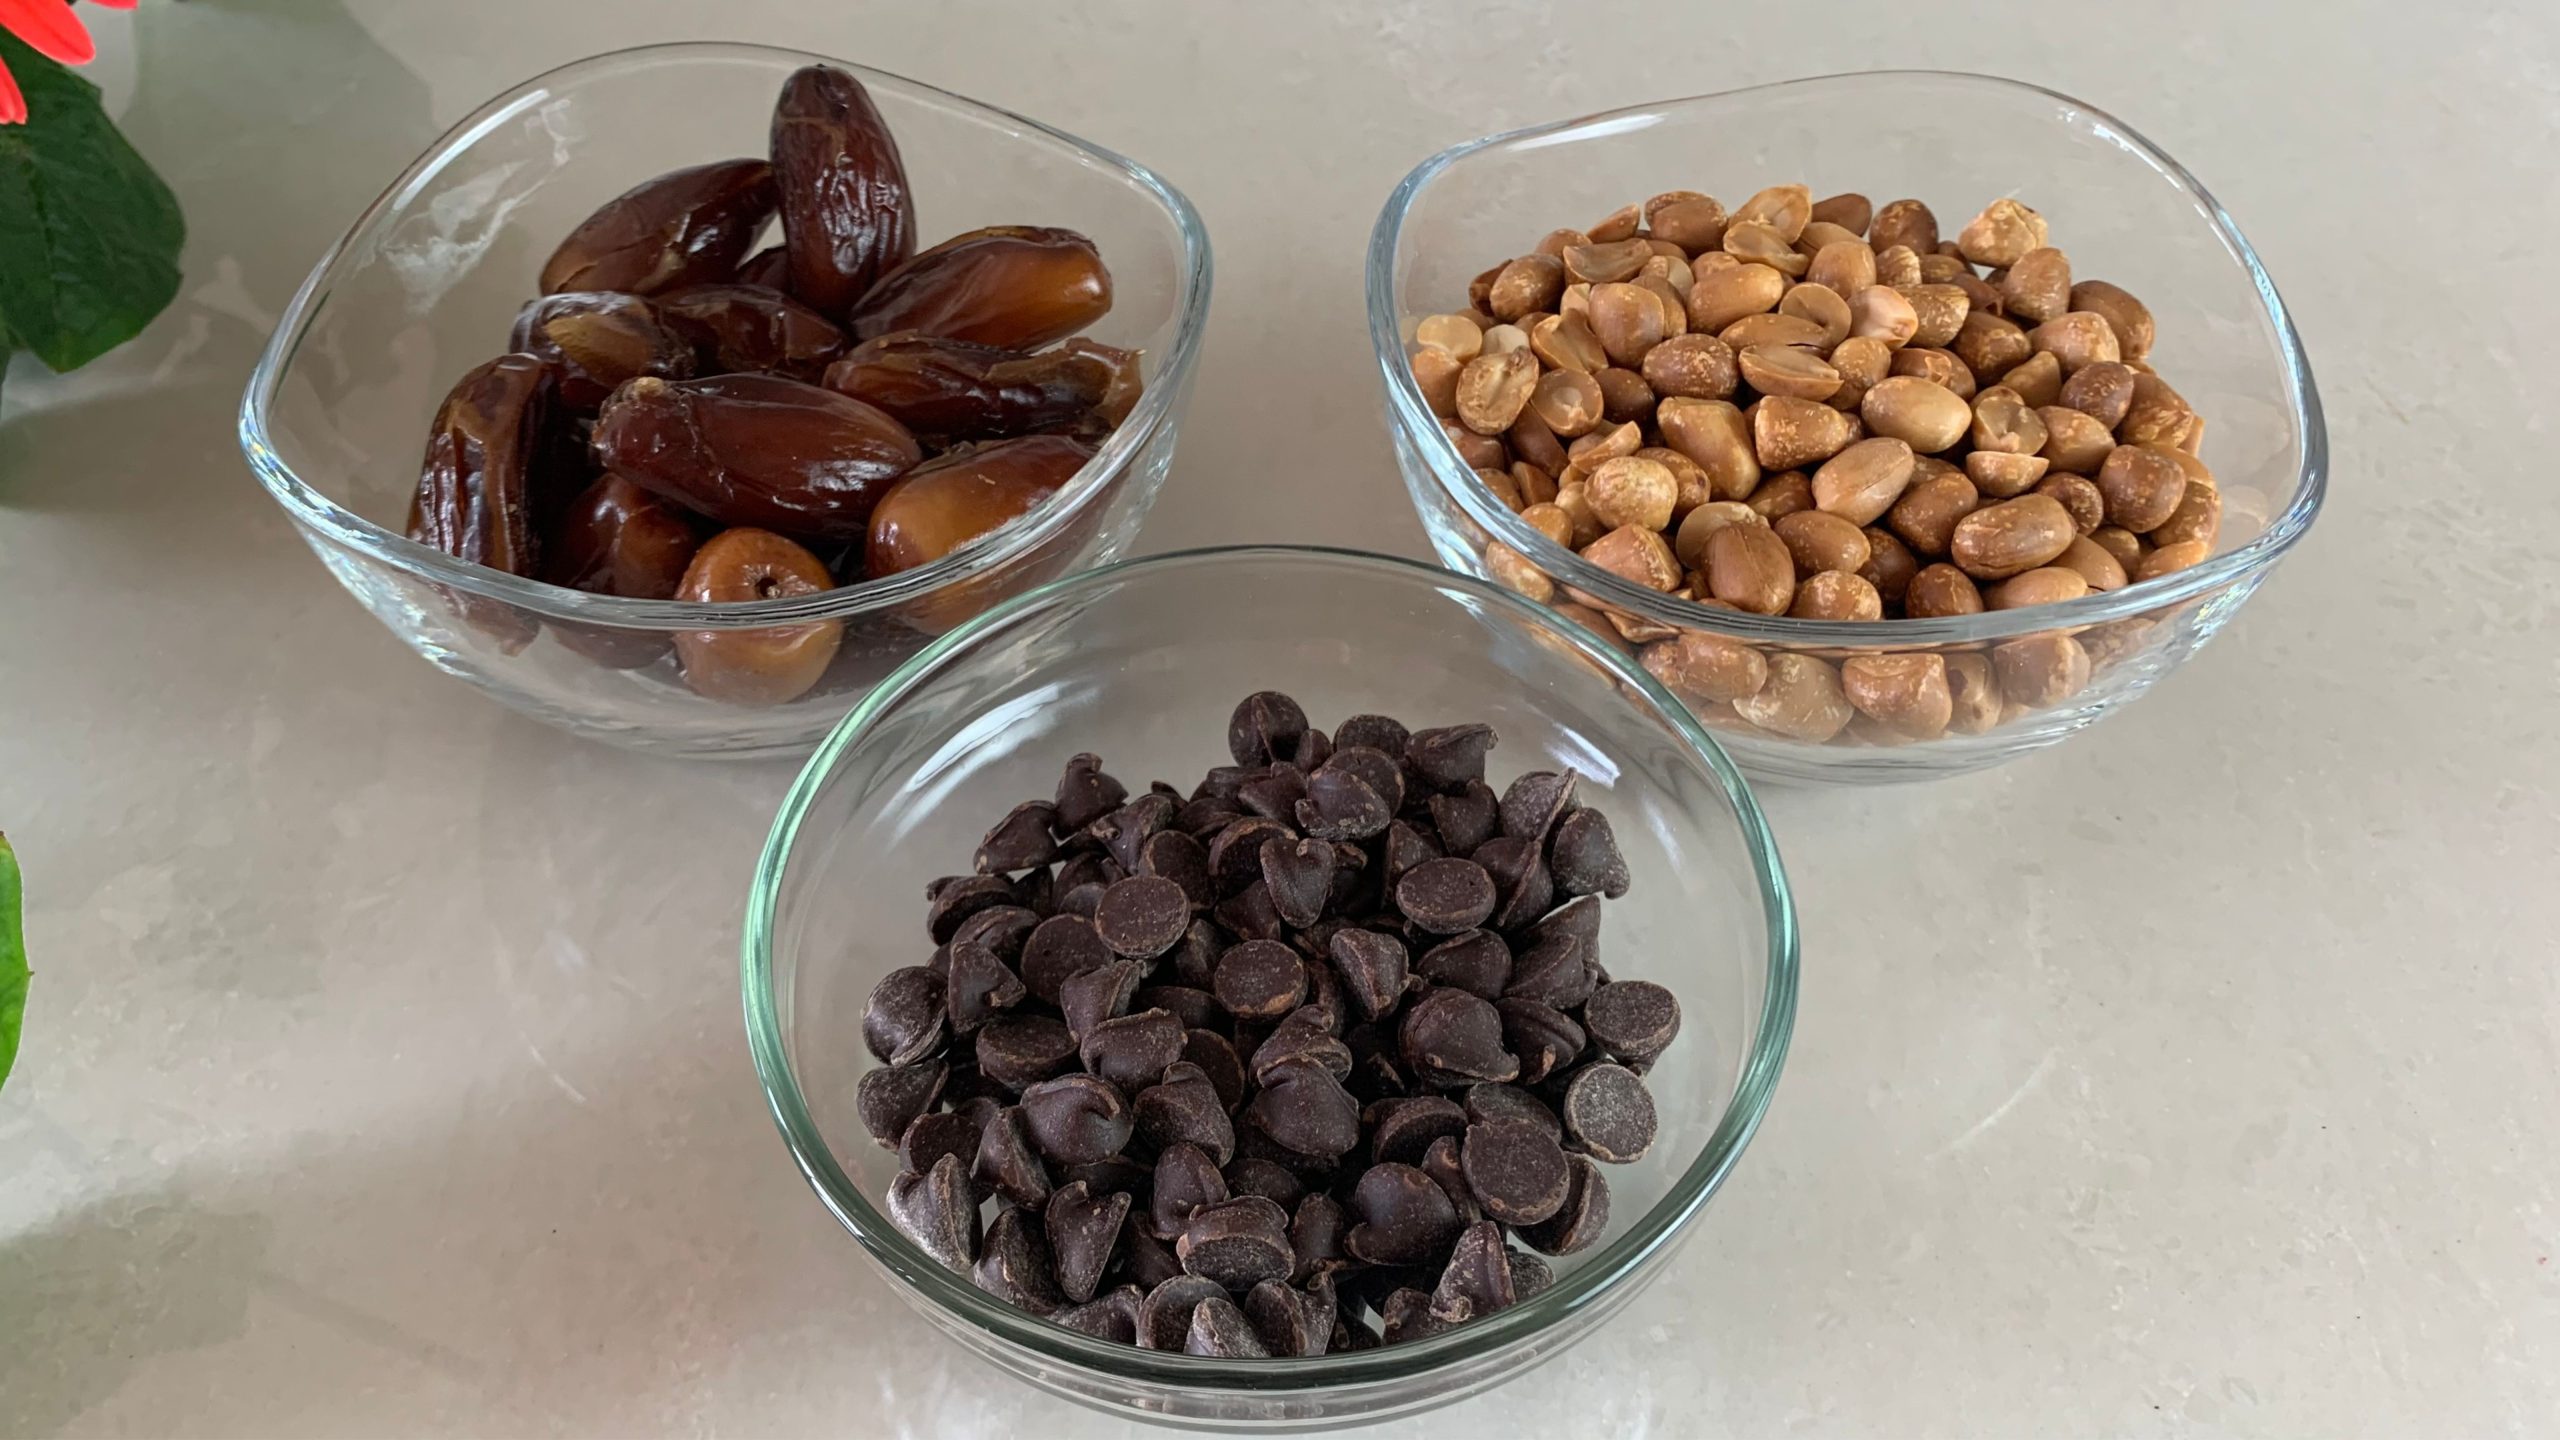
Ingredients

  • 120 g pitted dates
  • 100 g raw walnuts
  • 30 g dark chocolate
  • 25 g raw walnut halves (optional)

Directions

  1. Start by pitting the dates if they aren’t already pitted. Then, place them in a blender or food processor.
  2. Blend the pitted dates until they form a sticky, cohesive mass. This step may take a few minutes.
  3. Add the raw walnuts to the blended dates. Optionally, add your favorite spices like cinnamon or cardamom, or flavors like vanilla extract or lemon zest if desired (plain works well too).
  4. Blend the mixture once more until the walnuts are well incorporated into the date paste, resulting in a sticky dough-like mixture.
  5. Take small portions of the mixture and shape them into round cookies. To resemble traditional cookies, create a hole in the center of each one using the back of a measuring tablespoon.
  6. Carefully pour some melted dark chocolate into the holes in the center of each cookie. Place a raw walnut half on top of the melted chocolate on each cookie for extra crunch and visual appeal.
  7. Arrange the cookies on a tray and place them in the fridge for 1 hour to set.

Prep Time

  • 30 mins Prep
  • 1 hour in the Fridge

Nutritional Information (Per 1 Serving)

  • Energy: 134 calories
  • Protein: 2.43 g
  • Fat: 9.48 g
  • Carbohydrates: 12.09 g
  • Fiber: 2.1 g

Storage

  • Store your cookies in the fridge for up to 1 week in the fridge or up to 3 months in the freezer.

Notes

  • Enjoy these delightful walnut and date cookie treats as a quick, healthy, and tasty snack or dessert.
Burnt Basque Cheesecake

Burnt Basque Cheesecake

Burnt Basque Cheesecake

Indulge in the creamy, melt-in-your-mouth goodness of this lighter version of the popular burnt Basque cheesecake. This culinary masterpiece is surprisingly easy to make and delivers a taste that’s out of this world. Whether you’re serving it at a dinner party or enjoying a slice on a cozy afternoon, this cheesecake is sure to impress.

Not only is this dessert a delight for your taste buds, but it’s also a great source of protein and calcium, thanks to the cream cheese and eggs. These ingredients play a crucial role in bone health and muscle maintenance, making this cheesecake a somewhat nutritious treat when enjoyed in moderation.

The use of maple syrup as a sweetener adds a touch of natural sweetness without the refined sugars, offering a slightly healthier alternative to traditional desserts.

Ingredients

  • 300 g cream cheese
  • 3 eggs
  • ¼ cup maple syrup (or any other sweetener of your choice)
  • 2 tbsp. or 15 g cornstarch
  • Zest of one lemon

Directions

  1. Preheat your oven to 365°F (185°C) and line a baking pan with parchment paper.
  2. In a mixing bowl, combine the cream cheese kept at room temperature and eggs. Use a hand mixer to whisk vigorously until the mixture is smooth and creamy.
  3. Add maple syrup, cornstarch, and the zest of a lemon to the cream cheese mixture. Mix again until all ingredients are fully combined.
  4. Pour the creamy batter into the prepared baking pan. Bake the cheesecake in the preheated oven for 40 to 50 minutes, depending on your preferred texture.
  5. Keep an eye on it; you want the top to turn golden brown, almost burned, and the edges to set.
  6. Once done, remove the cheesecake from the oven and let it cool. It will deflate substantially, which is perfectly normal.
  7. If desired, sprinkle powdered sugar over the top for a nice finish.
  8. Carefully cut into slices, serve, and savor the creamy, tangy, and sweet flavors of your homemade Cheesecake Basque.

Prep Time

  • 20 minutes

Baking Time

  • 45 minutes

Servings

  • 4 servings

Nutritional Information (Per 1 Serving)

  • Energy: 340 calories
  • Protein: 10.05 g
  • Fat: 25.03 g
  • Carbohydrates: 19.52 g
  • Fiber: 0 g

Storage and Recommendations

Store your leftover Basque cheesecake in an airtight container in the refrigerator for up to 3 days. Garnish with fresh berries or any other healthy garnishes of your preference for an added burst of flavor and color.

Almond Oat Cookies

Almond Oat Cookies

Almond Oat Cookies

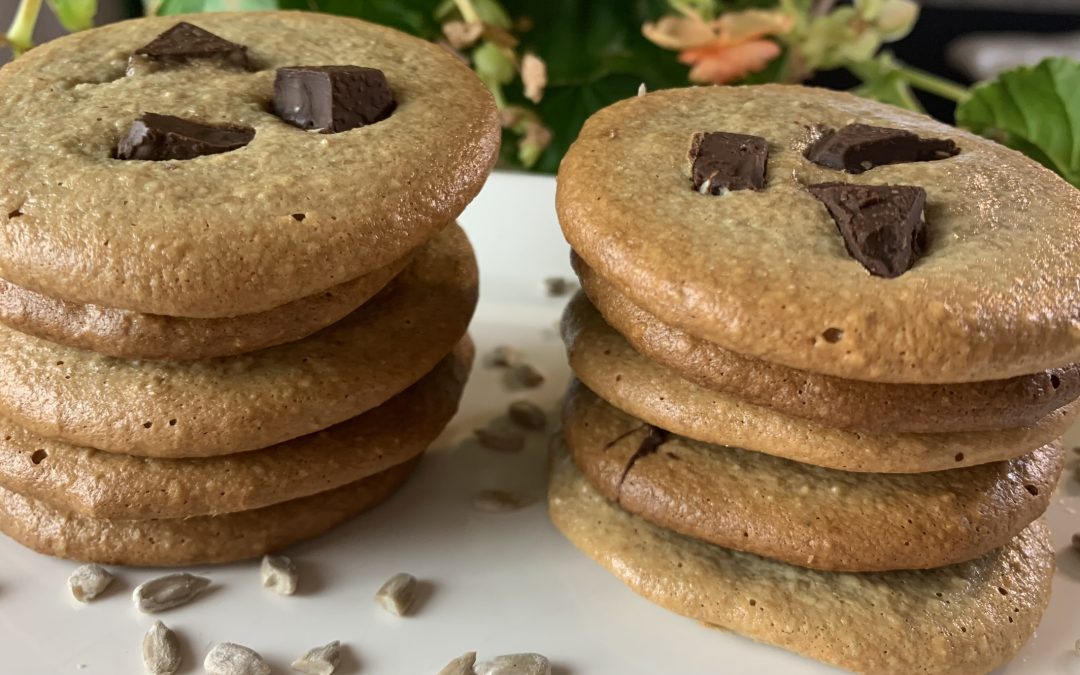
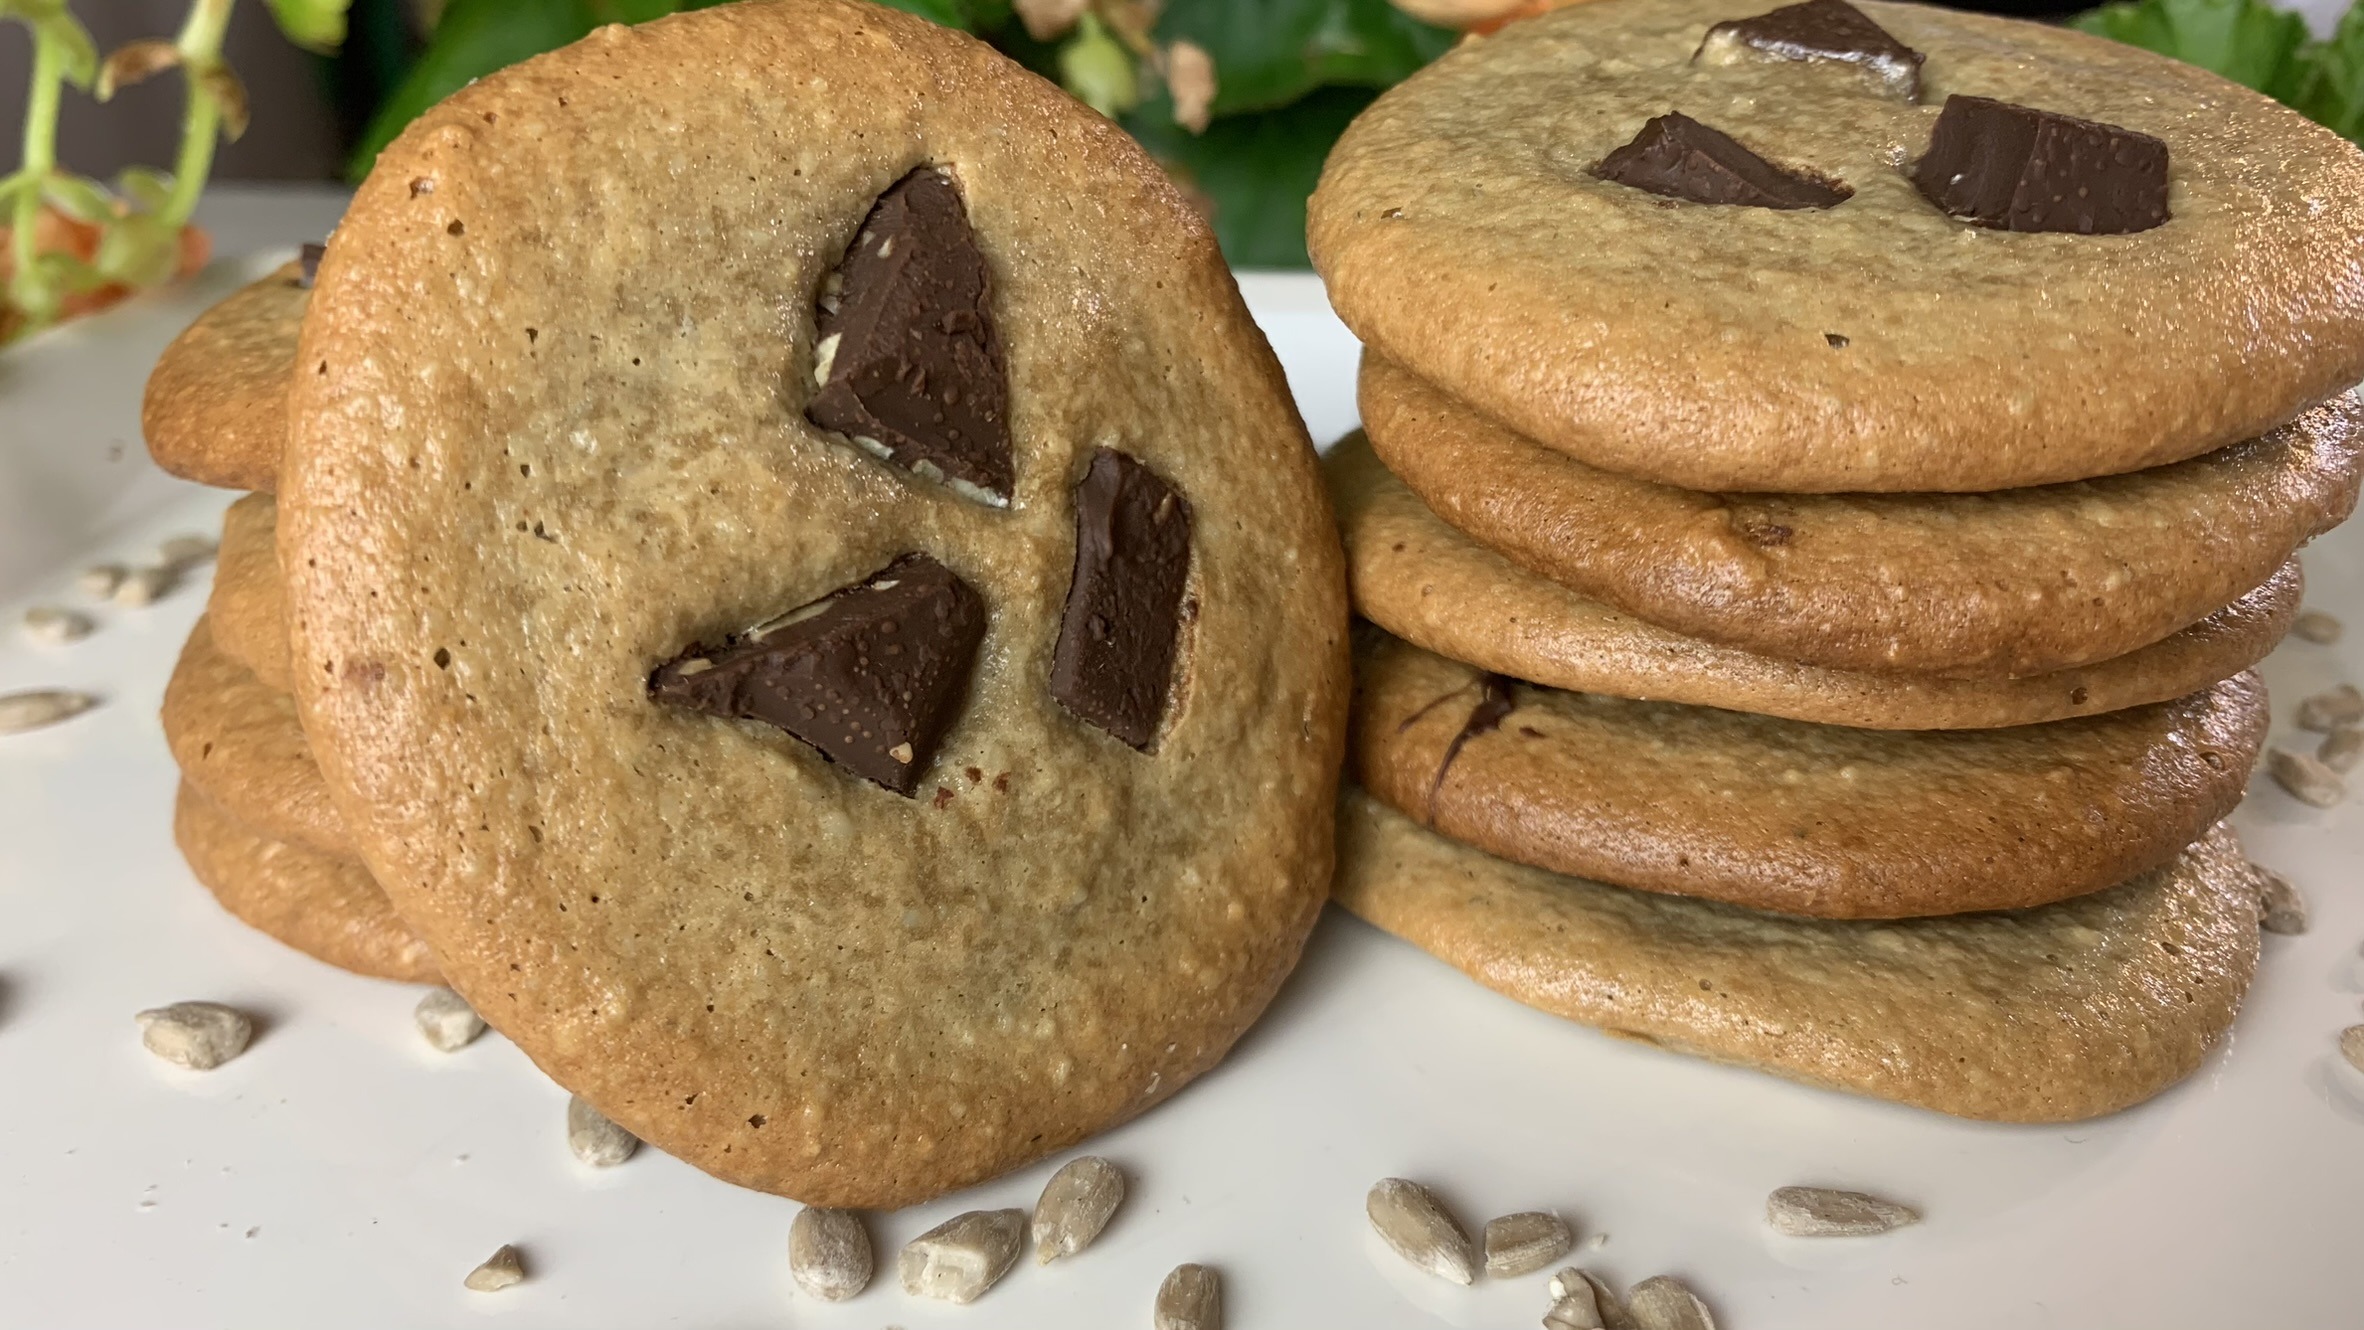
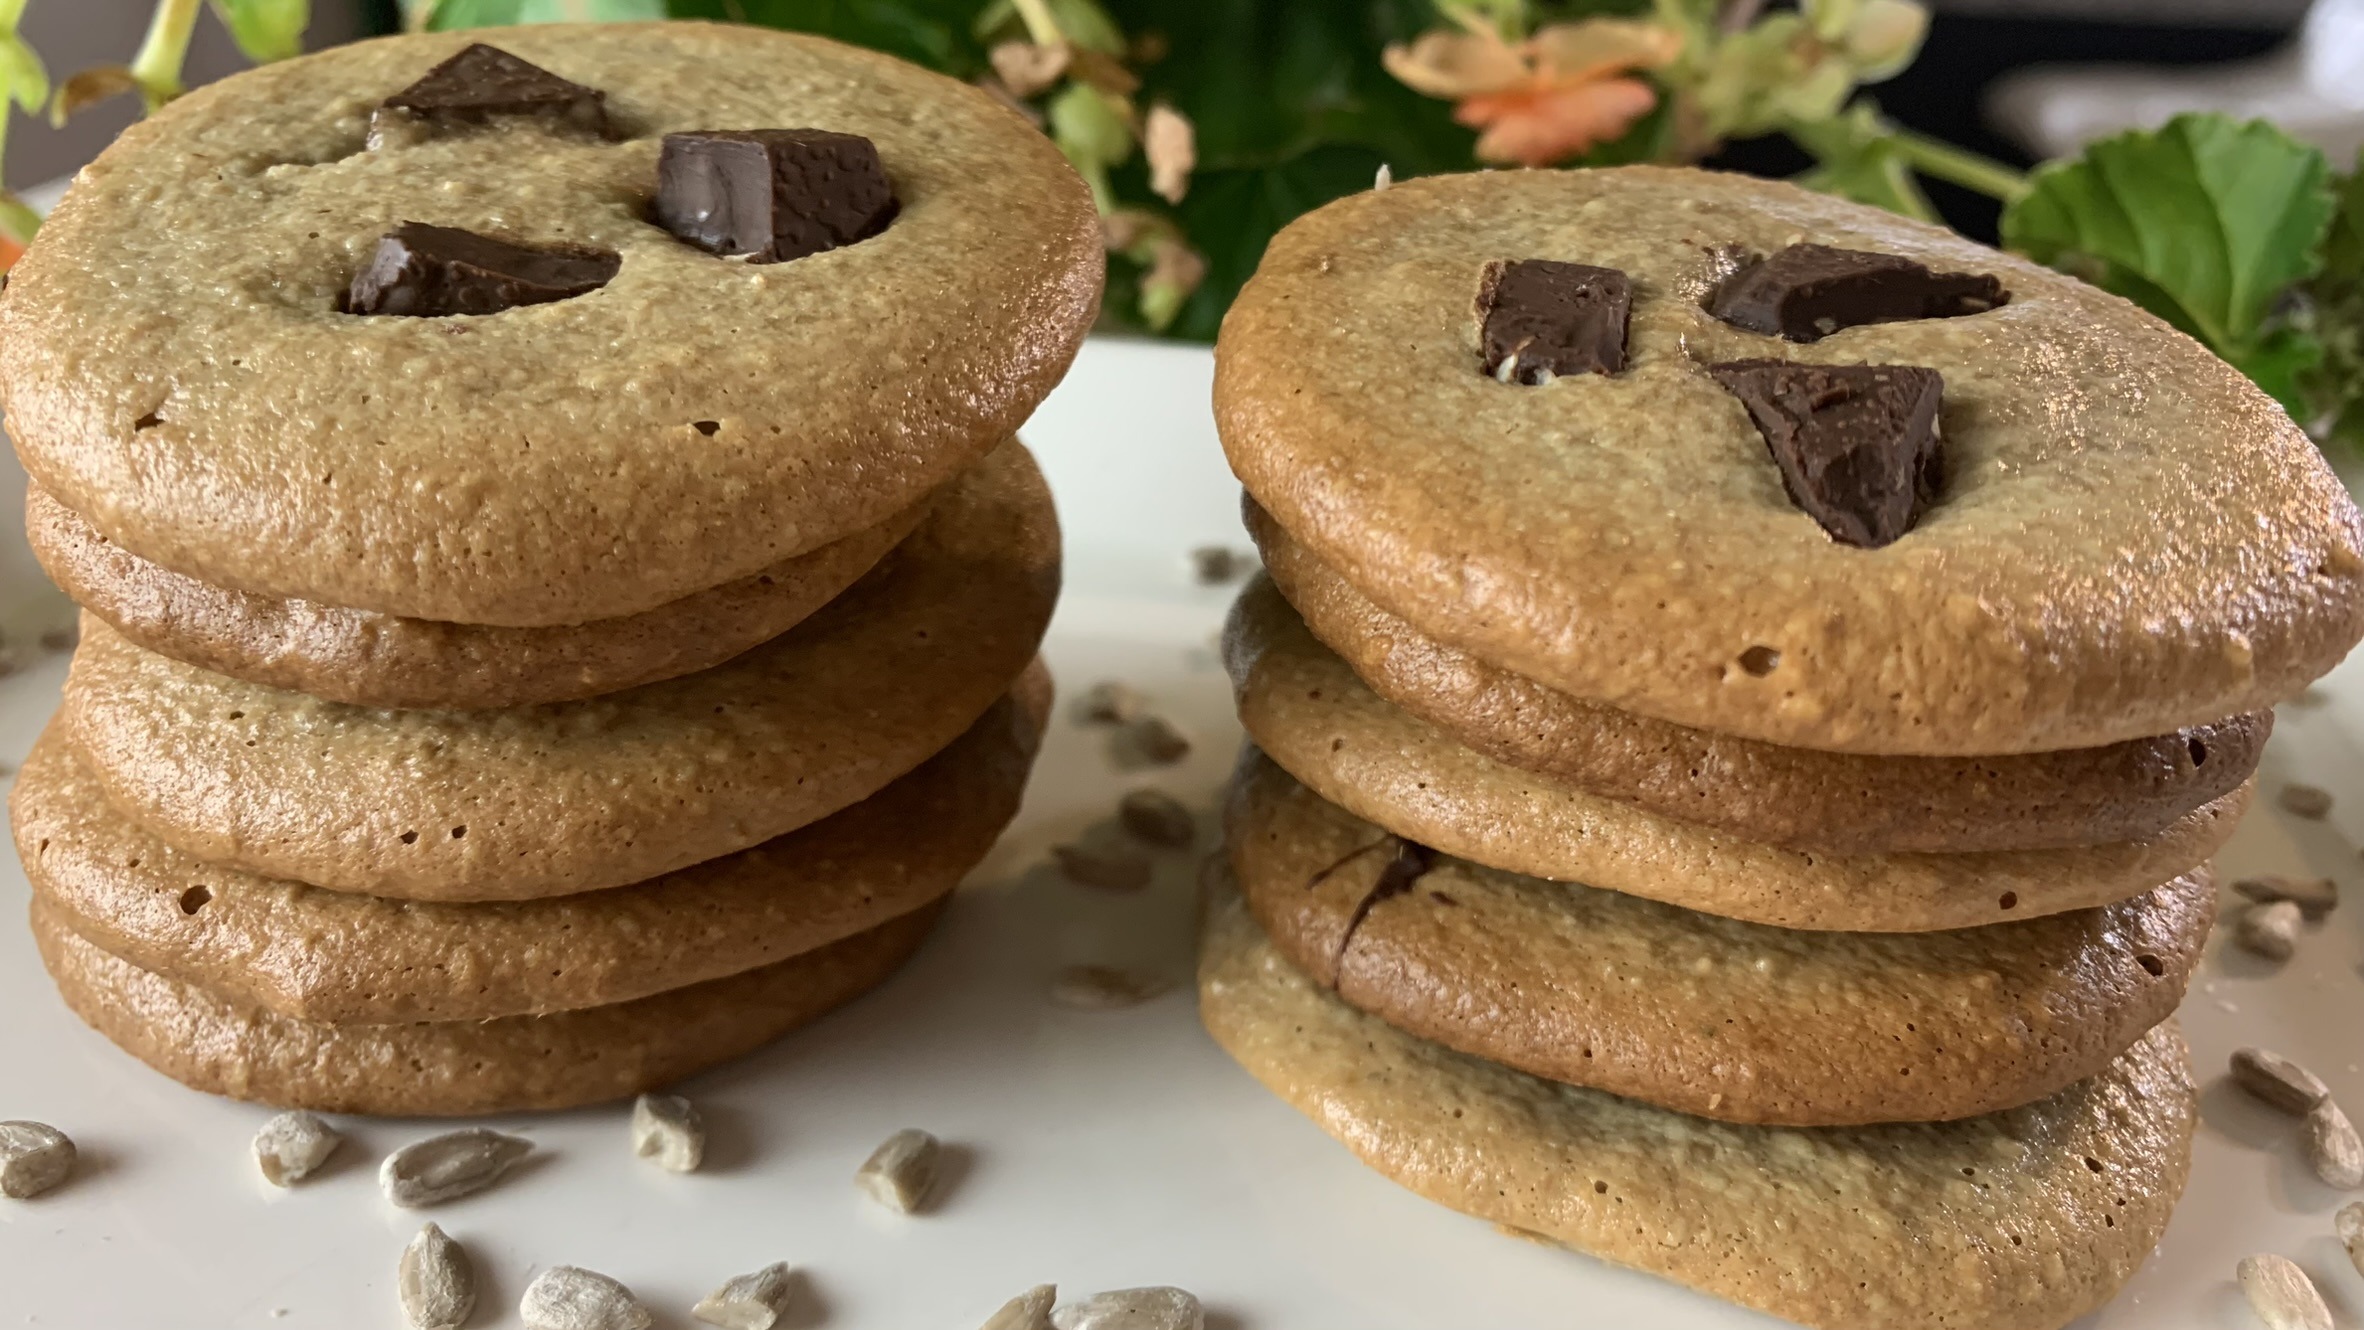
Are you craving something sweet but want to keep it healthy? Let me introduce you to these delightful Almond Oat Cookies! These cookies are not just any cookies; they’re eggless, gluten-free, and made with wholesome ingredients that will satisfy your sweet tooth while nourishing your body. The combination of oat flour and almonds creates a nutty, hearty flavor that pairs perfectly with the hint of vanilla and the sweetness of maple syrup.

Oats, the star of this recipe, are a nutritional powerhouse. They are rich in fiber, particularly beta-glucan, which helps reduce cholesterol levels and supports heart health. Oats are also a great source of vitamins, minerals, and antioxidants, making them a fantastic addition to your daily diet. Adding these cookies to your snack rotation is an easy and delicious way to boost your intake of essential nutrients while enjoying a treat that feels indulgent.

Whether you’re looking for a quick snack, a lunchbox treat, or a guilt-free dessert, these Almond Oat Cookies are sure to become a household favorite. Plus, they’re super customizable, add your favorite nuts, dried fruits, or even some dark chocolate chips to make them uniquely yours!

Ingredients

  • 1 ½ cups (120 g) oat flour
  • 60 g room temperature dairy or non-dairy butter
  • 50 g (~⅓ cup) chopped almonds
  • ⅓ cup maple syrup
  • Pinch of salt
  • ½ teaspoon vanilla extract
  • 1 teaspoon baking powder
  • 30 g dark chocolate chips (optional for garnish)

Directions

  1. Preheat your oven to 350°F (175°C) and line a baking sheet with parchment paper.
  2. In a bowl, mix oat flour and room temperature butter until crumbly, using clean hands or a spatula.
  3. Add chopped almonds, a pinch of salt, vanilla extract, and baking powder to the bowl. Gradually pour in maple syrup while mixing, creating a slightly sticky dough.
  4. Let the dough rest in the fridge for about half an hour to harden and make it easier to shape into cookies.
  5. After chilling, shape the dough into large (or preferred size) cookies and gently press dark chocolate chips onto each cookie.
  6. Place the cookies on the prepared baking sheet and bake for about 30 minutes at 350°F or until the edges turn golden brown.
  7. Allow the cookies to cool slightly on the baking sheet before serving.

Prep Time

  • 20 minutes Prep
  • 30 minutes in the Fridge
  • 35 minutes Baking

Nutritional Information (Per 1 Serving)

  • Energy: 207 calories
  • Protein: 6.71 g
  • Fat: 6.94 g
  • Carbohydrates: 29.69 g
  • Fiber: 1.5 g

Storage and Recommendation

  • Store your cookies in an airtight container at room temperature for up to 3 days or in the fridge for 1 week.
  • Customize your cookies by adding dried fruits or different types of nuts for added flavor and texture.
No-Knead Brioche

No-Knead Brioche

No-Knead Brioche

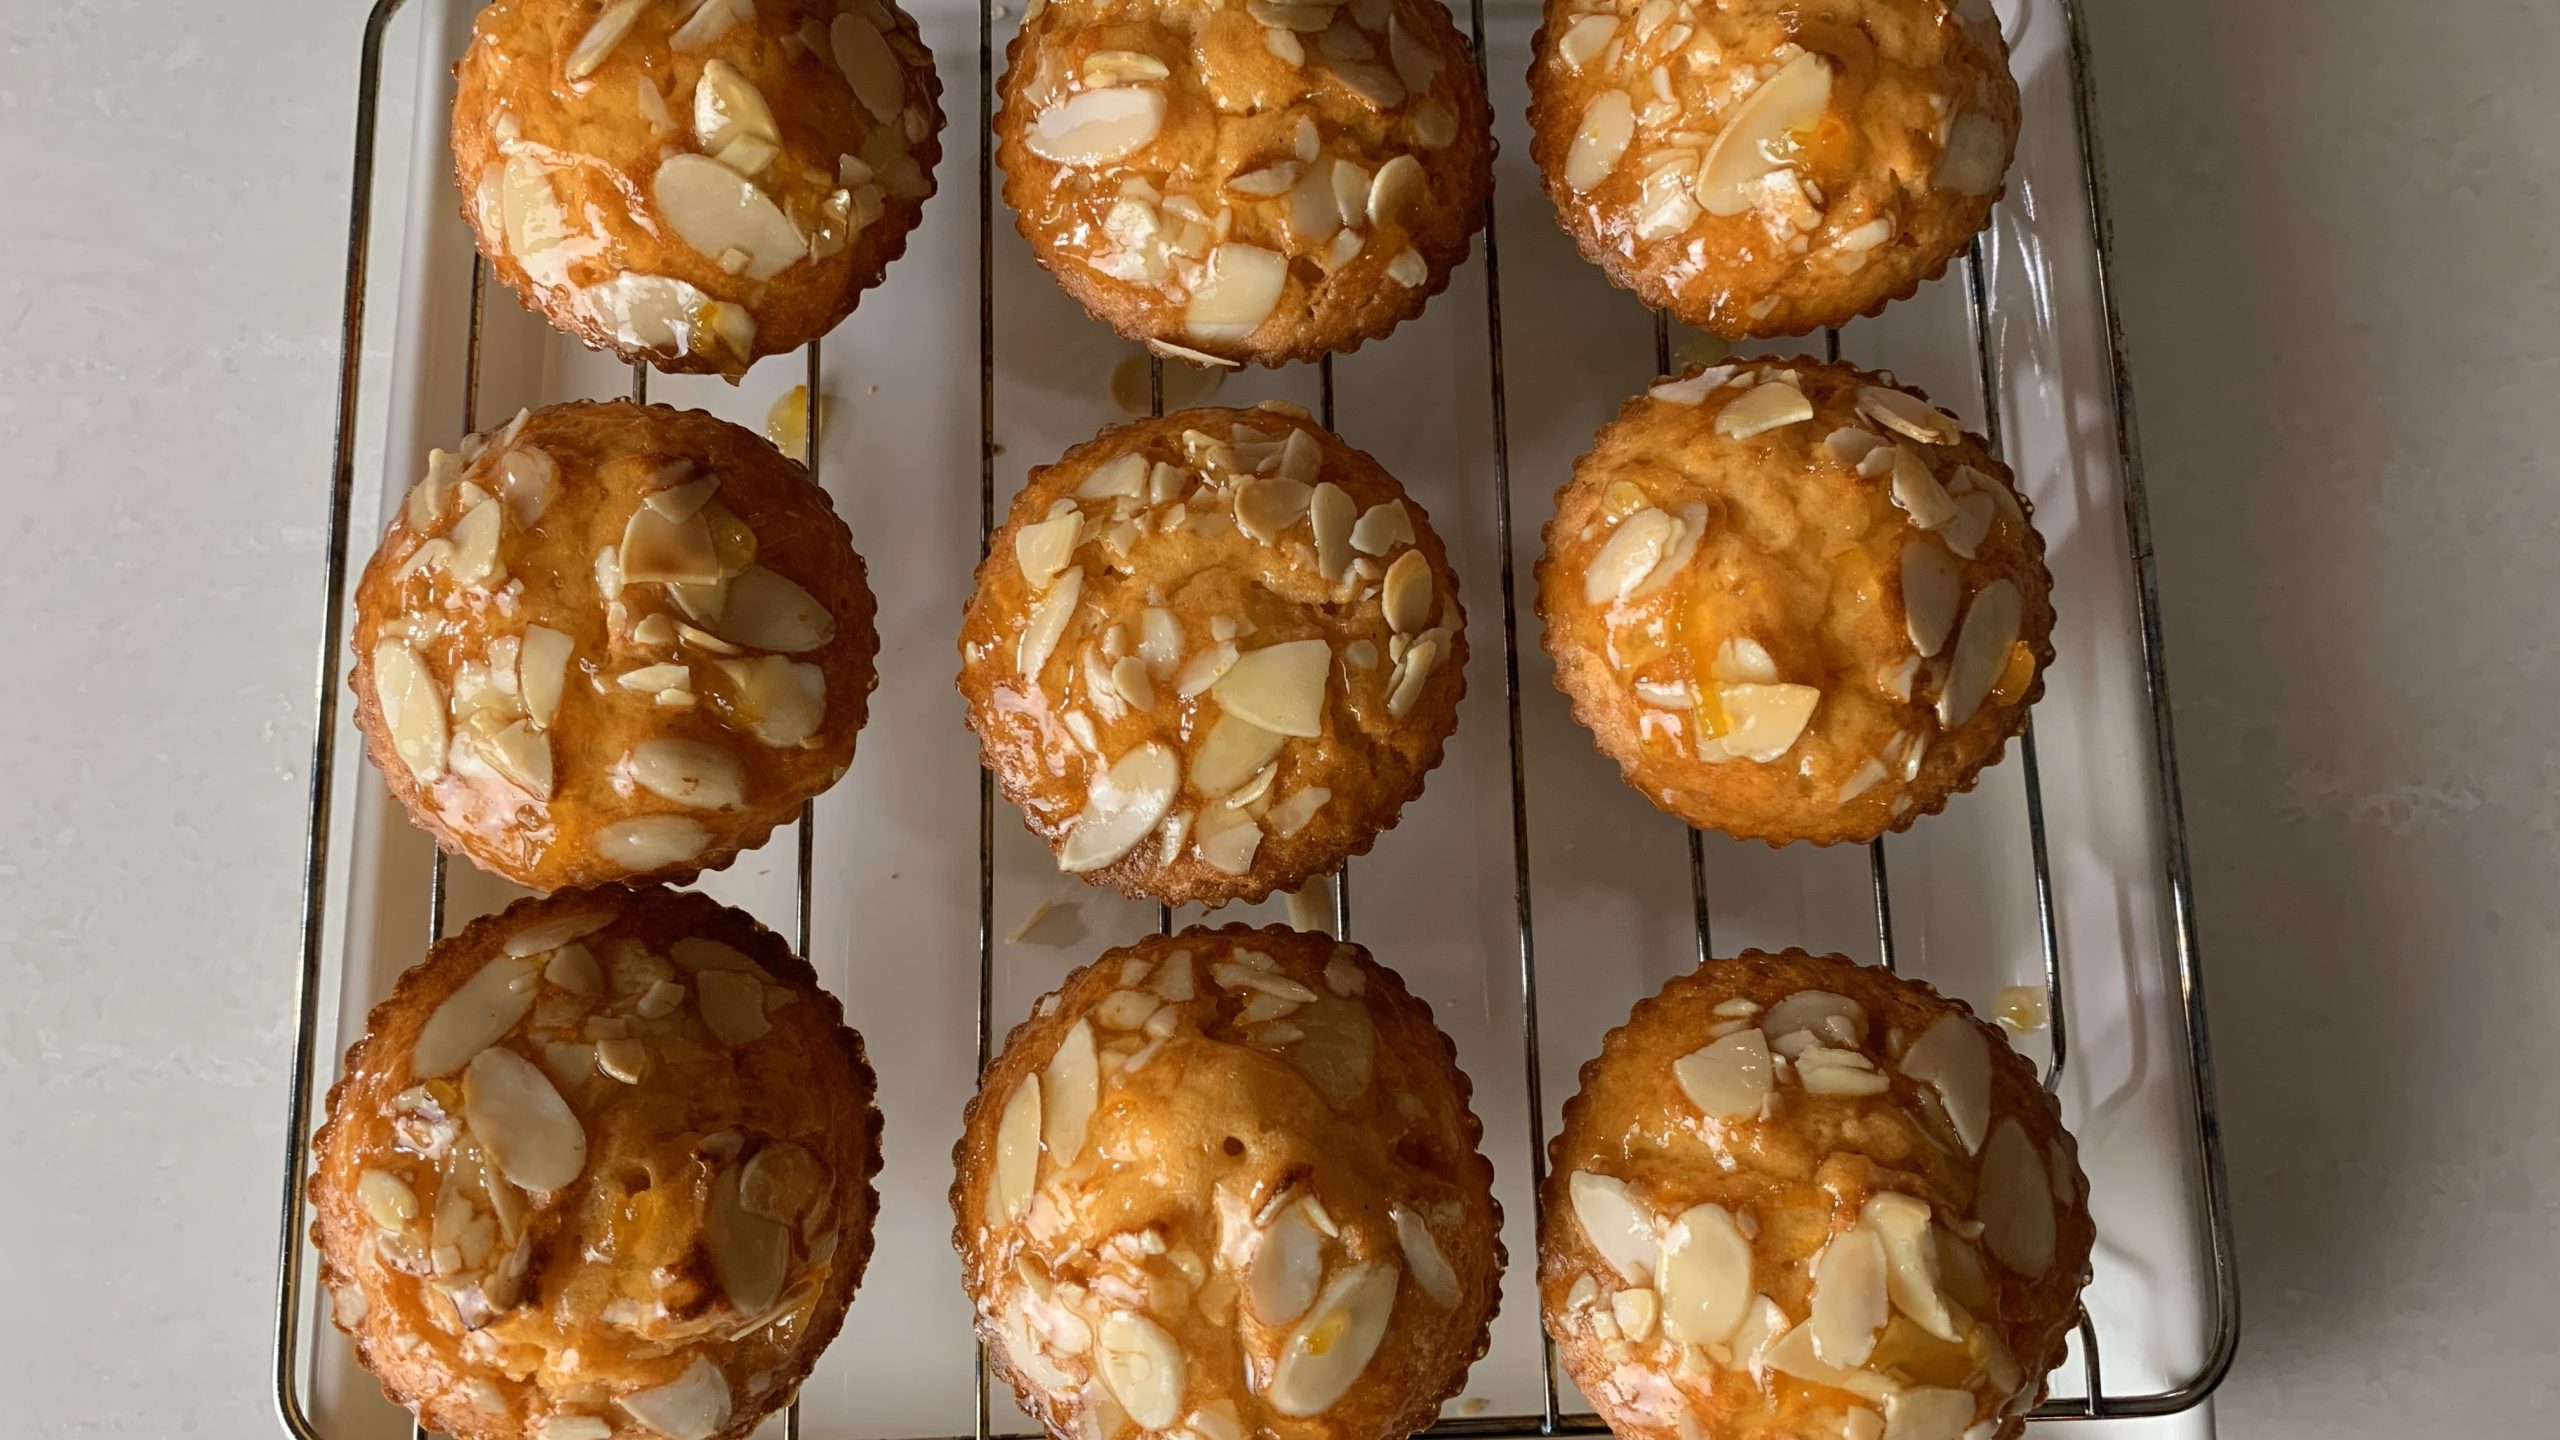
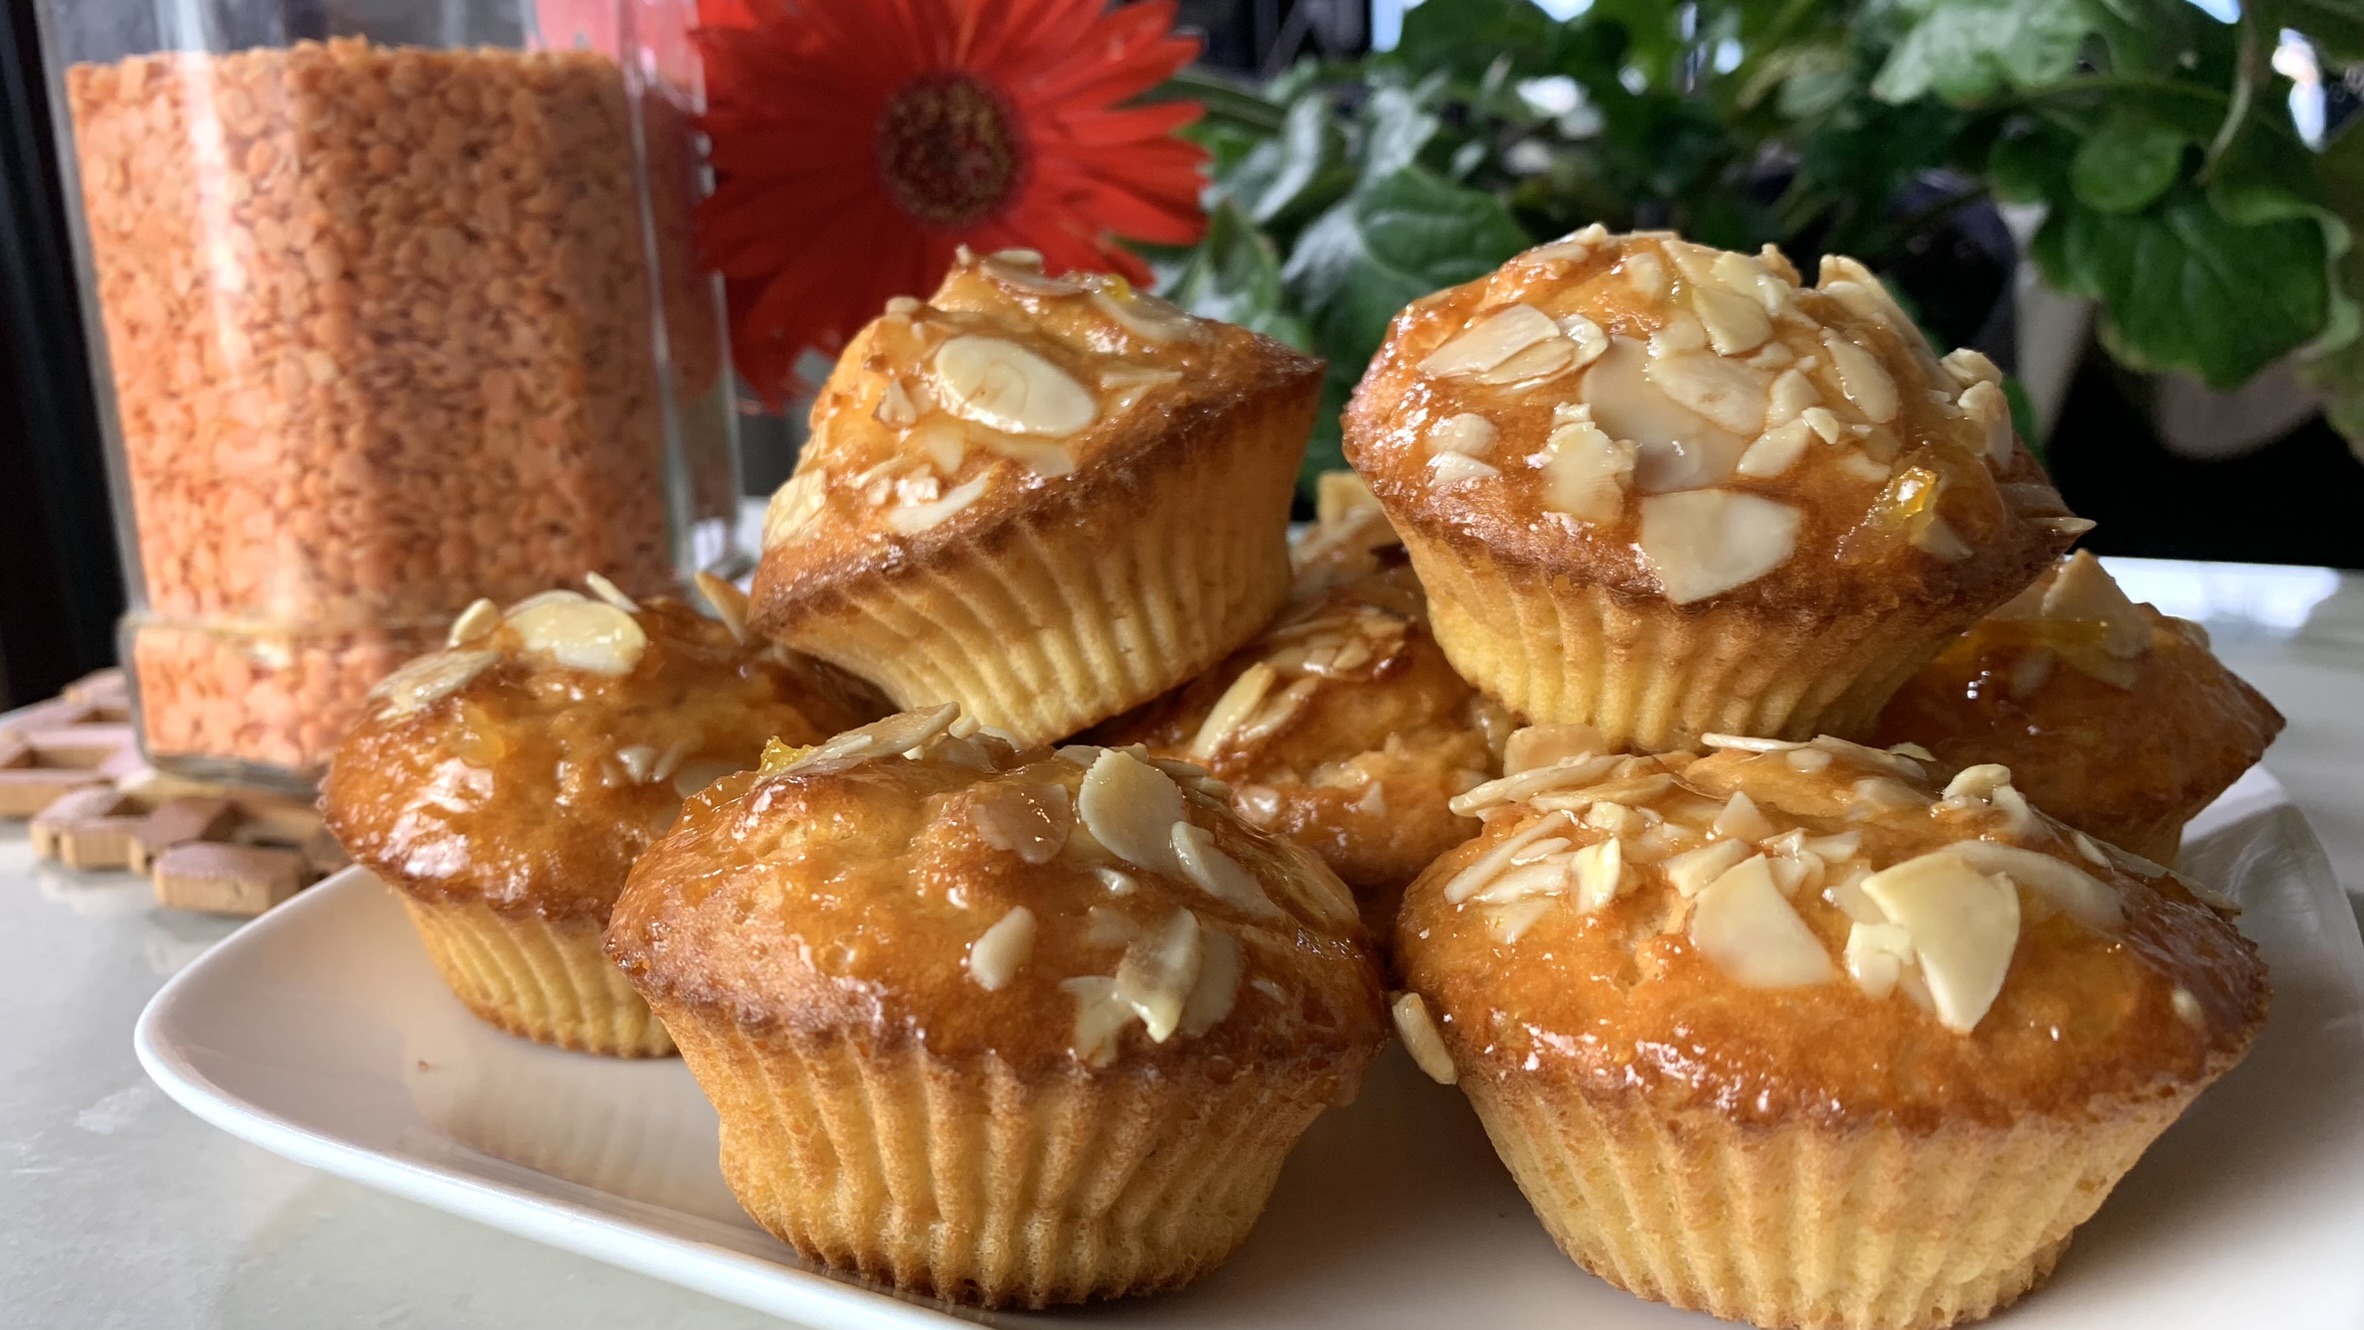
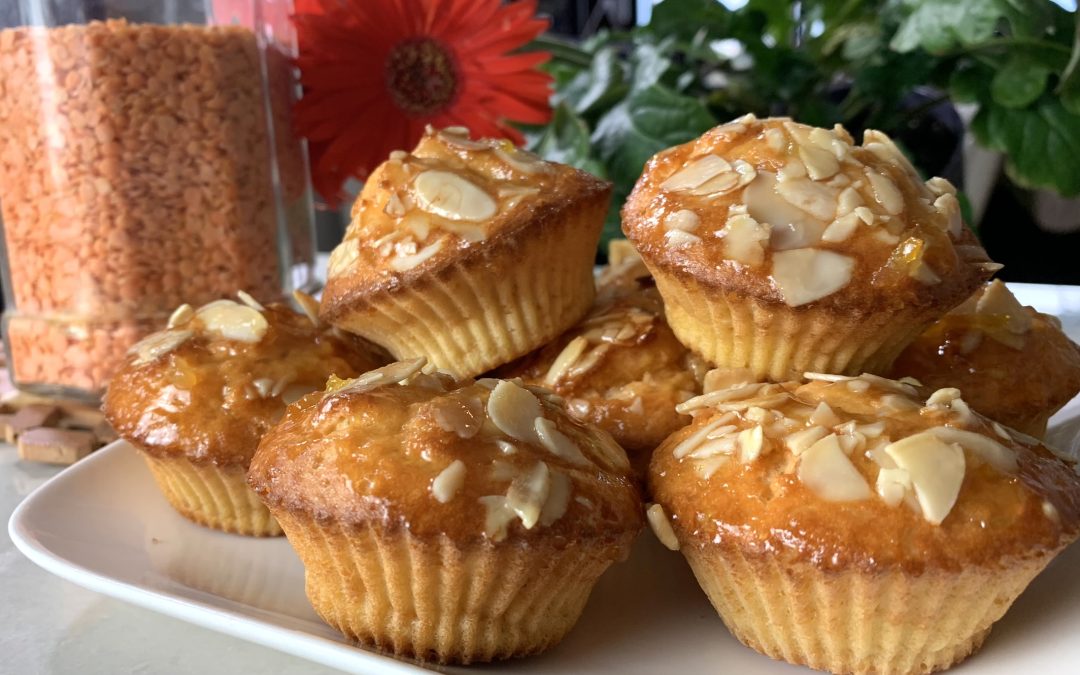
There’s something incredibly comforting about a warm, freshly baked brioche, especially when it’s homemade. But let’s face it, the thought of kneading dough can be daunting, especially for those of us who are short on time or just beginning our baking journey. That’s where this no-knead brioche comes in—it’s a game-changer! This recipe allows you to enjoy all the rich, buttery goodness of traditional brioche without the hassle of kneading. It’s perfect for a leisurely weekend breakfast with a cup of coffee, a cozy afternoon tea, or even a simple late-night snack.

The hero of this recipe is the unbleached flour, which brings both substance and nutrition to the table. Unlike bleached flour, unbleached flour is more natural, retaining more of its original nutrients because it hasn’t undergone chemical processing. This means that your brioche isn’t just a treat for the taste buds, but also a more wholesome choice. Unbleached flour is packed with B vitamins, which are essential for energy production and maintaining healthy skin, hair, and eyes. It’s also a good source of iron, which is crucial for carrying oxygen in your blood, helping to keep you energized throughout the day. Including unbleached flour in your diet is a simple way to support your overall health while indulging in a delicious, homemade treat.

This no-knead brioche is not only a breeze to make but also brings a touch of homemade warmth and nutrition to your day. Enjoy every bite, knowing that you’ve created something delicious and nourishing with minimal effort!

Ingredients:

  • 1 ½ cups unbleached flour
  • 1 egg
  • 1 cup lukewarm milk
  • 3 tbsp. maple syrup (or any other sugar of your choice except honey)
  • 30 g melted butter
  • Zest of an orange
  • 1 ½ tbsp instant yeast
  • ⅛ tsp. salt
  • 30 g almond slices (optional for garnish)

Directions:

  1. Grease your mini loaf or muffin pan and cover with a piece of parchment paper to prevent sticking.
  2. In a large mixing bowl, combine the unbleached flour, instant yeast, and a pinch of salt. Add the orange zest for a fresh burst of flavor.
  3. Add the egg, lukewarm milk, and maple syrup to the bowl. Stir with a fork until the ingredients are just combined. The goal is to mix everything together without overworking the batter.
  4. Pour in the melted butter and gently incorporate it into the mixture. The batter will be slightly runny, which is just what you want for this recipe.
  5. Carefully pour the batter into your prepared mini loaf or muffin pans, filling each cavity about halfway. Allow the batter to rise for 15 to 30 minutes. This is when the yeast works its magic, giving your brioche that signature light and fluffy texture.
  6. Before baking, sprinkle almond slices over the tops for an extra touch of crunch and flavor.
  7. Place the pan in a preheated oven and bake at 350°F (175°C) for approximately 30 minutes or until the brioche is golden brown and slightly crisp on the outside.
  8. Remove the pans from the oven and let the brioches cool slightly on a wire rack before serving.

Prep Time:

  • 20 minutes prep
  • 20 minutes proofing
  • 35 minutes baking

Nutritional Information (Per 1 Serving):

  • Energy: 207 calories
  • Protein: 6.71 g
  • Fat: 6.94 g
  • Carbohydrates: 29.69 g
  • Fiber: 1.5 g

Storage and Recommendations:

  • Store your brioche in an airtight container at room temperature for up to 2 days, or in the fridge for up to 1 week.
  • To customize your brioche, consider adding flavors like cinnamon or vanilla extract. You can also experiment with different toppings such as seeds or dried fruit to make this recipe your own.