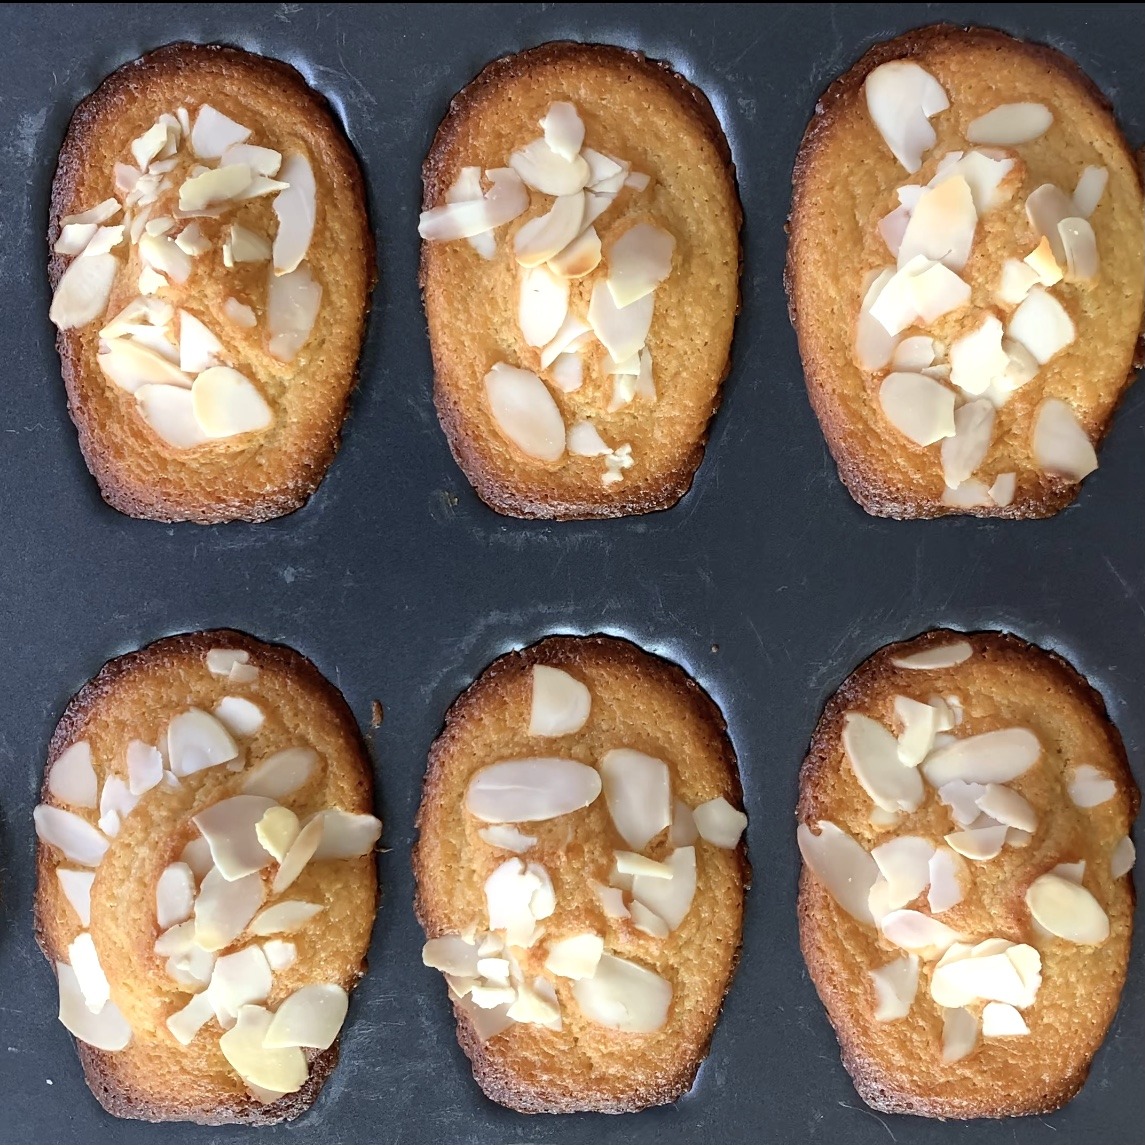
Banana Oat Cupcakes
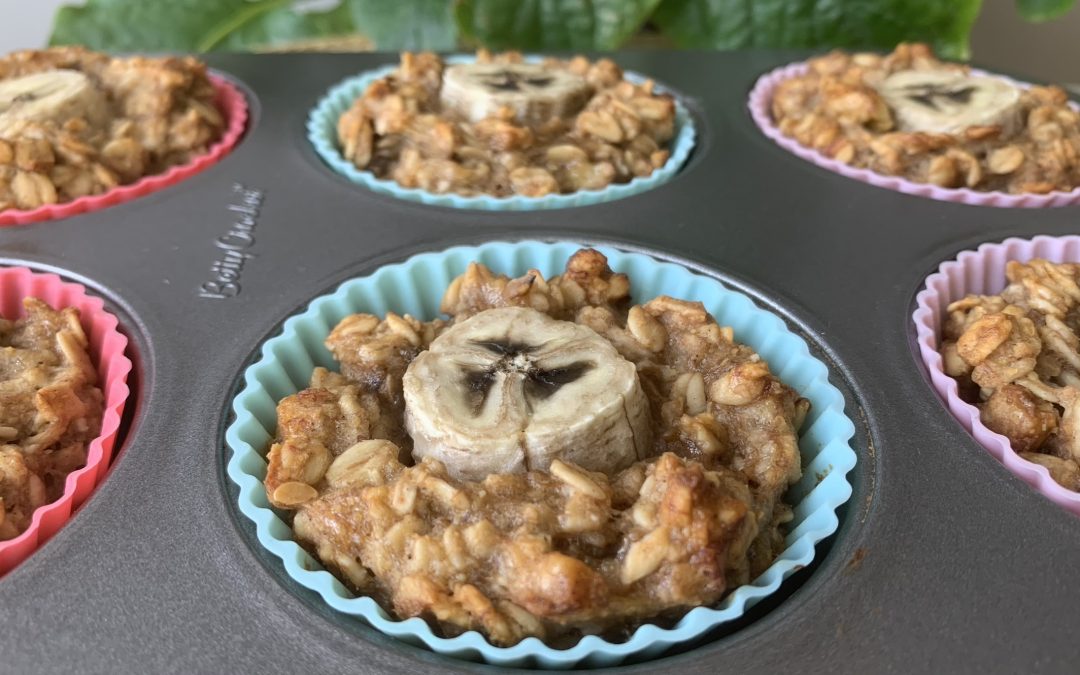
Banana Oat Cupcakes

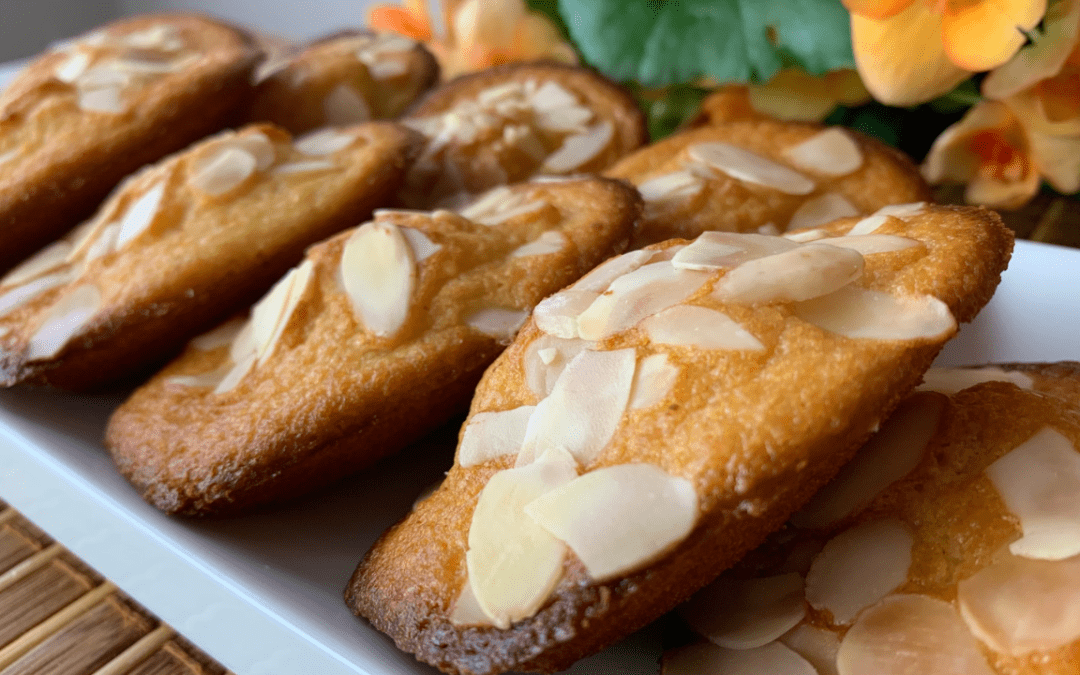
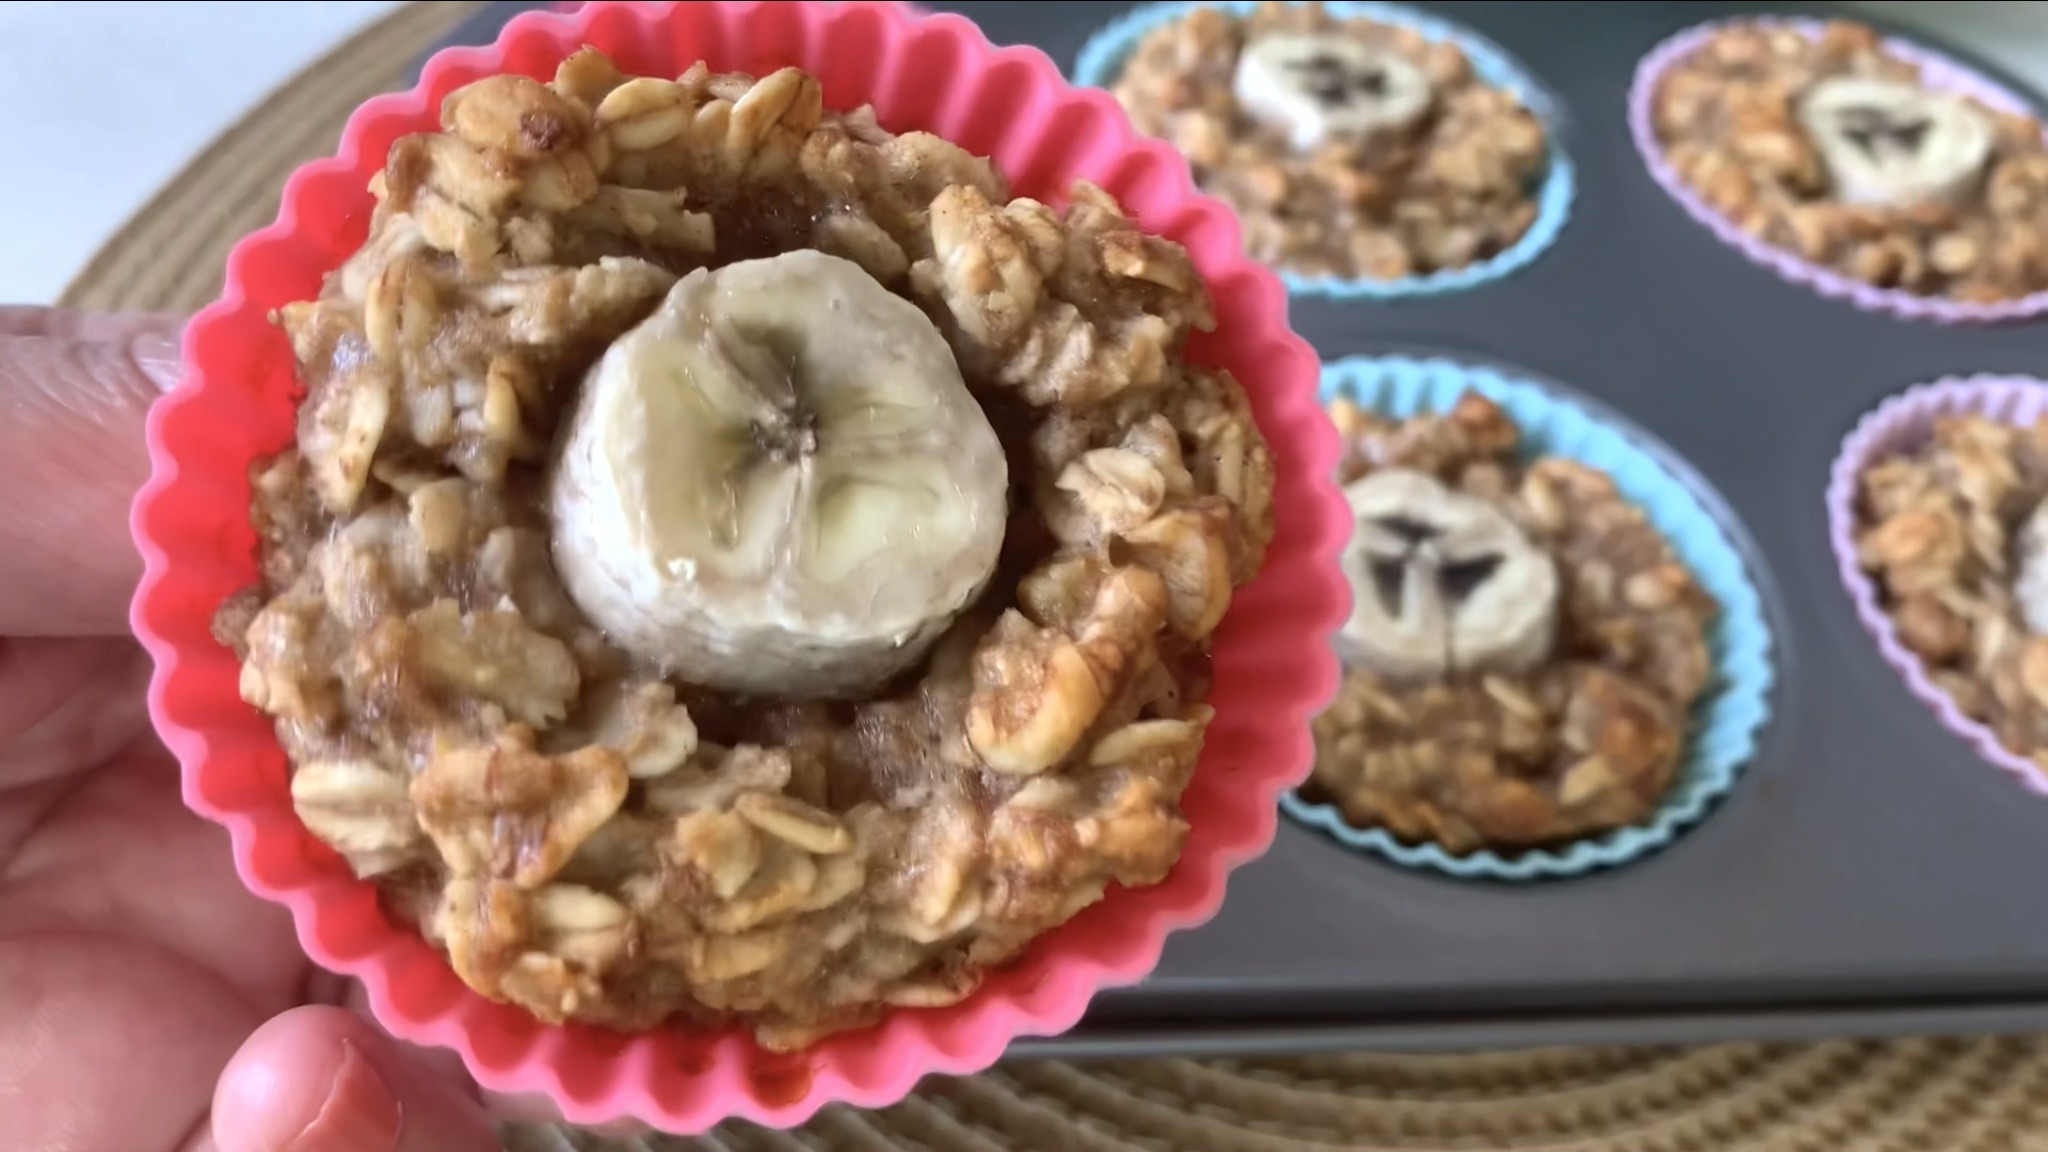
If you’re in the mood for something delicious that’s also packed with wholesome ingredients, these Banana Oat Cupcakes are exactly what you need. Naturally sweetened with ripe bananas and a touch of maple syrup, these cupcakes offer a satisfying way to curb your sweet cravings while providing a boost of nutrition. They’re moist, flavorful, and perfect for any time of the day, whether it’s breakfast, a snack, or a guilt-free dessert.
Bananas are the star ingredient here, and they’re not just for sweetness. Rich in potassium, bananas help maintain healthy blood pressure and heart function. They’re also high in dietary fiber, which aids digestion and helps you feel full longer. Paired with oats, which are a fantastic source of whole grains, these cupcakes offer a dose of complex carbohydrates that provide sustained energy throughout the day. The addition of ground flaxseed (optional) brings in some omega-3 fatty acids, promoting heart health and reducing inflammation.
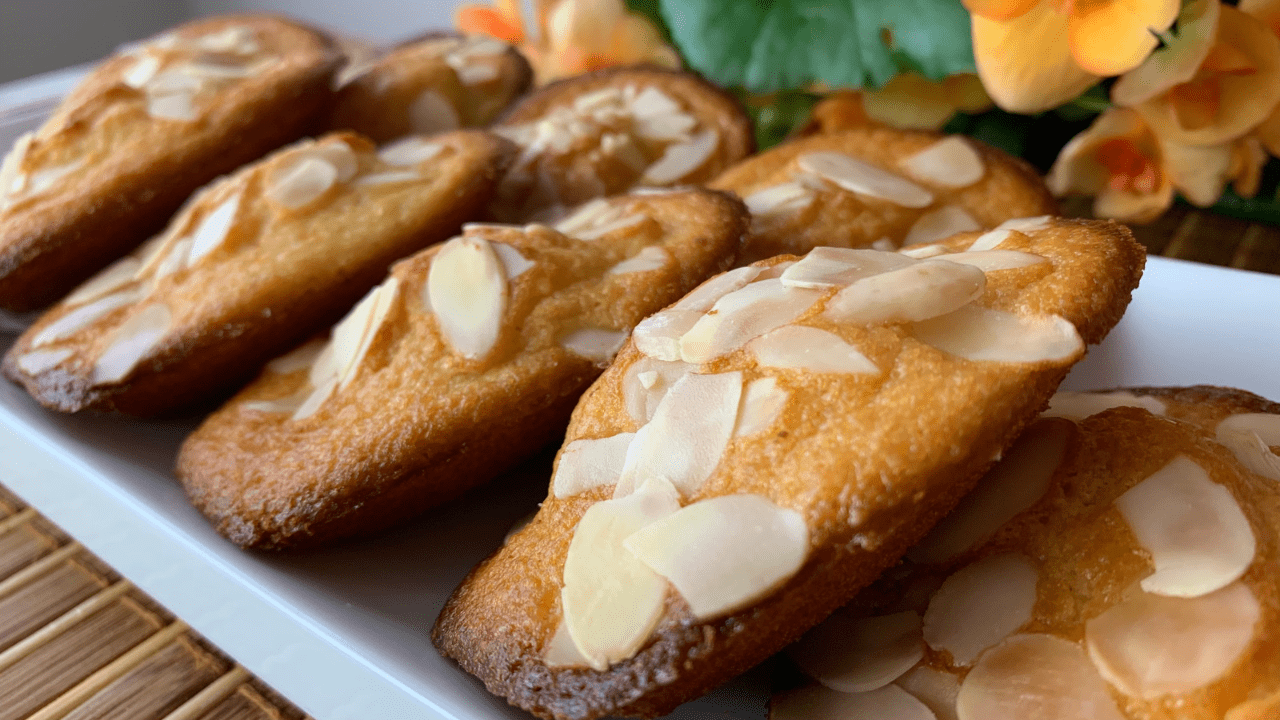
These Banana Oat Cupcakes are also incredibly versatile. You can enjoy them as a quick breakfast on the go, a wholesome snack, or a light dessert that won’t weigh you down. Plus, they’re vegan and gluten-free, making them a great option for those with dietary restrictions.
Let’s get baking and whip up these tasty, nutritious cupcakes, you’re going to love every bite!
Ingredients:
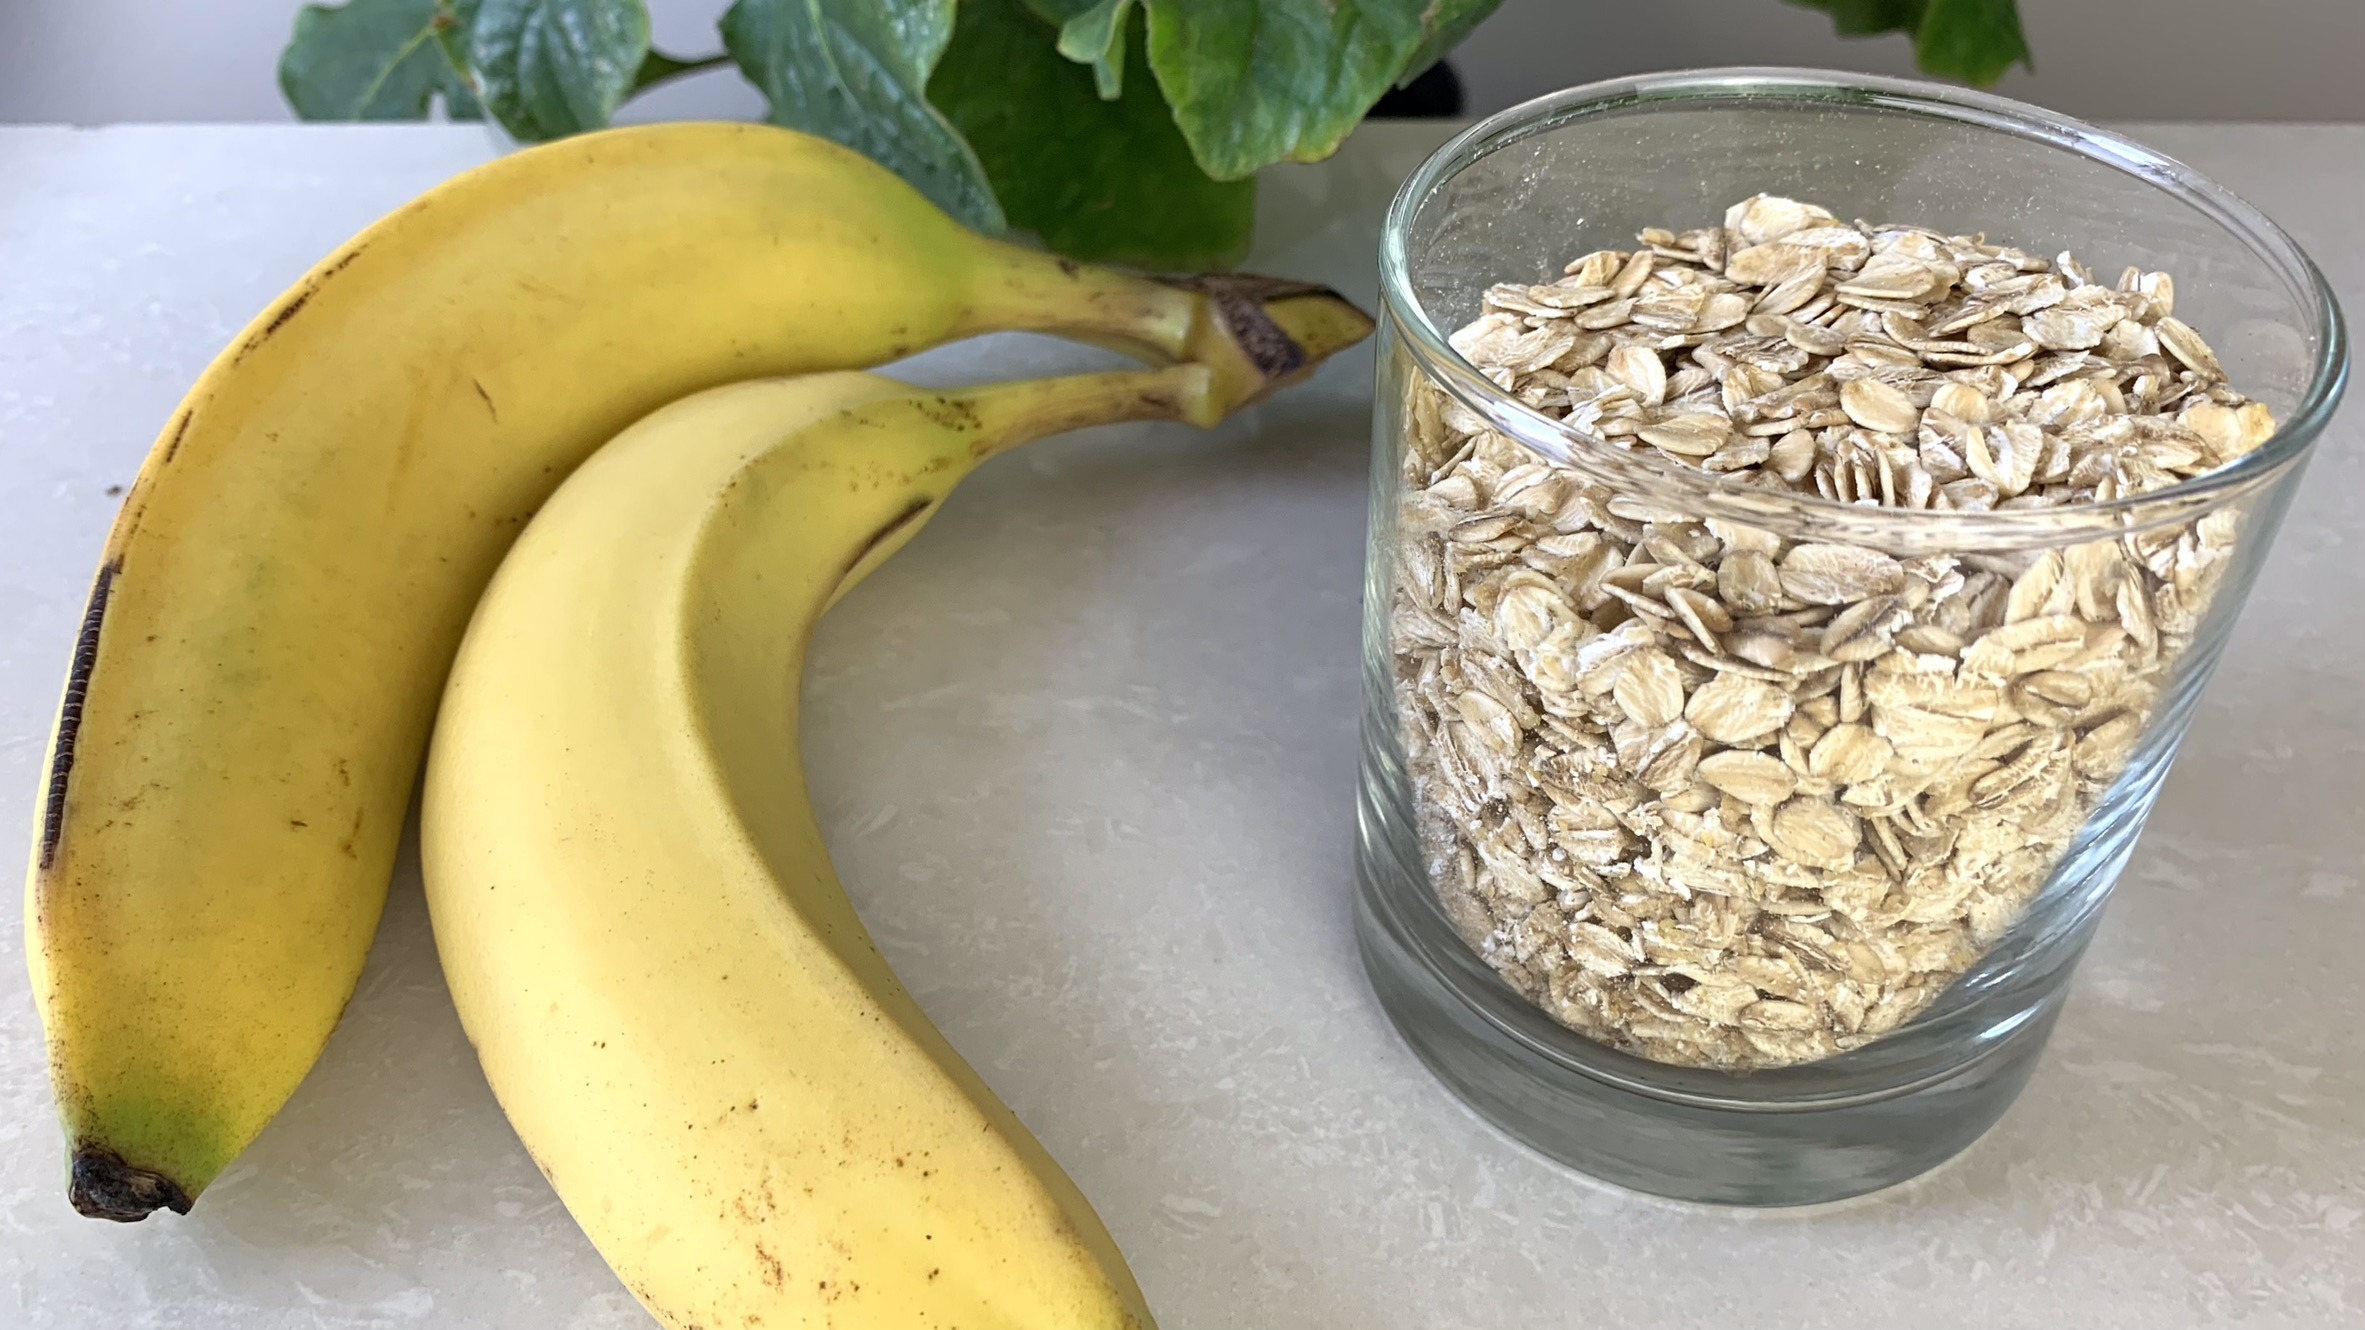
- 2 ripe bananas, mashed
- 1 cup (80 g) old-fashioned rolled oats
- 2 tbsp. ground flaxseed (optional)
- 2 tbsp. maple syrup (or honey, or any preferred sweetener)
- 2 tbsp. coconut oil (or any neutral oil)
- 30 g walnuts, chopped (optional)
- ⅛ tsp. cinnamon
- ½ tsp. baking powder
- Pinch of salt
- 60 g banana slices for garnish
Directions:
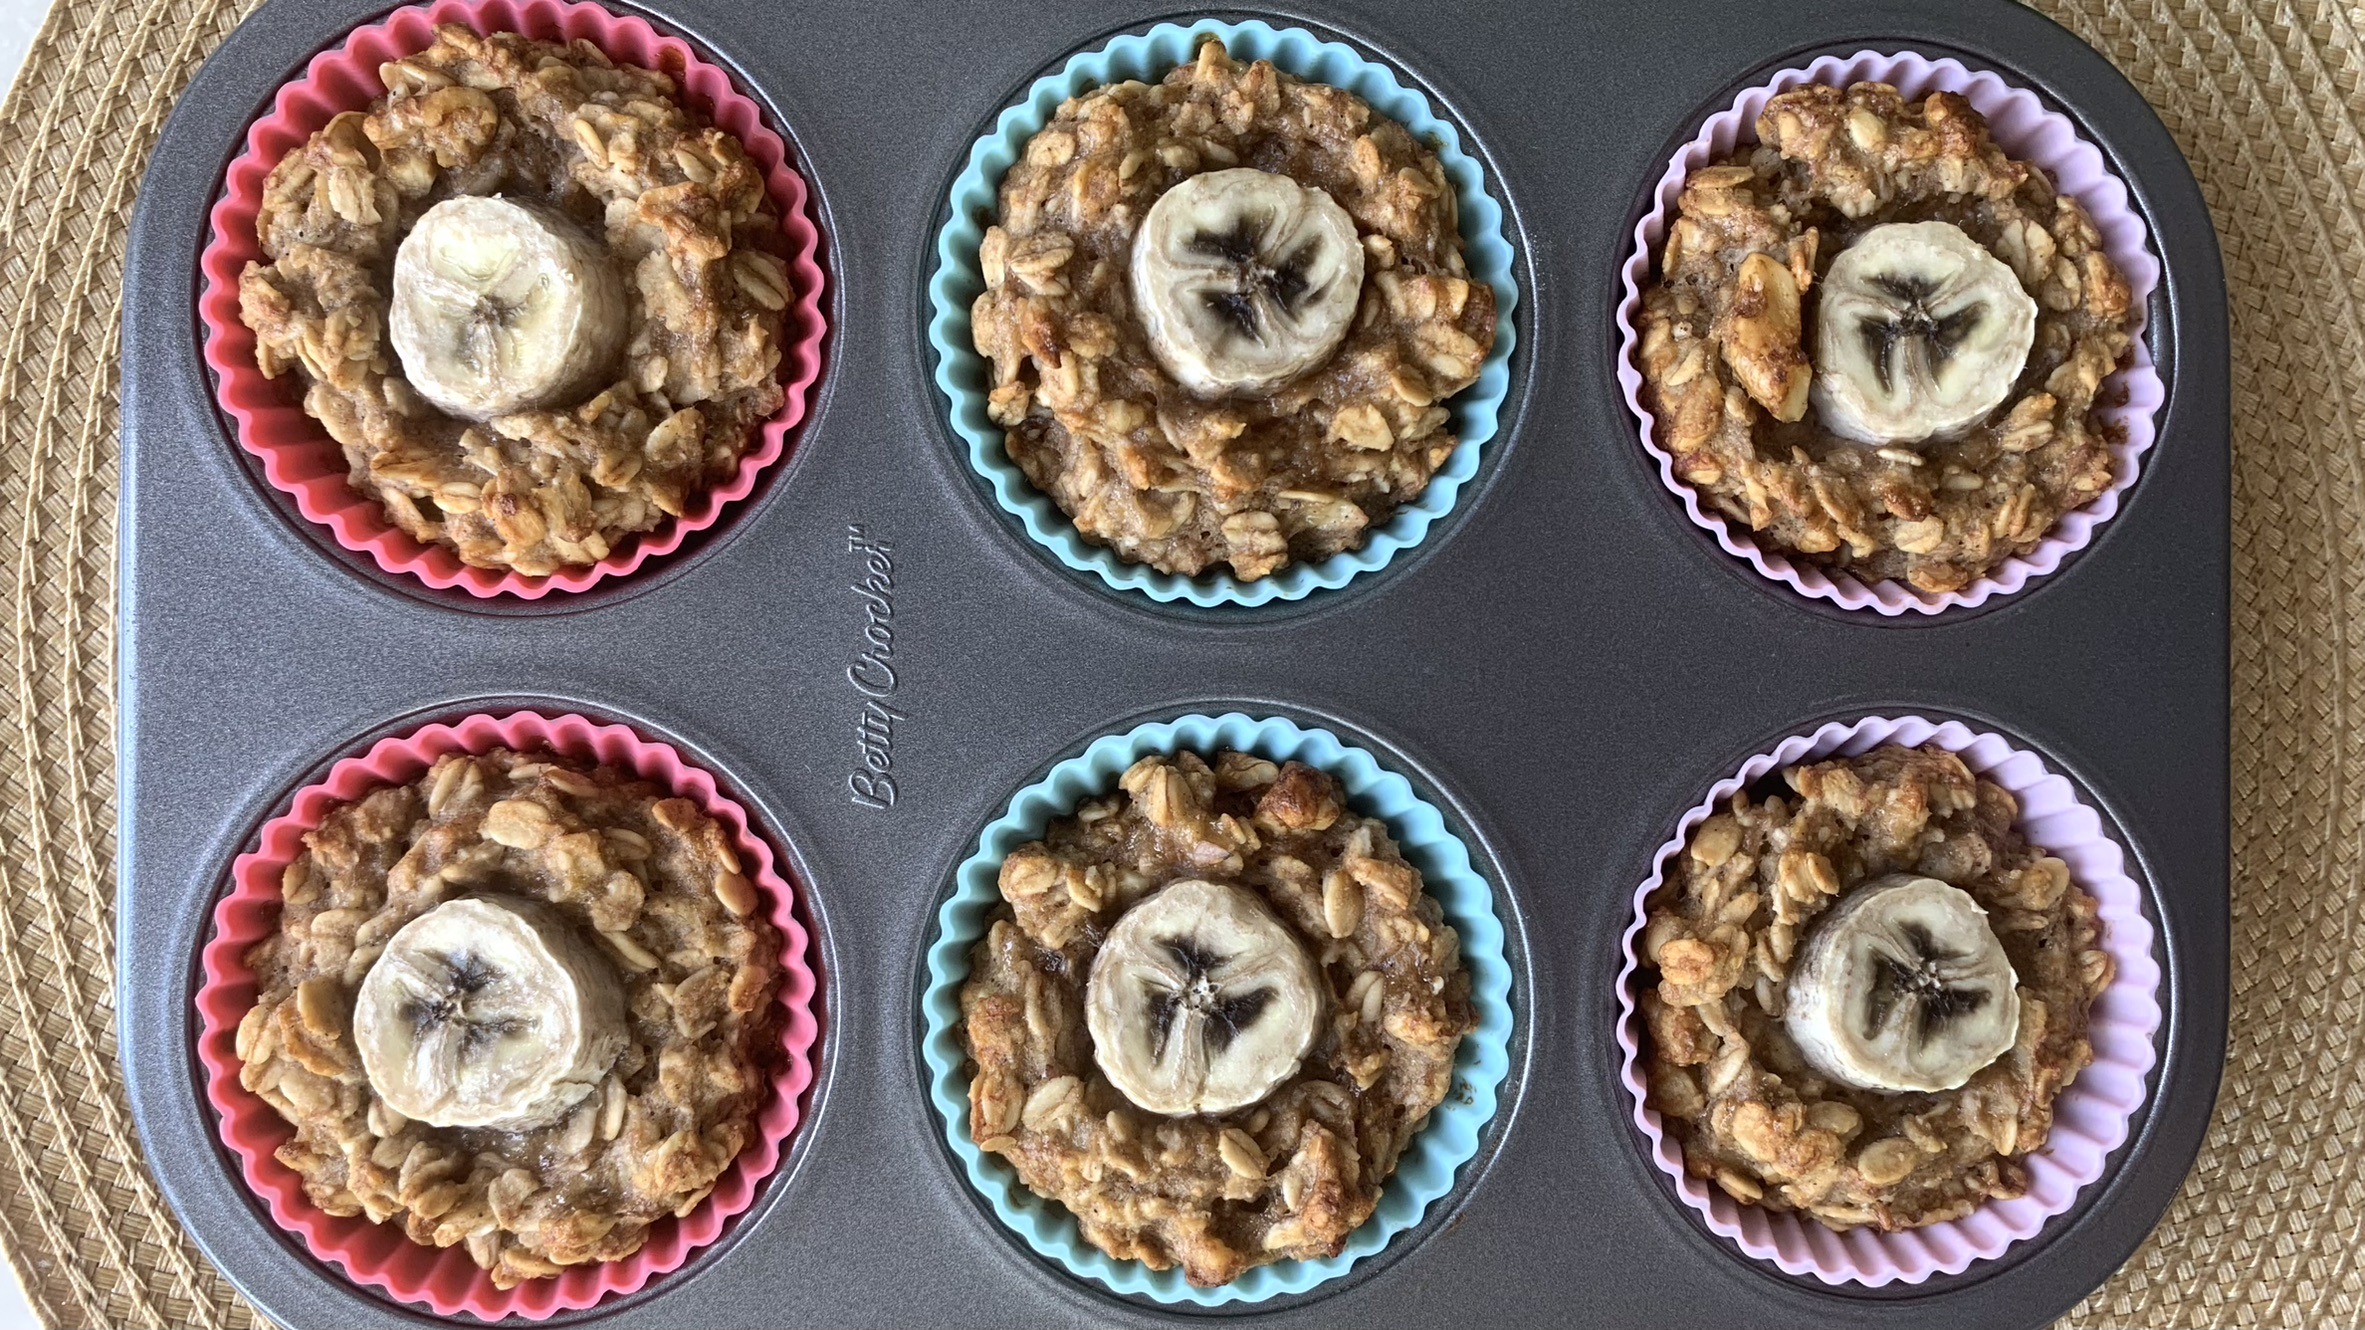
- Preheat your oven to 350°F (175°C) and line a cupcake tray with paper liners.
- Start by mashing ripe bananas in a large mixing bowl.
- Add to the mashed bananas, rolled oats, ground flaxseed, maple syrup, melted coconut oil, baking powder, cinnamon, and chopped walnuts. Stir the mixture until all ingredients are thoroughly incorporated.
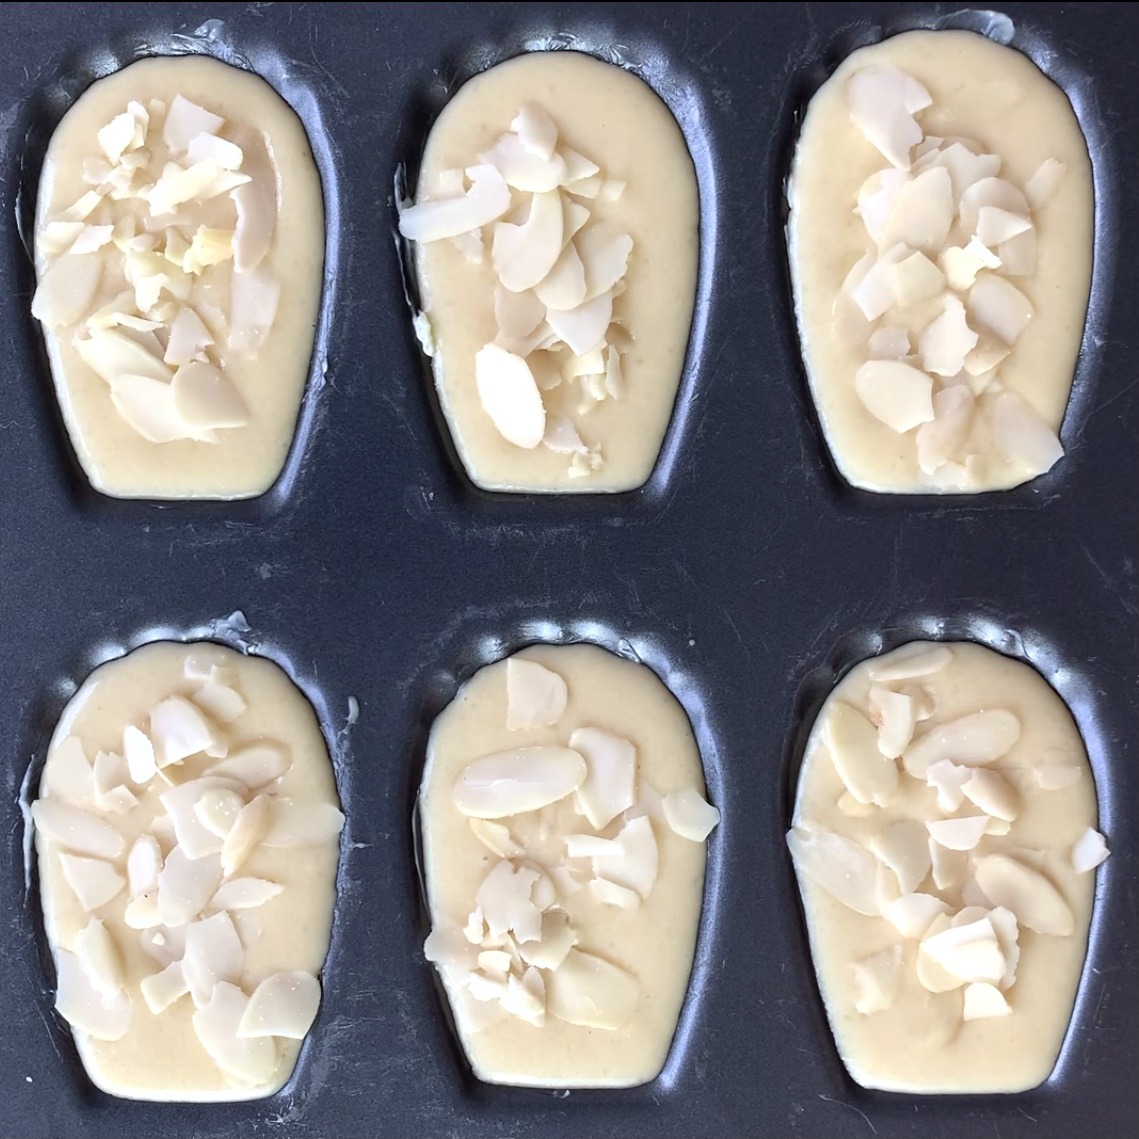
- Using an ice cream scooper, divide the batter equally among the cupcake cups, filling each about two-thirds full.
- Garnish each cupcake with a slice of banana for additional natural sweetness.
- Bake the cupcakes at 350°F (180°C) for approximately 30 minutes or until a toothpick inserted into the center comes out clean.
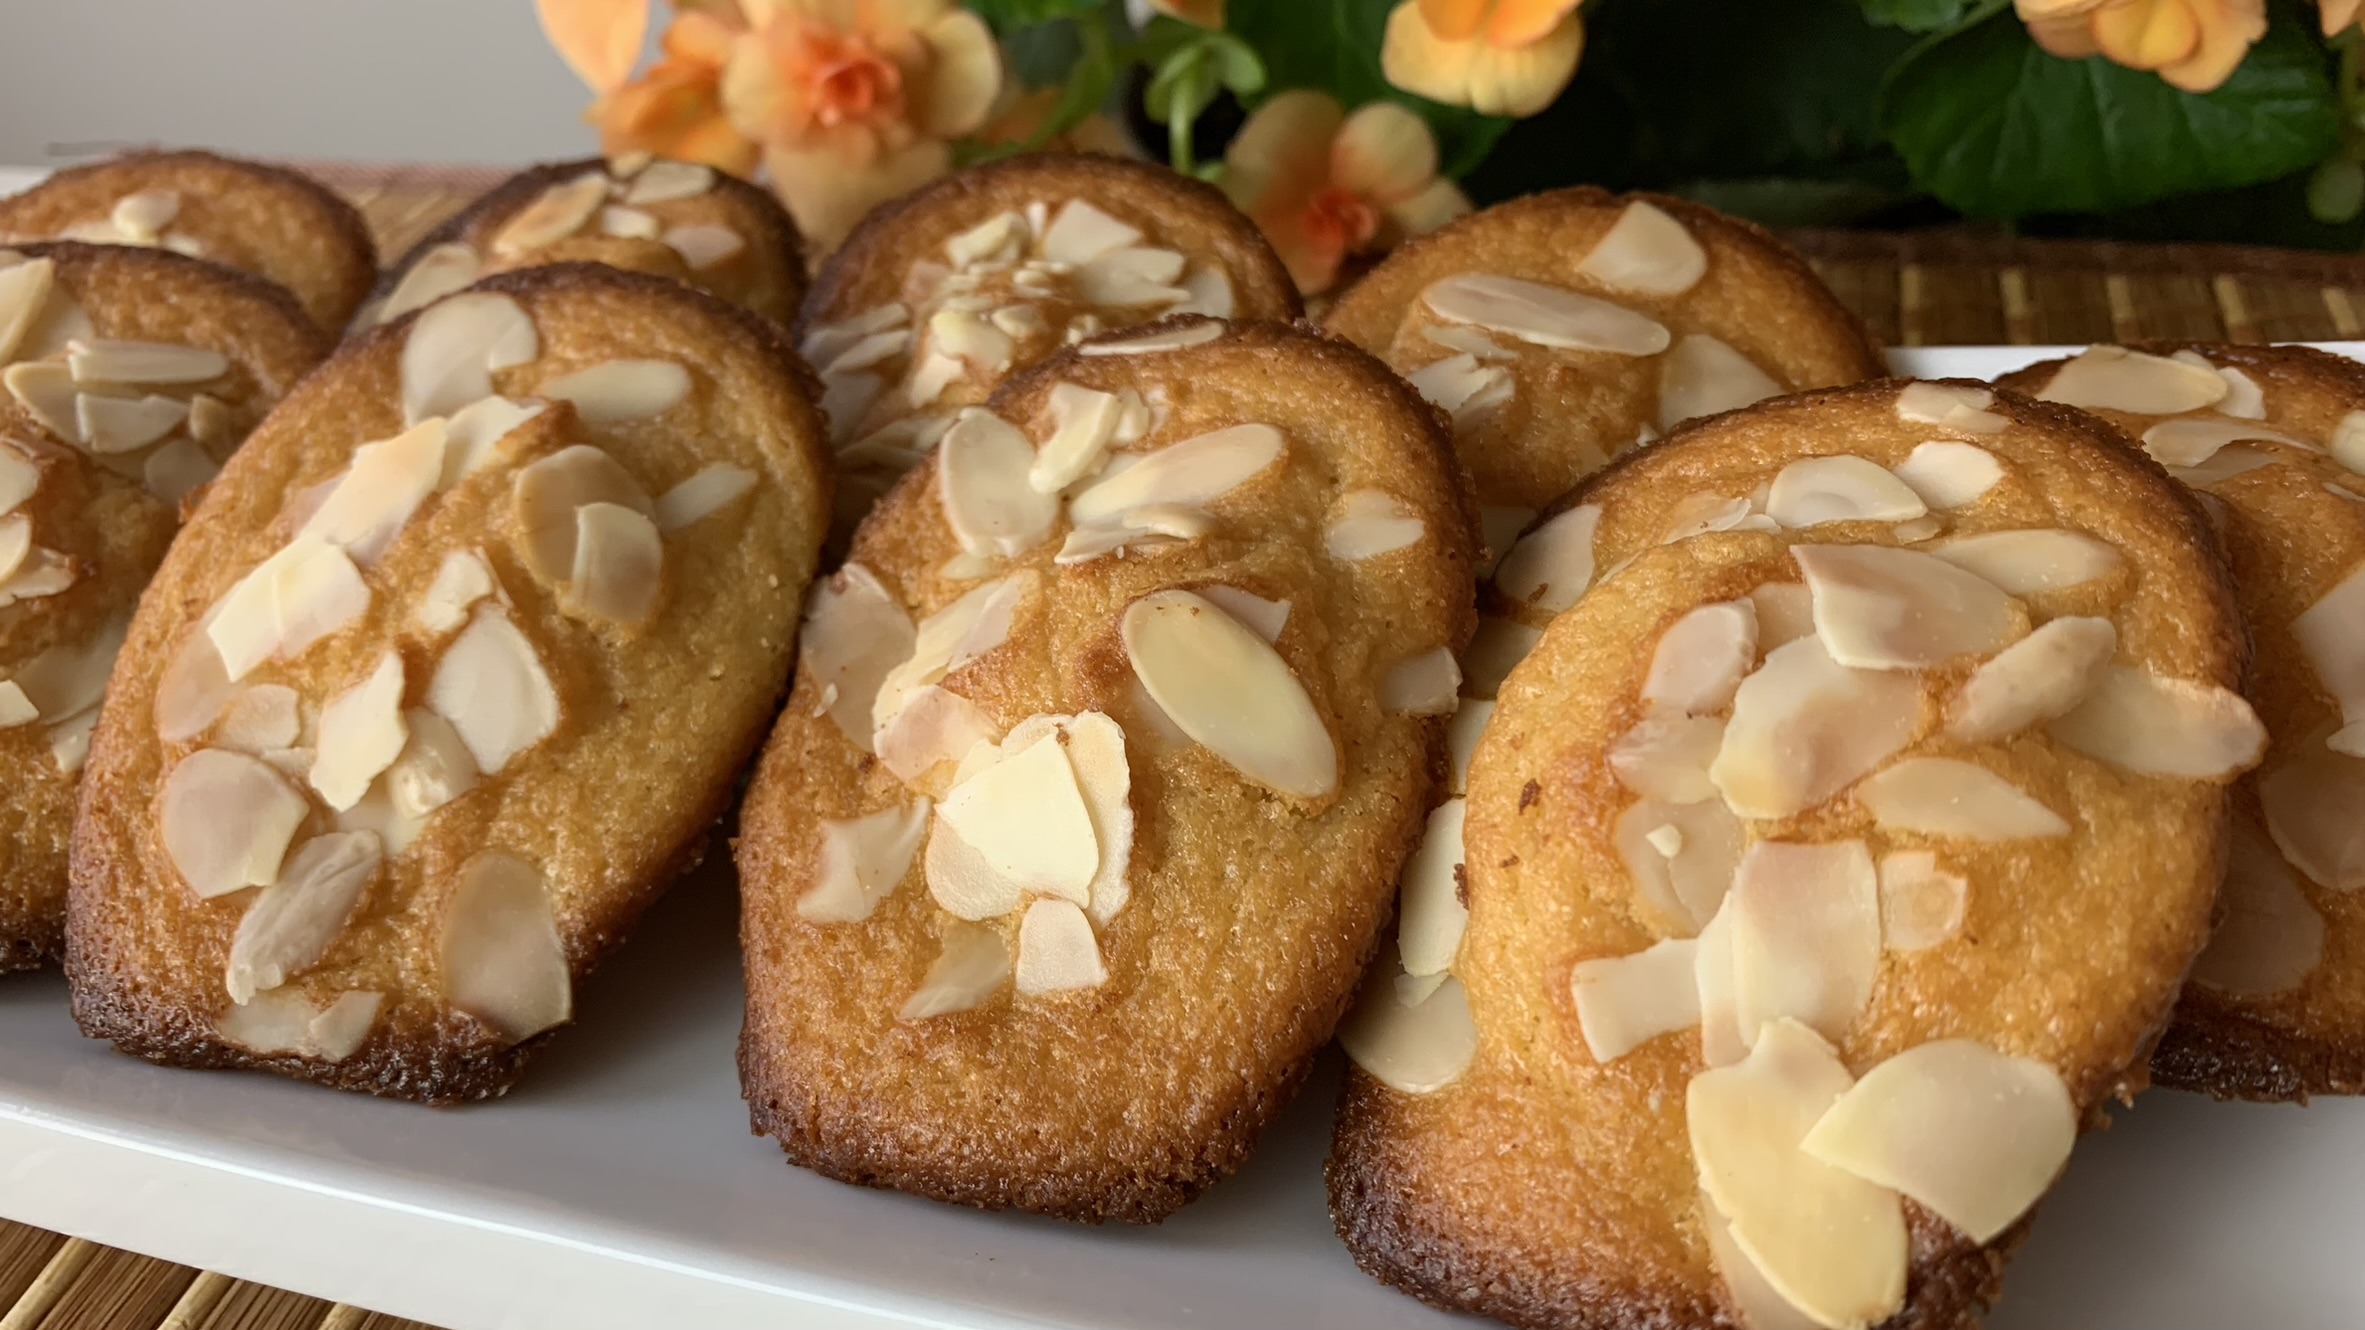
- Once baked to golden perfection, remove the cupcakes from the oven and allow them to cool in the tray for a few minutes.
Prep Time, Baking Information, and Servings:
- Prep Time: 20 minutes
- Baking Time: 30 minutes
- Servings: 6
Nutritional Information (Per Serving):
- Energy: 204 calories
- Protein: 4.18 g
- Fat: 10.33 g
- Carbohydrates: 26.49 g
- Fiber: 4 g
Storage and Particular Recommendations:
- Store your cupcakes in an airtight container at room temperature for up to 3 days or in the fridge for up to 1 week.
- Enjoy these cupcakes as a delightful breakfast on the go, a wholesome snack during the day, or a guilt-free dessert after a meal. They’re perfect for any occasion and sure to be a hit with everyone!