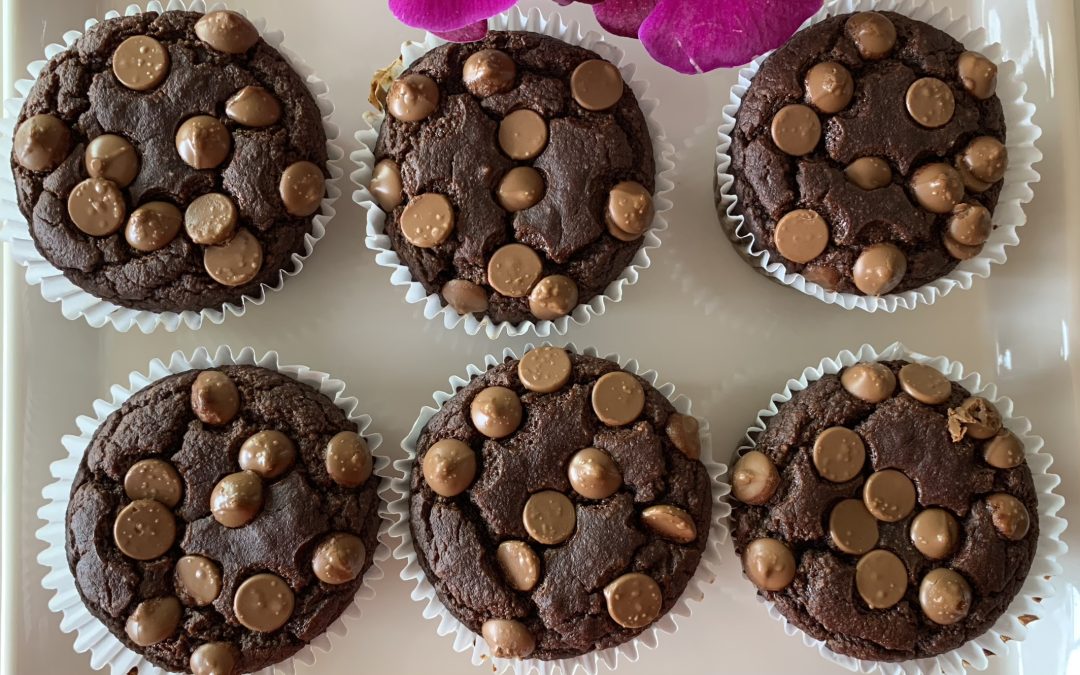
Almond Cupcakes

Almond Cupcakes

Almond Cupcakes
Indulge guilt-free in these delectable chocolate banana cupcakes, crafted with wholesome ingredients like almond flour and ripe bananas. These cupcakes are not only moist, fluffy, and bursting with rich chocolate flavor, but they are also gluten-free, making them a delightful and wholesome treat to enjoy on any occasion.
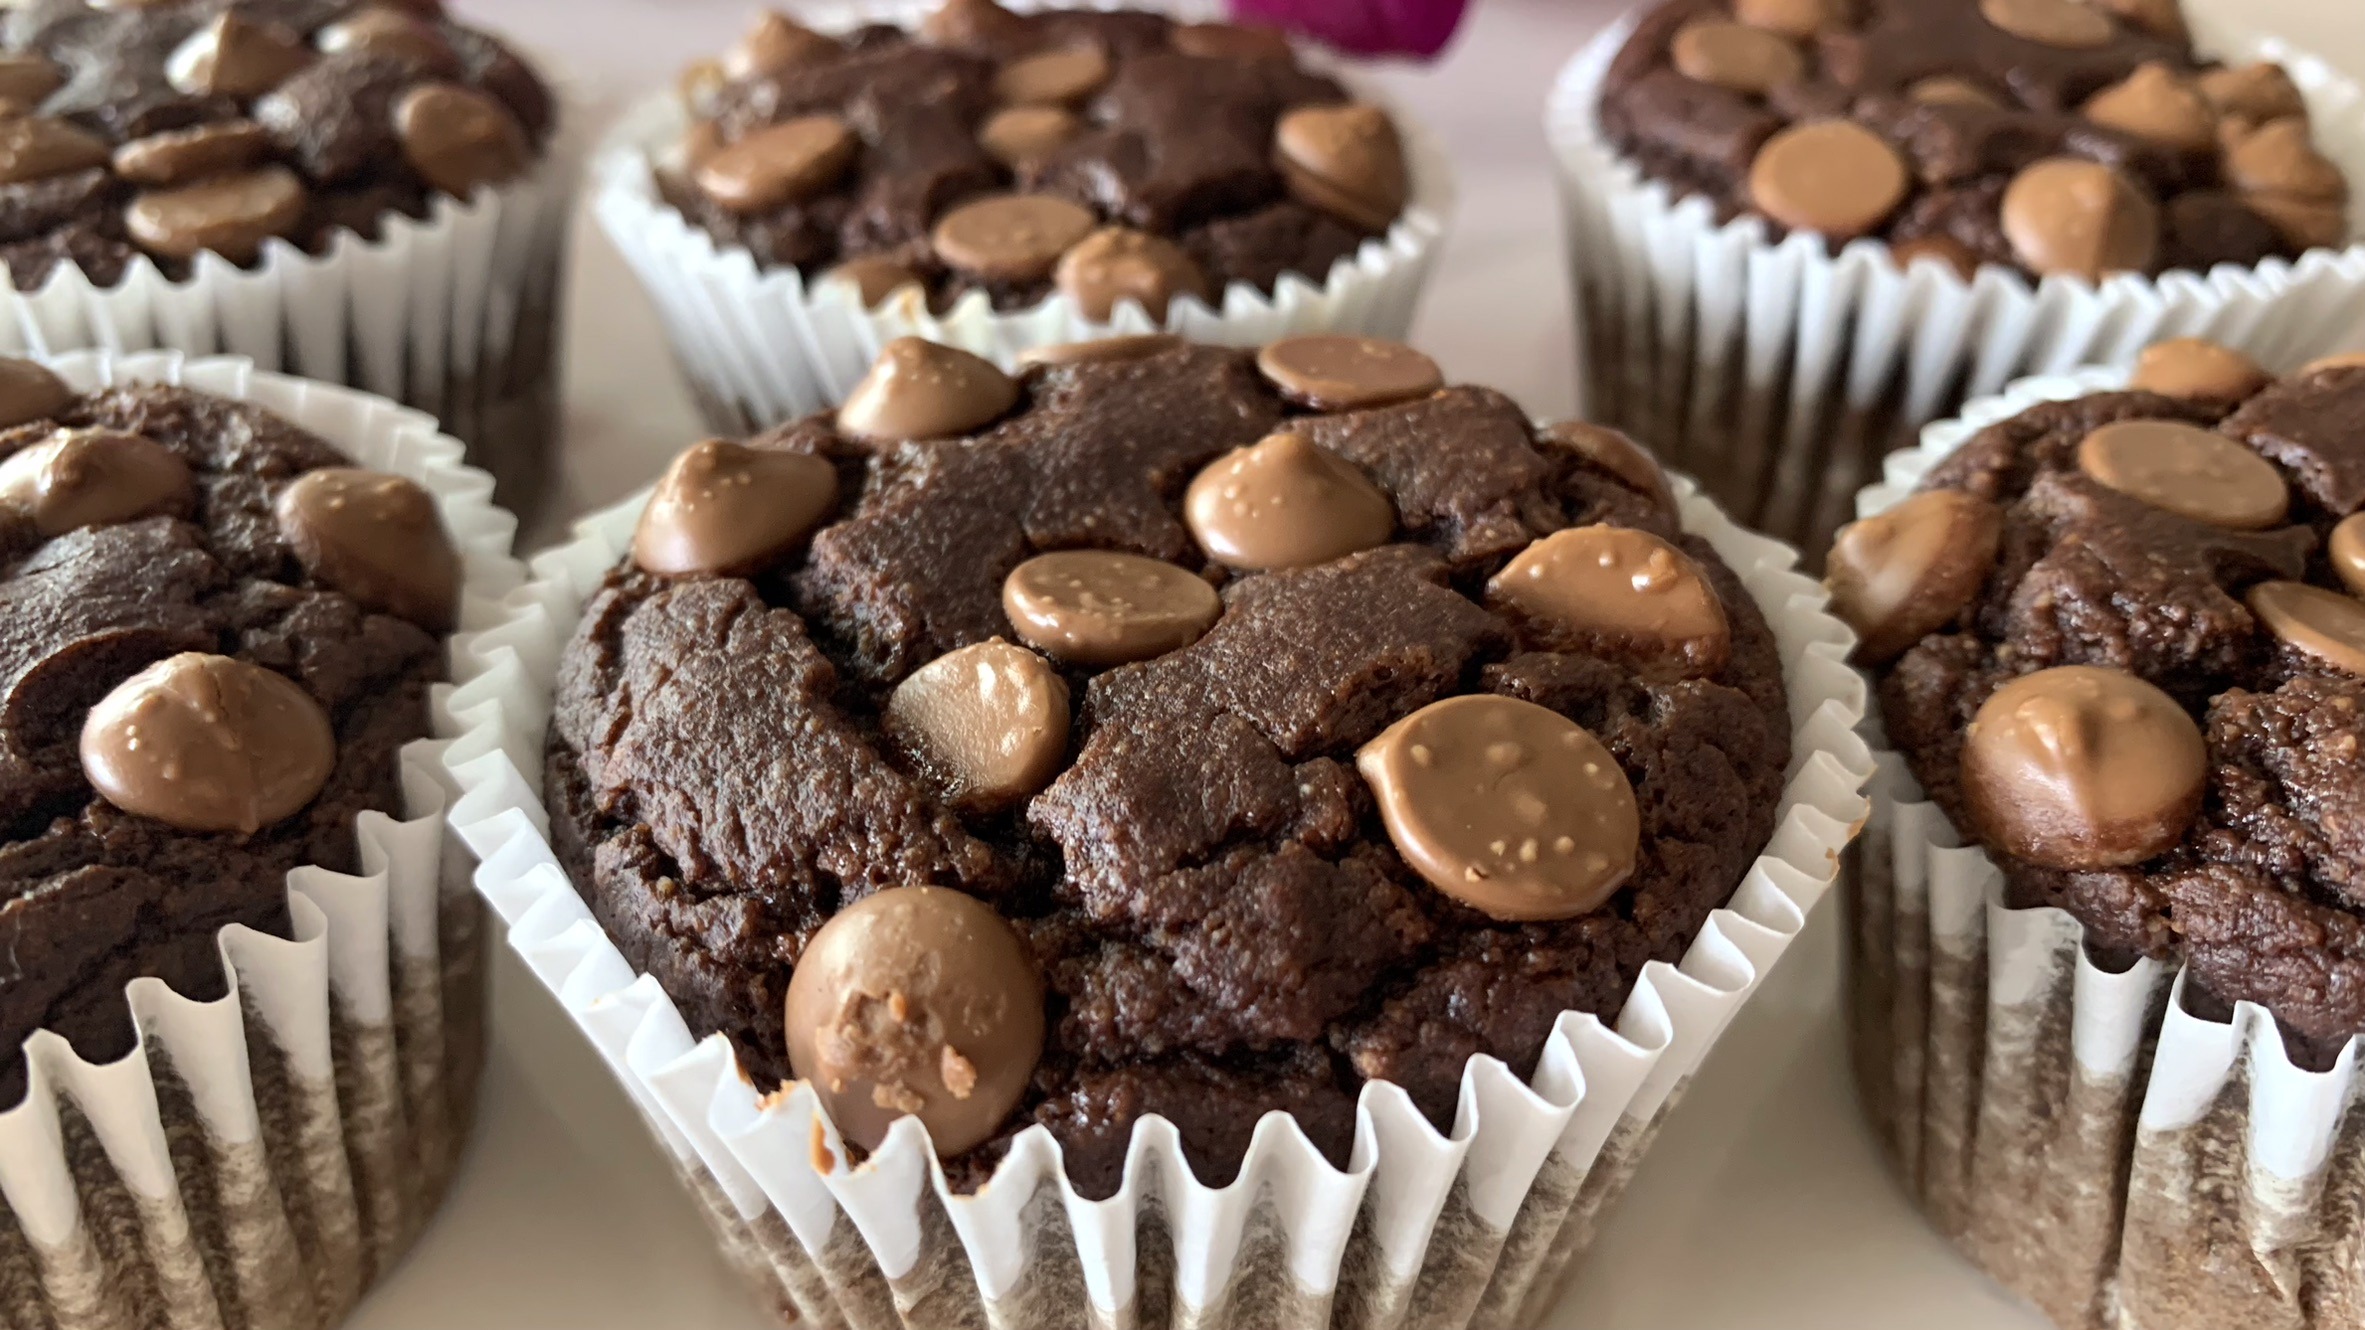
Almond flour is the key ingredient in these cupcakes, offering a gluten-free alternative that’s rich in healthy fats, protein, and fiber. Almond flour is made from finely ground almonds, which are packed with nutrients like vitamin E, magnesium, and antioxidants. These nutrients contribute to heart health, help manage blood sugar levels, and support overall well-being. Combined with the natural sweetness of ripe bananas, these cupcakes offer a healthier twist on traditional baked goods without compromising on taste.

Perfect as a snack or dessert, these Almond Flour Cupcakes are sure to satisfy your cravings while keeping you on track with your health goals.
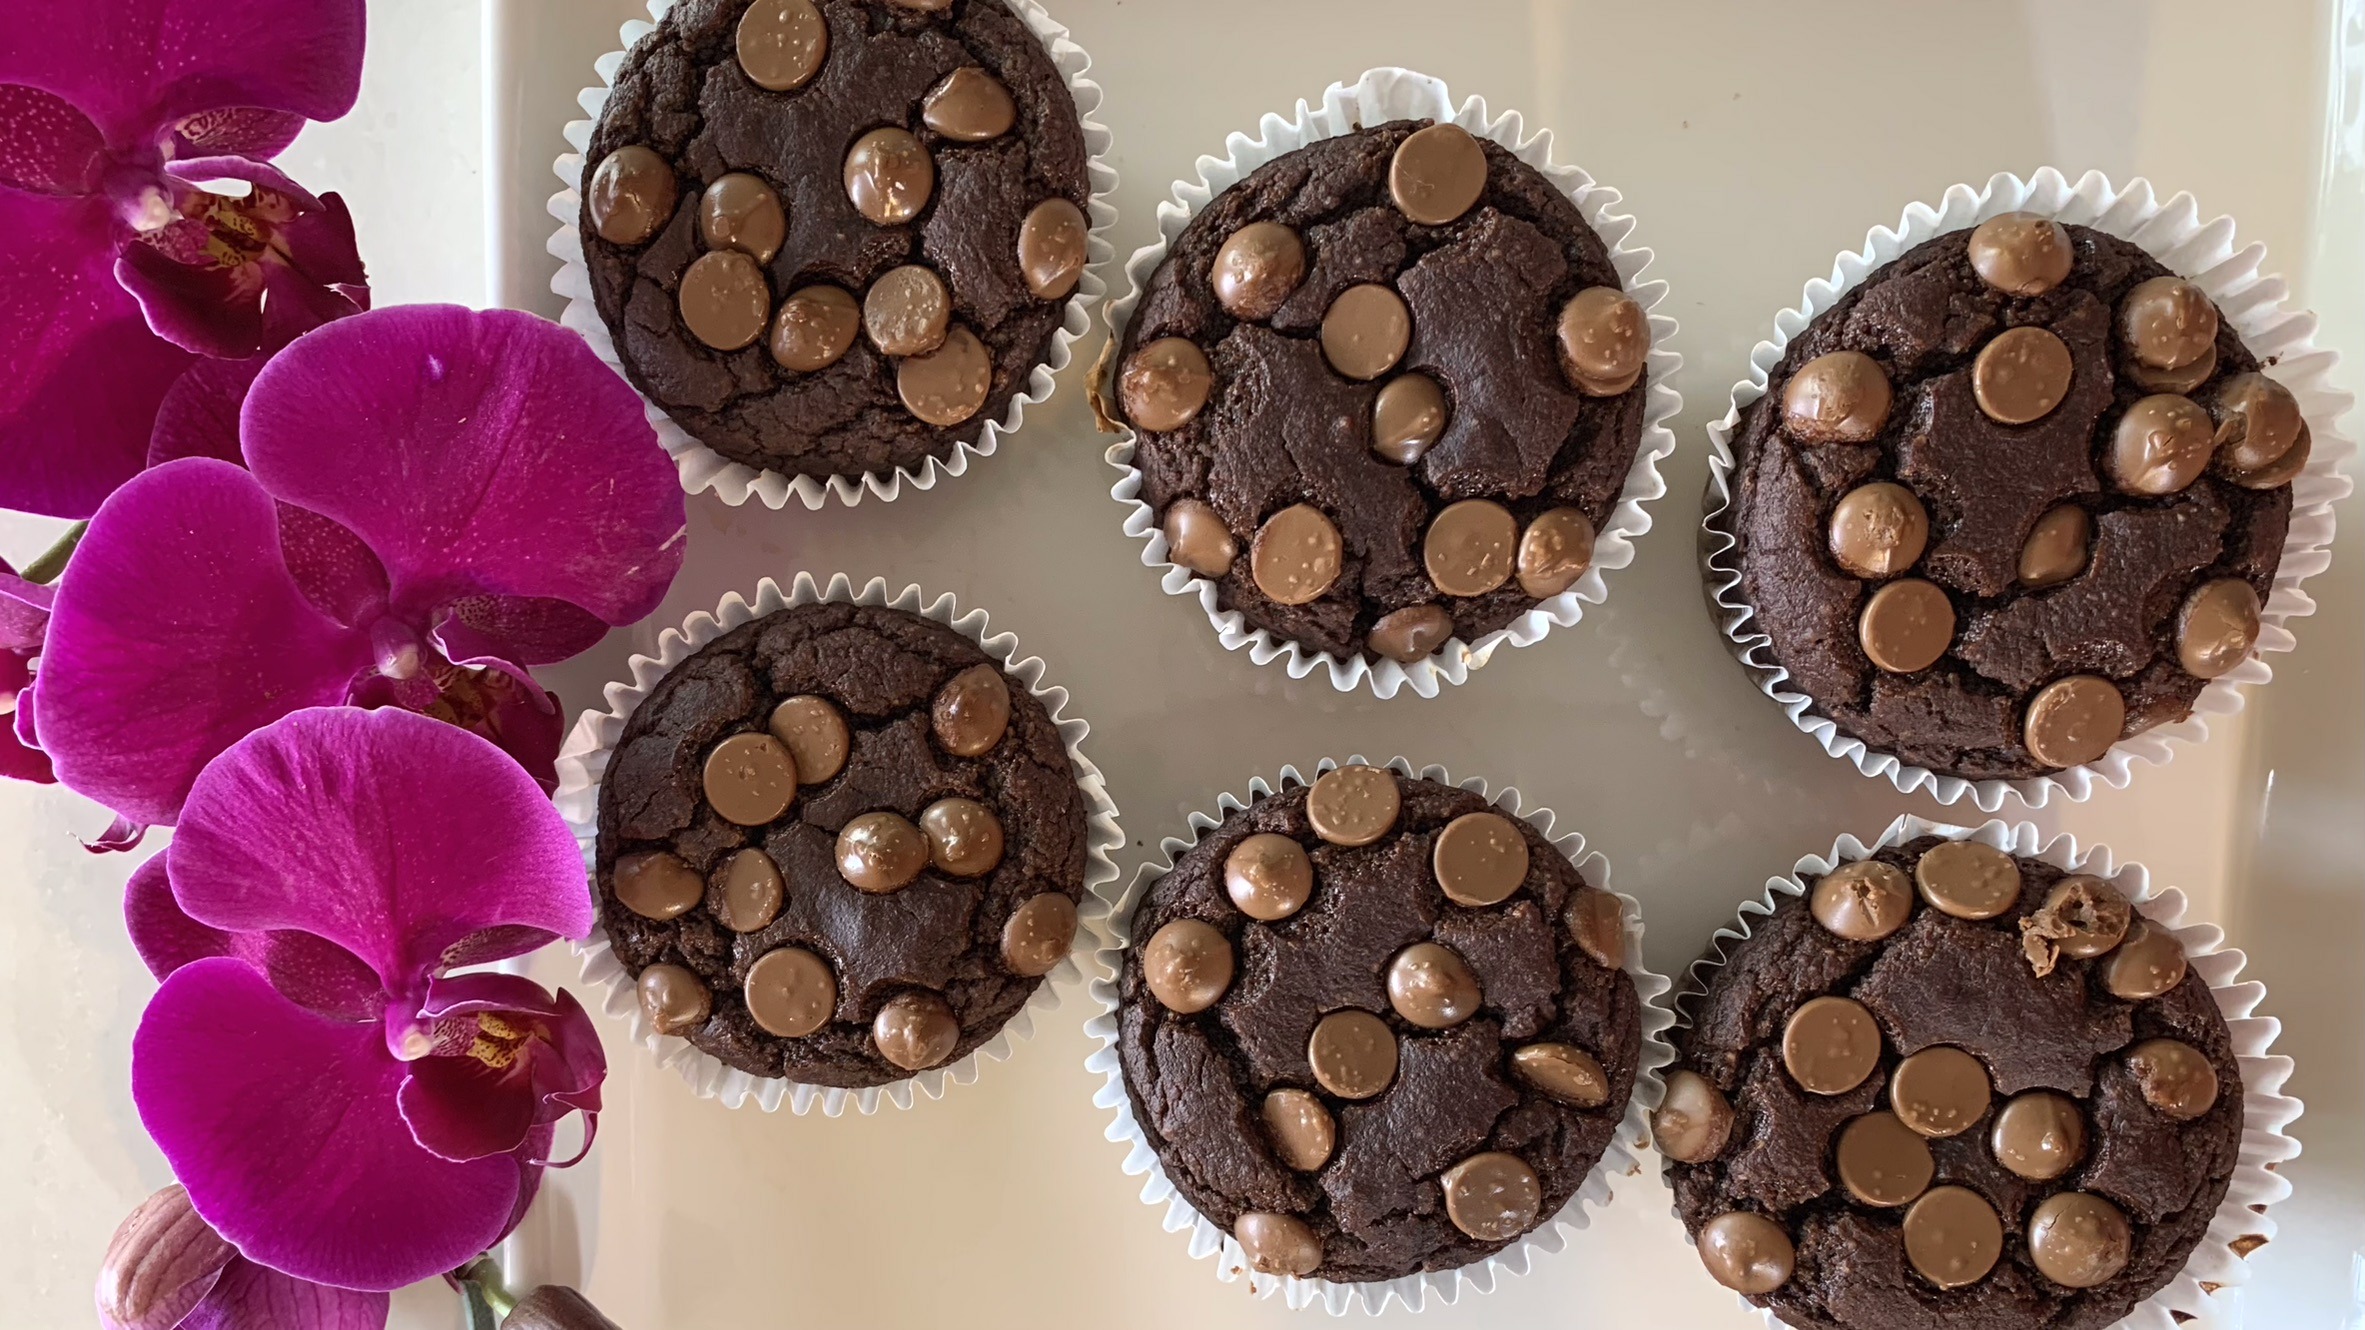
These Almond Flour Cupcakes are not just a treat for your taste buds but also a healthy choice that you can feel good about enjoying. Perfect for any occasion, these cupcakes are sure to become a favorite!

Ingredients

  • 3 ripe bananas or 200 g
  • 2 eggs
  • 1 cup (100 g) almond flour
  • 4 tbsp. cocoa powder
  • ½ tbsp. baking powder
  • 30 g chocolate chips for topping (optional)

Directions

  1. Preheat your oven to 350°F (180°C). Prepare cupcake paper liners and place them on a baking tray.
  2. In a large bowl, mash the ripe bananas until smooth.
  3. Add the eggs to the mashed bananas and mix thoroughly until well combined.
  4. Add cocoa powder and baking powder to the banana mixture. Gradually add almond flour and stir gently until all ingredients are well combined and the batter achieves a smooth consistency, resembling cake batter.
  5. Using an ice cream scooper, portion the batter evenly into the cupcake paper liners, filling each about 2/3 full.
  6. Place the baking tray in the preheated oven and bake for approximately 30 minutes, or until a toothpick inserted into the center of a cupcake comes out clean.
  7. Once baked, remove the cupcakes from the oven and transfer them to a wire rack to cool completely.

Prep Time and Servings

  • Makes: 6 Servings
  • Prep Time: 20 minutes
  • Baking Time: 30 minutes

Nutritional Information (Per 1 Serving)

  • Energy: 189 calories
  • Protein: 7.02 g
  • Fat: 12.62 g
  • Carbohydrates: 16.31 g
  • Fiber: 4.6 g

Storage and Recommendations

  • Store your cupcakes in an airtight container at room temperature for up to 3 days, or in the refrigerator for longer freshness.
  • Enjoy these guilt-free cupcakes as a delightful snack or dessert, perfect for any occasion.
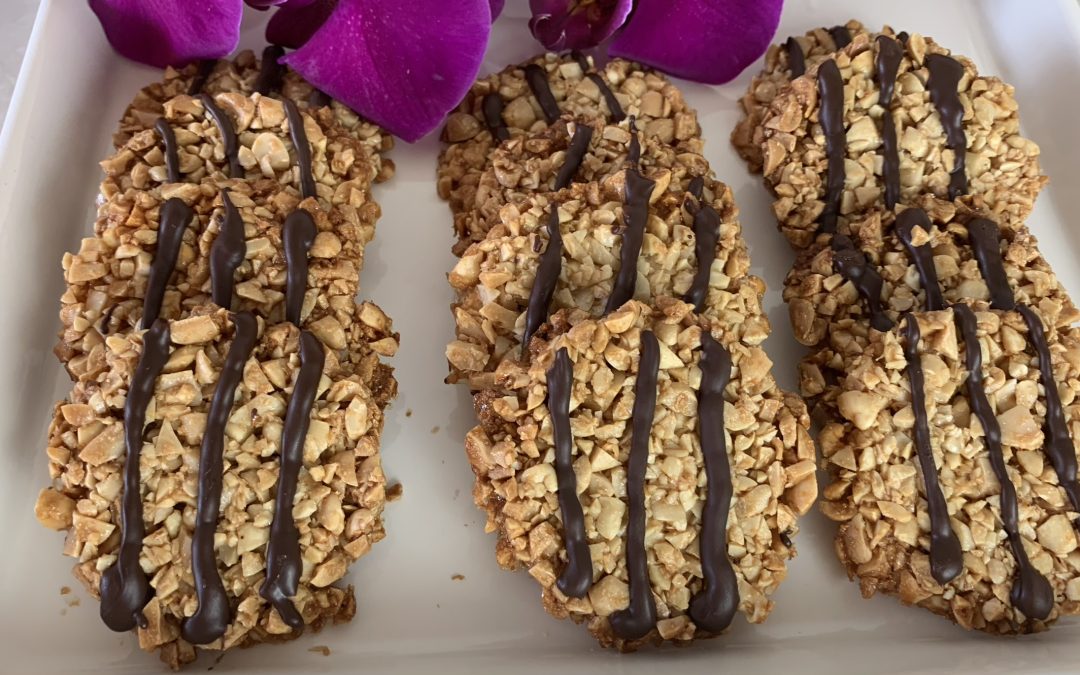
Maple Peanut Crunch

Maple Peanut Crunch

Maple Peanut Crunch

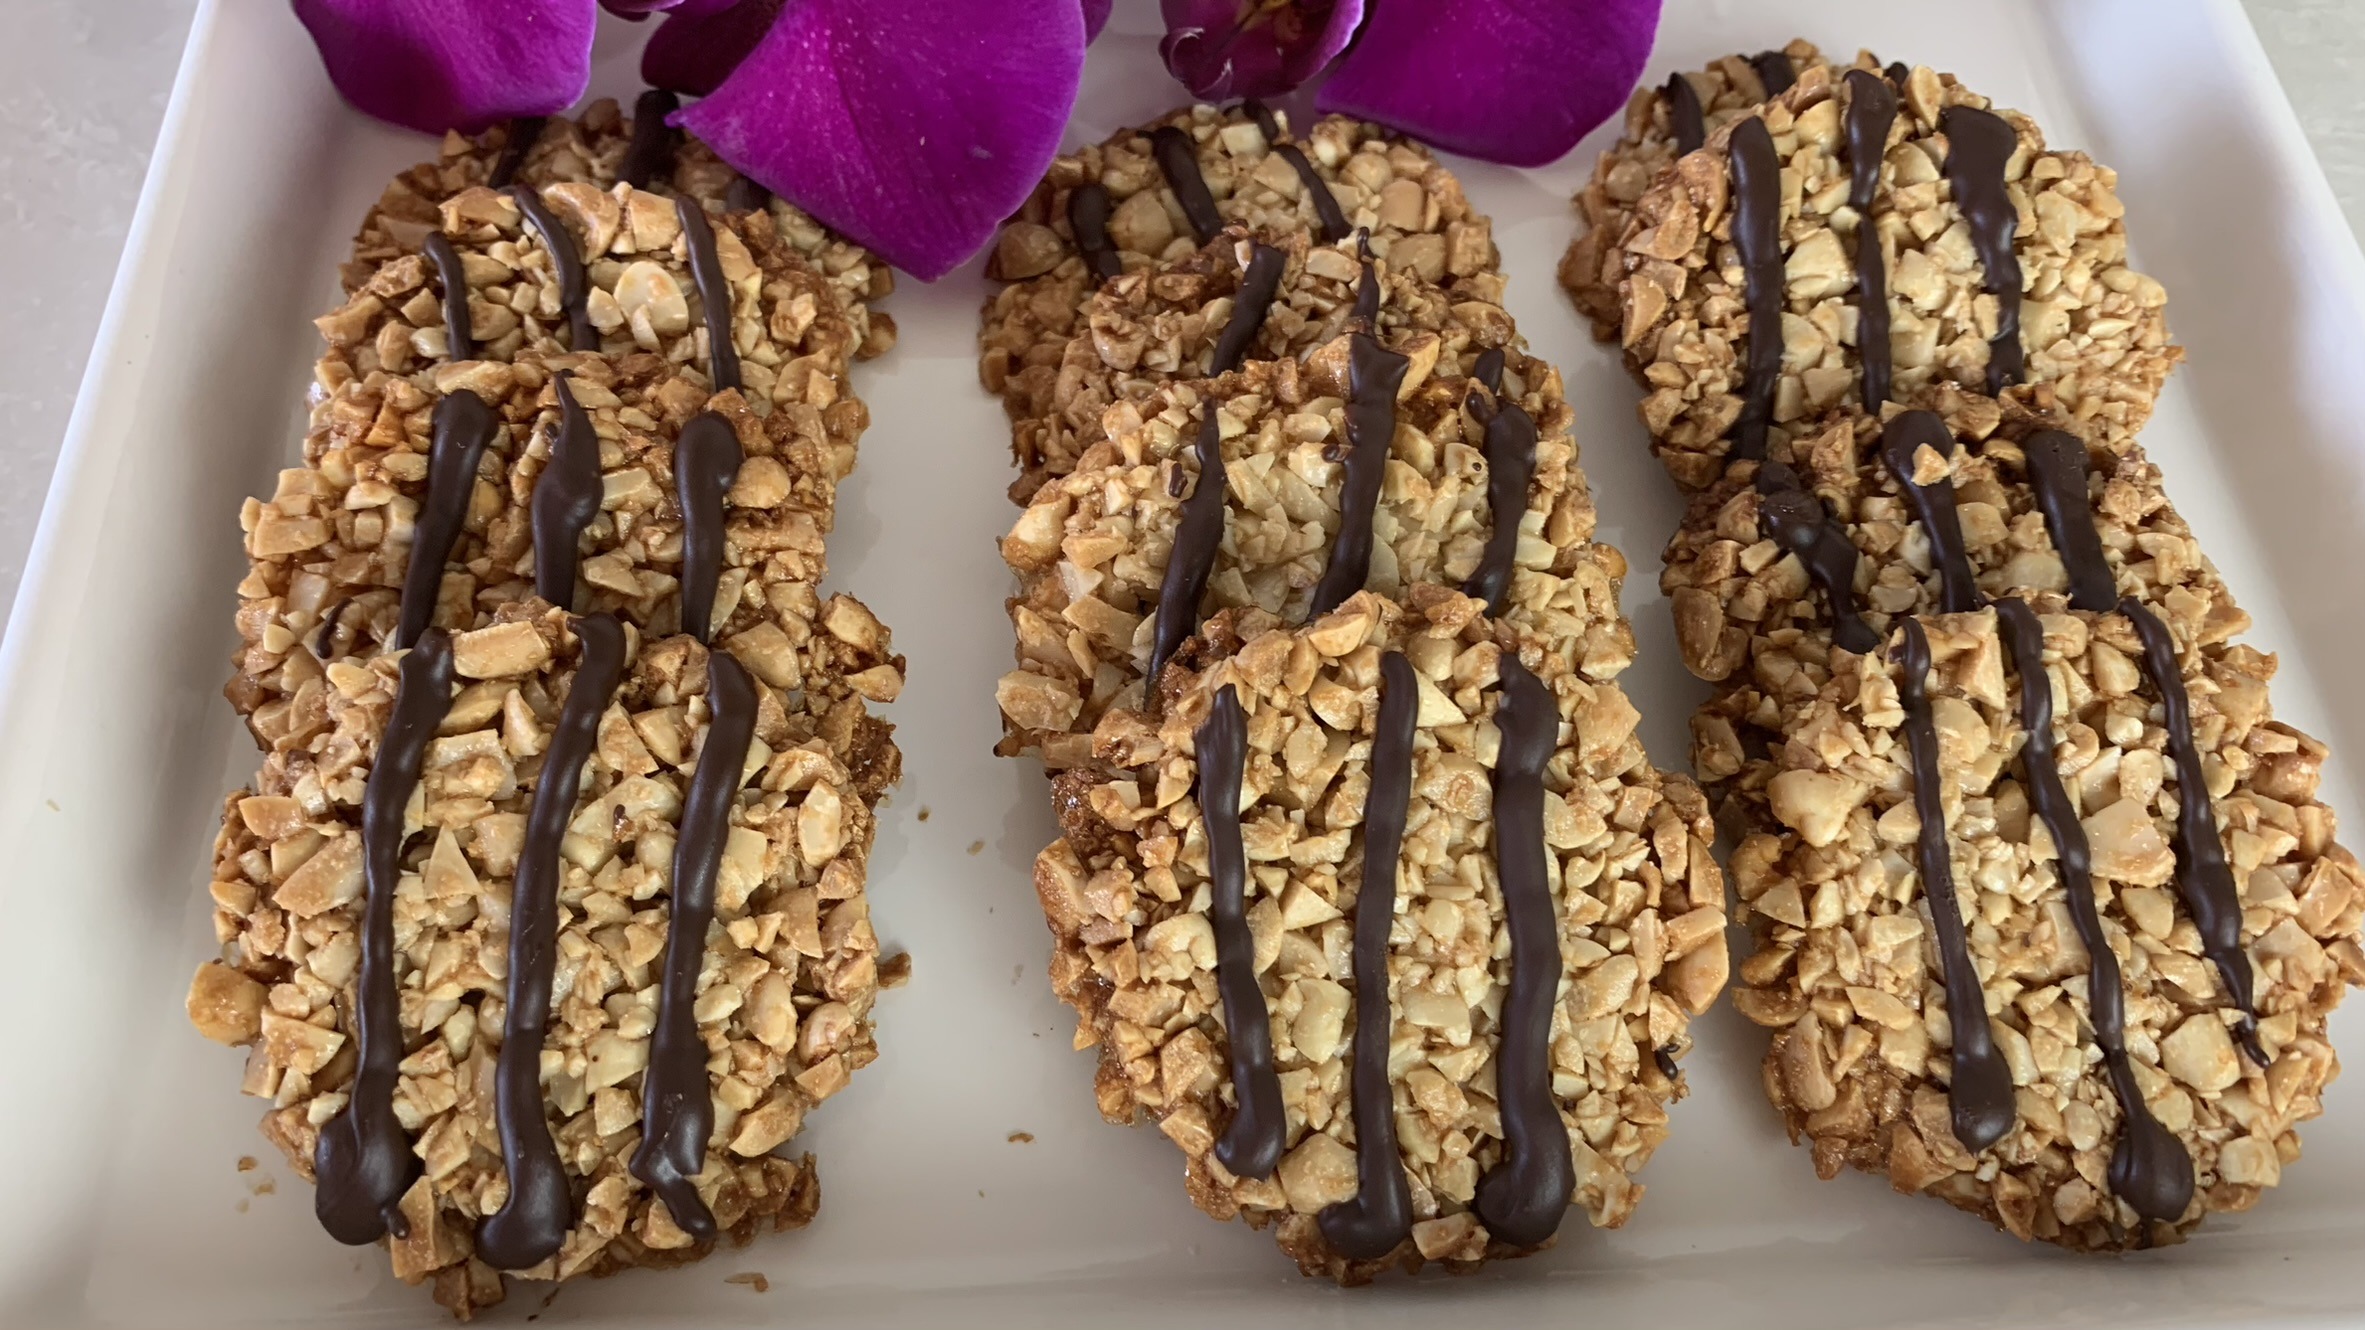
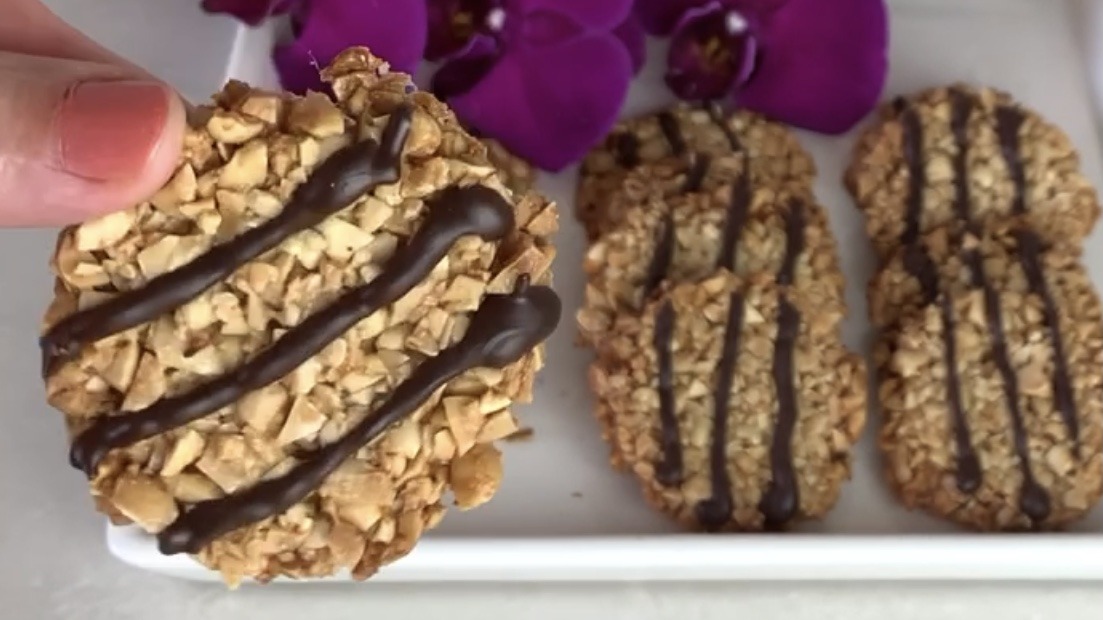
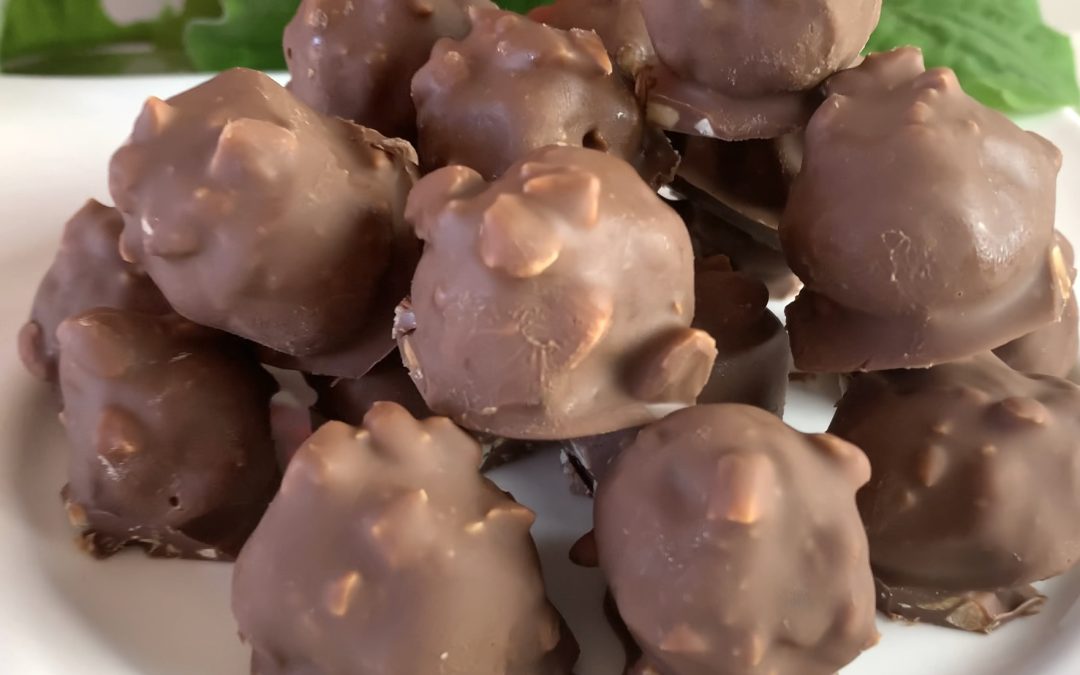
Indulge in the sweet and crunchy delight of Candied Maple Peanuts with this incredibly simple 2-ingredient recipe. These delightful treats combine the natural goodness of raw peanuts with the rich sweetness of maple syrup, creating a perfect balance of flavors. The result is a snack that’s not only delicious but also offers a nutritious boost, perfect for satisfying your sweet cravings in a healthier way.

Peanuts are a nutrient-rich food, providing an excellent source of protein, healthy fats, and essential vitamins and minerals, including vitamin E, magnesium, and potassium. Regular consumption of peanuts has been linked to numerous health benefits, such as reduced risk of heart disease, improved blood sugar control, and enhanced weight management. Maple syrup, on the other hand, is a natural sweetener that contains antioxidants and minerals like zinc and manganese. Together, these ingredients create a snack that’s not just tasty but also beneficial for your overall well-being.

This recipe is perfect for anyone looking for a quick and satisfying treat. Whether you enjoy them as a snack on their own or as a topping for desserts, these Candied Maple Peanuts are sure to become a favorite.

Ingredients

  • 1 cup (140 g) raw blanched peanuts
  • 4 tbsp. maple syrup
  • 30 g dark chocolate (optional)

Directions

  1. Coarsely chop the raw peanuts and transfer them to a mixing bowl.
  2. Add maple syrup to the peanuts and mix until the peanuts are well coated with the syrup.
  3. Preheat your oven to 350°F (175°C). Line a baking tray with parchment paper.
  4. Spoon a tablespoon of the peanut mixture into a circular biscuit cutter placed on the baking tray. Press down on the mixture to flatten. Repeat the process until all the mixture is used.
  5. Bake the candied peanuts for 15 minutes.
  6. Allow the candied peanuts to cool and harden on the baking tray without touching them.
  7. If desired, melt the dark chocolate and drizzle it over the cooled candied peanuts for an extra touch of indulgence.

Prep Time and Servings

  • Makes: 12 Servings
  • Prep Time: 20 minutes
  • Baking Time: 15 minutes

Nutritional Information (Per 1 Serving)

  • Energy: 101 calories
  • Protein: 3.04 g
  • Fat: 6.86 g
  • Carbohydrates: 8.1 g
  • Fiber: 1.3 g

Storage and Recommendations

  • Store the candied peanuts in an airtight container to maintain freshness. Keep them for up to 10 days.
  • These treats are vegan and gluten-free.
  • Enjoy these sweet and crunchy goodness to satisfy your sweet cravings.
Crunchy Oat Biscuits

Crunchy Oat Biscuits

Crunchy Oat Biscuits

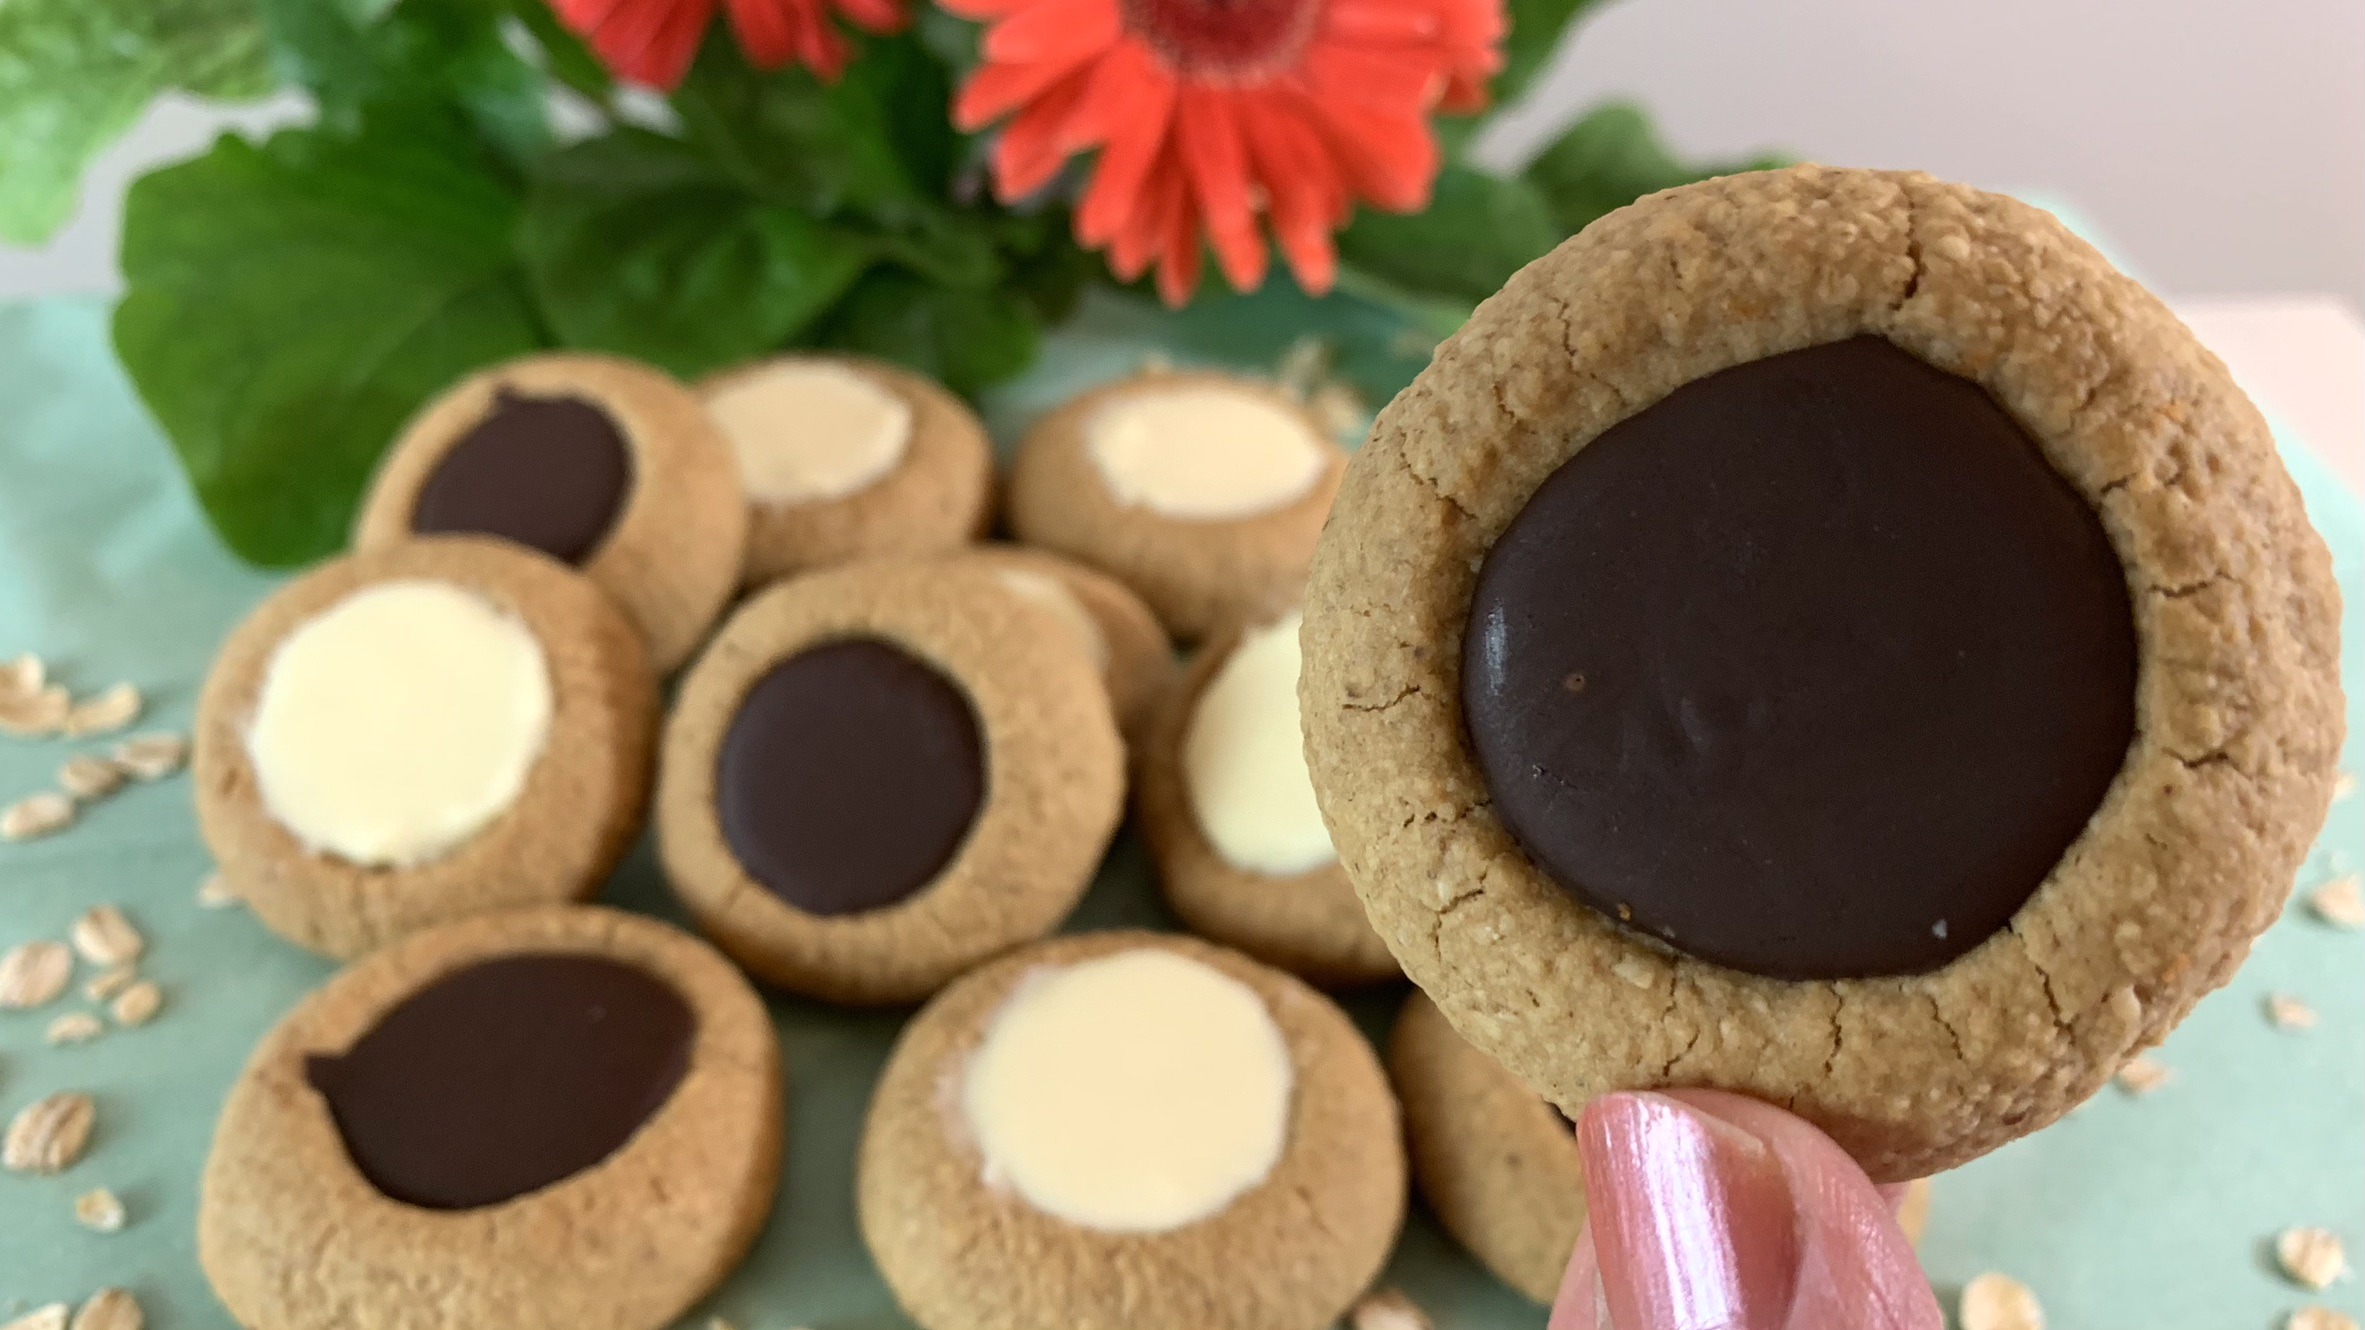
Why settle for store-bought oat biscuits when you can easily whip up your own incredibly tasty, nutritious, and crunchy version in just a few minutes? These homemade oat biscuits require only a handful of ingredients, and the results are nothing short of delightful. Whether you’re craving a quick snack or looking to impress guests with a homemade treat, these biscuits are your go-to solution.

The key ingredient in this recipe is oats, a versatile and nutritious whole grain that’s packed with health benefits. Oats are an excellent source of soluble fiber, which helps reduce cholesterol levels, manage blood sugar, and keep you feeling full longer. They are also rich in antioxidants and provide a good amount of protein, making them an ideal choice for anyone looking to maintain a balanced diet. Incorporating oats into your regular meals can support heart health, aid digestion, and contribute to overall well-being.

With the addition of peanut butter, maple syrup, and a hint of vanilla, these oat biscuits strike the perfect balance between health and flavor. Enjoy them with your favorite hot beverage, and you’ll never look at store-bought biscuits the same way again!

Ingredients

For the Cookies:

  • 1 cup (80 g) old-fashioned rolled oats
  • 1/3 cup (90 g) peanut butter
  • 1/3 cup maple syrup (or honey or any liquid sweetener of your choice)
  • 1 tsp. vanilla extract (or any preferred flavoring ingredient, such as cinnamon)
  • Pinch of salt

For the Garnish (optional):

  • 30 g dark chocolate
  • 30 g white chocolate

Directions

  1. In a mixing bowl, combine old-fashioned rolled oats, peanut butter, maple syrup (or honey), vanilla extract, and a pinch of salt.
  2. Stir well to combine and achieve a dough-like consistency that is easy to work with.
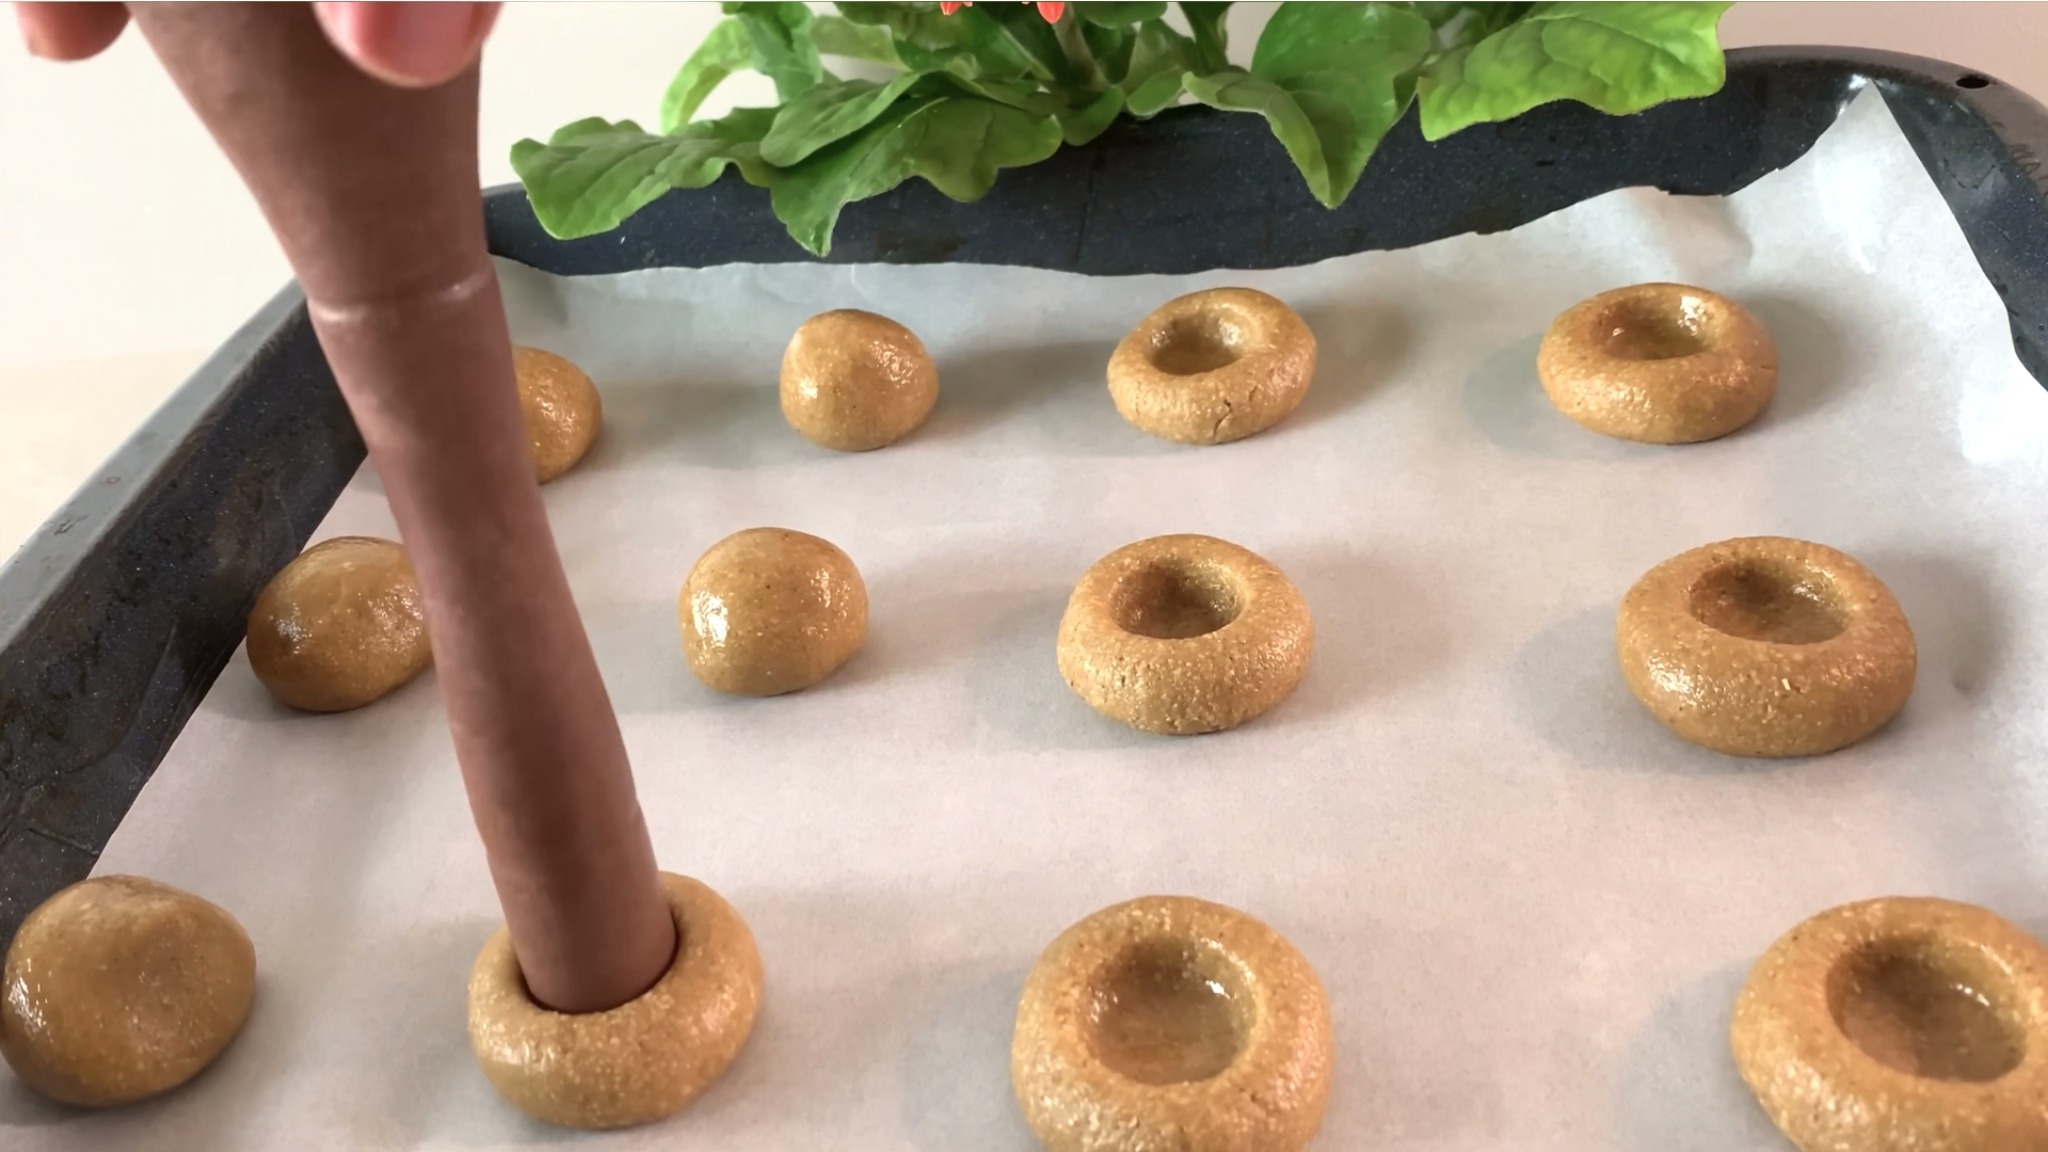
  3. Using your hands, shape the dough into tablespoon-sized balls and place them on a baking tray lined with parchment paper.
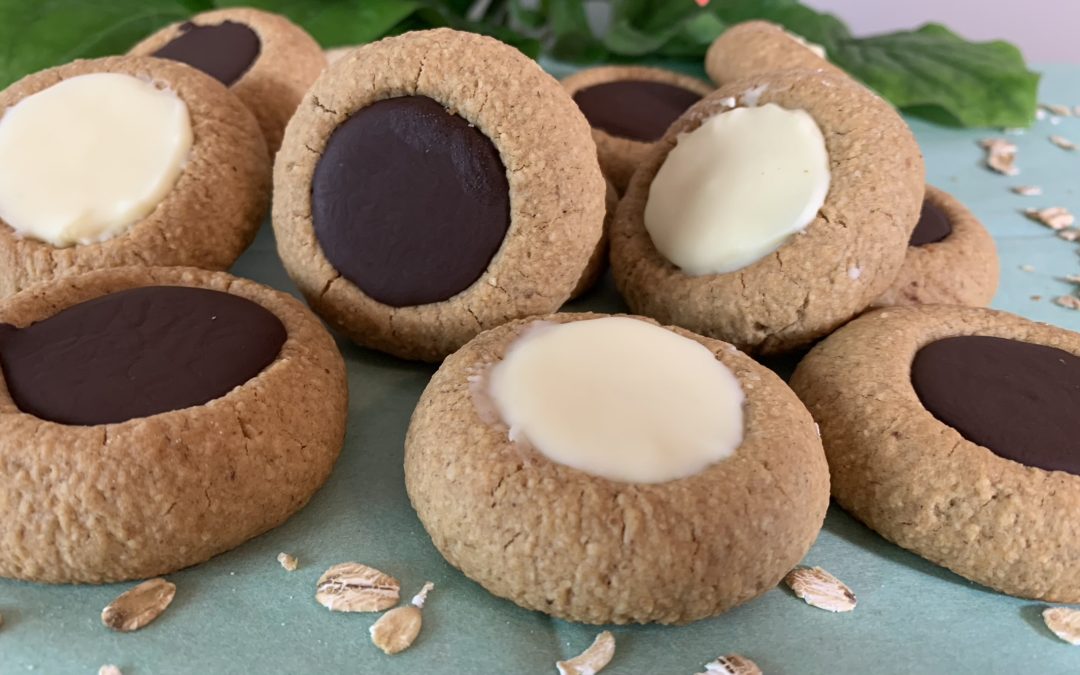
  4. Press the back of a measuring teaspoon into each ball to create a circular hole in the center.
  5. Bake the biscuits in a preheated oven at 350°F (175°C) for approximately 20 minutes or until golden brown.
  6. Once baked, allow the biscuits to cool completely on the baking tray.
  7. Melt the dark and/or white chocolate separately and fill the circular holes.
  8. Refrigerate for about an hour to allow the chocolate to set and achieve a smooth finish.
  9. Serve your rich and crunchy oat biscuits with a cup of hot milk or coffee.

Prep Time and Servings

  • Makes: 12 Biscuits
  • Prep Time: 30 minutes
  • Baking Time: 20 minutes
  • Chill Time: 1 hour

Nutritional Information (Per 1 Biscuit)

  • Energy: 123 calories
  • Protein: 3.14 g
  • Fat: 6.19 g
  • Carbohydrates: 14.57 g
  • Fiber: 1.4 g

Storage and Recommendations

  • Store your oat biscuits in an airtight container at room temperature for up to one week.
  • These treats are vegan and gluten-free.
  • Customize your oat biscuits by adding chopped nuts, dried fruits, or spices to the dough.
Ferrero Rocher Dates

Ferrero Rocher Dates

Ferrero Rocher Dates

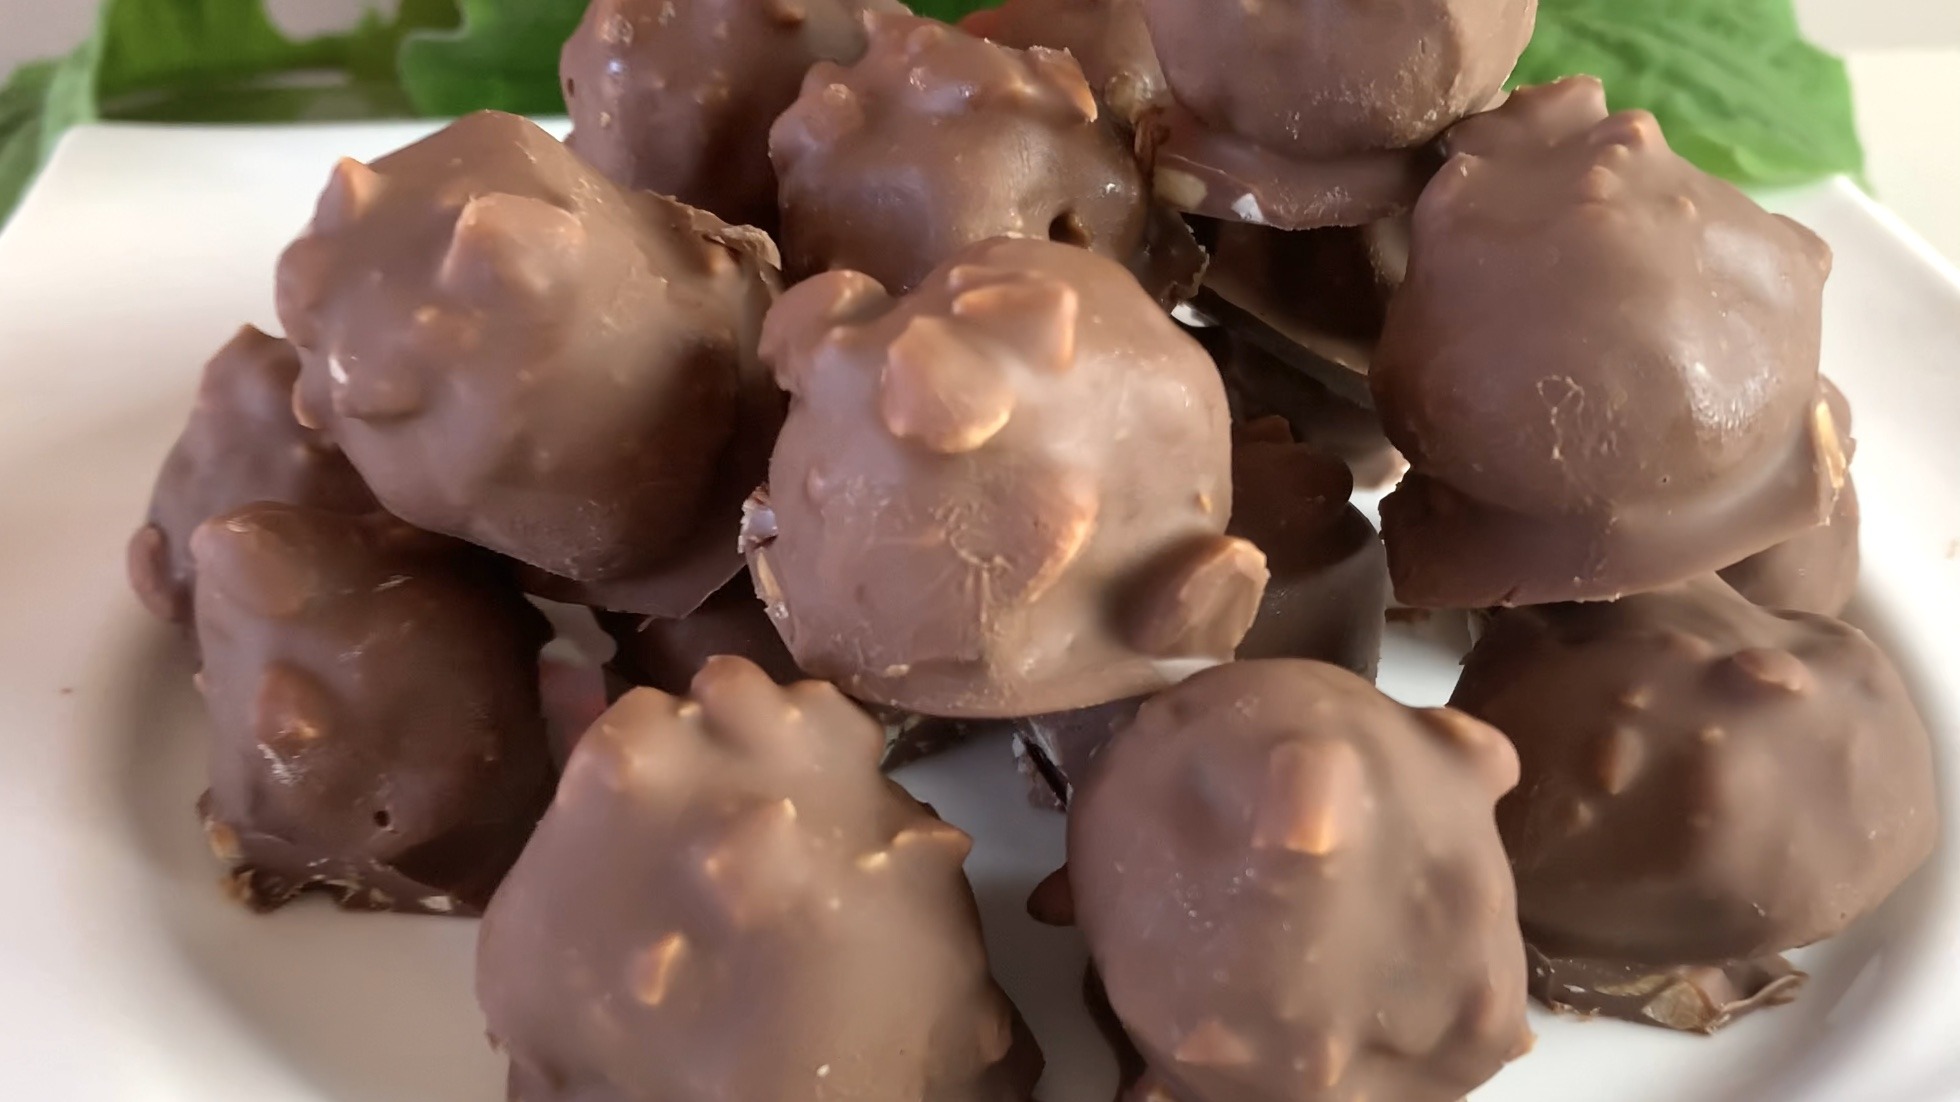
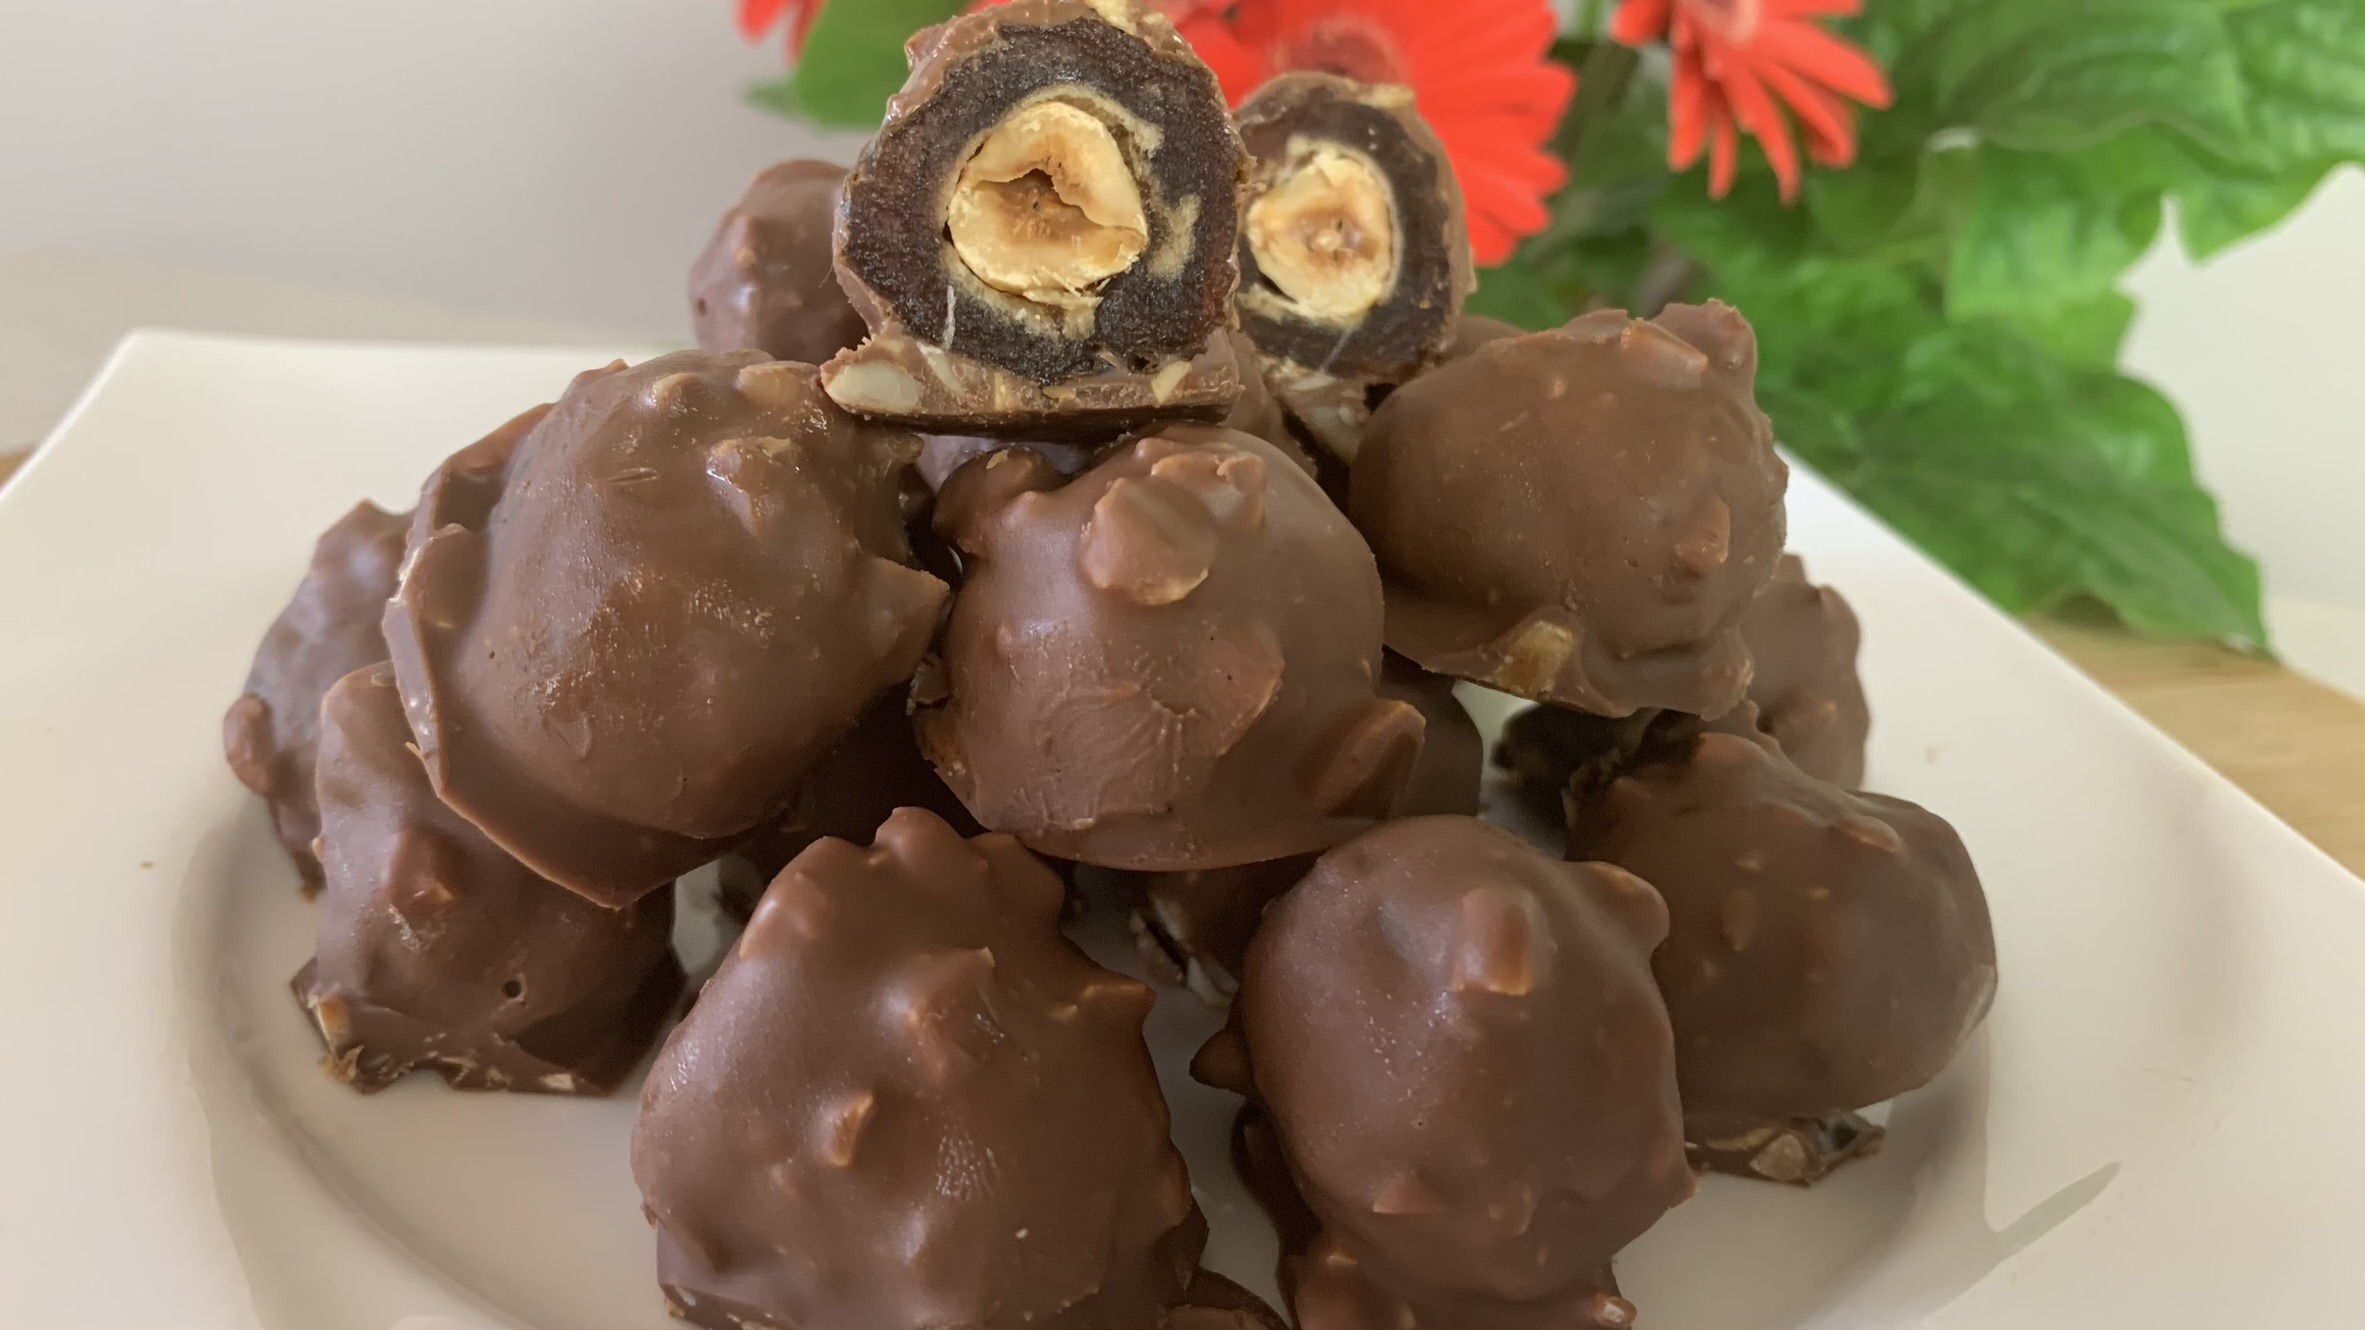
Indulge in a luxurious treat that’s both decadent and health-conscious with these “Ferrero Rocher” inspired stuffed dates. Imagine the classic flavors of Ferrero Rocher, but in a more natural, wholesome form. This delightful confection combines the natural sweetness of dates with the rich, nutty taste of hazelnuts, all enrobed in a luscious dark chocolate coating. It’s the perfect balance between indulgence and nutrition, making these treats not just a pleasure for your taste buds, but also a boost for your well-being.

Dates are the star ingredient of this recipe, and for a good reason. Packed with essential nutrients like fiber, potassium, and magnesium, dates are known for their energy-boosting properties. They have a natural sweetness that makes them a healthier alternative to refined sugars, helping you satisfy your sweet cravings without the guilt. Regular consumption of dates can aid digestion, support heart health, and provide a steady release of energy throughout the day, making them an excellent addition to your diet.

Whether you’re treating yourself or gifting these delectable bites to loved ones, these Ferrero Rocher-inspired dates are sure to impress. They’re easy to make, full of flavor, and offer a touch of elegance to any occasion.

Ingredients

  • 185 g pitted, soft and small-sized dates
  • 35 g (or 20 units) hazelnuts for the filling
  • 30 g hazelnuts for the coating
  • 1/3 cup dark chocolate chips
  • 1/2 tbsp. coconut oil

Directions

  1. Choose soft and small-sized dates. Remove the pits and set them aside.
  2. Bake hazelnuts for 10 minutes at 350°F (175°C) until lightly toasted.
  3. Place one roasted hazelnut inside each date, filling the cavity left by removing the pit, and press gently to shape a round.
  4. Melt the dark chocolate chips with coconut oil in a microwave-safe bowl or using a double boiler.
  5. Add chopped roasted hazelnuts to the melted chocolate and stir well to combine.
  6. Dip individual stuffed dates into the melted chocolate mixture, ensuring they are well coated on all sides.
  7. Place the coated dates on a large tray covered with parchment paper.
  8. Let them sit in the fridge for 1 hour or until the chocolate coating is set.

Prep Time and Servings

  • Makes: 20 Chocolates
  • Prep Time: 30 minutes
  • Chill Time: 1 hour

Nutritional Information (Per 1 Chocolate)

  • Energy: 79 calories
  • Protein: 1.1 g
  • Fat: 4.48 g
  • Carbohydrates: 9.78 g
  • Fiber: 1.6 g

Storage and Recommendations

  • Store your stuffed dates in an airtight container in the fridge for up to 1 week or in the freezer for up to 3 months.
  • These treats are vegan and gluten-free.
  • Share these homemade treats with friends and family during festive gatherings or special occasions.
Granola Bowl

Granola Bowl

Granola Bowl

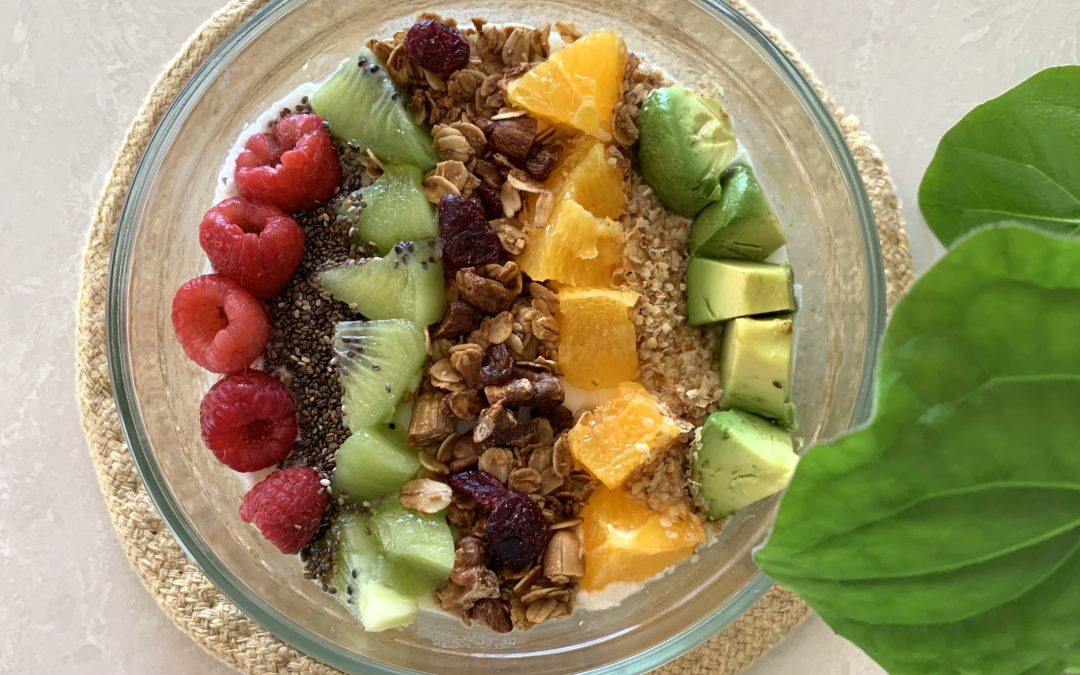
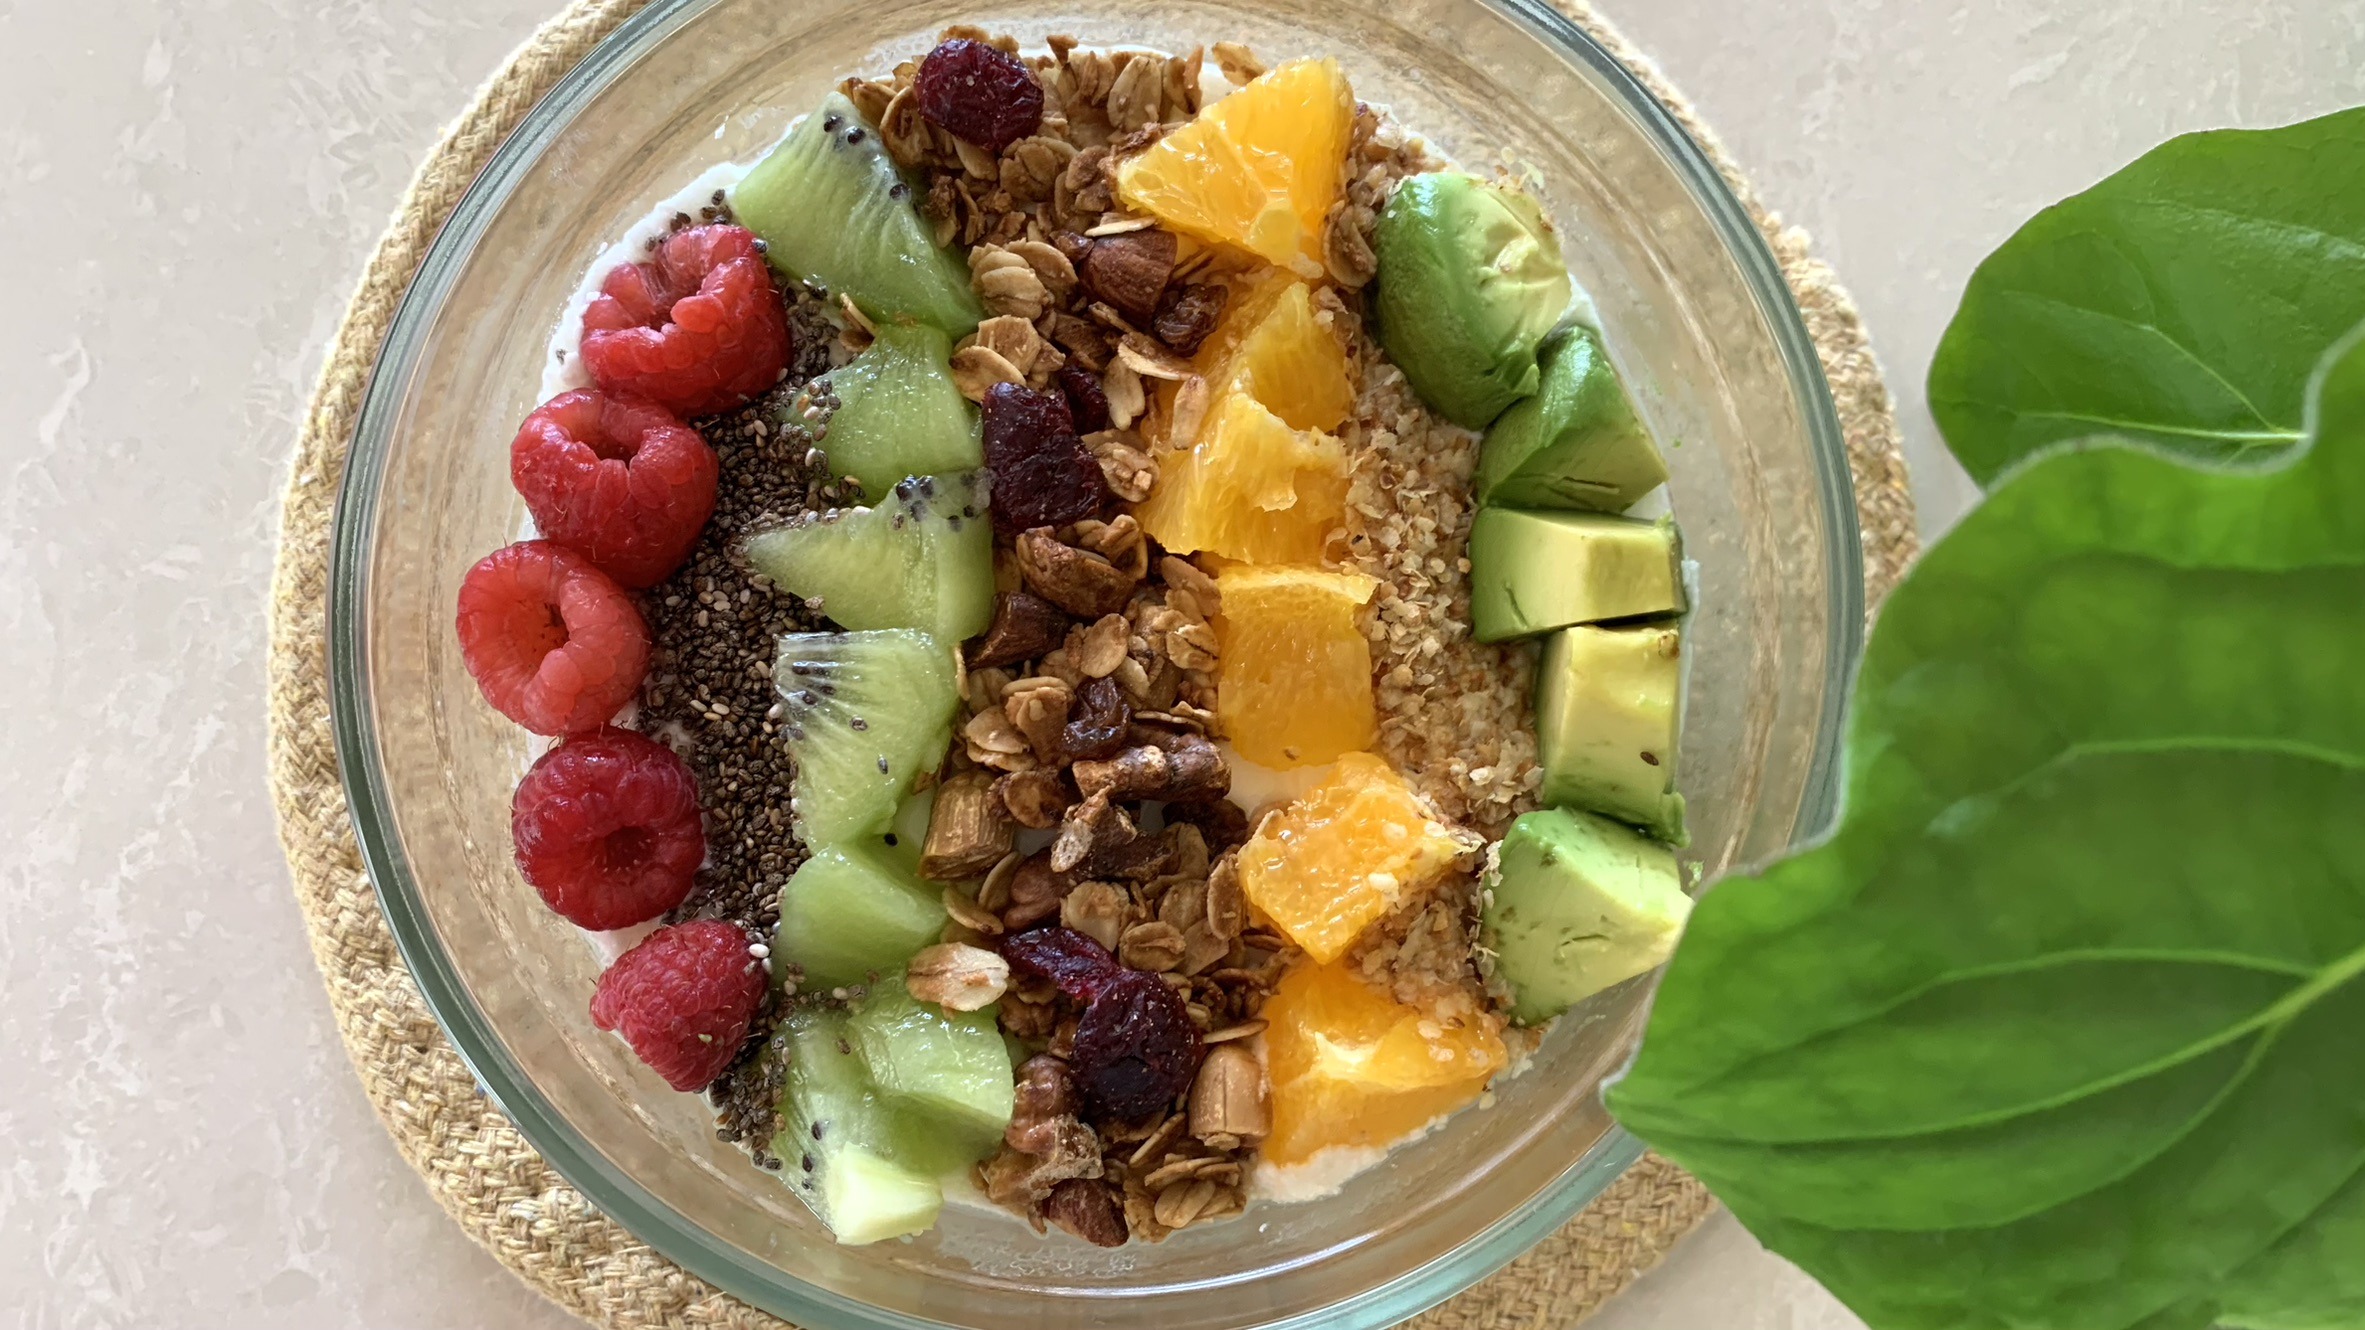
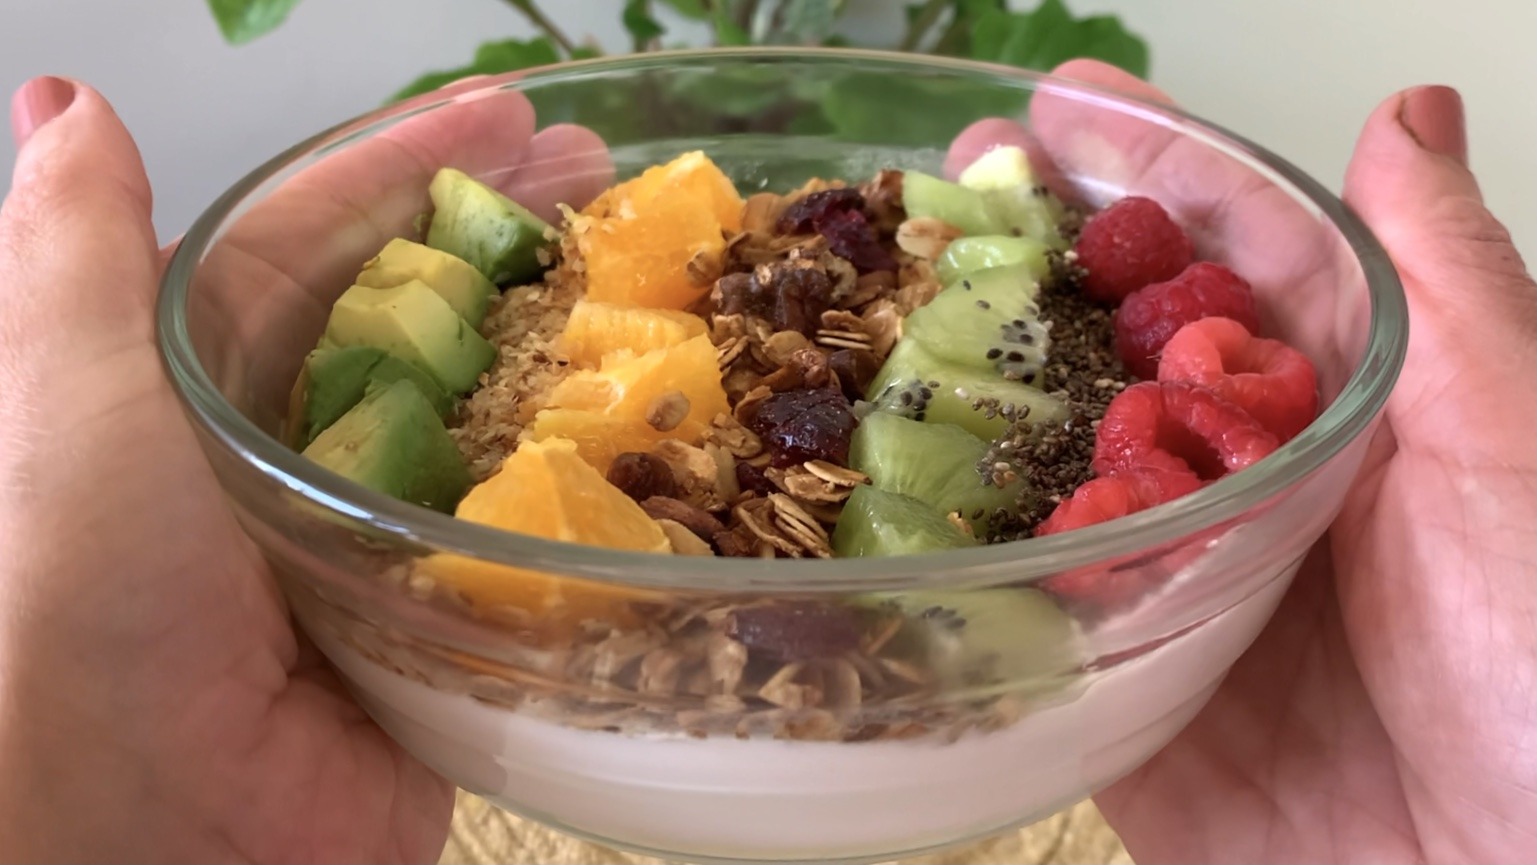
Indulge in a vibrant and nutritious start to your day with this nourishing granola bowl. This nutritious bowl combines homemade yogurt, rich in protein and calcium, with a mix of granola, nuts, and dried fruits for a perfect blend of crunch and sweetness. The addition of wheat germ and chia seeds not only enhances the texture but also packs a powerful punch of fiber and essential nutrients that support digestive health and sustained energy.

Yogurt, the base of this bowl, is a powerhouse of probiotics, which are beneficial for gut health and can aid in digestion and immune function. Paired with granola that provides healthy fats and complex carbohydrates, this bowl becomes a complete and satisfying meal. The fresh fruits—orange, kiwi, raspberry, and avocado—add natural sweetness, vibrant color, and a boost of vitamins and antioxidants, making this granola bowl not just delicious but also incredibly nourishing.

This guilt-free granola bowl is a delightful combination of taste, nutrients, and colors that will energize your day, whether enjoyed for breakfast, a snack, or even a light dessert.

Directions

  1. Use a homemade or store-bought yogurt for this recipe.
  2. In a serving bowl, add the yogurt as the base.
  3. Sprinkle homemade or store-bought granola over the yogurt to add crunch and flavor.
  4. Sprinkle wheat germ and chia seeds over for added fiber and nutrients.
  5. Arrange diced orange, kiwi, raspberry, and avocado over the granola mixture for freshness and color.
  6. Your healthy and complete granola bowl is ready to be enjoyed! Mix the ingredients together for a delicious and nutritious meal.

Prep Time
15 minutes

Servings
1 Serving

Ingredients

  • 1 cup (200 ml) homemade yogurt
  • 30 g granola
  • 1 tsp. wheat germ
  • 1 tsp. chia seeds
  • 20 g diced orange
  • 20 g diced kiwi
  • 20 g raspberry
  • 30 g diced avocado

Nutrition (Per 1 Serving):

  • Energy: 383 calories
  • Protein: 22.66 g
  • Fat: 13.68 g
  • Carbohydrates: 44.78 g
  • Fiber: 8.4 g

Notes

  • Store any leftover granola bowl components separately in airtight containers in the refrigerator for up to 2 days.
  • Experiment with different fruits and toppings according to your preference and seasonal availability.