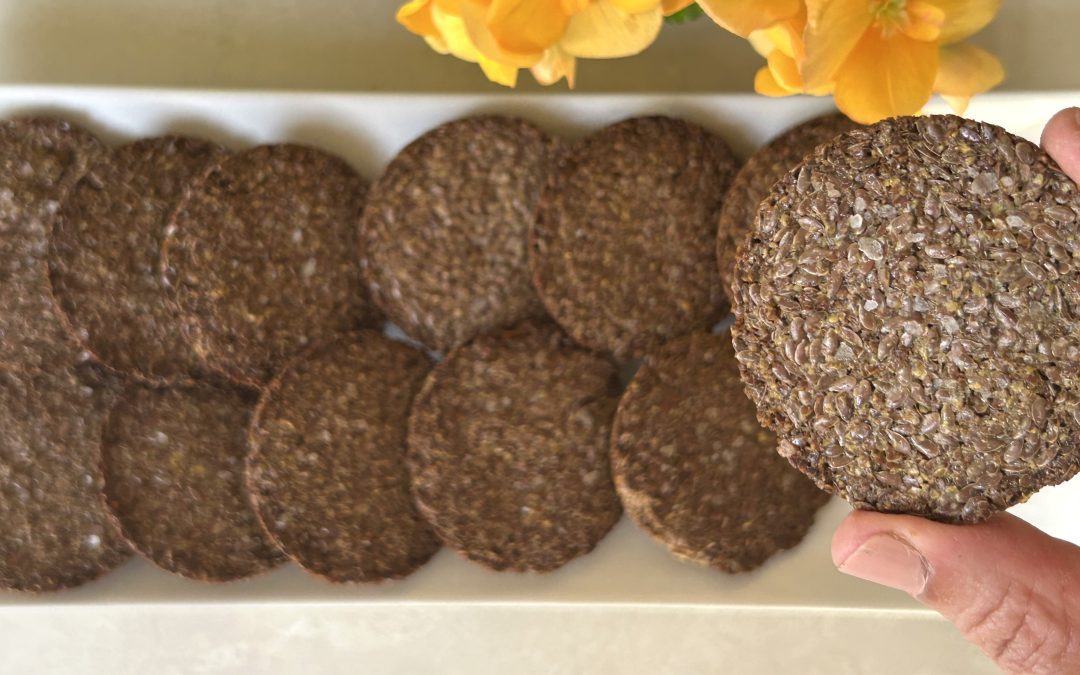
Flaxseed Crunch
Flaxseed Crunch

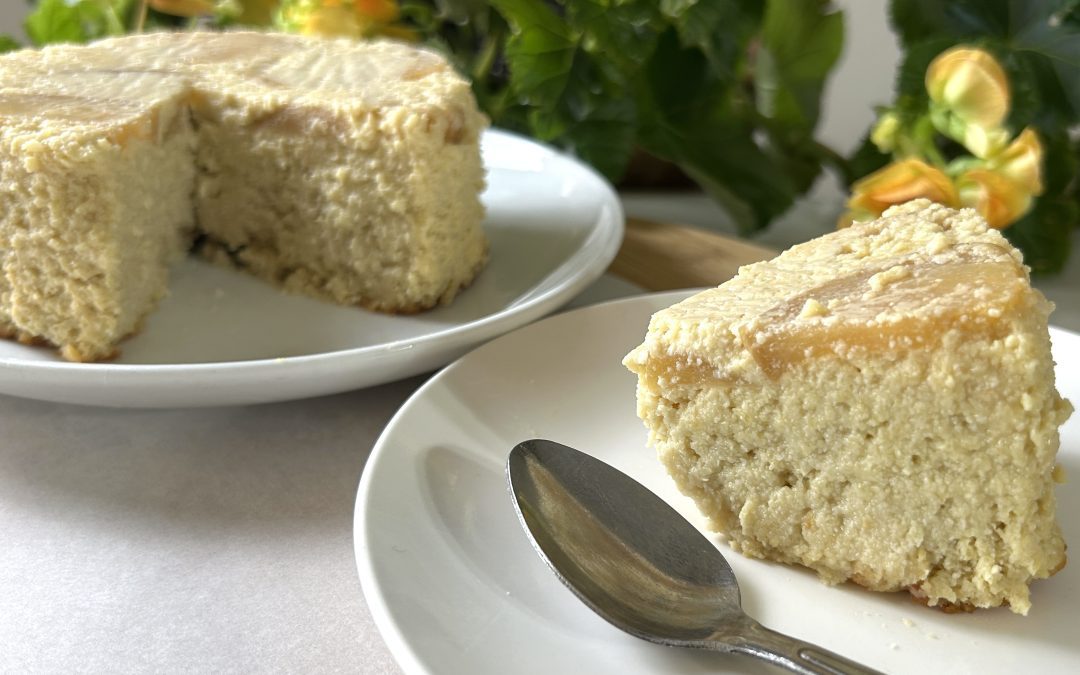
Flaxseeds are one of nature’s most powerful superfoods, celebrated for their versatility and extraordinary health benefits. These tiny seeds are a rich source of omega-3 fatty acids, lignans, and fiber, which can significantly boost heart health, improve digestion, and even aid in maintaining balanced blood sugar levels. Despite their incredible benefits, finding ways to include flaxseeds in your daily diet can sometimes feel like a challenge. That’s where these Flaxseed Crunch Cookies come in!
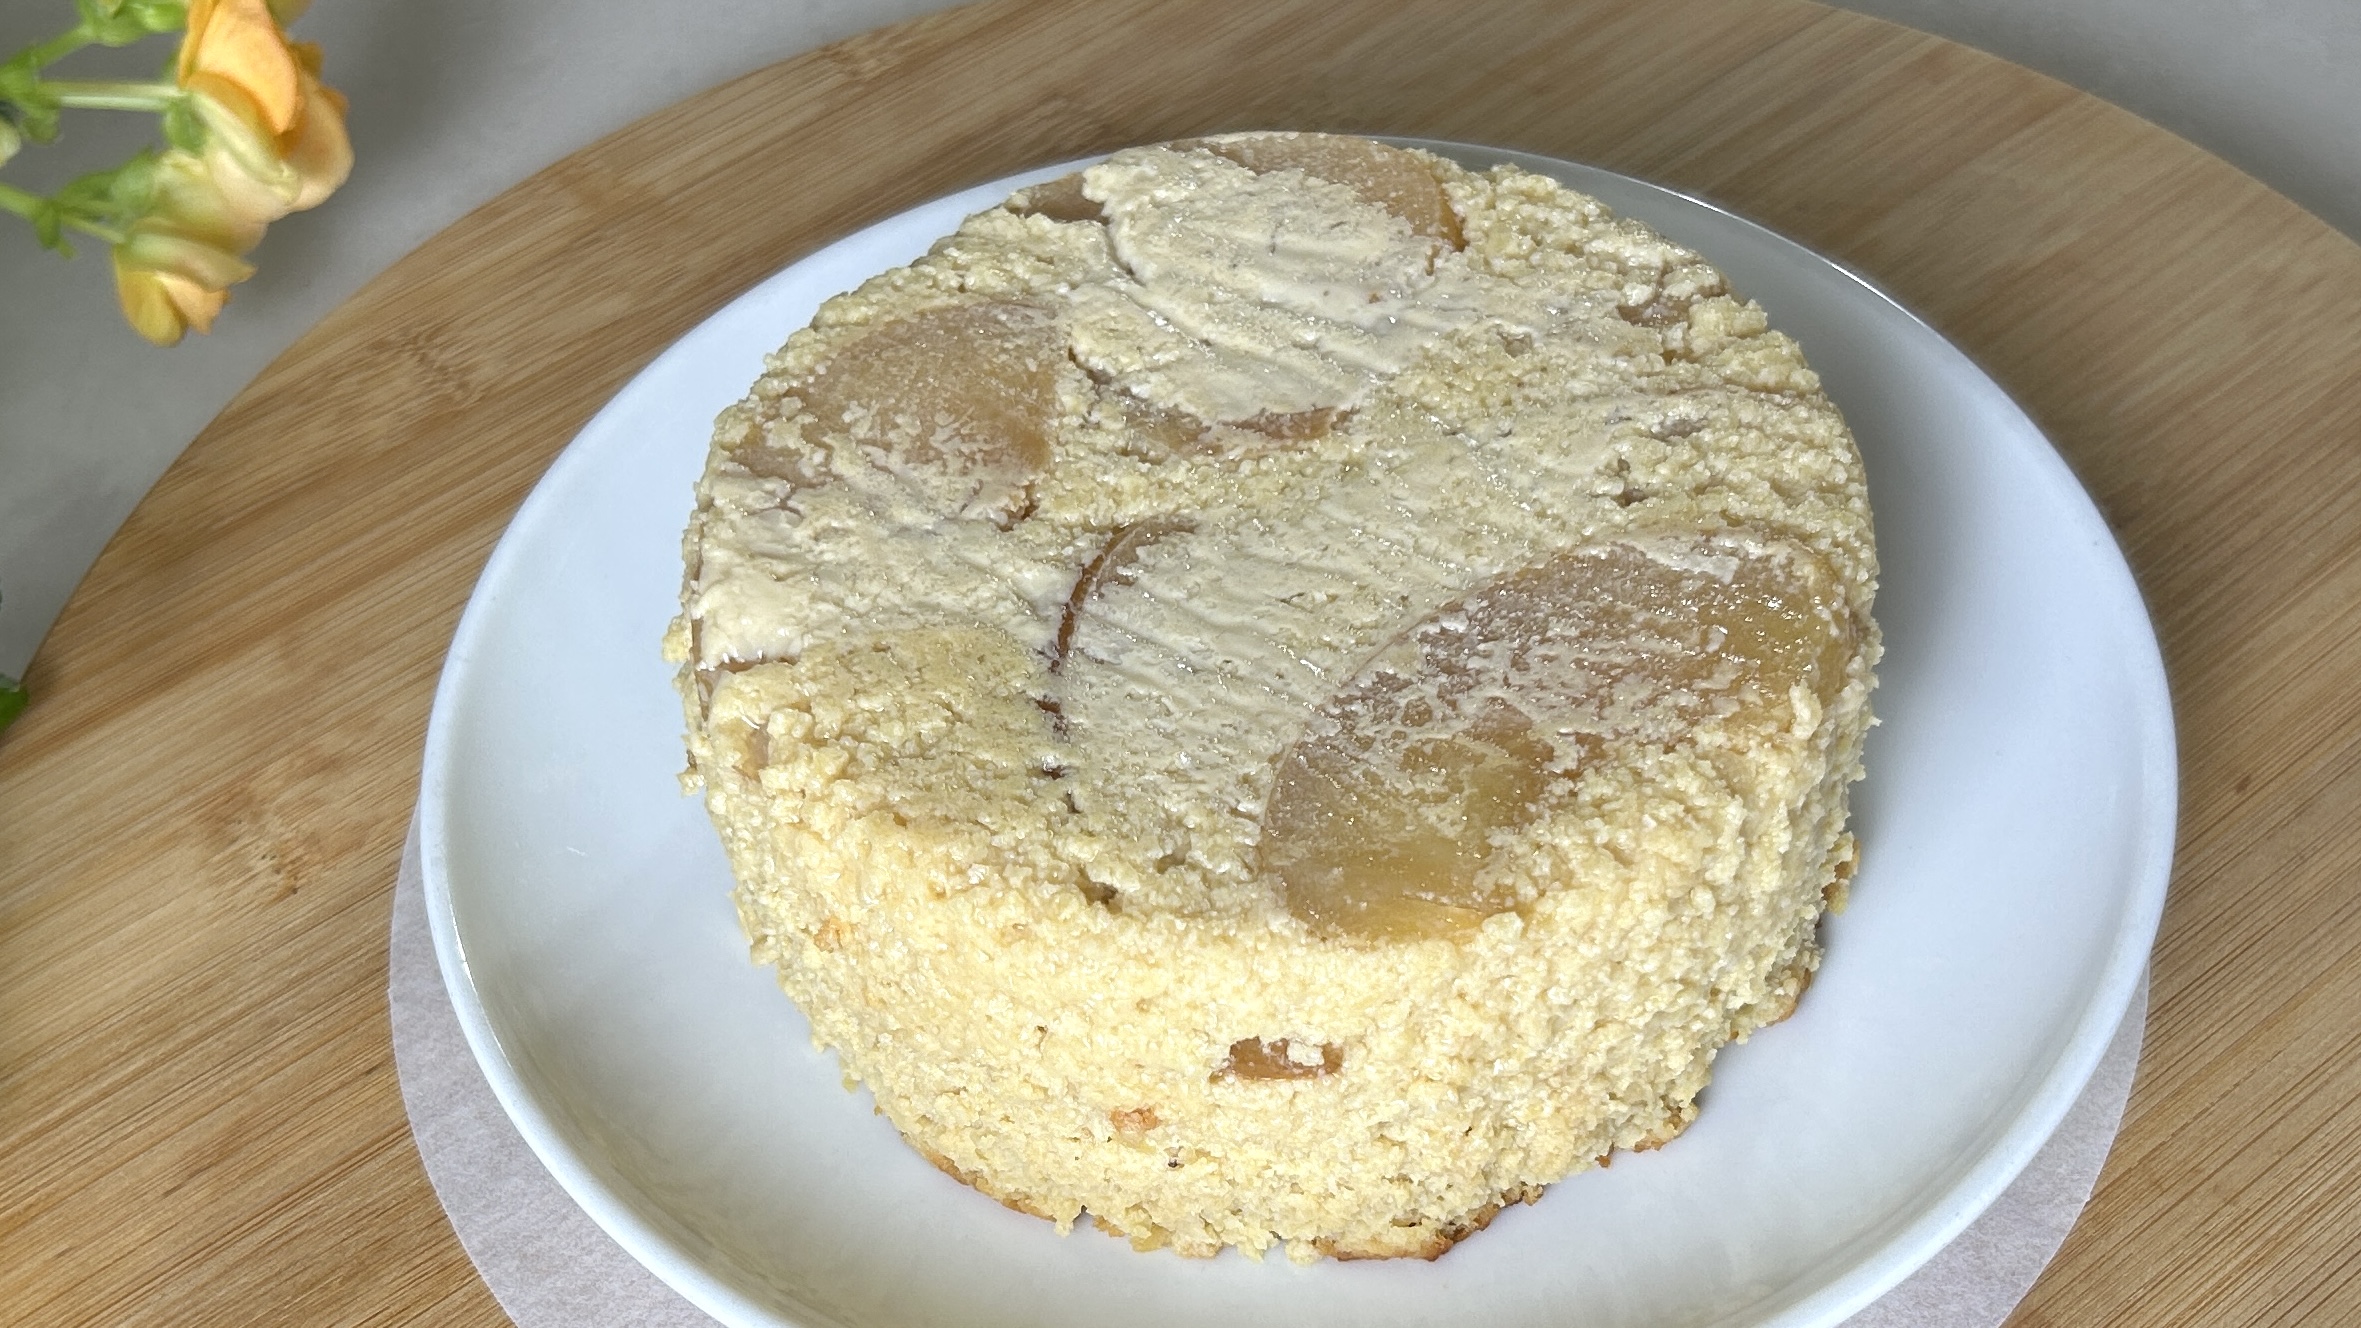
This recipe transforms humble flaxseeds into a delicious, crunchy snack that you’ll love reaching for any time of day. By combining the texture of whole flaxseeds with the enhanced bioavailability of ground flaxseeds, these cookies offer a perfect mix of crunch and nutrition. Sweetened naturally with maple syrup, they’re not just a treat for the taste buds but also a gift to your body.
Incorporating flaxseeds into your regular diet can provide long-term benefits for overall health. Their high fiber content supports digestive health and keeps you feeling full longer, while the lignans they contain act as powerful antioxidants. Including flaxseeds regularly is an easy and delicious way to prioritize your well-being. With this simple recipe, you’ll never look at flaxseeds the same way again.
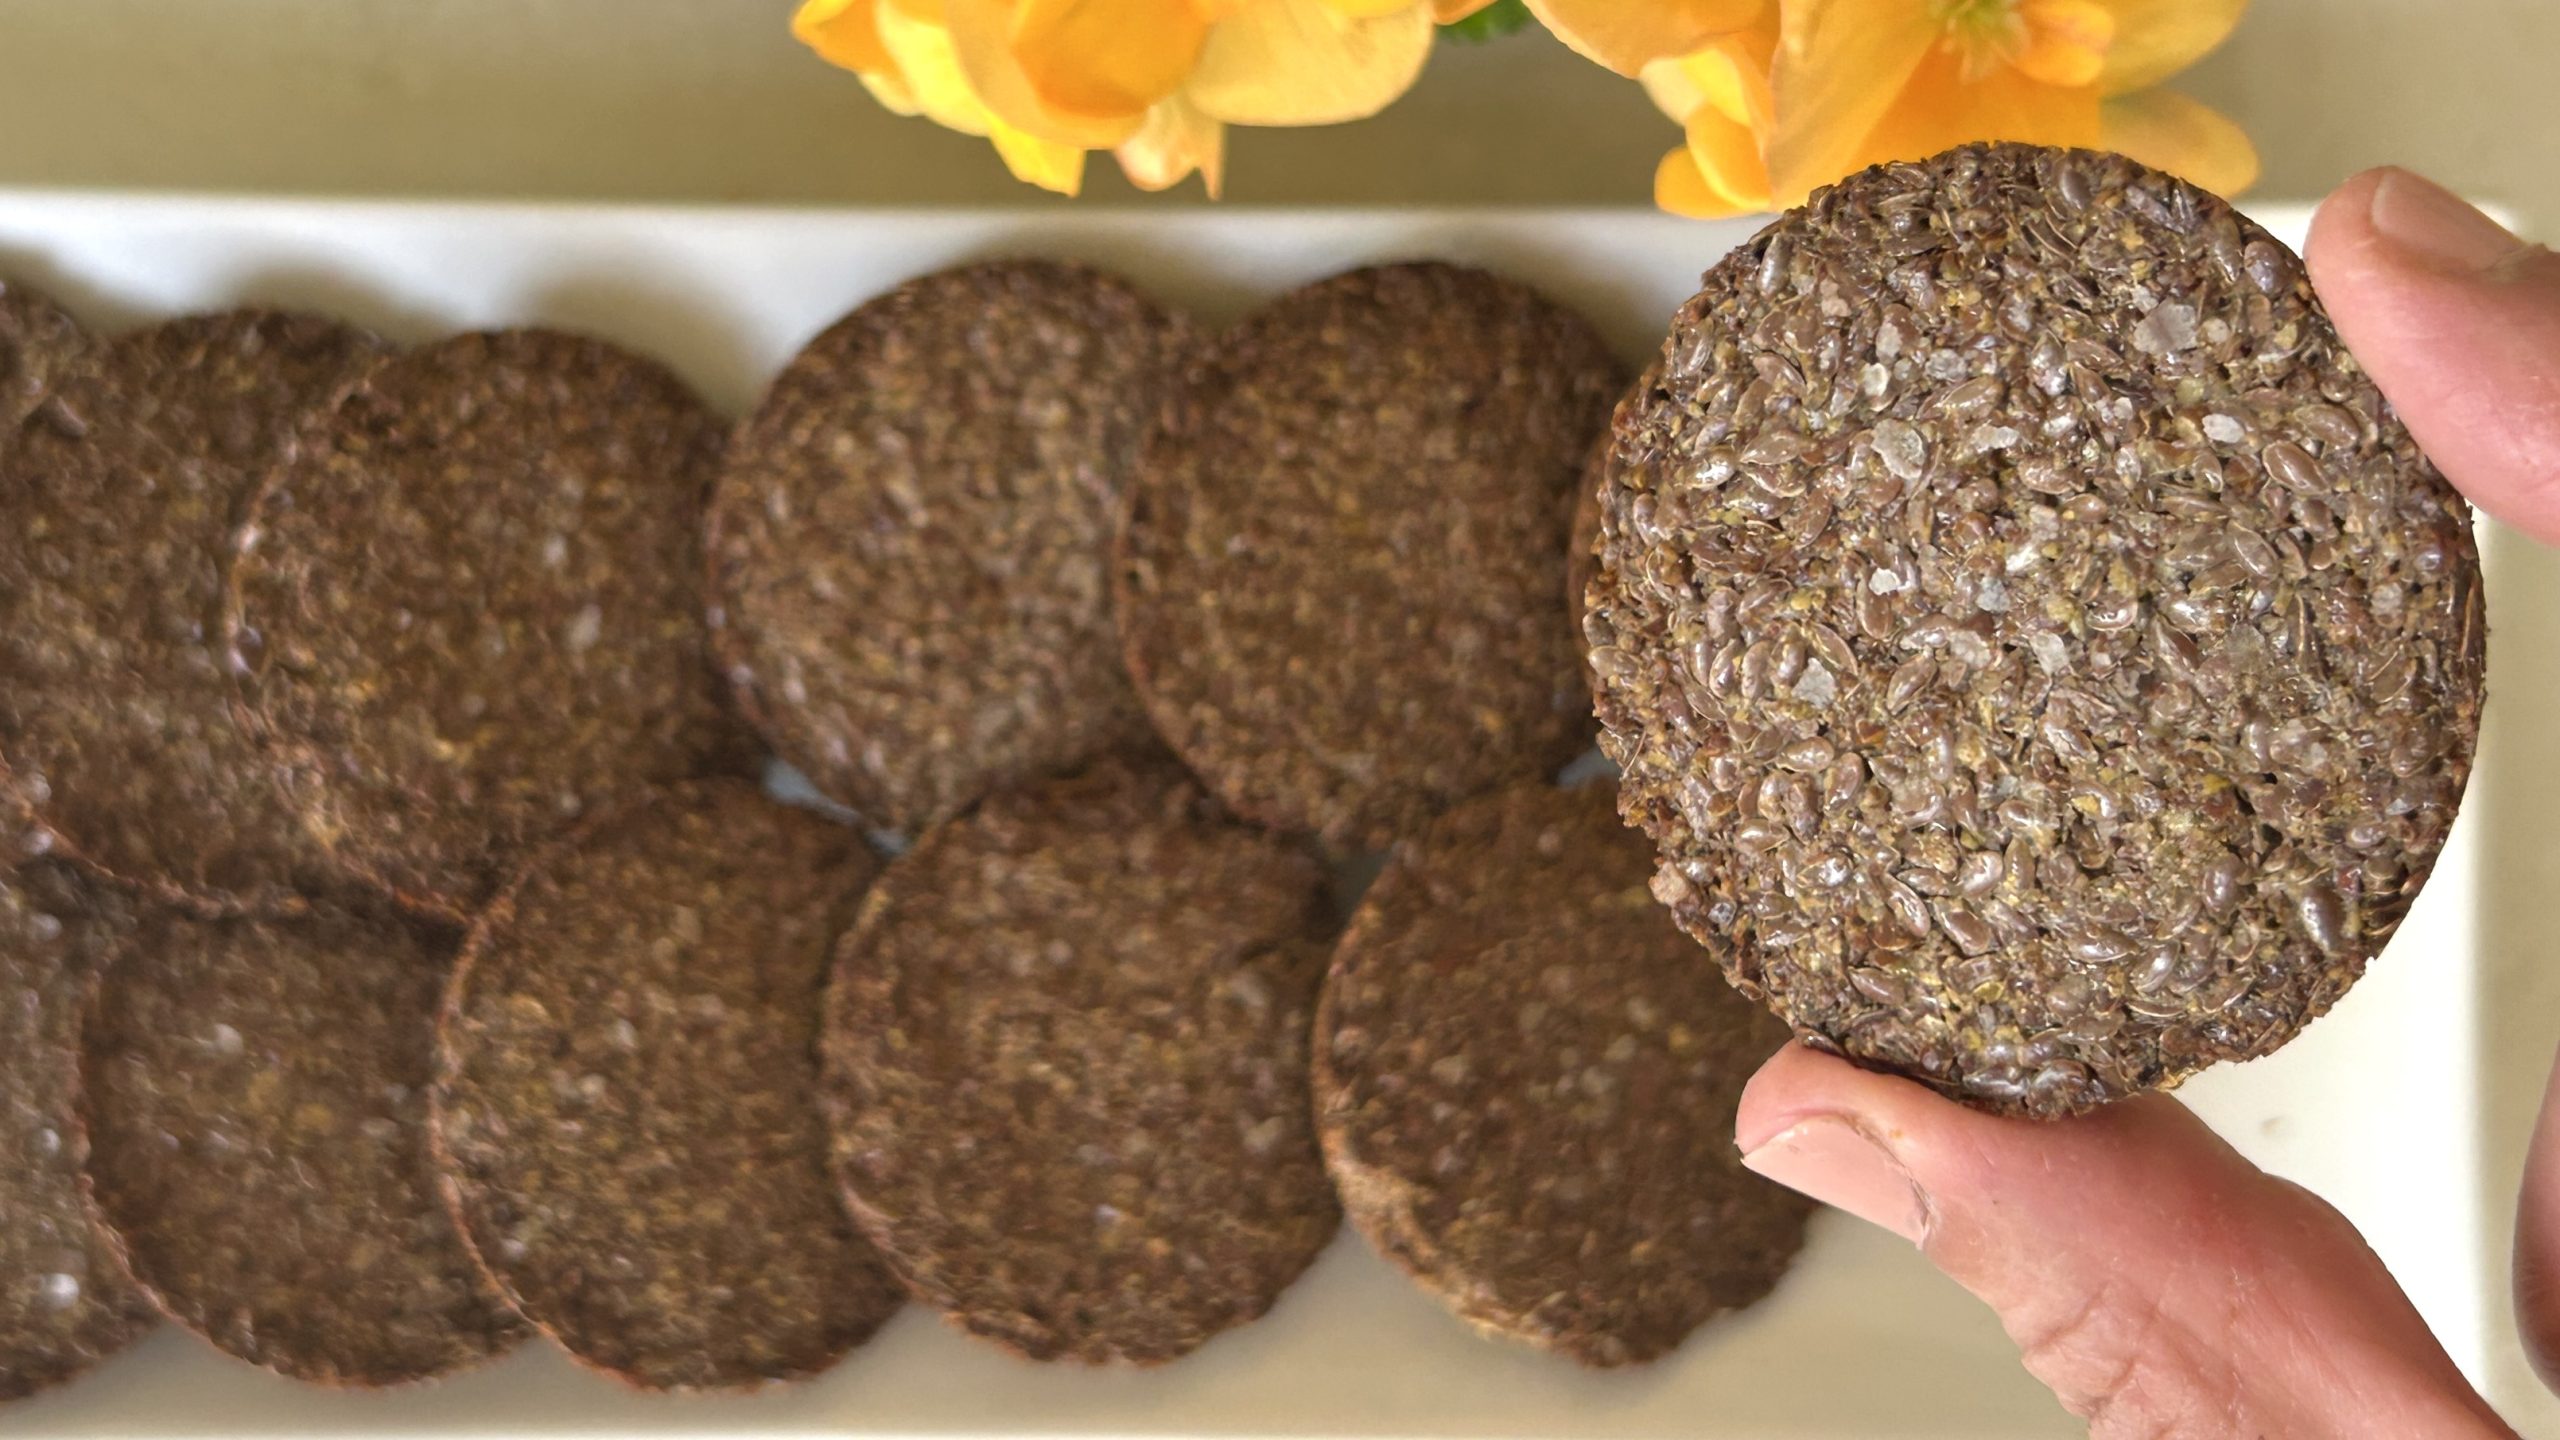
Enjoy the wholesome crunch and the peace of mind that comes from nourishing your body with the best nature has to offer!
Ingredients
½ cup (75 g) ground flaxseed
½ cup (75 g) whole flaxseed
Up to 5 tbsp. maple syrup
Kosher salt (optional)
Directions
- Start by grinding half of the flaxseeds into a fine powder using a coffee grinder or food processor.
- Mix the ground flaxseeds with the whole flaxseeds in a bowl.
- Gradually stir in maple syrup until the mixture becomes sticky.
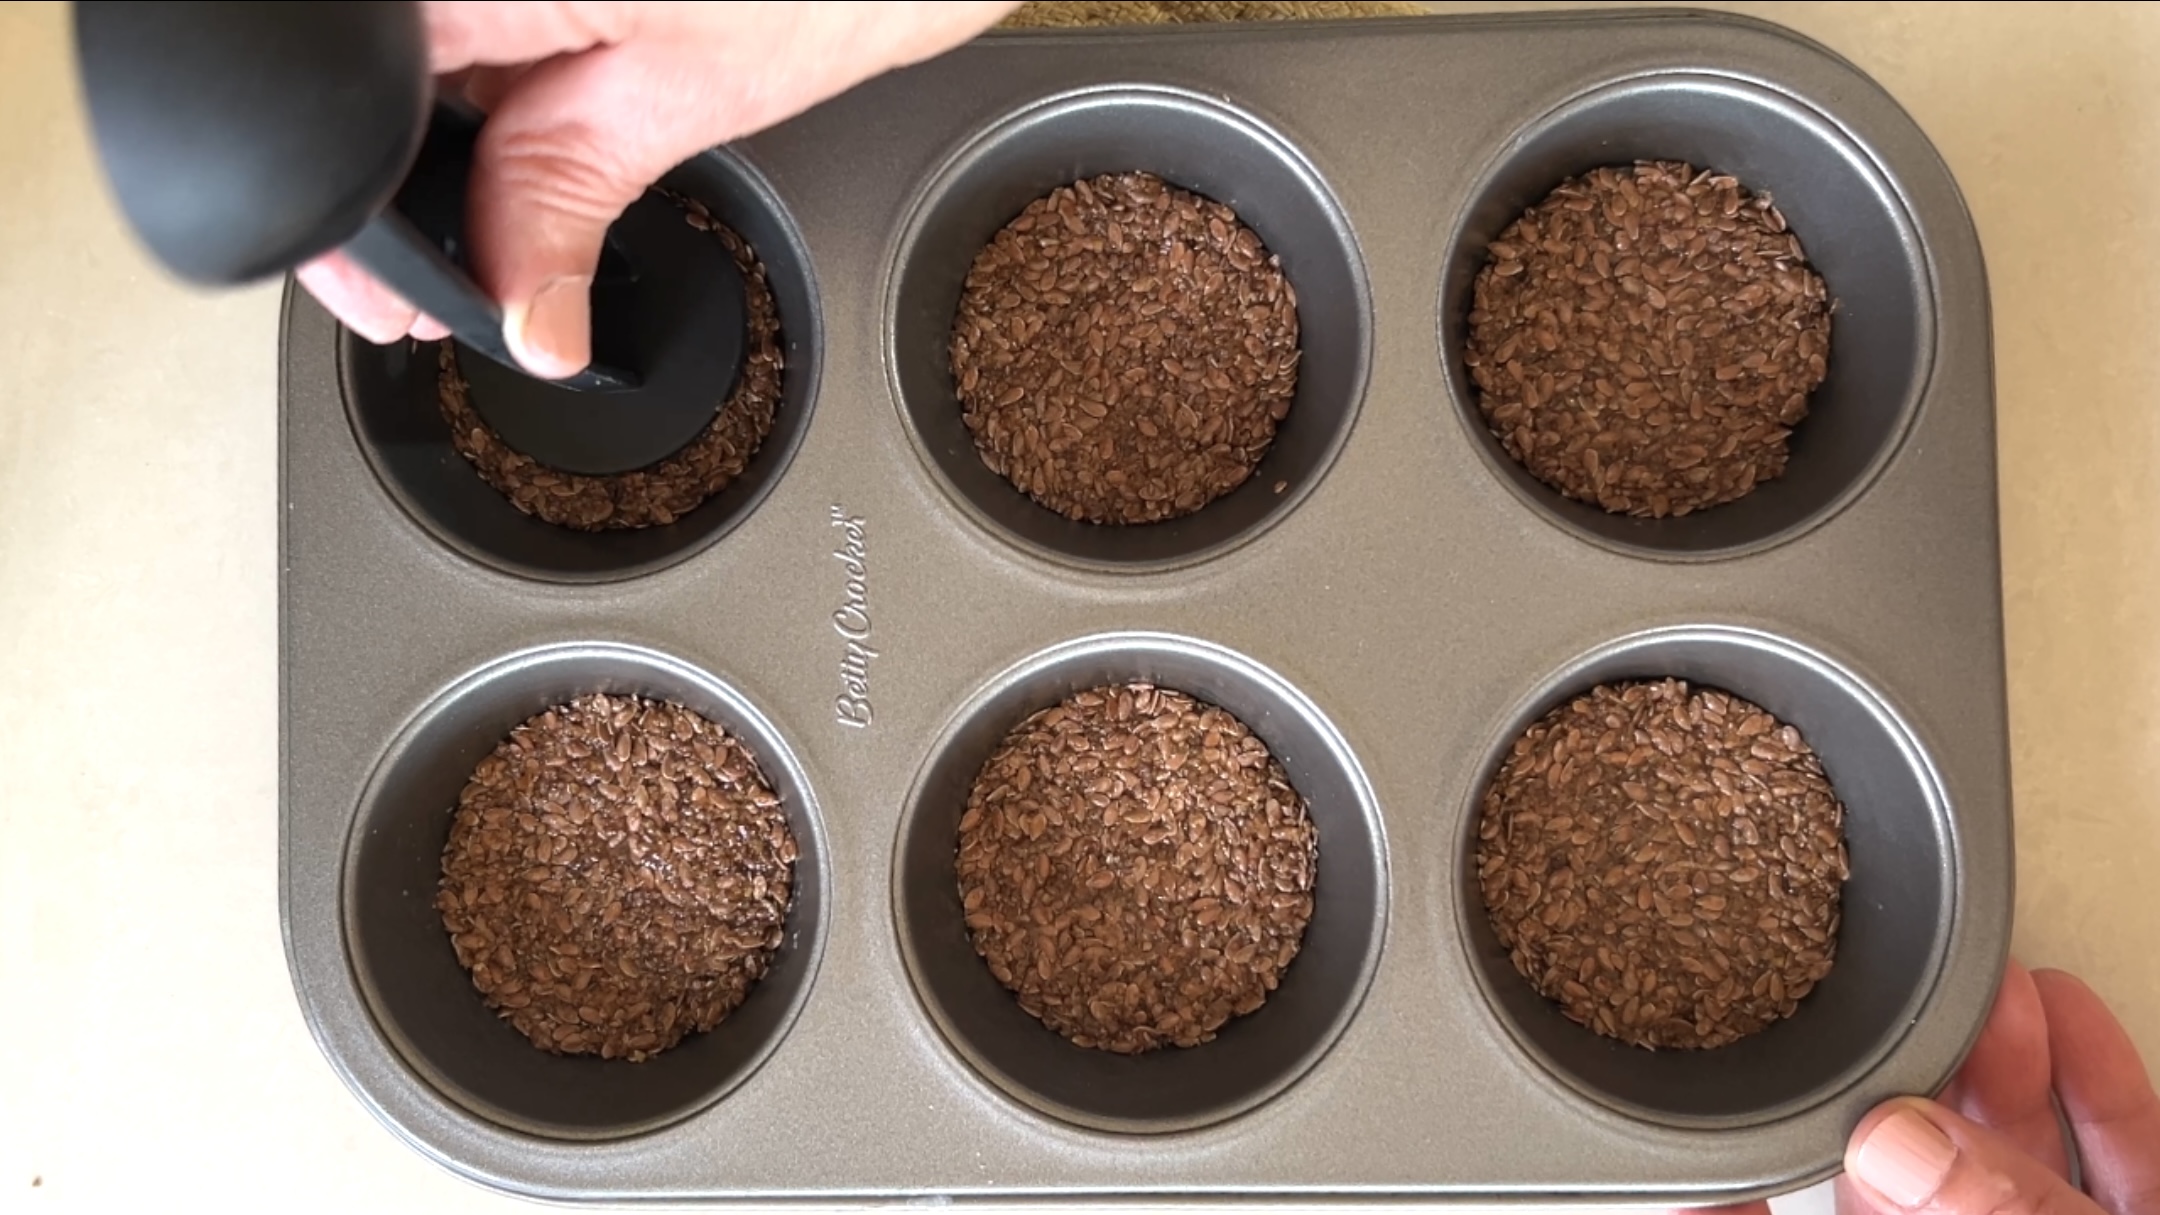
- Grease muffin cups with coconut oil and line with parchment paper to prevent sticking.
- Divide the mixture evenly into the prepared cups.
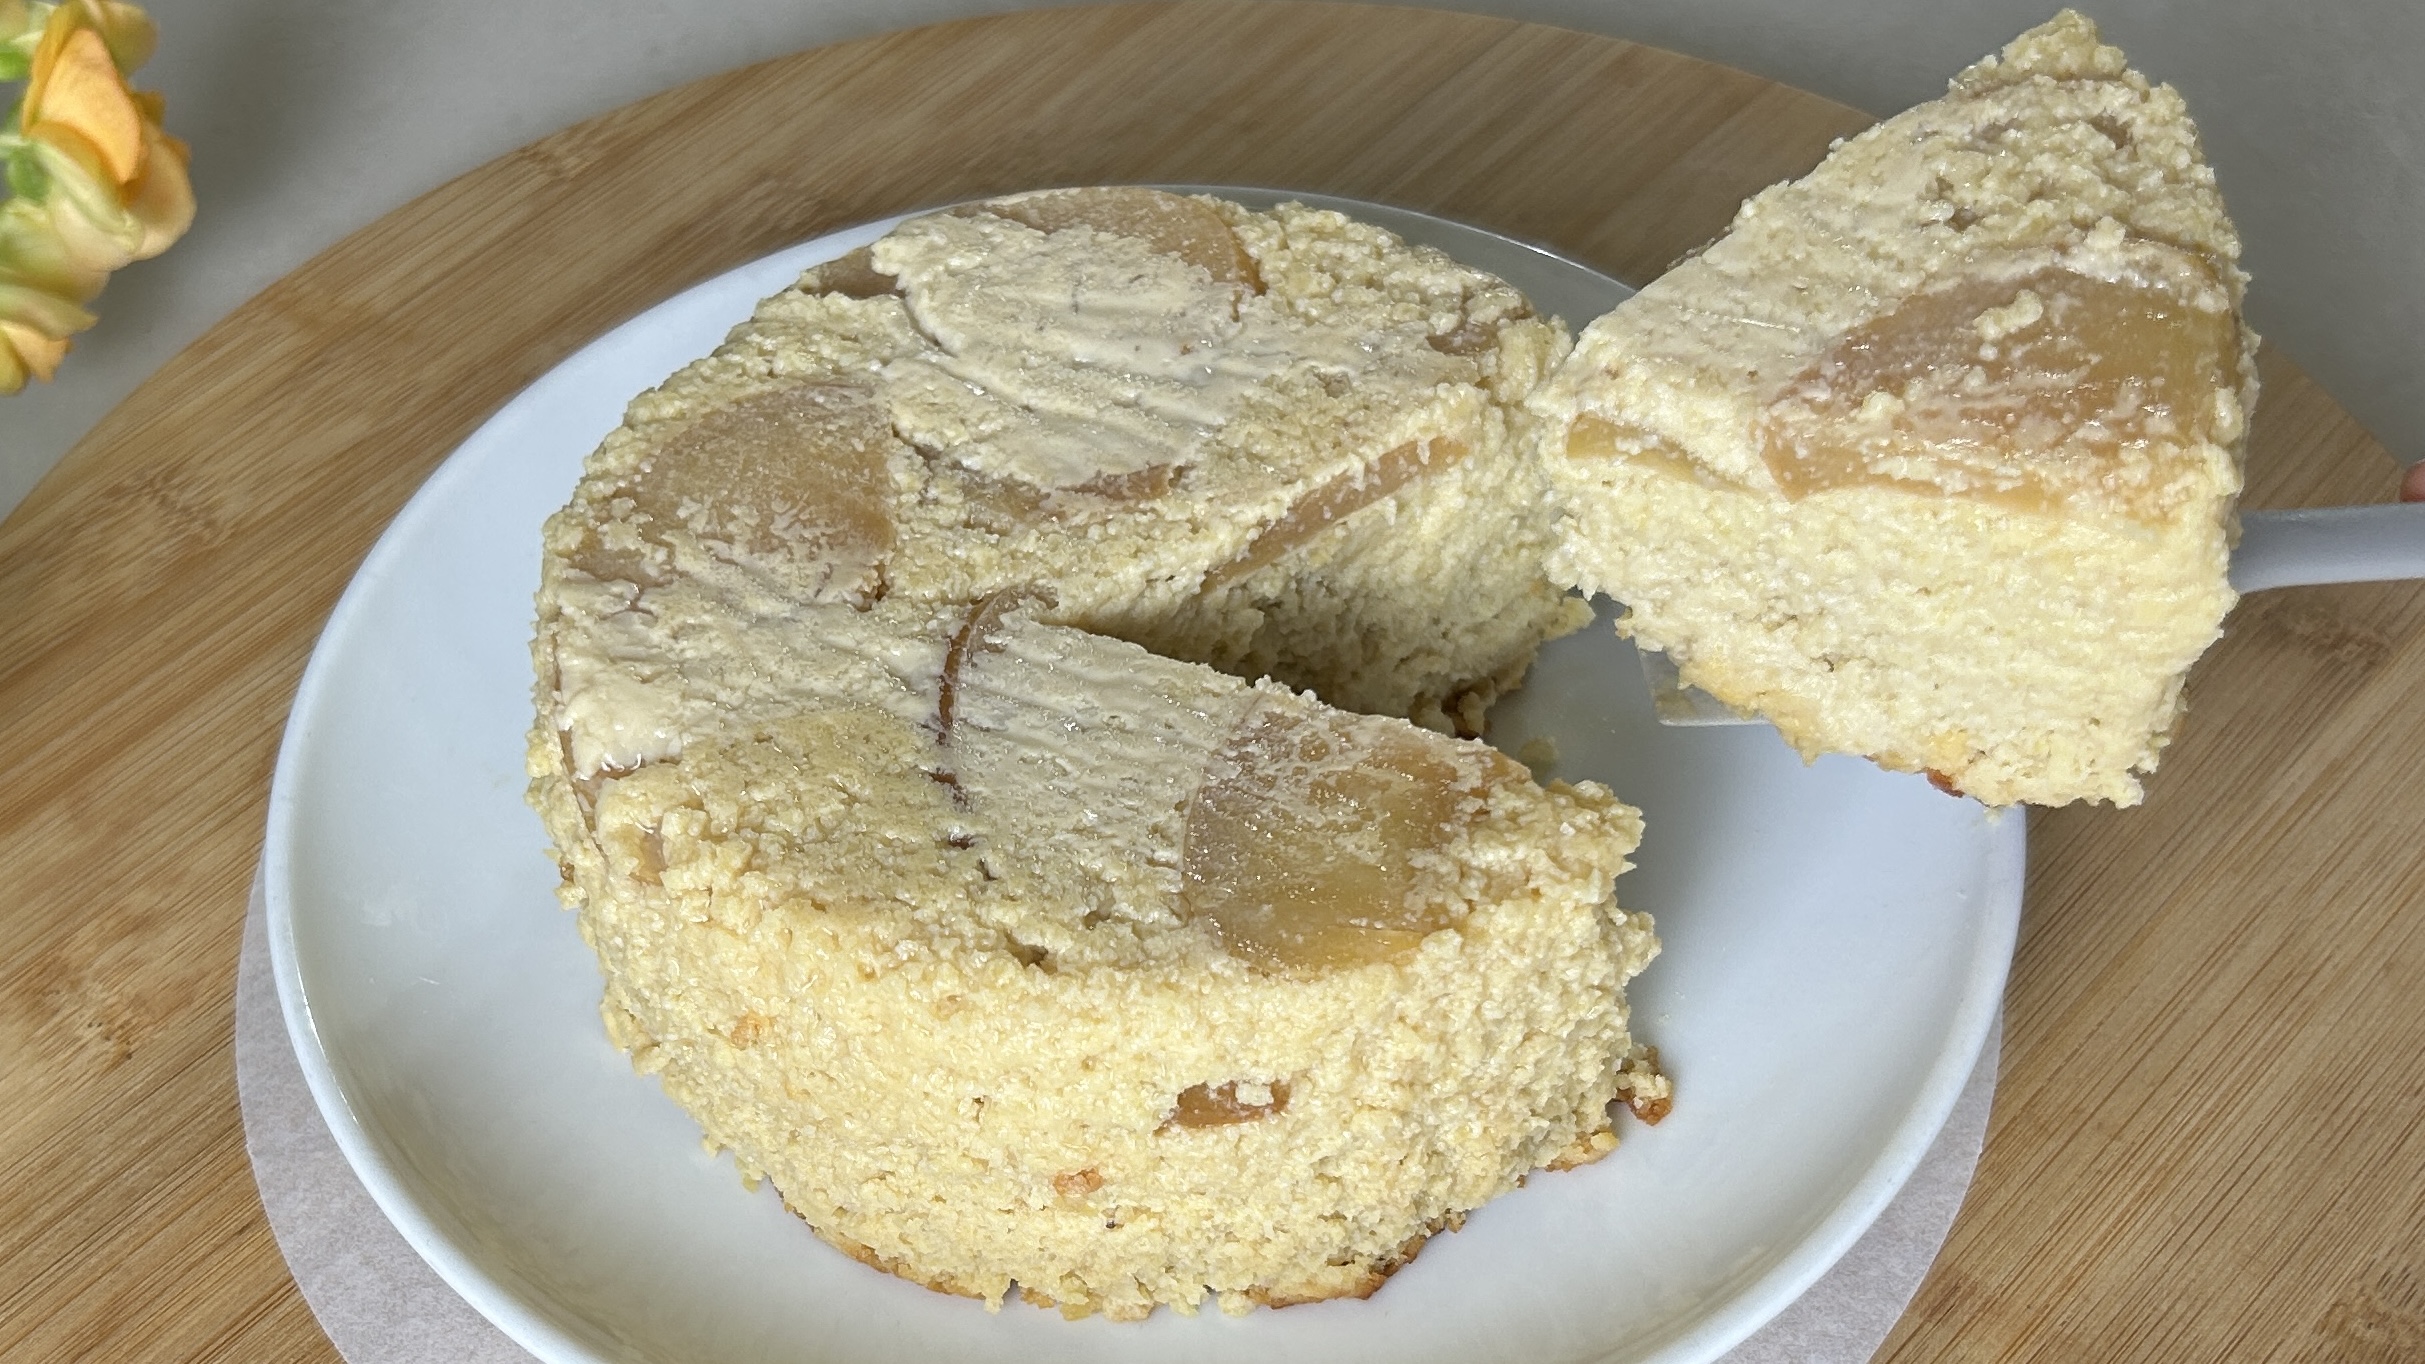
- Press and flatten the mixture with an espresso or regular spoon, smoothing the surface.
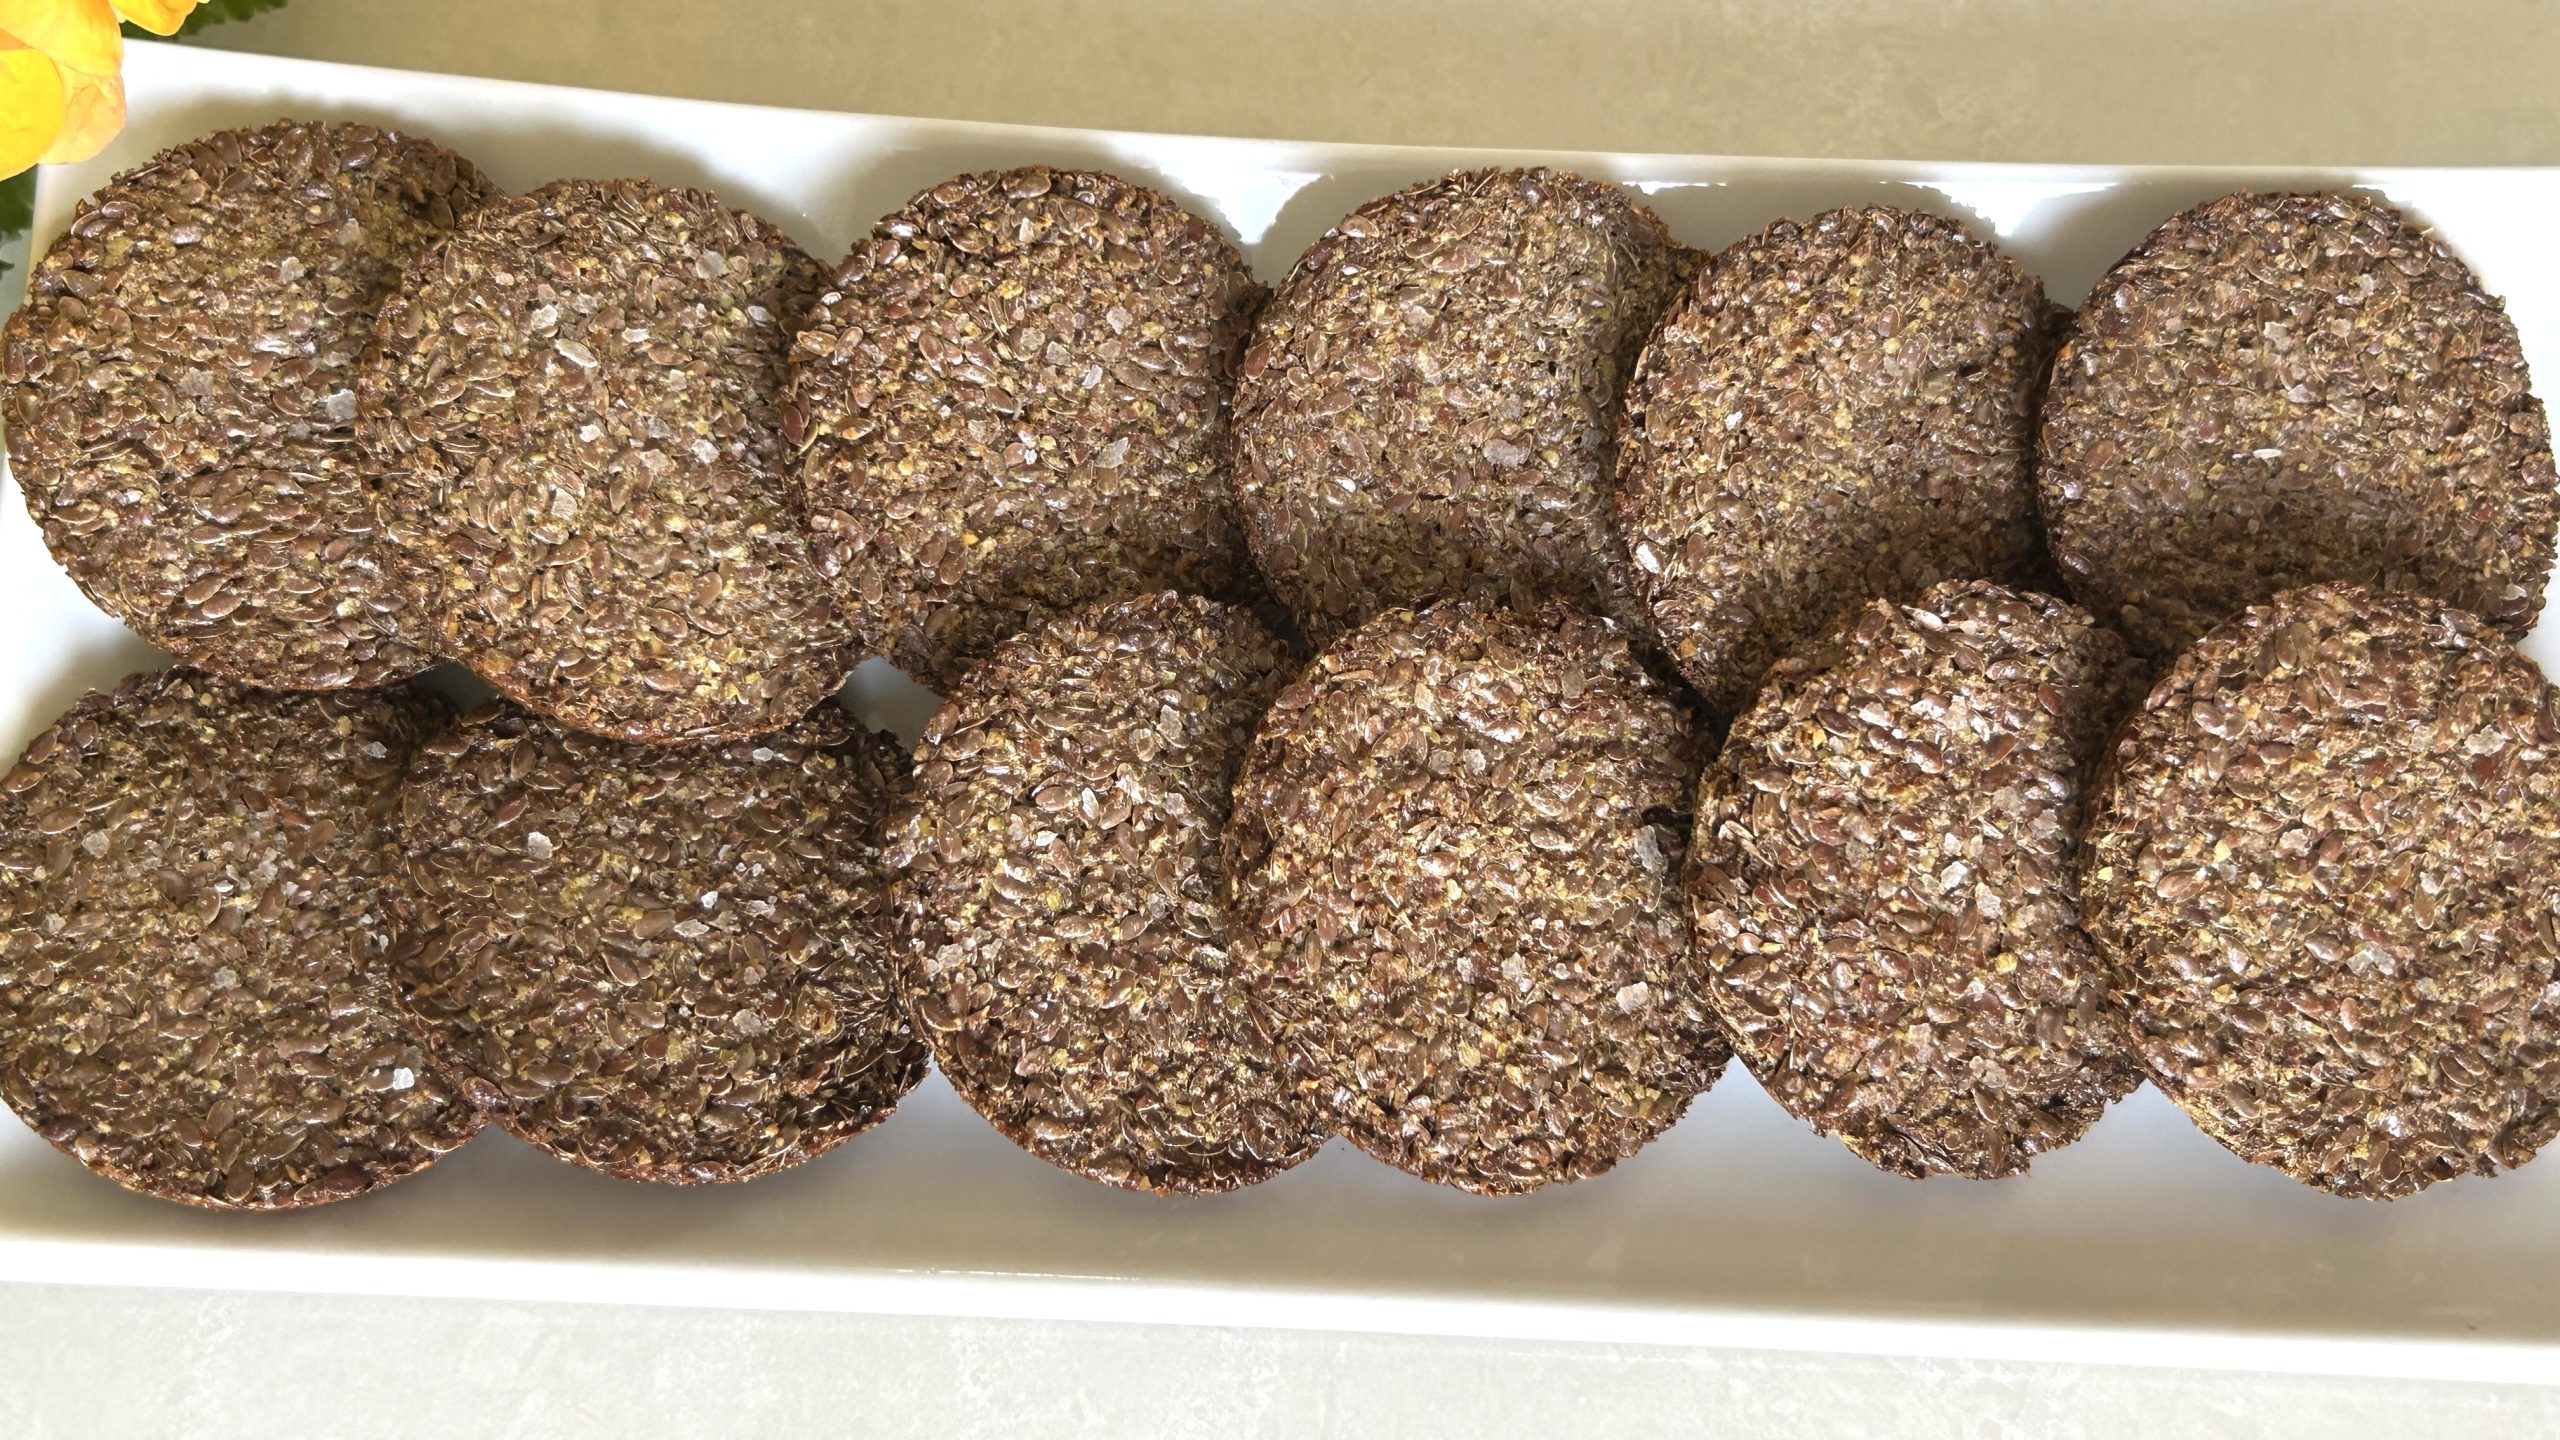
- Sprinkle kosher salt on top, if desired, and bake at 350°F (175°C) for 20 minutes.
- Let the cookies cool completely in the cups before removing to allow them to harden.
Prep time: 20 minutes
Baking time: 20 minutes
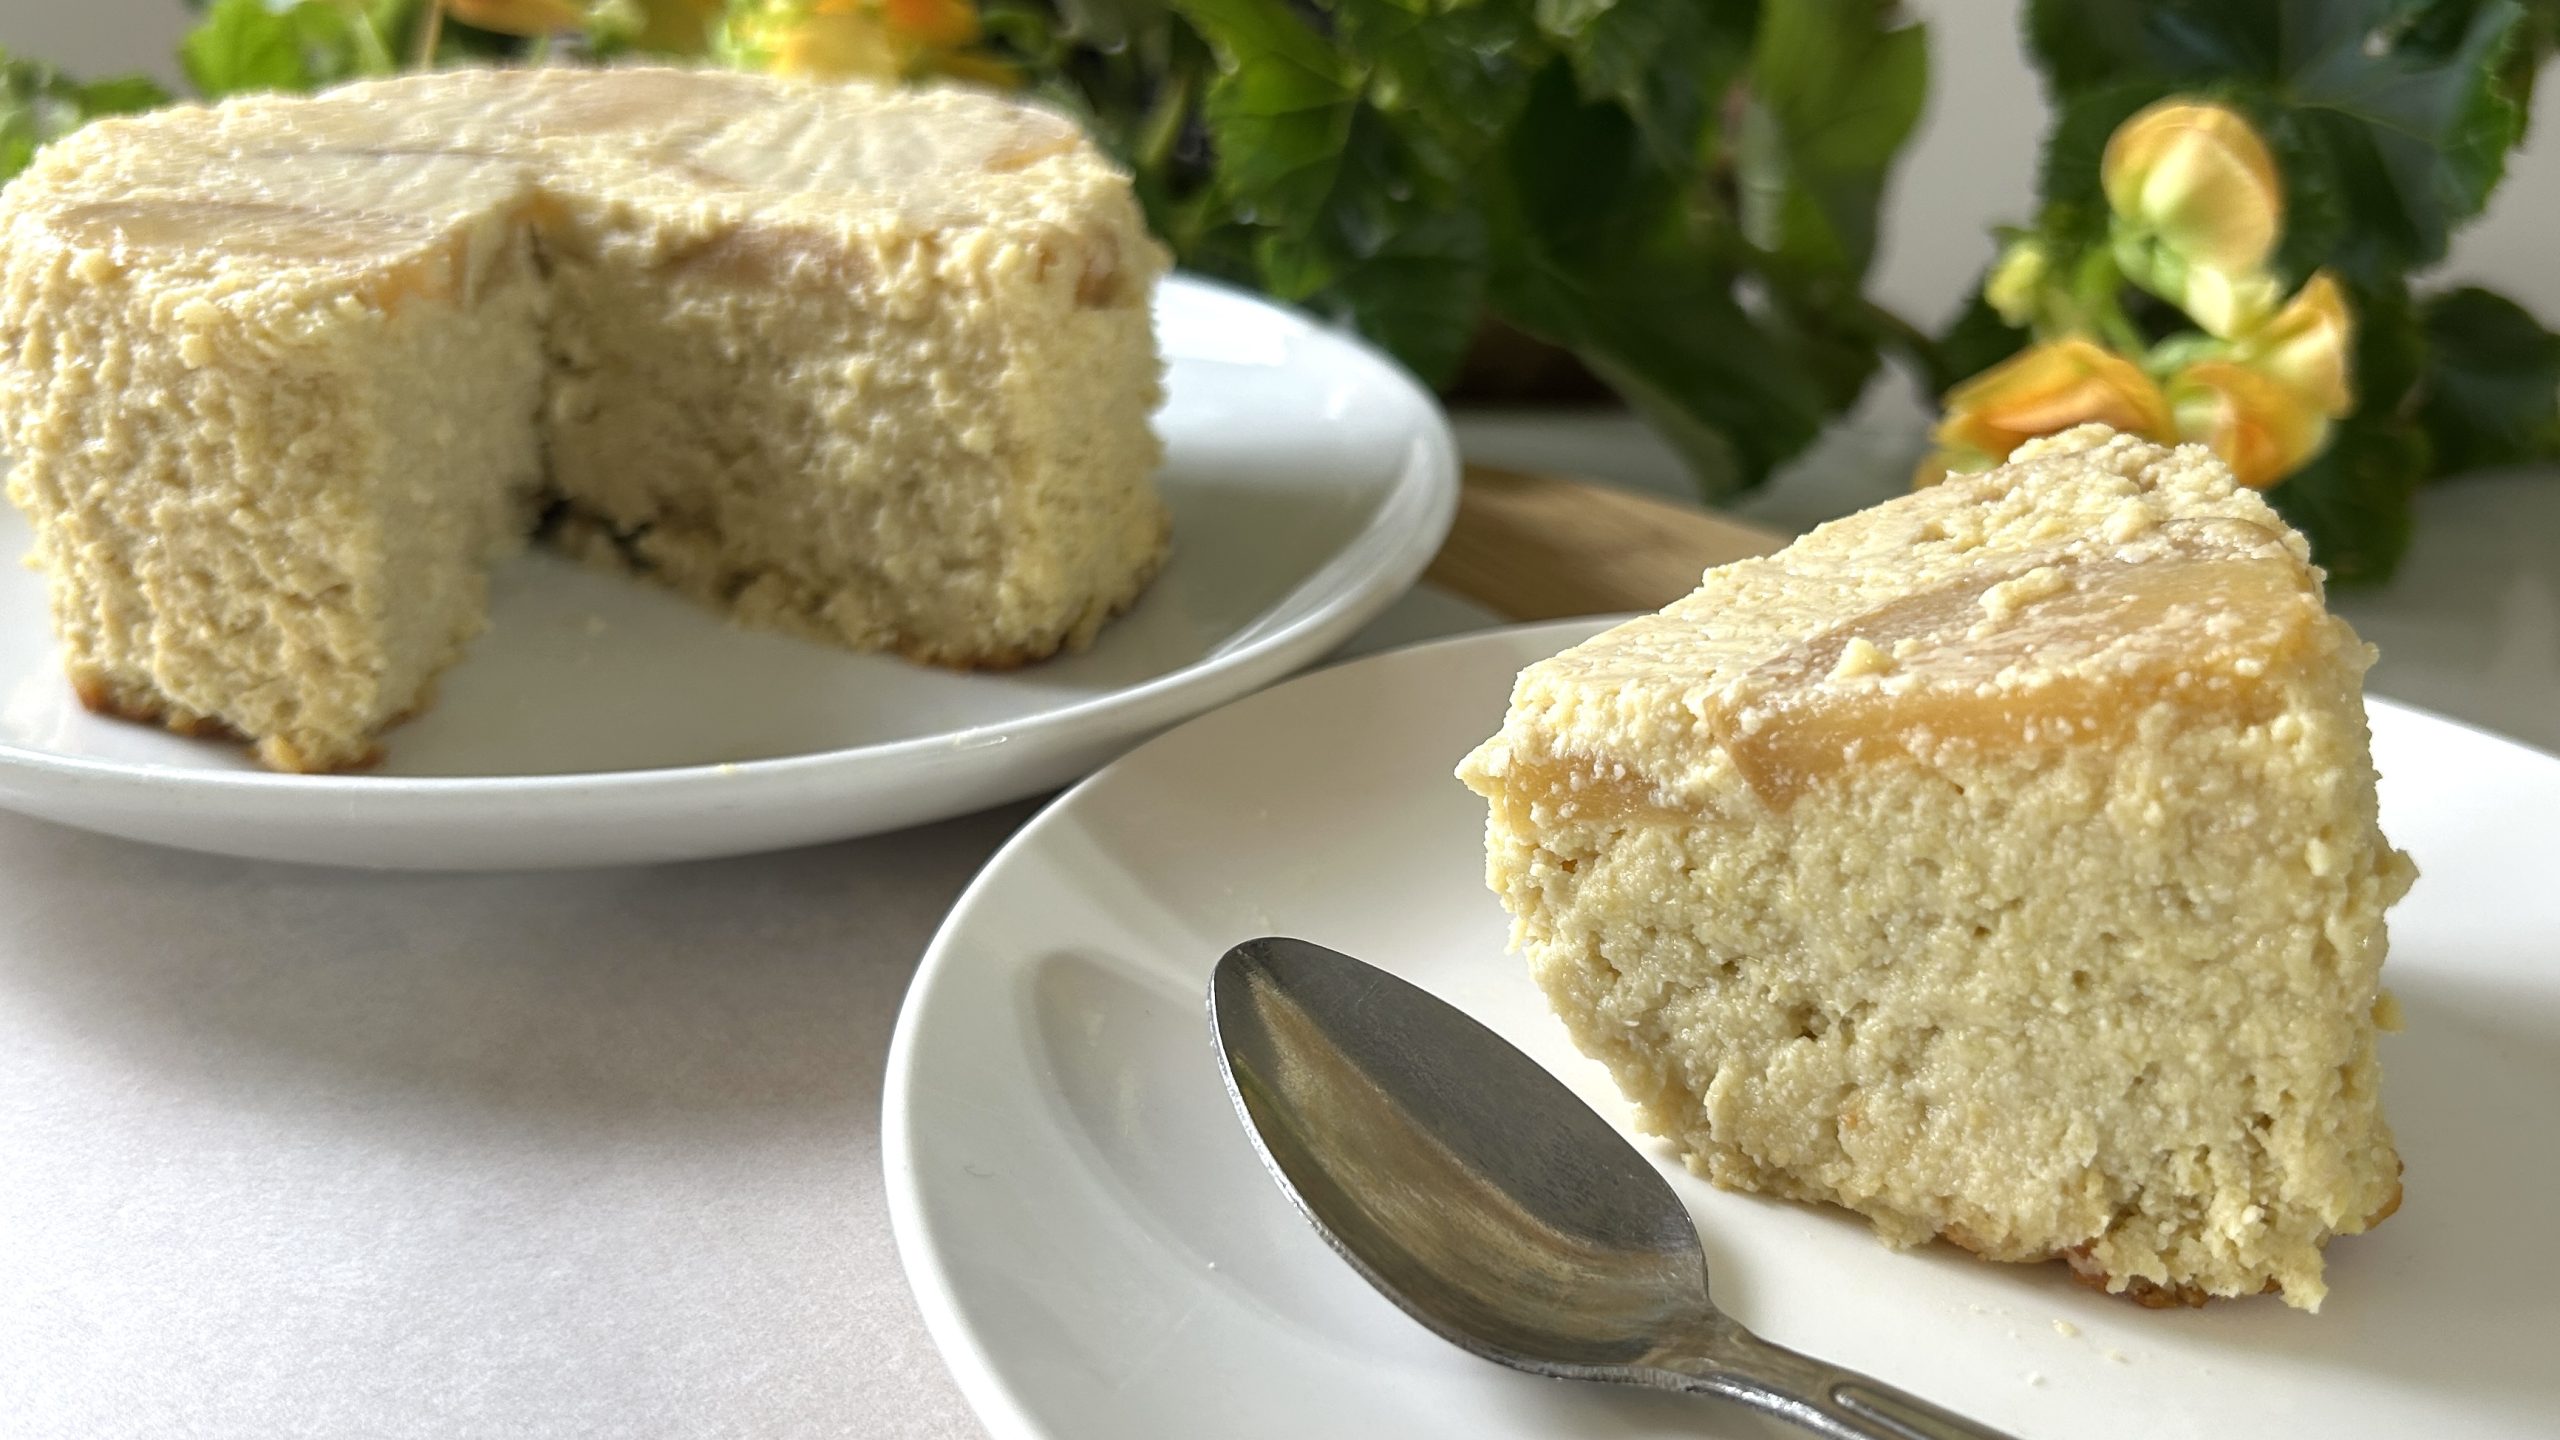
Servings: Makes 12 crunches
Nutritional Information
Per 1 Cookie Crunch:
Energy: 96 calories
Protein: 2.56 g
Fat: 5.91 g
Carbohydrates: 9.63 g
Fiber: 3.8 g
Storage
- Store in an airtight container at room temperature for up to a week.
- For longer storage, keep in the fridge for two weeks or freeze for up to 3 months.
- These cookie crunches are a portable, nutrient-packed snack, perfect for on-the-go days.