Chickpea Flatbread—Italian Farinata
Chickpea Flatbread—Italian Farinata

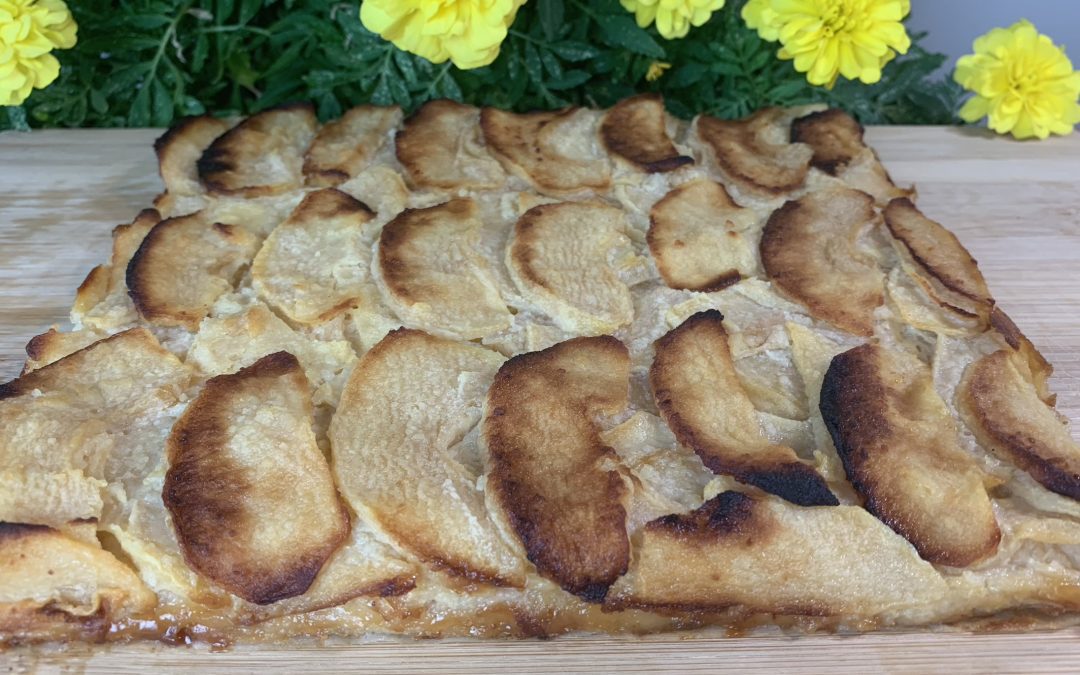
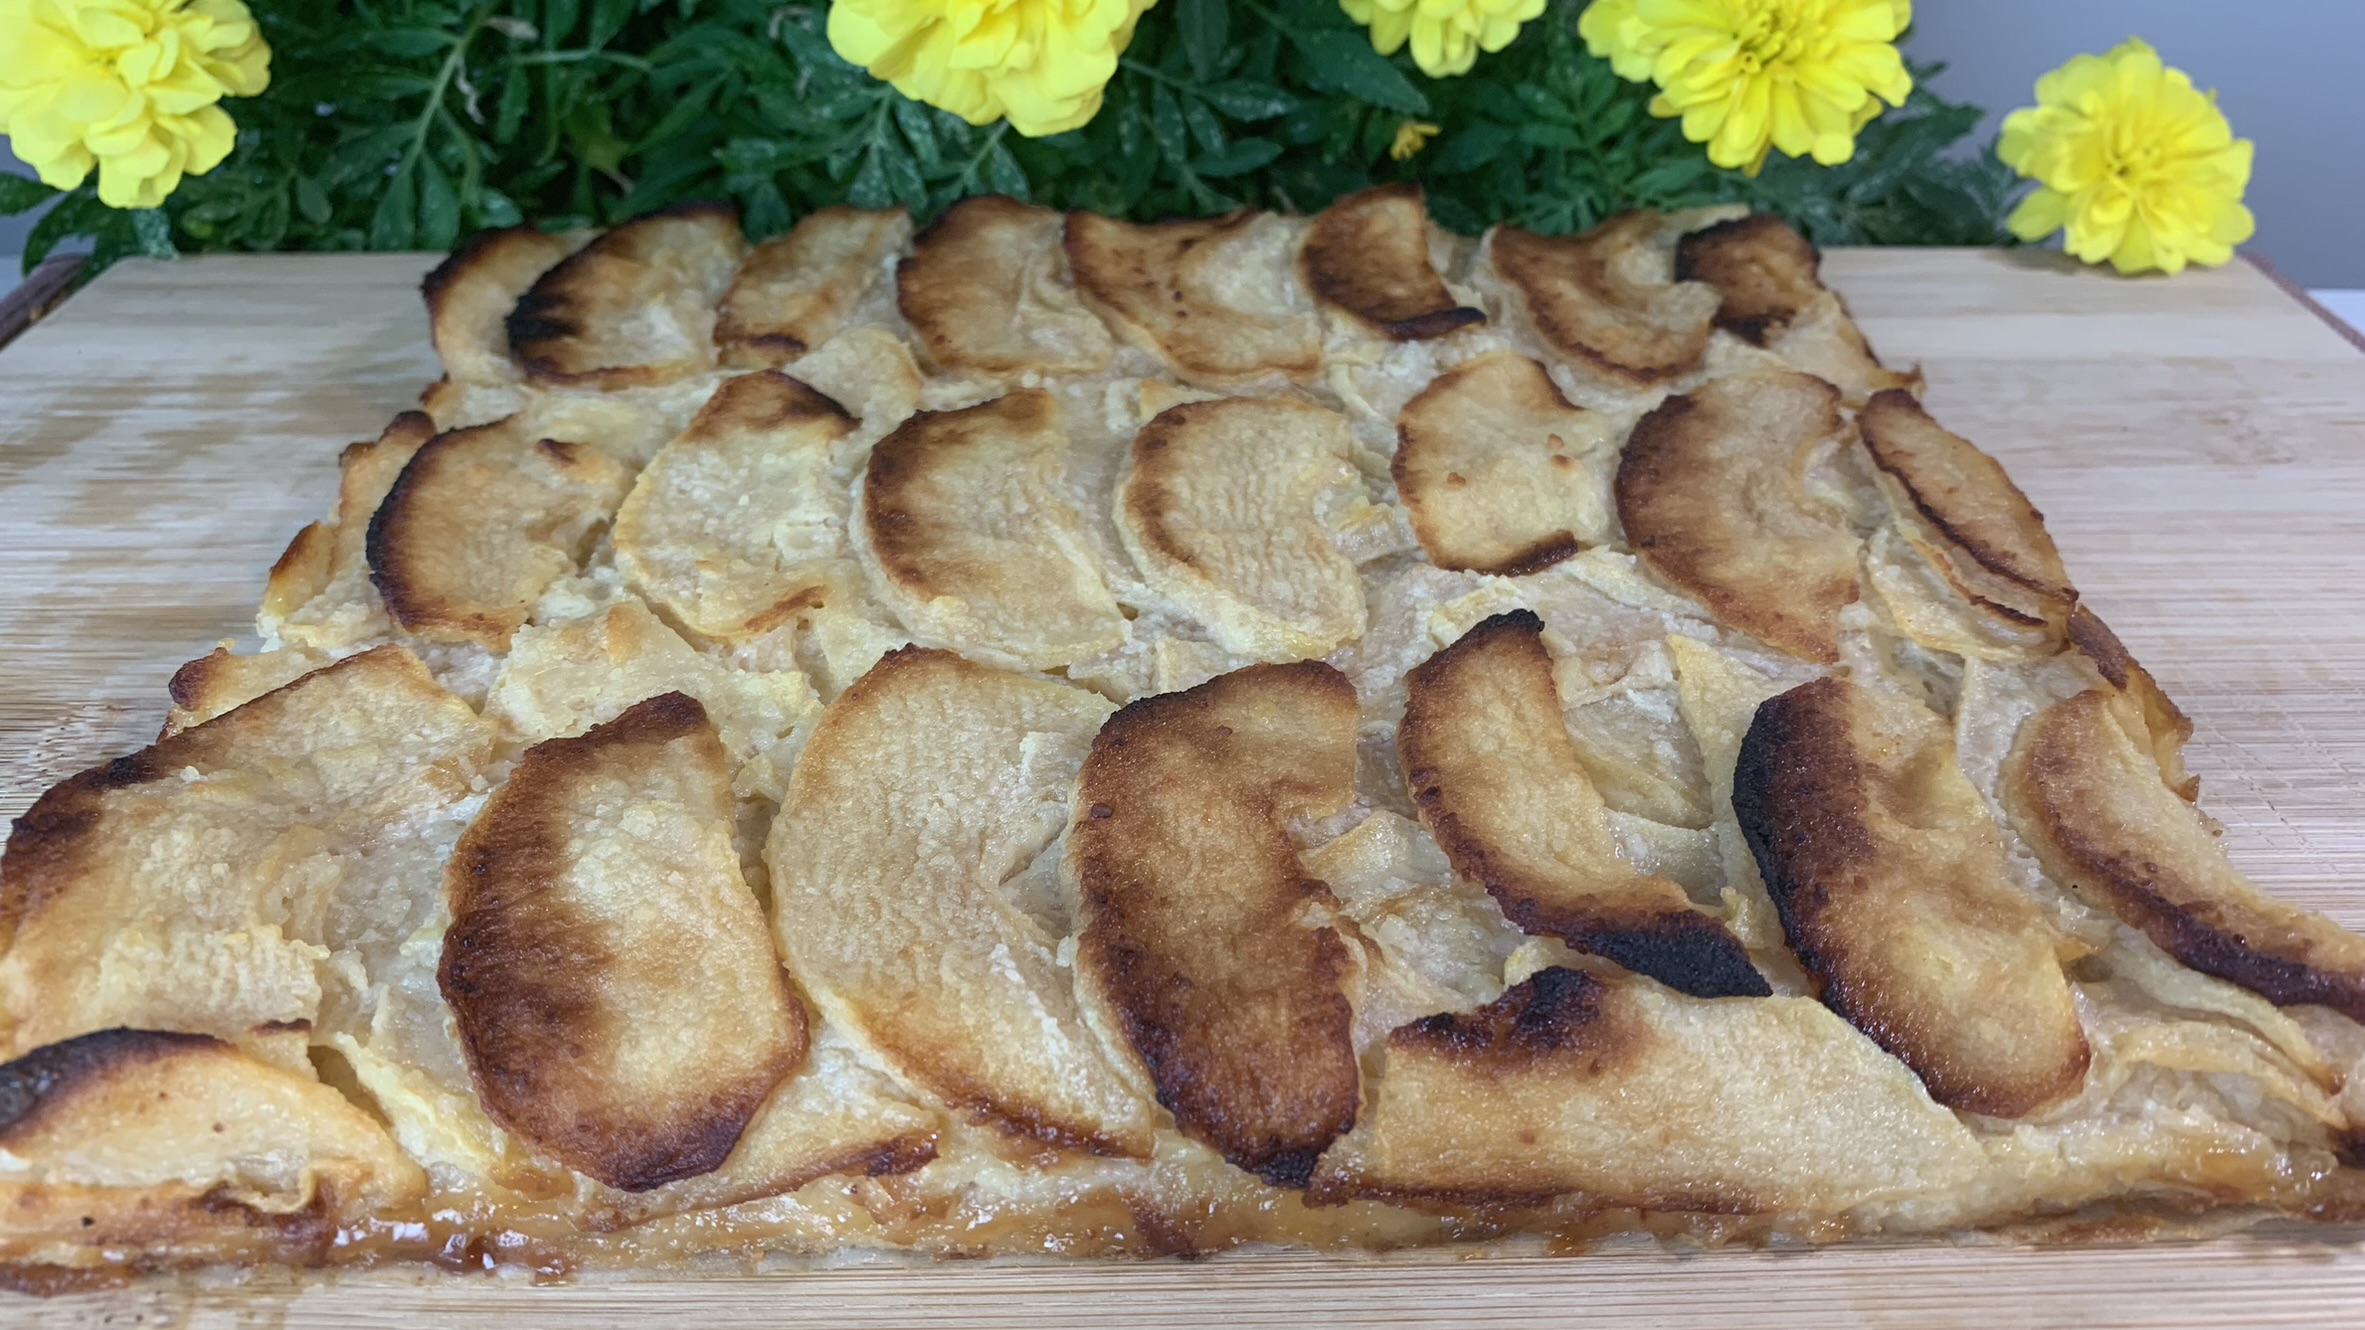
If you’re on the hunt for a flatbread recipe that is naturally gluten-free, rich in plant-based protein, and versatile enough to complement any dish, then this Chickpea Flatbread, inspired by the traditional Italian “Farinata,” is the one for you. Farinata is a beloved dish in Ligurian cuisine, known for its simplicity, a savory pancake-like bread made with chickpea flour, olive oil, and water. However, in this recipe, I’ve taken it up a notch by using whole chickpeas instead of just chickpea flour. This slight modification adds even more texture, flavor, and nutrients, making it even more satisfying.
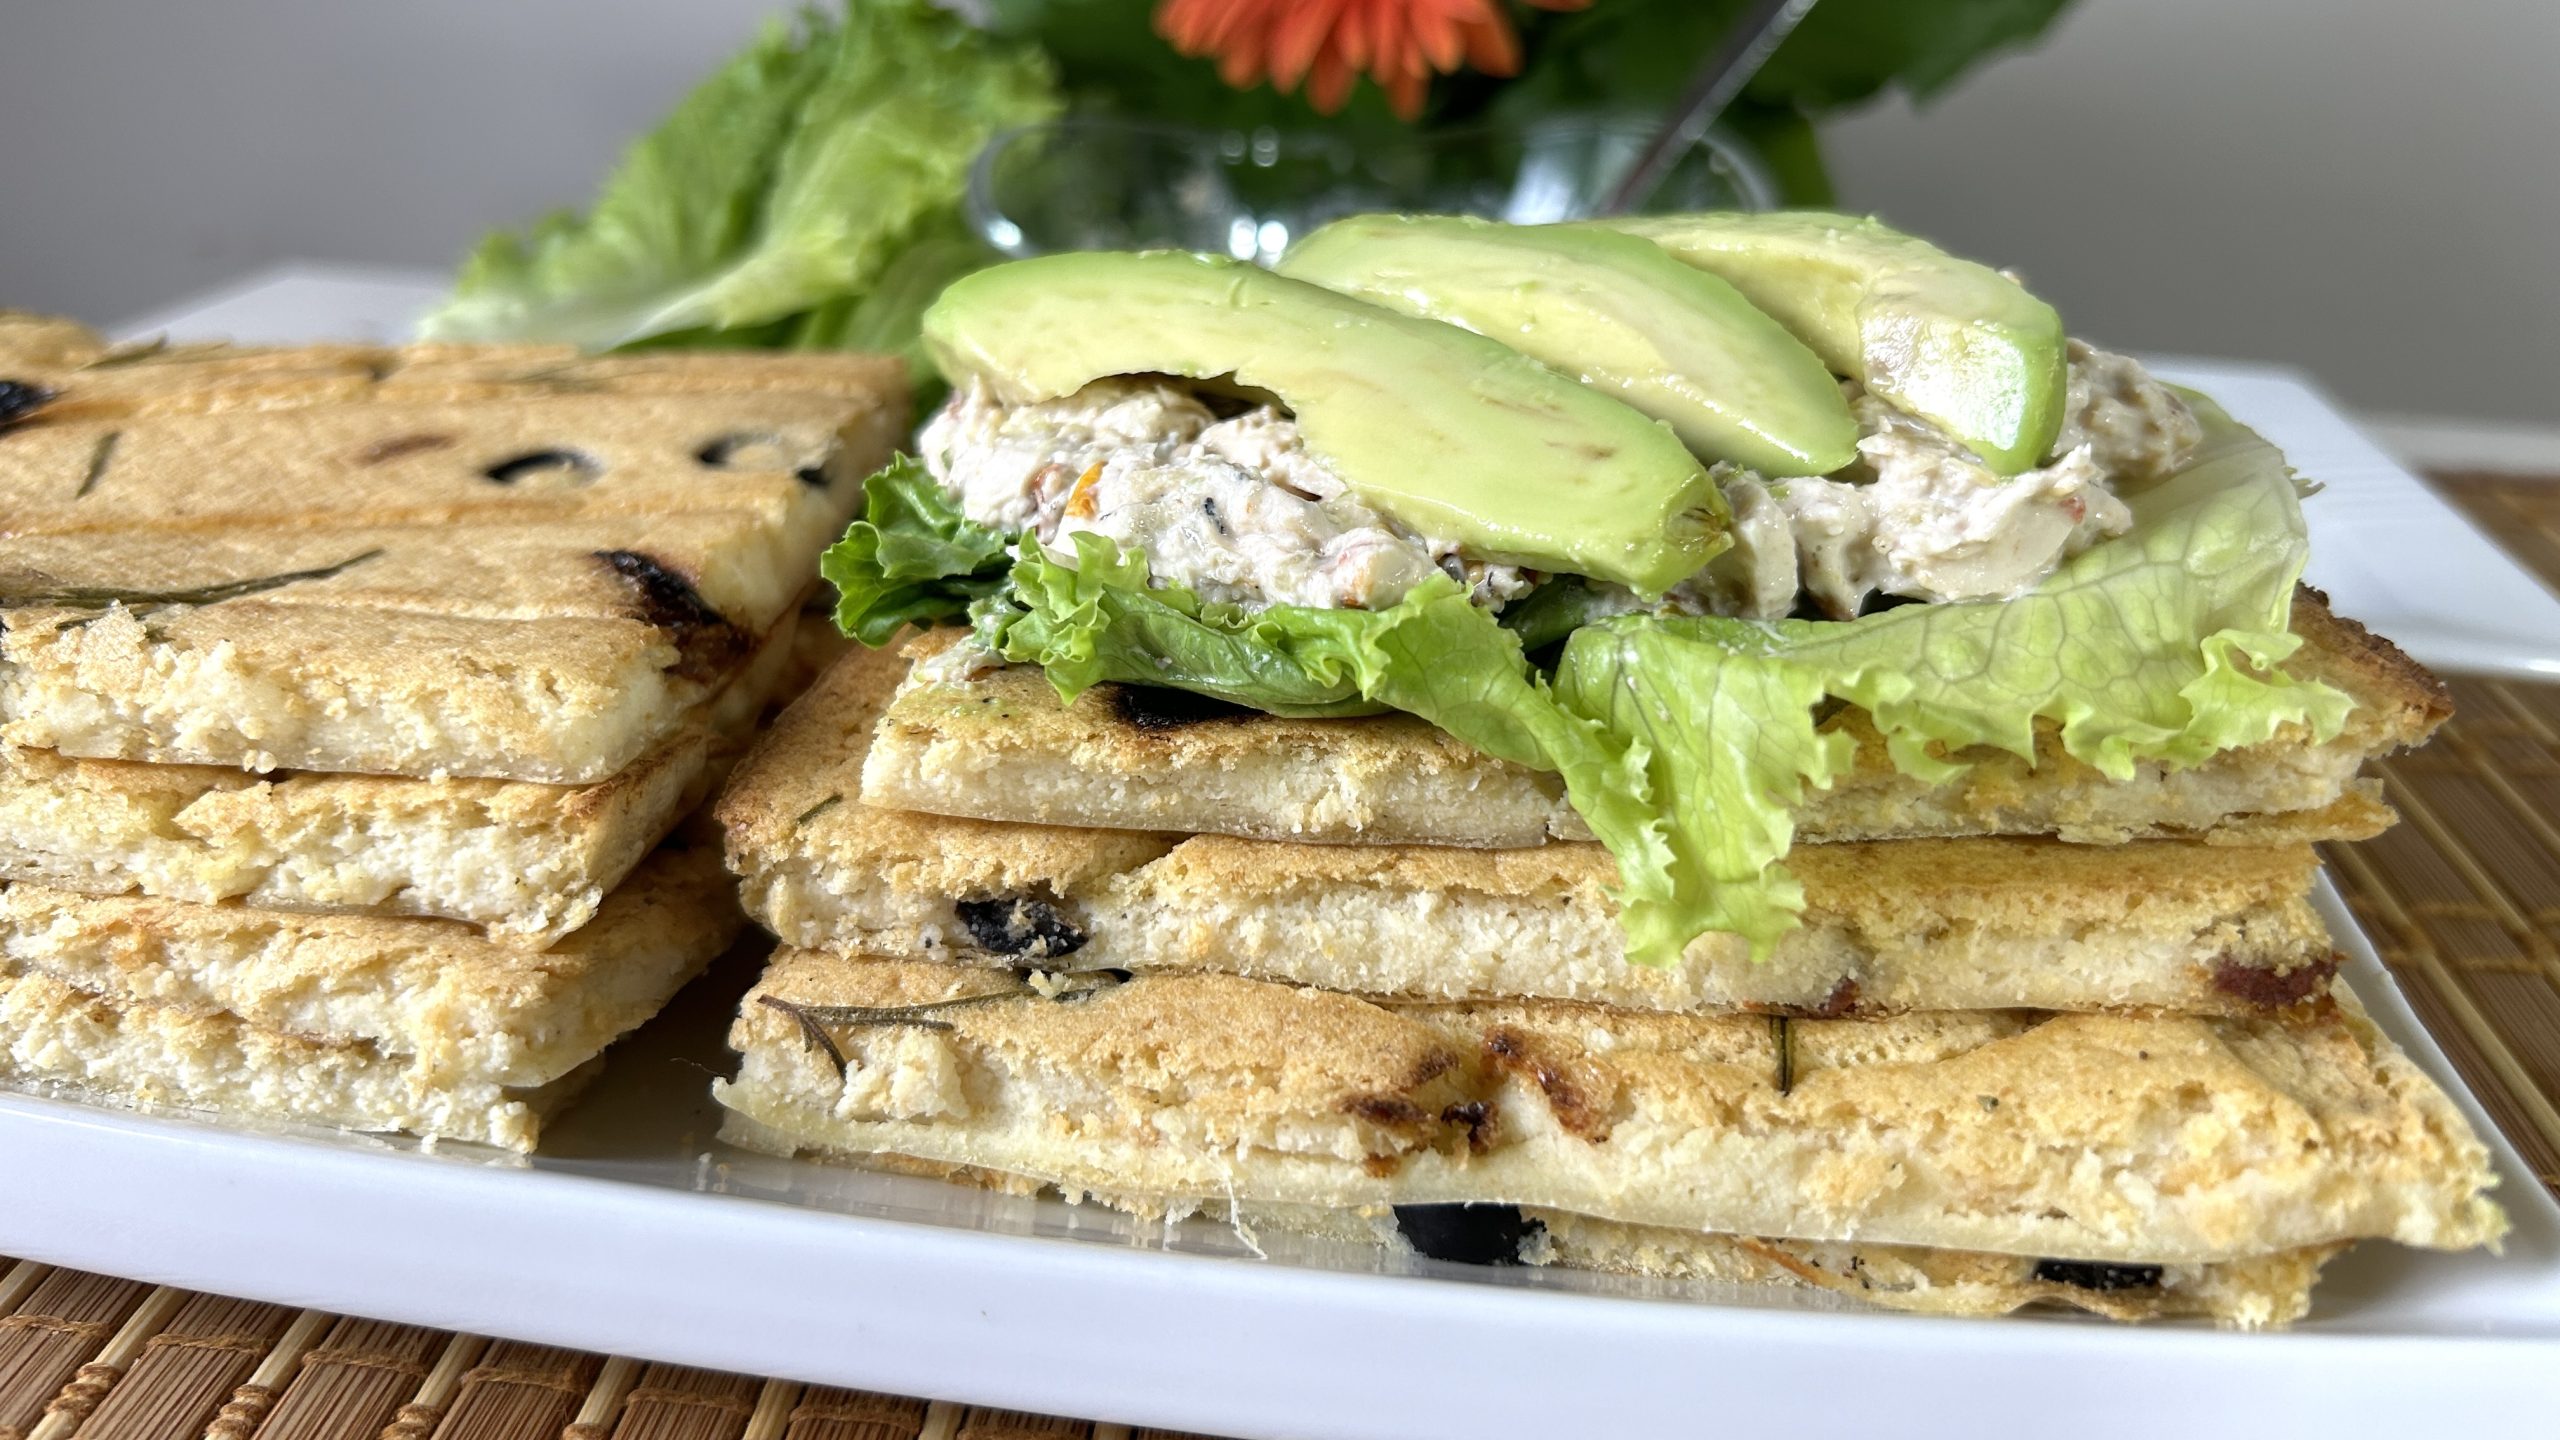
 What’s truly magical about this flatbread is its balance of crispiness and tenderness, paired with subtle flavors of rosemary, sun-dried tomatoes, and black olives. It’s a beautiful accompaniment to soups, salads, or even a base for a light, savory sandwich. But don’t be afraid to enjoy it on its own, its nutty taste and perfectly golden crust make it a star at the table.
Let’s talk about chickpeas—these humble legumes are a powerhouse of nutrition. They are high in plant-based protein, fiber, and essential nutrients like folate, manganese, and iron. Including chickpeas in your regular diet can offer numerous health benefits. For instance, their high fiber content aids digestion and promotes a healthy gut. The protein they provide is particularly helpful for those on a vegetarian or vegan diet, helping to meet daily protein needs without relying on animal products.
Another bonus? Chickpeas have a low glycemic index, which means they help stabilize blood sugar levels. This makes them an excellent choice for anyone looking to manage their blood sugar or simply make more balanced, nutritious food choices. And because chickpeas are so versatile, you can incorporate them into everything from salads to stews or, as we’re doing today, in this fantastic flatbread. Trust me, once you taste this, chickpeas might just become a regular guest at your dinner table!
Ingredients:
- 1 cup (180 g) raw chickpeas
- 2 ½ cups water, room temperature
- 3 tbsp. olive oil, plus 2 tbsp. for drizzling
- ½ tsp. salt
- Black pepper to taste (optional)
- 20 g chopped dried tomatoes
- 20 g sliced black olives
- Fresh rosemary leaves
Directions:
- Soak the raw chickpeas overnight in water.
- Rinse and strain the chickpeas the next day.
- Blend the soaked chickpeas with water until smooth and creamy.
- Add olive oil, salt, and optional black pepper, and blend again briefly to combine.
- Line a baking tray (17 inch x 11 inch; 43cm x 28cm) with parchment paper.
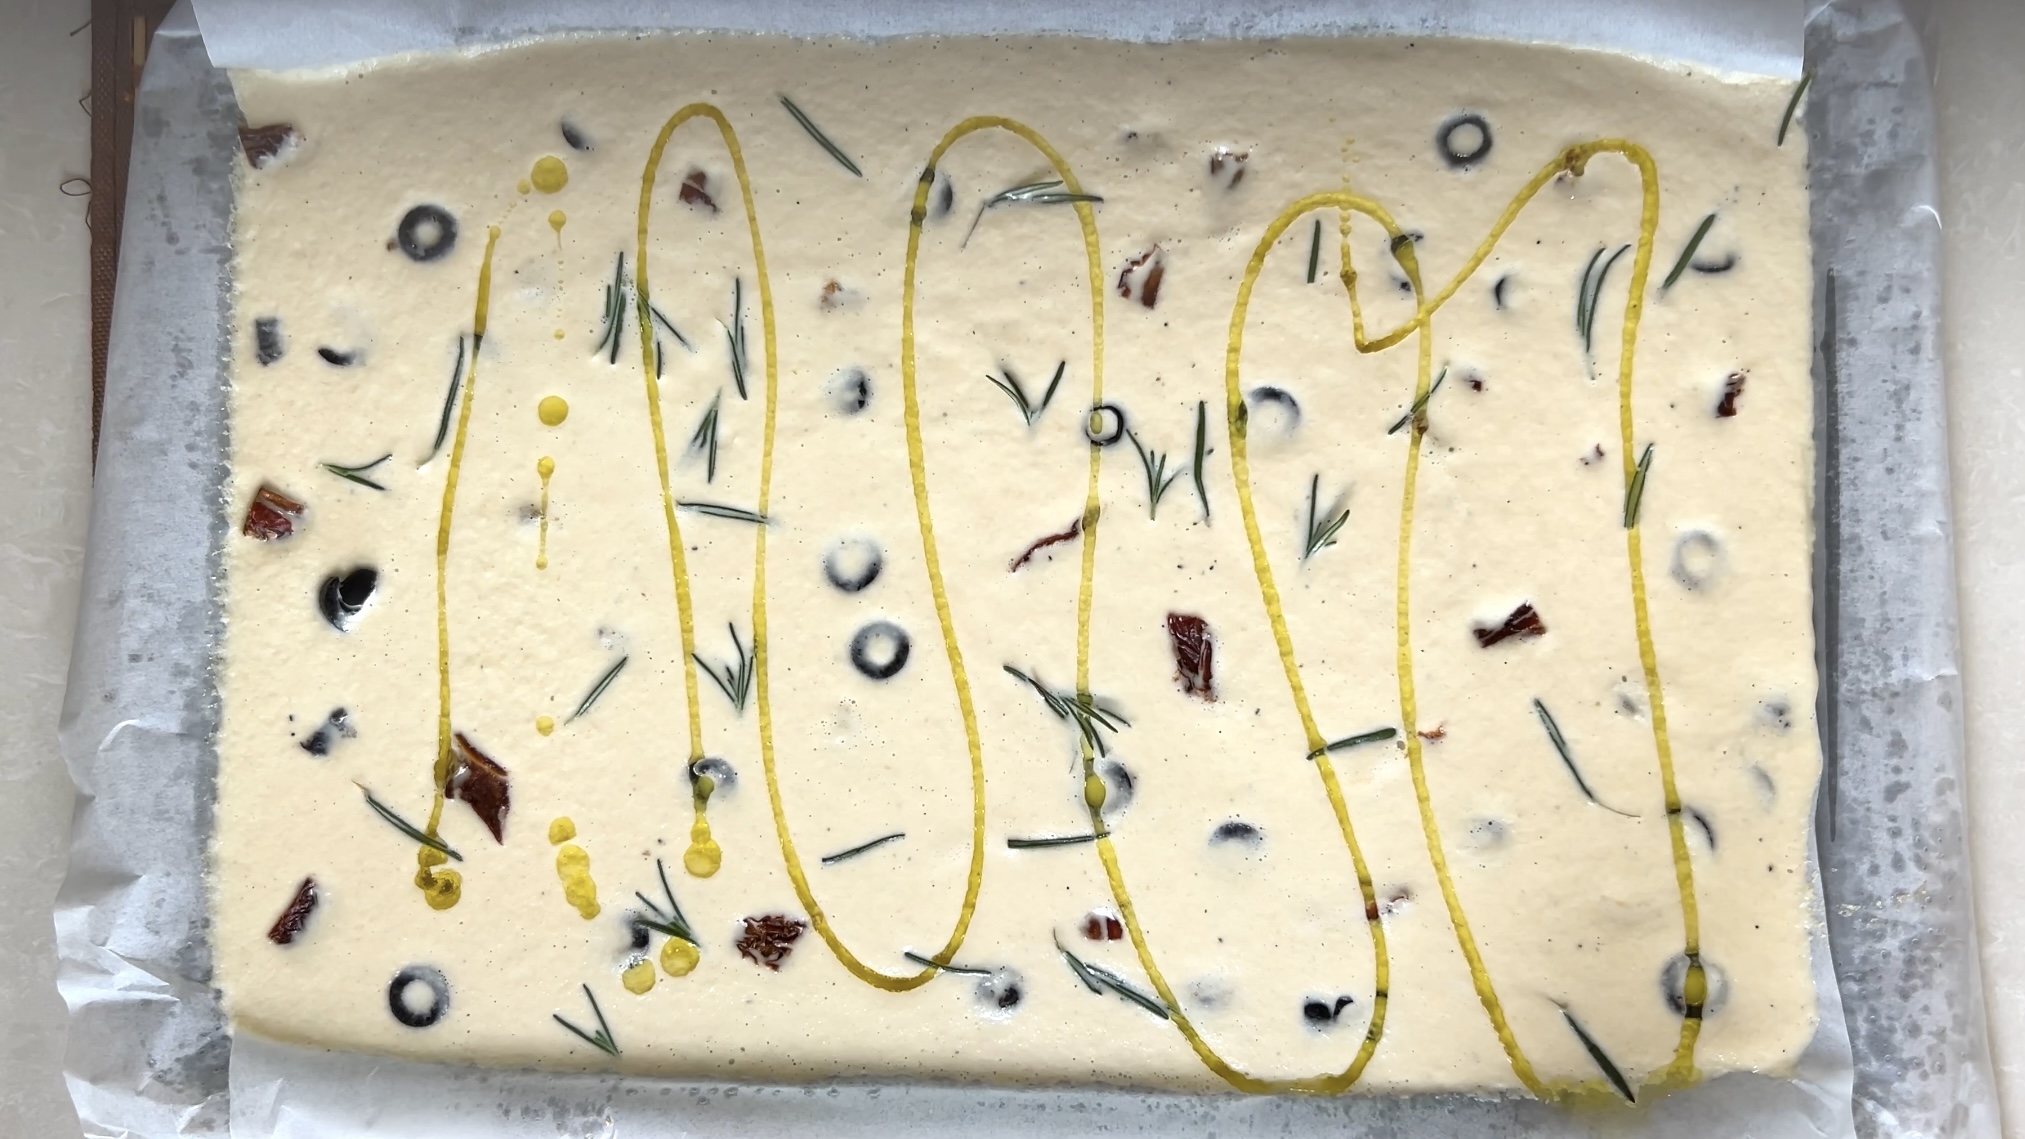
- Pour the batter onto the tray and spread evenly. Garnish with tomatoes, olives, and rosemary if desired.
- Drizzle additional olive oil over the top.
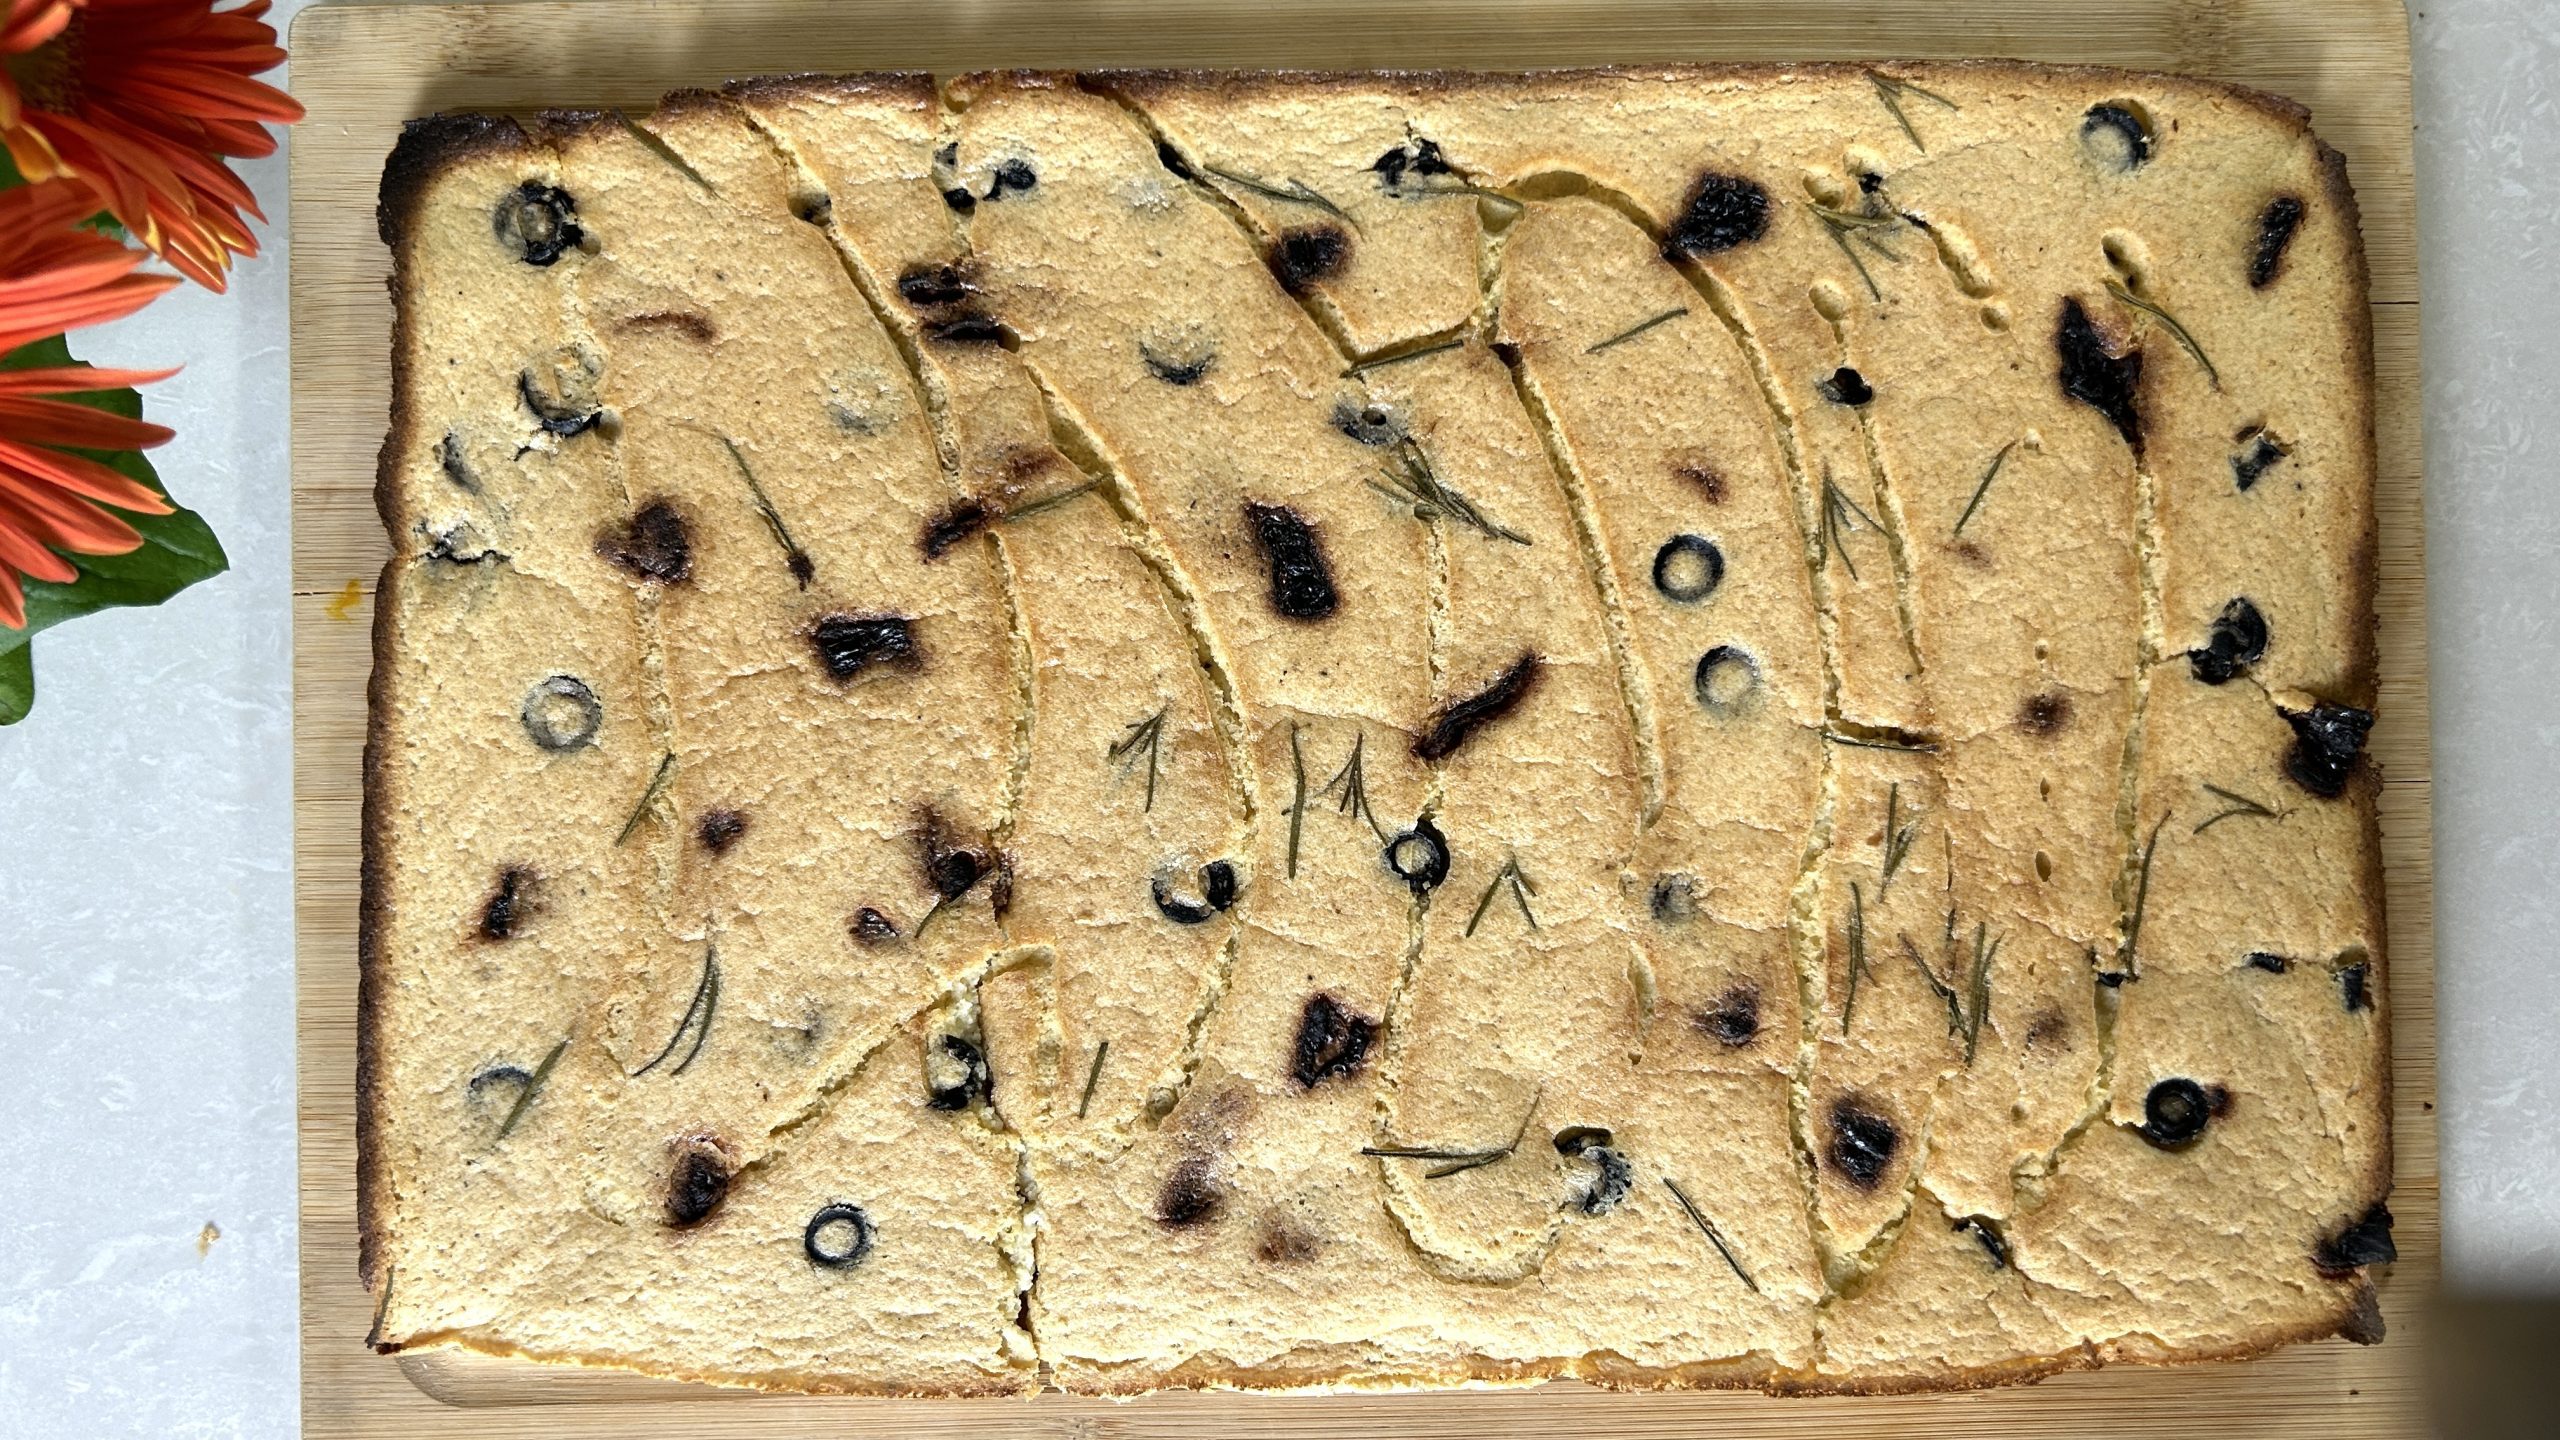
- Bake at 350°F (180°C) for 35-40 minutes until lightly browned. Cool slightly before slicing.
Prep Time:
- Overnight soaking
- 20 mins Prep
- 40 mins Baking
Servings:
- 8 Servings
Nutritional Information (Per Serving):
- Energy: 169 calories
- Protein: 4.76 g
- Fat: 10.35 g
- Carbohydrates: 14.84 g
- Fiber: 3 g
Storage & Recommendations:
- Store in an airtight container in the fridge for up to 1 week or in the freezer for up to 3 months.
- Reheat in the oven or on a skillet to restore its crispy texture.
- Enjoy as a snack, side dish, or use as a base for sandwiches or pizza-like creations.