Cottage Cheese Mousse
Cottage Cheese Mousse
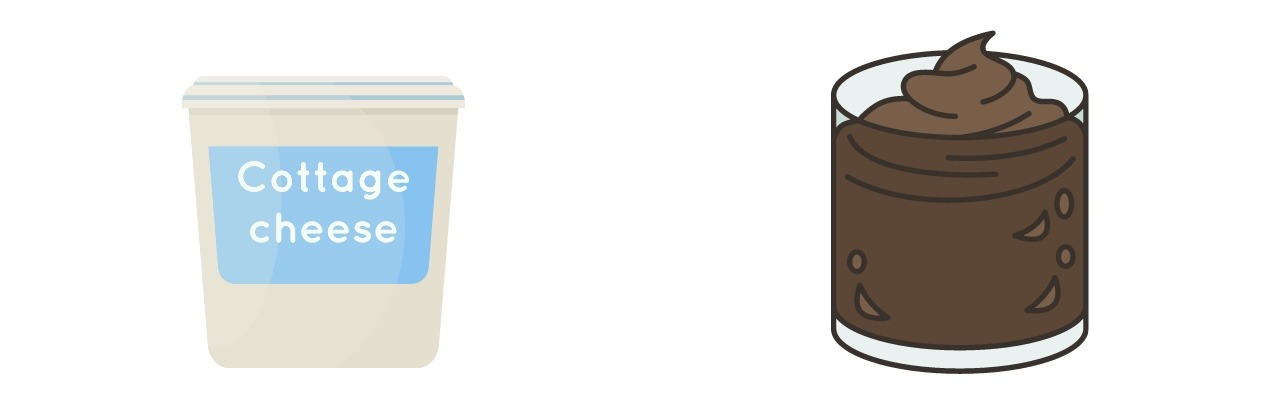
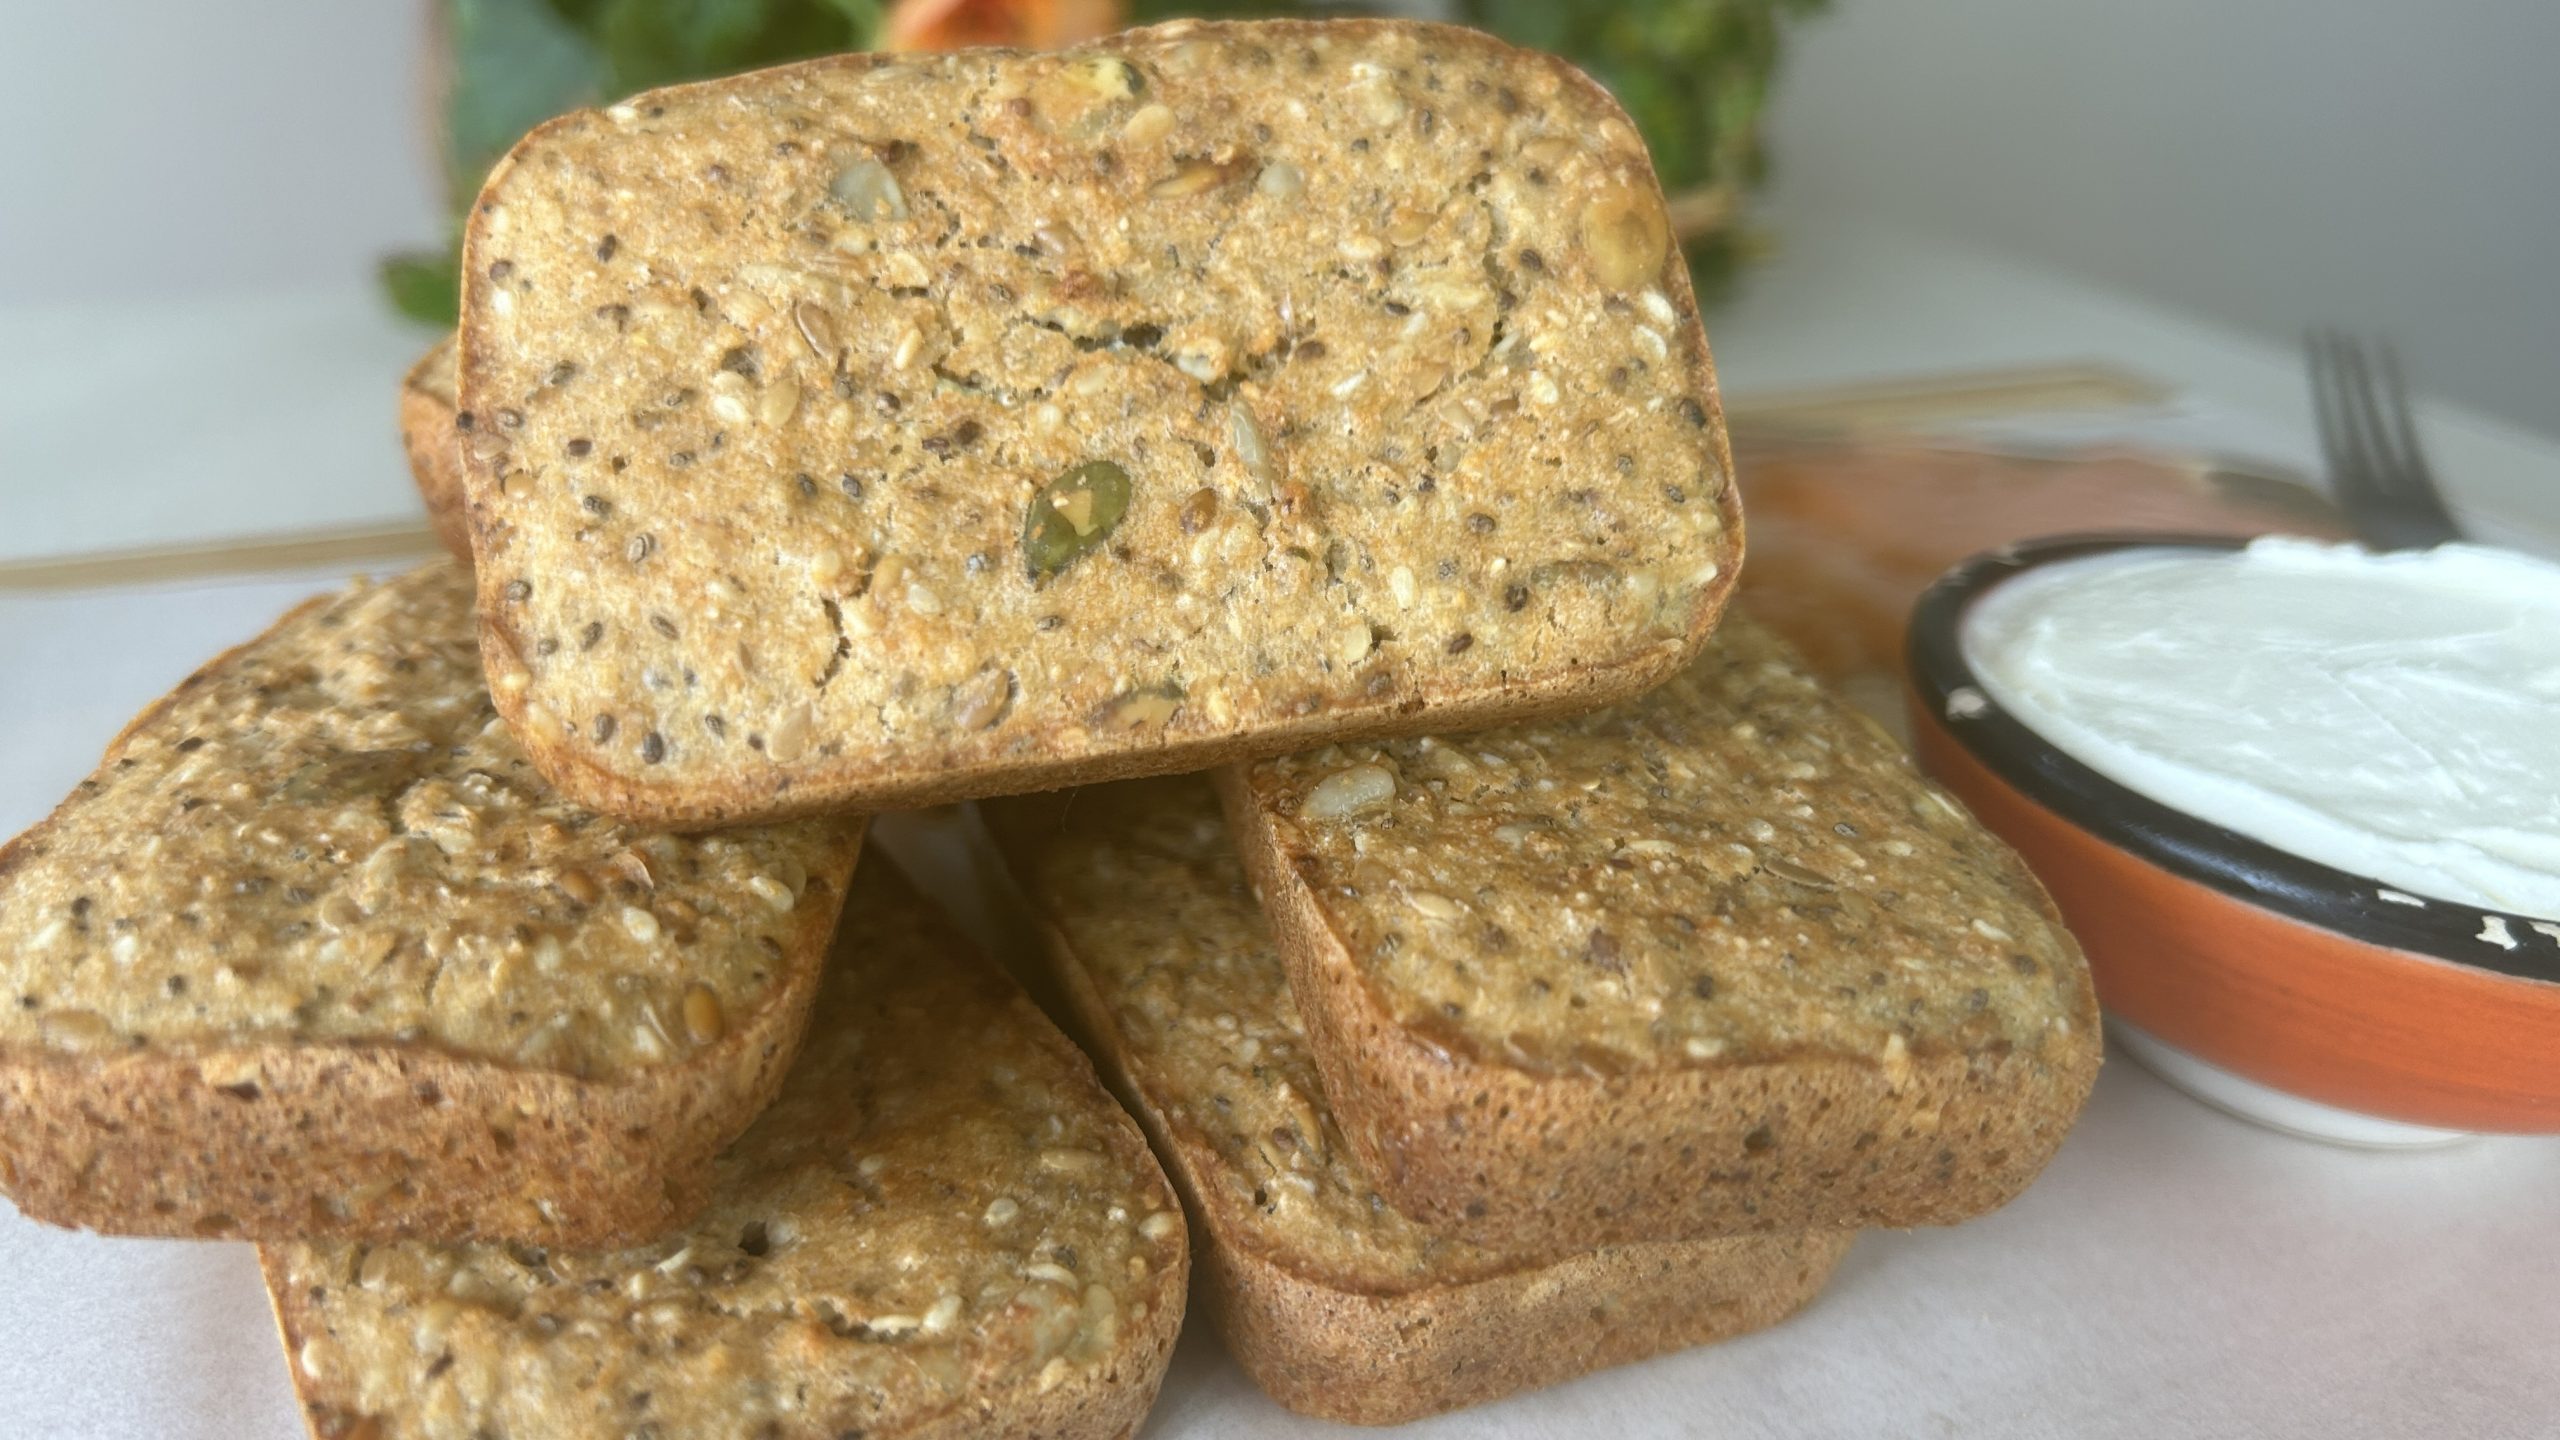
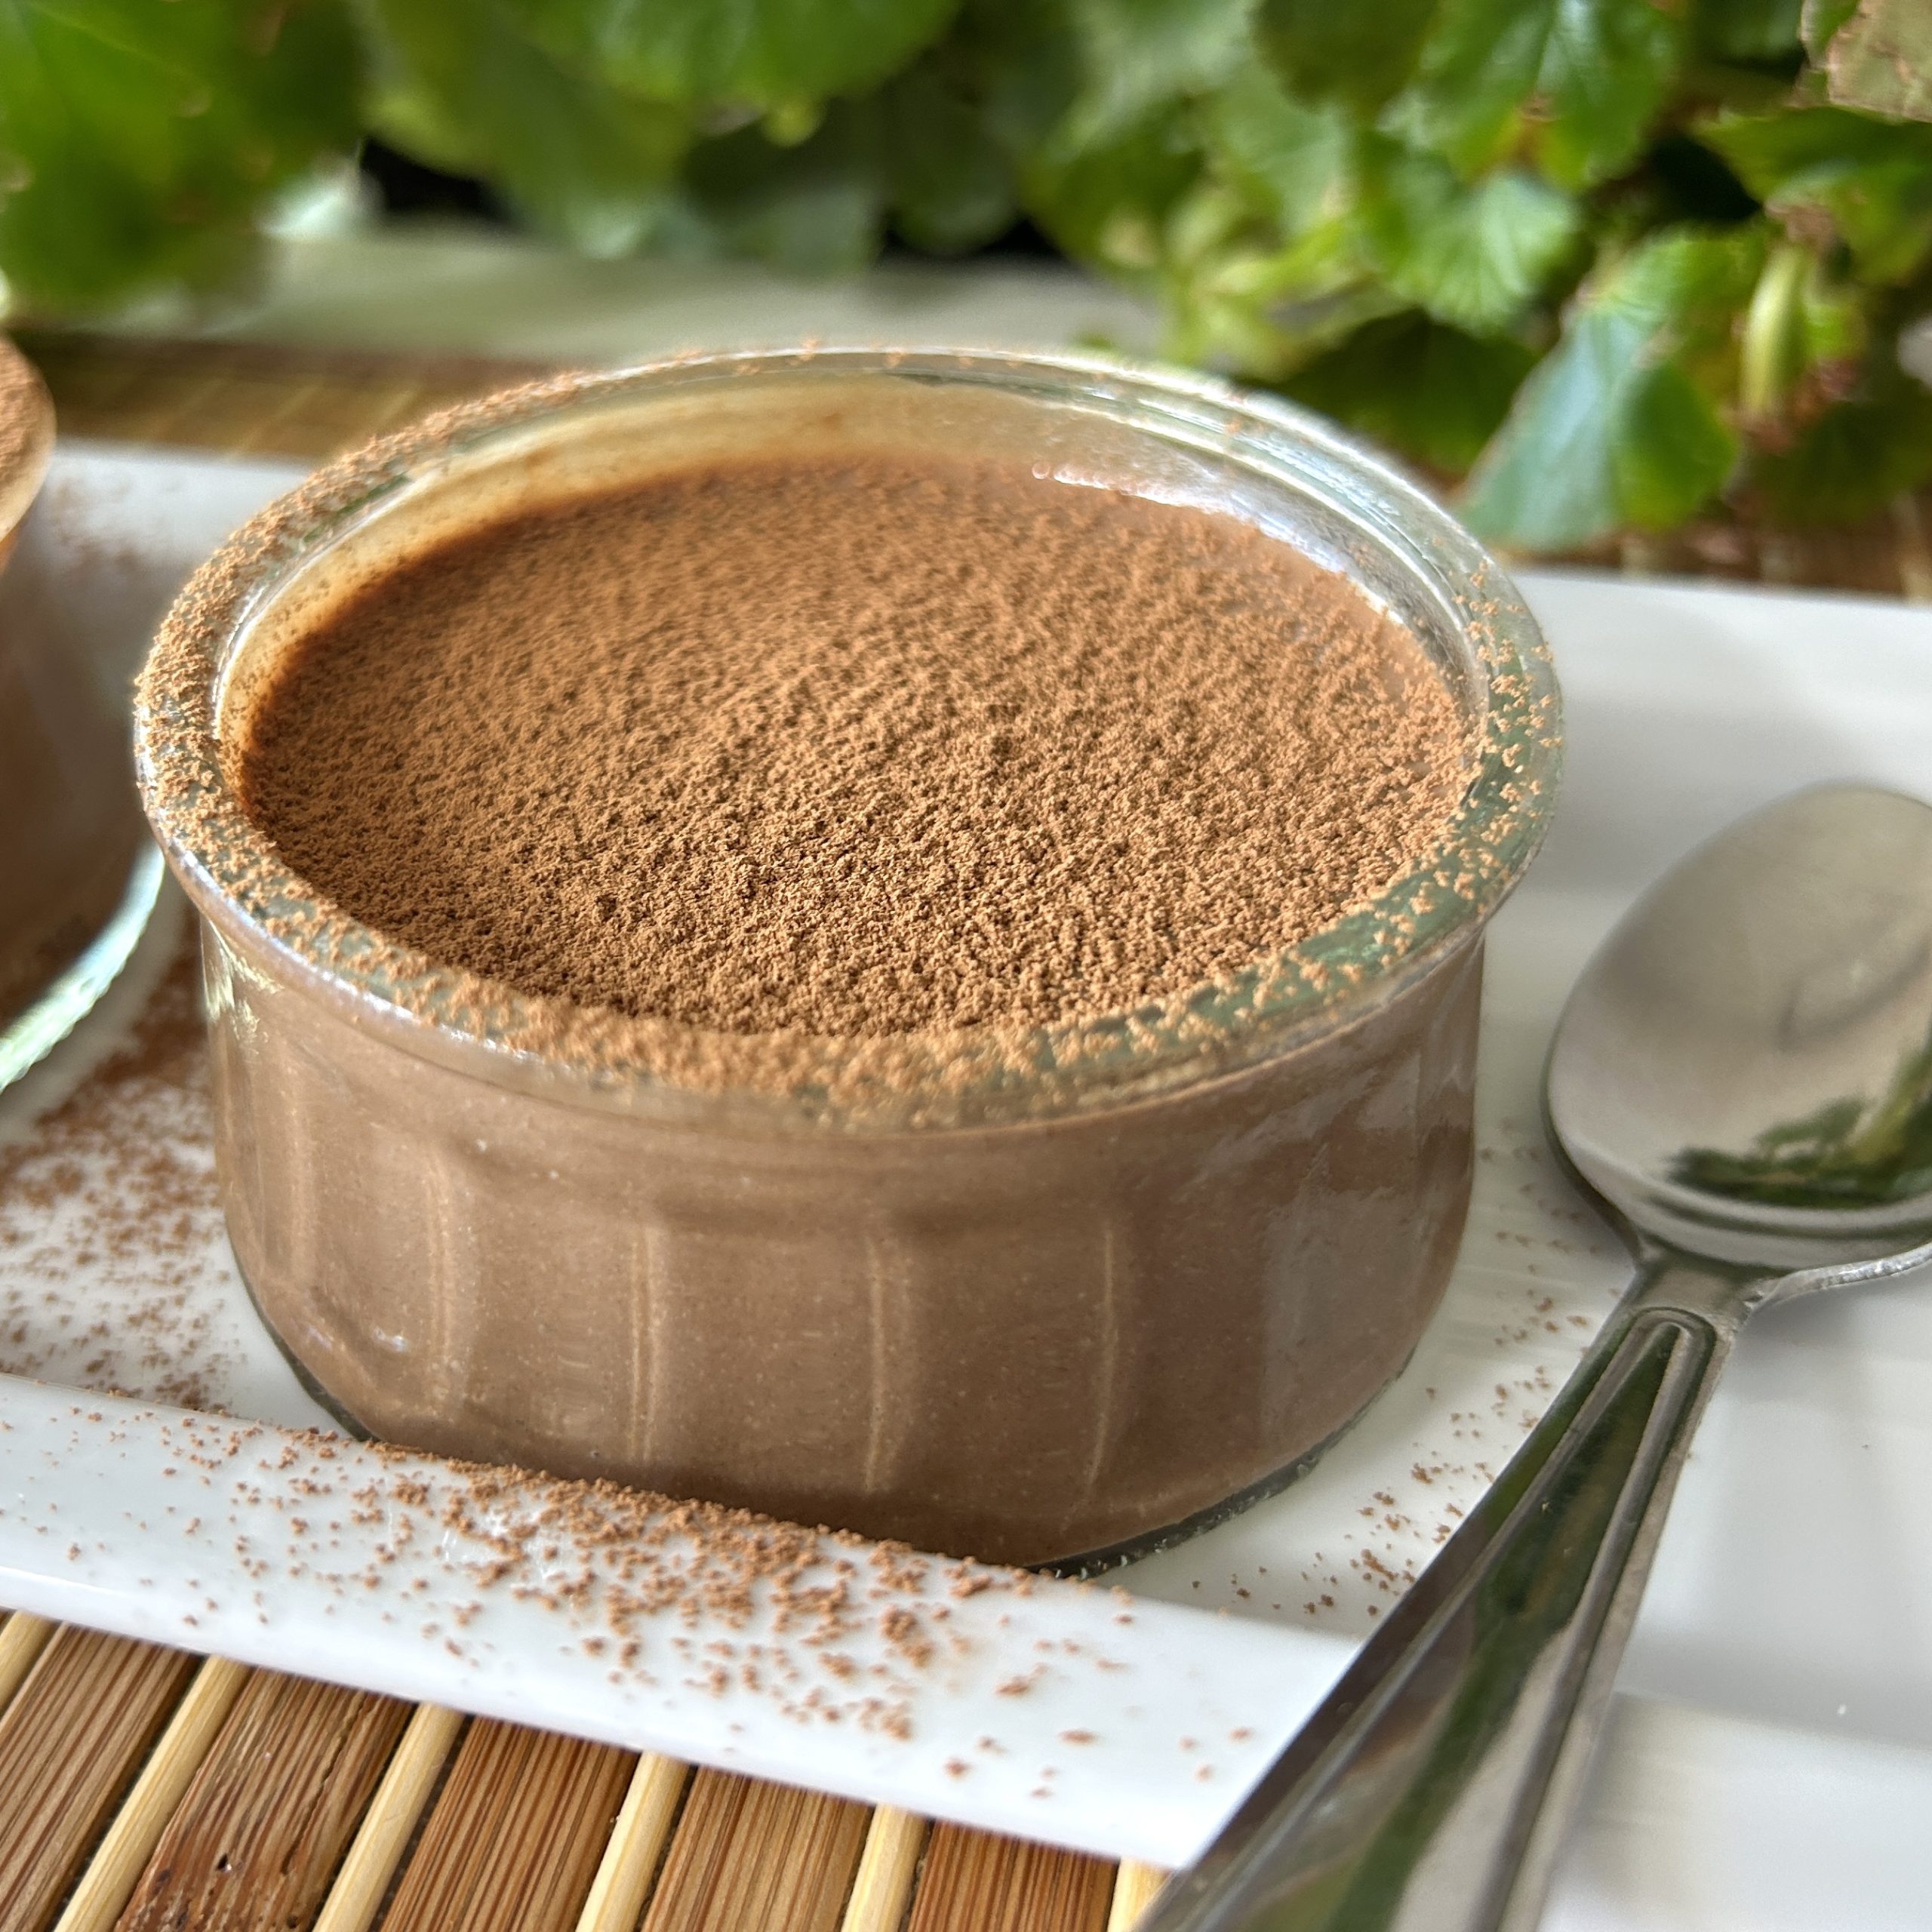
Indulge in a creamy and decadent dessert with this Cottage Cheese Chocolate Mousse. By using cottage cheese as the base, this mousse provides a healthier twist on the traditional chocolate mousse, without sacrificing flavor or texture. Cottage cheese, with its high protein content and creamy consistency, blends perfectly with rich cocoa to create a dessert that is both satisfying and nutritious.
Cottage cheese is not only low in fat but also packed with essential nutrients like calcium, which supports bone health, and protein, which helps with muscle repair and satiety.
When combined with the natural sweetness of dates and the antioxidant-rich cocoa powder, this mousse becomes a guilt-free treat that you can enjoy any time. This dessert is a perfect example of how simple, wholesome ingredients can come together to create something truly special.
 Whether you’re looking for a quick dessert or a make-ahead treat, this Cottage Cheese Chocolate Mousse is sure to impress. It’s easy to prepare, requires minimal ingredients, and offers a delightful blend of flavors that will satisfy any chocolate lover’s cravings.
Ingredients
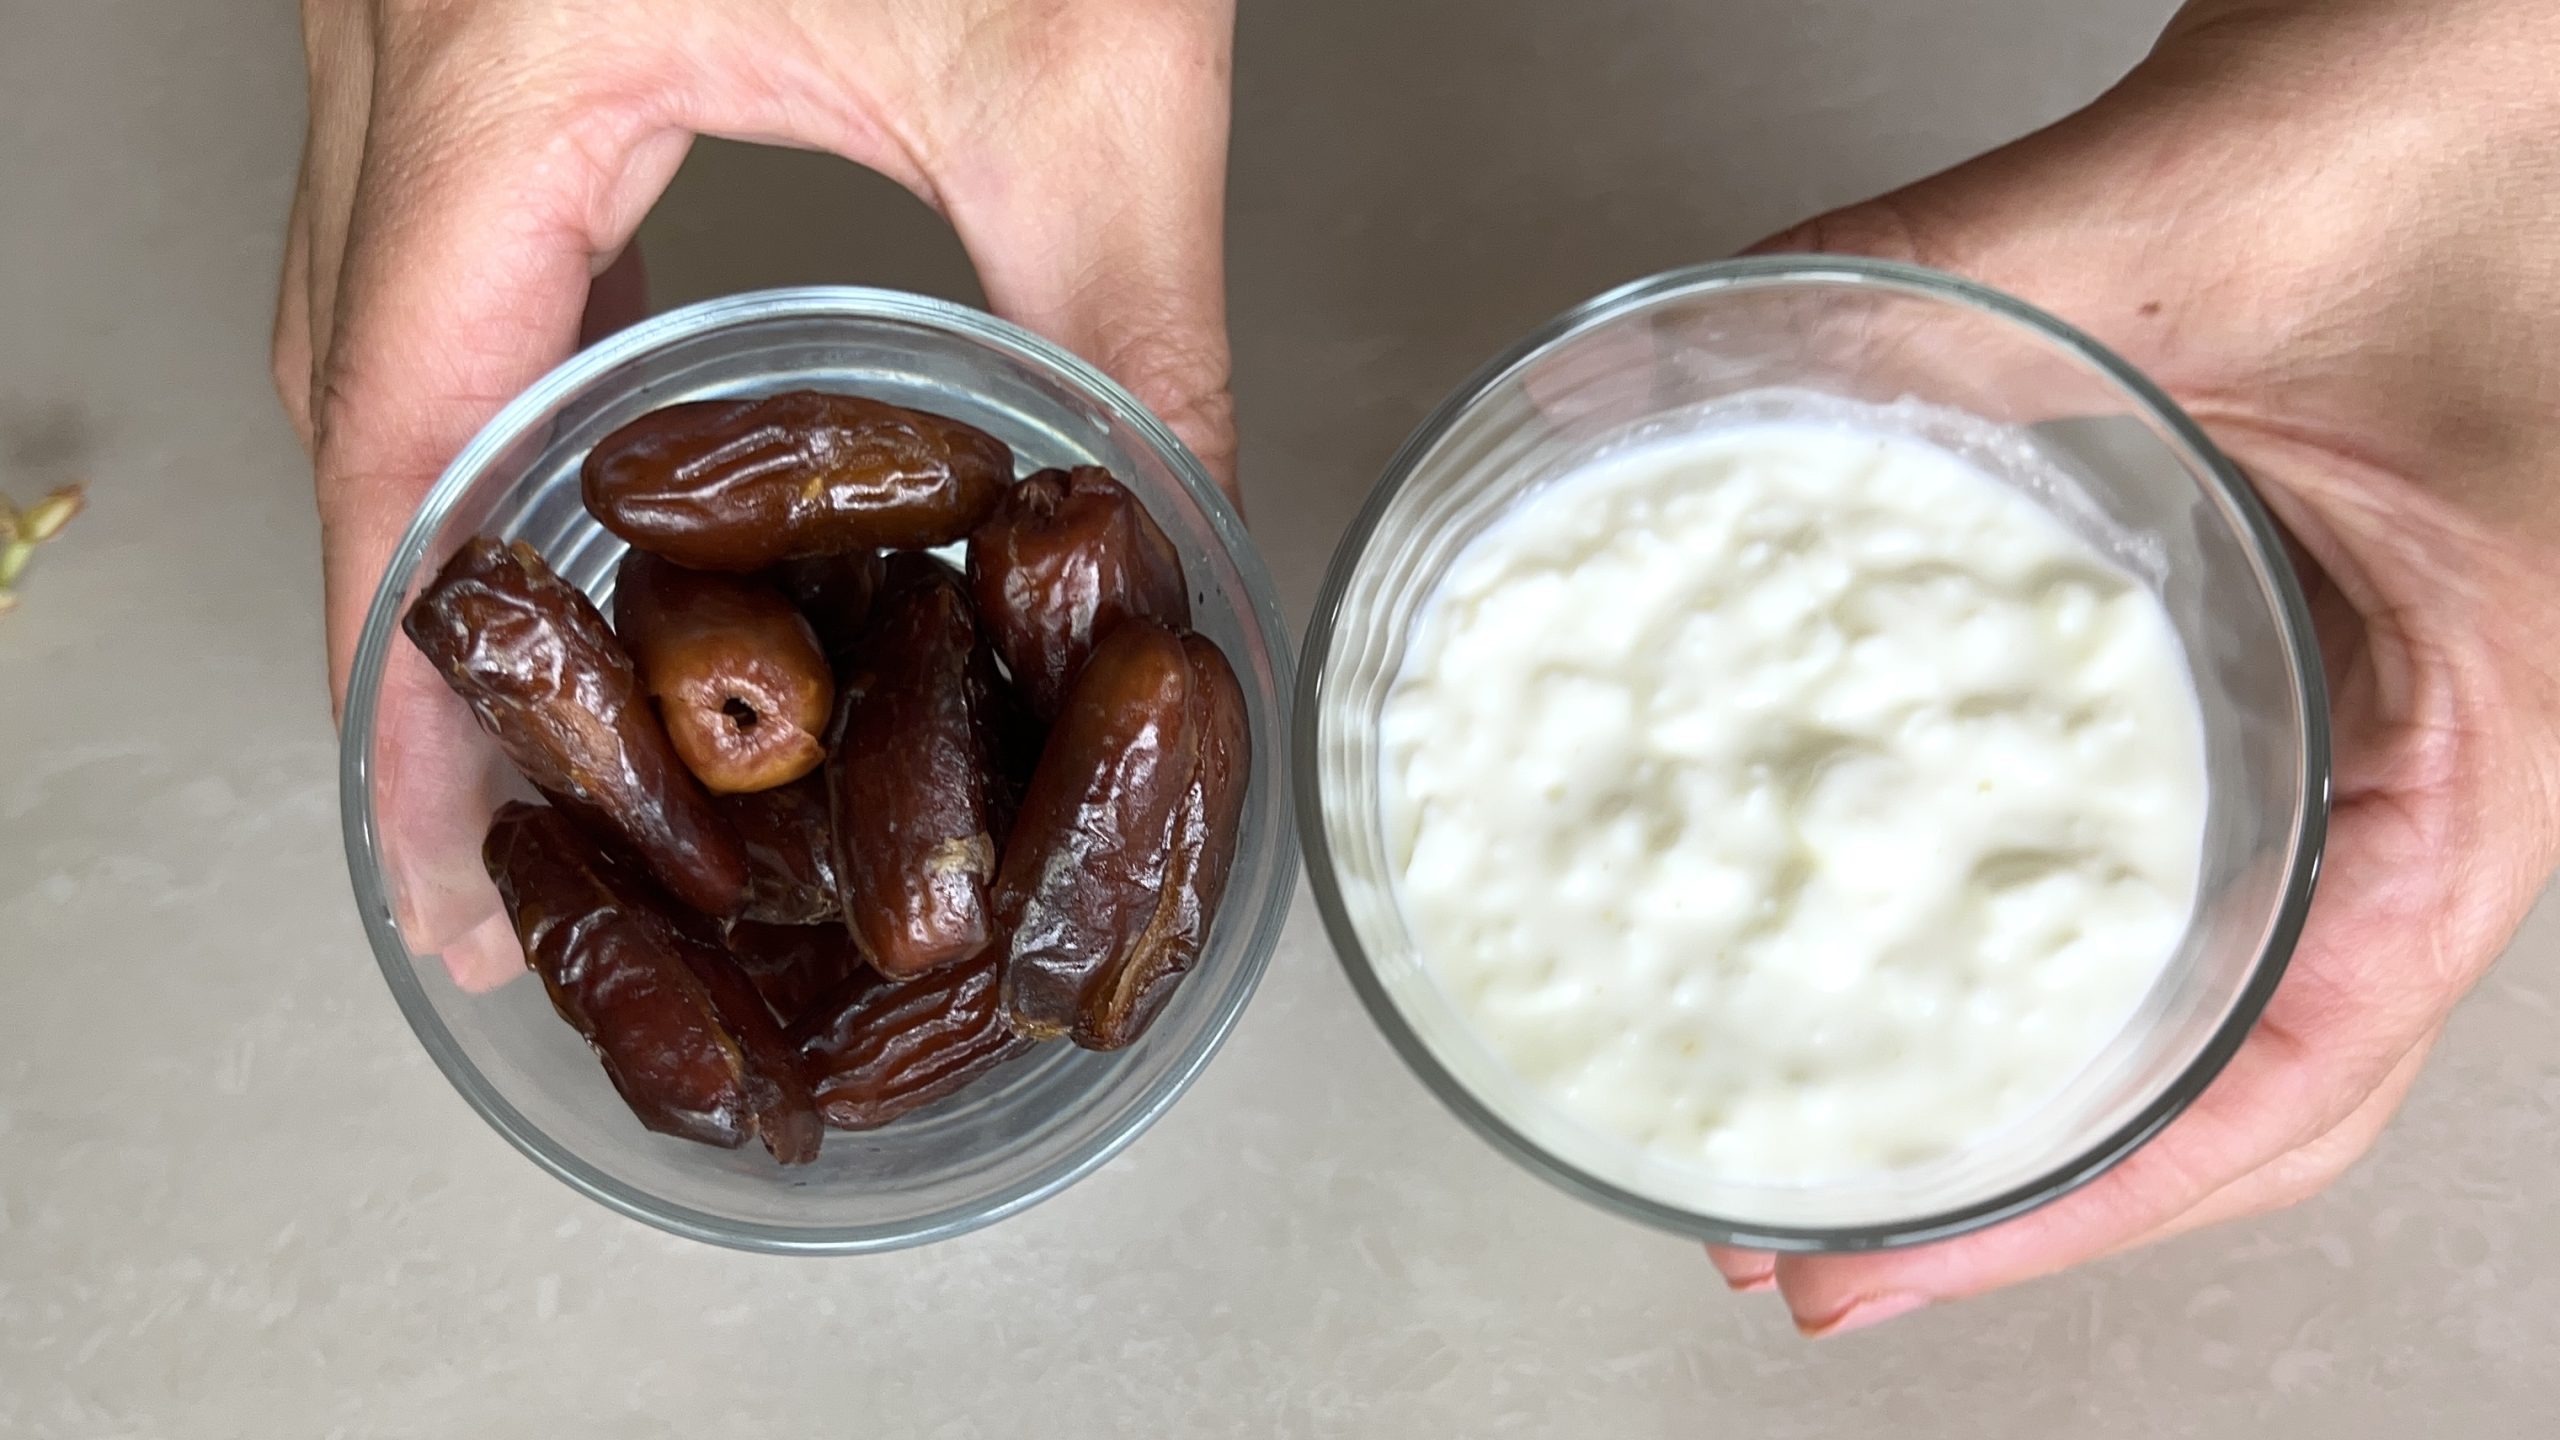
- ½ cup (100 g) cottage cheese
- 60 g pitted dates
- 1/3 cup or 80 ml hot water
- 2 tbsp. or 8 g cocoa powder
- ¼ tsp instant coffee (optional)
- ½ tsp cocoa powder (optional, for garnish)
Directions
- Begin by adding pitted dates into a glass jar. Pour hot water over the dates, cover, and let the dates soften for 15 to 30 minutes.
- Once the dates are softened, keep the added water in the jar. Add cocoa powder, instant coffee (if desired), and cottage cheese to the jar.
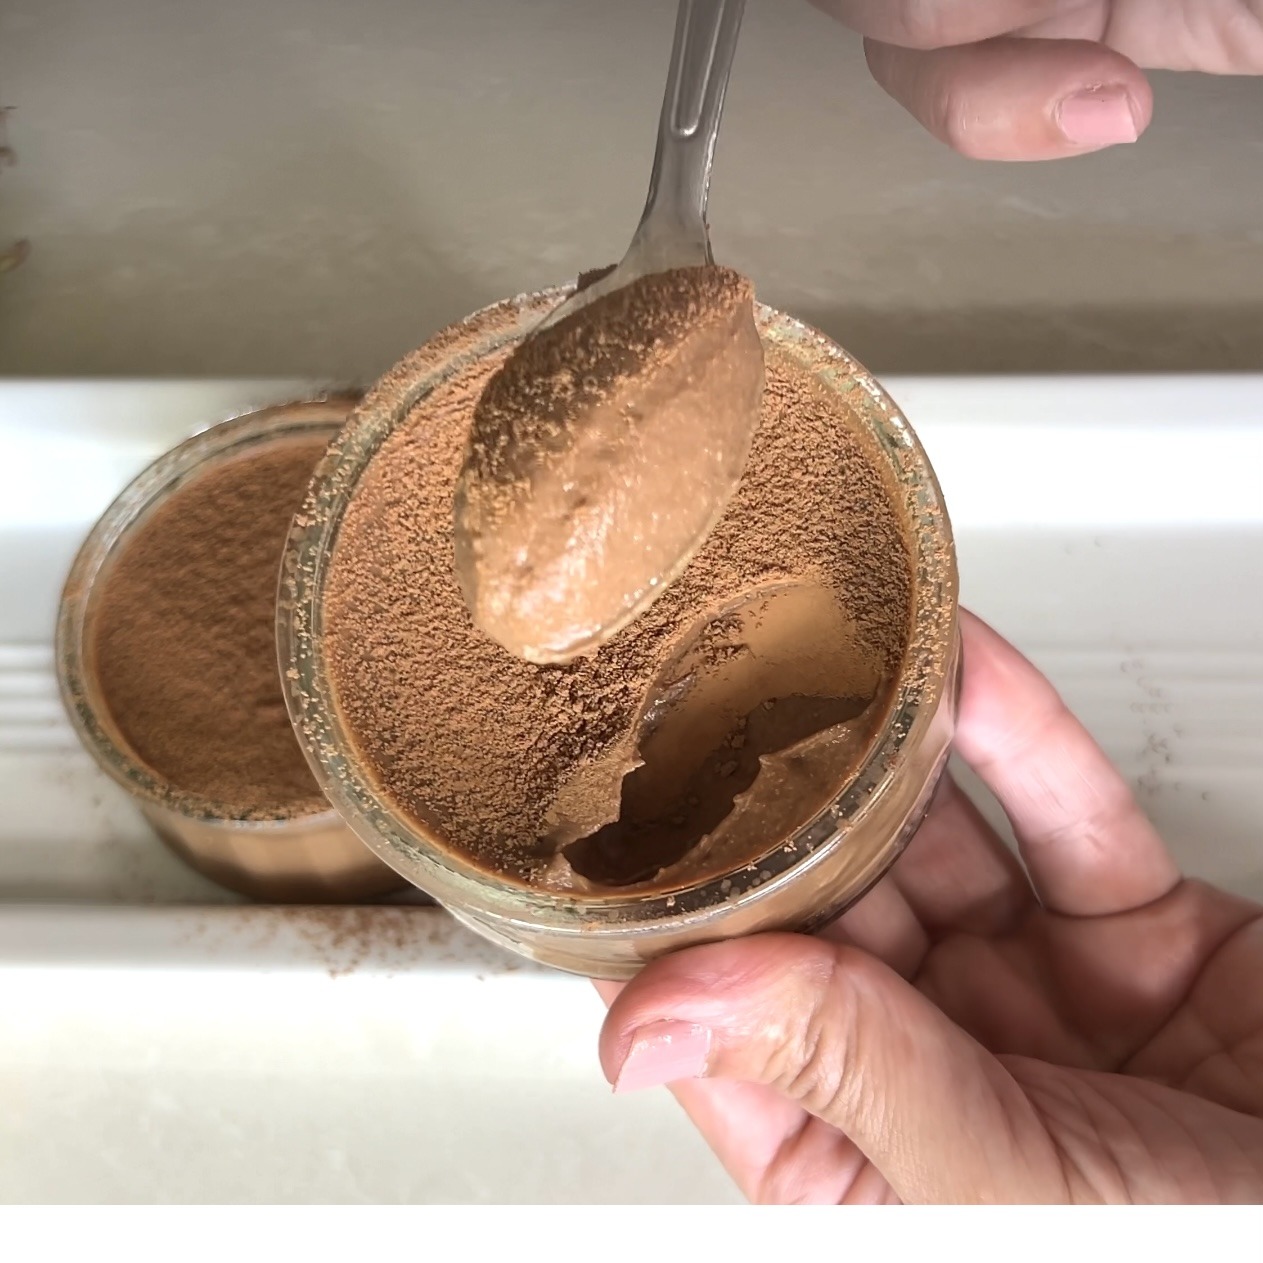
- Use a hand blender or food processor to blend the ingredients until you reach a smooth and creamy consistency.
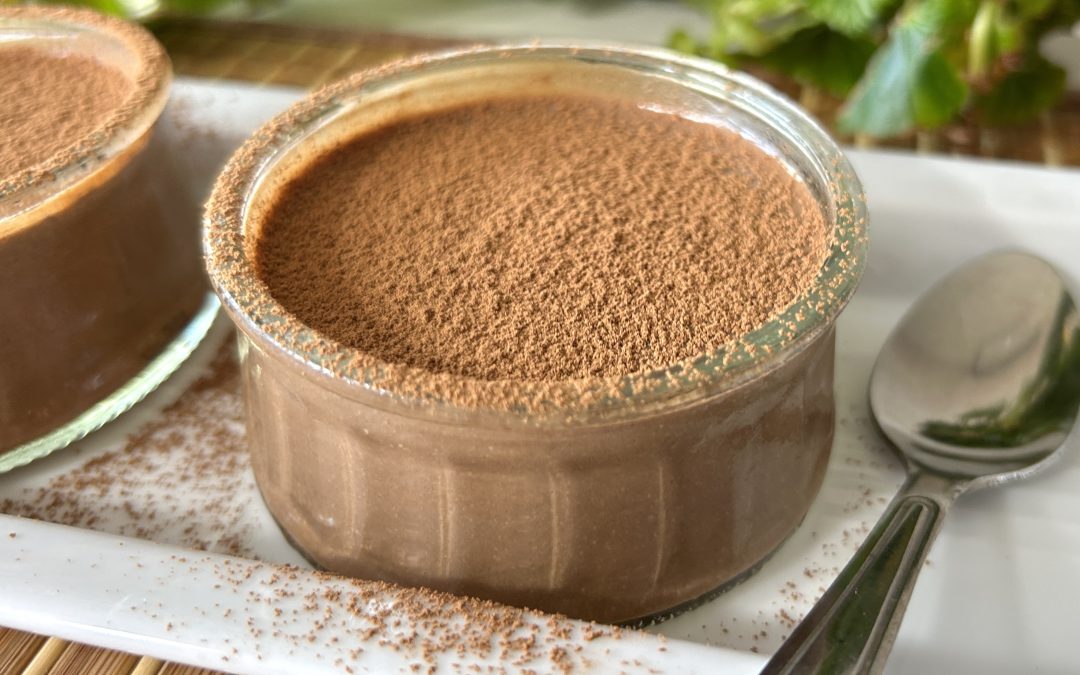
- Pour the mixture into ramekins of your choice. Cover with plastic wrap, and let the mousse sit in the fridge for at least 3 hours or preferably overnight.
- Once the mousse has cooled, sprinkle some cocoa powder on top for an extra chocolaty flavor.
- Enjoy the rich, creamy, and wholesome mousse!
Prep Time: 10 minutes
Soaking Time: 30 minutes
Chilling Time: 3 hours
Servings: 2
Nutritional Information (Per Serving)
- Energy: 163 calories
- Protein: 8.2 g
- Fat: 2.85 g
- Carbohydrates: 28.25 g
- Fiber: 2.8 g
Storage
- Store the cottage cheese chocolate mousse in the fridge for up to 3 days.
- For best results, prepare the mousse a day in advance to allow the flavors to meld and the texture to set properly.
Additional Recommendations
- This Cottage Cheese Chocolate Mousse is a versatile dessert that can be dressed up with fresh berries, a dollop of whipped cream, or a sprinkle of nuts for added texture.
- It’s perfect for dinner parties, a special treat, or even as a healthy snack to satisfy your sweet tooth.