Sardine Salad
Sardine Salad
Bursting with fresh vegetables and the wholesome goodness of canned sardines, this Mediterranean-inspired Sardine Salad is a delicious and nutrient-packed meal that’s perfect for any time of the day. Sardines are often overlooked, but they are a powerhouse of nutrition, offering a rich source of protein, omega-3 fatty acids, vitamins, and minerals. These small fish are particularly high in calcium and vitamin D, both of which are essential for bone health. Omega-3 fatty acids are known for their anti-inflammatory properties and heart health benefits, making sardines a smart choice for those looking to boost their overall well-being.
Canned sardines are not only affordable but also incredibly versatile. They pair beautifully with the crisp freshness of vegetables, creating a salad that’s both satisfying and healthy. This recipe transforms simple ingredients into a flavorful dish that can be served as a light lunch or dinner. The addition of homemade taco shells made from your choice of tortillas adds a delightful crunch and makes this salad even more enjoyable.
Whether you’re looking to improve your heart health, boost your intake of omega-3s, or simply enjoy a tasty and nutritious meal, this Sardine Salad has you covered. It’s a quick and easy way to incorporate more nutrient-dense foods into your diet without sacrificing flavor.
Ingredients
- 4 tortillas of your choice (we used our homemade gluten-free tortillas made from mung beans)
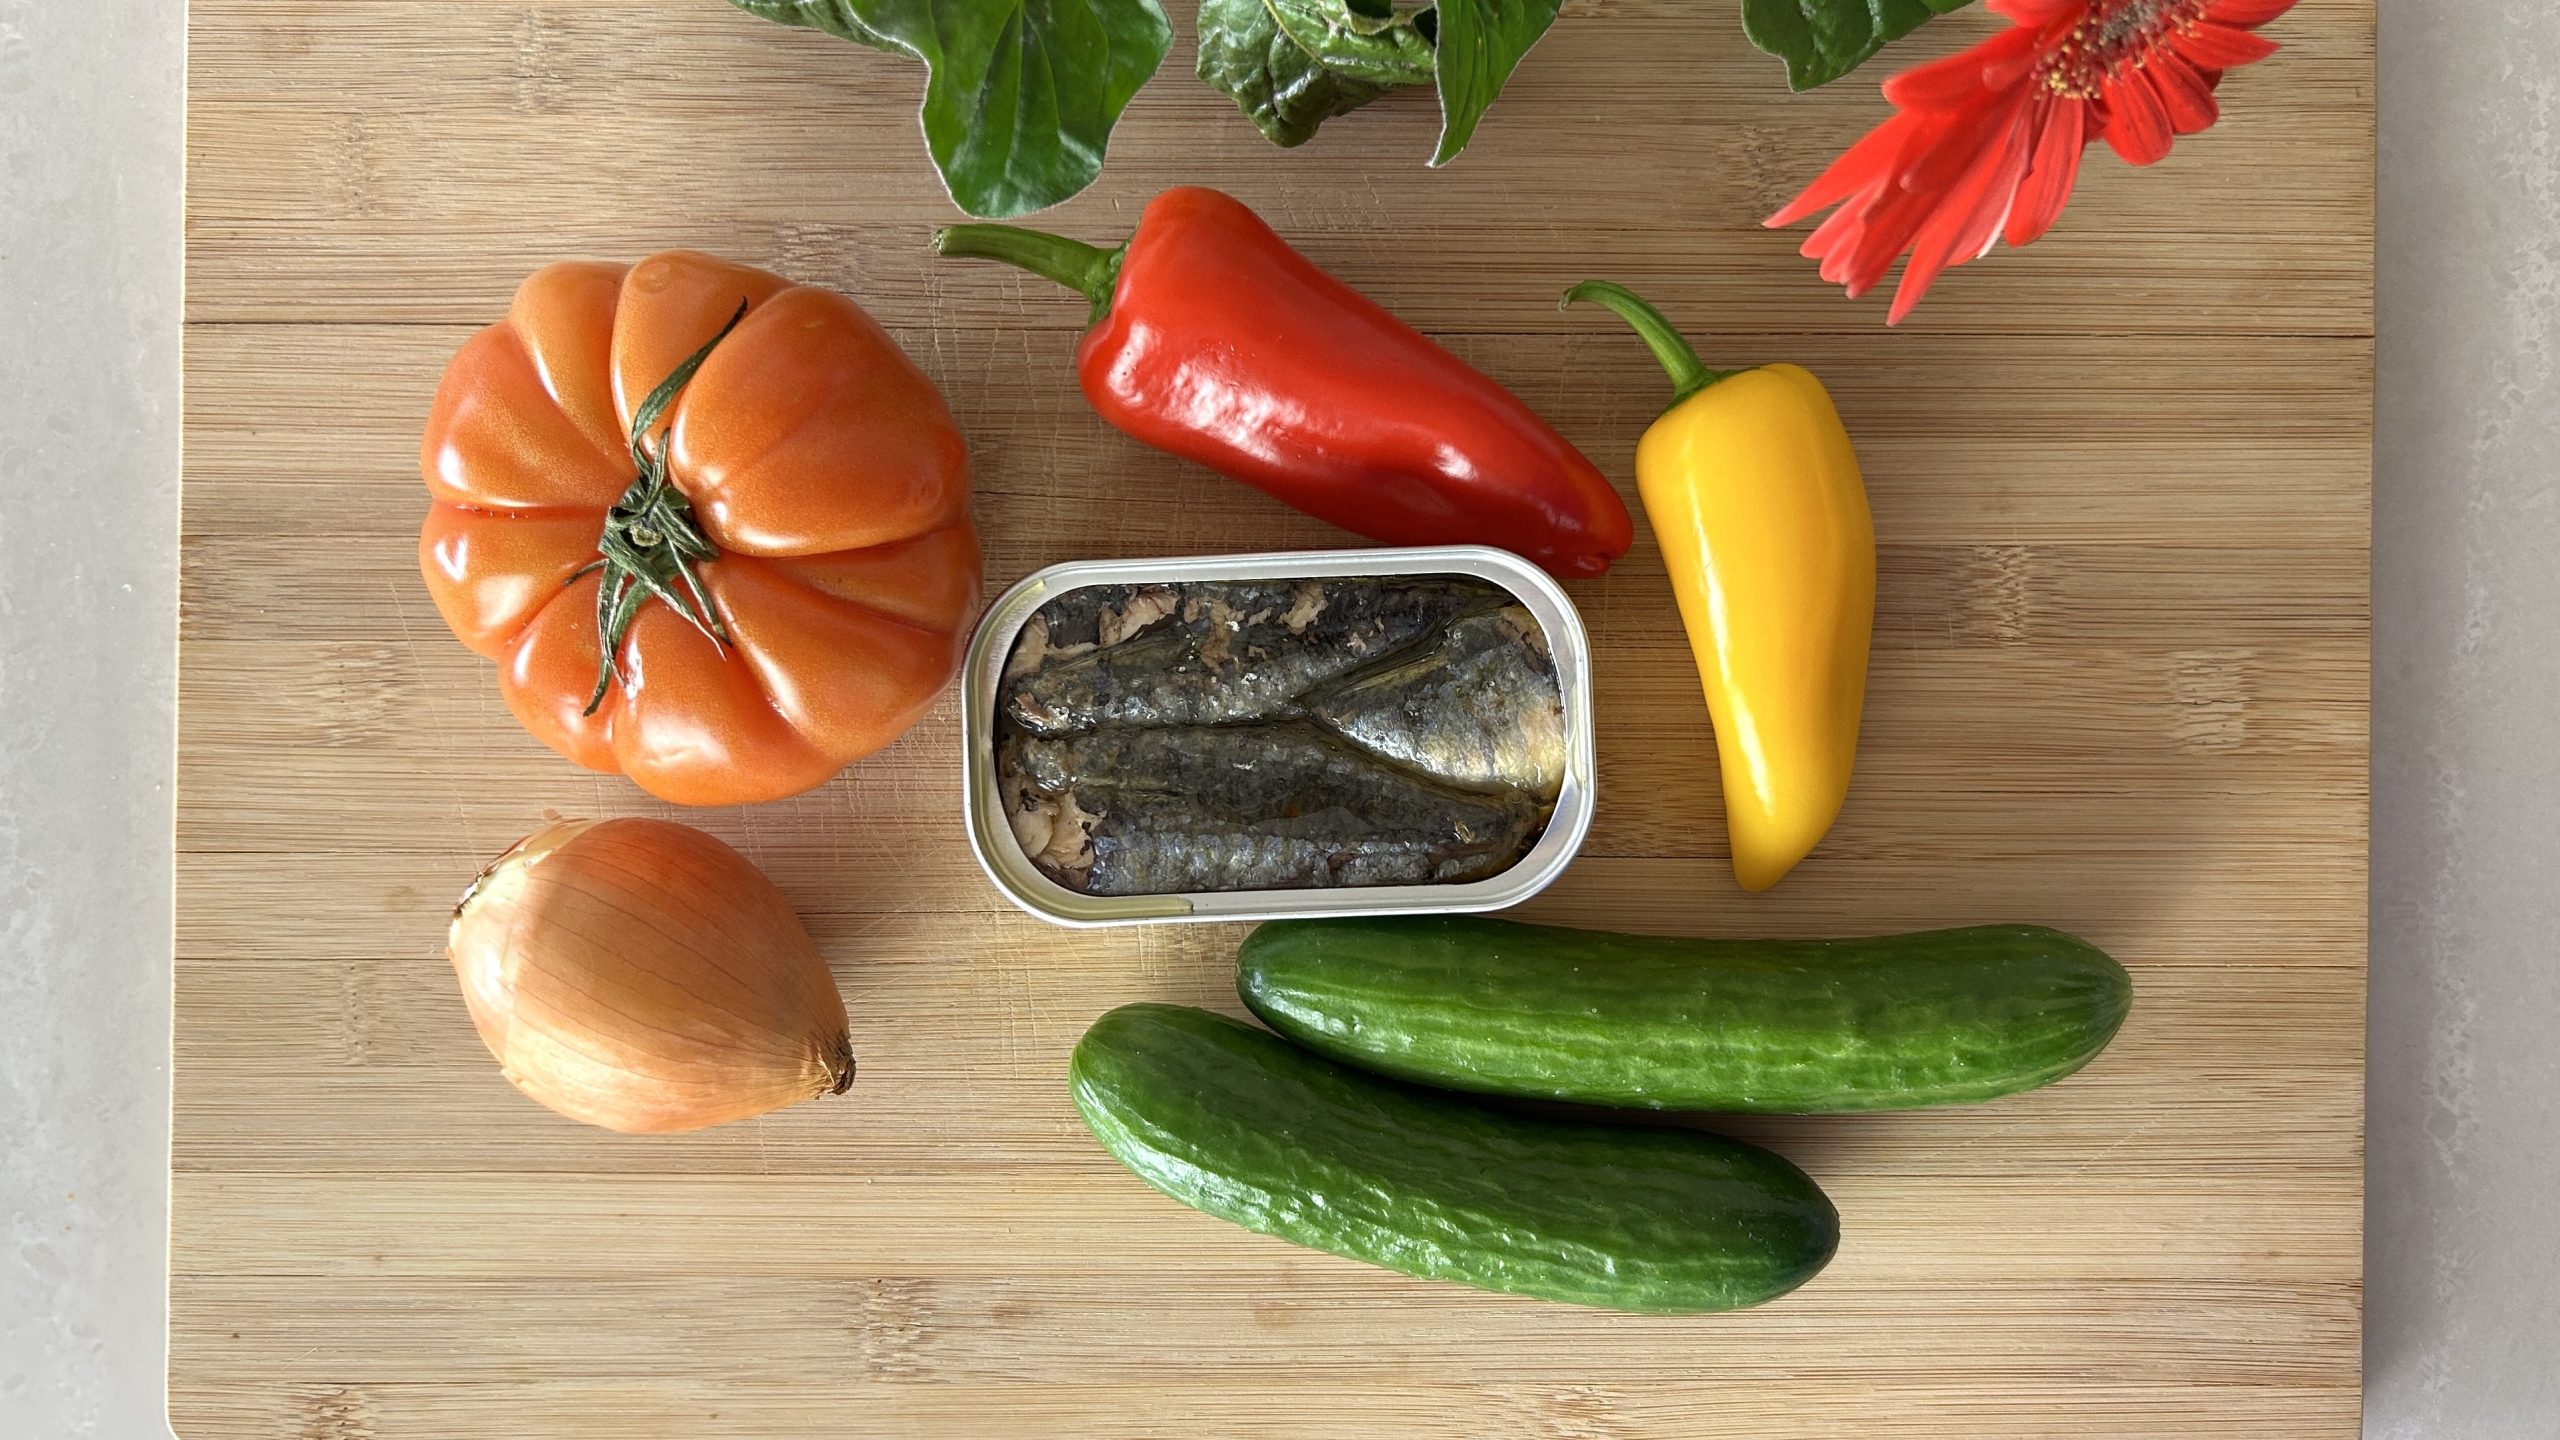
- 1 can of sardines in oil
- 270 g tomato
- 65 g onion
- 90 g cucumber
- 40 g red pepper
- 40 g yellow pepper
- 1/2 tsp salt
- Ground pepper to taste
- 1 tbsp apple cider vinegar
- 2 tbsp oil from the canned sardines
Directions
- Preheat your oven to 350°F (175°C).
- Take the small-sized tortilla circles and place each one between two upside-down muffin cups on a baking tray. This will help shape them into taco shells.
- Bake the tortilla shells in the preheated oven for 10 to 15 minutes or until they become crispy and golden brown. Once done, set them aside to cool.
- In a mixing bowl, combine the diced tomato, onion, cucumber, red pepper, and yellow pepper.
- Season the diced vegetables with salt, ground pepper, apple cider vinegar, and the oil from the canned sardines. Stir well to ensure all the ingredients are evenly coated.
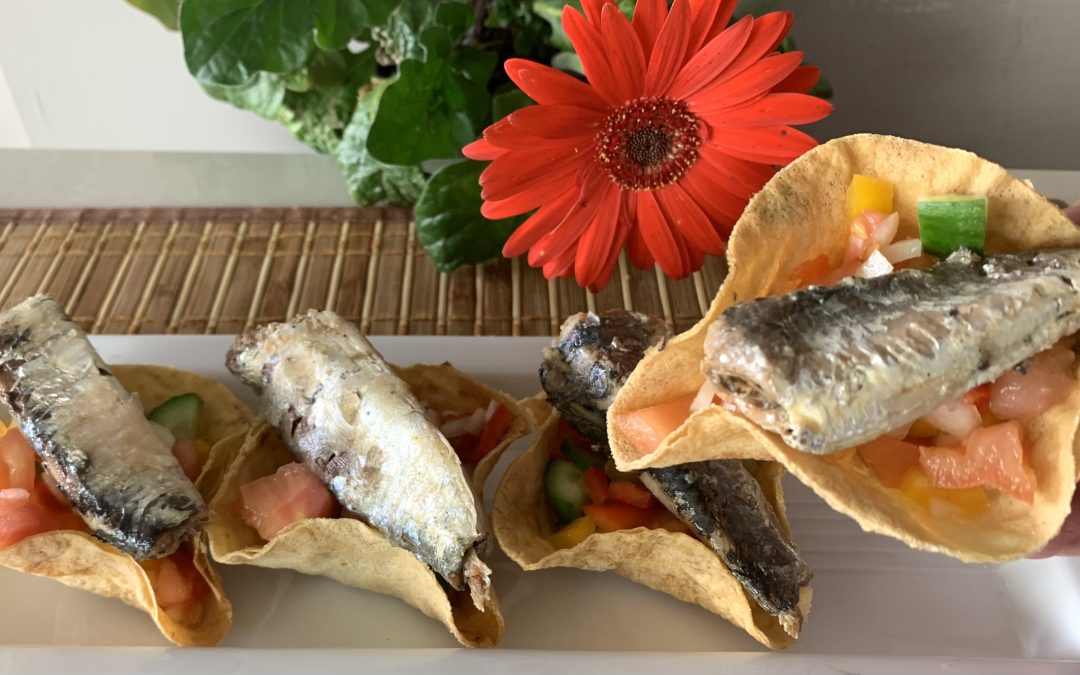
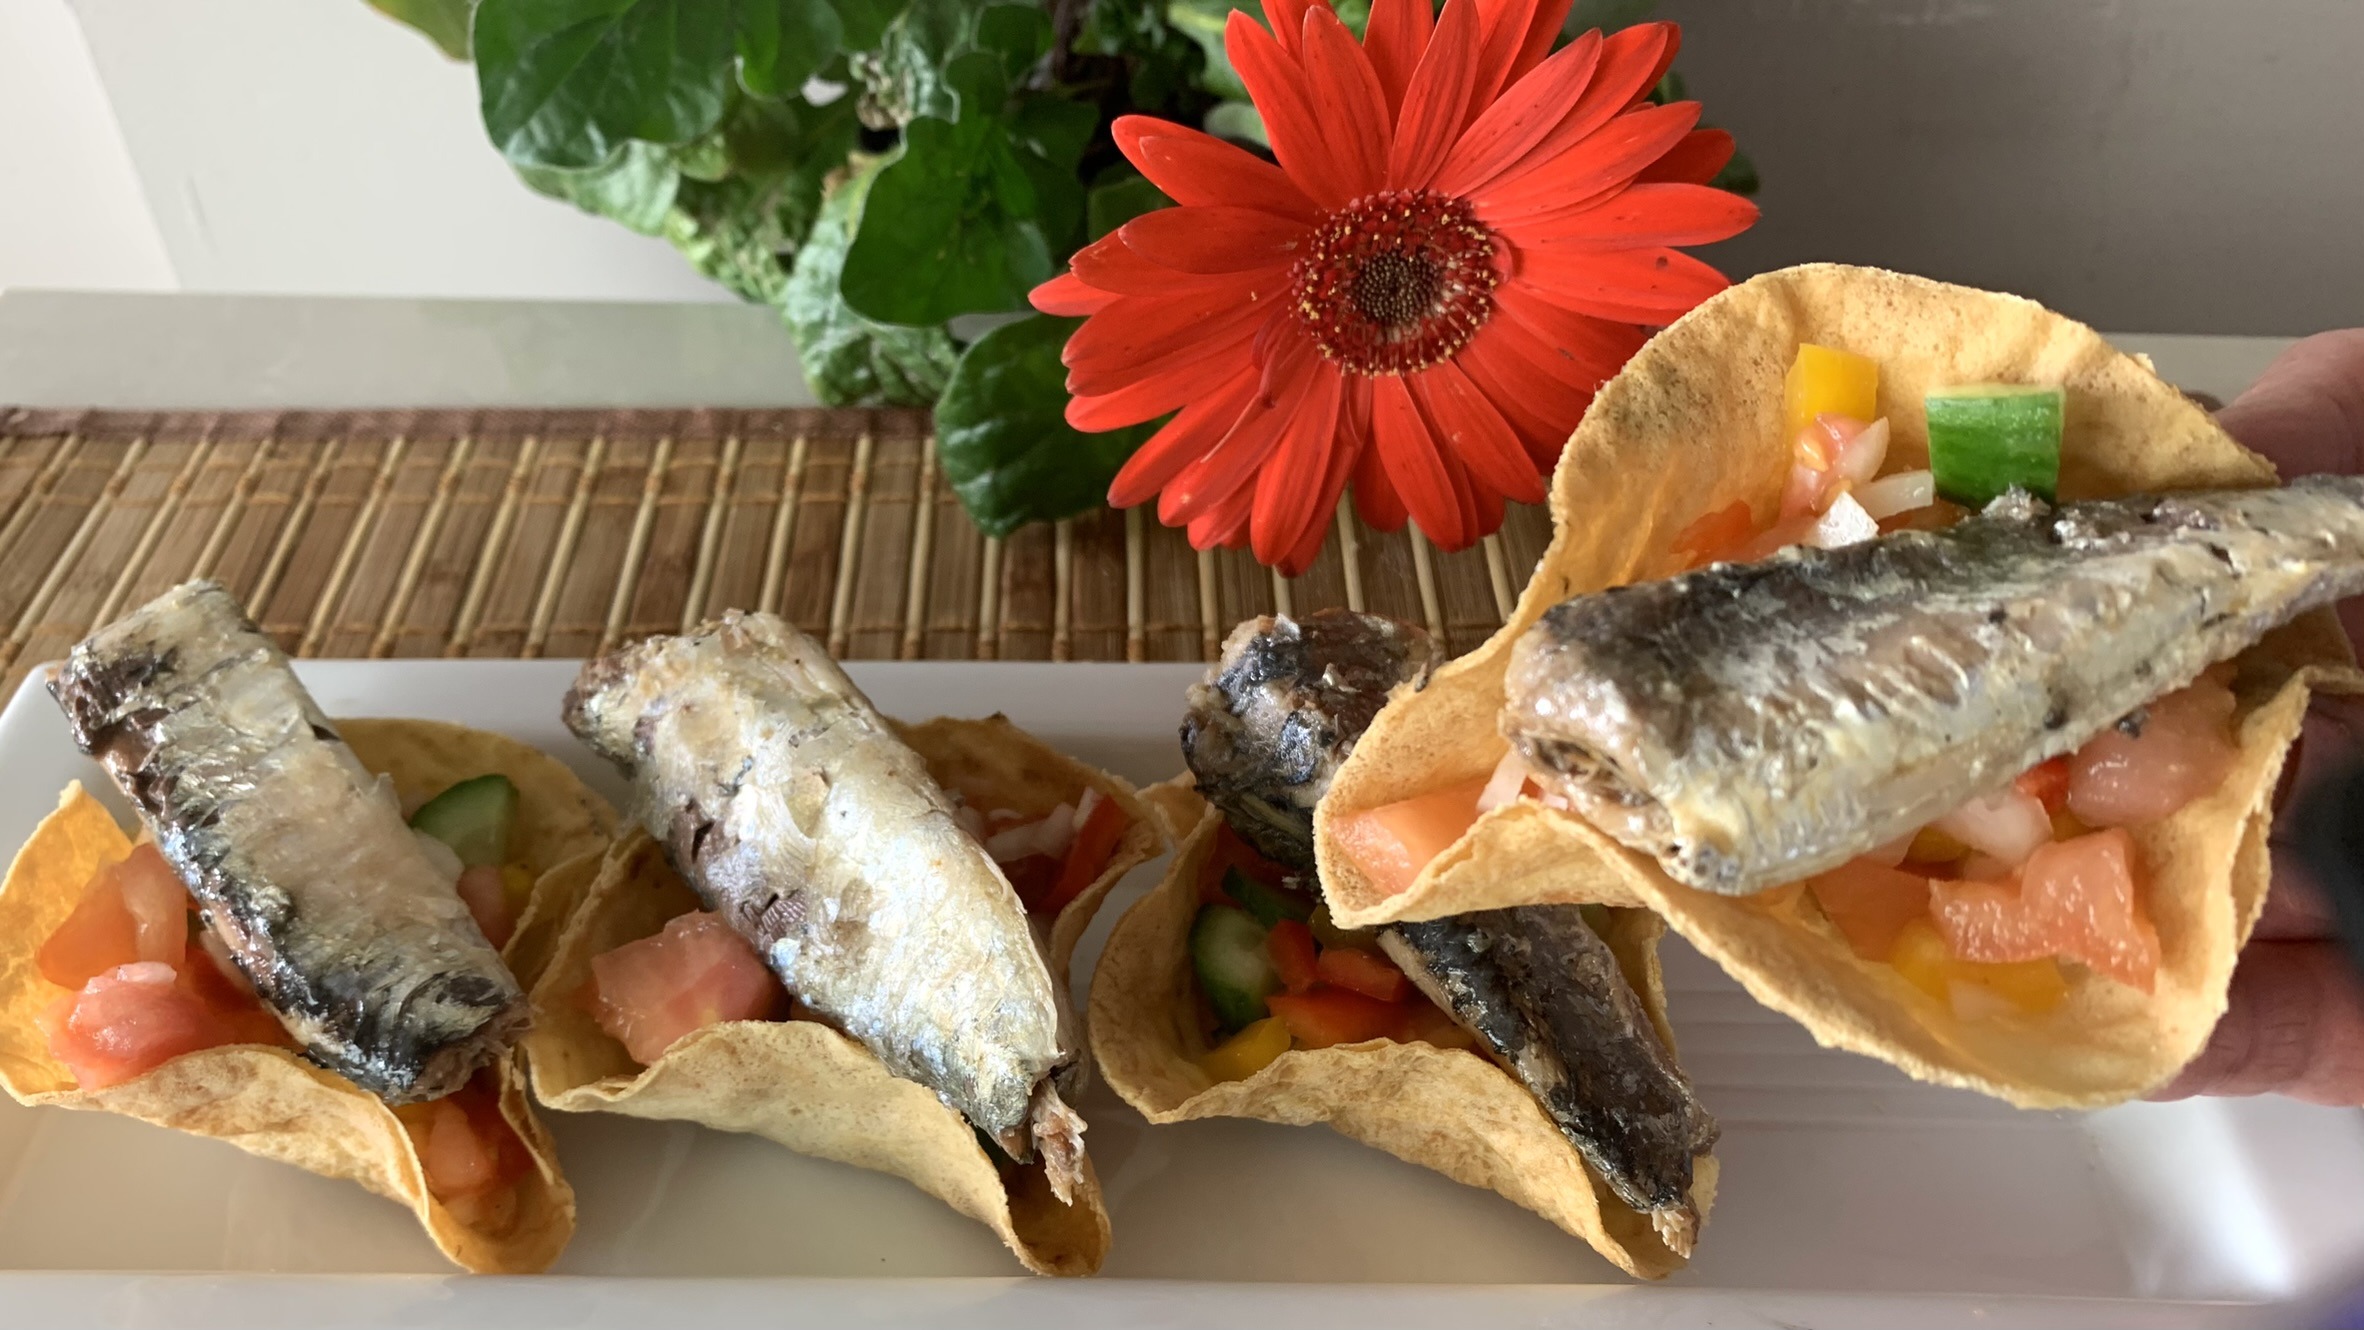
- Fill each crispy taco shell with a generous portion of the mixed salad.
- Top each salad-filled taco shell with a flavorful canned sardine.
- Arrange the prepared tacos on a serving plate and serve immediately to enjoy the fresh flavors and nutritional benefits.
Prep Time: 20 minutes
Baking Time: 15 minutes
Servings: 4
Nutritional Information
Per 1 Serving:
- Energy: 111 calories
- Protein: 8.37 g
- Fat: 3.24 g
- Carbohydrates: 13.11 g
- Fiber: 2.2 g
Storage and Recommendations
- The salad mixture can be stored in an airtight container in the refrigerator for up to 2 days. However, it’s best enjoyed fresh to maintain the crispness of the vegetables.
- If you enjoy a bit of heat, add some diced jalapeños or a pinch of red pepper flakes to the salad mixture.