Zucchini Cheese Bites
Zucchini Cheese Bites
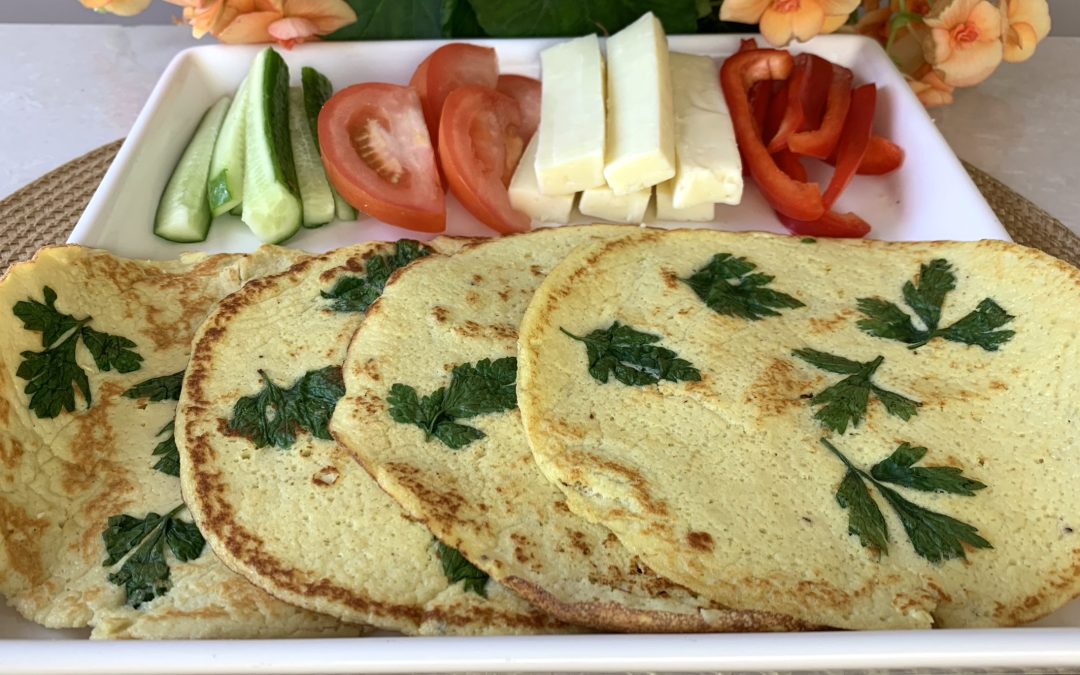
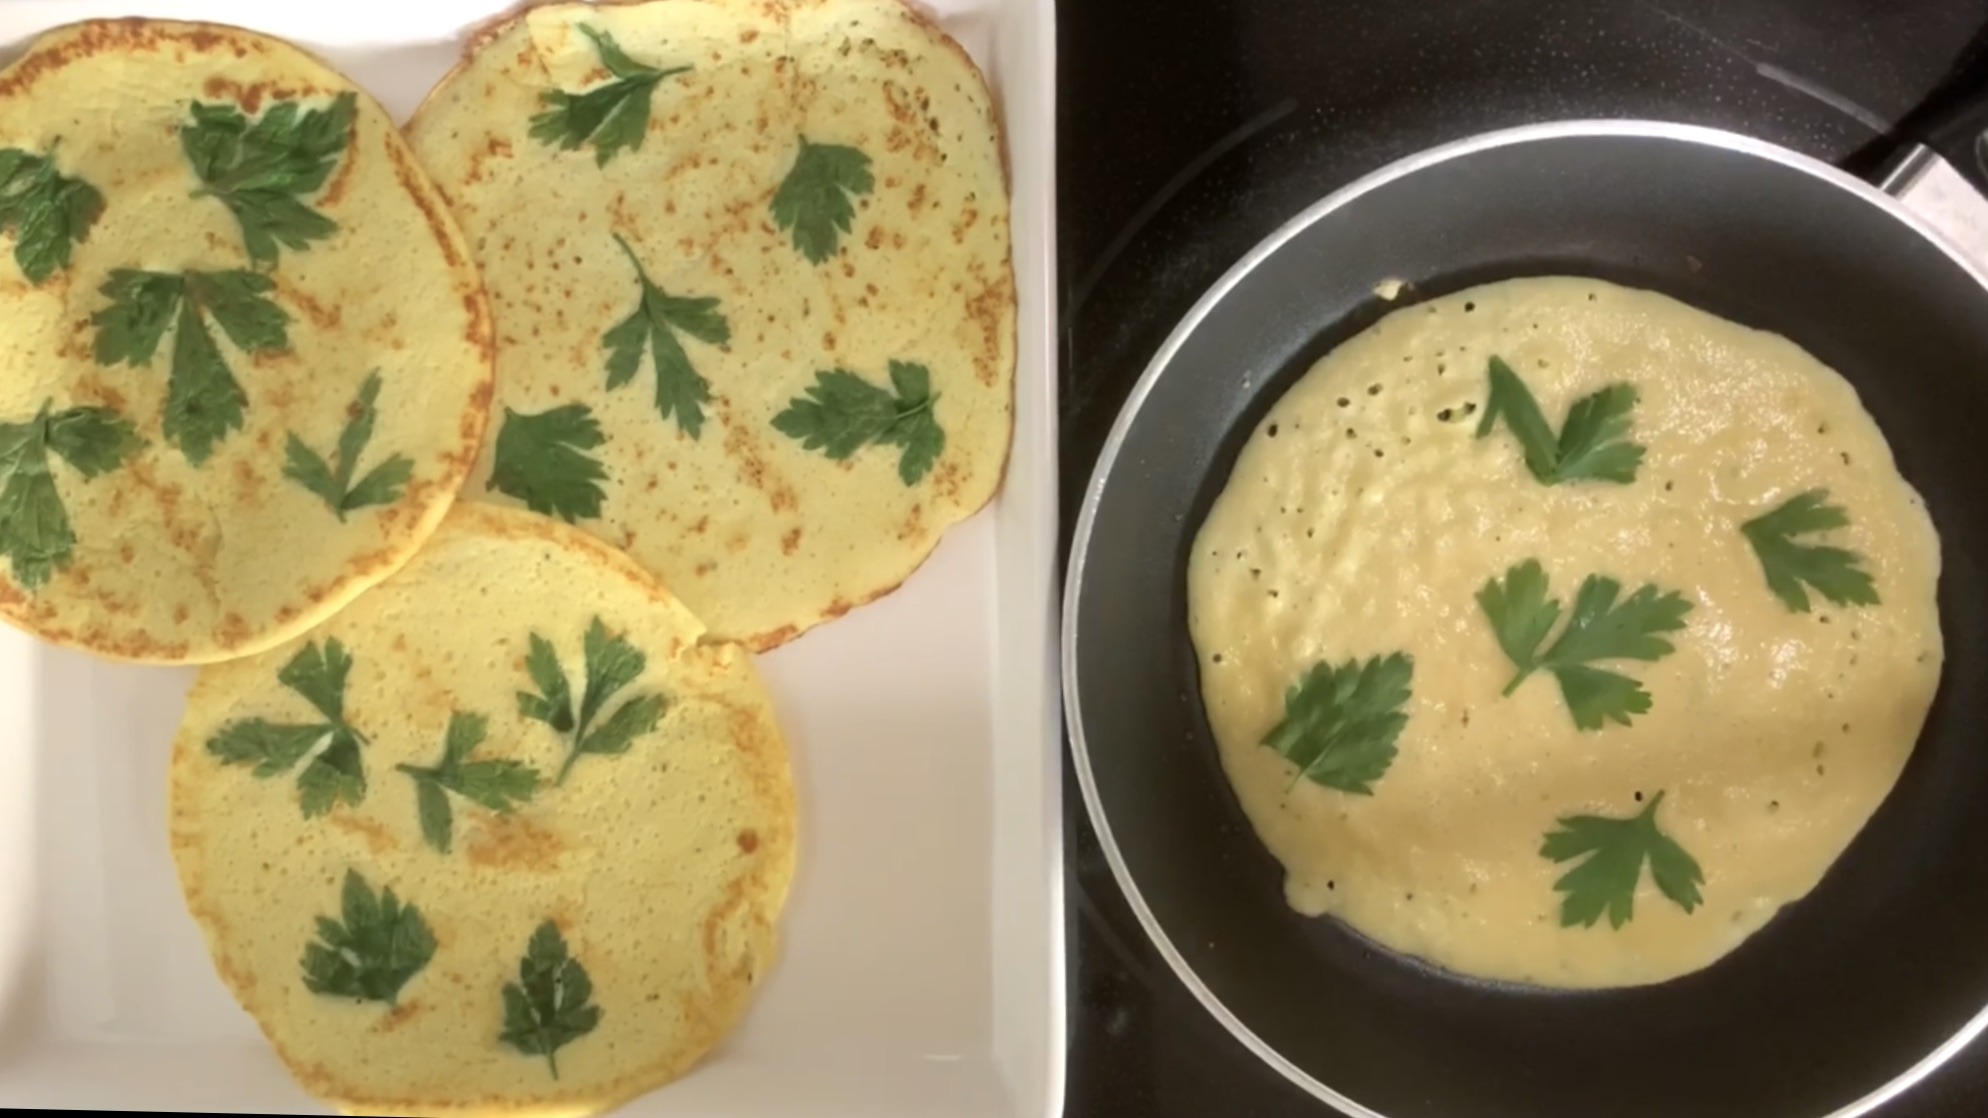
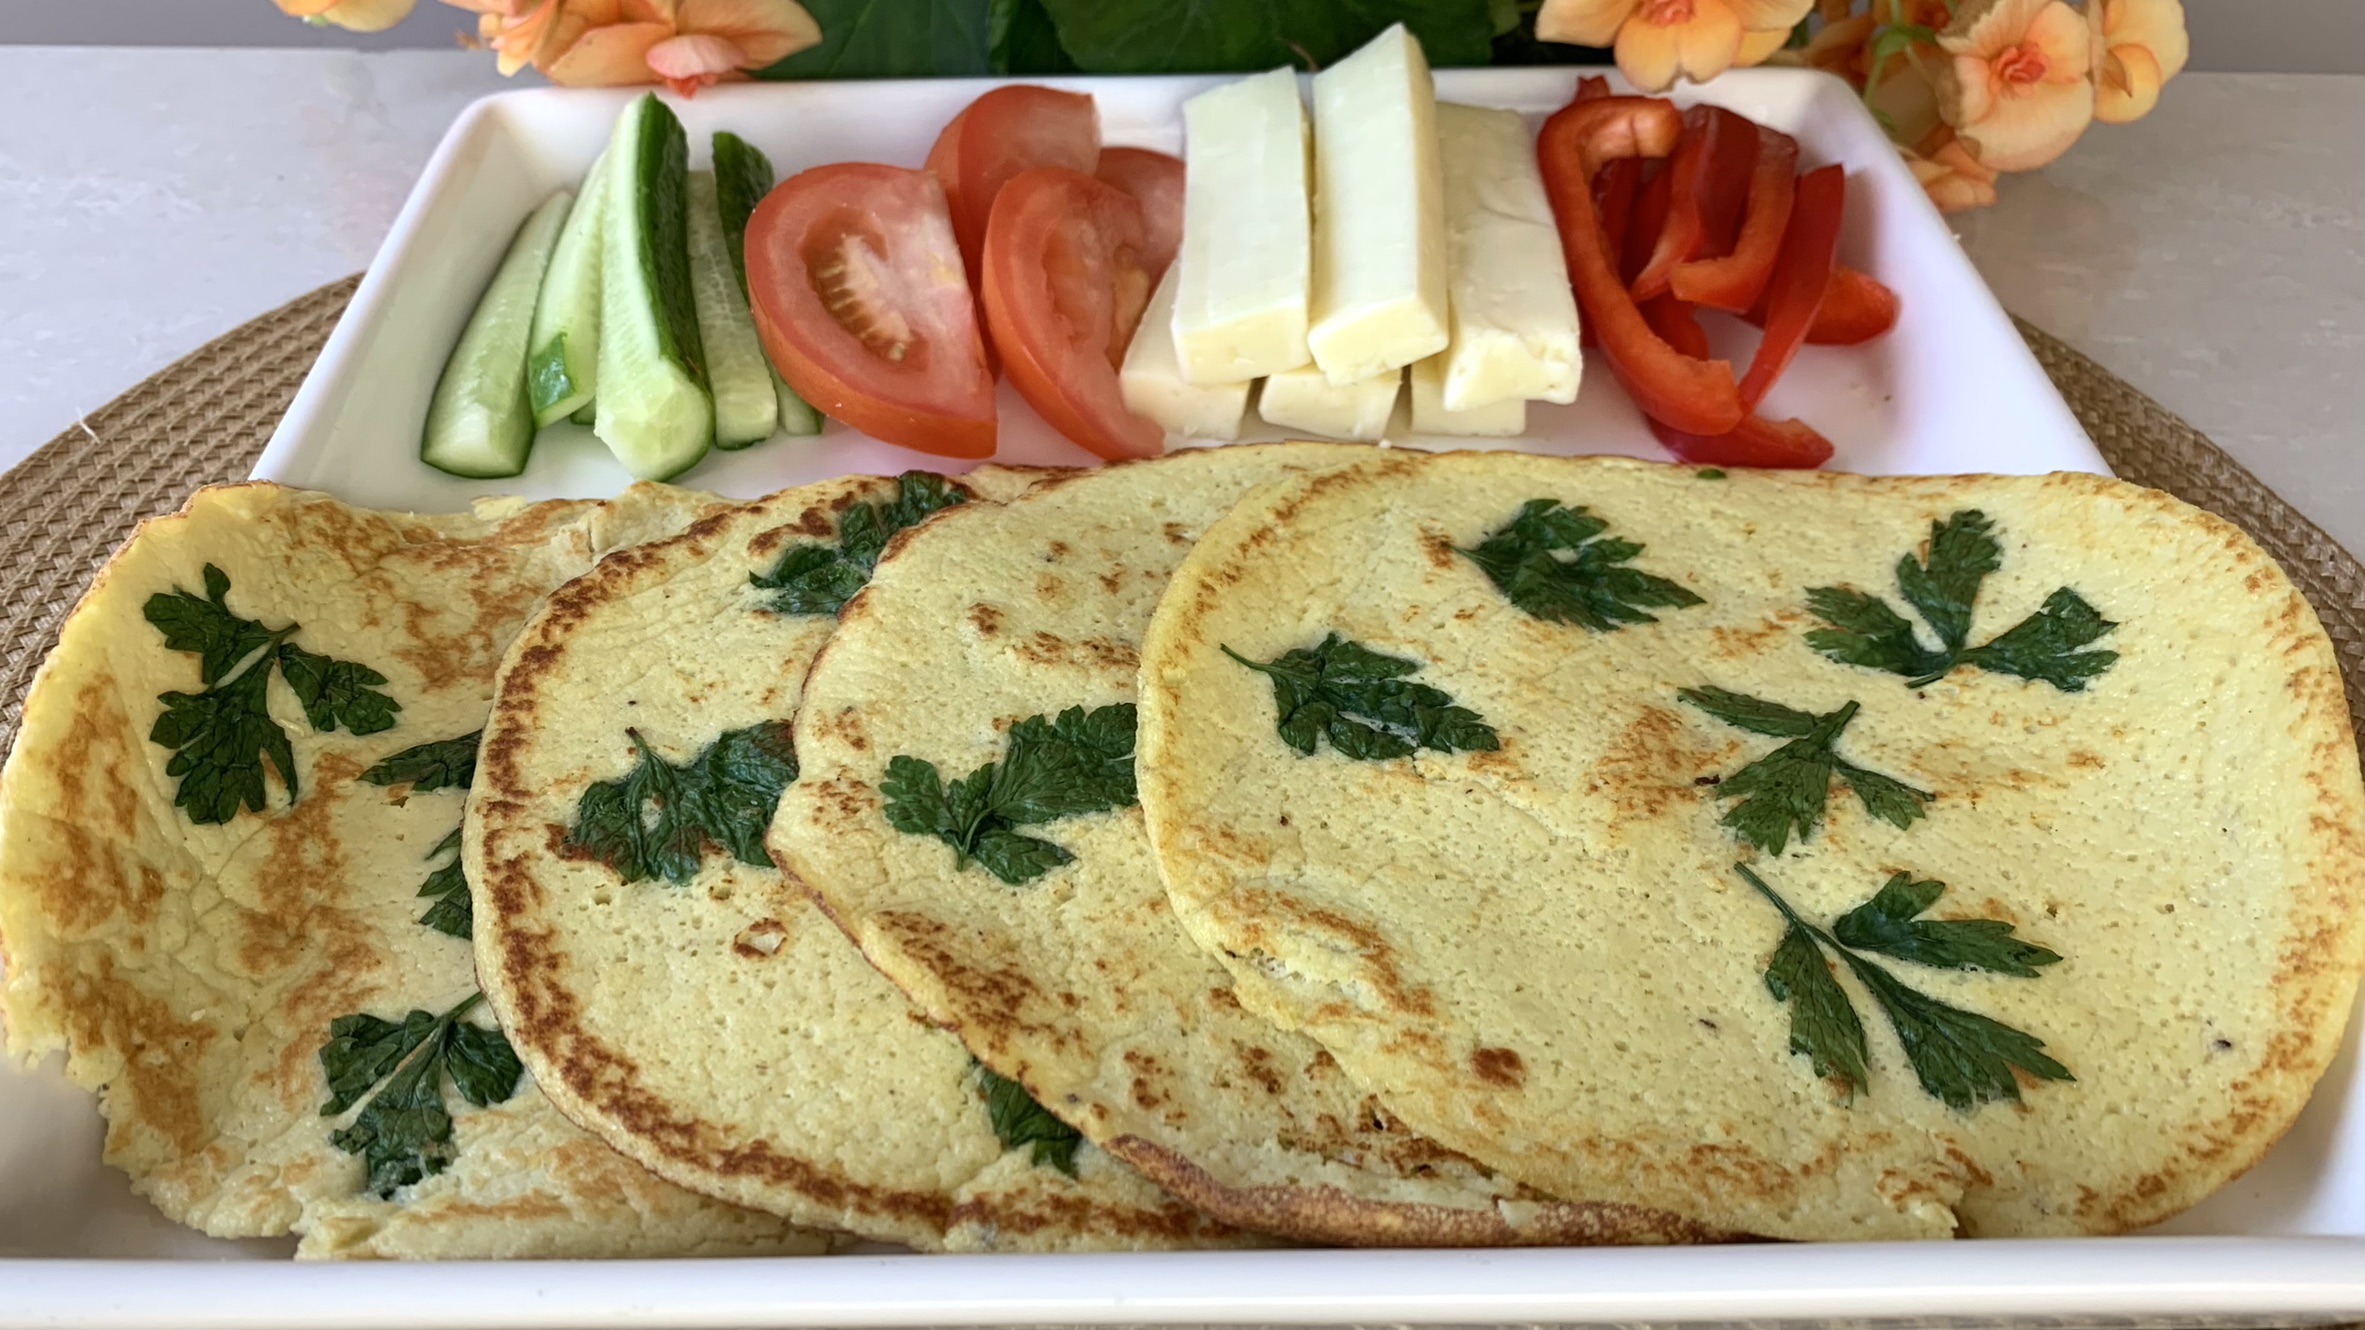
If you’re looking for a tasty way to get more vegetables into your diet, these Zucchini Cheese Bites are the perfect solution! These bites are not only easy to make but also a delightful treat that even the pickiest eaters will enjoy. The combination of zucchini and cheese creates a light yet flavorful snack or side dish that pairs well with almost anything.

Zucchini is the star of this recipe, and it’s a nutritional powerhouse. Low in calories but high in essential vitamins and minerals, zucchini is an excellent source of vitamin C, potassium, and antioxidants. It’s also a good source of dietary fiber, which promotes healthy digestion and can help keep you feeling full longer. The inclusion of cheese adds a touch of richness and protein, making these bites satisfying as well as nutritious.
 |
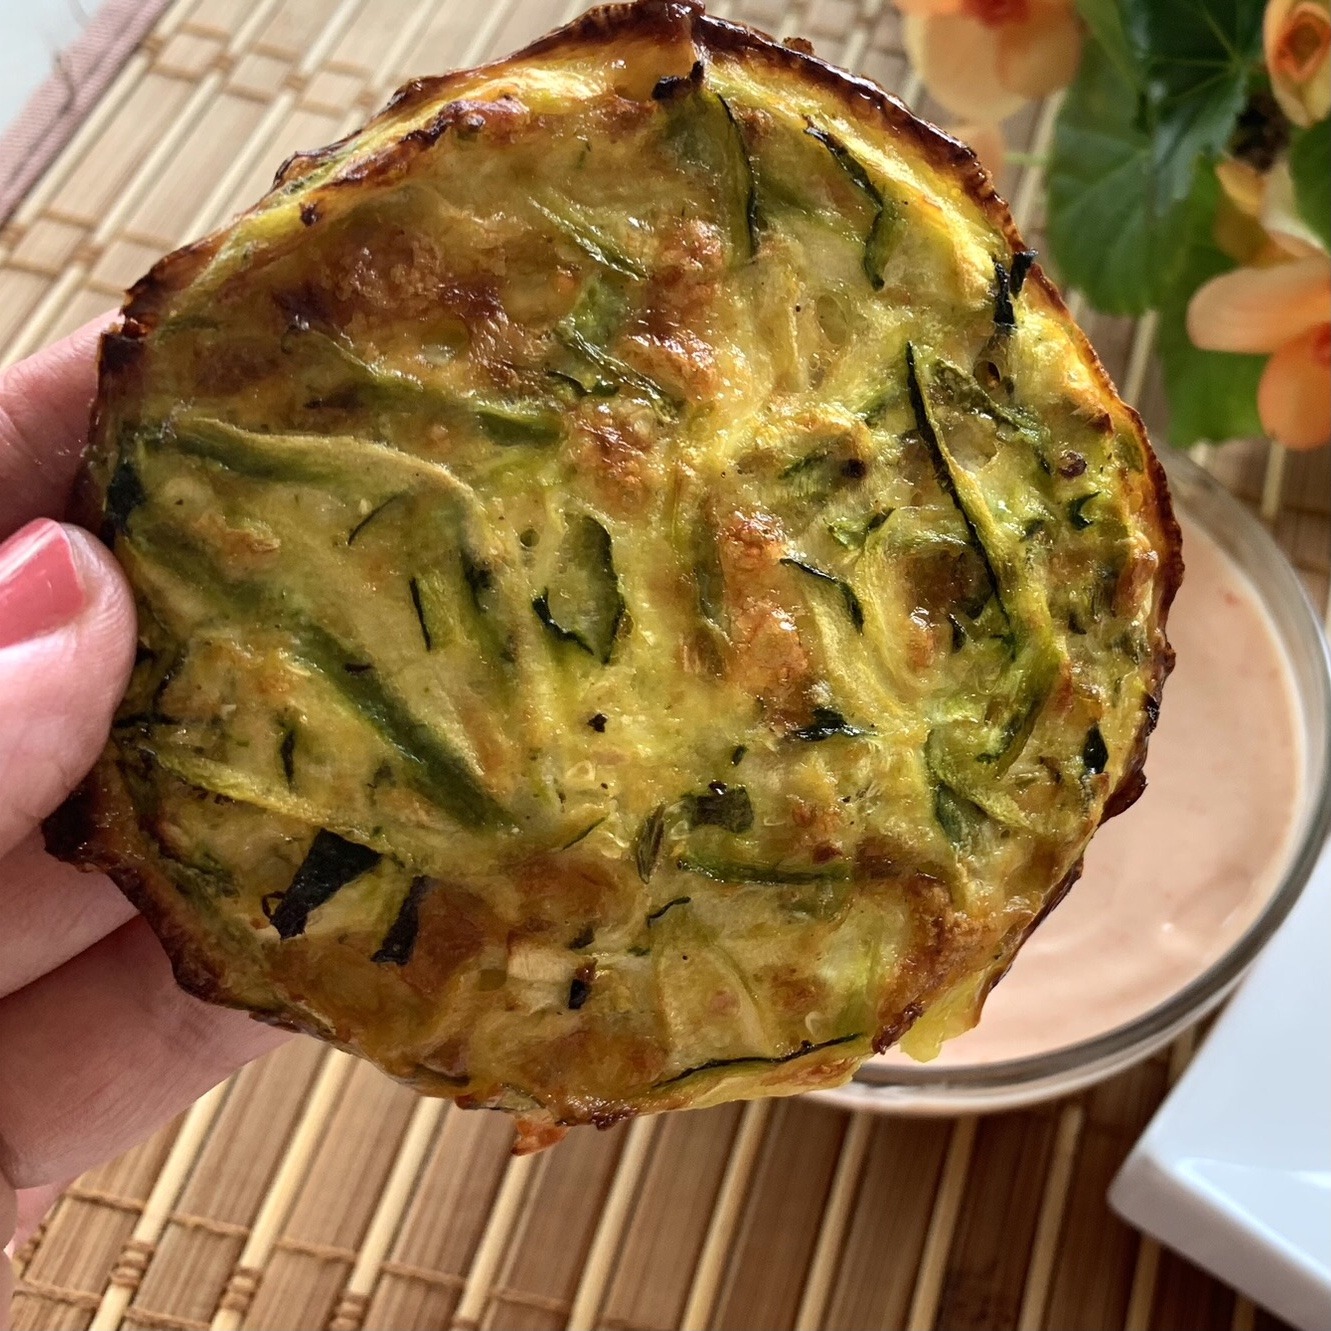 |
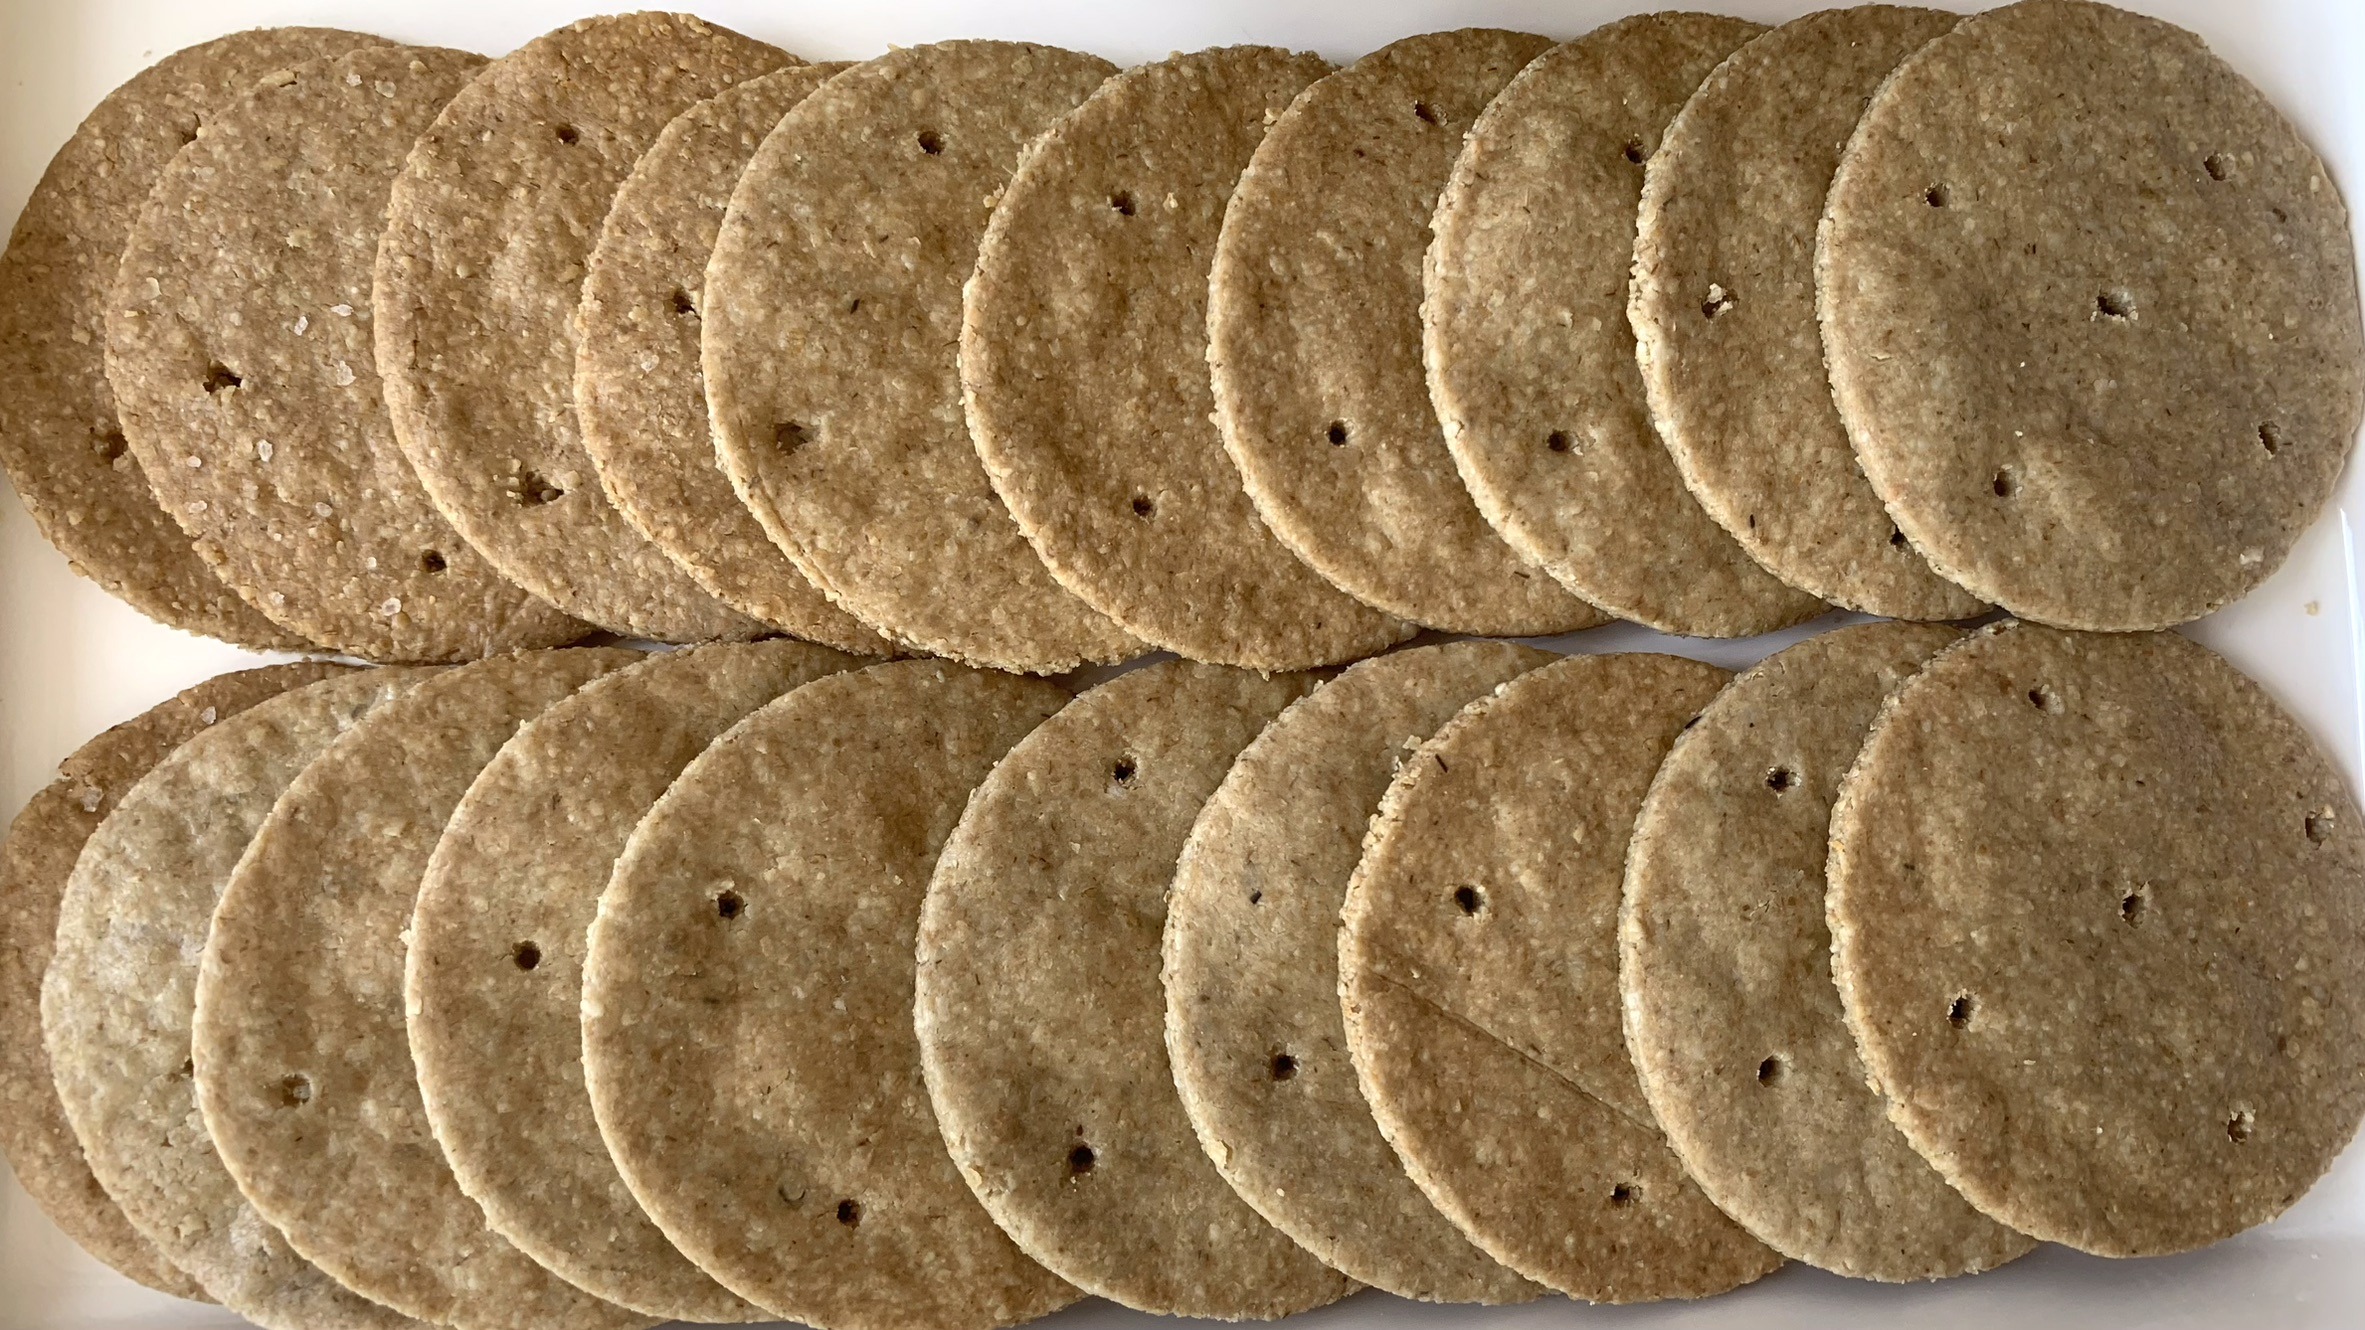
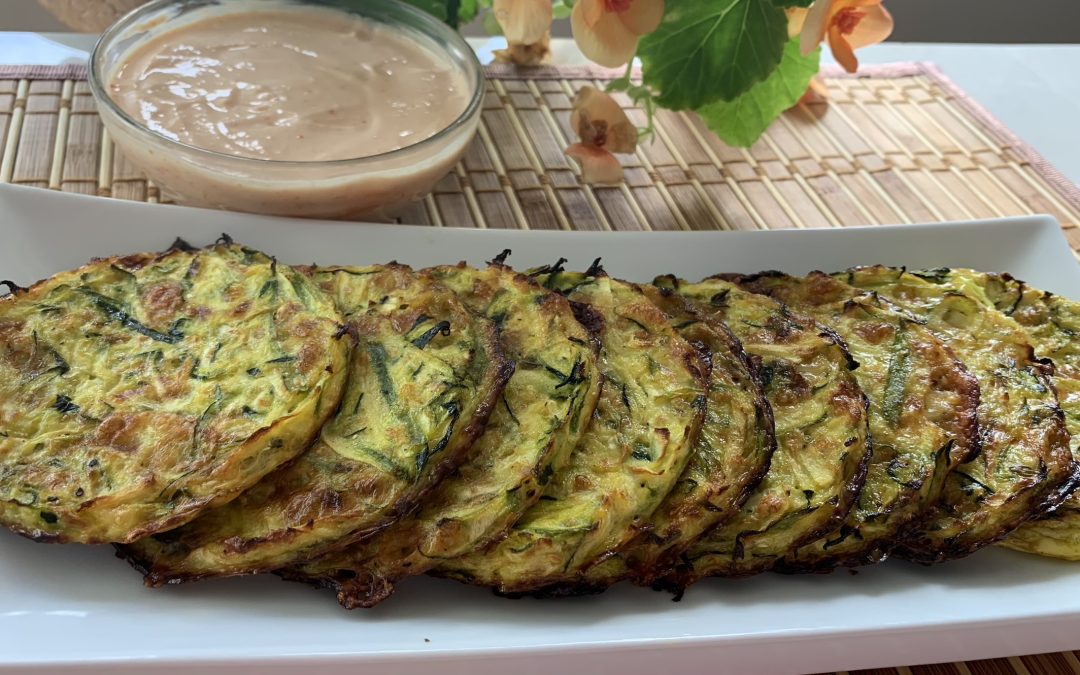
These Zucchini Cheese Bites offer a crispy edge with a gooey, cheesy center, making them a perfect alternative to traditional calorie-dense snacks like chips or pizza. Whether you serve them as an appetizer, a side dish, or a snack, they’re sure to be a hit with everyone at the table.

So, let’s get started and bring some nutritious deliciousness to your kitchen!
Ingredients:
- 450 g zucchini
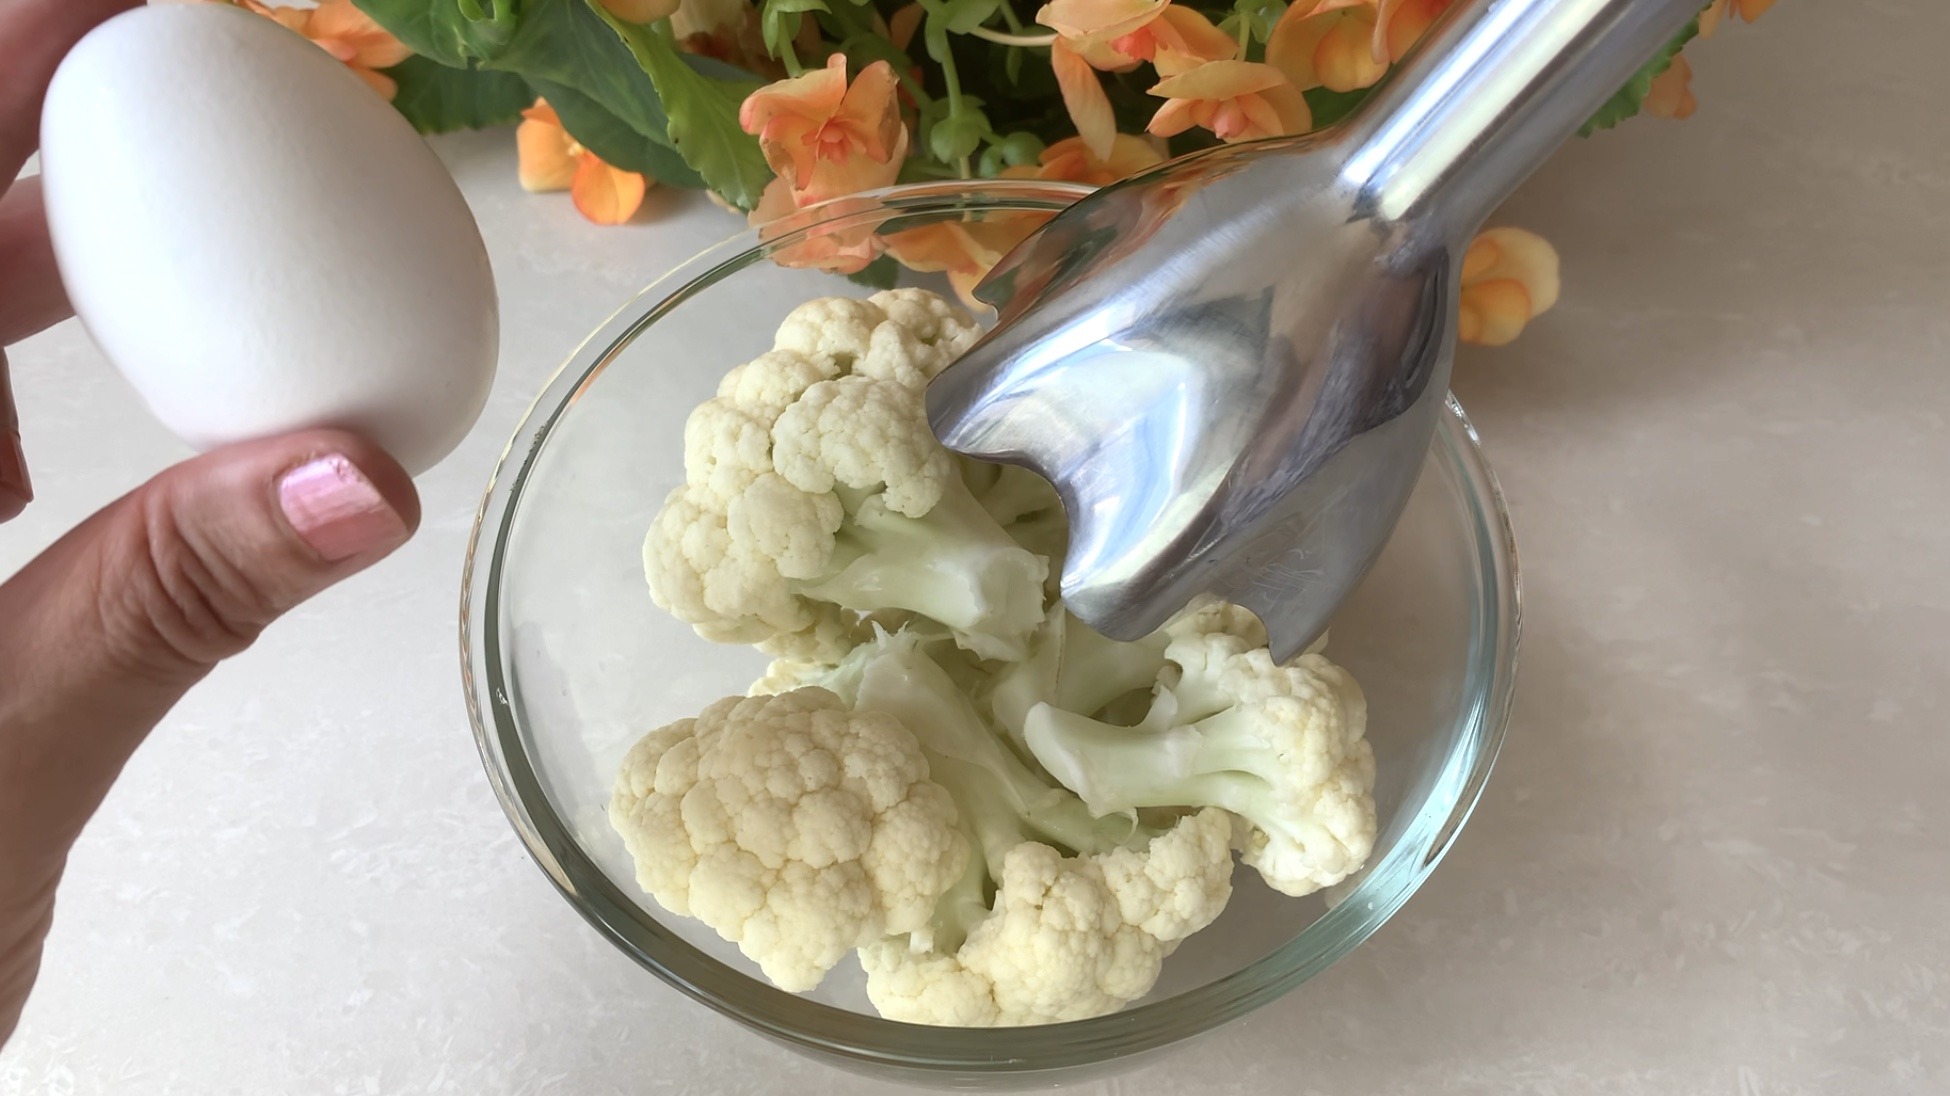
- 2 egg yolks
- 30 g shredded cheddar cheese (or preferred cheese)
- 5 or 6 fresh thyme stems
- Black pepper to taste
Directions:
- Using a hand grater or a food processor, shred the zucchini.
- Add a pinch of salt (~⅛ tsp.) to the shredded zucchini, massage for a minute, and gently squeeze out any excess moisture.
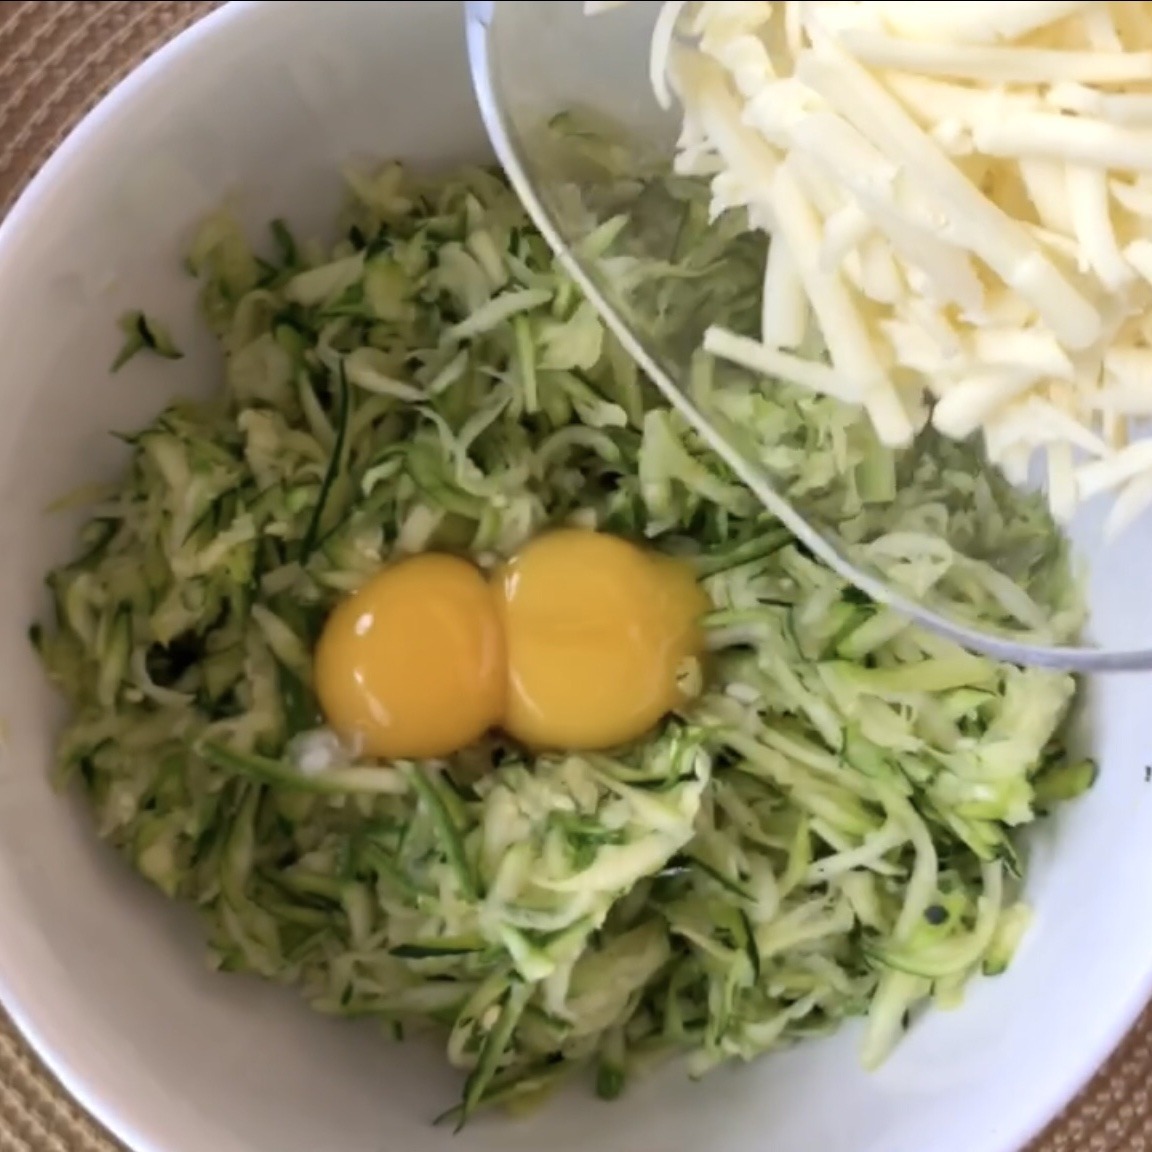
- In a mixing bowl, combine shredded zucchini, egg yolks, shredded cheddar cheese, fresh thyme leaves, and freshly ground black pepper. Mix well until all ingredients are evenly incorporated.
- Place egg rings (or pancake molds) on a baking sheet lined with parchment paper. Spoon the zucchini mixture into the rings, filling them about halfway, and press down gently to compact the mixture.
- Bake in a preheated oven at 365°F (185°C) for 30 minutes or until they turn golden brown.
- Remove the zucchini cheese bites from the oven and let them cool for a few minutes.
- Serve the zucchini cheese bites with your favorite sauce or spread on the side.
Prep Time, Baking Information, and Servings:
- Prep Time: 30 minutes
- Baking Time: 30 minutes
- Servings: 9
Nutritional Information (Per Serving):
- Energy: 48 calories
- Protein: 2.81 g
- Fat: 3.42 g
- Carbohydrates: 1.78 g
- Fiber: 0.5 g
Storage and Particular Recommendations:
- Store any leftovers in an airtight container in the fridge for up to 3 days. Reheat before serving.
- Enjoy the zucchini cheese bites fresh and warm from the oven for the best taste and texture. You might find them even better than pizza!