Gluten Free Madeleines
Aug 20, 2024
Gluten Free Madeleines
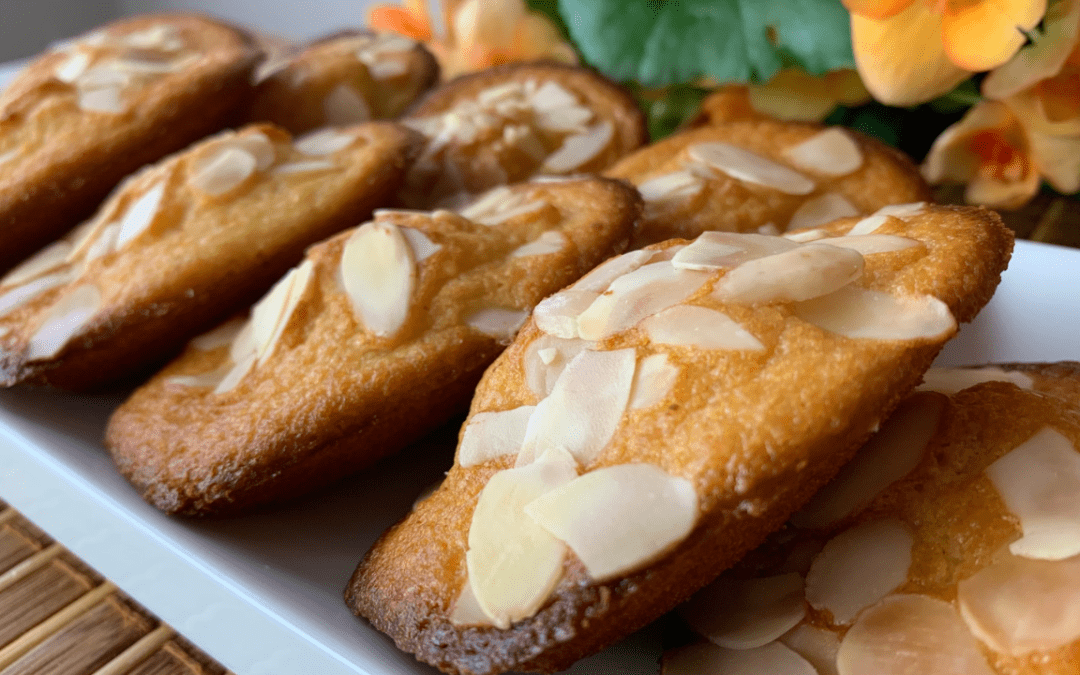
If you’re a fan of classic madeleines but need to keep things gluten-free, you’re in for a treat with this recipe. These Gluten-Free Madeleines are everything you love about the traditional French pastry, light, fluffy, and buttery, but made with a thoughtful blend of gluten-free ingredients that doesn’t compromise on taste or texture.
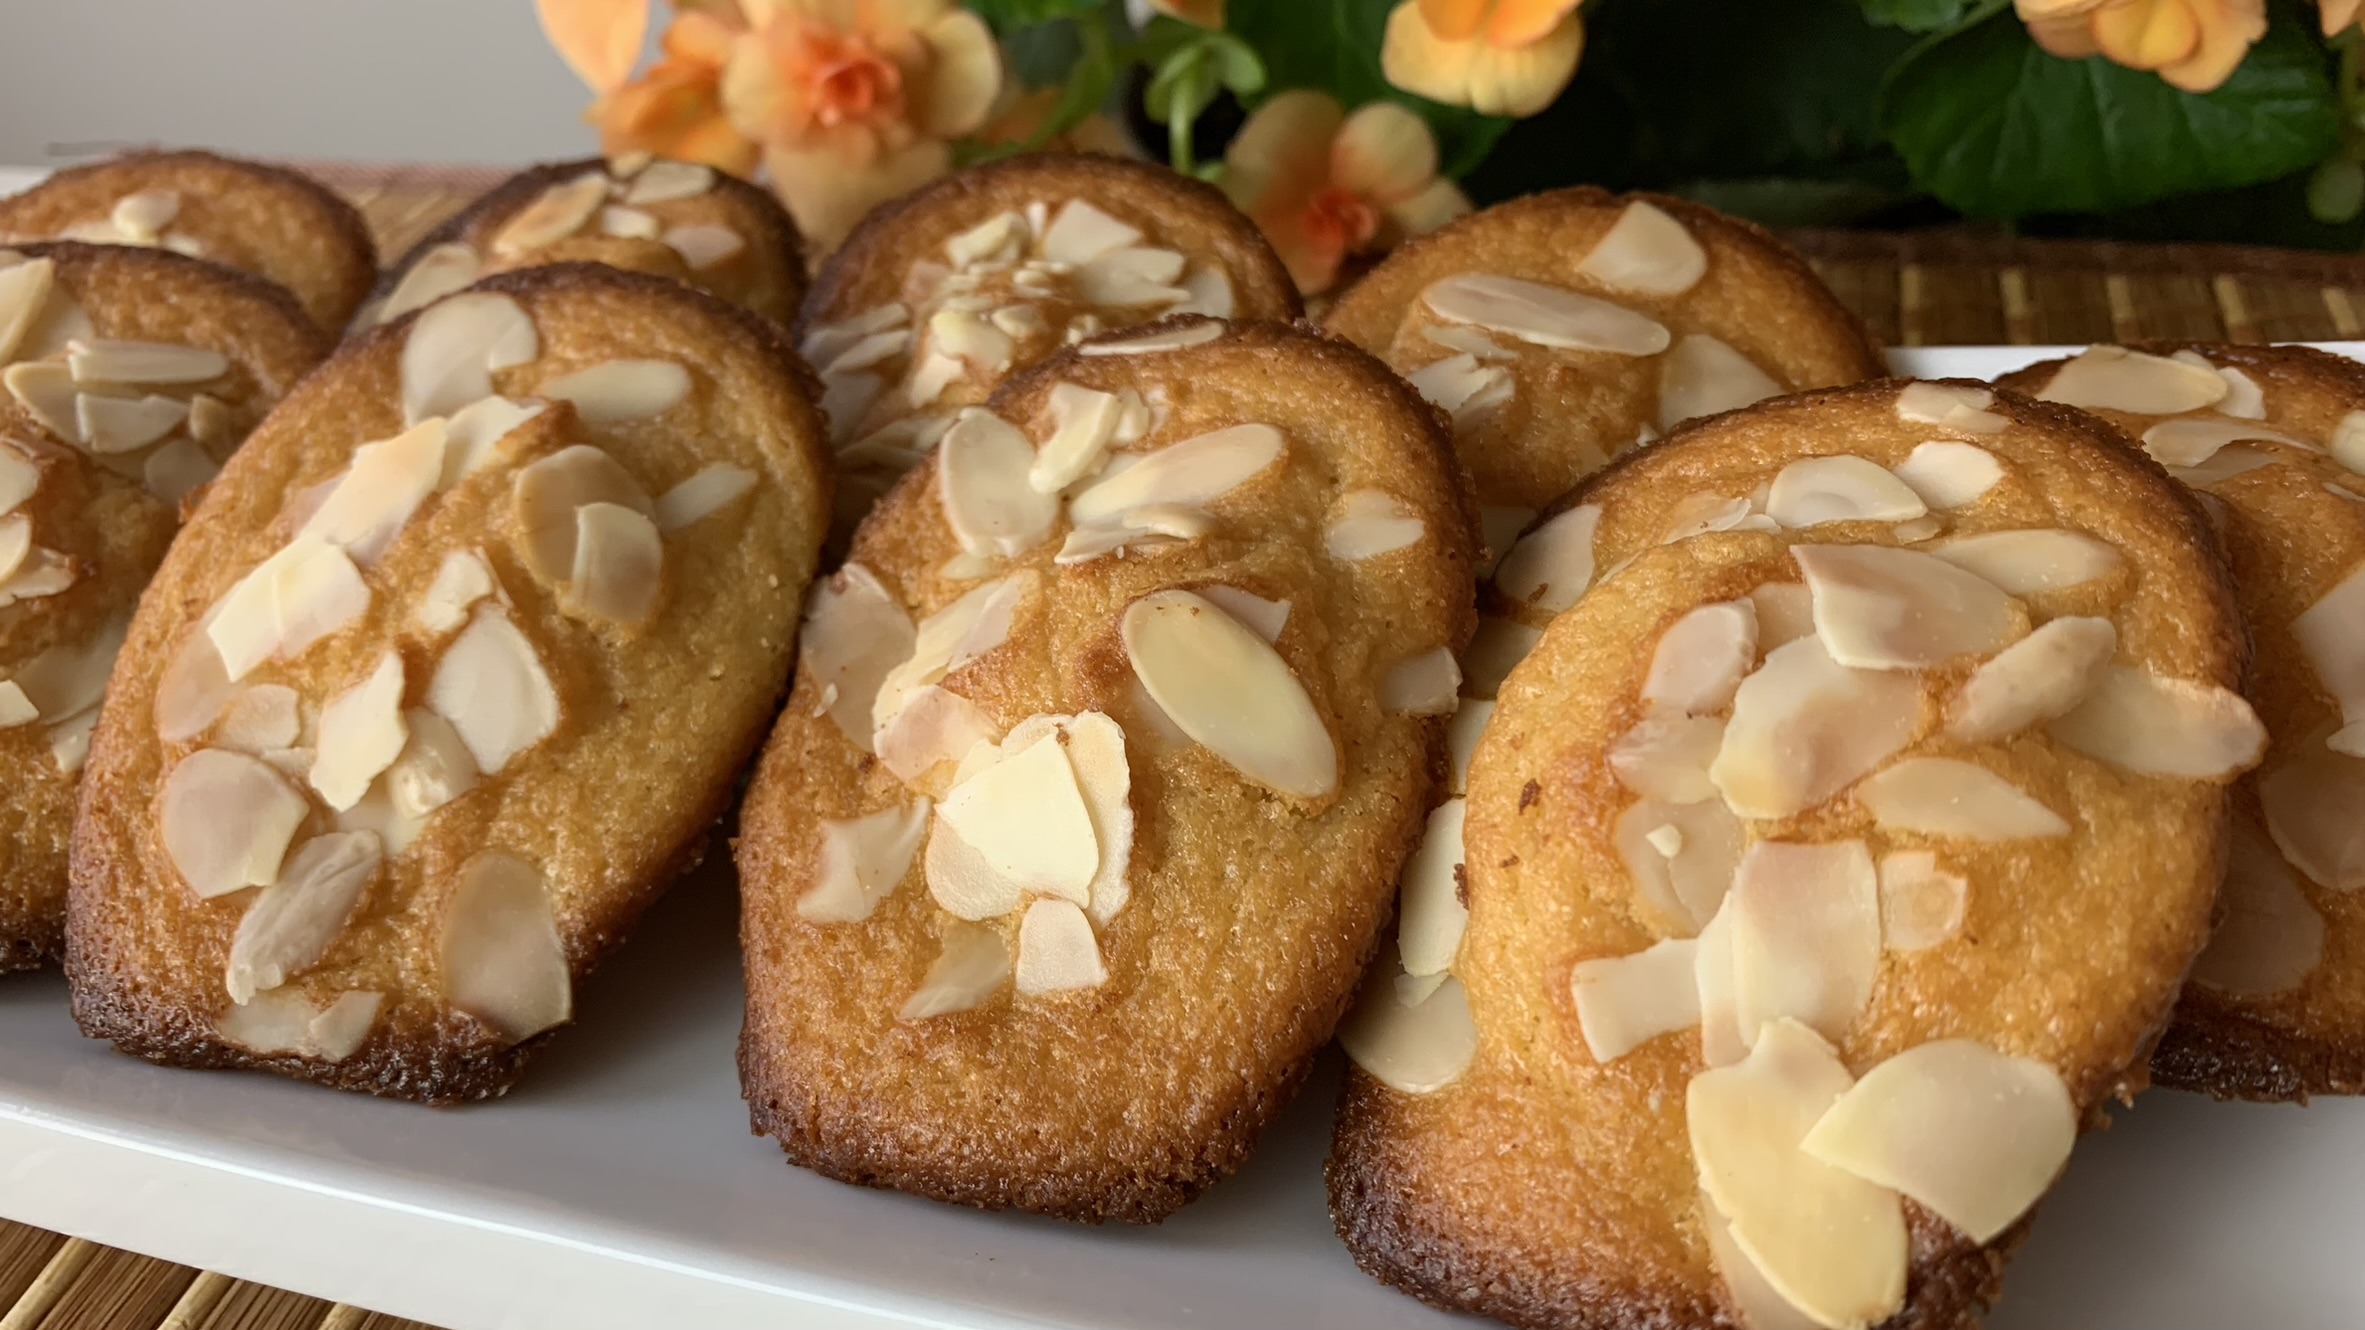
What makes these madeleines special is the combination of rice flour and almond flour. Rice flour is a fantastic gluten-free alternative that gives these madeleines their light, airy texture, while almond flour adds a touch of natural sweetness and a dose of healthy fats. Almond flour is also rich in vitamin E, an
 |
 |
antioxidant that supports skin health and boosts your immune system, and it provides a good source of plant-based protein. The addition of yogurt not only keeps these treats moist but also adds a bit of calcium and probiotics, which are great for your digestive health.
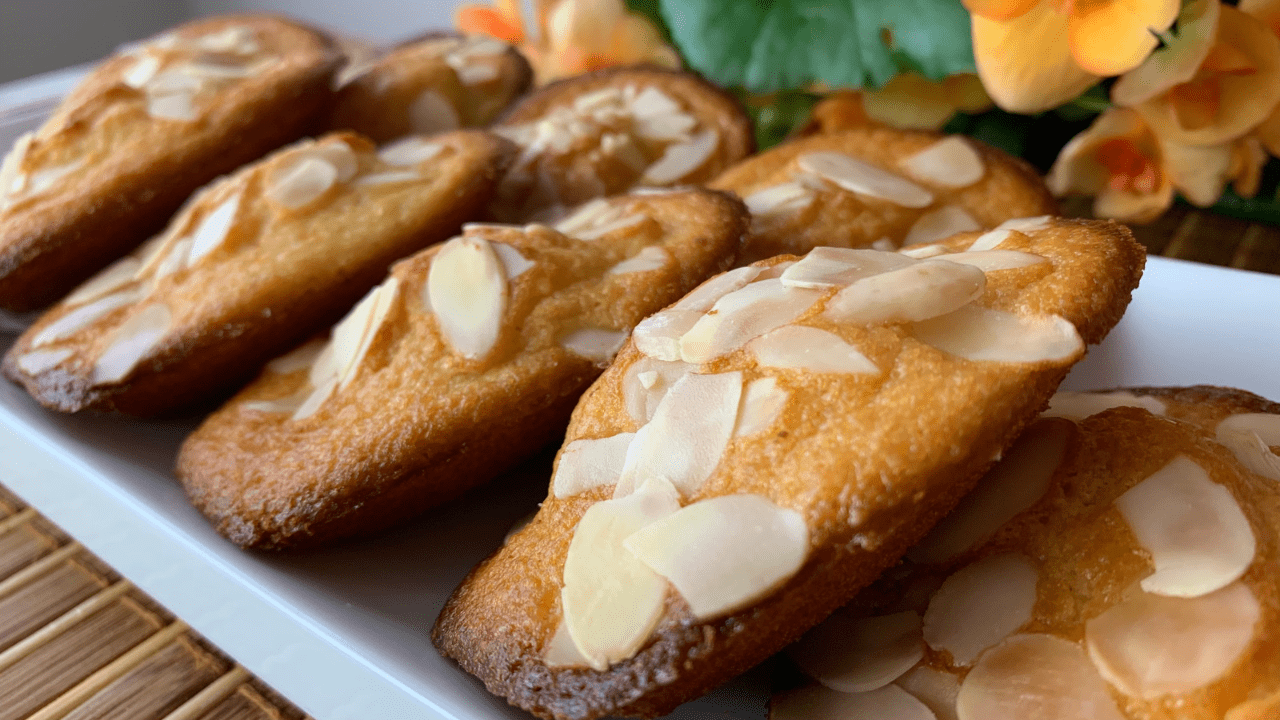
These madeleines are perfect for any occasion, whether you’re hosting a tea party, looking for a delightful snack, or simply want a quick homemade treat to pair with your afternoon coffee. They’re incredibly easy to make, and with the option to sprinkle them with sliced almonds or your favorite nuts, you can customize them to your liking.
So, let’s get baking and enjoy these tender, buttery madeleines that are sure to become a new favorite in your gluten-free kitchen!
Ingredients:
- 1 egg
- ¼ cup plain yogurt (gluten-free)
- ¼ cup maple syrup
- 30 g or 2 tbsp melted butter (or dairy-free alternative)
- ⅓ cup (45 g) rice flour
- ⅓ cup (40 g) almond flour
- ½ tsp. vanilla extract
- ½ tbsp. baking powder
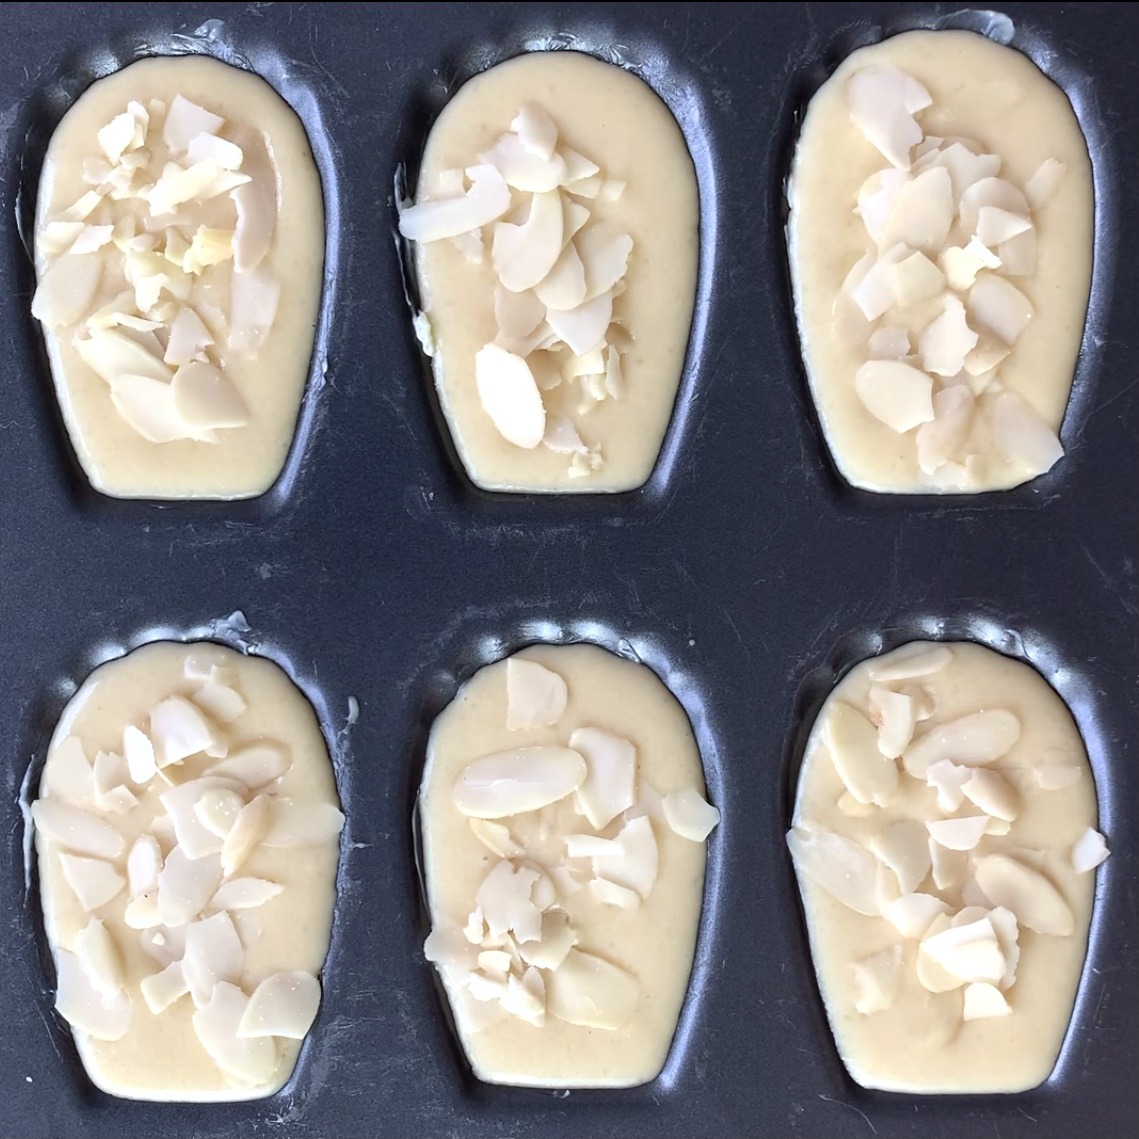
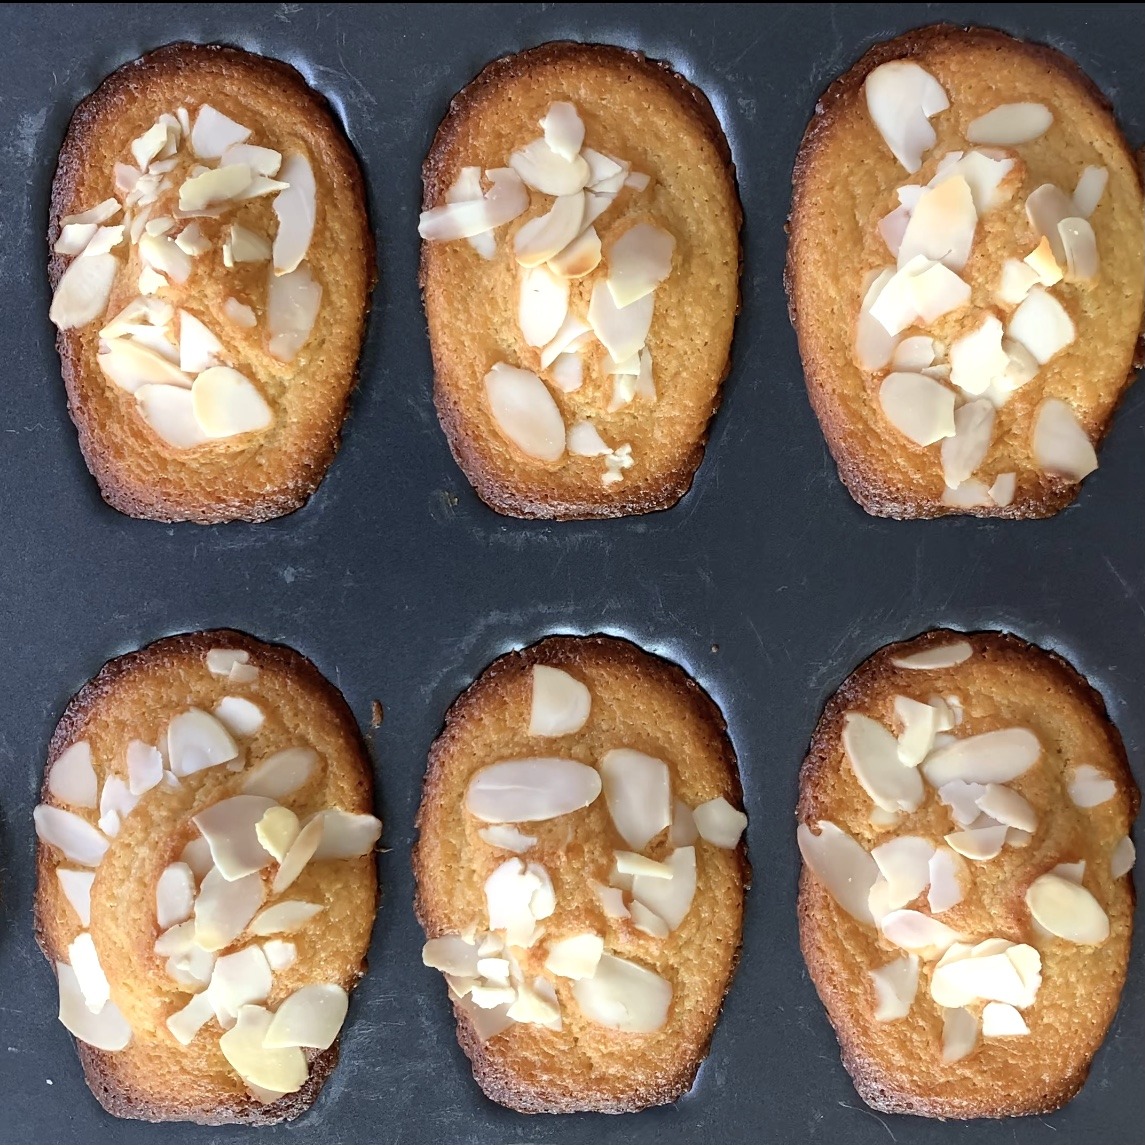
- 2 tbsp. (15 g) sliced almonds or other nuts of your choice (optional)
Directions:
- Preheat your oven to 350°F (175°C) and generously brush your madeleine pan with butter to prevent sticking.
- In a mixing bowl, whisk together the egg, yogurt, maple syrup, and vanilla extract until well combined.
- Add the rice flour, almond flour, and baking powder to the wet ingredients, whisking thoroughly until a smooth batter forms.
- Pour the melted butter into the batter and continue whisking until fully incorporated.
- Allow the batter to rest for 10 minutes, which helps develop the flavor and texture.
- Spoon equal portions of the batter into the greased madeleine pan, filling each mold.
- Place the pan in the preheated oven and bake for approximately 30 minutes, or until the madeleines turn golden brown and spring back when gently pressed.
- Once baked, remove the madeleines from the oven and allow them to cool on a wire rack.
Prep Time, Baking Information, and Servings:
- Prep Time: 20 minutes
- Baking Time: 30 minutes
- Servings: 9
Nutritional Information (Per Serving):
- Energy: 114 calories
- Protein: 2.62 g
- Fat: 6.65 g
- Carbohydrates: 11.79 g
- Fiber: 1 g
Storage and Particular Recommendations:
- Store the gluten-free madeleines in an airtight container at room temperature for up to 1 week for optimal freshness.
- To enhance their taste, consider serving them with a dusting of powdered sugar or a dollop of whipped cream alongside your favorite hot beverage.