Flaxseed Seed Crackers
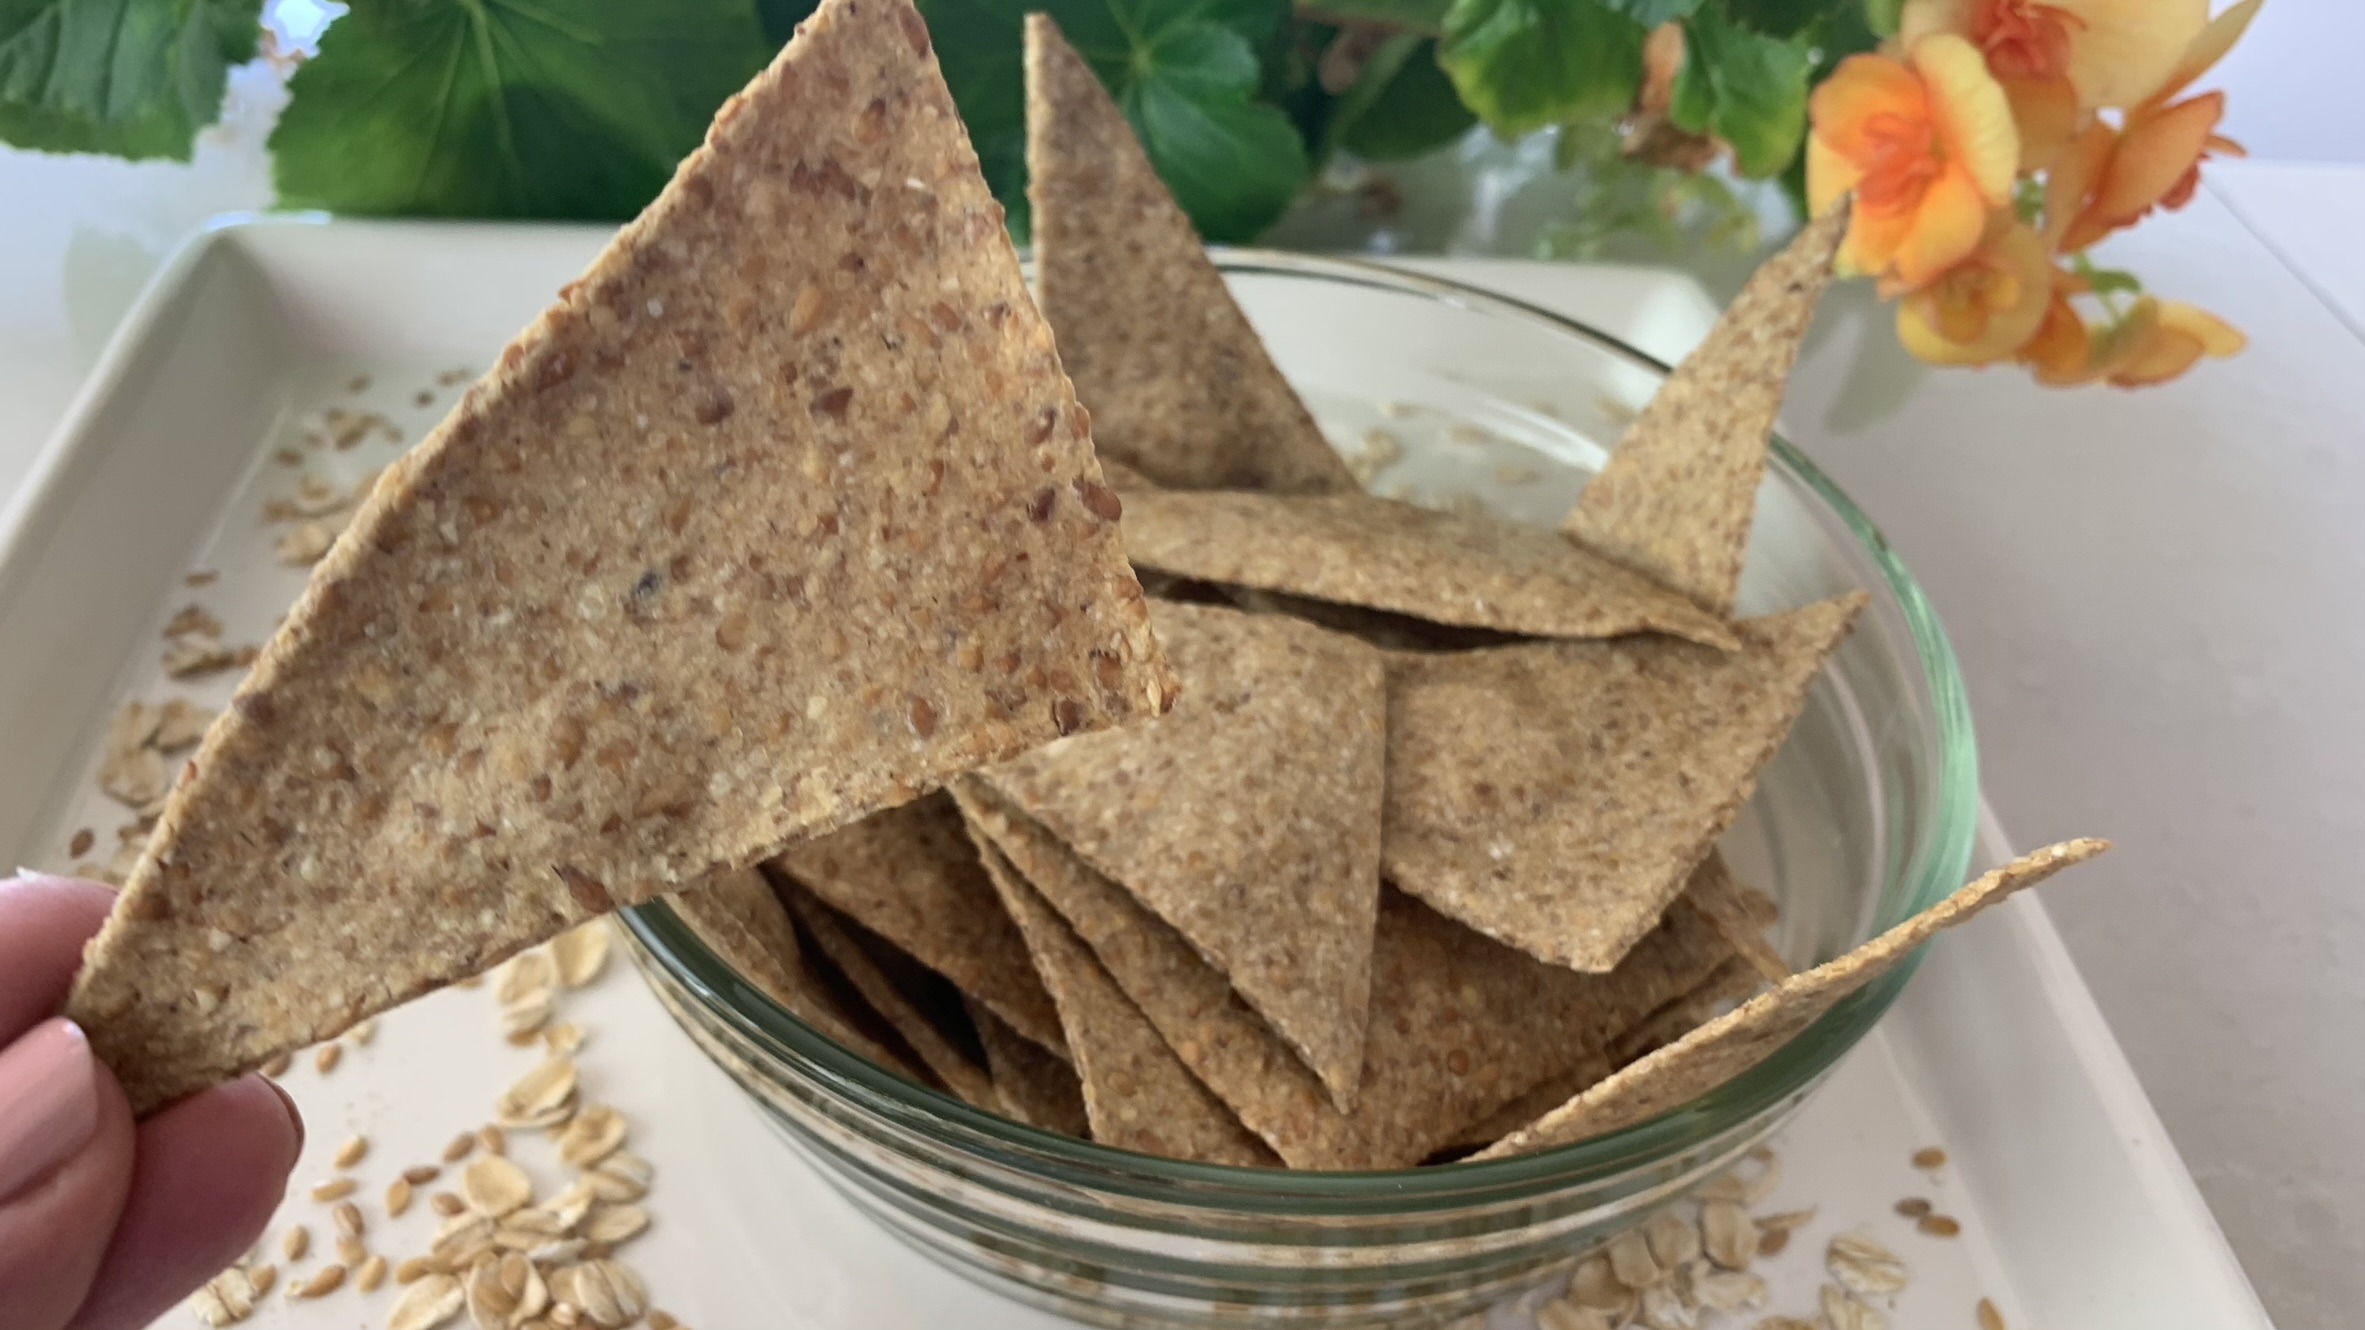
Flaxseed Seed Crackers

If you’re on the lookout for a wholesome and nutritious snack that’s easy to make and even easier to enjoy, these Flaxseed Oat Crackers are the perfect choice. These homemade crackers are not only rich in flavor but also pack a powerful punch of nutrients thanks to the goodness of oats and flaxseeds. Whether you’re serving them at a holiday spread or enjoying them as a snack with your favorite dips, these crackers are sure to impress.
Oats are a fantastic source of dietary fiber, particularly beta-glucan, which can help lower cholesterol levels, promote heart health, and keep you feeling full longer. Flaxseeds, on the other hand, are renowned for their high omega-3 fatty acid content, which is great for brain health, as well as their lignans, which have antioxidant properties. Combined, oats and flaxseeds make these crackers not only delicious but also a smart choice for a health-conscious diet.
Incorporating oats and flaxseeds into your regular diet can support overall wellness, from improved digestion to better cardiovascular health. These crackers are a wonderful way to get these benefits in a tasty and versatile form, making them a staple in any healthy eating plan.
Ingredients
- 2/3 cup (60 g) old-fashioned rolled oats
- 1/3 cup golden or brown flaxseed
- 1/2 teaspoon salt
- 1 teaspoon baking powder
- 5 tablespoons cold water
Directions
- Preheat the oven to 350°F (175°C) and line a baking sheet with parchment paper.
- In a food processor, grind rolled oats and flaxseeds into a fine flour-like consistency.
- Add salt and baking powder to the mixture in the food processor.
- Gradually add cold water and continue blending until the ingredients form a firm and slightly sticky dough. Adjust the water as needed to achieve the right consistency.
- Transfer the dough onto a parchment-paper-covered working surface and use a rolling pin to roll it out into a thin, even layer of about 1/9 inch (2-3 mm) or thicker if you prefer denser crackers.
- Use a pizza cutter or knife to cut the dough into triangular shapes or other desired shapes.
- Carefully transfer the dough triangles onto the prepared baking sheet.
- Bake for 20 to 25 minutes, or until the crackers turn crisp and lightly golden.
- Let the crackers cool completely, as they cool, they will continue to harden.
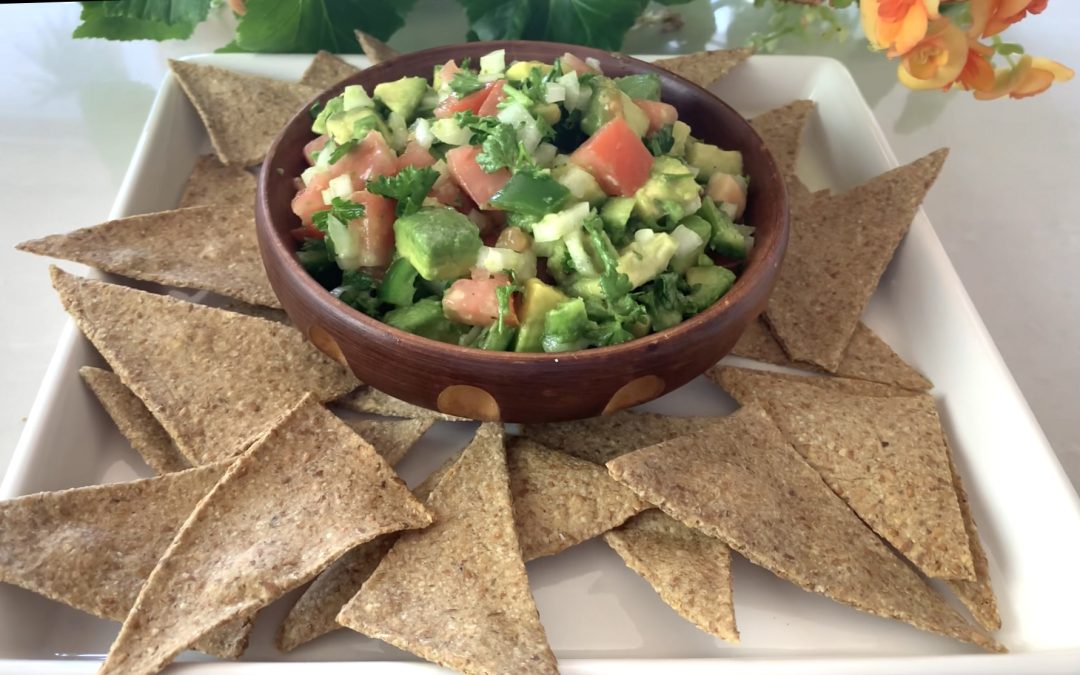
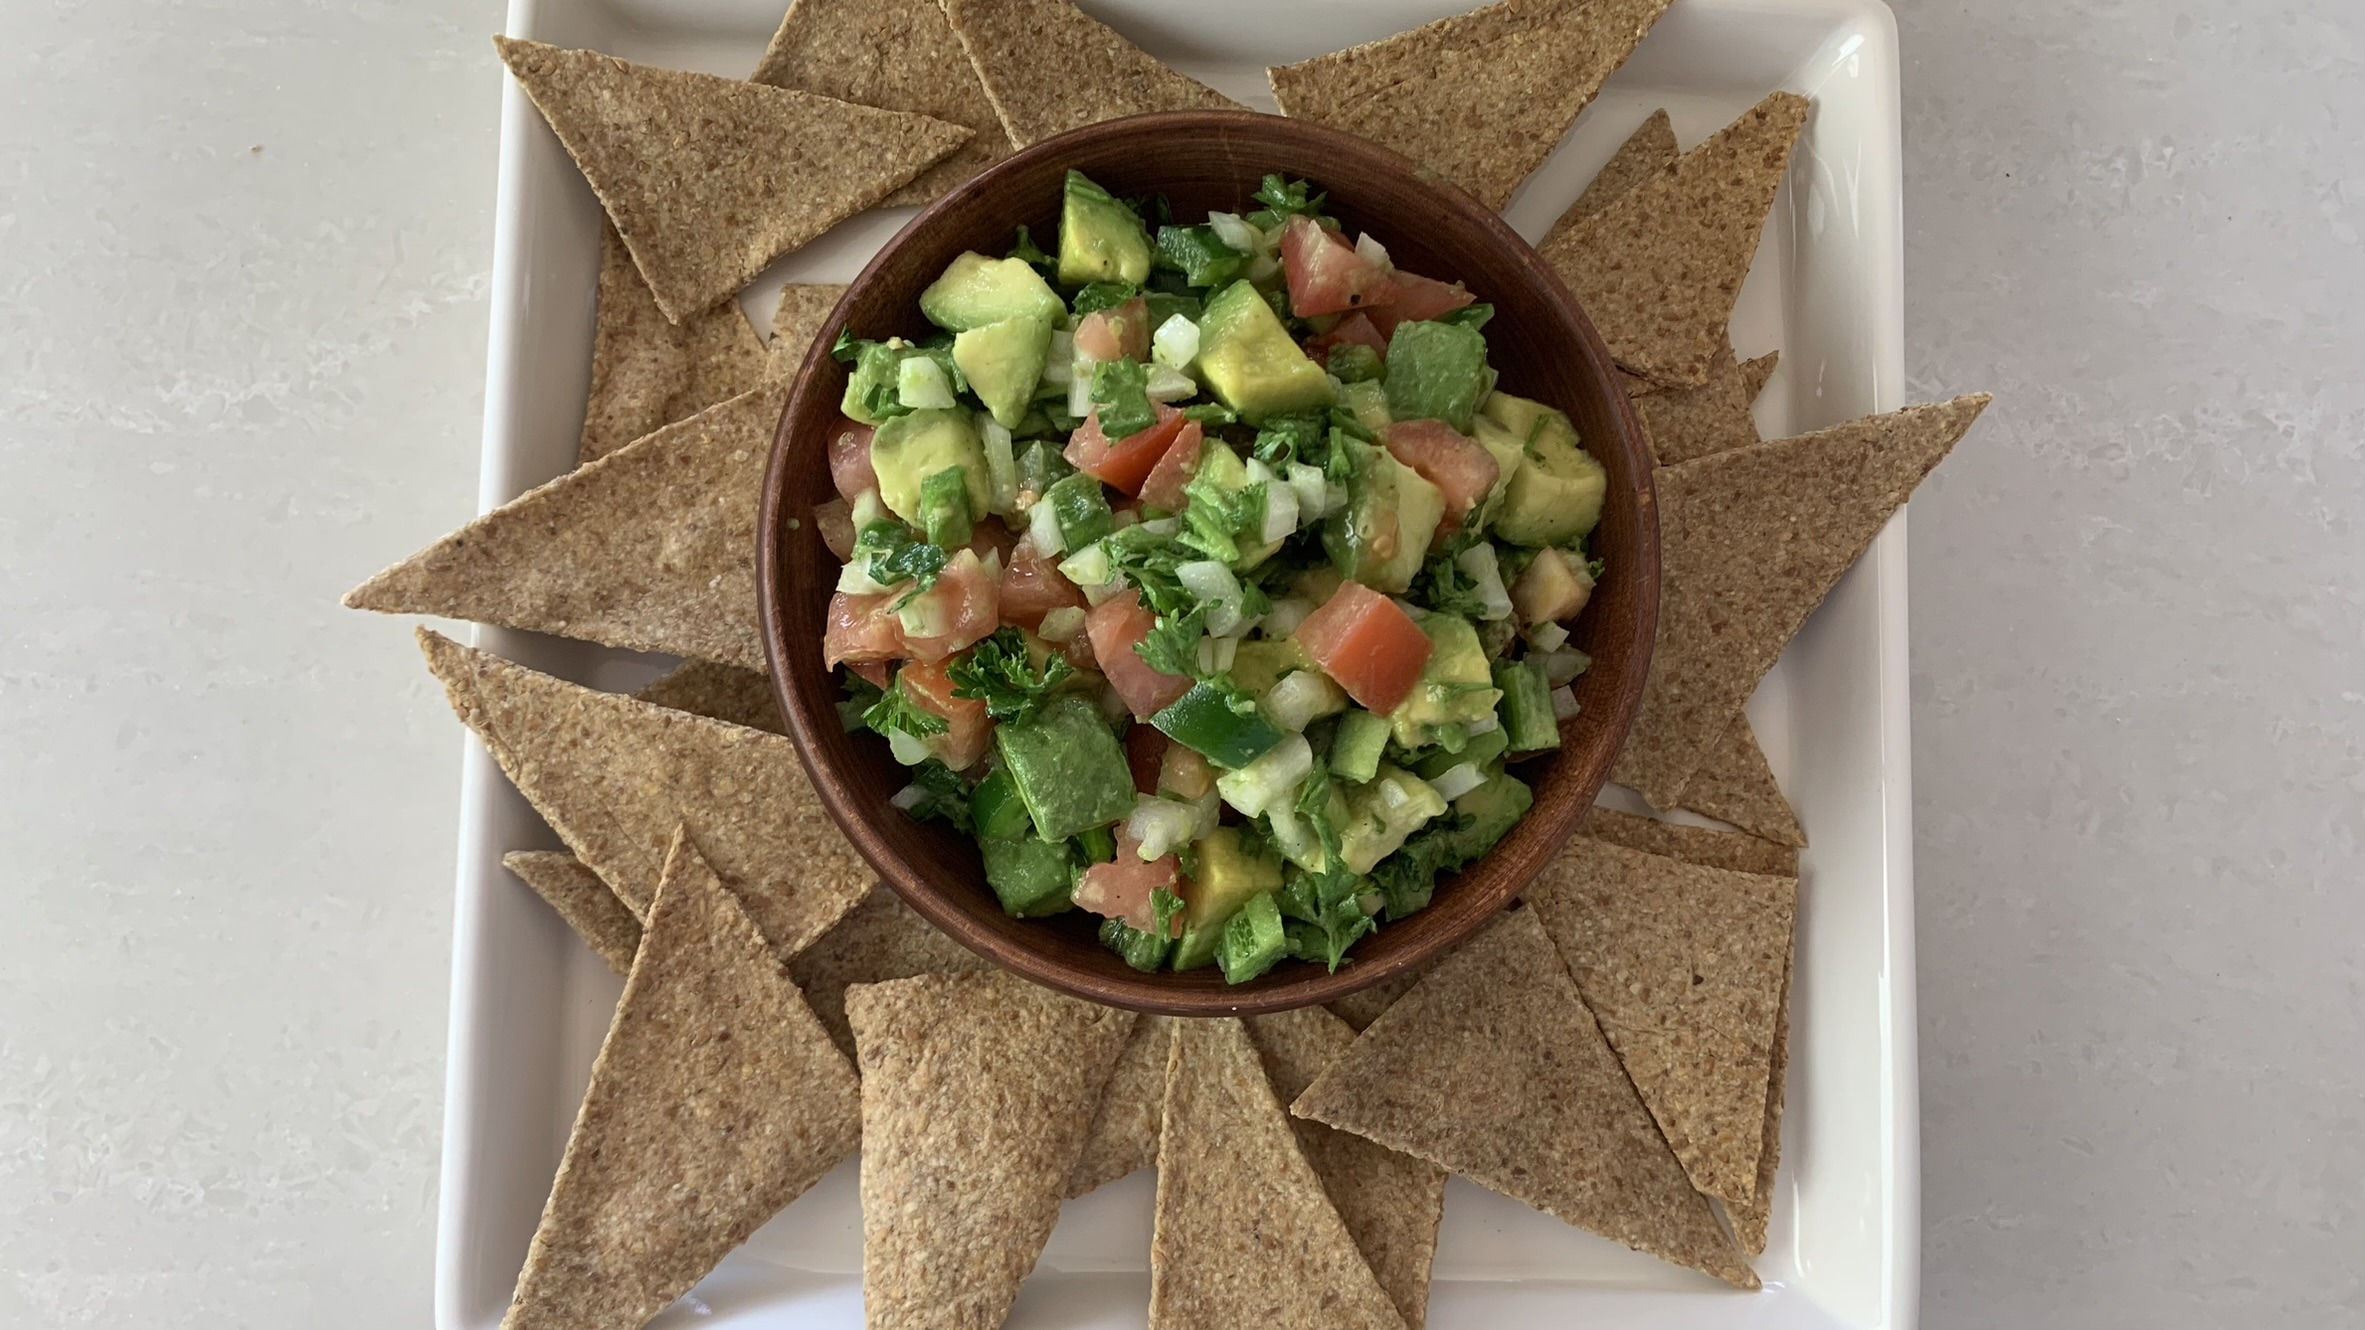
- Serve with your favorite dips or enjoy them on their own as a healthy snack.
Prep Time
- 30 minutes
Baking Time
- 25 minutes
Nutritional Information (Per 1 Cracker)
- Energy: 22 calories
- Protein: 0.84 g
- Fat: 1.15 g
- Carbohydrates: 2.42 g
- Fiber: 0.9 g
Storage and Notes
- Store your crackers in an airtight container at room temperature for up to 2 weeks.
- Feel free to customize these crackers by adding your favorite spices and herbs to the dough before baking.