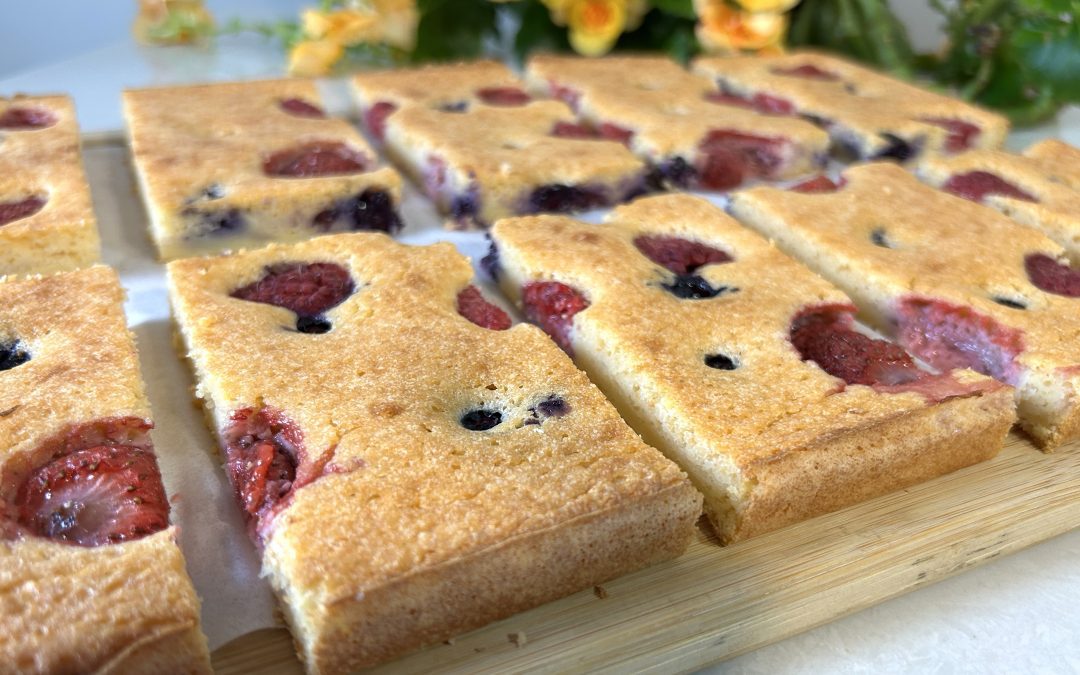
Red Lentil & Berry Cake
Red Lentil & Berry Cake
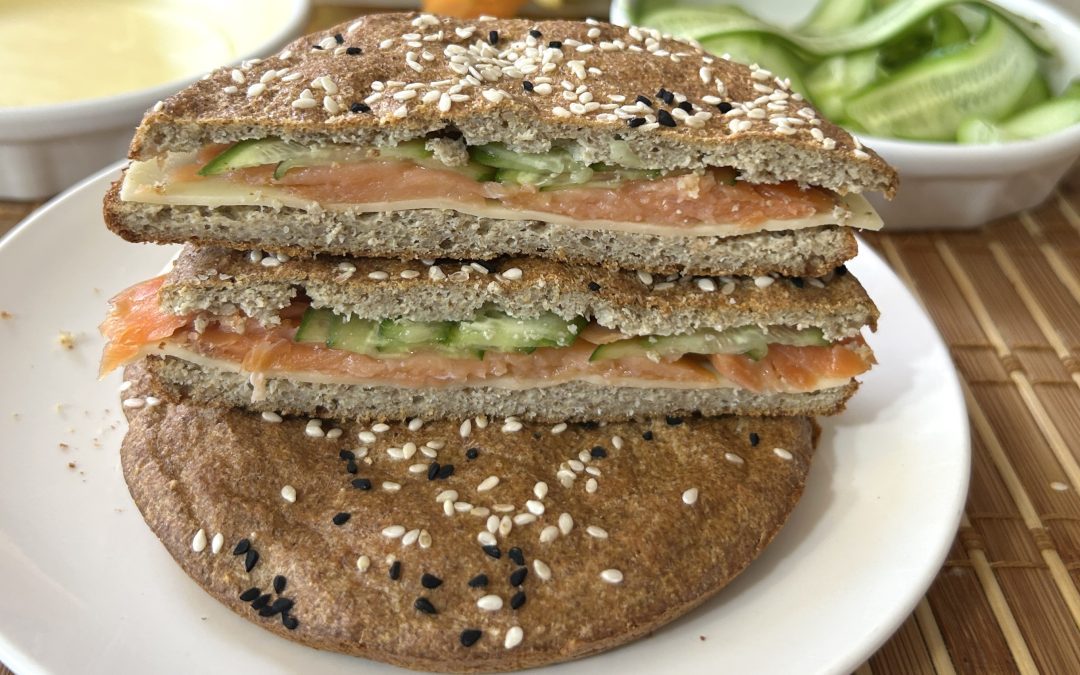
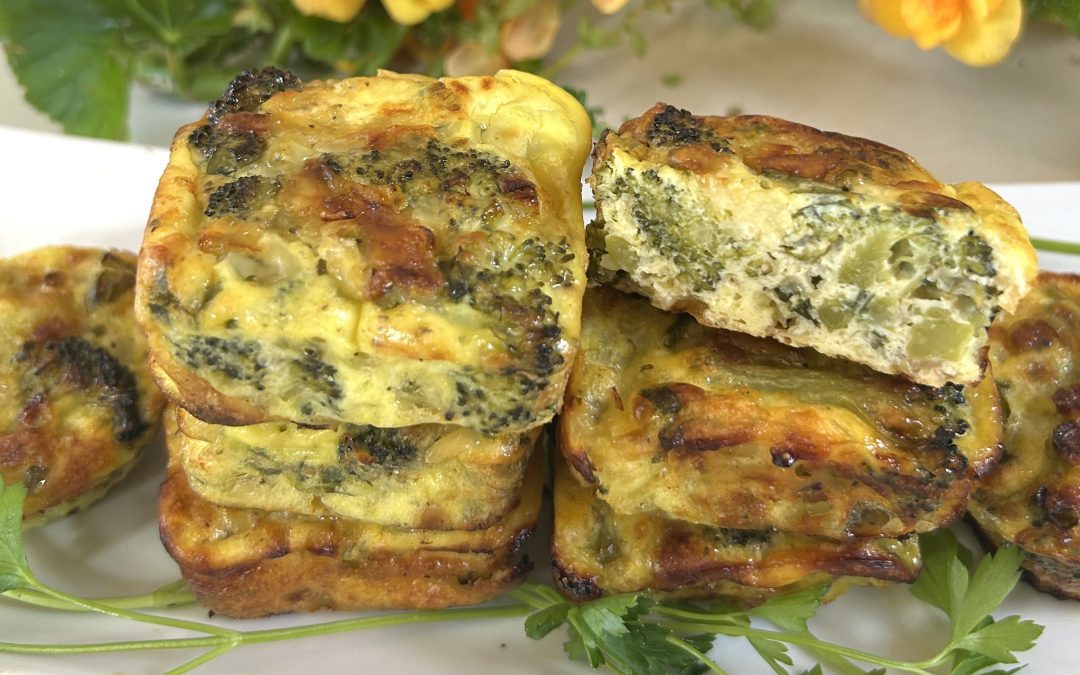
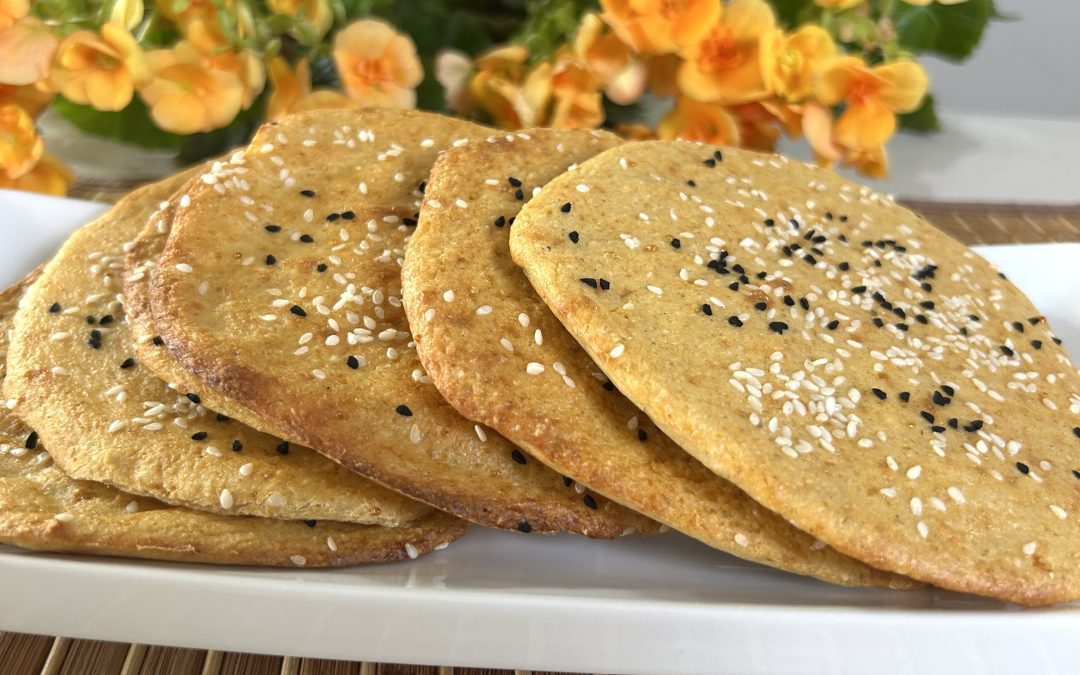
There’s something magical about creating desserts from ingredients no one expects. This cake is one of those surprises that makes you pause after the first bite, soft, sweet, and so filling. But the best part? It’s made with red lentils. Yes, the same pantry staple you’d usually toss into a stew or curry becomes the star of a dessert so elegant and satisfying, you’ll wonder why you never tried it before.

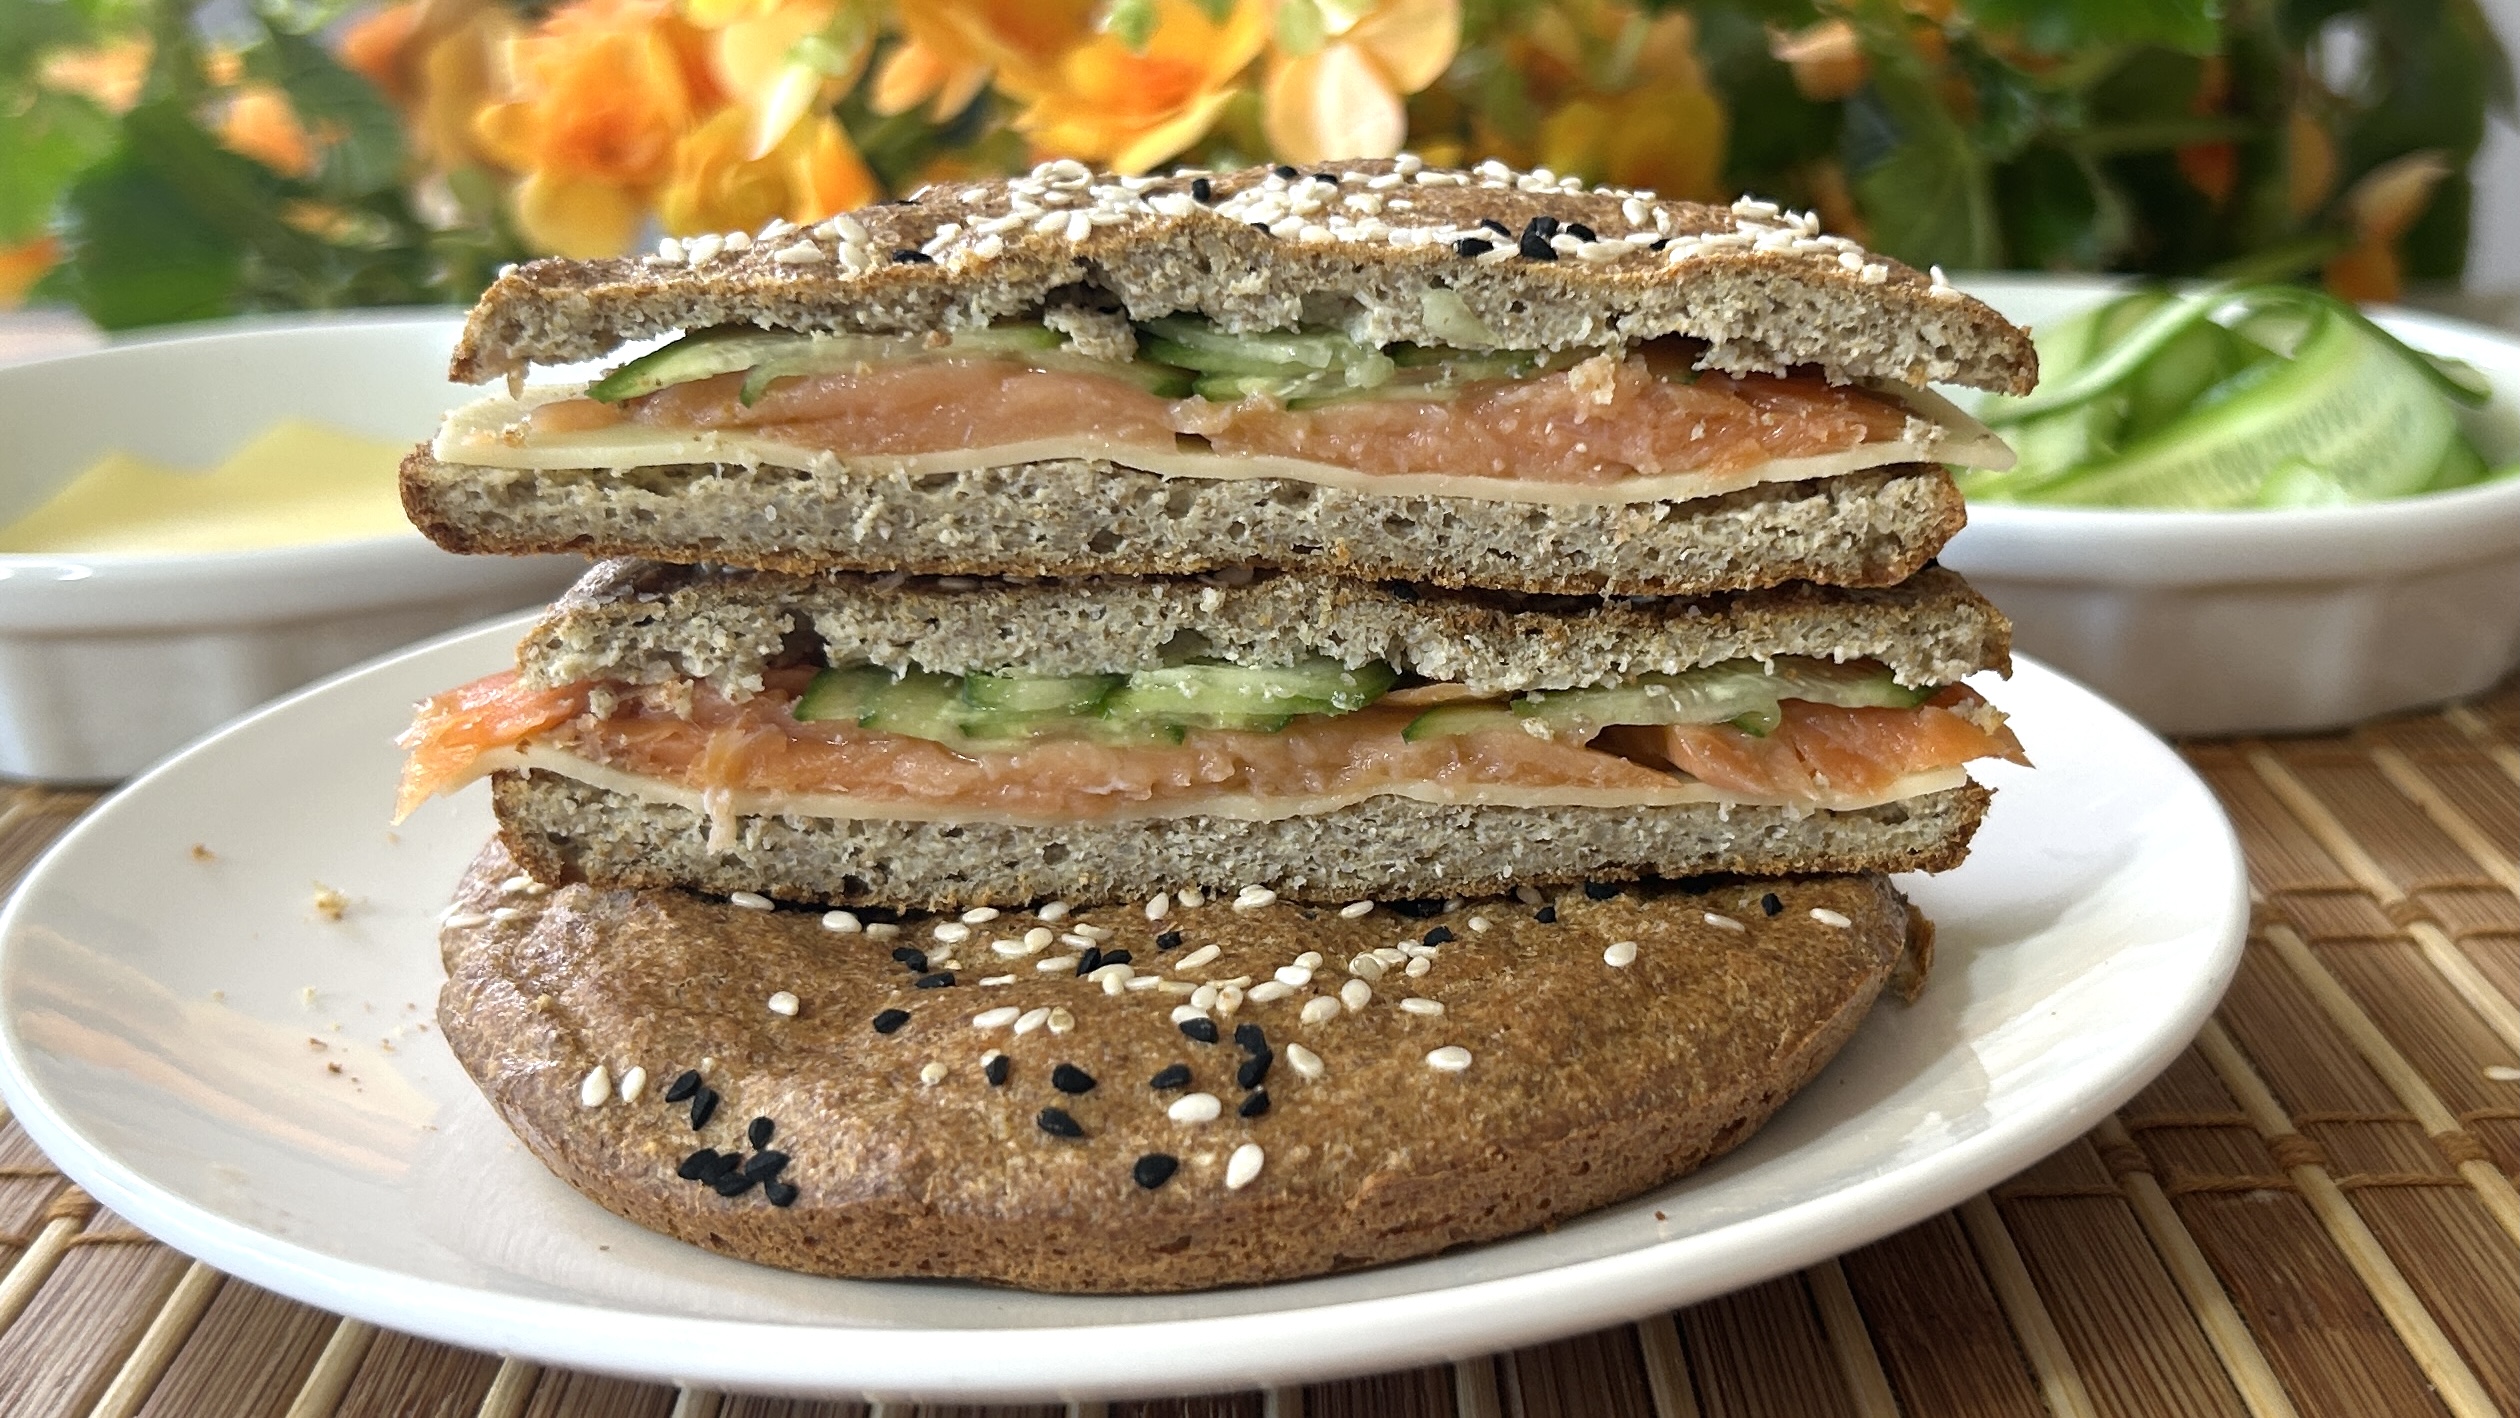
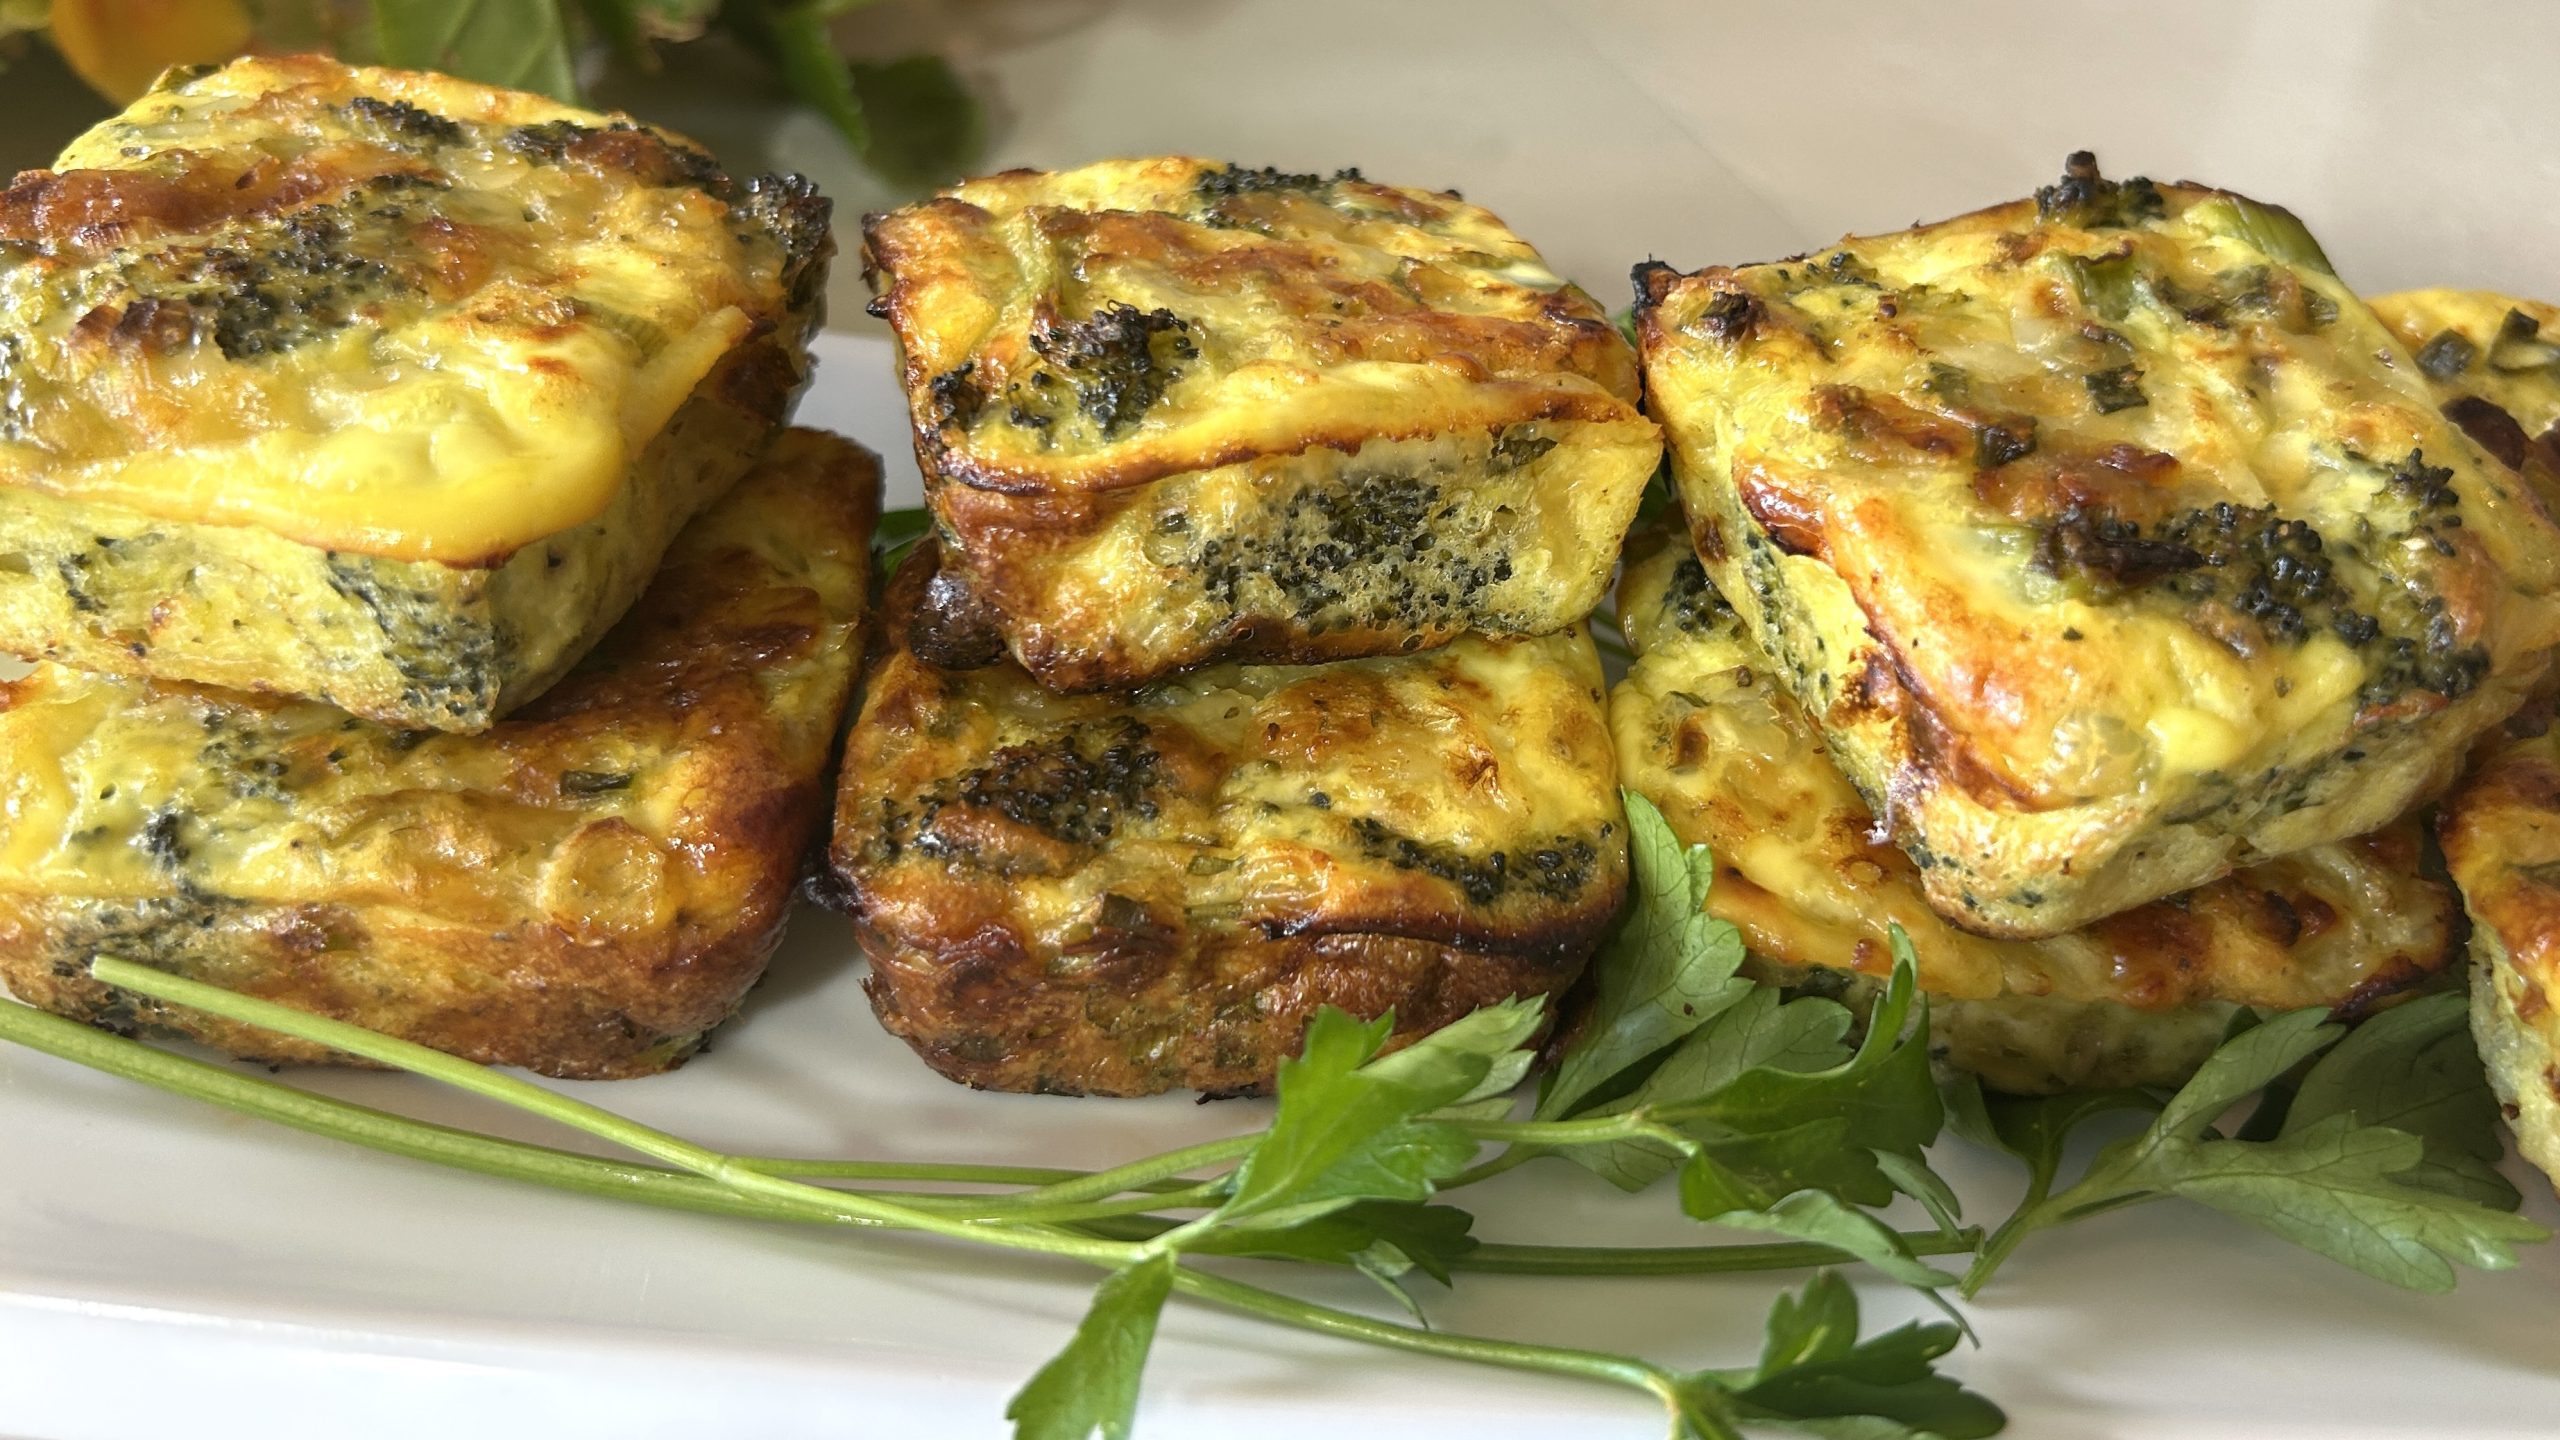
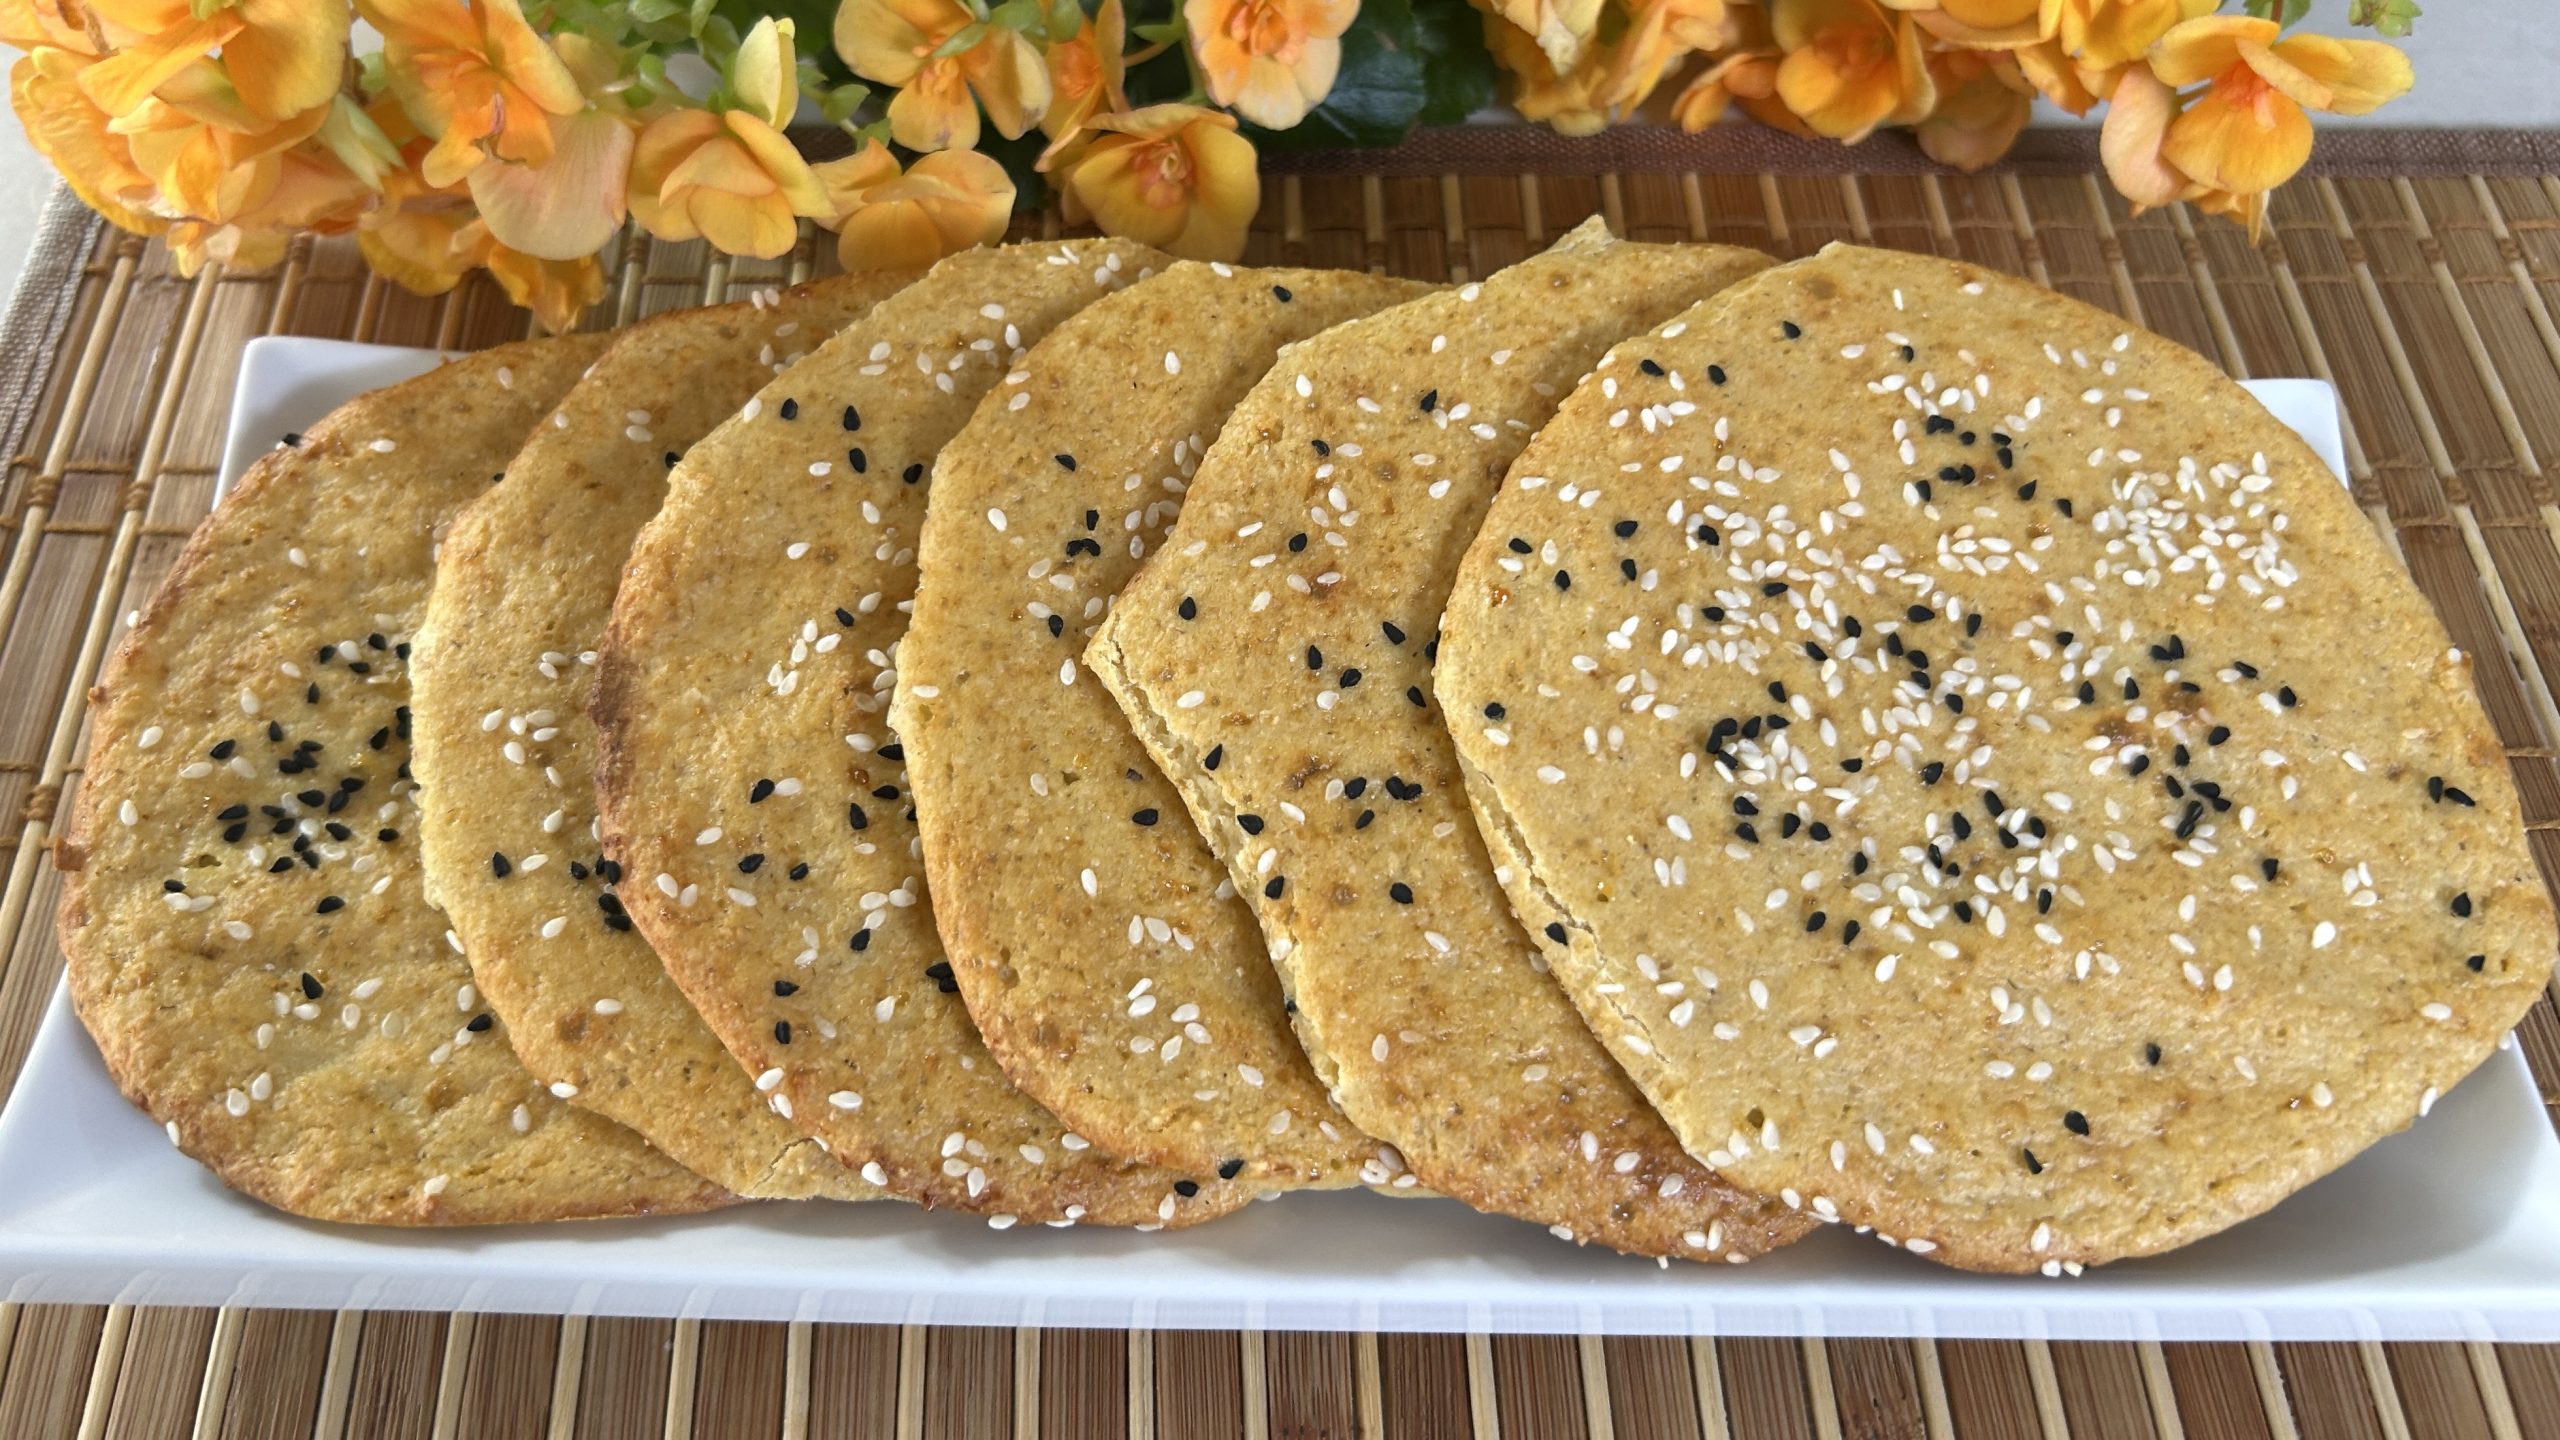
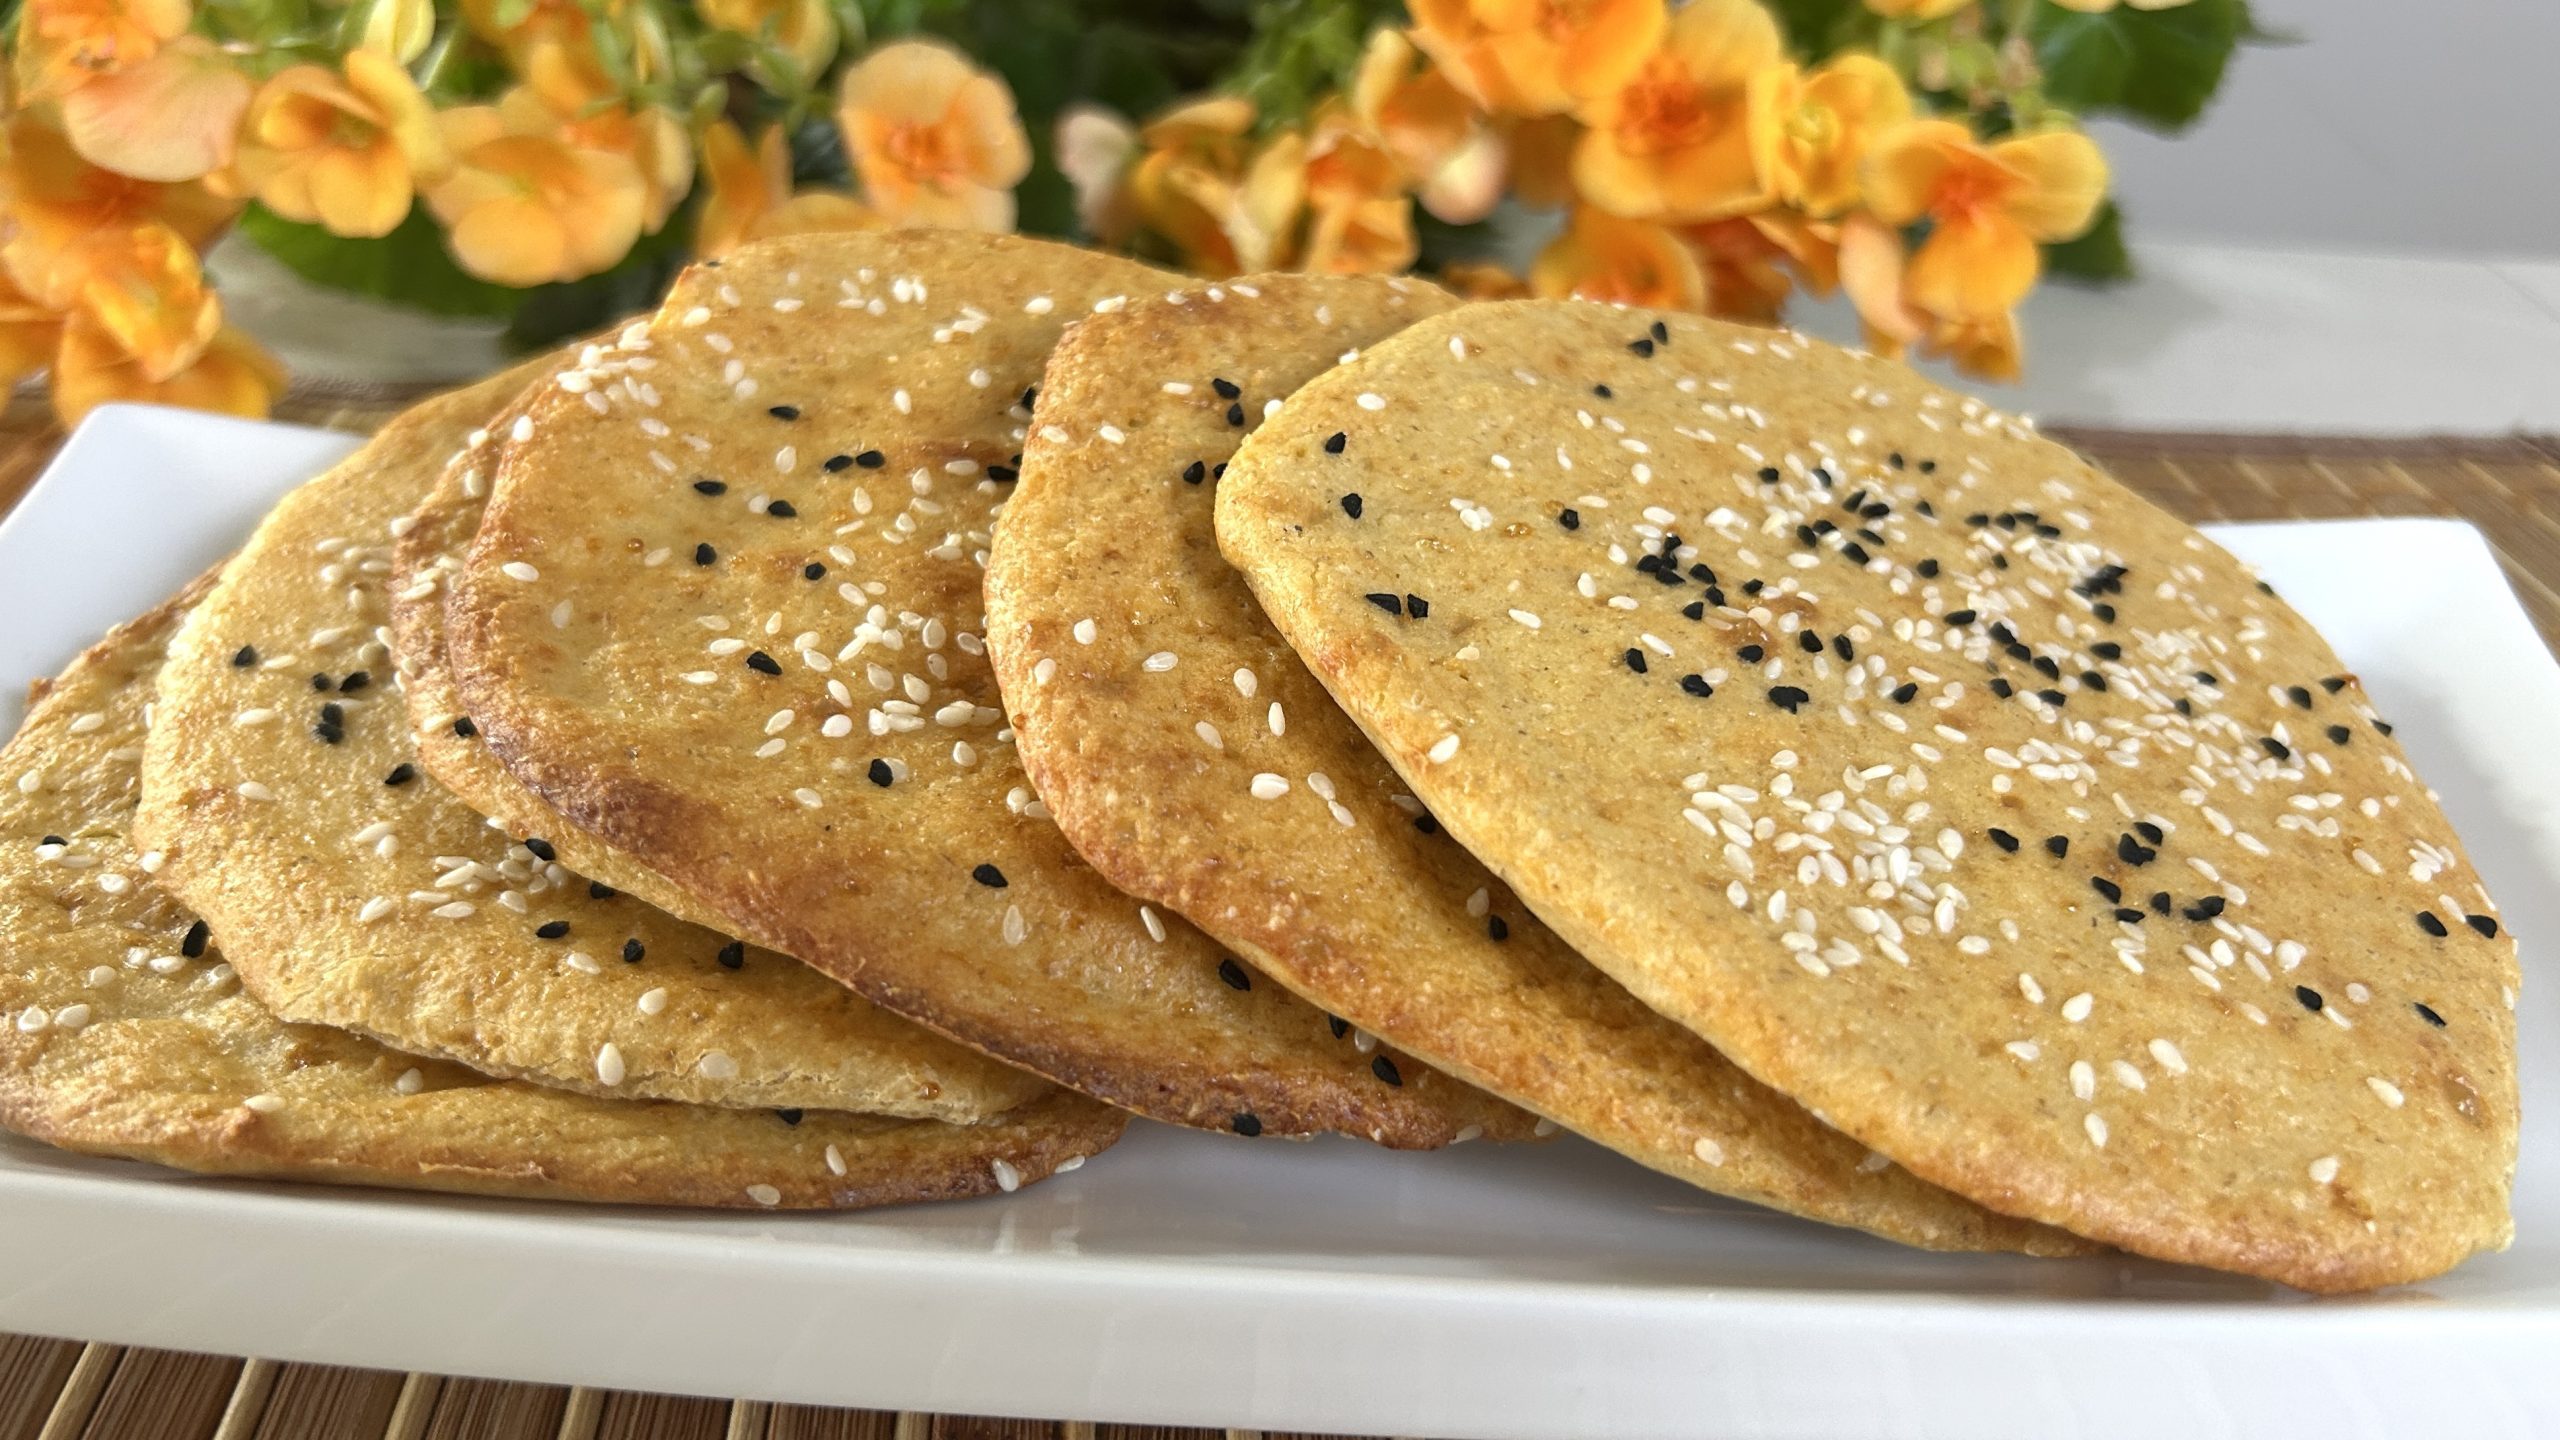
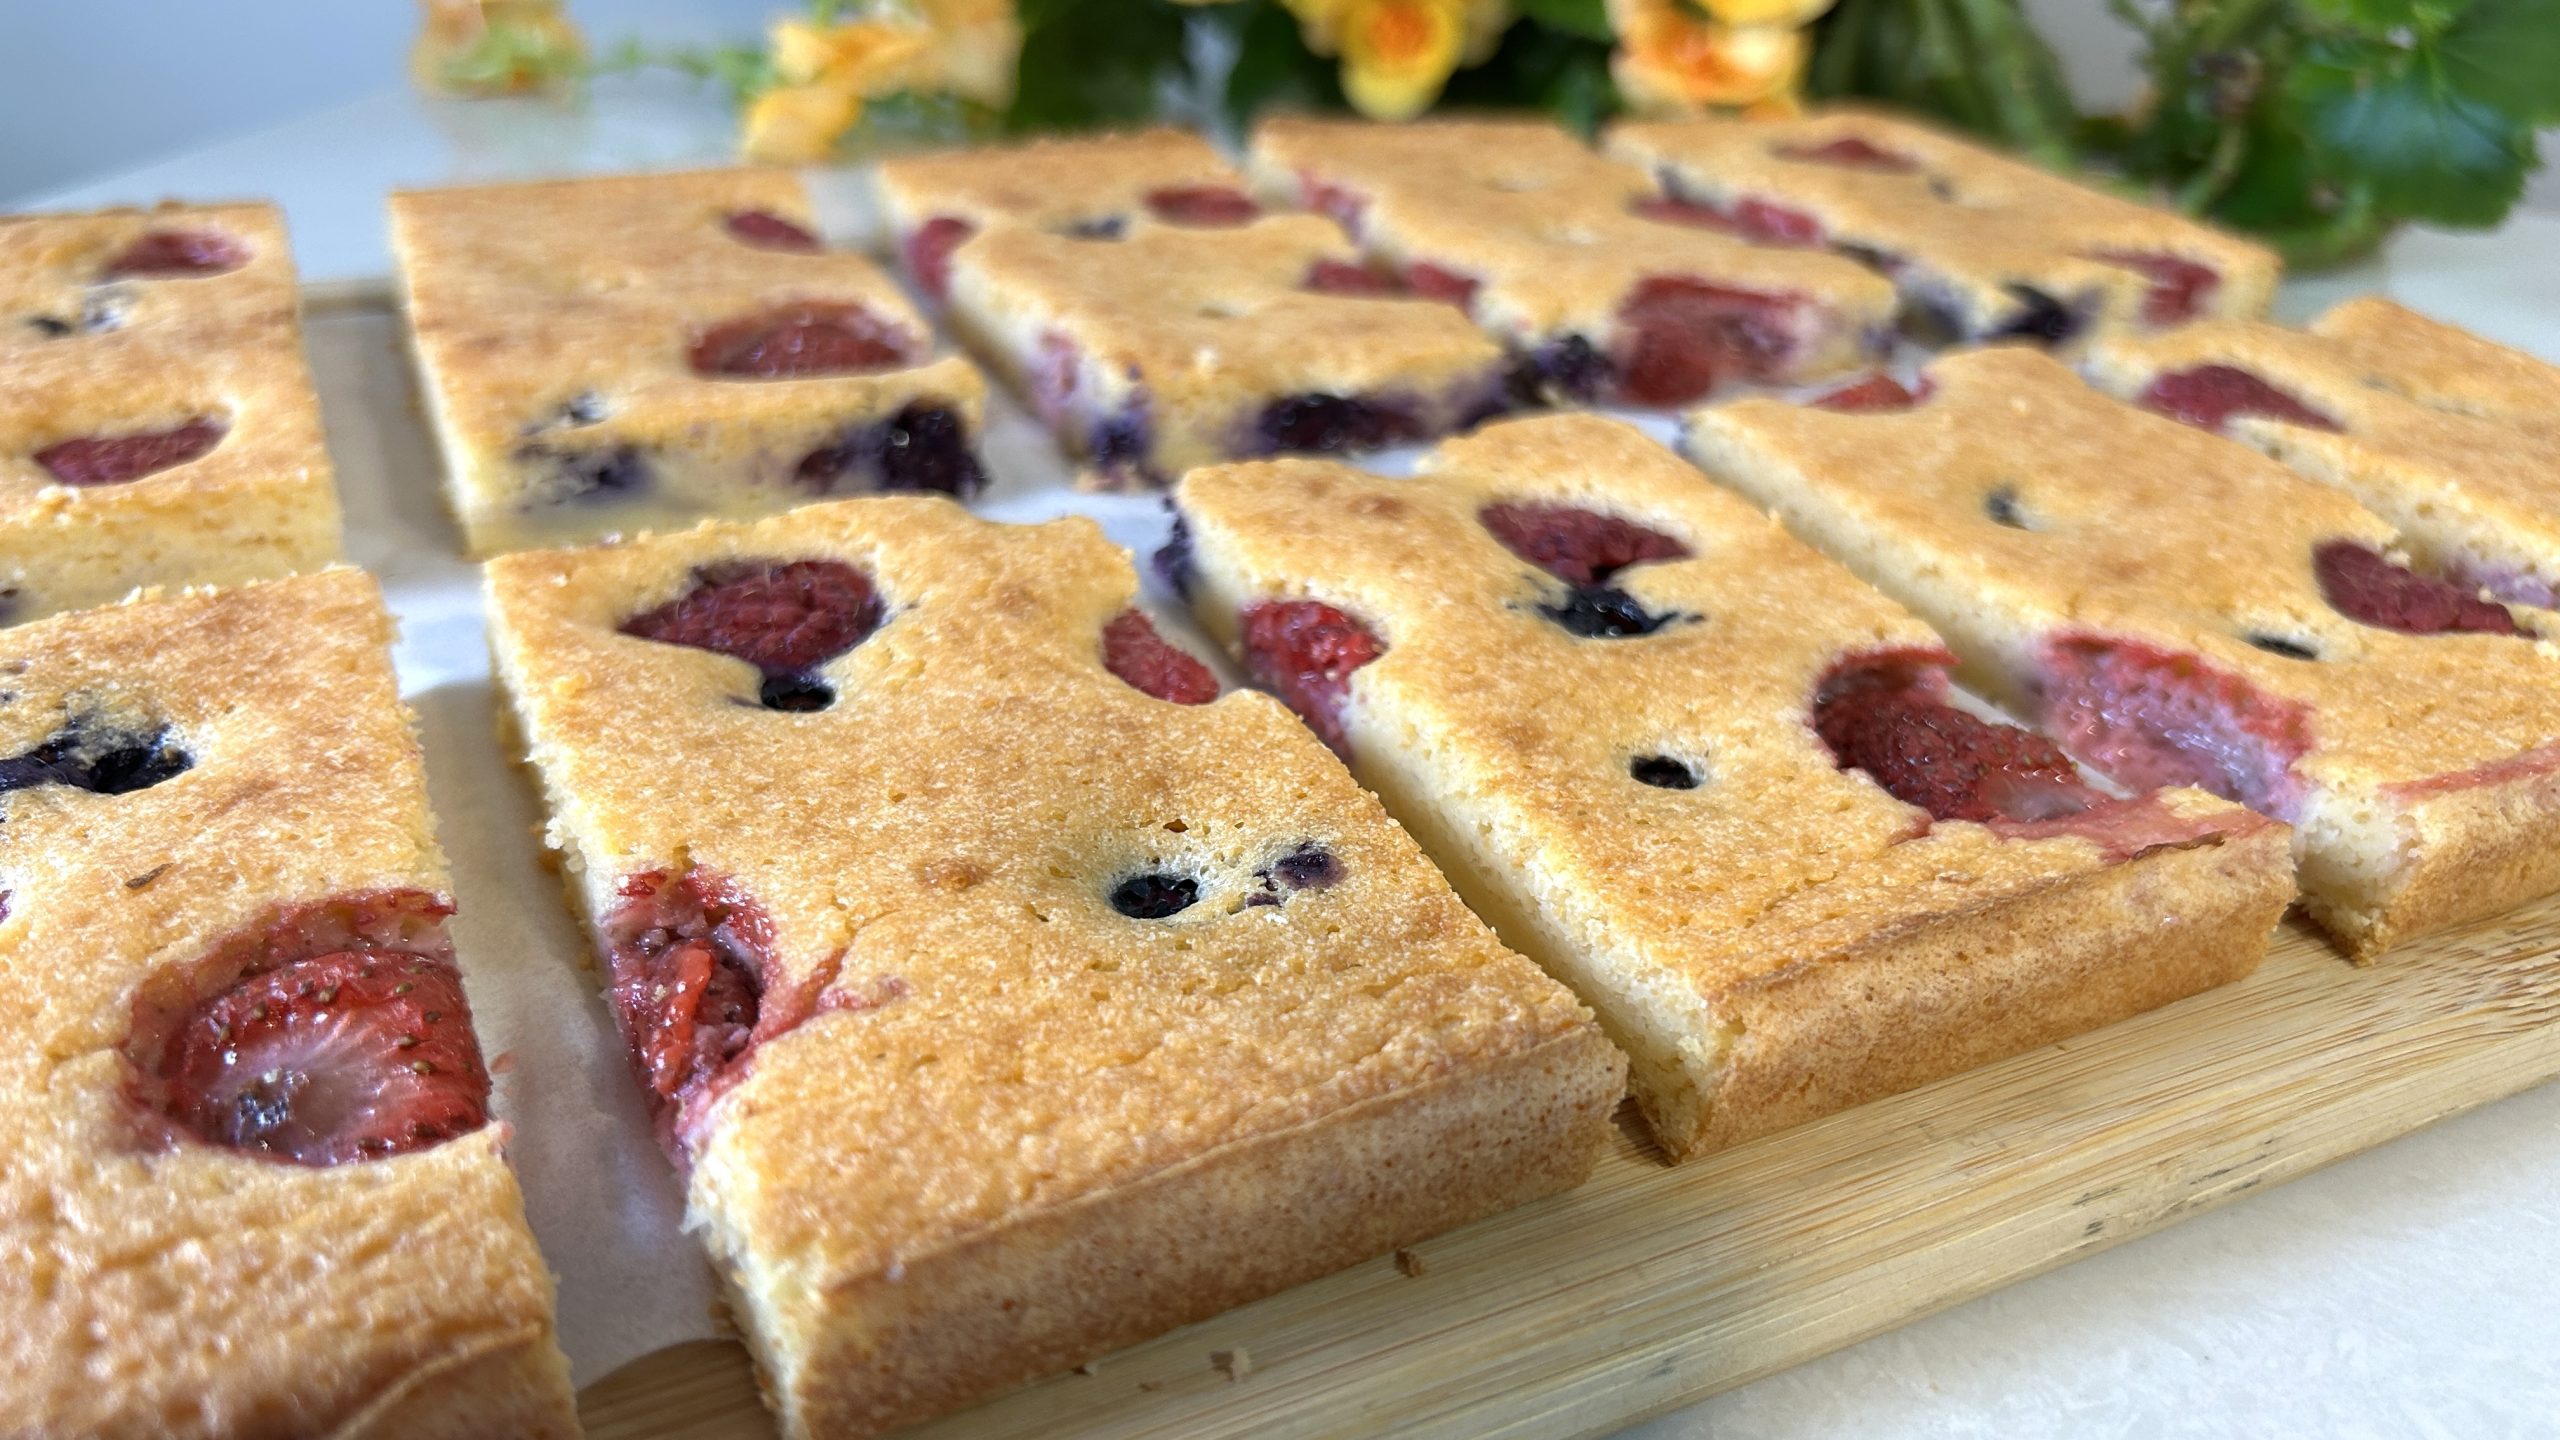
The result is a golden, slightly springy cake that slices cleanly and feels like a classic treat, but nourishes like a complete snack. This is the kind of cake that doesn’t weigh you down. It’s naturally gluten-free, refined-flour-free, and packed with protein from just a few wholesome ingredients. The berries add brightness and bursts of juicy sweetness in every bite.
But let’s talk about the real powerhouse in this recipe: red lentils. These tiny, coral-colored legumes are nutritional overachievers. A single serving provides a generous dose of plant-based protein, iron, folate, magnesium, and complex carbohydrates that digest slowly, which helps keep blood sugar levels stable and energy steady. Red lentils are also a wonderful source of soluble fiber, supporting gut health and digestion. And unlike many other legumes, they cook quickly and blend smoothly, making them an ideal base for everything from soups to — yes — desserts!
What makes red lentils especially valuable in a regular diet is how versatile they are. They’re gentle on the digestive system, naturally low in fat, and incredibly filling. For anyone managing iron deficiency, they offer a plant-based iron source that pairs beautifully with vitamin C-rich fruits (hello, berries!). Including lentils in your routine helps diversify your fiber intake, improves satiety between meals, and contributes to your intake of important micronutrients. If you’re looking for a new way to incorporate more iron-rich foods into your day without relying on meat or supplements, this cake might just become your go-to.
This isn’t just dessert — it’s nourishment disguised as indulgence. And once you’ve tasted it, you’ll never look at lentils the same way again!
Ingredients
-
¾ cup (140 g) raw red lentils
-
2 eggs (whites and yolks separated)
-
⅓ cup maple syrup (or sweetener of choice)
-
¾ cup (165 g) sour cream (or Greek yogurt)
-
75 g melted butter (or substitute with avocado oil or coconut oil)
-
½ tsp vanilla extract
-
½ tbsp baking powder
-
Pinch of salt (for whipping the egg whites)
-
100 g fresh strawberries, sliced
-
75 g fresh raspberries
-
70 g fresh blueberries
-
1 tbsp powdered sugar (optional, for dusting after baking)
Directions
- Soak the red lentils for at least 4 hours at room temperature or overnight in the fridge.
- Rinse the lentils thoroughly under running water and drain them well.
- Separate the eggs, placing the whites and yolks into two separate bowls.
- Transfer the drained lentils to a mixing bowl or blender. Add the egg yolks, maple syrup, sour cream, and melted butter (or oil). Blend until the mixture is completely smooth and creamy.
- Stir in the vanilla extract and baking powder until evenly combined.
- In a separate bowl, whisk the egg whites with a pinch of salt until stiff peaks form.
- Gently fold the whipped egg whites into the lentil mixture in batches to keep the texture light and airy.
- Grease a large baking pan (about 37 x 25 cm) with oil and line it with parchment paper.
- Pour the batter into the pan and shake gently to spread it evenly (the batter should not exceed 1.5 cm in height).
- Scatter the fresh berries evenly across the top of the batter.
- Bake in a preheated oven at 350°F (180°C) for about 35 minutes.
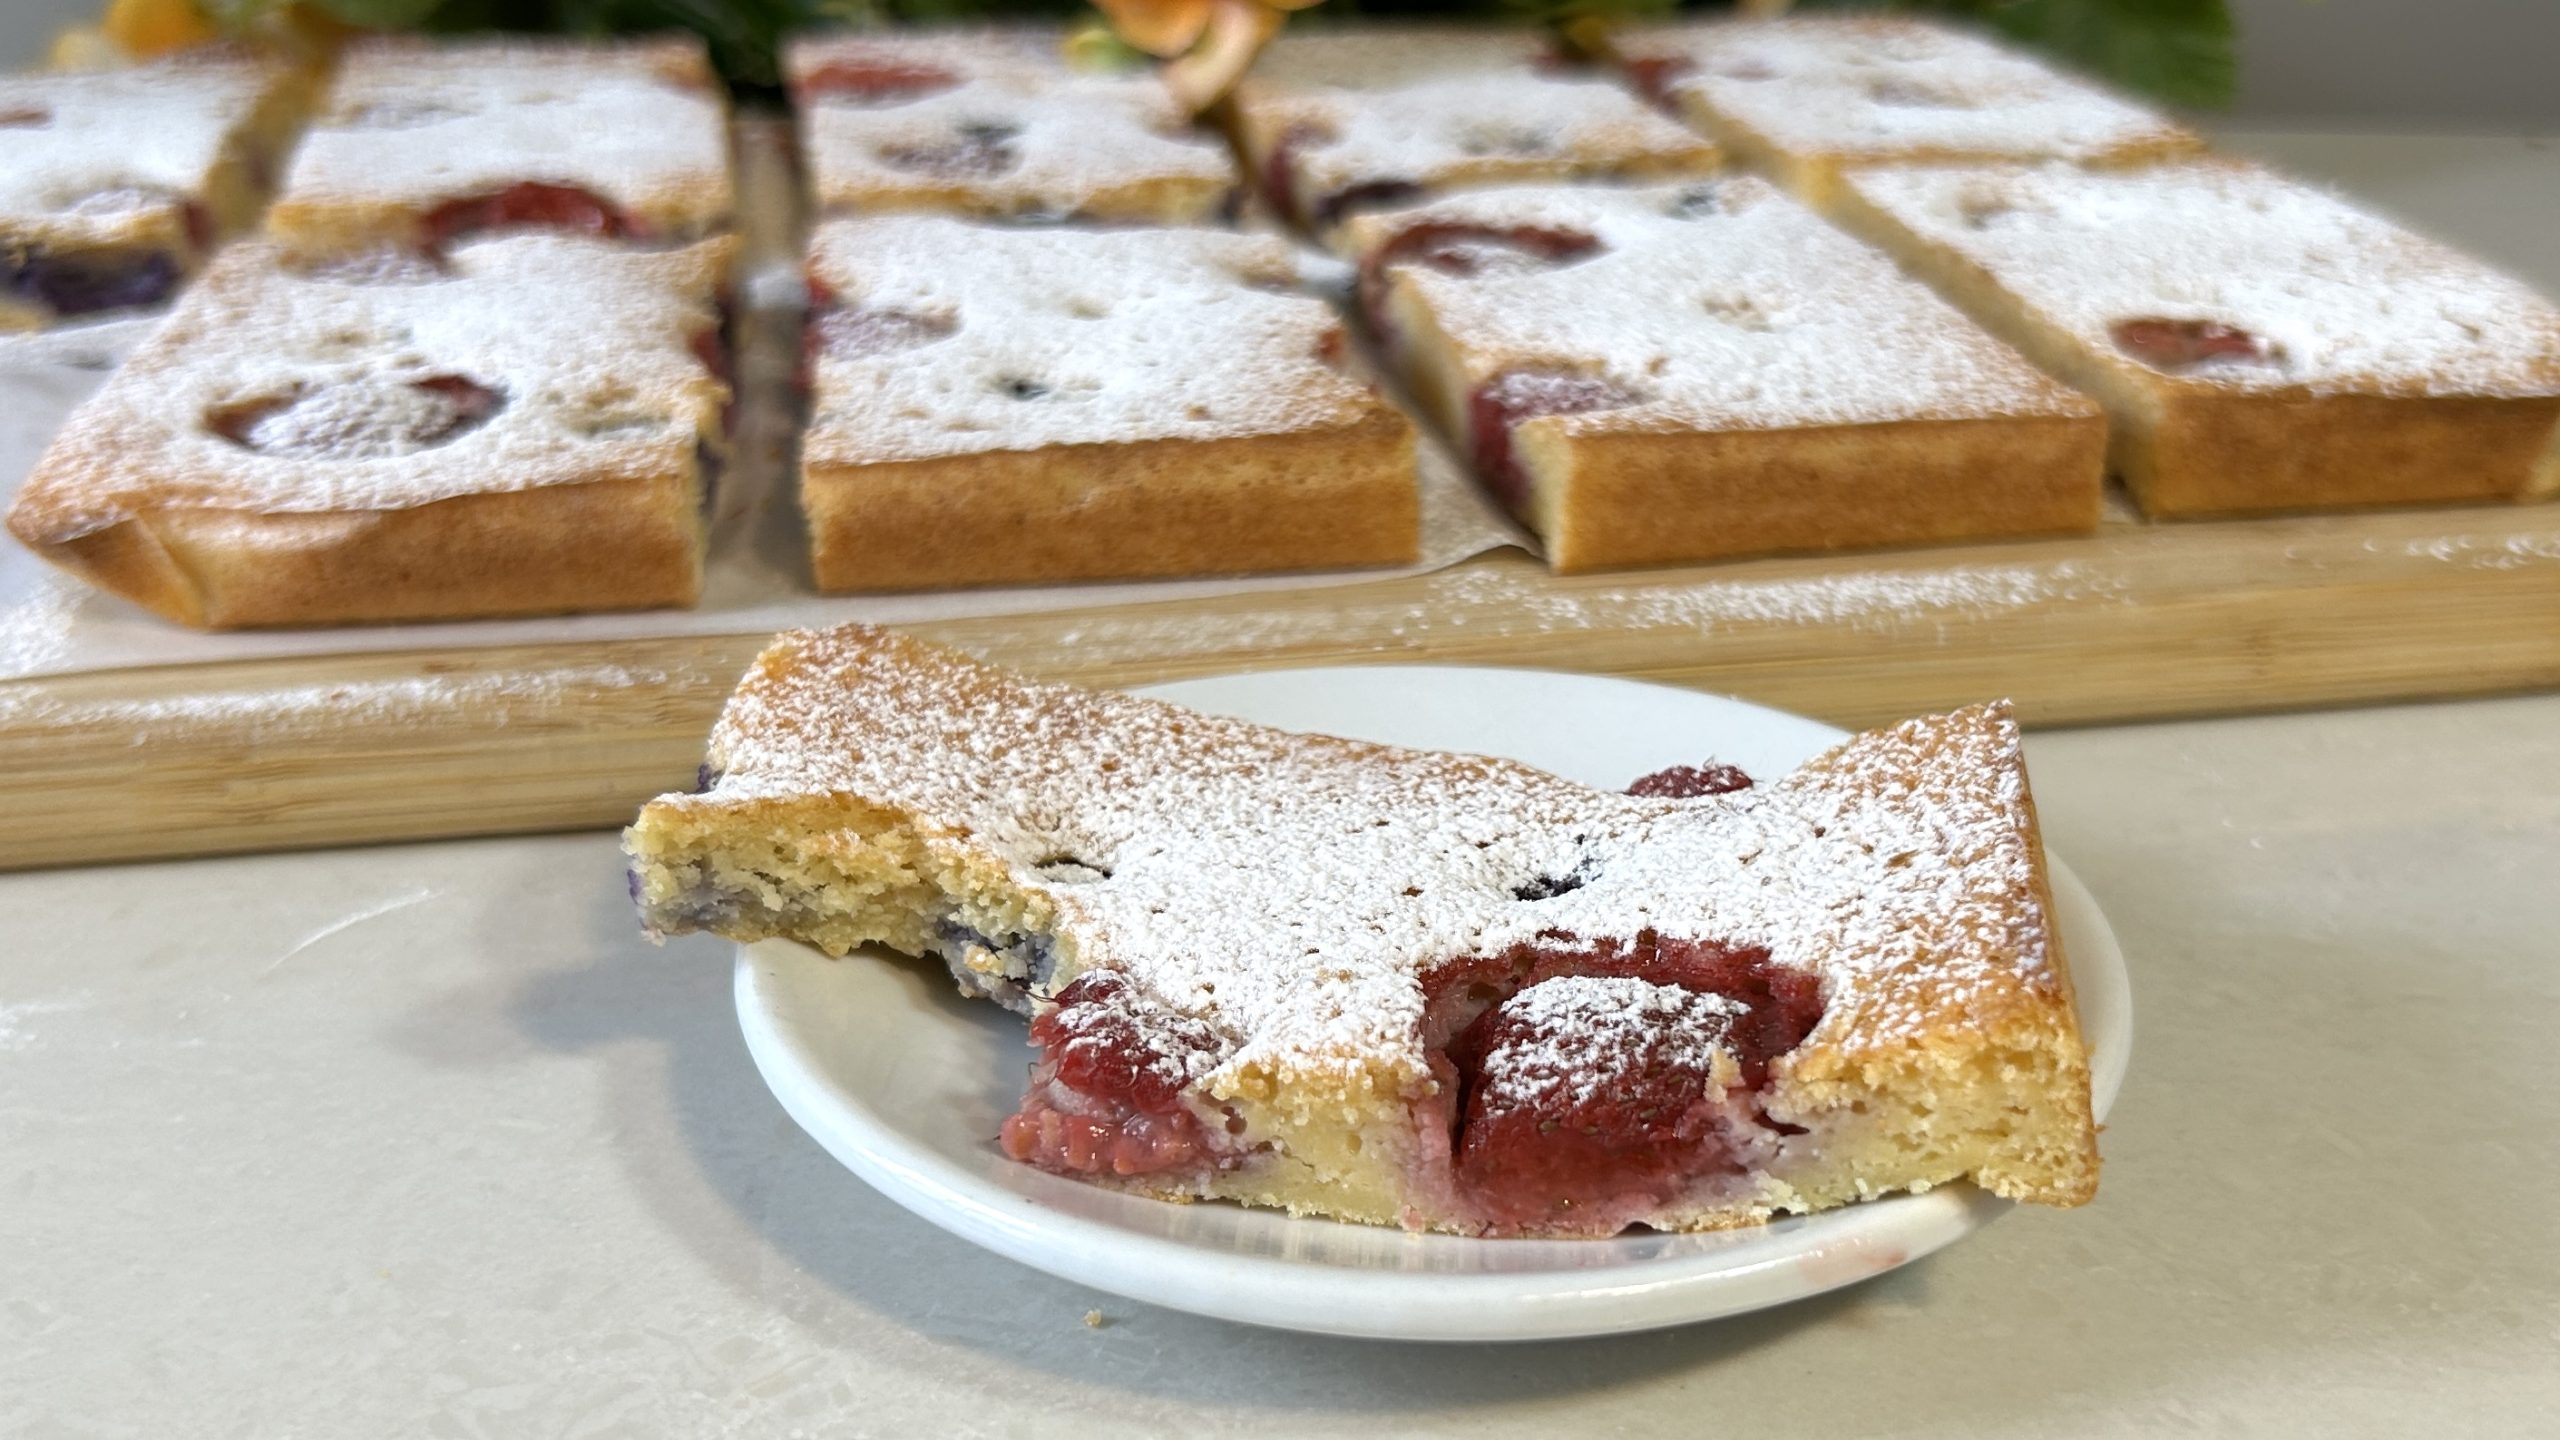
- Allow the cake to cool for 10 minutes before slicing. If desired, dust with powdered sugar just before serving.
Prep Time, Baking & Servings
-
Soaking Time: 4 hours
-
Prep Time: 20 minutes
-
Baking Time: 35 minutes
-
Servings: 10
Nutritional Information (Per Serving)
-
Energy: 197 calories
-
Protein: 6 g
-
Fat: 10.18 g
-
Carbohydrates: 21.57 g
-
Fiber: 2.3 g
Storage
-
Store in the refrigerator for up to 5 days.
-
Freeze individual slices for up to 1 month.
-
You can change the berry topping depending on what’s in season or your personal taste.
Dietary Notes
-
This recipe is naturally gluten-free.
-
Contains dairy and eggs.
-
Free from refined flour and can be made refined sugar-free with maple syrup.