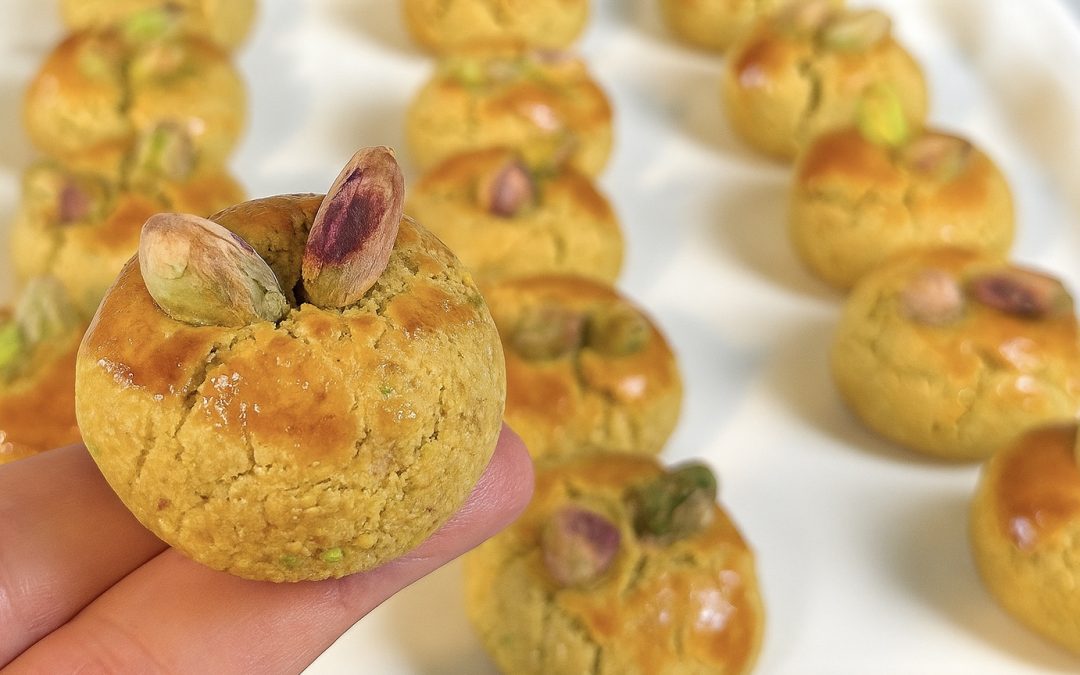
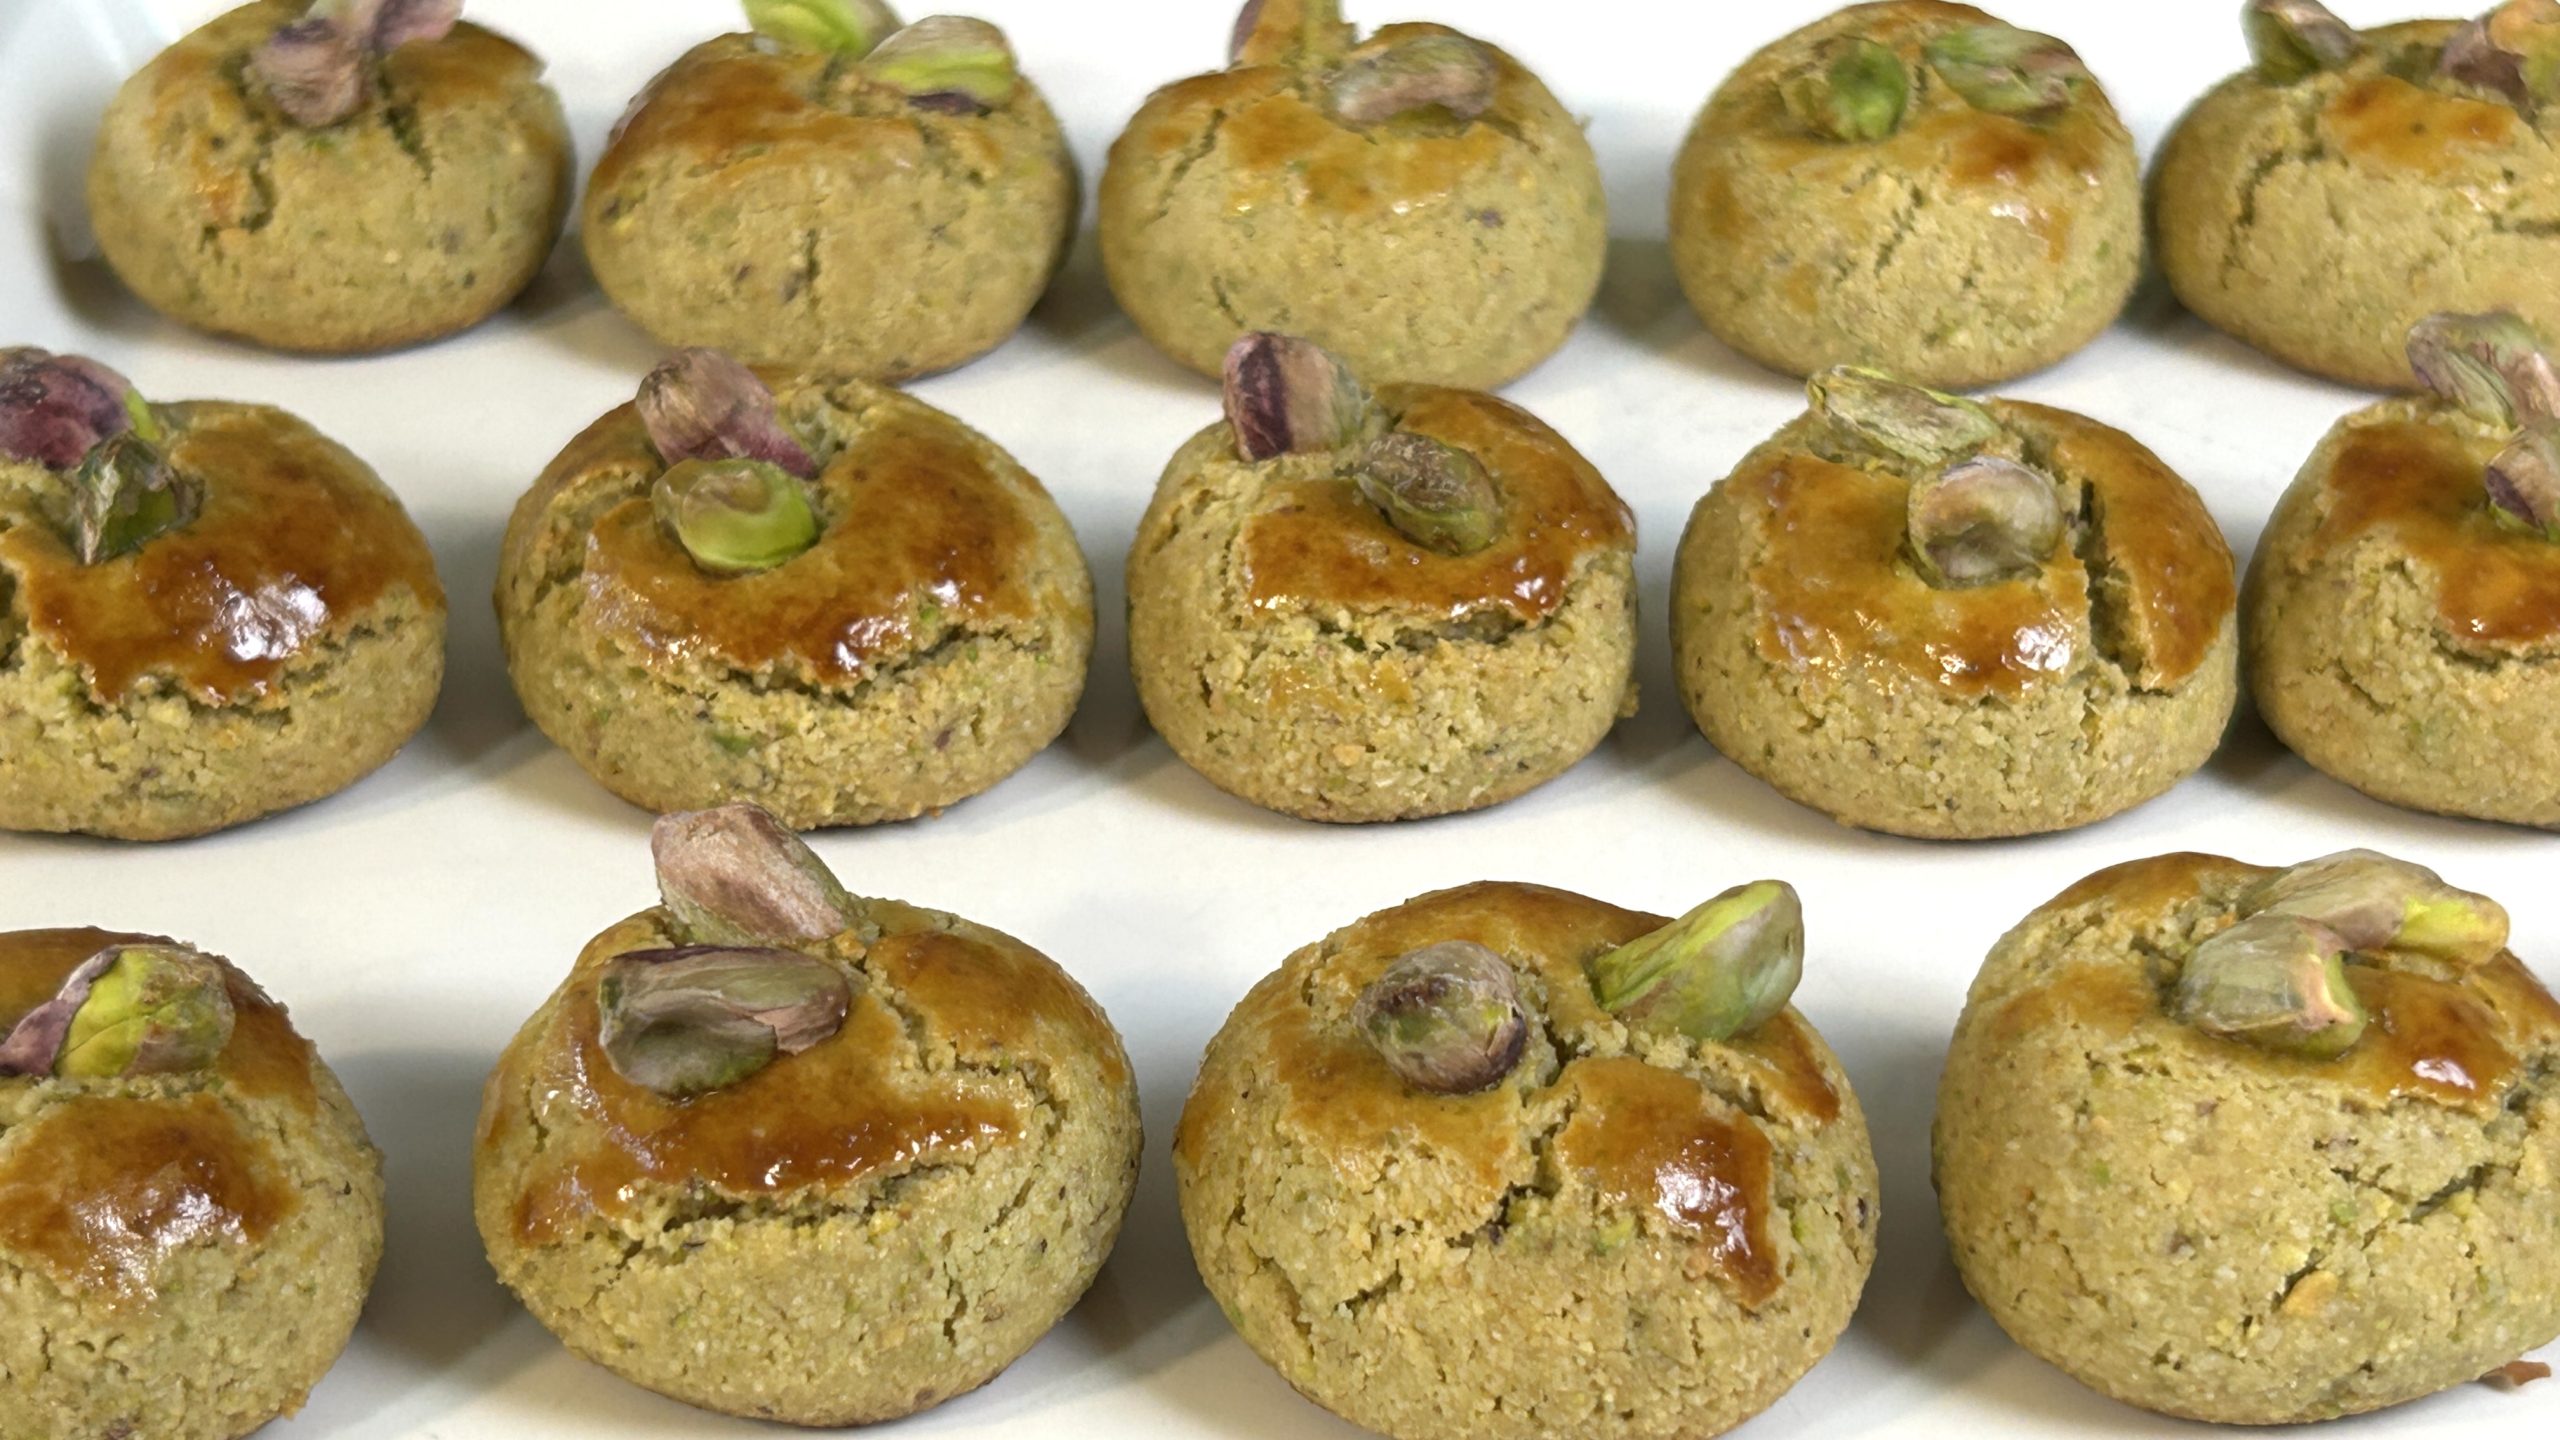
Almond & Pistachio Cookies
Almond & Pistachio Cookies
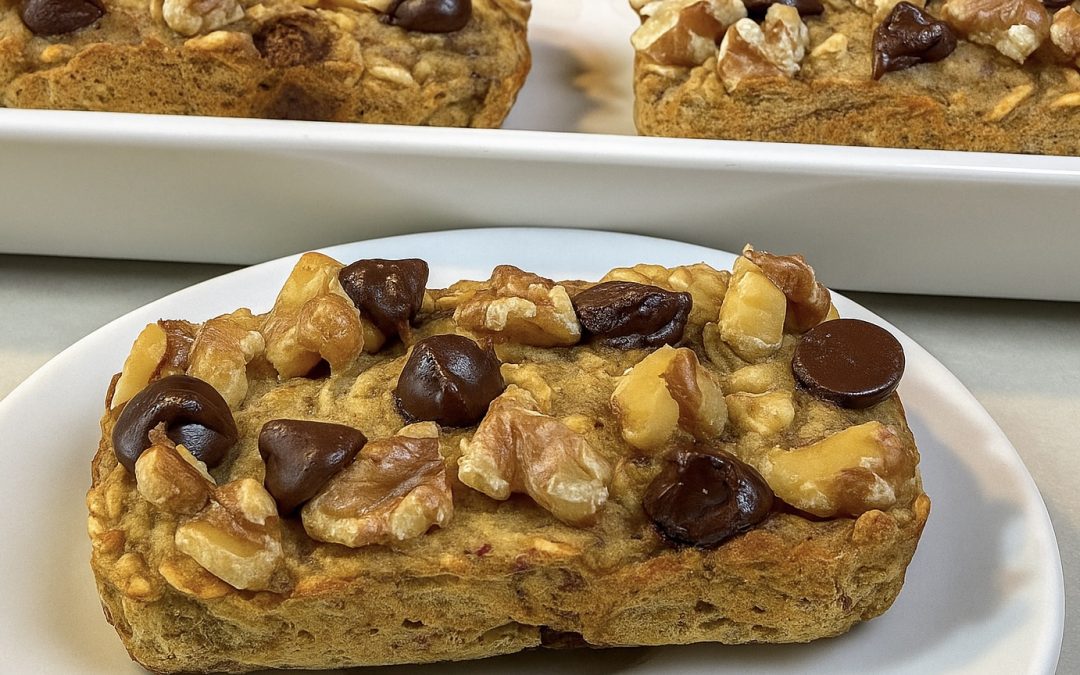
Okay friends, let me tell you—this recipe right here is one of those treasures that sneaks into your life and suddenly, you can’t imagine not having it. These almond and pistachio cookies started as a happy little experiment in my kitchen, and they’ve quickly become my go-to when I want something sweet, simple, and deeply satisfying. I mean, we’re talking about a soft, chewy cookie with a rich, nutty flavor that feels indulgent but is made entirely from real, nourishing ingredients. What’s not to love?
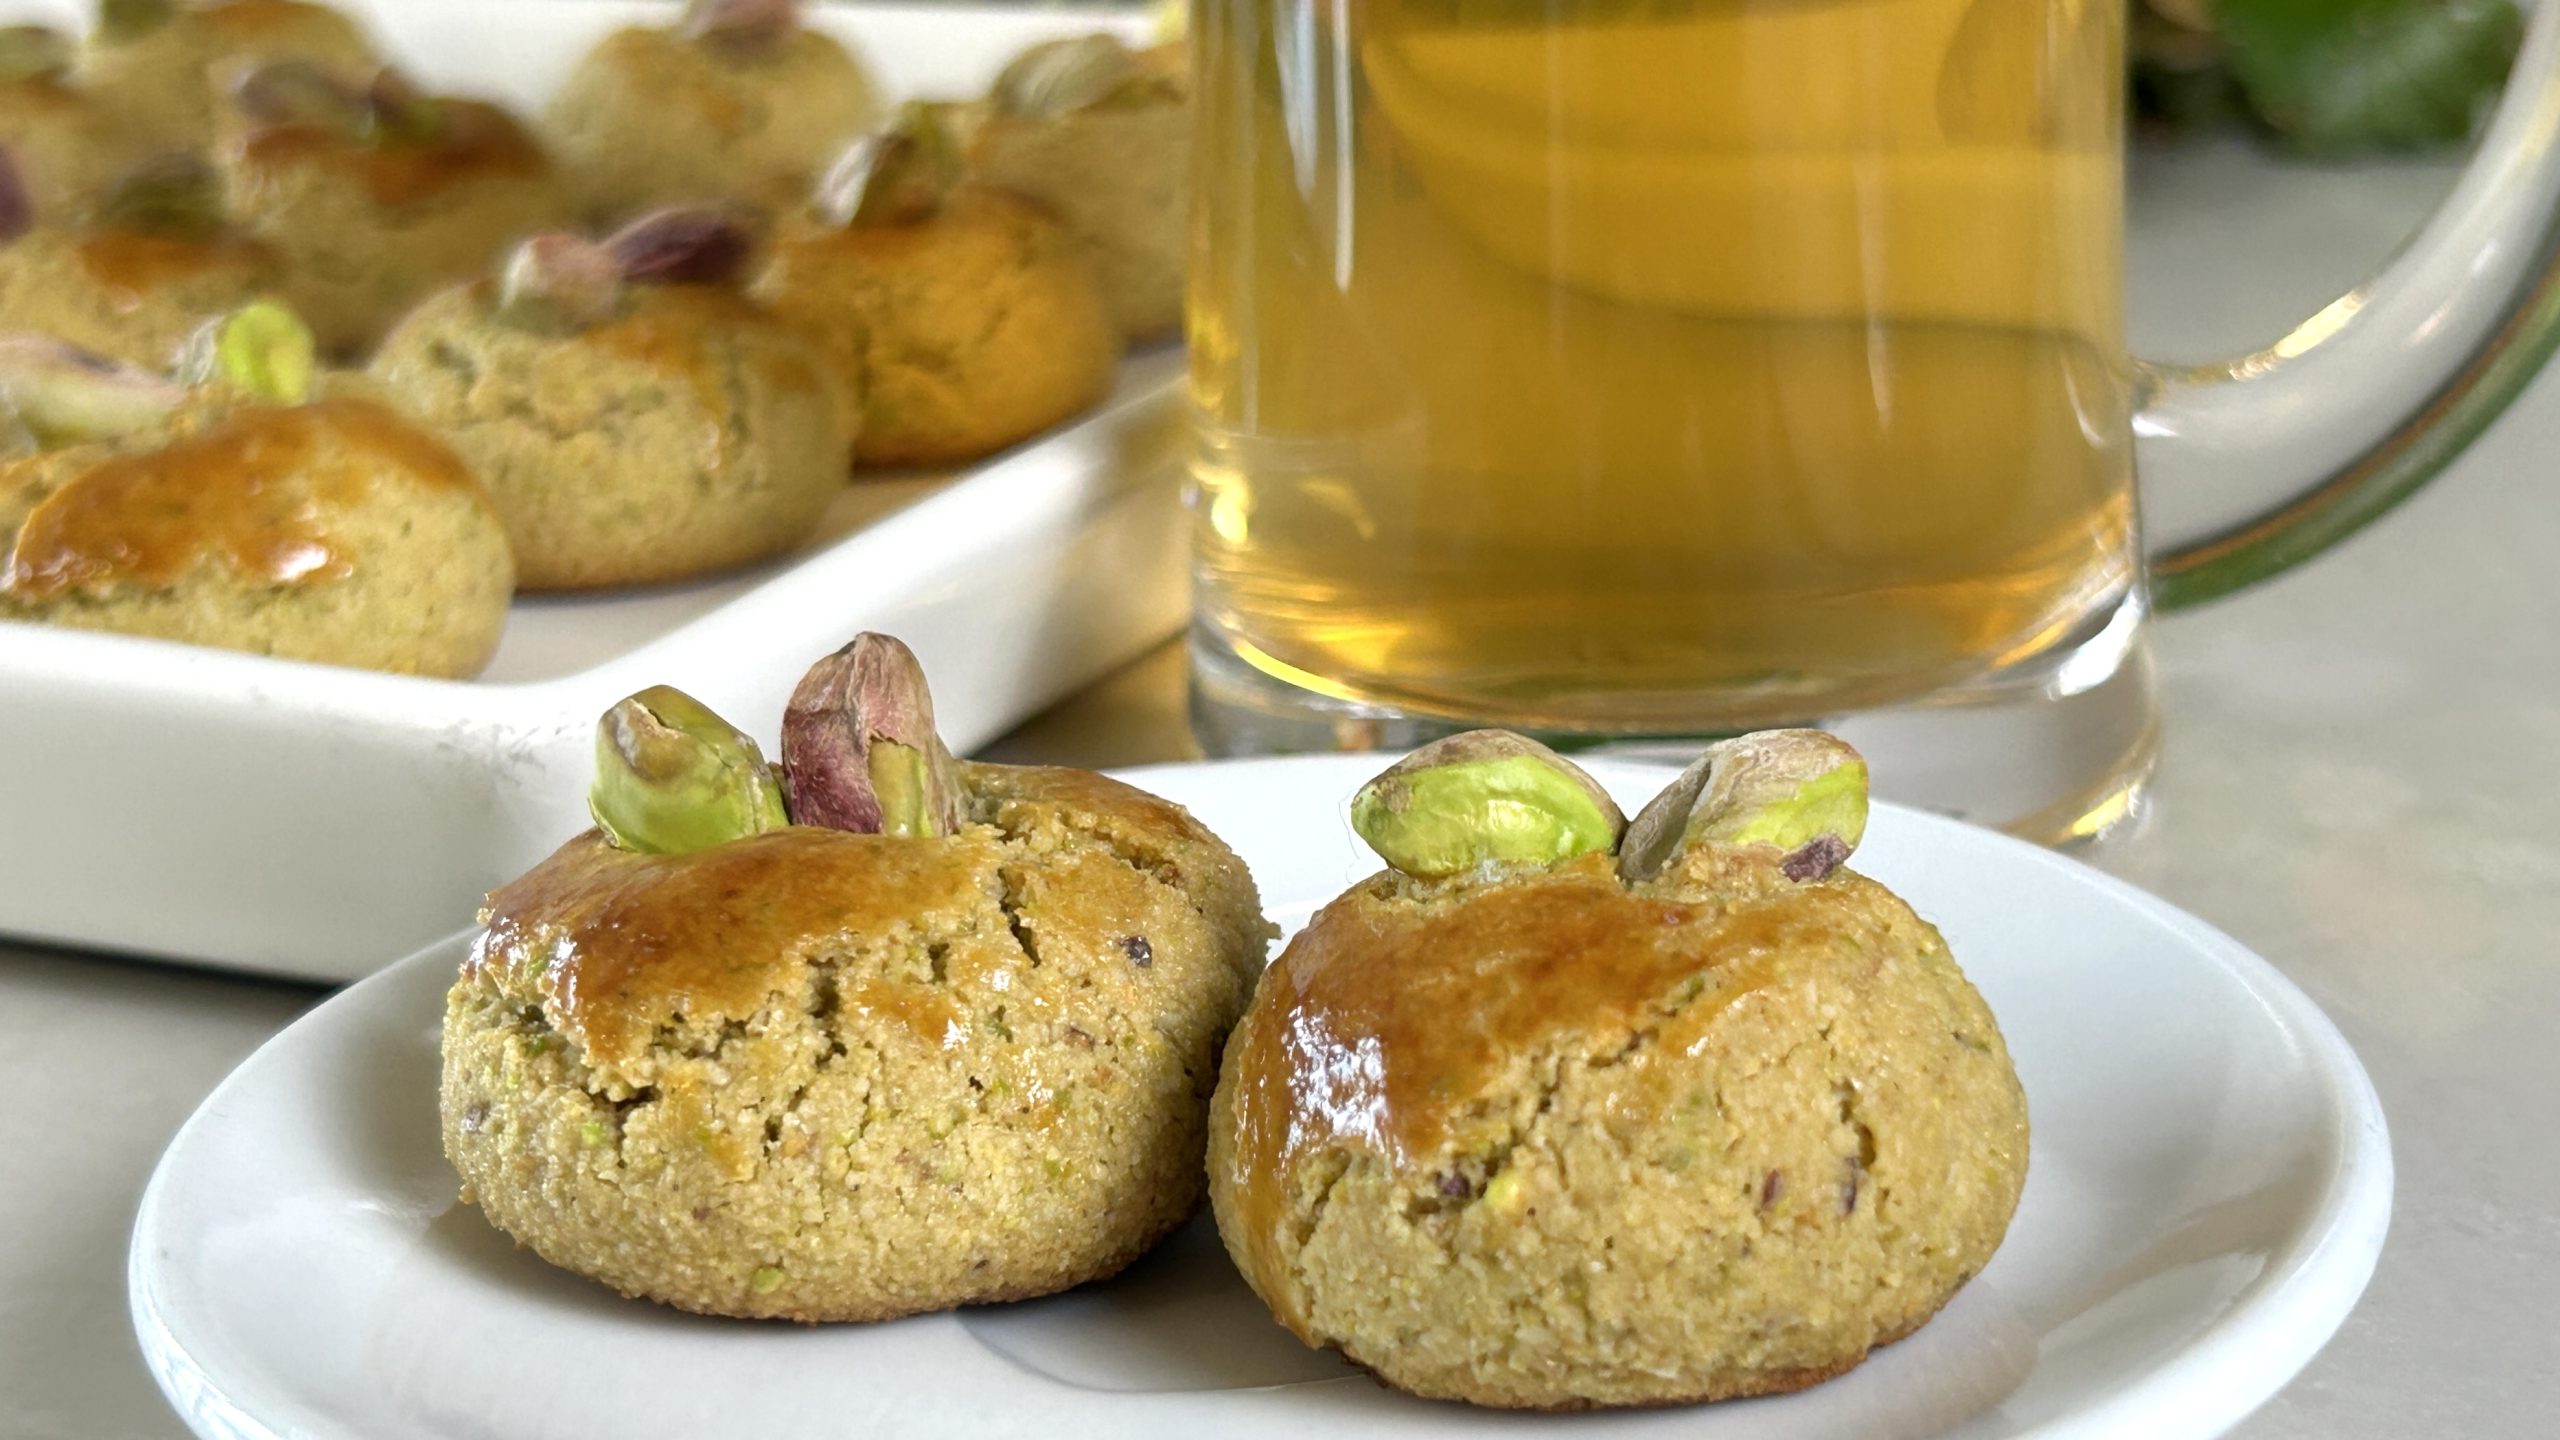
There’s no fancy equipment, no complicated steps, and no strange ingredients—just a bowl, a spoon, and a handful of pantry staples. And the best part? You can go from craving to cookie in less than 5 minutes of prep time. These are the kind of cookies that are perfect for slow afternoons with a cup of tea, a cozy movie night, or even as a sweet little something to brighten someone’s day. They look adorable, smell incredible while baking, and they’re just as fun to eat as they are to make.
But what really makes these cookies special is the powerful nutrition packed inside such a humble treat. The star of the show is almond flour—a game-changer in healthy baking. Almond flour is naturally gluten-free, low in carbs, and incredibly rich in healthy fats, especially monounsaturated fats that support heart health. It’s also full of vitamin E, which acts like a bodyguard for your cells and gives your skin that natural glow. Because it’s lower in sugar and higher in protein and fiber than traditional flours, almond flour keeps you feeling full and energized without the blood sugar crash. If you haven’t added almond flour into your regular diet yet, these cookies are the perfect place to start.
Then we add pistachios—not just for their vibrant green pop or their buttery crunch, but for the wonderful boost of nutrients they bring to the table. Pistachios are little powerhouses packed with antioxidants, lutein, magnesium, potassium, and vitamin B6, all of which help support your metabolism, heart, and nervous system. When ground into flour, they give these cookies a gorgeous flavor and a soft, earthy texture that’s just irresistible.
So whether you’re baking just for you, sharing with family, or surprising someone you love with something homemade and heartfelt, these almond and pistachio cookies are the perfect mix of nourishing and delicious. Get ready—because once you try them, you’ll be making them on repeat too!
Ingredients (makes 15 cookies)
-
1 egg (separated into yolk and white)
-
5 tbsp. honey or maple syrup
-
1 cup (100 g) almond flour
-
50 g pistachio flour (made from roasted, unsalted pistachios)
-
½ tsp. vanilla extract
-
½ tsp. baking powder
-
20 g whole pistachios (optional, for garnish)
Directions
- Start by making the pistachio flour. Place roasted, unsalted pistachios in a coffee grinder or food processor and pulse gently until they form a fine flour. Be careful not to over-blend—you want flour, not pistachio butter.
- Separate the egg yolk from the white. Set the yolk aside for later.
- In a mixing bowl, combine the egg white with honey or maple syrup. Whisk until the mixture becomes a little frothy.
- Add the almond flour, pistachio flour, vanilla extract, and baking powder to the bowl. Stir until everything comes together into a sticky but workable dough.
- If the dough feels too soft, let it rest for about 15 minutes to absorb moisture and become easier to shape.
- Preheat your oven to 340°F (170°C).
- Line a baking tray with parchment paper.
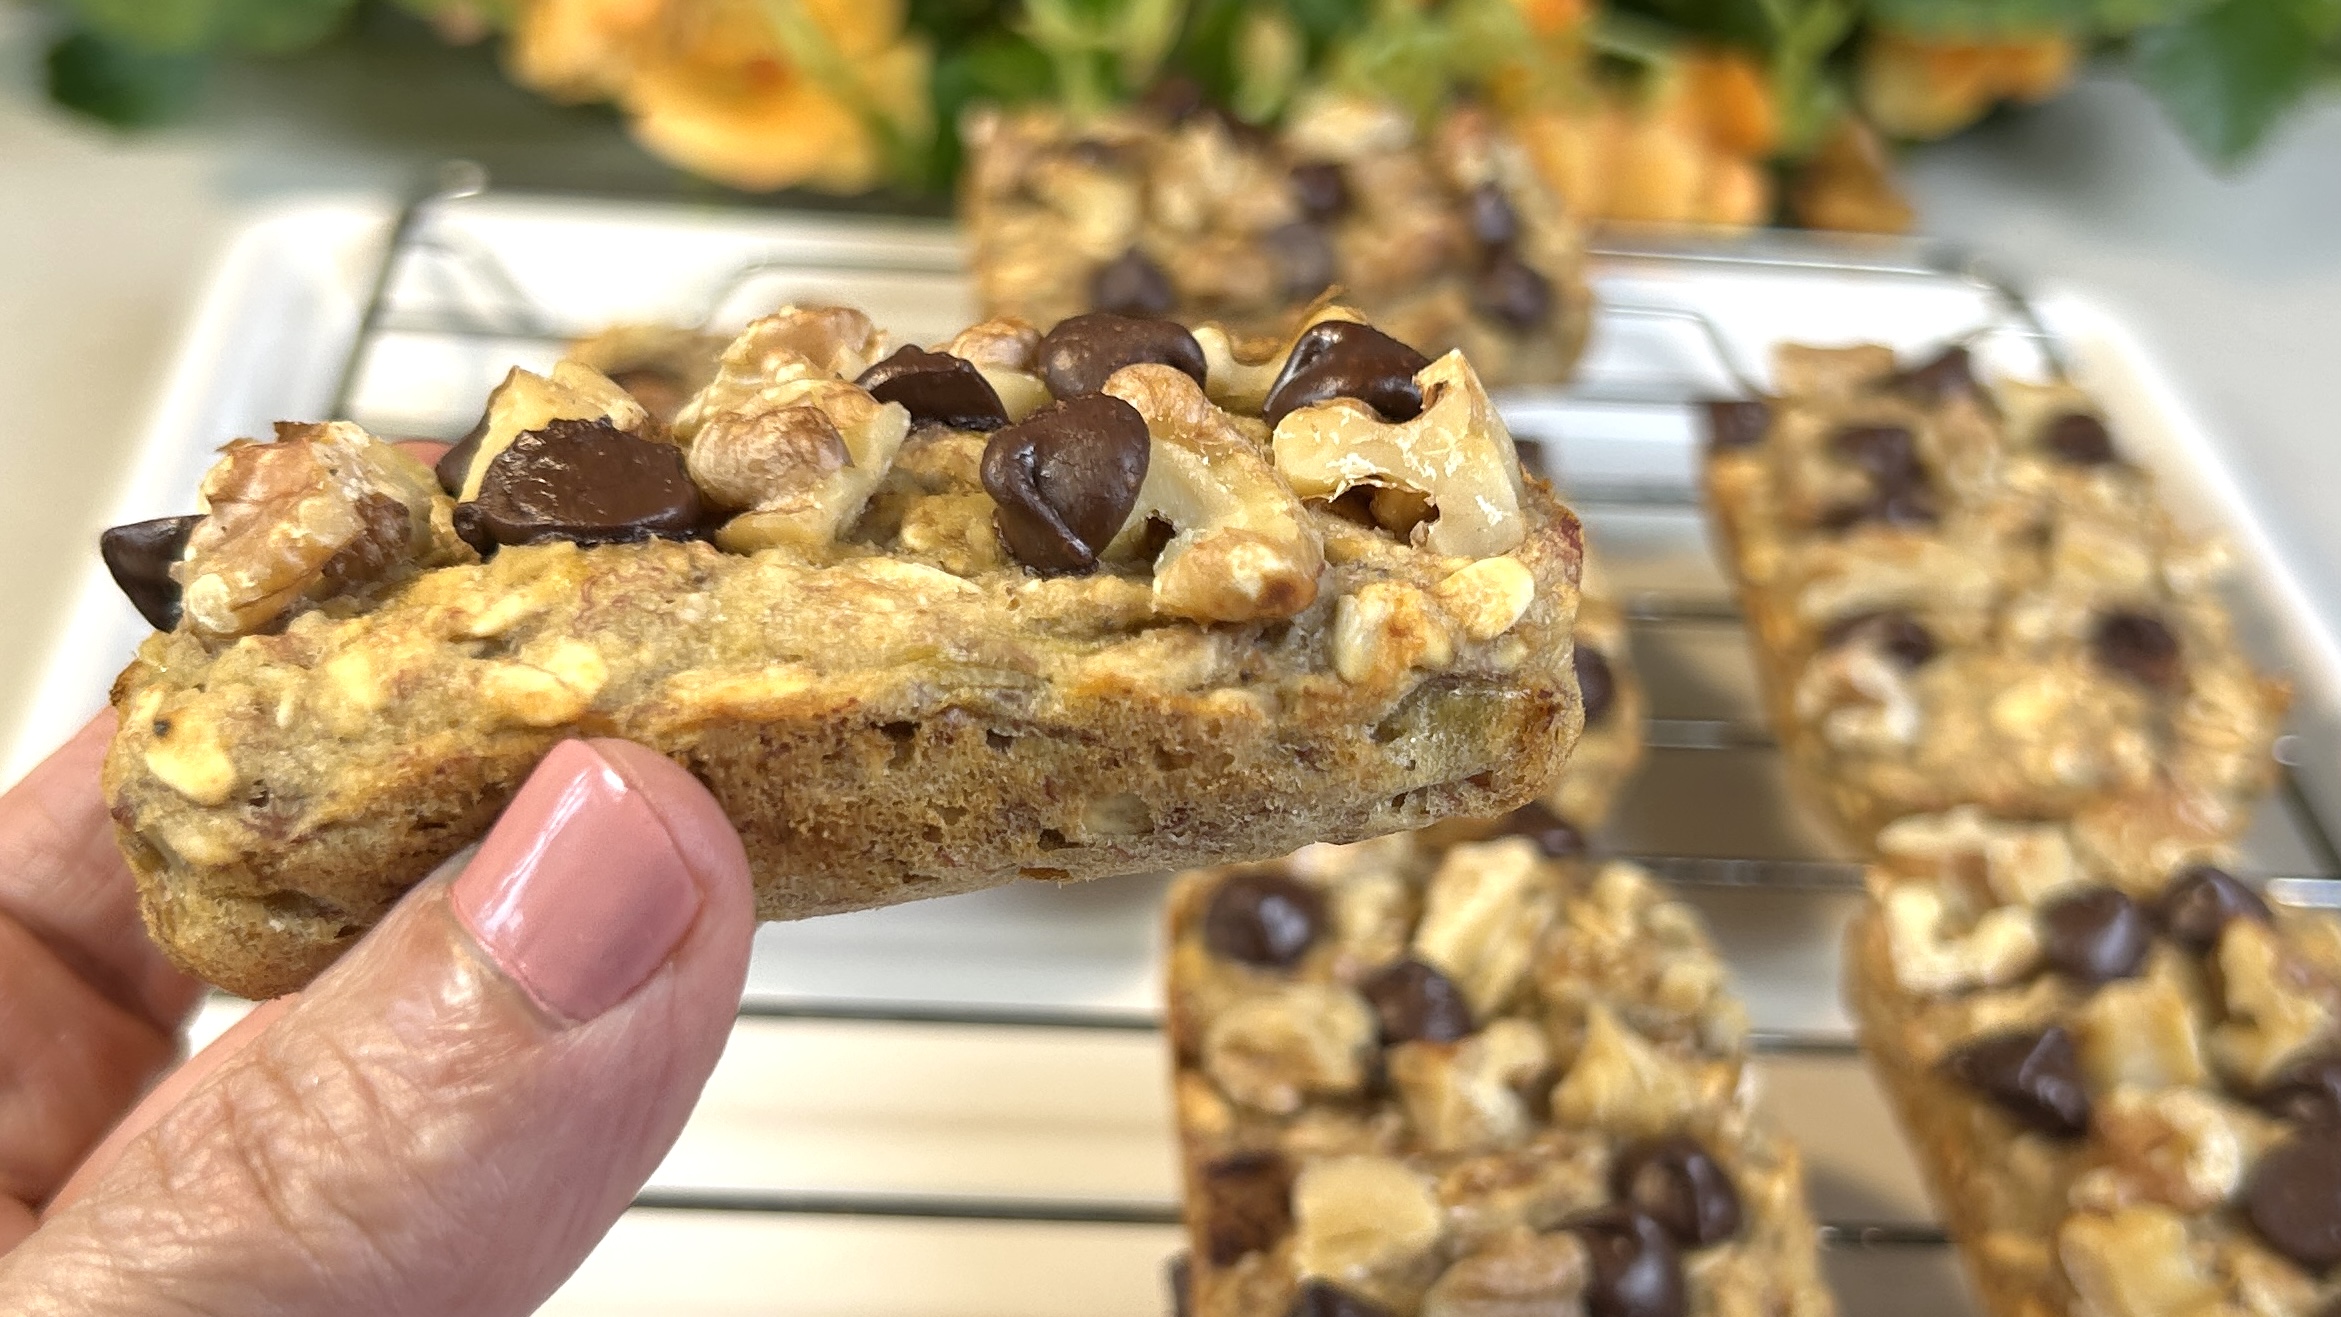
- Scoop about 1 tablespoon of dough, roll it into a ball, and place it on the tray. Repeat with the rest of the dough.
- Brush each cookie with the reserved egg yolk for a beautiful golden finish. Press 2 whole pistachios gently into the top of each one, if using.
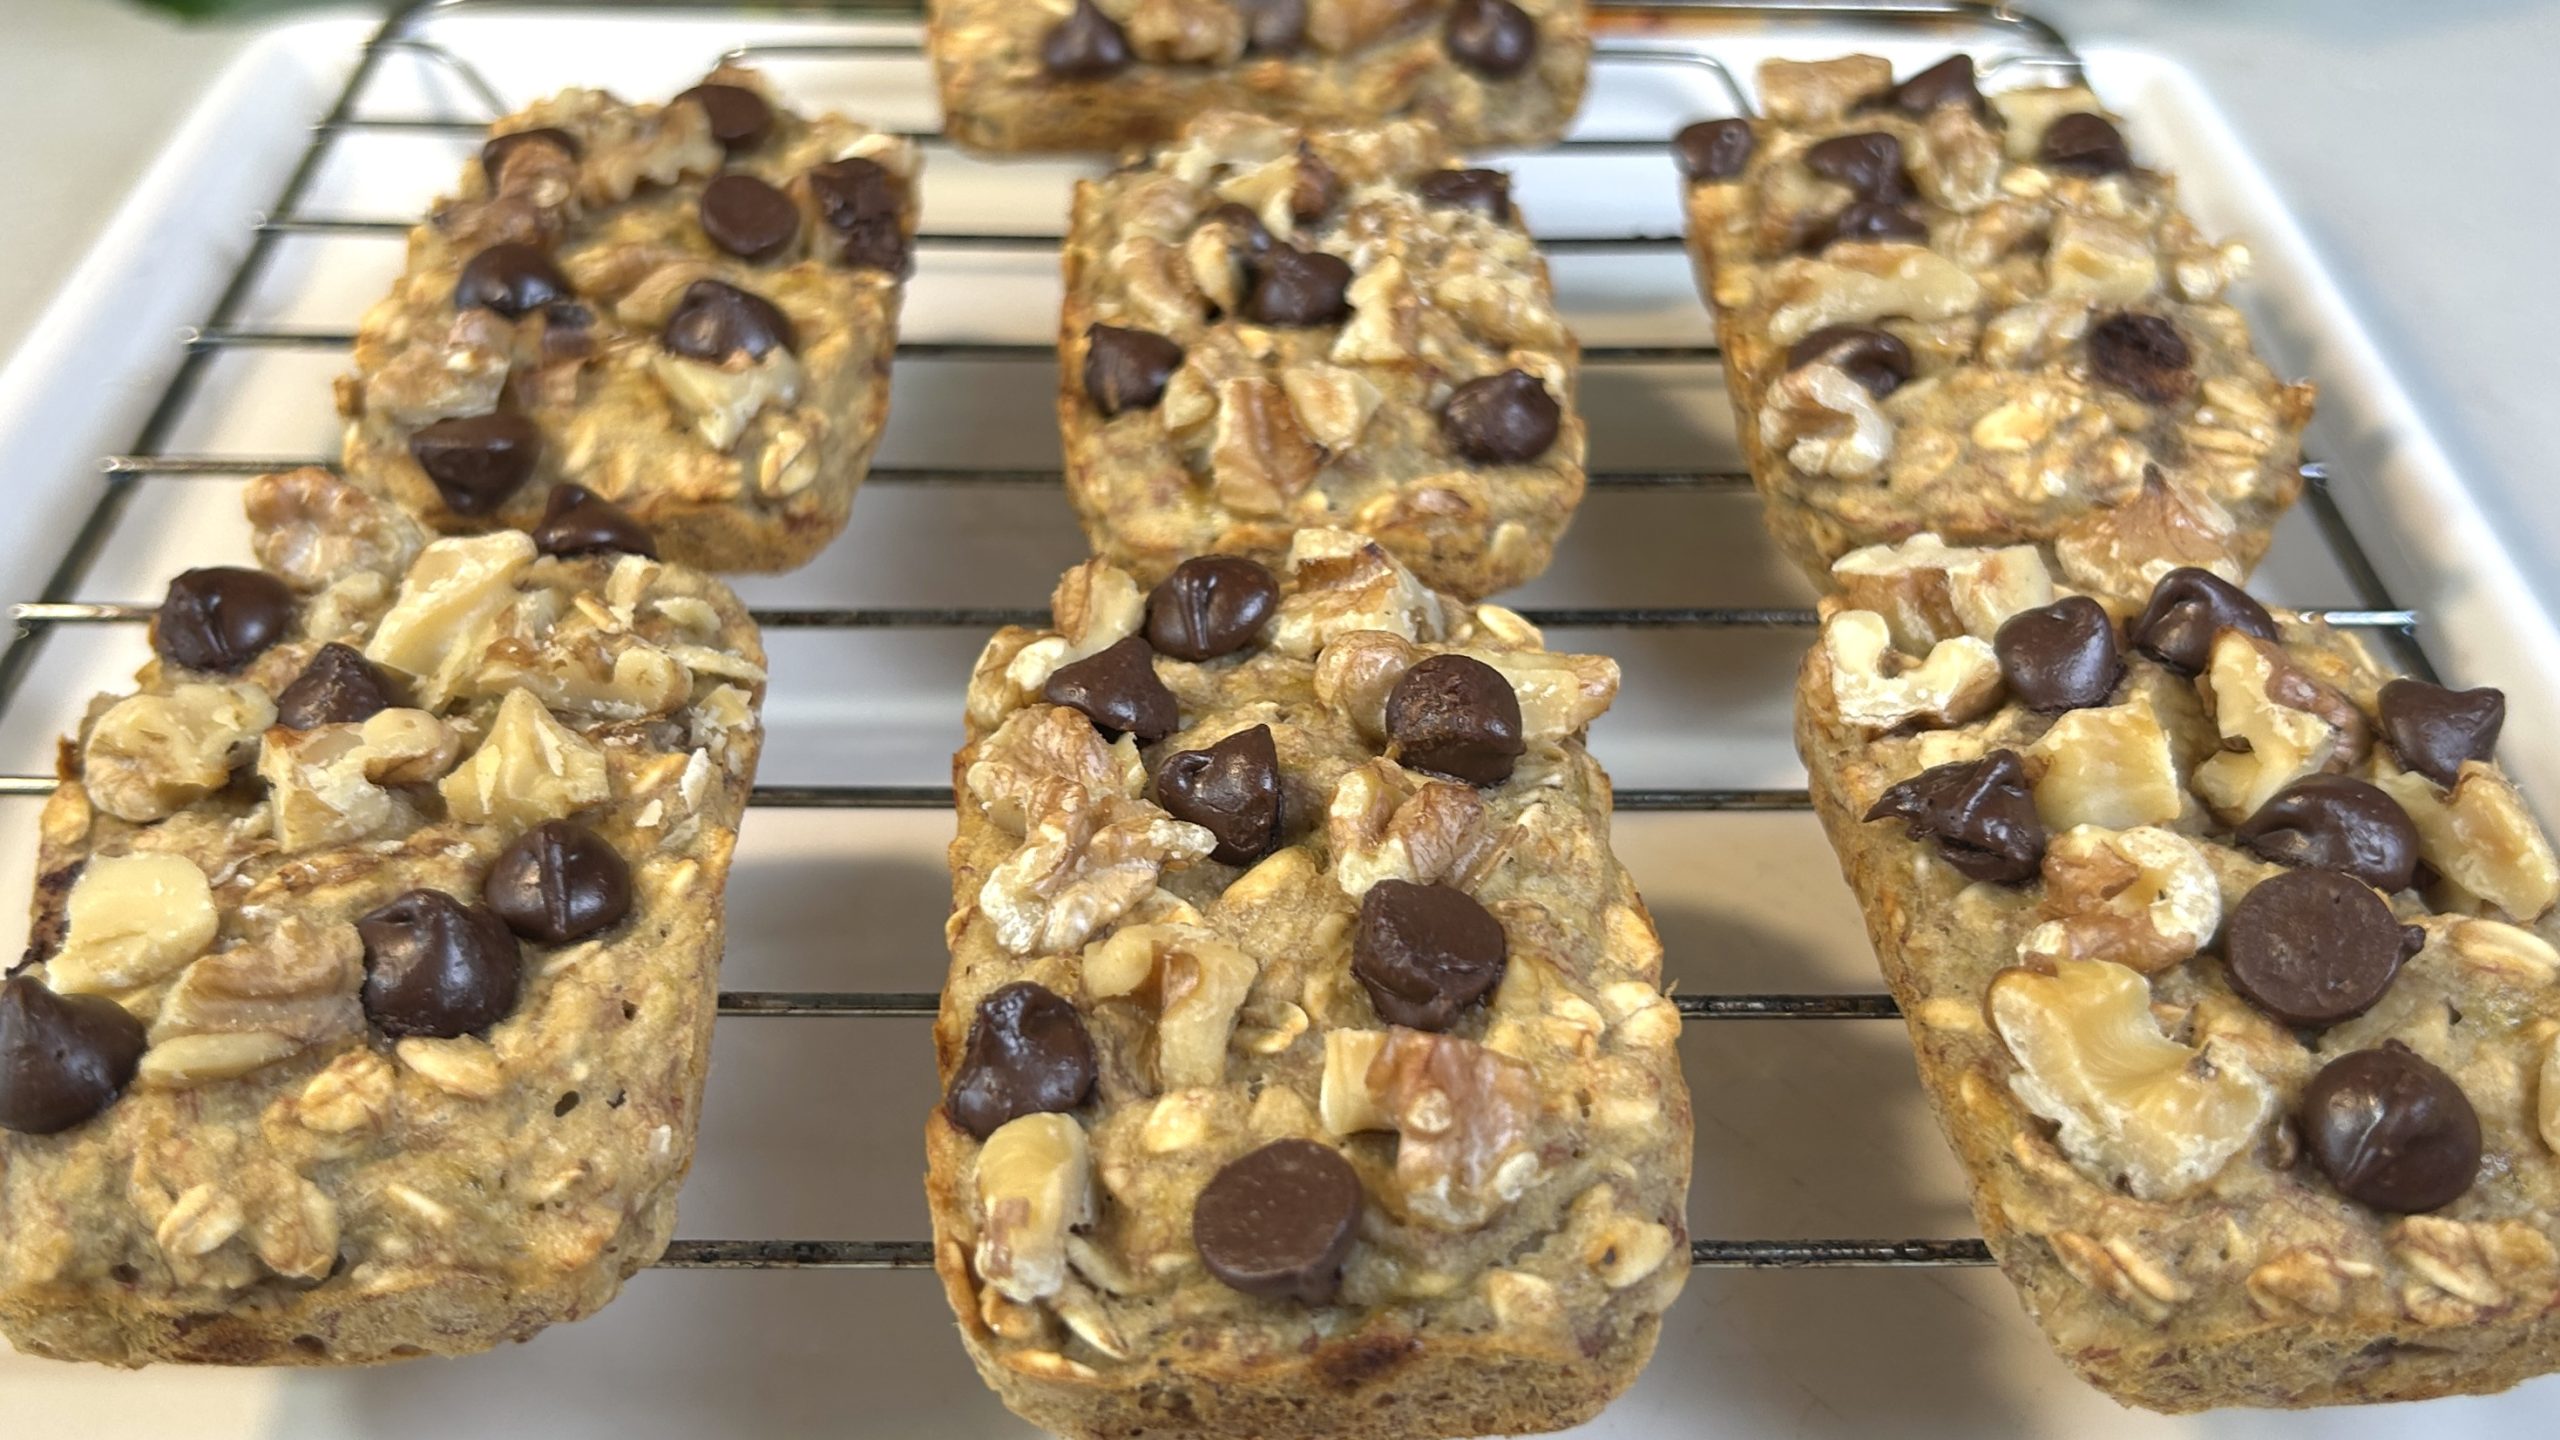
- Bake for 18–20 minutes, or until the tops are lightly golden.
- Let the cookies cool on a wire rack before serving. They’re perfect with tea or coffee!
Prep Time: 20 minutes
Bake Time: 18–20 minutes
Yield: 15 cookies
Nutritional Information (per cookie)
-
Energy: 92 calories
-
Protein: 2.84 g
-
Fat: 5.91 g
-
Carbohydrates: 8.5 g
-
Fiber: 1.1 g
Storage and Recommendations
-
Store in an airtight container at room temperature for up to 2 days.
-
For longer storage, refrigerate for up to 1 week.
-
You can also freeze them for up to 3 months in a sealed bag or container.
-
For a twist, try adding a hint of orange zest or a pinch of ground cardamom to the dough.
Dietary Notes
This recipe is naturally gluten-free and grain-free. It’s sweetened with natural syrups like honey or maple and contains no refined sugar.