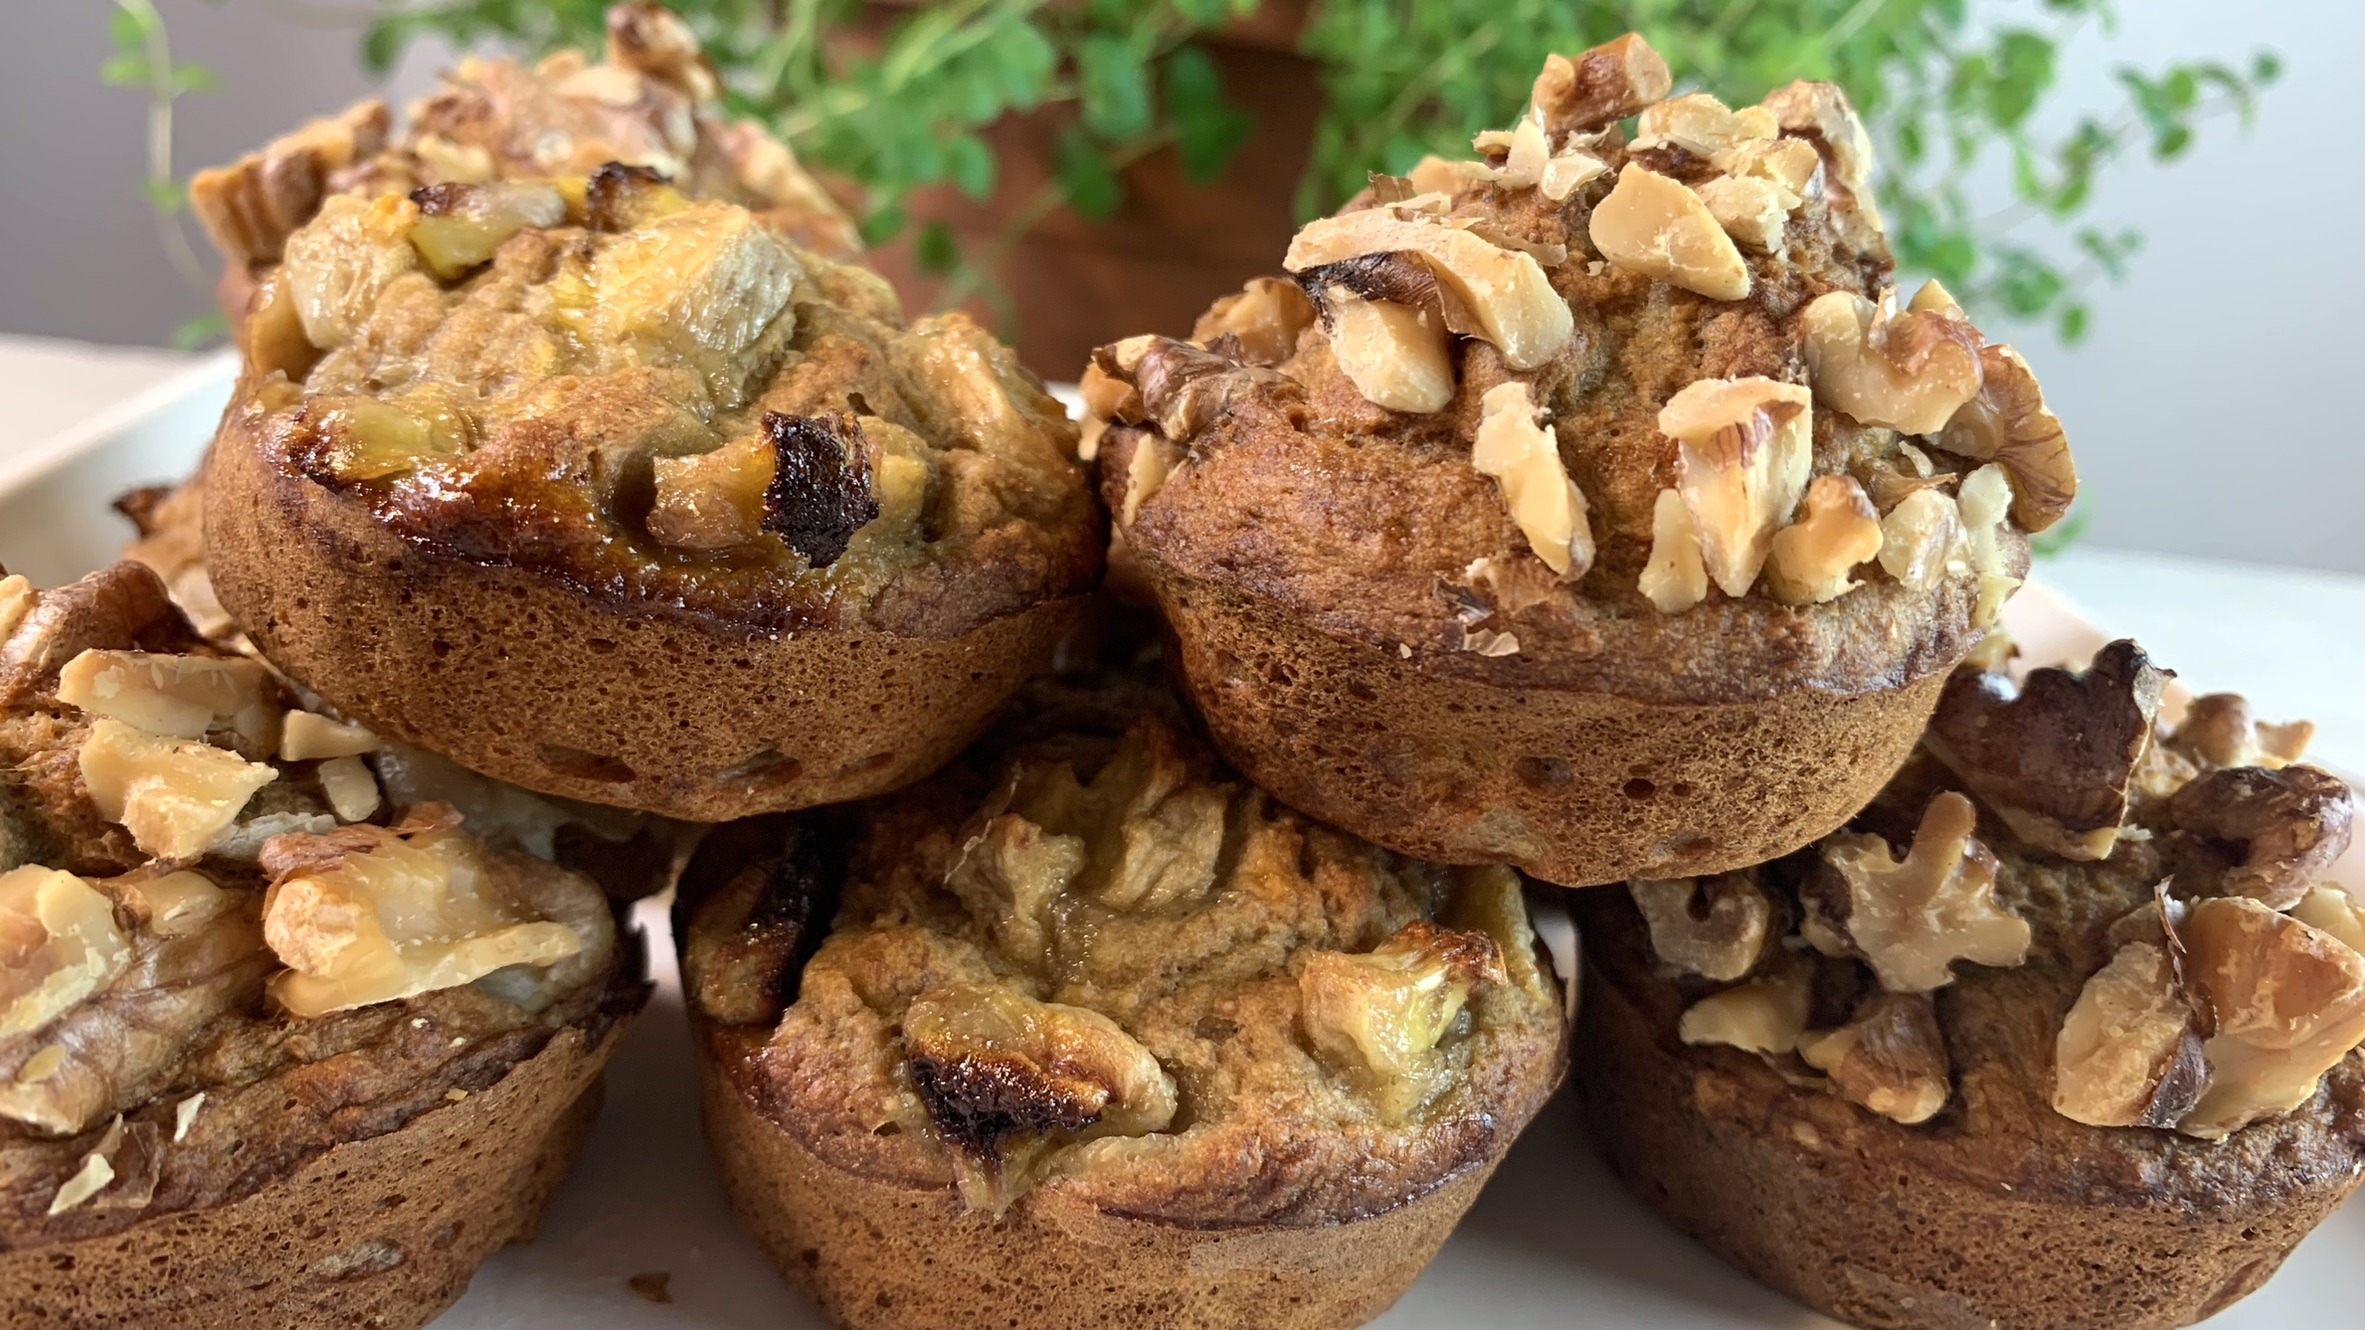
Banana Oat Muffins
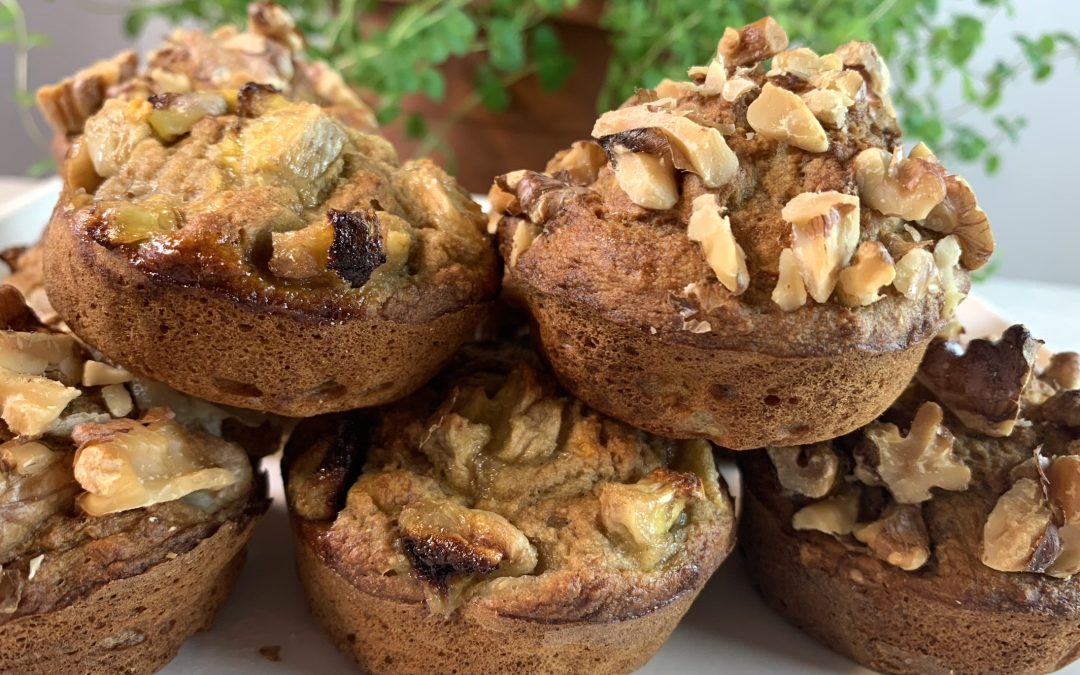
Banana Oat Muffins

When that sugar craving strikes but you’re committed to staying on the healthy and nutritious side, these Banana Oat Muffins come to the rescue! Made with wholesome ingredients, these muffins are both delicious and super healthy. To boost their nutrition, we’ve added wheat germ, known for its fiber content and benefits for digestion, immunity, and weight management.
Wheat germ is a nutritional powerhouse, often considered one of the healthiest parts of the wheat kernel. It is rich in essential nutrients such as vitamin E, folate, magnesium, and zinc. Vitamin E acts as a potent antioxidant, protecting your cells from damage and supporting skin health. The fiber in wheat germ aids in digestion, helping maintain a healthy gut and preventing constipation. Additionally, the combination of fiber and protein in wheat germ can help manage blood sugar levels and keep you feeling full for longer, making it an excellent ingredient for those looking to manage their weight or improve overall health.
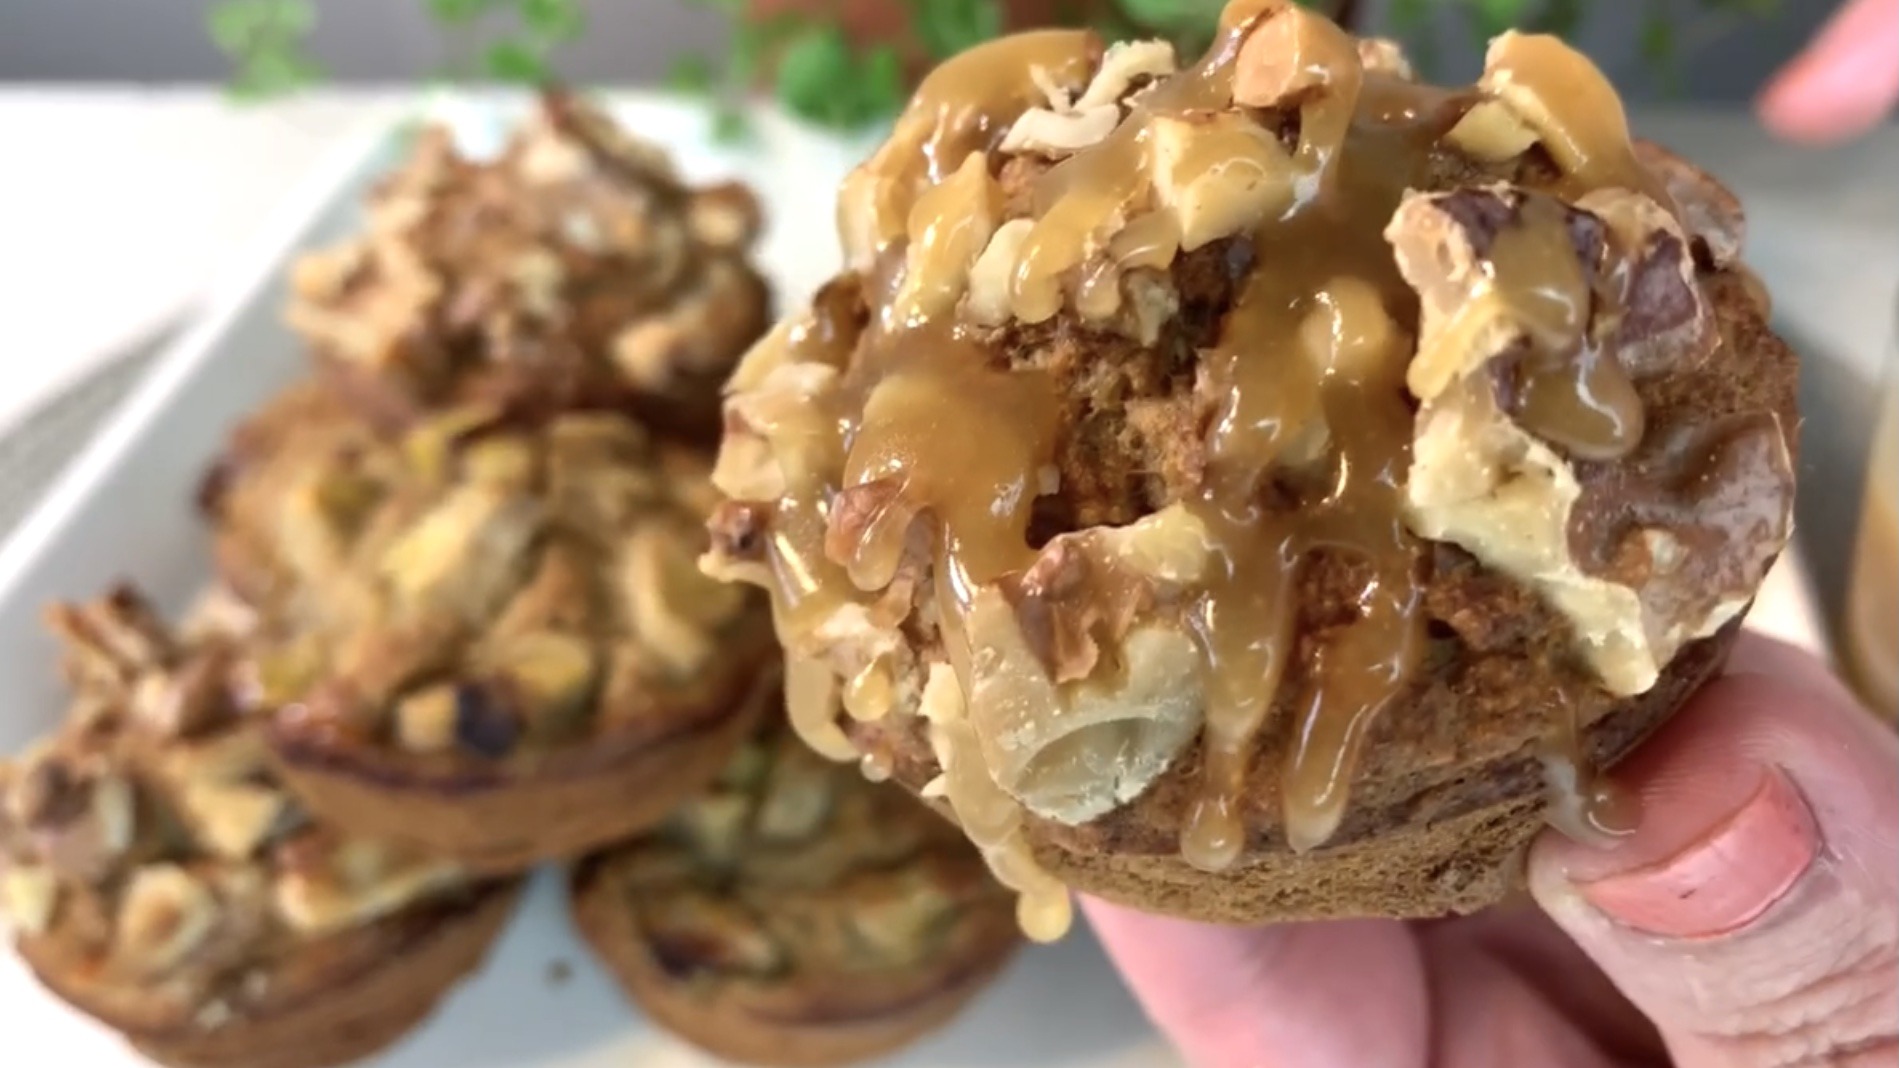
Without refined sugar, regular flour, dairy, or added fats, these muffins surprise with their moist, fluffy texture and delightful taste. Enjoy these as a nutritious breakfast or snack, perfect for on-the-go or paired with your favorite hot beverage.
Ingredients
- 1 cup oat flour (120 g)
- ½ cup wheat germ
- 2 ripe bananas (240 g)
- 2 eggs
- 1 tsp. baking powder
- 1 tsp. vanilla extract
- 50 g chopped walnuts (optional)
- 50 g extra banana, diced (optional)
Directions
- Preheat your oven to 350°F (175°C) and grease muffin cups or line with paper liners.
- In a mixing bowl, mash the ripe bananas into a puree.
- Add the eggs and vanilla extract to the mashed bananas and stir until well combined.
- Add oat flour, wheat germ, and baking powder to the wet mixture, stirring until just combined.
- Pour the batter into the prepared muffin cups, filling each about three-quarters full.
- Top each muffin with chopped walnuts or banana pieces, if desired.
- Bake in the preheated oven for about 35 minutes or until a toothpick inserted into the center comes out clean.
- Transfer to a wire rack to cool completely and drizzle some maple caramel just before serving.
Prep Time, Baking Information, and Servings
- Servings: 10 muffins
- Prep Time: 20 minutes
- Baking Time: 35 minutes
Nutritional Information (Per 1 Muffin)
- Energy: 139 calories
- Protein: 5.37 g
- Fat: 5.95 g
- Carbohydrates: 17.39 g
- Fiber: 2.5 g
Notes & Storage
- Store the muffins in an airtight container at room temperature for up to 3 days or refrigerate for up to 1 week for longer freshness.
- Enjoy these oat banana muffins as a nutritious breakfast or snack, perfect for on-the-go or with your favorite hot beverage.