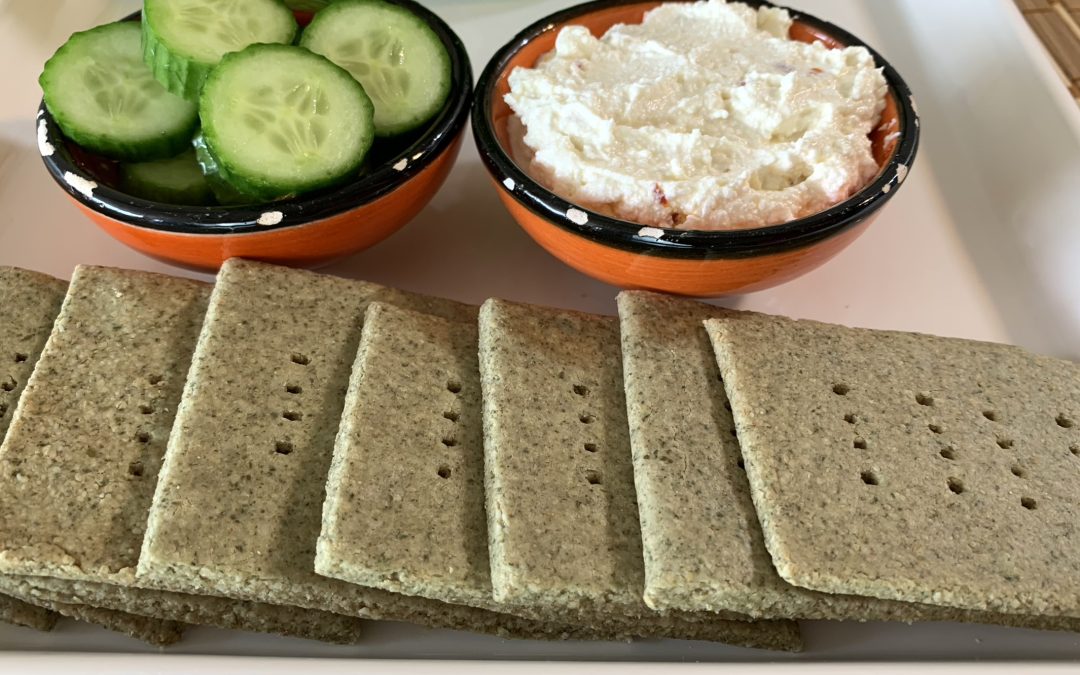
Pumpkin Seed Crackers
Pumpkin Seed Crackers

If you’re like me, you probably love a good snack that’s not only tasty but also good for you. Well, these Pumpkin Seed Crackers are just the ticket! Forget those store-bought crackers that are packed with who-knows-what. These homemade goodies are made with simple, wholesome ingredients like rolled oats and pumpkin seeds. And let me tell you, they’re not just delicious, they’re loaded with nutrients too!
Pumpkin seeds are little powerhouses of goodness, full of minerals like magnesium, zinc, and iron, which are great for keeping your heart healthy, boosting your immune system, and giving you the energy you need to tackle your day. Plus, they’ve got healthy fats and antioxidants to keep your body feeling its best. And let’s not forget the oats! They’re packed with fiber, which is fantastic for keeping your digestion on track and your blood sugar stable.
These crackers are super easy to make and totally customizable, so you can tweak them to fit your taste buds. Whether you like a bit of spice or prefer them plain, these crunchy, nutritious treats are perfect for snacking anytime.
So, let’s get baking and whip up a batch of these tasty crackers—you’re going to love them!
Ingredients:
- ½ cup old-fashioned rolled oats (45 g)
- ½ cup pumpkin seeds (75 g)
- ¼ teaspoon salt
- ½ teaspoon baking powder
- ¼ cup cold water (adjust as needed to form a dough)
Directions:
- Using a food processor or blender, grind the rolled oats and pumpkin seeds until they turn into a fine flour. Add salt and baking powder, and mix again for a few seconds.
- Add water to the mixture all at once or gradually, 1 tablespoon at a time, while grinding until the mixture starts to come together and form a dough. Adjust the amount of water as needed to achieve a firm but pliable dough.
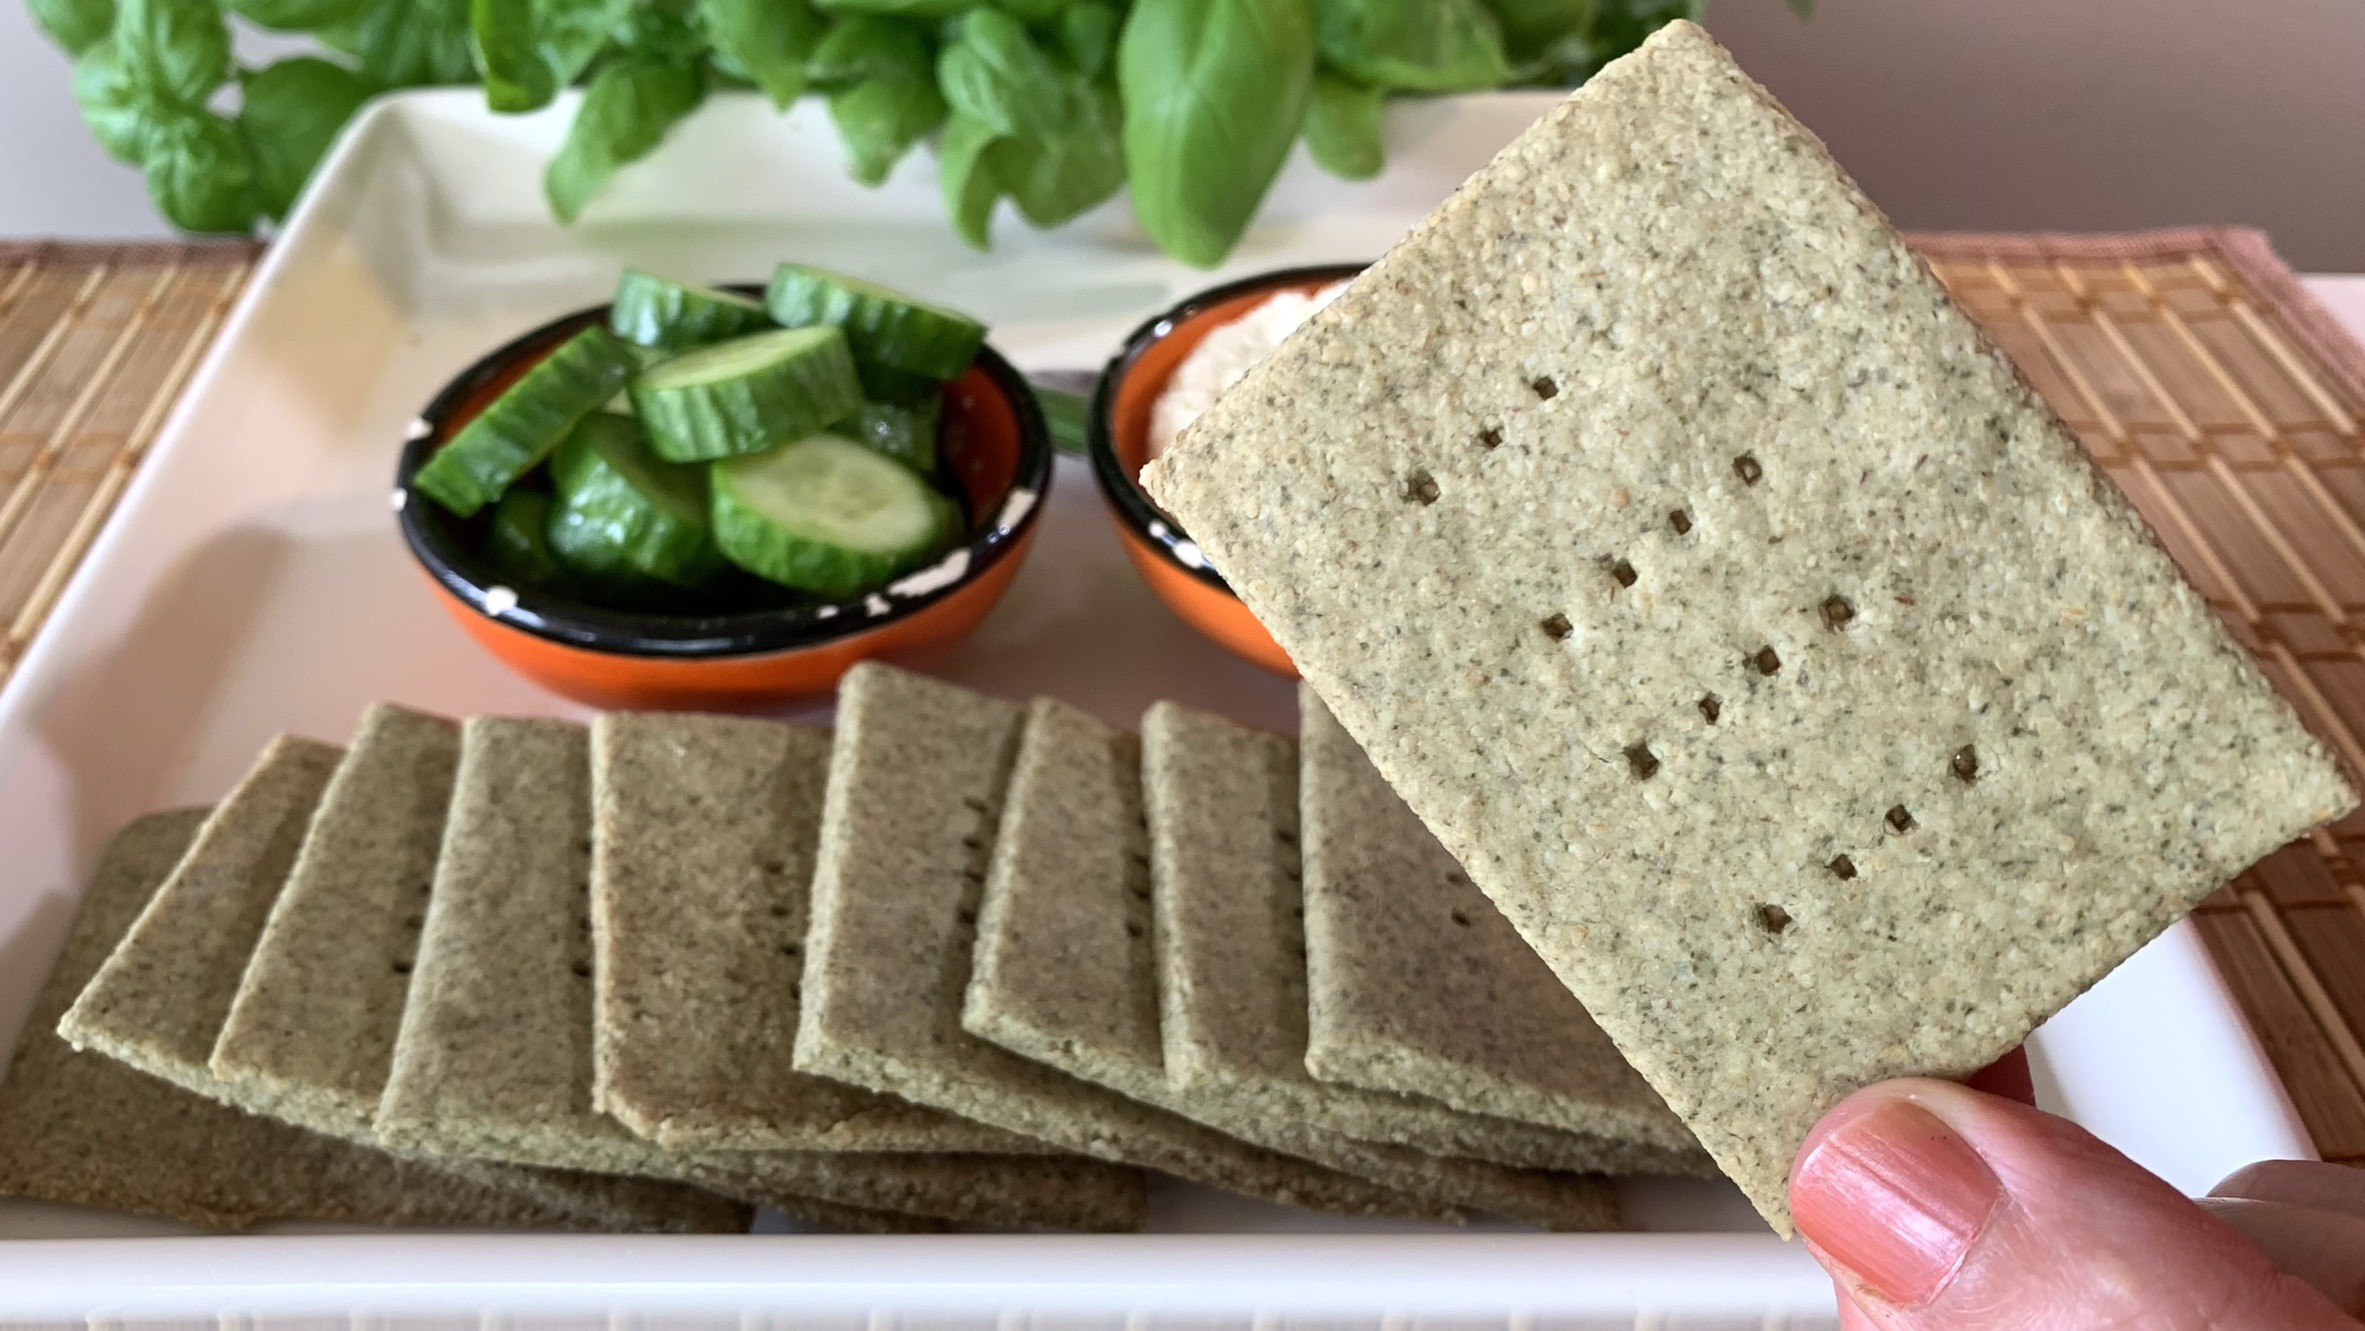
- Transfer the dough onto a surface covered with parchment paper. Use a rolling pin to roll out the dough into a thin rectangular shape, aiming for a thickness of about 1/8 inch (3-4 mm).
- Preheat your oven to 350°F (175°C) while you’re working with the dough.
- Use a sharp knife or a pizza cutter to cut the rolled-out dough into rectangular or square cracker shapes.
- Place the baking sheet with the crackers into the preheated oven. Bake for approximately 15-20 minutes at 350°F or until the crackers turn crisp.
- Once the crackers are done, remove them from the oven and allow them to cool down completely. They will continue to harden as they cool.
Prep Time, Baking Information, and Servings:
- Prep Time: 30 minutes
- Baking Time: 15-20 minutes
- Servings: 10
Nutritional Information (Per Serving):
- Energy: 60 calories
- Protein: 3.03 g
- Fat: 3.99 g
- Carbohydrates: 3.9 g
- Fiber: 0.9 g
Storage and Particular Recommendations:
- Store your crackers in an airtight container at room temperature for up to 2 weeks.
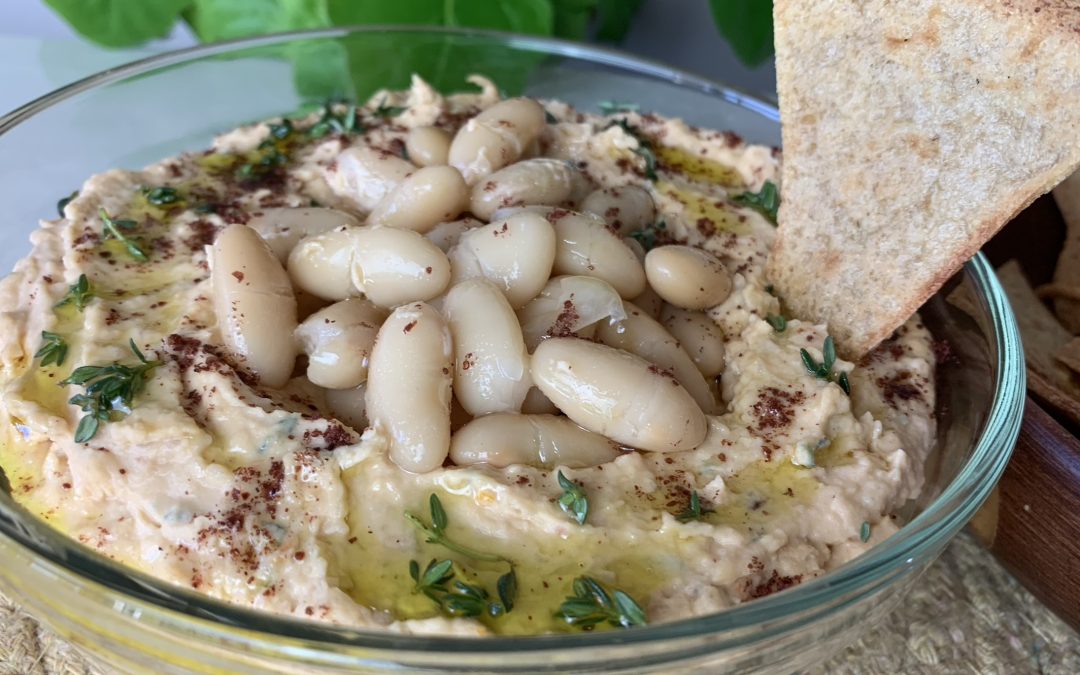
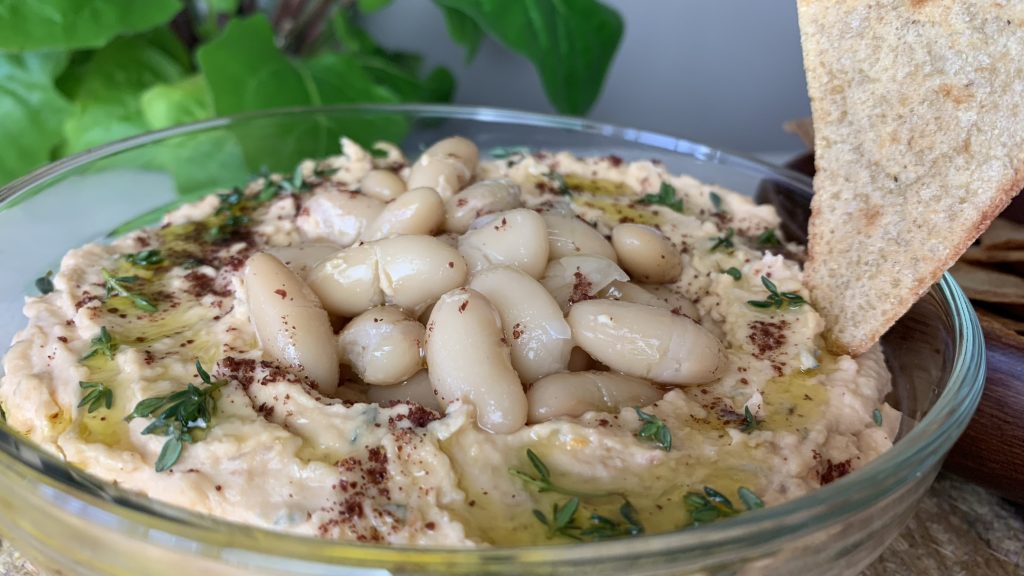
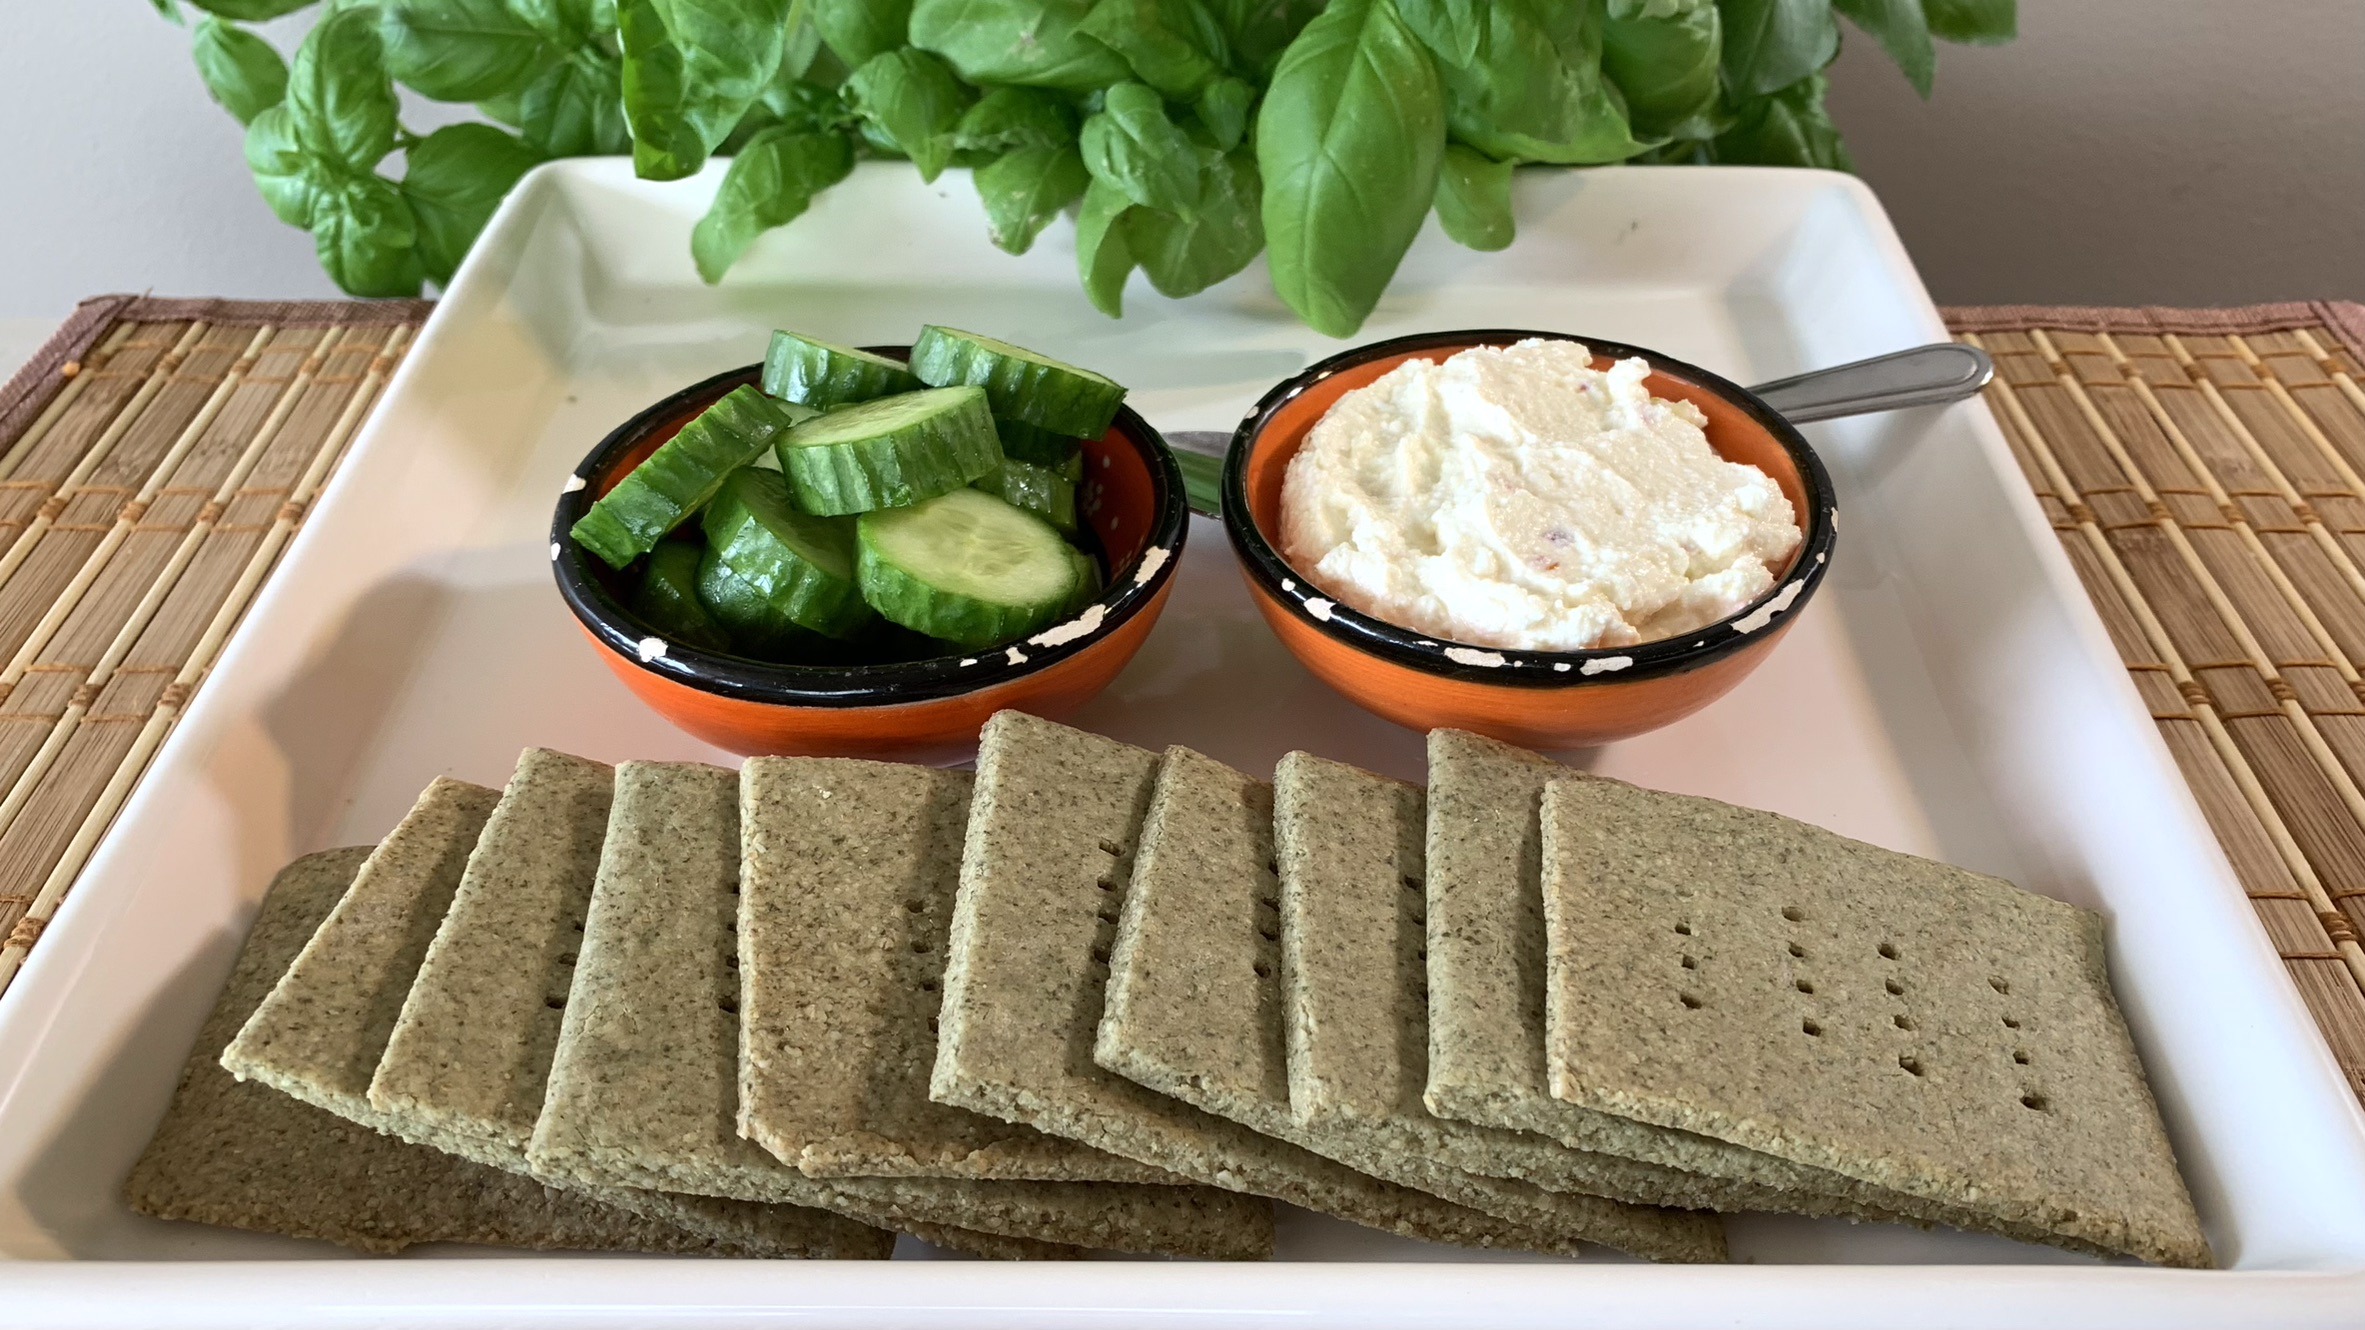
- These homemade crackers are perfect for snacking, dipping into hummus or cheese, or serving alongside soups and salads.
- Feel free to customize the flavor by adding your favorite spices like chili flakes, garlic powder, or dried herbs!