Bounty Bars

Bounty Bars

Bounty Bars

If you’ve ever found yourself reaching for a sweet treat but wished for something a bit more wholesome, then these homemade Bounty Bars are the perfect solution. These bars combine the rich flavors of coconut and dark chocolate to create a satisfying and guilt-free snack. With their chewy coconut filling and decadent chocolate coating, they are reminiscent of the popular store-bought version, but with a nutritious twist.

Coconut is the star ingredient here, and it brings a wealth of health benefits to the table. Rich in healthy fats, particularly medium-chain triglycerides (MCTs), coconut can provide a quick energy boost, support metabolism, and even aid in weight management. Additionally, coconut is high in dietary fiber, which can help keep you feeling full and satisfied for longer. Incorporating coconut into your diet is an excellent way to enjoy a sweet treat while also nourishing your body with essential nutrients.

These homemade Bounty Bars not only satisfy your sweet cravings but also offer a nutritious alternative to store-bought sweets. Enjoy the rich and creamy flavors with the added benefits of coconut’s nutritional goodness!

Ingredients

  • 1 ½ cups (120 g) shredded coconut
  • ⅓ cup (90 g) honey
  • ¼ cup coconut oil
  • ¾ cup (160 g) dark chocolate
  • 1 tsp. coconut oil for melting the chocolate
  • ¼ cup (30 g) slivered almonds (optional)

Directions

  1. Combine shredded coconut, coconut oil, and honey in a bowl. Mix well to combine. The texture will be sticky but don’t hold together yet.
  2. Refrigerate for 30 minutes to help the mixture hold together.
  3. Shape small quantities into bars with your hands or any other shapes you may prefer, then place the bars in the fridge for another 30 minutes.
  4. Meanwhile, place the slivered almonds onto a baking tray and roast them for 7 – 10 minutes in a preheated oven at 350°F (approximately 177°C).
  5. Melt the chocolate chunks with the coconut oil.
  6. Take the bars out of the fridge and dip each coconut bar into the melted chocolate until well coated, using a fork or dipping tool to ensure even coverage.
  7. Garnish with some slivered almonds on top for a crunchier taste.
  8. Transfer the tray to the fridge for 30 minutes to allow the chocolate to set.
  9. Once set, your homemade chocolate and coconut bars are ready to be enjoyed!

Prep Time and Servings

  • Servings: 10 Bars
  • Prep Time: 30 minutes
  • Chill Time: 30 minutes in the fridge

Nutrition Information (Per 1 Serving)

  • Energy: 270 calories
  • Protein: 2.73 g
  • Fat: 22.18 g
  • Carbohydrates: 18.24 g
  • Fiber: 4.1 g

Storage and Recommendations

  • Store your Bounty Bars in an airtight container in the fridge for up to one week or in the freezer for up to 3 months.
  • You can experiment with different coatings like nuts or dried fruits, according to your preferences.


2 Ingredient Chocolate Mousse

2 Ingredient Chocolate Mousse

2 Ingredient Chocolate Mousse

Chocolate mousse is often considered a decadent treat, usually reserved for special occasions due to its rich flavor and complex preparation. However, this delightful recipe simplifies the process, requiring only two ingredients to create a dessert that is both luxurious and surprisingly easy to prepare. After coming across this method, I was amazed by the simplicity and the resulting rich, velvety mousse that can rival even the most elaborate versions.

The primary ingredient here is dark chocolate, which is not only delicious but also packed with health benefits. Dark chocolate is rich in antioxidants, particularly flavonoids, which have been shown to improve heart health by reducing inflammation and lowering blood pressure. Additionally, it contains a variety of essential minerals like iron, magnesium, and zinc. Incorporating dark chocolate into your diet can provide a delicious way to enjoy these benefits while satisfying your sweet tooth.

This recipe is perfect for when you’re short on time but still want to impress your guests—or simply treat yourself to a little indulgence. With just a few simple steps, you’ll create a mousse that is rich in flavor, smooth in texture, and undeniably satisfying.


Ingredients

  • 100 g of your favorite chocolate (dark chocolate works splendidly)
  • 1/2 cup or 125 ml hot water

Directions

  1. Begin by cutting the chocolate into small pieces and placing them in a glass jar.
  2. Pour the hot water over the chocolate.
  3. Using a whisk, vigorously stir to dissolve the chocolate in the hot water.
  4. Once the chocolate is fully dissolved, immerse a hand blender into the mixture (you can also use a food processor).
  5. Blend continuously for at least 1 minute or until the mixture becomes bubbly and smooth.
  6. Pour the creamy mixture into chocolate mousse ramekins of your choice.
  7. Cover the ramekins with plastic wrap to allow the mousse to set properly.
  8. Place the ramekins in the refrigerator and let them work their magic for at least 3 hours.
  9. After chilling, your chocolate mousse will have attained a smooth and creamy consistency, ready to be devoured.

Prep Time, Serving, and Baking Information

  • Prep Time: 15 minutes
  • Chill Time: 3 hours in the fridge
  • Servings: 3

Nutritional Information (Per 1 Serving)

  • Energy: 170 calories
  • Protein: 3 g
  • Fat: 12 g
  • Carbohydrates: 14 g
  • Fiber: 4 g

Storage and Recommendations

  • Store any leftover chocolate mousse in the refrigerator, covered with plastic wrap, for up to 3 days.
  • You can garnish with fresh berries, whipped cream, or a sprinkle of sea salt for an extra touch.


Mung Bean Wraps

Mung Bean Wraps

Mung Bean Wraps

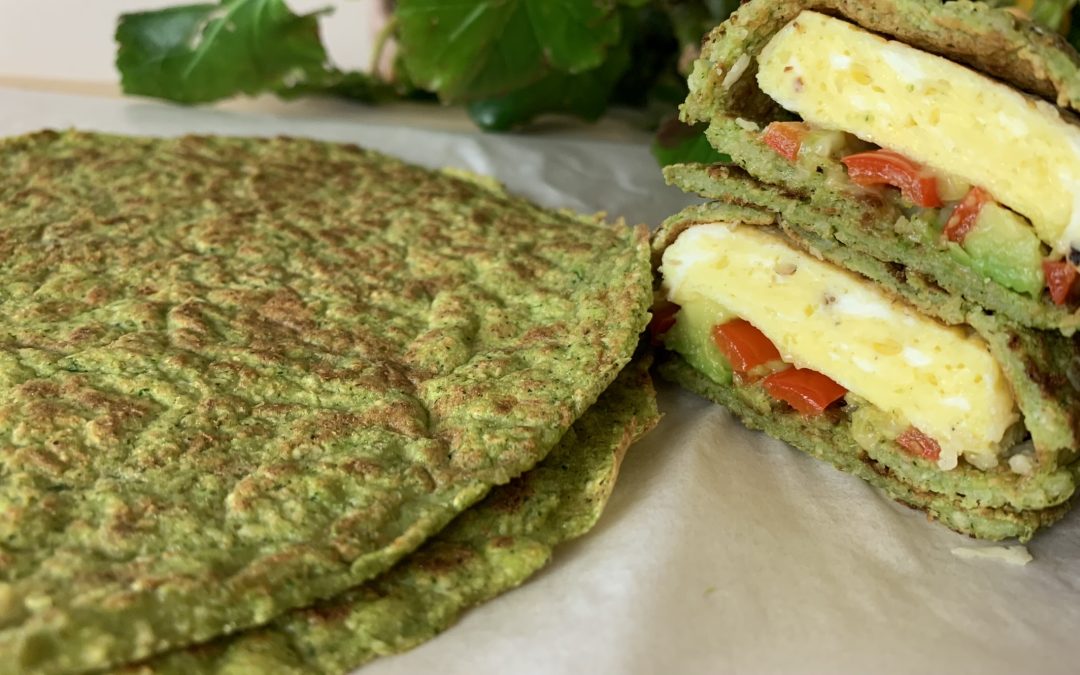
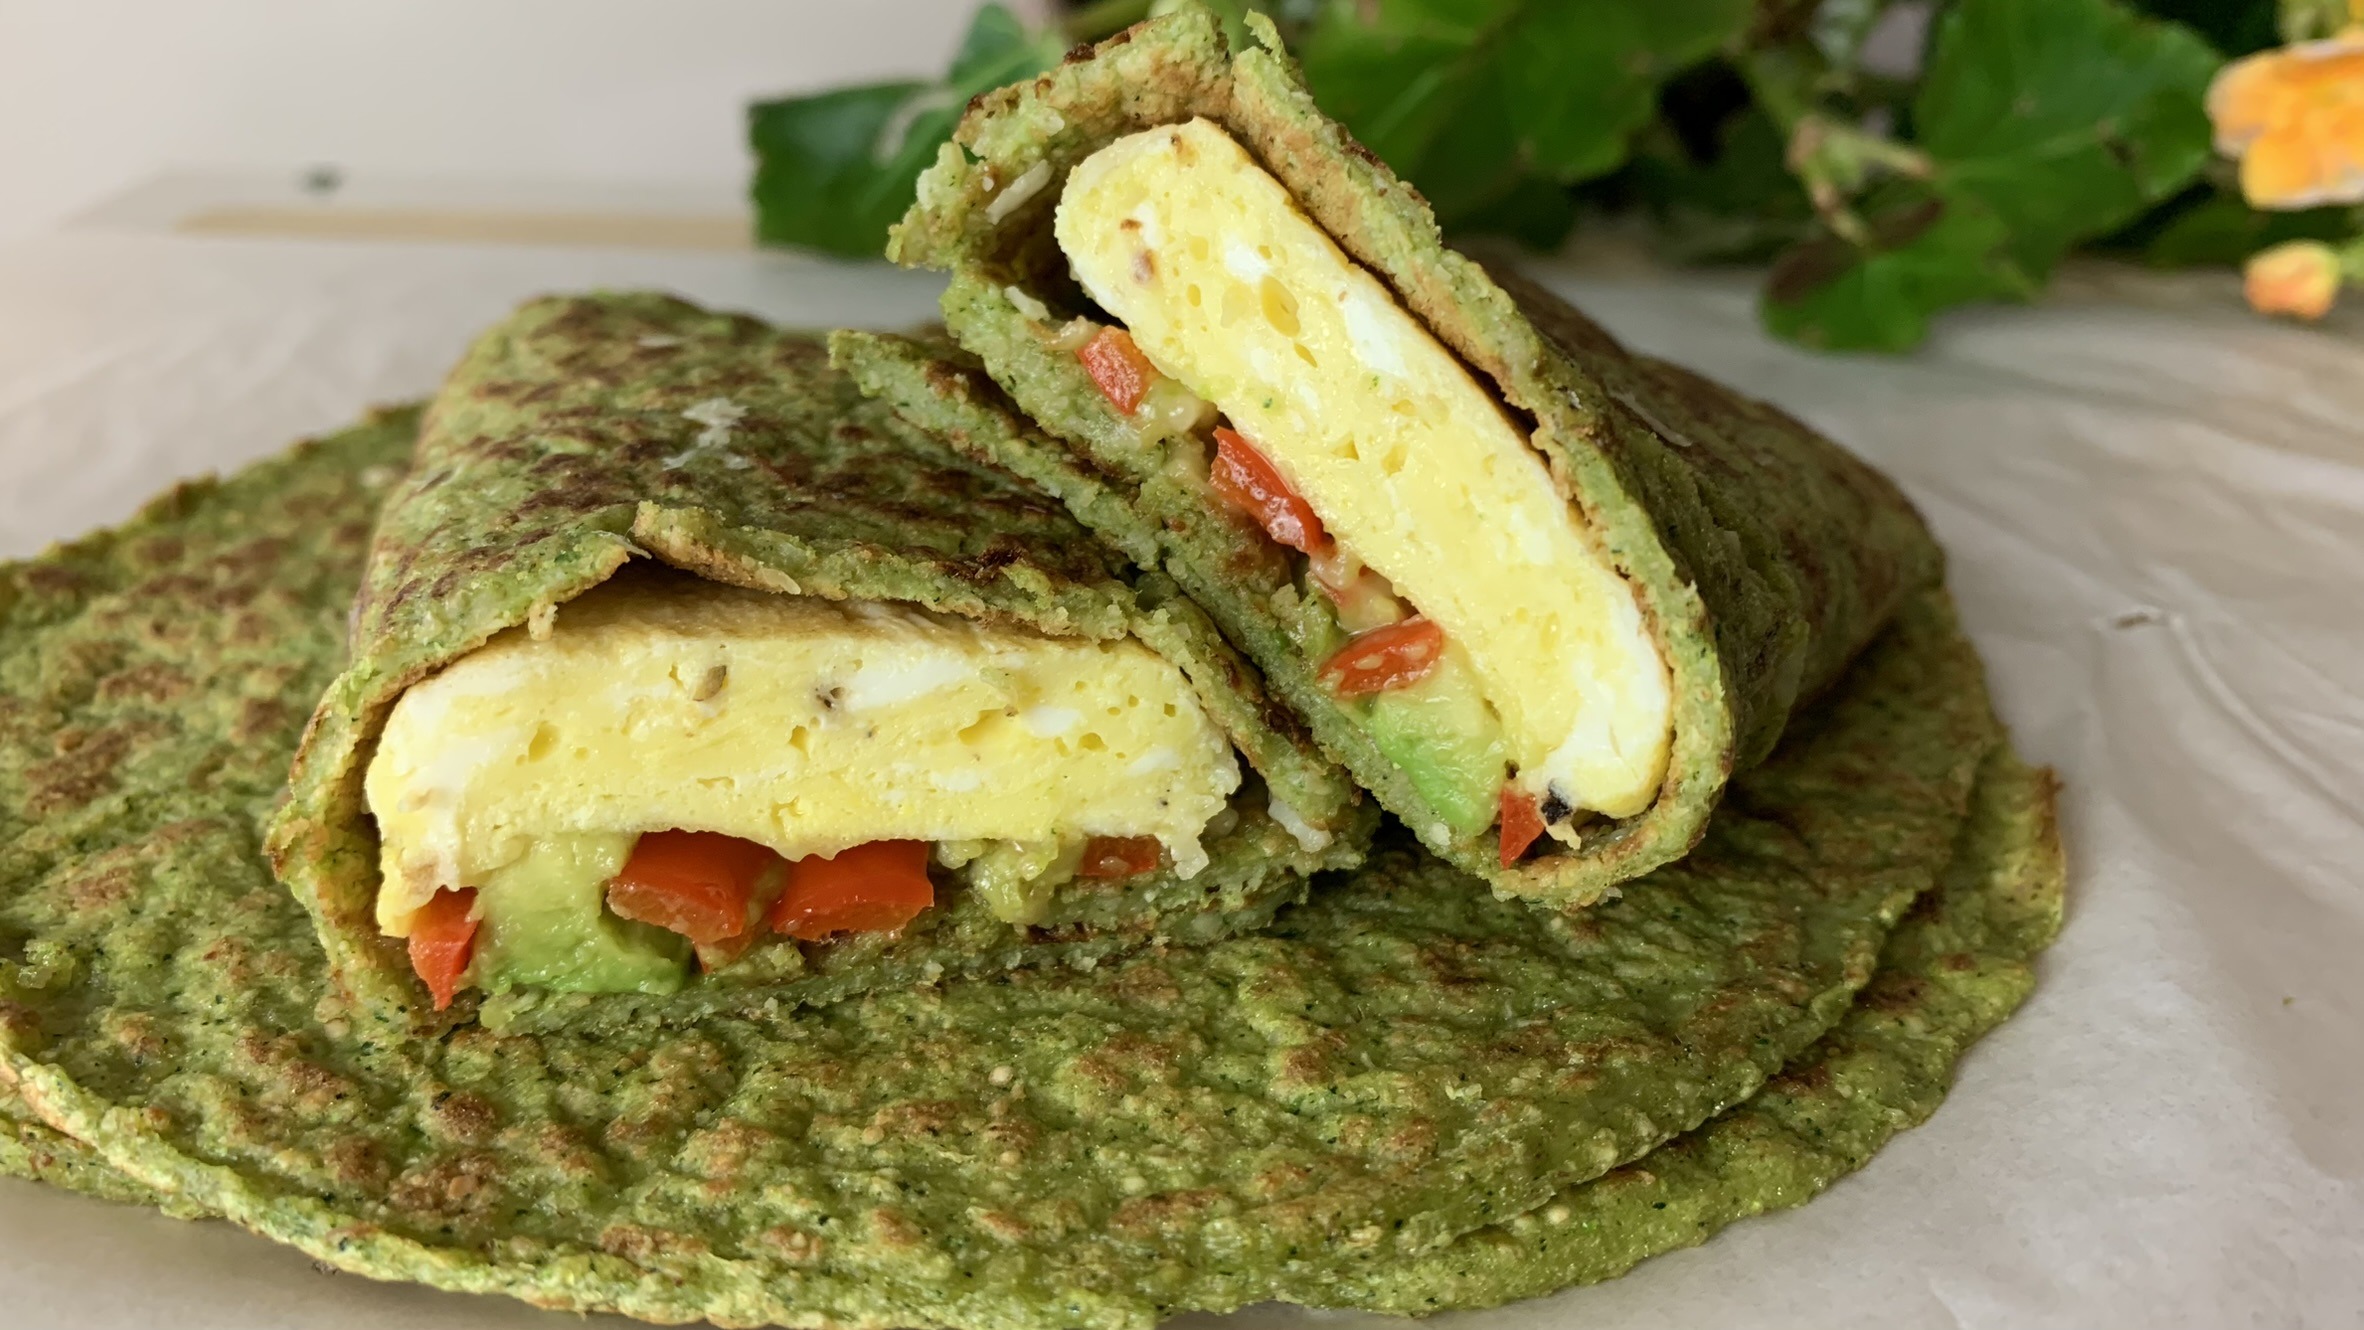
Hey everyone! Today, I’m so excited to share a unique and wholesome recipe that has quickly become a staple in my kitchen, Mung Bean Wraps! These gluten-free wraps or tortillas are made entirely out of mung beans, a small but mighty legume that’s been a part of Indian and Asian cuisines for centuries. Not only are these wraps incredibly versatile, but they are also packed with an abundance of health benefits.

So, what makes mung beans so special? For starters, they are a powerhouse of nutrition. Mung beans are high in protein, providing a plant-based protein source that’s perfect for anyone looking to reduce their meat consumption or follow a vegetarian or vegan diet. They are also rich in dietary fiber, which is essential for a healthy digestive system and helps to keep you feeling full and satisfied for longer periods. But that’s not all—mung beans are also loaded with essential vitamins and minerals, including iron, magnesium, potassium, and folate, which support everything from energy production to heart health.

Incorporating mung beans into your diet can be a game-changer. They are low in fat, high in antioxidants, and have been shown to have anti-inflammatory properties. Plus, they are incredibly easy to digest, making them an ideal food for those with sensitive stomachs. Whether you’re looking to add more plant-based proteins to your diet or simply want to enjoy a delicious and nutritious meal, these mung bean wraps are a fantastic choice. 

These mung bean wraps are gluten-free, vegan, and packed with plant-based protein, making them a nutritious and delicious addition to any meal. Try them out and let me know how you like to enjoy your wraps!

Let’s get started!

Ingredients

  • 1 cup raw mung beans (205 g)
  • 2 cups water
  • 1/2 tsp salt

    Directions

    1. Place the mung beans in a bowl and cover them with water. Soak them overnight in the fridge. This step is crucial as it softens the beans, making them easier to blend and reducing their strong bean taste. If you prefer, you can change the soaking water a few times to dampen the taste further.
    2. Thoroughly rinse the soaked mung beans and strain them extremely well to remove excess water.
    3. In a blender, combine the soaked mung beans, fresh water, and salt. Blend until smooth and creamy. The batter should have a consistency similar to pancake batter.
    4. Optionally, you can add spices and herbs to the batter for added flavor. Popular choices include cumin, turmeric, or fresh herbs like cilantro.
    5. Heat a nonstick pan over medium-low heat and brush it lightly with coconut oil to prevent sticking.
    6. Pour the equivalent of half a cup of batter onto the medium-hot pan and spread it evenly to form a thin layer. The thinner the layer, the crispier the wrap will be.
    7. Cook the wrap under medium-low heat until the top side looks dry, which should take approximately 2 minutes. Flip and cook the other side for another 2 minutes.
    8. You can flip back and forth while pressing gently on the wraps until they puff up slightly, indicating they’re well-cooked and ready.
    9. Once cooked to your liking, place them while warm on top of the other wraps to keep them soft and pliable. They’re now ready to be filled with your favorite ingredients or stored for later use.

    Prep Time, Cooking Information, and Servings

    • Servings: 8 Servings
    • Prep Time: 15 mins (plus overnight soaking)
    • Cooking Time: 50 mins Pan Cooking

    Nutritional Information

    • Energy: 89 calories
    • Protein: 6.11 g
    • Fat: 0.29 g
    • Carbohydrates: 16.05 g
    • Fiber: 4.2 g

    Storage and Particular Recommendations

    • Store your mung bean wraps in a sealed ziplock bag in the refrigerator for up to 7 days or in the freezer for up to 3 months.
    • These wraps are incredibly versatile. Fill them with your favorite ingredients like grilled vegetables, beans, chicken, or tofu.
    • You can also use them as a base for a quick pizza or as a substitute for traditional tortillas in tacos or burritos.


    Chocolate Almond Bars

    Chocolate Almond Bars

    Chocolate Almond Bars

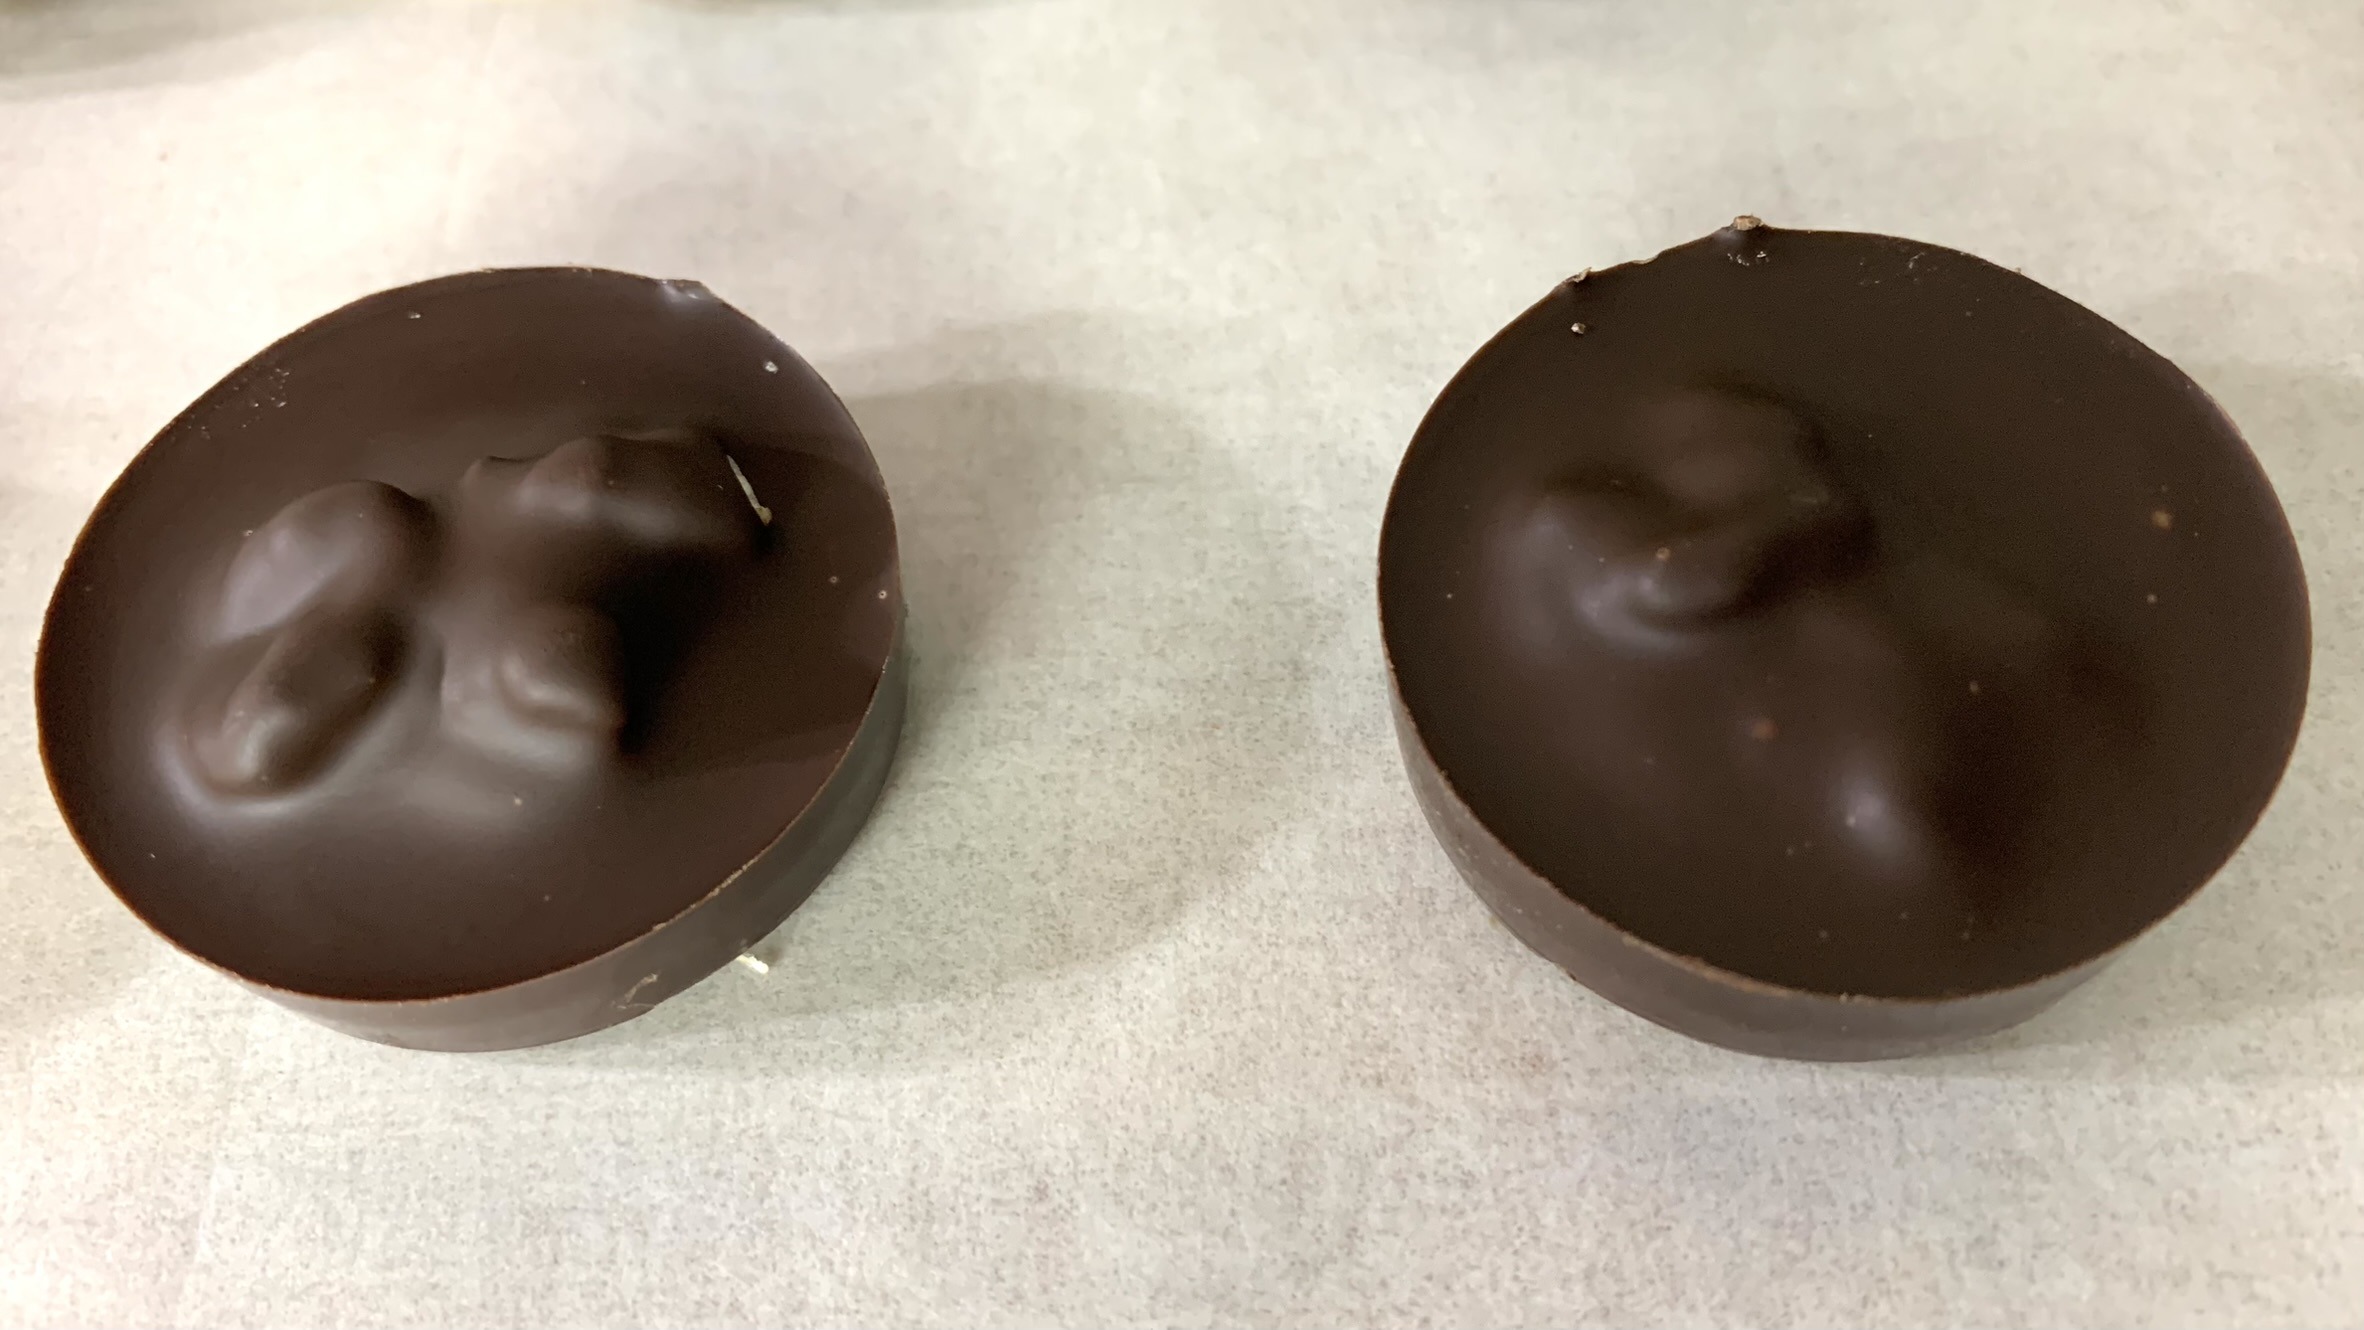
    Embark on a journey of wholesome indulgence with our Almond and Date Chocolate Mini Bars, a delightful treat designed to satisfy your sweet cravings with simplicity and decadence. With just three simple and wholesome ingredients, these mini bars offer a burst of pleasure and satisfaction in every bite.

    Almonds and dates are the stars of this recipe, offering a combination of natural sweetness, crunch, and rich flavor. Almonds provide a good source of healthy fats, protein, and fiber, contributing to heart health and keeping you full longer. Dates add a natural sweetness along with essential vitamins, minerals, and antioxidants. When paired with dark chocolate, these ingredients create a treat that’s as nutritious as it is delicious.

    Indulge in the joy of homemade goodness as you savor the rich flavors and textures of almonds, dates, and dark chocolate, guilt-free and oh-so-delicious.

    These Chocolate Almond Bars are a perfect balance of rich flavors and wholesome ingredients, making them an ideal treat for any time of the day. Enjoy!

    Ingredients

    160 g soft, pitted dates
    1 cup (135 g) roasted almonds
    200 g dark chocolate
    1 tsp. coconut oil (optional)


    Directions

    1. Begin by roasting raw almonds for about 15 to 20 minutes at 350°F, depending on how roasted you like them. Allow them to cool before use.
    2. Arrange the soft, pitted dates in a rectangular container lined with parchment paper, ensuring the skinny part of the dates faces the bottom.
    3. Place the cooled, roasted almonds on top of the dates. Gently press over the almonds, allowing them to adhere to the dates’ flesh.
    4. For the finishing touch, pour melted dark chocolate as the third and top layer. Use a spatula to evenly distribute the chocolate. Give the container a gentle shake to ensure even thickness.
    5. Allow the assembled layers to sit in the fridge for about an hour or until the chocolate is firm.
    6. Once set, cut the bars into bite-sized pieces and enjoy guilt-free, your wholesome homemade treat.

    Yields: 12 Servings

    Prep Time: 20 minutes

    Fridge Time: 1 hour

    Nutritional Information

    Per 1 Serving:
    Energy: 206 calories
    Protein: 4 g
    Fat: 13.15 g
    Carbohydrates: 20.08 g
    Fiber: 4.3 g


    Storage

    • Store the Chocolate Mini Bars in an airtight container in the fridge for up to 1 week or in the freezer for up to 3 months.
    • Enjoy these delightful treats as a wholesome snack, a sweet addition to your lunchbox, or a guilt-free dessert after a satisfying meal.


    Lace Oatmeal Cookies

    Lace Oatmeal Cookies

    Lace Oatmeal Cookies

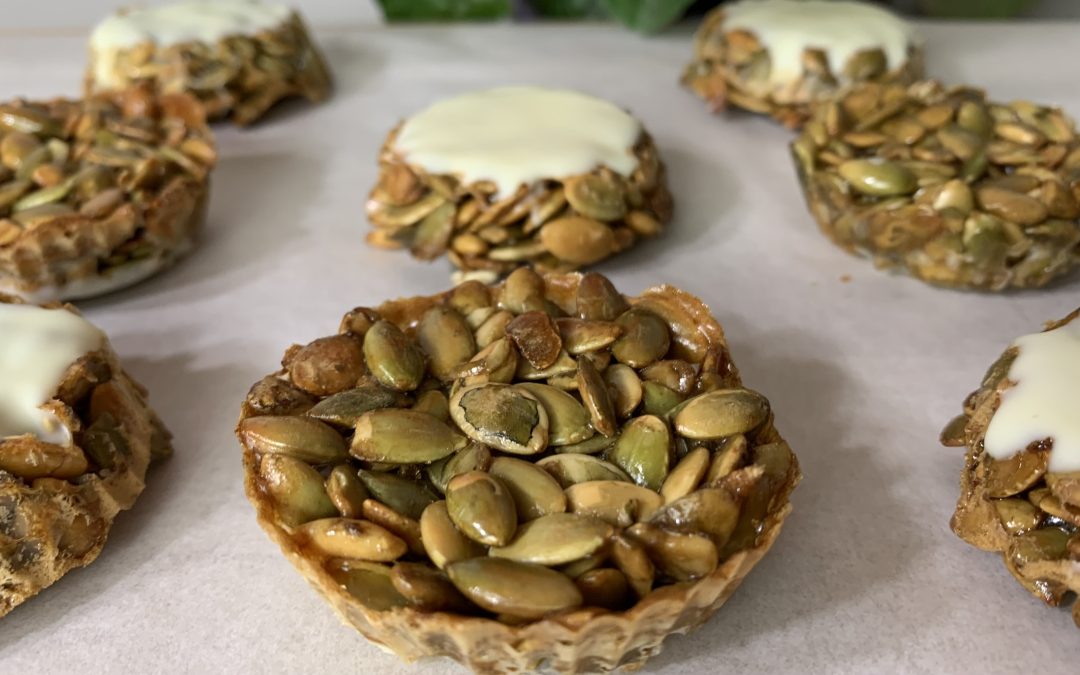
    These cookies are a testament to the joy found in uncomplicated pleasures. With just a handful of ingredients and minimal effort, you can create treats that are bound to become your new favorites! Experience the perfect blend of crispiness, buttery texture, and sweet maple flavor in every bite. Get ready to elevate your snacking experience with these irresistible cookies.

    Oats, the main ingredient in these cookies, are not only a pantry staple but also a nutritional powerhouse. They are rich in dietary fiber, particularly beta-glucan, which helps to reduce cholesterol levels and improve heart health. Oats are also a good source of vitamins, minerals, and antioxidants, making them a great choice for a wholesome snack.

    These Lace Oatmeal Cookies are not just delicious but also bring the benefits of oats into your diet in a fun and tasty way. Whether you’re enjoying them with a cup of tea or coffee, or indulging in them whenever a craving strikes, these cookies are sure to become a favorite. Enjoy!

    Ingredients

    45 g (3 tbsp) unsalted butter
    4 tbsp maple syrup
    1 cup (80 g) rolled oats
    1/4 cup (20 g) oat flour
    A pinch of salt
    15 g melted white chocolate (optional)
    20 g pistachios (optional)


    Directions

    1. In a saucepan over medium heat, melt the unsalted butter.
    2. Once melted, add the maple syrup and stir until well combined. Set aside at room temperature.
    3. In a separate bowl, combine the rolled oats, oat flour, and a pinch of salt. Stir until evenly combined.
    4. Add the warm buttery maple sauce to the oat mixture, stirring thoroughly to coat every oat flake with the sticky, buttery sauce.
    5. With the help of a biscuit cutter, shape the mixture into your favorite biscuit shapes.
    6. Preheat oven to 350°F.
    7. Place the shaped biscuits on a baking sheet and bake for 15 to 20 minutes or until achieving your desired level of crunchiness and crispiness.
    8. If desired, garnish the lace cookies with melted white chocolate and a handful of pistachios for an extra layer of deliciousness.

    Yields: 8 Servings

    Prep Time: 25 minutes

    Baking Time: 15-20 minutes

    Nutritional Information

    Per 1 Serving:
    Energy: 139 calories
    Protein: 3 g
    Fat: 7.08 g
    Carbohydrates: 16.79 g
    Fiber: 1.6 g


    Storage

    • Store your lace cookies in an airtight container at room temperature for up to 10 days.
    • Enjoy these delectable treats with a cup of tea or coffee for a delightful snack, or indulge in them whenever a craving strikes.