Brazilian Nut Treats
Brazilian Nut Treats

Indulging in a treat doesn’t always have to mean sacrificing nutrition, and these Brazilian Nut Treats are the perfect example of that balance. With the rich and creamy texture of Brazilian nuts, paired with the natural sweetness of dates and the luxurious taste of dark chocolate, these treats are both satisfying and nourishing. Whether you’re looking for a quick snack, a dessert to share, or a gift to impress, these little bites are sure to hit the spot.

Brazilian nuts are not only delicious but also exceptionally high in selenium, an essential mineral that plays a critical role in many bodily functions. Selenium is known for its antioxidant properties, helping to protect cells from damage, boost immune function, and support thyroid health. In fact, Brazilian nuts are one of the best dietary sources of selenium, making them a great addition to your diet for maintaining overall health. However, because they are so high in selenium, it’s important to consume them in moderation. Including Brazilian nuts in your diet can support cognitive function, prevent oxidative stress, and even reduce the risk of certain chronic diseases.

The combination of Brazilian nuts, dates, and dark chocolate in this recipe not only provides a delicious taste experience but also delivers a range of health benefits. Dates are rich in fiber, supporting digestive health, and offer natural sugars that provide quick energy. Dark chocolate, when consumed in moderation, is packed with antioxidants and can contribute to heart health by improving circulation and lowering blood pressure. Together, these ingredients create a treat that you can feel good about enjoying.
Ingredients
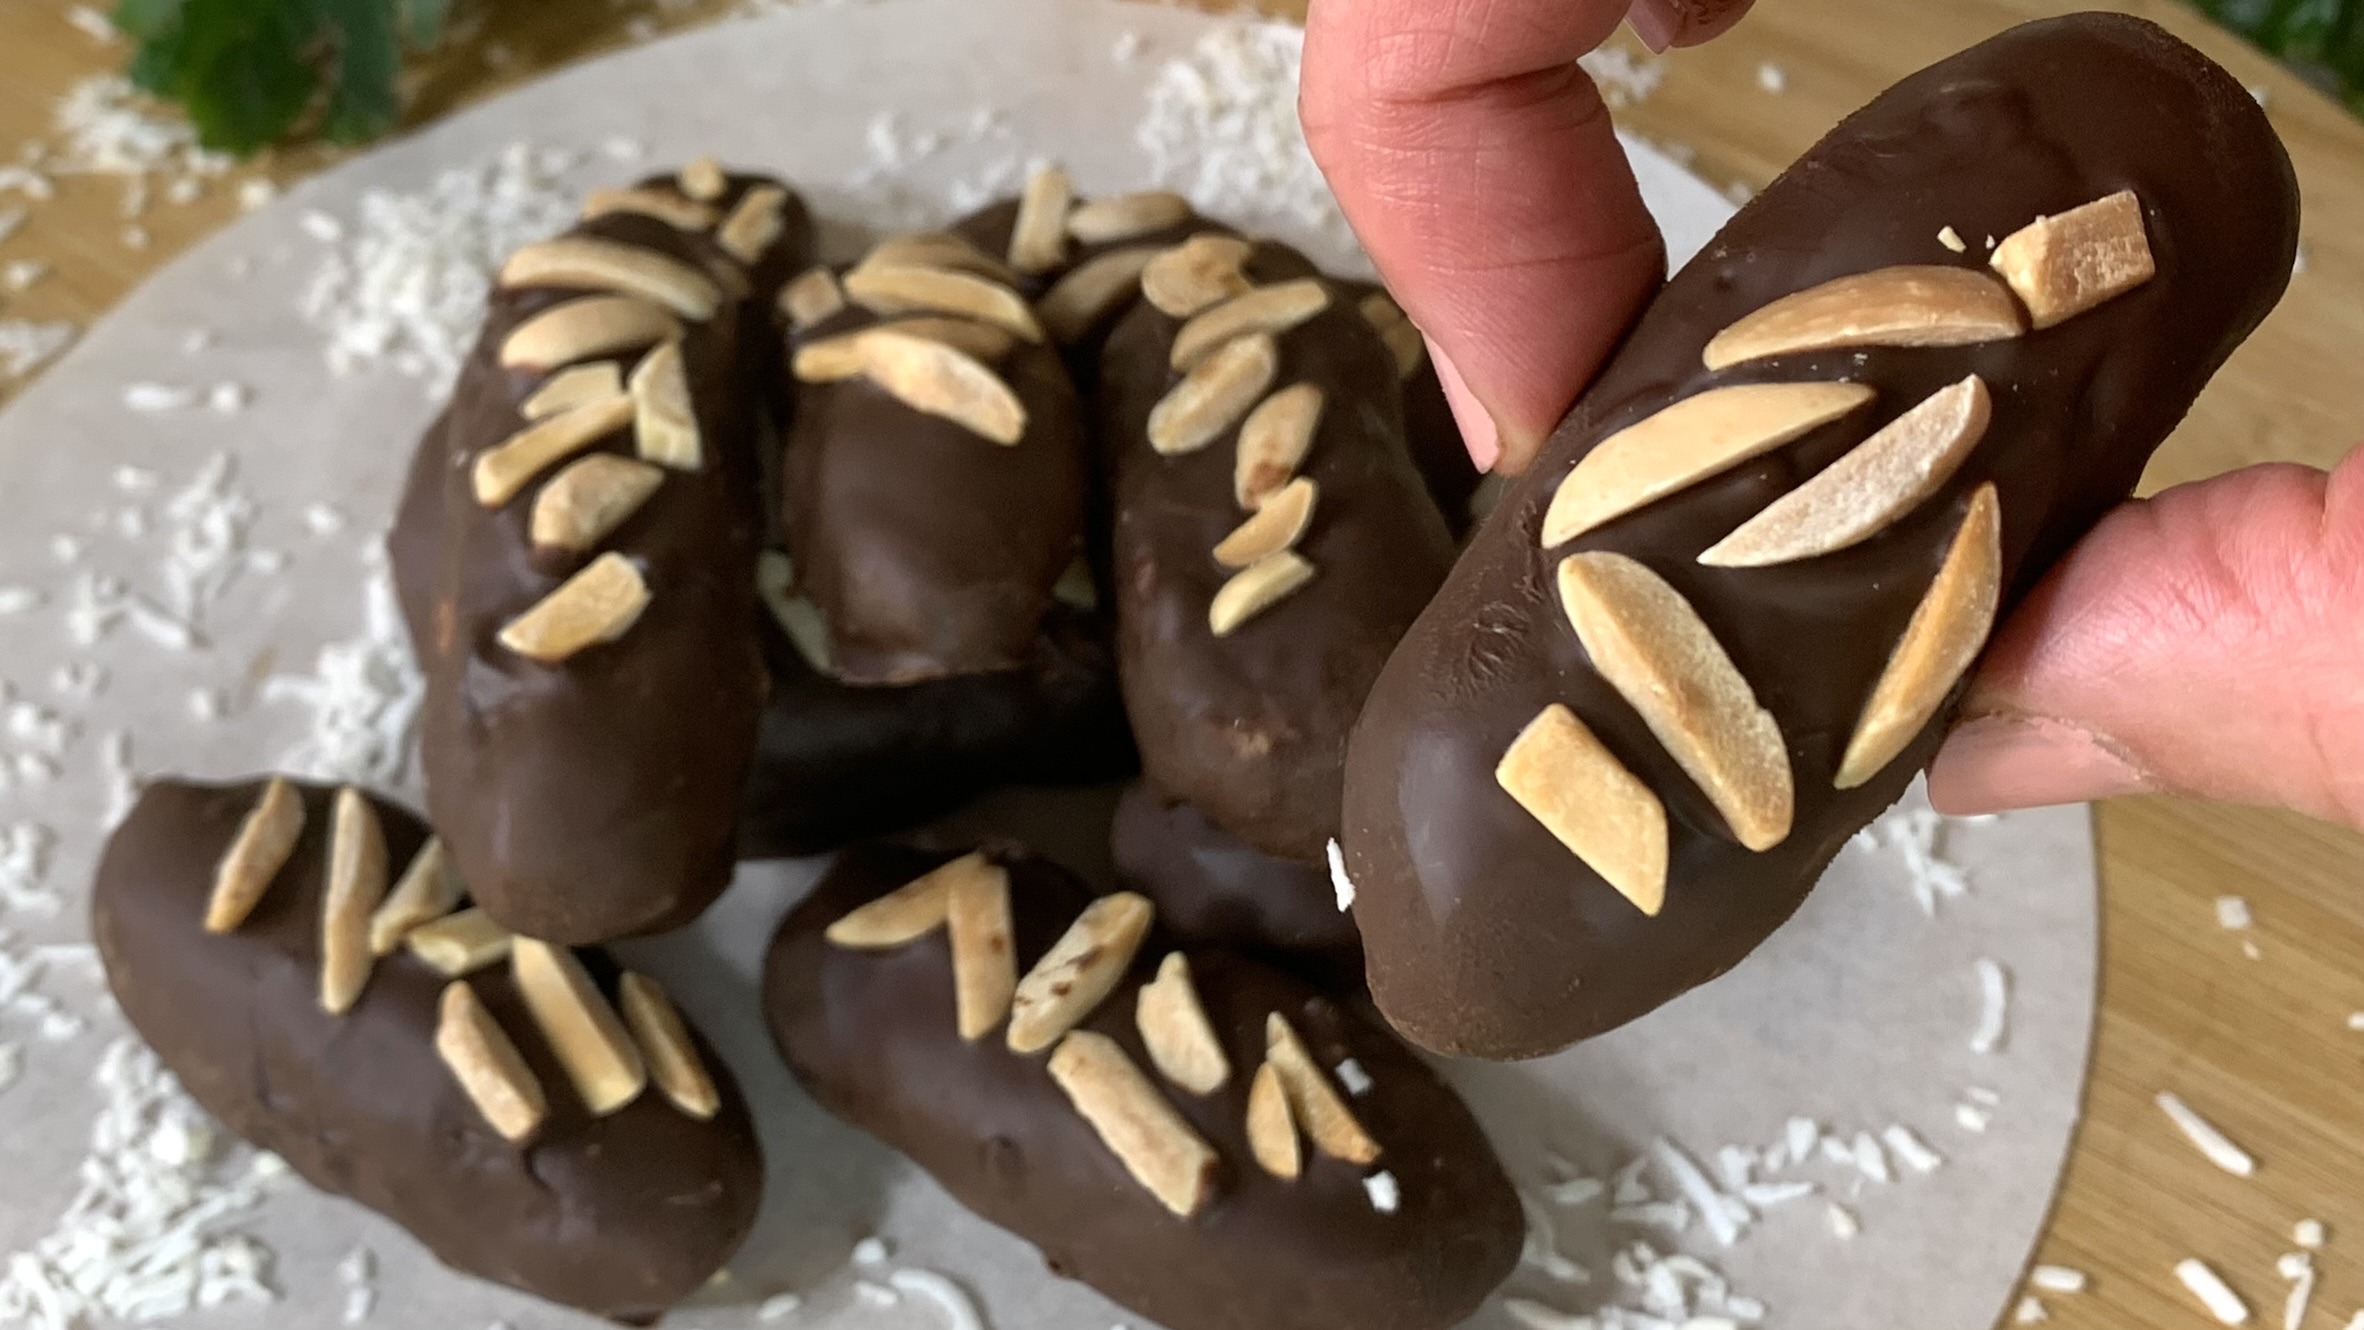
- 12 Brazilian nuts (45 g)
- 12 small pitted dates (120 g)
- 100 g dark chocolate
- 15 g chocolate of your choice (for optional decoration)
Directions
- Take pitted dates and gently open each one to create a pocket.
- Place one Brazilian nut inside each date, pressing the date flesh to cover the nut.
- Melt dark chocolate using a double boiler or microwave until smooth.
- Dip each stuffed date into the melted chocolate, ensuring it is completely covered.
- For an extra touch, sprinkle some chocolate curls on top of each coated date.
- Place the chocolate-coated dates on a parchment-lined tray. Transfer the tray to the refrigerator and allow the treats to chill for at least 30 minutes or until the chocolate is set.
Prep Time: 20 minutes
Chilling Time: 30 minutes
Servings: 12
Nutritional Information
Per 1 Serving:
- Energy: 99 calories
- Protein: 1.58 g
- Fat: 5.24 g
- Carbohydrates: 12.46 g
- Fiber: 1.8 g
Storage and Recommendations
- Store these treats in an airtight container in the fridge for up to a week or in the freezer for up to 3 months.
- Enjoy these treats as a quick snack, a dessert, or even a gift.
- Consume with moderation (1 or 2 treats), since Brazilian nuts are very high in selenium.