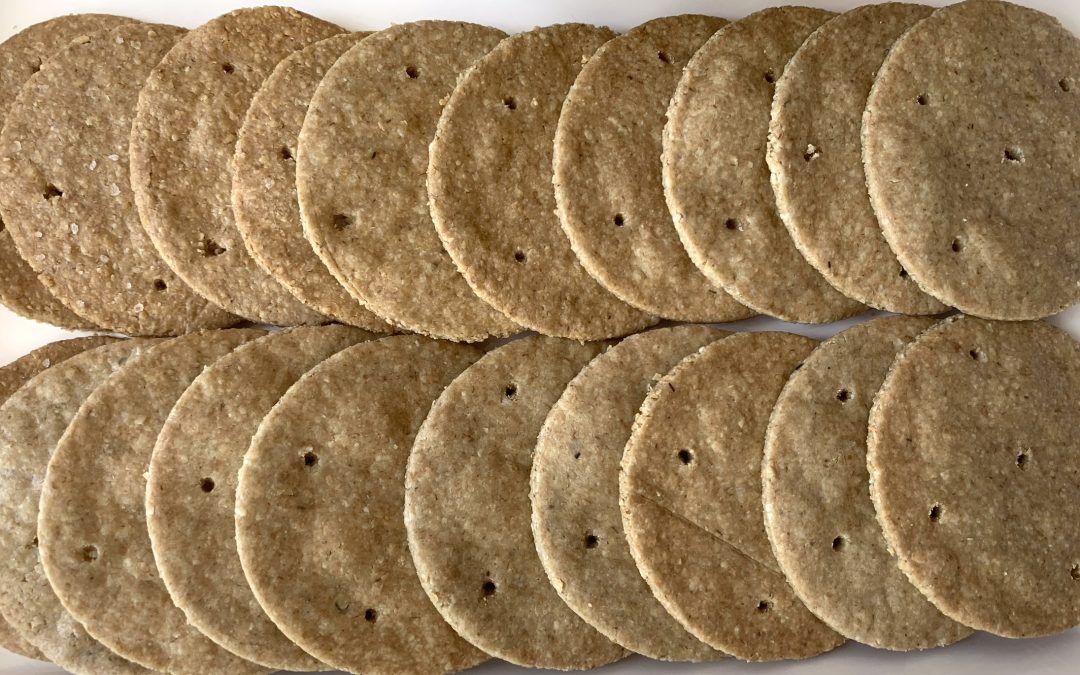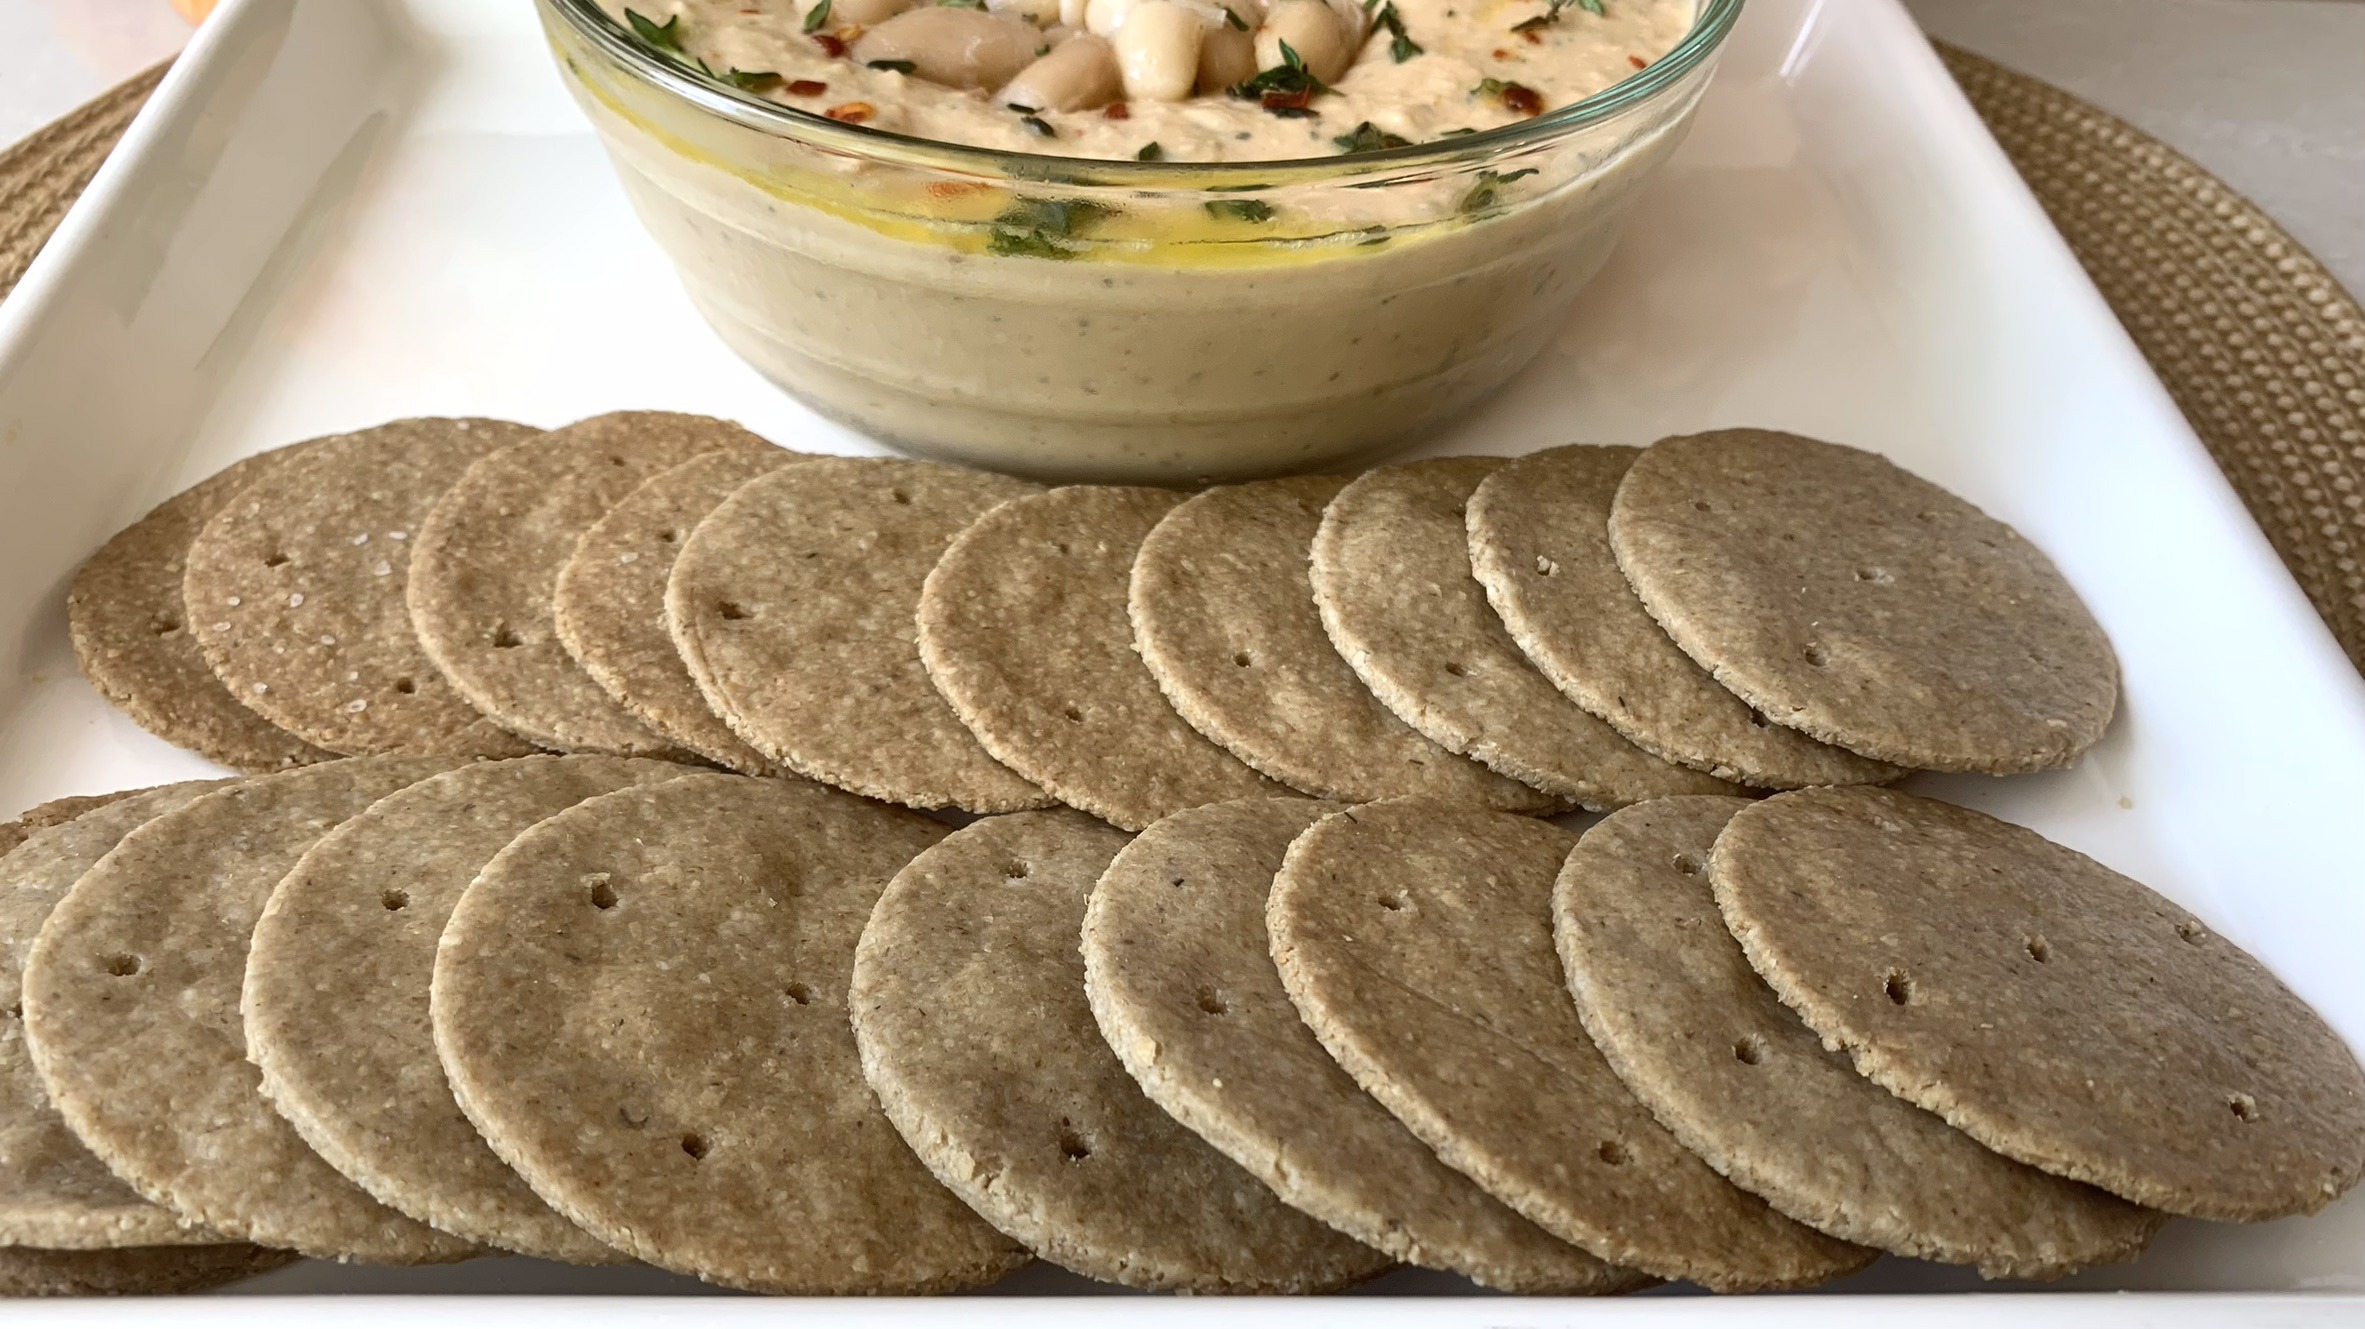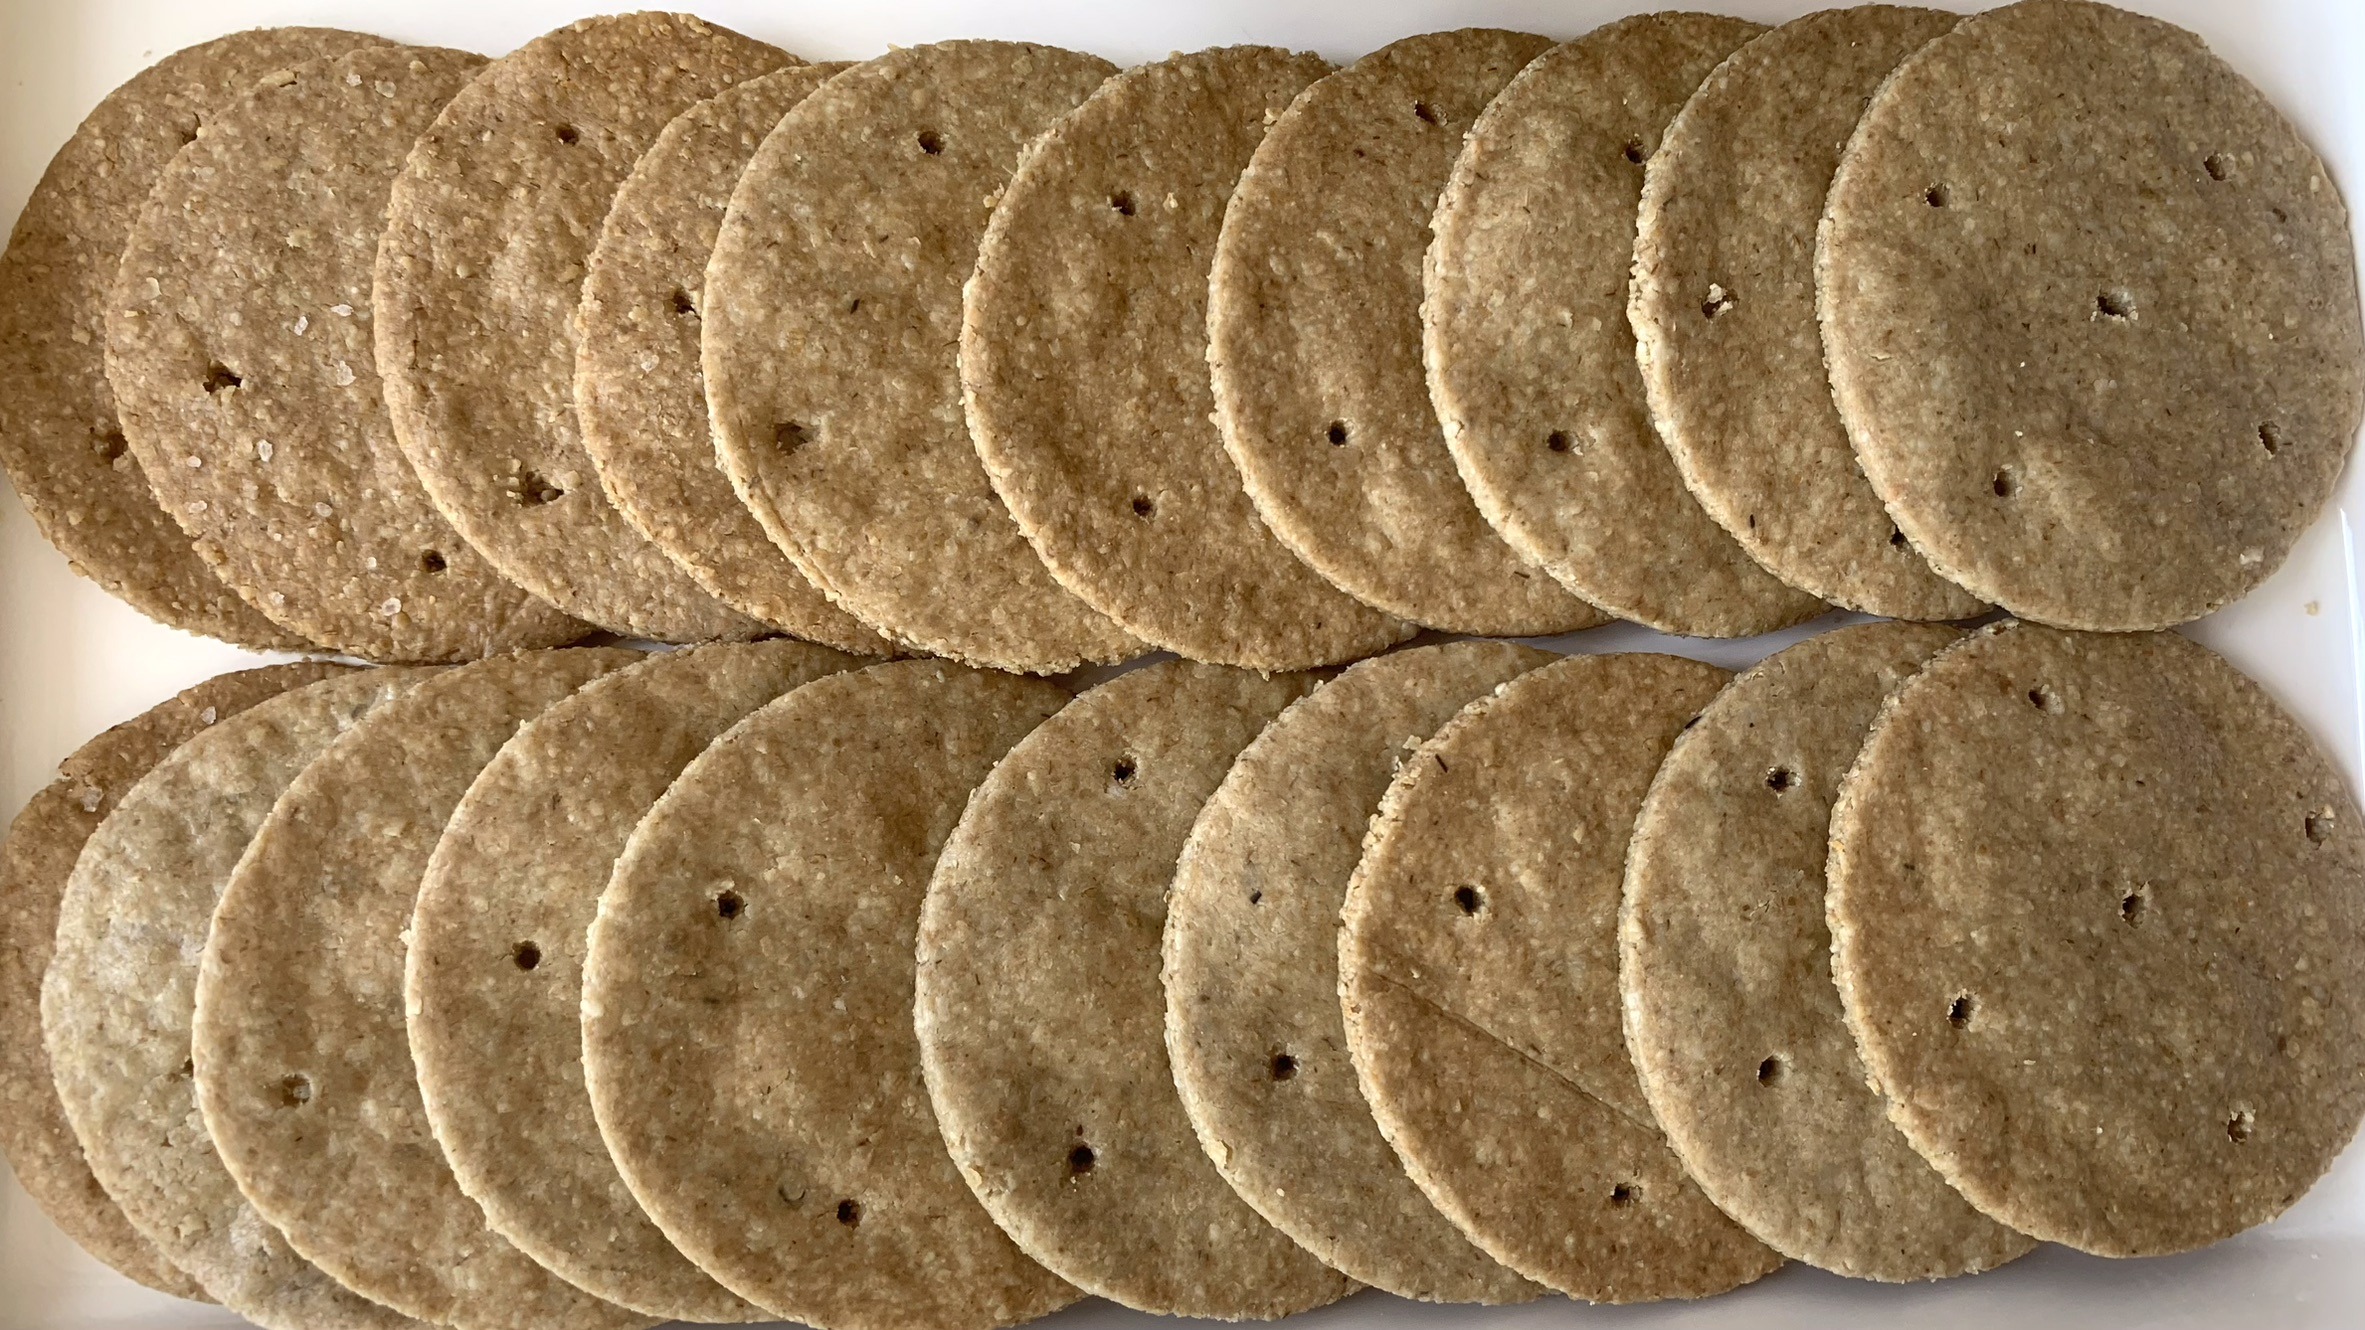
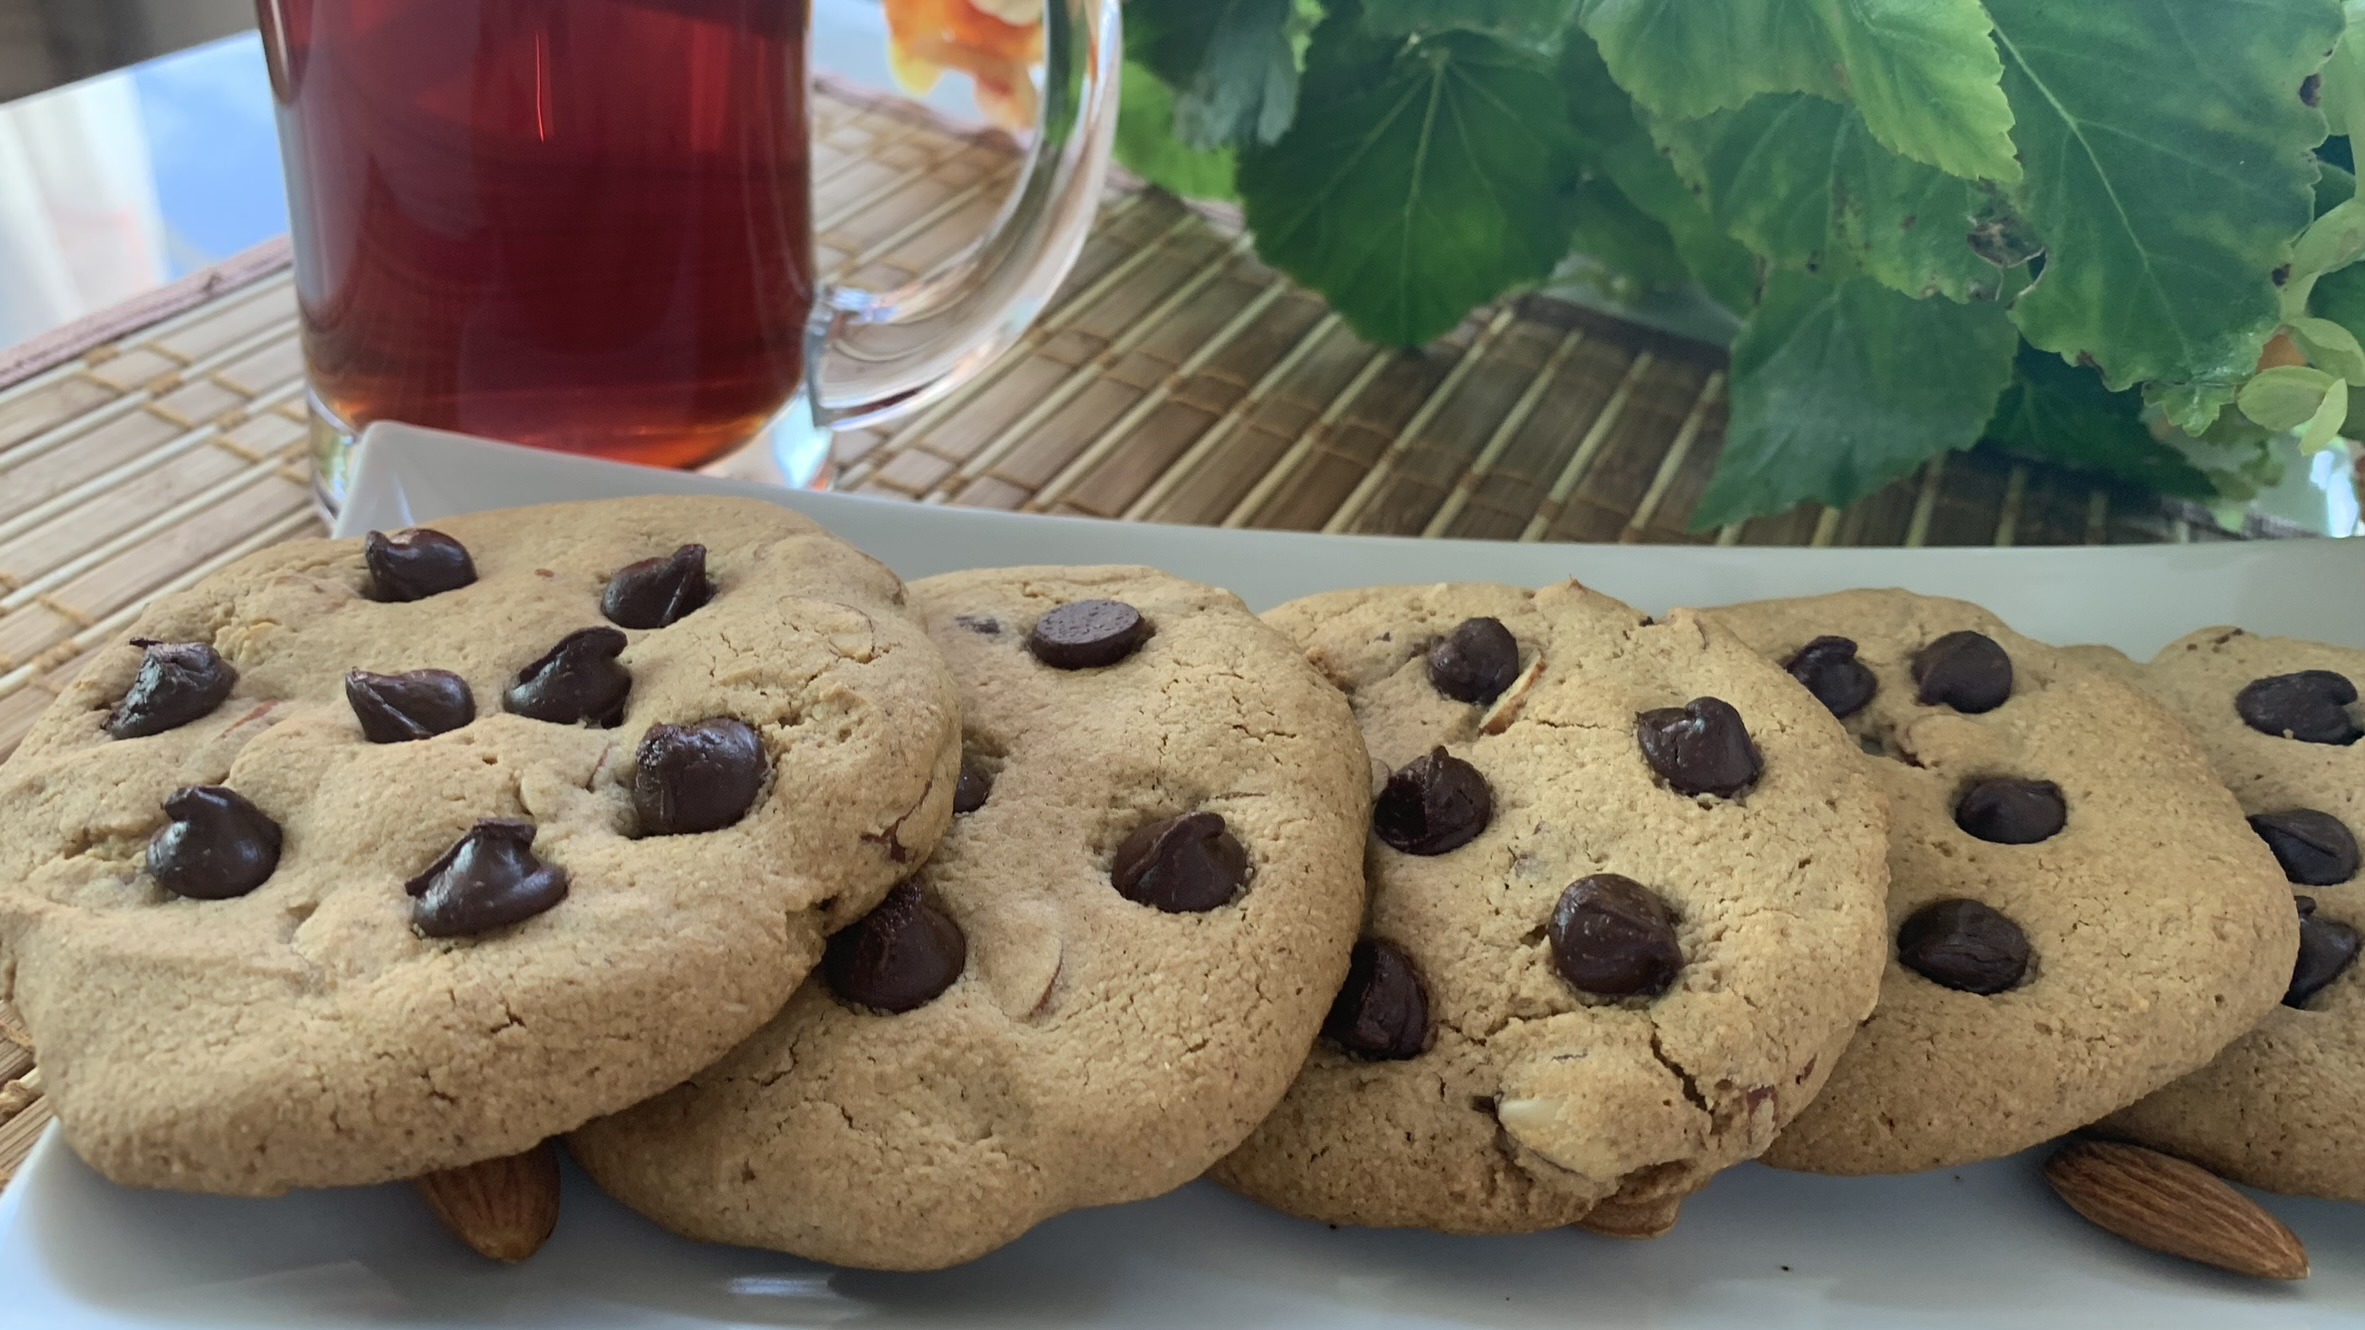
Almond Oat Cookies
Almond Oat Cookies

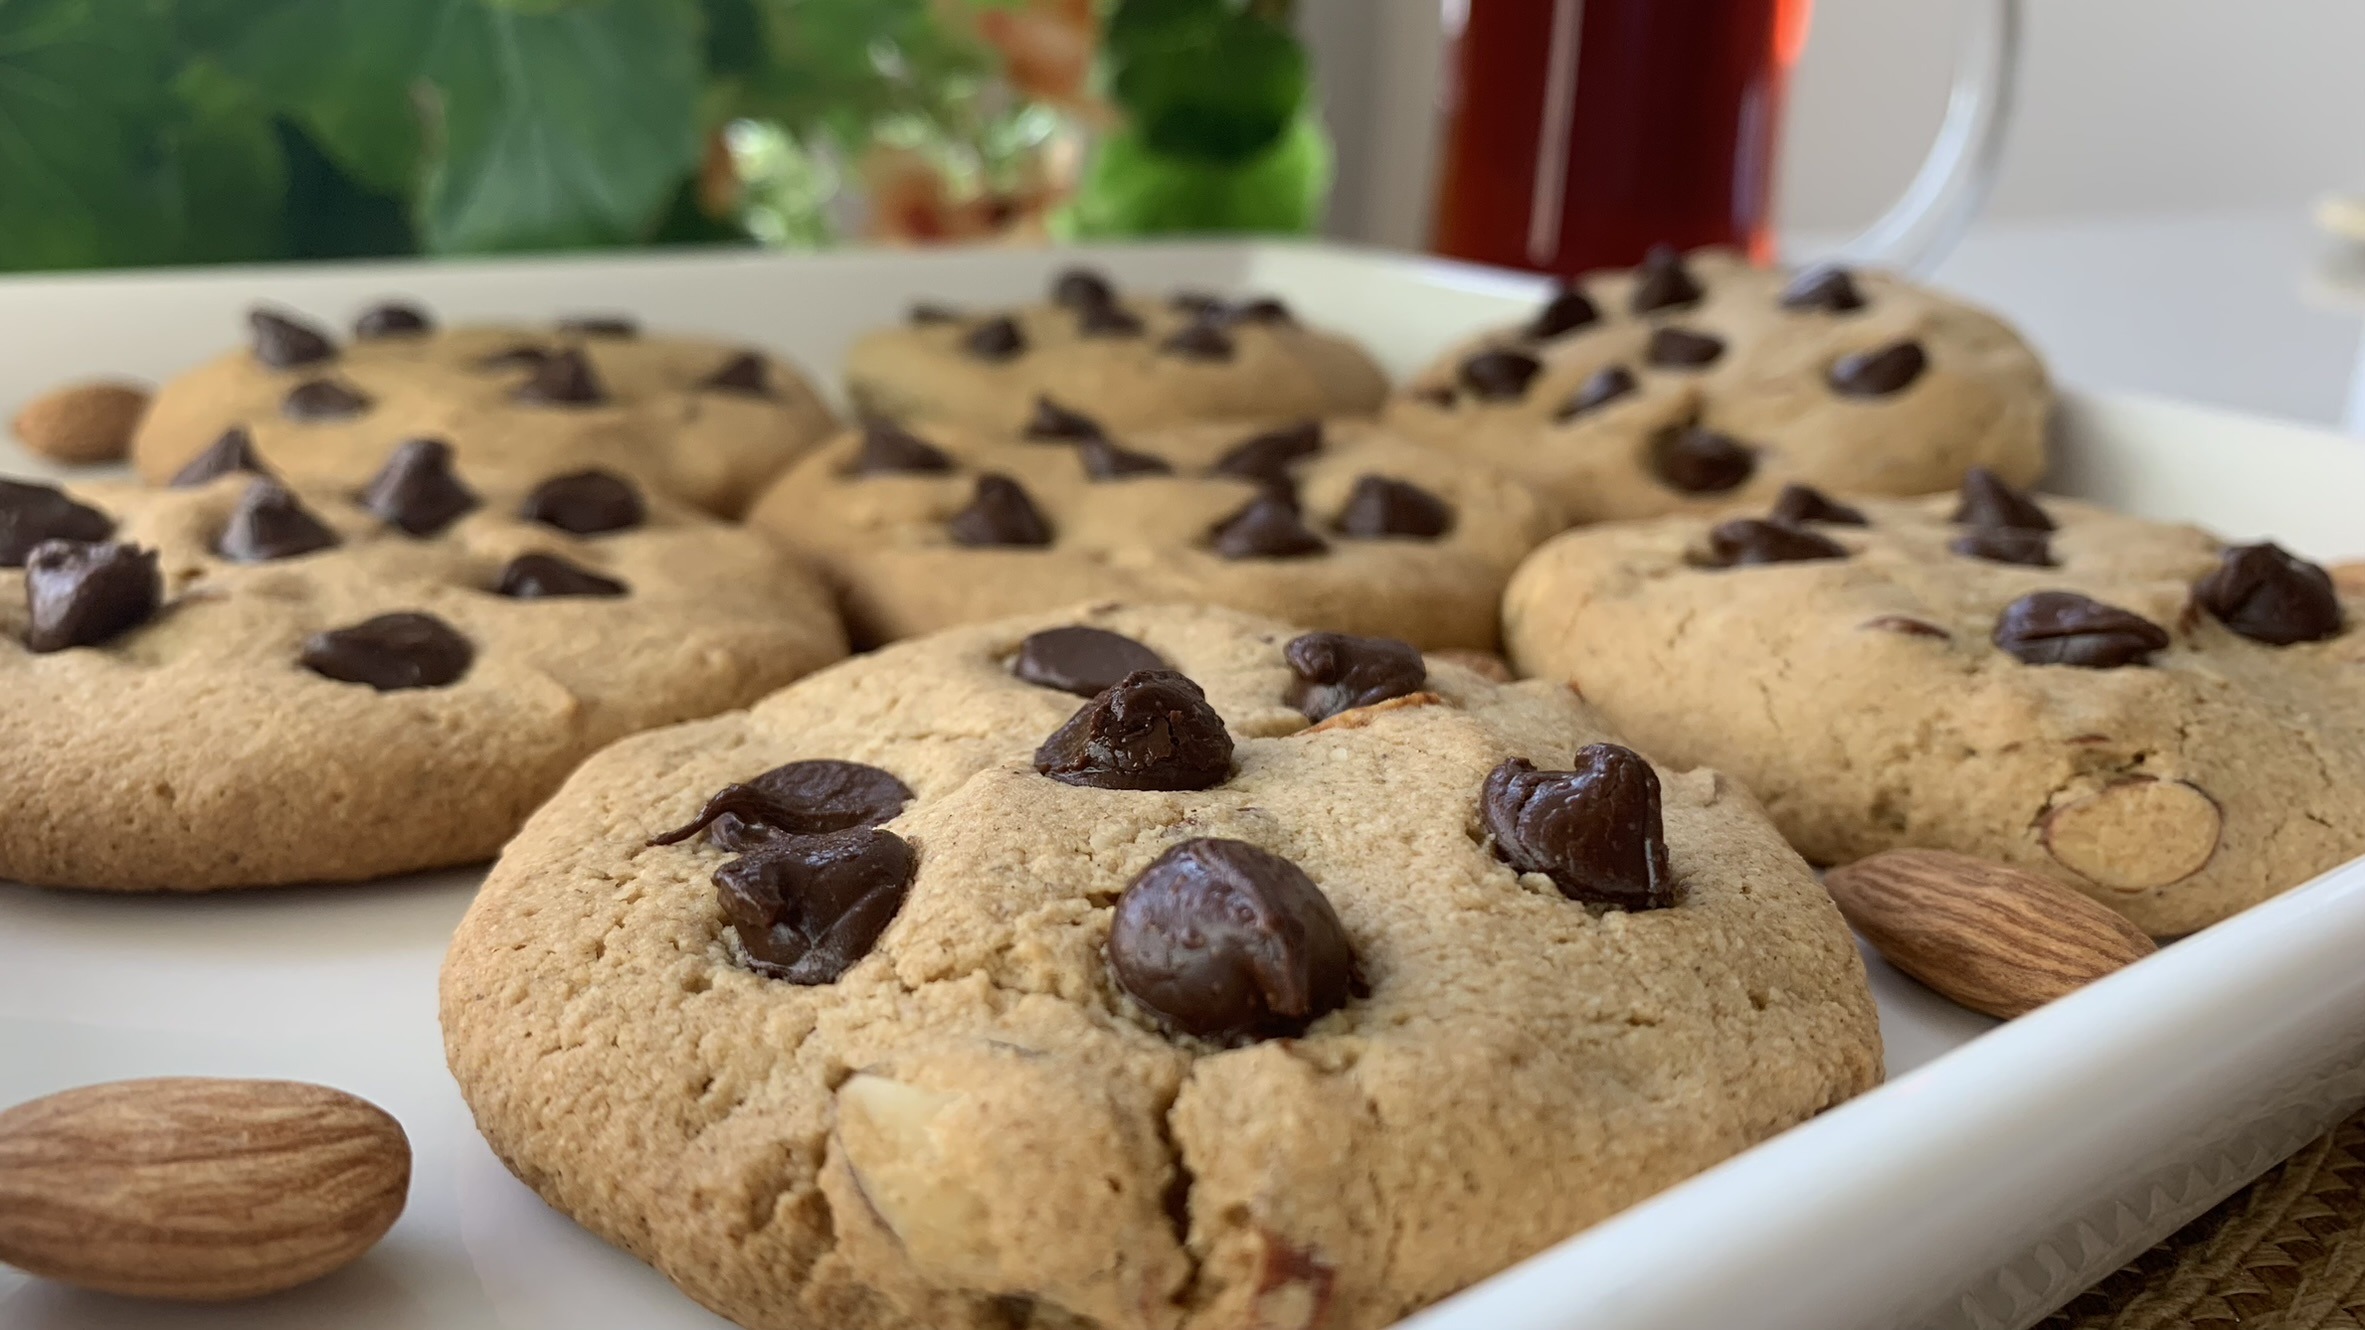
Are you craving something sweet but want to keep it healthy? Let me introduce you to these delightful Almond Oat Cookies! These cookies are not just any cookies; they’re eggless, gluten-free, and made with wholesome ingredients that will satisfy your sweet tooth while nourishing your body. The combination of oat flour and almonds creates a nutty, hearty flavor that pairs perfectly with the hint of vanilla and the sweetness of maple syrup.
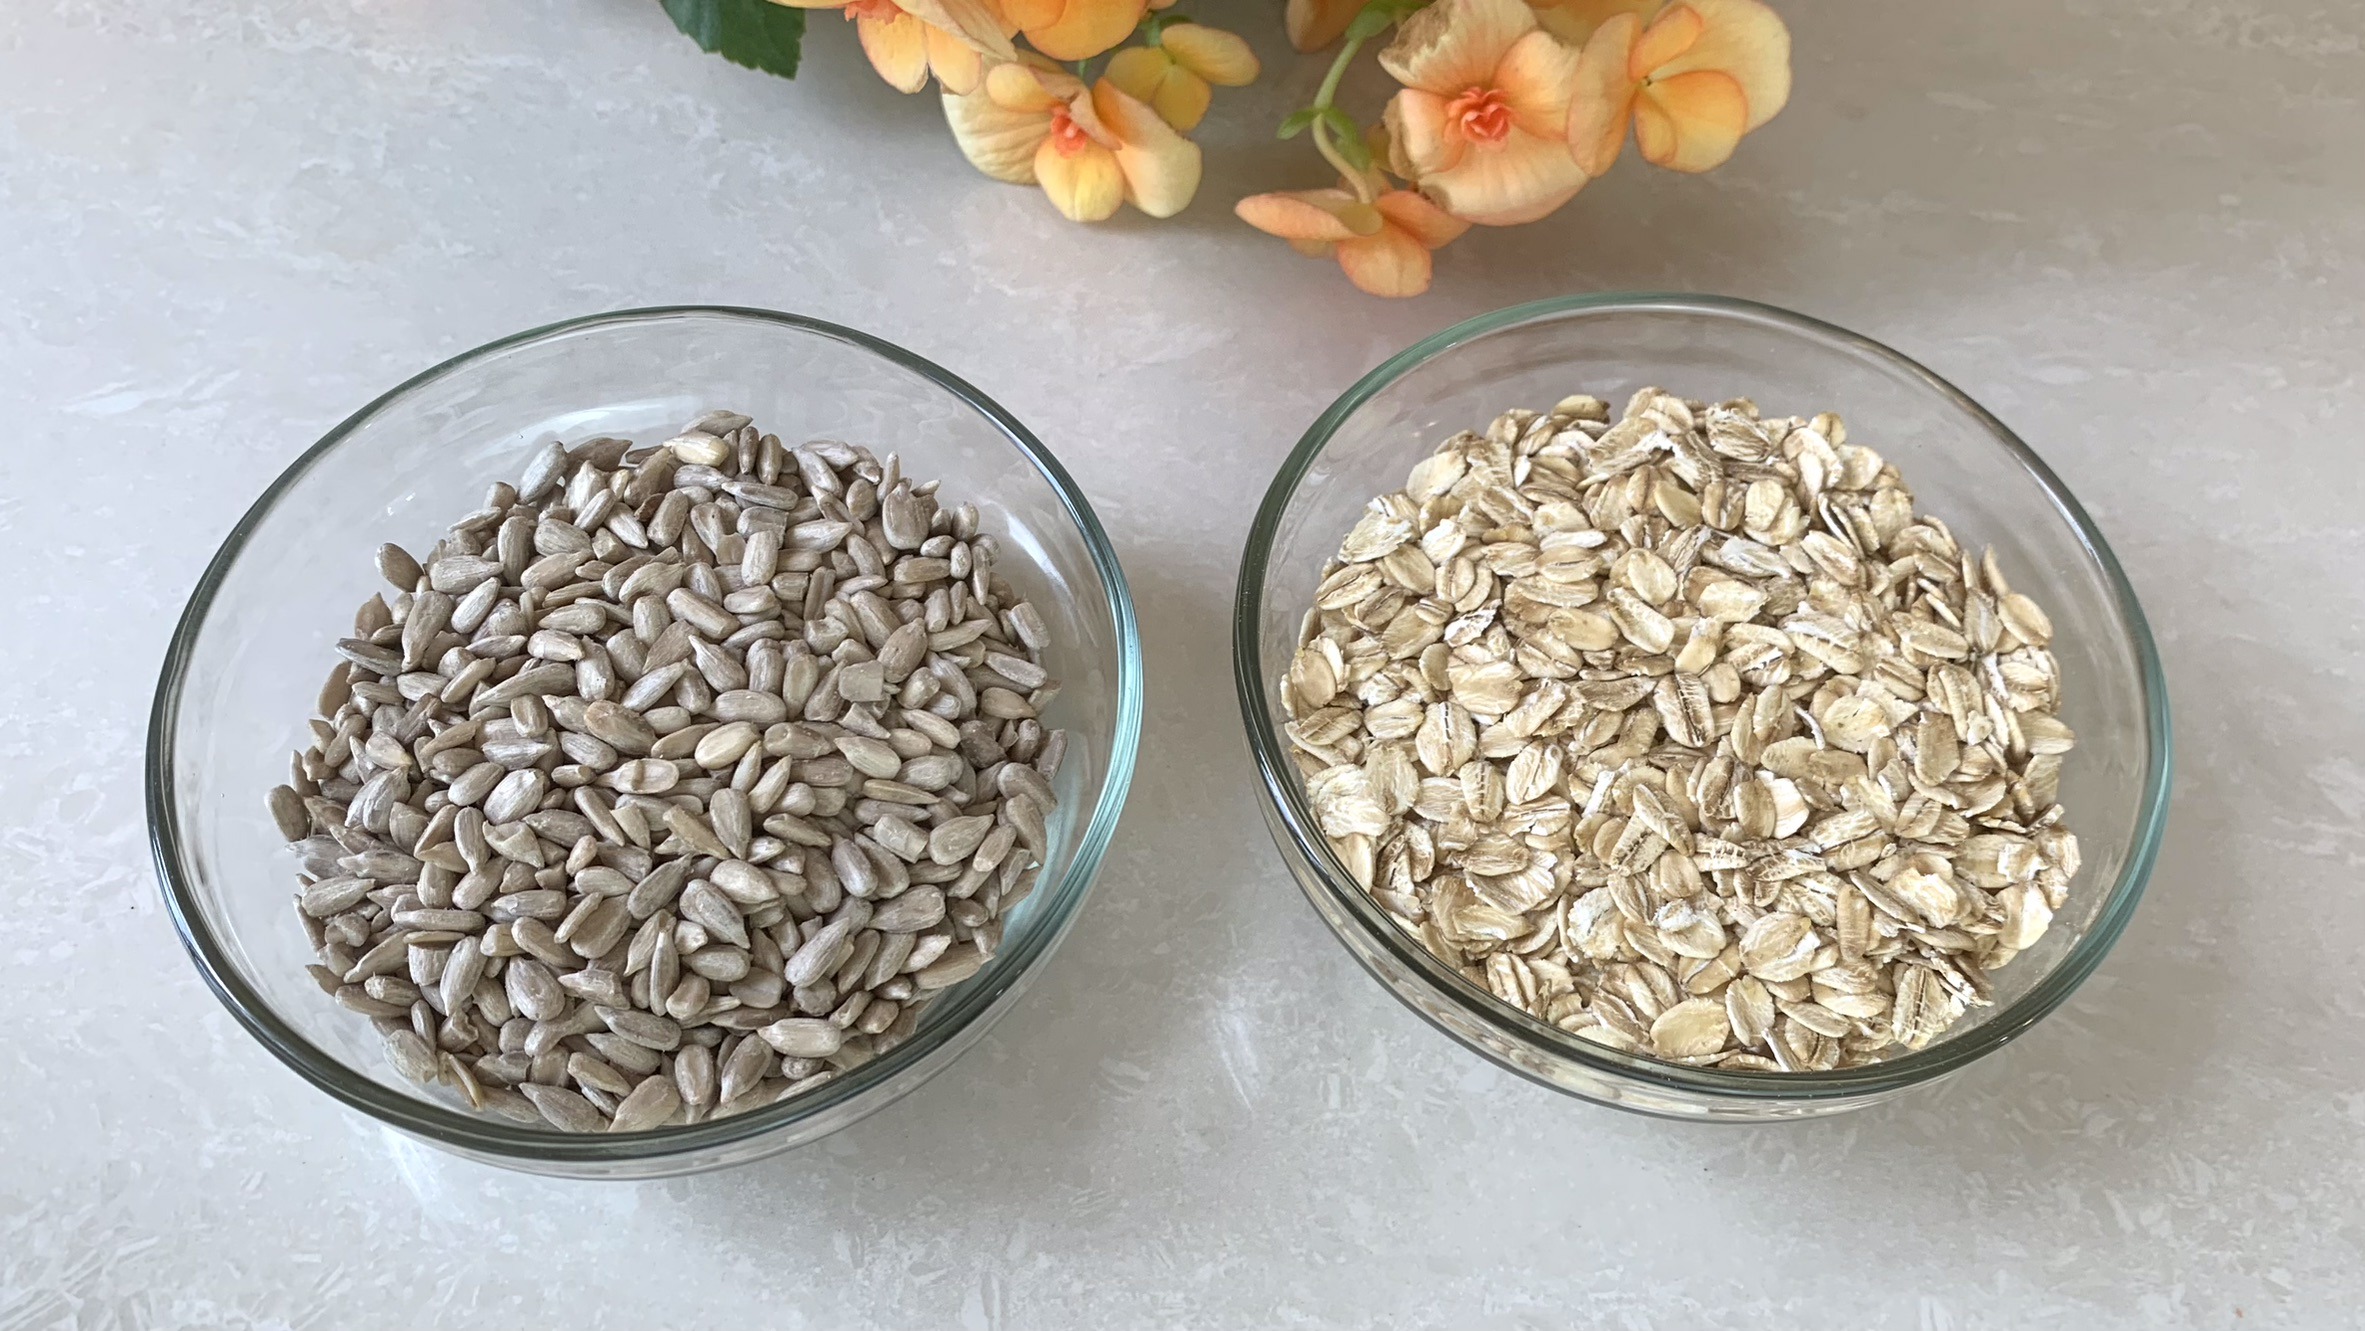
Oats, the star of this recipe, are a nutritional powerhouse. They are rich in fiber, particularly beta-glucan, which helps reduce cholesterol levels and supports heart health. Oats are also a great source of vitamins, minerals, and antioxidants, making them a fantastic addition to your daily diet. Adding these cookies to your snack rotation is an easy and delicious way to boost your intake of essential nutrients while enjoying a treat that feels indulgent.
Whether you’re looking for a quick snack, a lunchbox treat, or a guilt-free dessert, these Almond Oat Cookies are sure to become a household favorite. Plus, they’re super customizable, add your favorite nuts, dried fruits, or even some dark chocolate chips to make them uniquely yours!
Ingredients
- 1 ½ cups (120 g) oat flour
- 60 g room temperature dairy or non-dairy butter
- 50 g (~⅓ cup) chopped almonds
- ⅓ cup maple syrup
- Pinch of salt
- ½ teaspoon vanilla extract
- 1 teaspoon baking powder
- 30 g dark chocolate chips (optional for garnish)
Directions
- Preheat your oven to 350°F (175°C) and line a baking sheet with parchment paper.
- In a bowl, mix oat flour and room temperature butter until crumbly, using clean hands or a spatula.
- Add chopped almonds, a pinch of salt, vanilla extract, and baking powder to the bowl. Gradually pour in maple syrup while mixing, creating a slightly sticky dough.
- Let the dough rest in the fridge for about half an hour to harden and make it easier to shape into cookies.
- After chilling, shape the dough into large (or preferred size) cookies and gently press dark chocolate chips onto each cookie.
- Place the cookies on the prepared baking sheet and bake for about 30 minutes at 350°F or until the edges turn golden brown.
- Allow the cookies to cool slightly on the baking sheet before serving.
Prep Time
- 20 minutes Prep
- 30 minutes in the Fridge
- 35 minutes Baking
Nutritional Information (Per 1 Serving)
- Energy: 207 calories
- Protein: 6.71 g
- Fat: 6.94 g
- Carbohydrates: 29.69 g
- Fiber: 1.5 g
Storage and Recommendation
- Store your cookies in an airtight container at room temperature for up to 3 days or in the fridge for 1 week.
- Customize your cookies by adding dried fruits or different types of nuts for added flavor and texture.