Carrot Hummus

Carrot Hummus

Carrot Hummus

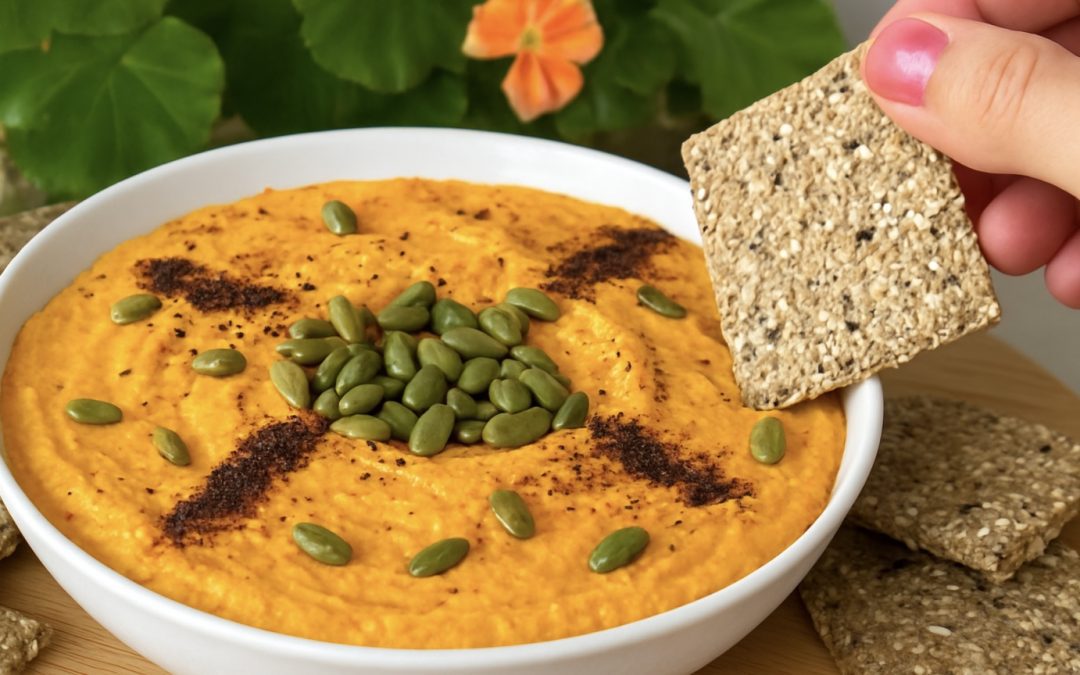
If you’ve only ever made hummus with chickpeas, get ready for a delicious little surprise. This recipe takes a sunny twist on the Middle Eastern classic by swapping the beans for sweet, tender carrots, and let me tell you, the result is pure magic. It’s lighter, naturally sweeter, and somehow even more addictive than the traditional version. The idea came to me while looking for a fresh summer dip that was just as creamy and satisfying as regular hummus, but with a more vibrant color and a slightly lower calorie count. And the carrots… well, they more than delivered.

Steamed until soft and then blended with silky tahini, roasted garlic, a touch of lemon, and a gentle kick of cumin, this hummus is smooth, velvety, and bursting with flavor. It’s one of those recipes that looks fancy but is secretly so easy to pull together, you can have it ready in under 40 minutes, from washing the carrots to scooping the first bite. And because it’s naturally vegan and gluten-free, it’s a crowd-pleaser at any gathering.

Now let’s talk about our star ingredient, carrots. They’re not just here for their cheerful orange hue. Carrots are packed with beta-carotene, a powerful antioxidant that your body turns into vitamin A, which supports sharp vision, glowing skin, and a strong immune system. They’re also a good source of fiber to keep digestion happy, and they bring along potassium, vitamin K, and a handful of other essential minerals. Regularly adding carrots to your diet is one of the easiest ways to boost your nutrient intake without even thinking about it. Plus, their natural sweetness means you can cut back on extra sugar in other recipes.

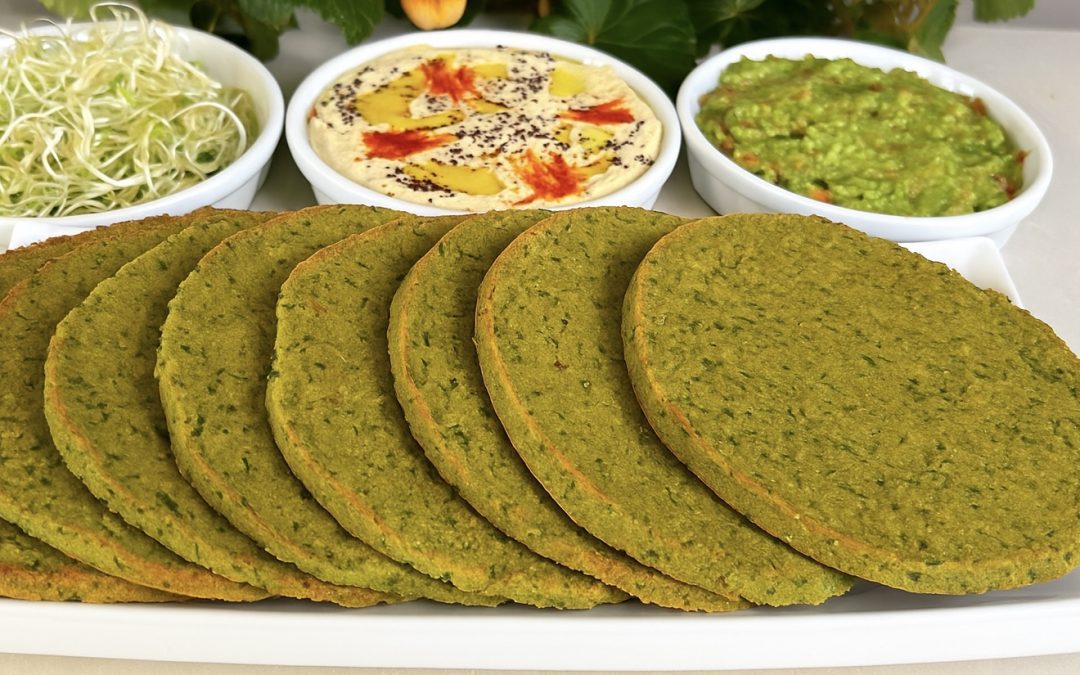
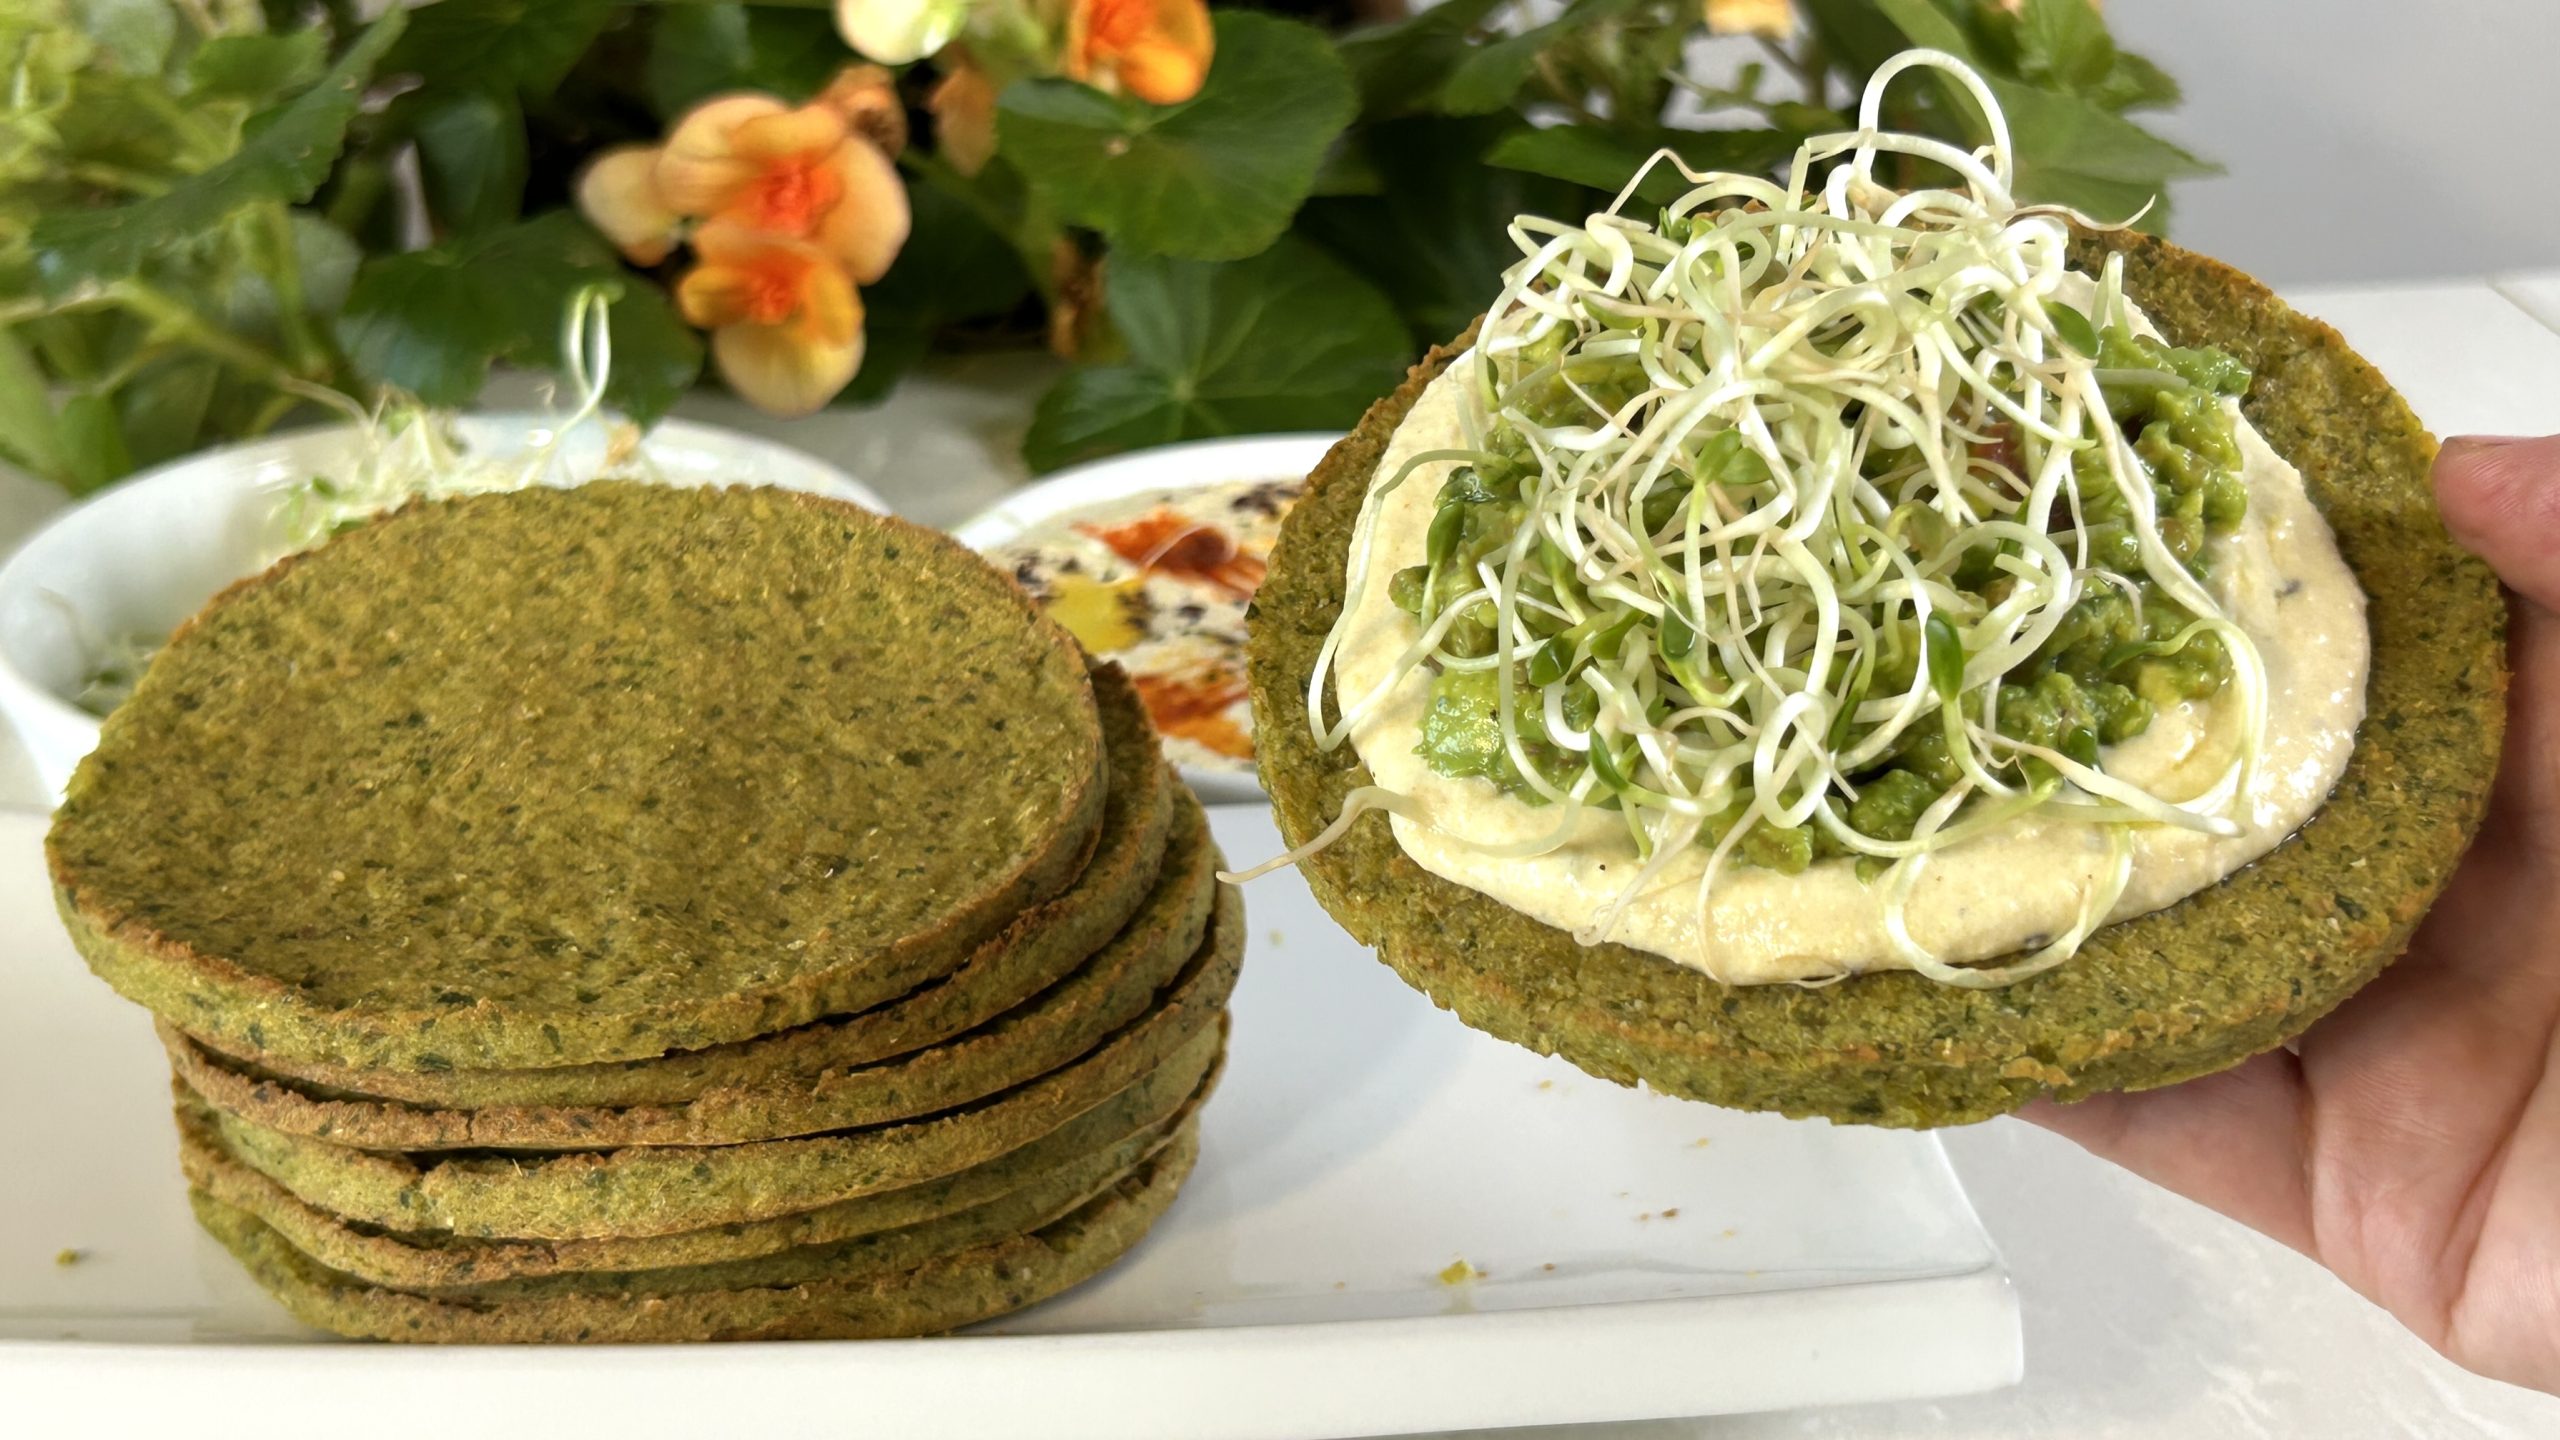
Whether you’re spreading this carrot hummus on warm pita, swirling it into pasta, adding a pop of color to a grazing board, or simply enjoying it with crunchy veggie sticks, it’s the kind of recipe that brightens up both your plate and your day. Once you try it, don’t be surprised if it becomes your new “must-have” dip in the fridge.

Ingredients (8 servings)

  • 3 large carrots (about 750 g)

  • ¼ cup (65 g) tahini

  • 3 tbsp. olive oil (with roasted garlic)

  • 3 garlic cloves, roasted

  • ½ tsp. salt

  • ½ tsp. cumin powder

  • Black pepper, to taste

  • 1 tbsp. white vinegar

  • Juice of ½ lemon

  • 30 g roasted pumpkin seeds (optional)

  • 1 tbsp. olive oil (optional, for garnish)

  • 1 tsp. sumac powder (optional, for garnish)

Directions

  1. Wash the carrots thoroughly under running water to remove any dirt or debris.
  2. Peel the carrots and cut them into large chunks for even cooking.
  3. Place the carrot chunks in a steamer over medium-high heat and steam for 15–20 minutes, or until a knife easily pierces them.
  4. Transfer the steamed carrots to a large bowl or food processor. Blend until smooth and creamy.
  5. While the carrots cook, roast the garlic cloves in olive oil at 350°F (180°C) for about 10 minutes until soft and mellow.
  6. Add tahini, roasted garlic with its olive oil, salt, cumin, black pepper, white vinegar, and lemon juice to the blended carrots.
  7. Blend again until the mixture is perfectly smooth and velvety.
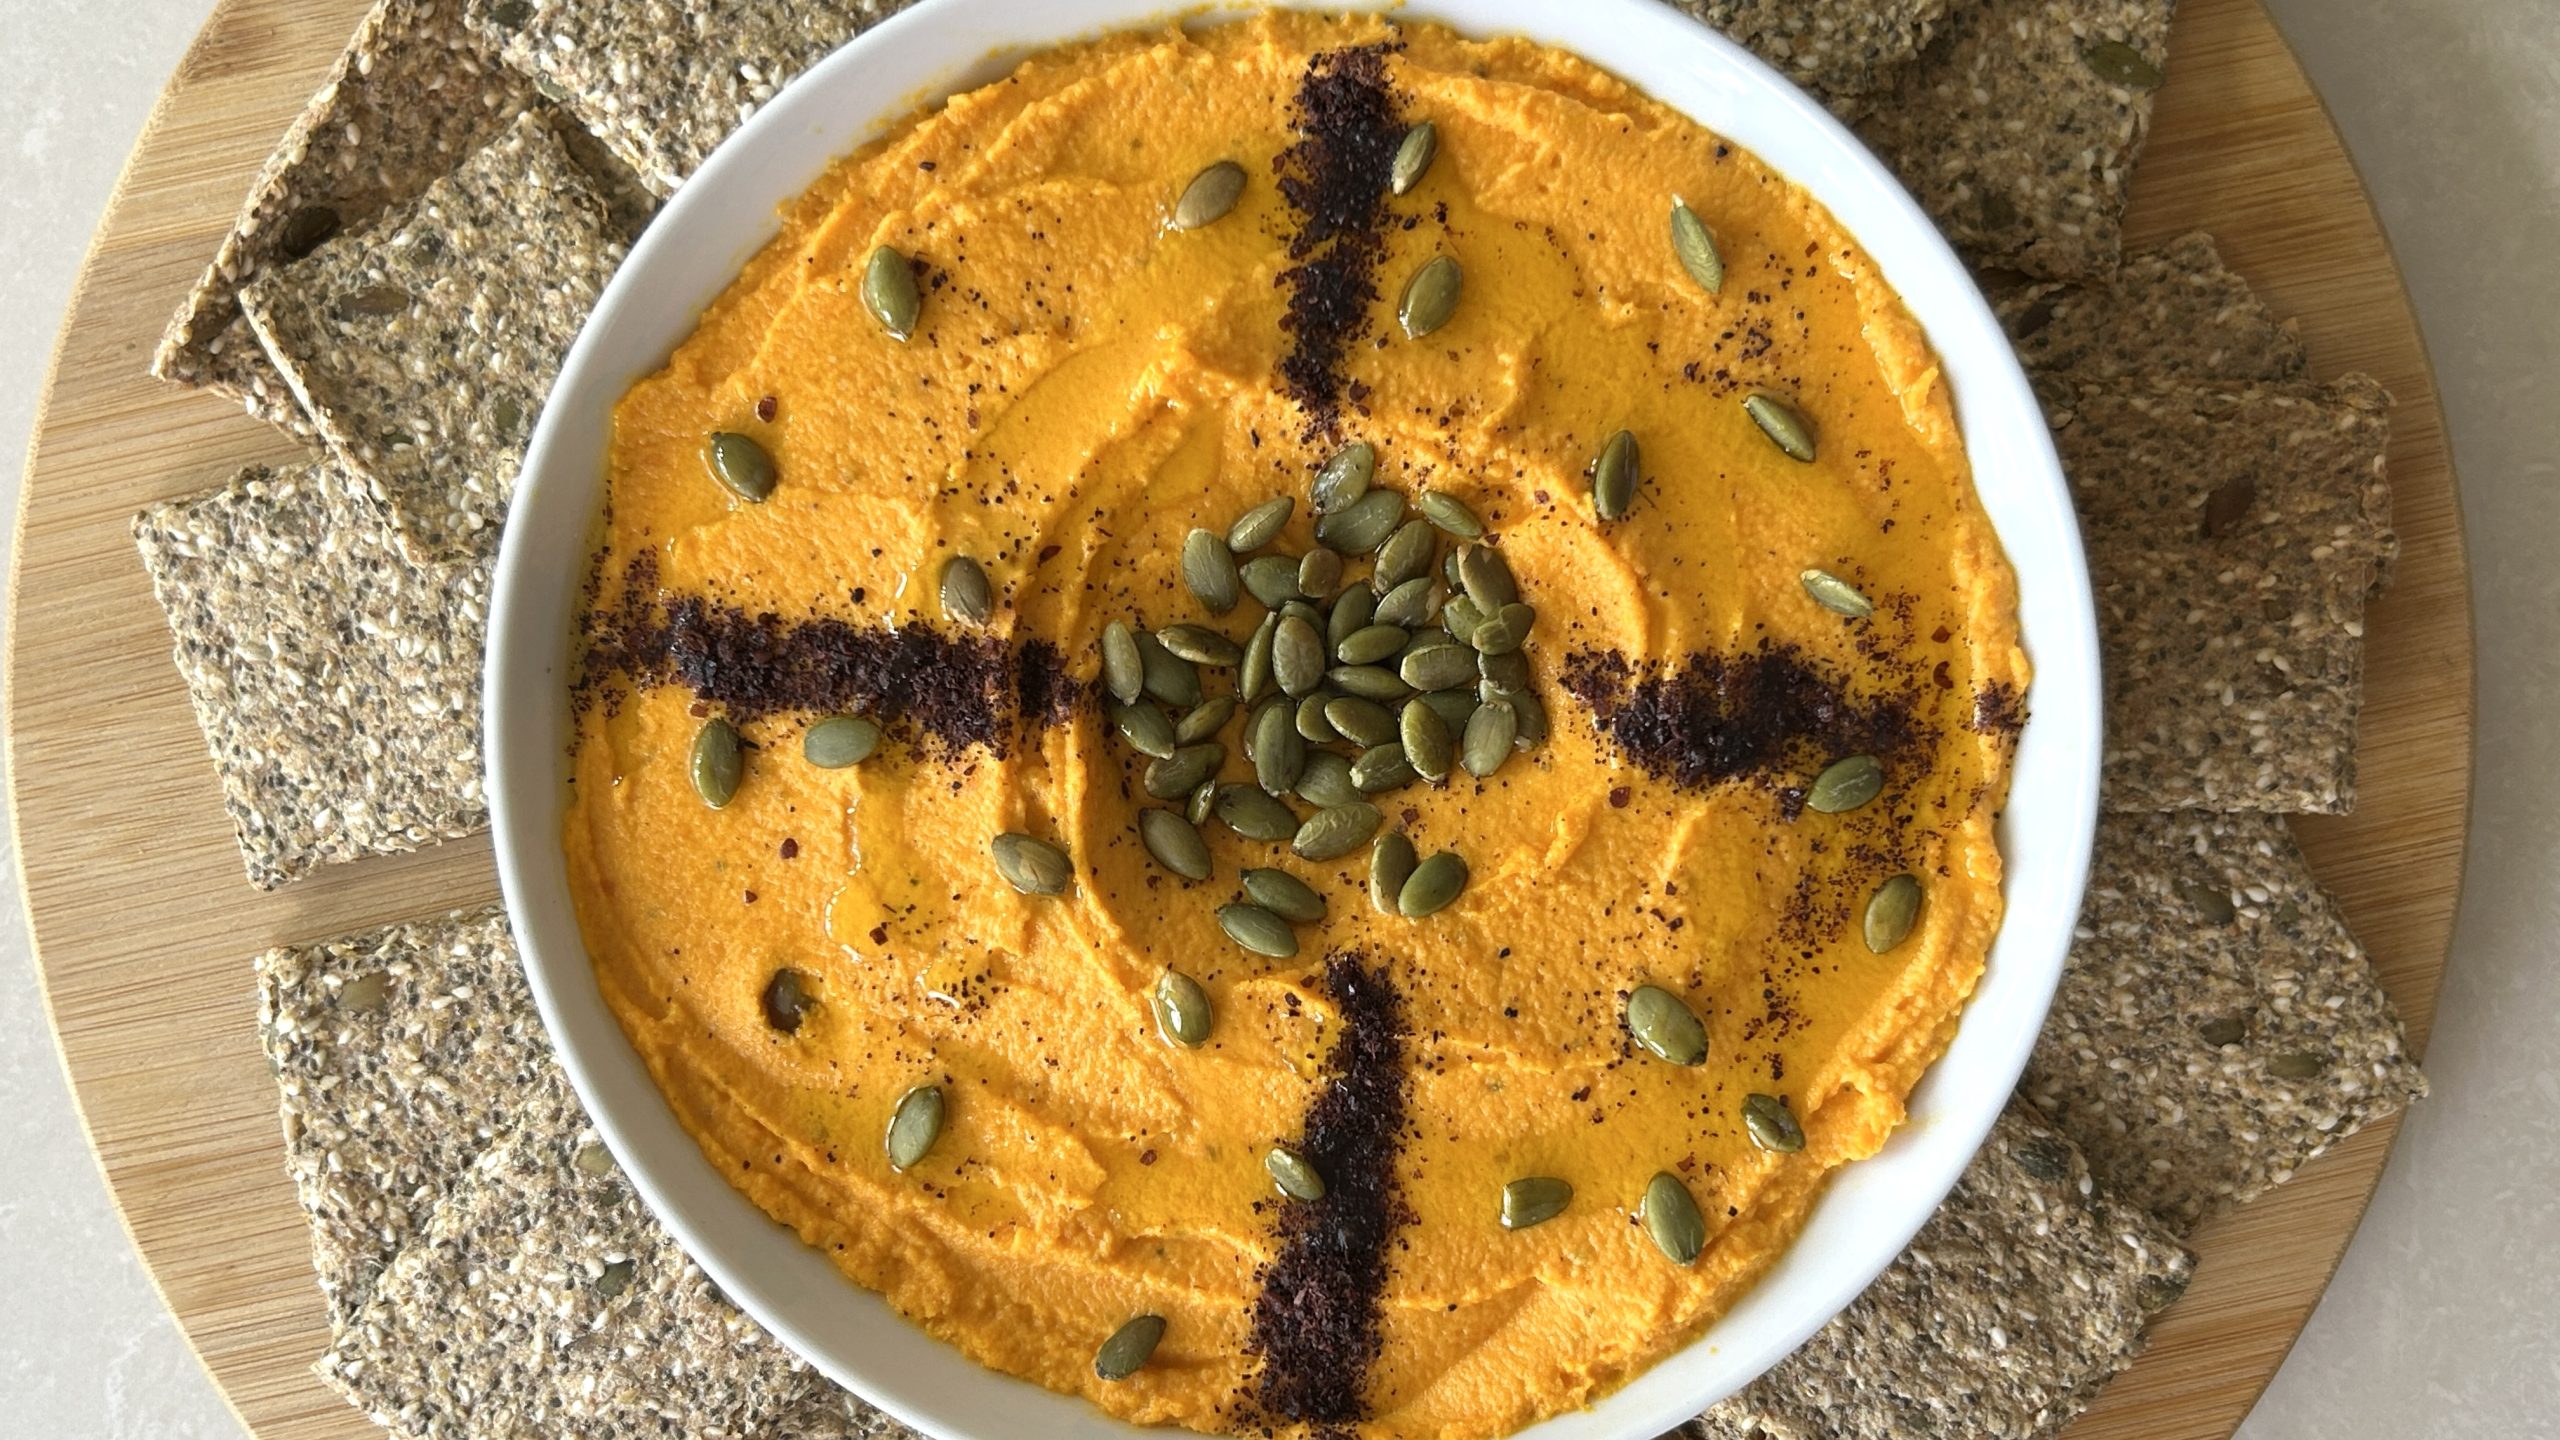
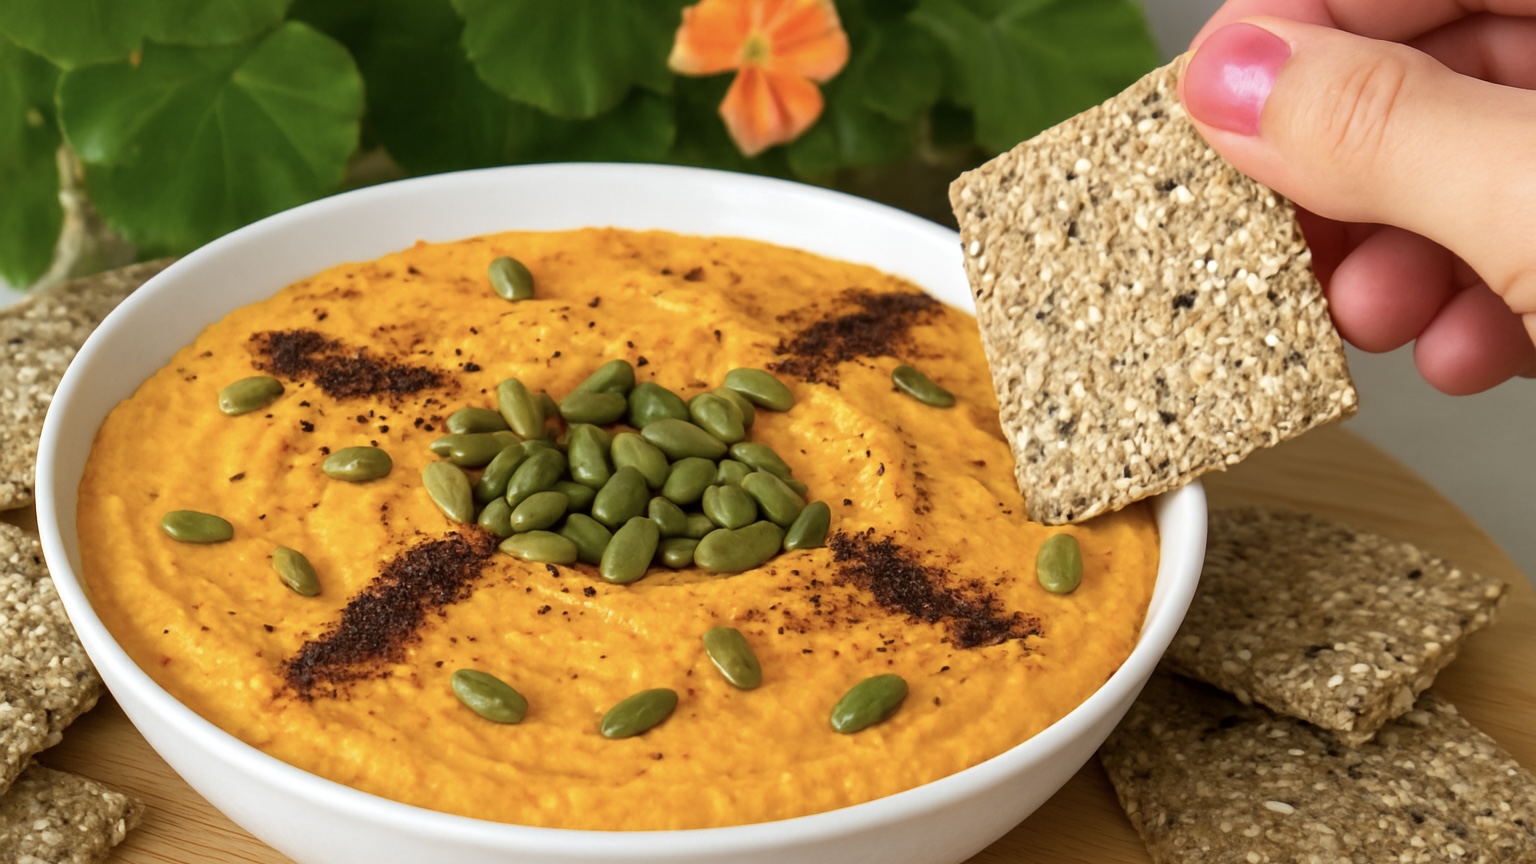
  8. Transfer to a serving plate or bowl. Garnish with roasted pumpkin seeds, a drizzle of olive oil, and a sprinkle of sumac, or customize with your favorite toppings.
  9. Serve right away with crackers, fresh vegetables, as a side to grilled proteins, or refrigerate for later.

Prep time: 20 minutes
Steaming time: 15 minutes
Servings: 8
Suitable for: Vegan and gluten-free diets


Nutritional Information (per serving)

  • Energy: 172 calories

  • Protein: 3.49 g

  • Fat: 13.32 g

  • Carbohydrates: 12.01 g

  • Fiber: 3.7 g

Storage and Recommendations

  • Store in an airtight container in the fridge for up to 4–5 days.

  • Can be frozen for up to 1 month; thaw in the refrigerator before serving.

  • Pair with homemade crackers, fresh vegetables, sandwiches, or grilled proteins.

  • Adjust spices or garnishes to suit your taste.

Falafel Flatbread

Falafel Flatbread

Falafel Flatbread

You know that classic falafel, the crispy, golden nuggets of chickpea goodness packed with herbs and bold spices? They’re usually stuffed inside pita bread with all the trimmings: tahini, pickles, crunchy vegetables. But what if I told you we’re flipping the whole concept on its head? Instead of putting falafel in the bread… we’re making the falafel be the bread! This creative twist is as fun as it is practical, especially for those of us trying to enjoy traditional flavors in lighter, easier, and more adaptable ways.

This falafel flatbread keeps all the rich Middle Eastern charm of the original recipe—chickpeas, garlic, onion, parsley, olive oil, and warm spices, but with a simplified, oven-baked approach that ditches the fryer. By spreading the falafel mix into thin rounds and baking them until they’re golden at the edges, you get sturdy, crispy-edged flatbreads that are perfect for layering with your favorite toppings. They’re soft enough to fold and thick enough to hold creamy hummus, avocado slices, or fresh veggies. And with the addition of optional potato starch, they hold their shape beautifully without being too dense.

Let’s talk about the star of the show here: chickpeas. Chickpeas aren’t just tasty, they’re loaded with nutrients your body craves. These little legumes are a fantastic plant-based source of protein and fiber, which makes them especially filling and supportive of digestion and blood sugar balance. They’re also rich in key minerals like iron, phosphorus, manganese, and folate, nutrients that support everything from energy metabolism to bone health. Regularly including chickpeas in your diet can help with heart health, muscle function, and maintaining a healthy gut. Plus, they’re incredibly versatile and affordable, making them a pantry staple that deserves a regular spot in your weekly meals.

So whether you’re meal-prepping for the week, making a quick lunch, or just want something new and satisfying, these falafel flatbreads might become your new go-to!

Ingredients (Makes 8 Servings)

  • 1 cup (180 g) dried chickpeas, or 2 cups soaked
  • 85 g chopped onion
  • 2 garlic cloves
  • 50 g fresh parsley
  • 3 tbsp olive oil
  • 1 tsp salt
  • 1 tsp ground coriander
  • 1 tsp ground cumin
  • ⅛ tsp chili powder (optional)
  • ½ tsp baking powder
  • 2 tbsp (25 g) potato starch (optional)

Directions

  1. If you’re using dry chickpeas, soak them overnight in cold water, ideally in the fridge. Once softened, drain well. If you’re using canned chickpeas, rinse and drain thoroughly.
  2. In a food processor, combine the soaked chickpeas, chopped onion, garlic cloves, and fresh parsley. Blend until the mixture is sticky, smooth, and well combined.
  3. Stop the blending and add olive oil, salt, coriander, cumin, chili powder (if using), baking powder, and potato starch.
  4. Pulse just a few more times until everything is fully incorporated. The texture should be spreadable but still slightly coarse.
  5. Line a large baking tray (about 37 x 25 cm) with parchment paper.
  6. Using a round cake cutter (about 12.5 cm in diameter), portion out the mixture—about 1½ scoops using a standard ice cream scoop per flatbread. Spread the mixture into a thin round using a spoon.
  7. Repeat until you’ve shaped all the batter into flat rounds.
  8. Place the tray in a preheated oven at 350°F (175°C) and bake for about 35 minutes, or until the edges are golden and the breads feel firm to the touch.
  9. Let cool slightly before serving.
  10. Enjoy your falafel flatbreads topped with hummus, guacamole, avocado slices, sprouts, tomato, pickled onion, or a drizzle of tahini.

Prep Time:
Soaking: 24 hours (if using dry chickpeas)
Prep: 30 minutes
Baking: 35 minutes
Servings: 8

Nutritional Information (Per Serving)

  • Energy: 152 calories
  • Protein: 5.3 g
  • Fat: 6.61 g
  • Carbohydrates: 19.06 g
  • Fiber: 7.5 g

Storage and Serving Tips

  • These flatbreads are vegan and naturally gluten-free.

  • Store cooled falafel flatbreads in an airtight container in the fridge for up to one week.

  • Freeze for up to 3 months—no thawing needed; reheat directly from frozen.

  • Use them as a base for mini pizzas, open-faced sandwiches, or mezze platters. They also make a great wrap for grilled veggies or a grain-free base for your favorite brunch toppings.

Banana & Coconut Ice Cream

Banana & Coconut Ice Cream

Banana & Coconut Ice Cream

When the temperatures rise and the sun starts blazing, all we really want is something cold, creamy, and comforting to beat the heat. But not just any treat. We want something that’s refreshing and delicious—but also made with real, nourishing ingredients we can feel good about. That’s where this banana and coconut ice cream comes in. It’s the kind of recipe you’ll want to make on repeat: not only because it tastes like pure frozen bliss, but because it’s shockingly simple and packed with nutrition. Just two ingredients, one blender, and you’ve got a luscious, scoopable dessert ready to enjoy.

This is one of those recipes that makes you wonder, why didn’t I try this sooner? You don’t need an ice cream maker. You don’t need eggs, dairy, or added sugar. All you need are very ripe bananas and a can of coconut milk or cream. That’s it. The bananas bring all the natural sweetness, while the coconut adds that rich, tropical silkiness that takes the whole thing to another level. And if you want to take it even further—drizzle it with homemade caramel and scatter some roasted peanuts on top for that unbeatable sweet-salty combo. You’ve got a bowl of ice cream that hits all the right notes.

Now let’s talk about bananas—because they are the real star of this recipe. Bananas are one of the most underrated superfoods sitting on your kitchen counter. They’re naturally sweet (perfect for desserts), but they also pack a nutritional punch. Rich in potassium, bananas help regulate blood pressure and support heart health. They’re a great source of vitamin B6, essential for brain development and mood regulation, and they contain vitamin C, which plays a role in immune defense and collagen production. Plus, the dietary fiber in bananas aids digestion and keeps you feeling satisfied longer.

Because they’re high in carbohydrates but low in fat and protein, bananas provide quick energy—making them a great pre-workout snack or afternoon pick-me-up. They also help promote gut health by acting as a prebiotic, feeding the good bacteria in your digestive system. Including bananas in your regular diet is a smart move, especially if you’re looking for whole food-based sources of energy that taste amazing and actually support your body’s needs.

Combined with the creamy richness of coconut milk—a great source of medium-chain triglycerides (MCTs) that may support brain function and satiety—this ice cream becomes more than just a refreshing treat. It becomes a smart choice for anyone seeking better ingredients without sacrificing taste. Let’s get into it!

Ingredients (6 Servings)

  • 620 g frozen banana slices (from 5 large, very ripe bananas)

  • 400 ml canned coconut milk or coconut cream

  • 1 tsp homemade caramel sauce per serving (optional)

  • 1 tsp roasted peanuts per serving (optional)

Directions

  1. Start by preparing your frozen bananas. Slice five large, very ripe bananas and freeze them until solid—ideally overnight.
  2. Once the banana slices are fully frozen, place them into a high-powered food processor.
  3. Add the canned coconut milk or cream to the food processor along with the frozen banana slices.
  4. Blend the mixture until smooth and creamy. This could take a couple of minutes depending on your machine—pause to scrape down the sides as needed.
  5. Once the mixture is smooth and evenly blended, transfer it to a freezer-safe glass container.
  6. Cover the container and place it in the freezer for at least 2 hours.
  7. When the ice cream is firm but scoopable, it’s ready to enjoy.
  8. For a special touch, serve your scoops with a drizzle of homemade caramel and a sprinkle of roasted peanuts—or add any toppings you love like dark chocolate shavings, chopped almonds, or toasted coconut flakes.


Prep Time: 15 minutes
Freezing Time: 2 hours
Servings: 6


Nutritional Information (Per Serving)

  • Energy: 220 calories

  • Protein: 2.46 g

  • Fat: 14.4 g

  • Carbohydrates: 25.45 g

  • Fiber: 2.7 g

Storage & Recommendations

  • Best enjoyed within 1 week for optimal texture.

  • Let sit at room temperature for 5–10 minutes before scooping if it becomes too firm.

  • Feel free to experiment with different toppings: try chopped toasted nuts, dark chocolate curls, or fresh fruit slices for extra flavor and texture.

  • This recipe is vegan, dairy-free, and contains no refined sugars.

Quinoa & Chia Seed Wraps

Quinoa & Chia Seed Wraps

Quinoa & Chia Seed Wraps

Let’s be honest—finding a healthy wrap that’s actually delicious, holds together well, and doesn’t taste like cardboard can feel like chasing a unicorn. But these Quinoa & Chia Seed Wraps? They’re the real deal. Made with just two nourishing ingredients—quinoa and chia seeds—they’re soft, bendy, and wonderfully satisfying. No flour, no gums, no funny ingredients. Just simple, real food that works beautifully and tastes even better.

I was genuinely surprised the first time I made these. They’re not only easy to prepare but also incredibly versatile. Whether you’re rolling them into breakfast burritos, stuffing them with grilled veggies, layering smoked salmon like in the photo, or using them as a base for a quick flatbread pizza, these wraps are up for anything. And they’re so reliable—they don’t break apart or crumble like most store-bought gluten-free options. They bend, fold, roll, and wrap like a dream.

But let’s take a second to talk about quinoa, because it really deserves the spotlight here. This ancient seed is often mistaken for a grain, but it’s technically a seed that’s naturally gluten-free, making it perfect for sensitive tummies. What makes quinoa so special is that it’s a complete plant-based protein, meaning it contains all nine essential amino acids. That’s a rare gem in the plant world! It’s also a great source of iron, magnesium, B vitamins, and fiber, all of which support your energy levels, digestive health, and overall well-being.

If you’re looking to level up your meals with something that’s both practical and powerful, quinoa is the kind of ingredient that should be making regular appearances in your kitchen. It’s especially beneficial for anyone on a plant-based or gluten-free diet, and it pairs beautifully with chia seeds—tiny but mighty powerhouses that bring fiber, antioxidants, omega-3 fats, and plant protein to the mix. And when soaked, chia becomes beautifully gelatinous, helping to hold the wraps together without any added starch or flour.

The end result? Wraps that are soft yet sturdy, light yet filling, and so good you’ll forget they’re actually good for you. Try them once, and they might just become a staple in your home like they are in mine.

Ingredients (Yields 10 Wraps)

  • 1 cup (175 g) raw quinoa
  • 4 tablespoons (40 g) chia seeds
  • 2 cups (470 ml) water for blending, plus ½ cup water for chia softening
  • ½ cup (120 ml) water (for soaking chia seeds)
  • ¼ teaspoon salt
  • Coconut oil or another neutral oil, for brushing the pan

Directions

  1. Soak quinoa in water for at least 4 hours or overnight in the refrigerator.
  2. Rinse the soaked quinoa thoroughly under cold water, then drain well to remove excess moisture.
  3. In a separate bowl, combine chia seeds with ½ cup water. Stir well and let sit for 20 to 60 minutes until it turns into a gel.
  4. Add the drained quinoa, chia gel, salt, and the 2 cups water for blending into a blender.
  5. Blend until the batter is completely smooth and pourable—similar to crepe batter.
  6. Pour the batter into a bowl and let it rest for a few minutes while your skillet preheats.
  7. Heat a nonstick skillet over medium heat. Lightly brush the surface with coconut or neutral oil.
  8. Pour about ½ cup of the batter into the skillet and tilt it in a circular motion to spread the batter evenly into a thin layer.
  9. Cook for about 2 minutes, or until the surface looks dry and the edges begin to lift. Flip the wrap carefully.
  10. Cook the second side for another 1–2 minutes, or until fully cooked. The wrap may inflate or form a small balloon—this is a good sign!
  11. Transfer to a plate and repeat with the remaining batter, brushing the pan as needed.
  12. Serve the wraps warm or allow them to cool completely for storage.

Prep Time
20 minutes (plus overnight soaking)

Cooking Time
About 1 hour total (for 10 wraps)

Yields
10 wraps

Nutritional Information (Per Wrap)

  • Energy: 84 calories
  • Protein: 3.13 g
  • Fat: 2.29 g
  • Carbohydrates: 12.91 g
  • Fiber: 2.2 g
  • Iron: 1.11 mg

Naturally gluten-free.
100% plant-based (vegan).

Storage & Serving Tips

  • Store wraps in an airtight container in the refrigerator for up to 5 days.

  • Reheat briefly in a skillet or microwave to soften before serving.

  • Freeze between pieces of parchment paper for up to 3 months.

  • These wraps are ideal for tacos, burritos, quesadillas, flatbread-style pizzas, or simple sandwich wraps.

Banana & Oat Baked Bars

Banana & Oat Baked Bars

Banana & Oat Baked Bars

If you’ve ever found yourself staring at two overripe bananas on your kitchen counter and wondering what on earth to do with them—this is your answer. These Banana & Oat Baked Bars are one of those magical recipes that prove you don’t need a long list of ingredients or complicated steps to make something nourishing and delicious. With just a few simple pantry staples, you can create soft, naturally sweet bars that feel like a treat but are wholesome enough to eat for breakfast or as a treat.

There’s something incredibly satisfying about working with minimal ingredients, especially when they’re as powerful as bananas and oats. This recipe is perfect for busy mornings, after-school snacks, or those moments when you want a little something sweet without reaching for a processed option. Plus, it’s totally customizable—add walnuts for crunch, chocolate chips for a touch of indulgence, or a dash of cinnamon for warmth. You’re in control here, and the simplicity of the base means there’s room to play and personalize.

And let’s not forget how kid-friendly these bars are. They’re soft enough for little ones, naturally sweet without any added sugar, and packed with nutrients that support energy and focus—making them a mom-approved favorite in lunchboxes or after-nap snacks. Adults love them too, especially if you’re looking to watch your calorie intake.

Now, let’s take a closer look at the real heroes of this recipe: bananas and oats.

Bananas are far more than just a sweet, creamy fruit. They’re a fantastic natural source of potassium, which is essential for heart health and muscle function, as well as vitamin B6, which helps support brain health and regulate mood. They’re also rich in antioxidants and prebiotic fibers, which feed your gut’s friendly bacteria and promote better digestion. Their natural sugars (fructose and glucose) give a gentle energy lift without spiking blood sugar levels the way refined sugars do.

Oats, on the other hand, are a superstar grain that deserves a regular spot in every kitchen. They’re high in beta-glucan, a type of soluble fiber known for its cholesterol-lowering and blood sugar-stabilizing benefits. Oats are also a solid source of plant-based protein, magnesium, iron, and manganese, making them especially important for vegetarians and anyone focused on building a more nutrient-dense diet. Their slow-digesting carbs keep you full longer, which is why these bars work so well as a lasting snack or on-the-go breakfast.

Together, bananas and oats create a naturally sweet, hearty, and satisfying foundation for baked goods that are comforting and nourishing at the same time. Add this recipe to your regular rotation, and you’ll always have a better-for-you option when the sweet craving hits—or when you just want to turn two ripe bananas into something delicious.

Ingredients

  • 2 large ripe bananas (~280 g peeled)

  • 1 cup (90 g) rolled oats

  • 1/3 cup (30 g) oat flour (or grind your own from rolled oats)

  • 1 tsp. baking powder (optional, for extra fluffiness)

  • 30 g chopped walnuts (optional)

  • 25 g dark chocolate chips (optional)


Directions

  1. Preheat your oven to 350°F (180°C).
  2. Prepare a mini loaf tin by lightly greasing it and lining with parchment paper to make removal easy.
  3. If using homemade oat flour, grind your rolled oats in a blender or coffee grinder until finely ground.
  4. In a large mixing bowl, mash the ripe bananas thoroughly until smooth and puréed.
  5. Add the rolled oats, oat flour, and baking powder (if using) to the mashed bananas. Mix until just combined—avoid overmixing.
  6. Spoon the batter into your prepared mini loaf tin and smooth the tops with the back of a spoon or teaspoon.
  7. If desired, top each bar with chopped walnuts and dark chocolate chips for an extra crunch and rich, chocolatey flavor.
  8. Bake in the preheated oven for about 30 minutes, or until a toothpick inserted in the center comes out clean.
  9. Let the bars cool in the tin for a few minutes, then transfer them to a wire rack to cool completely before serving.


Prep Time: 15 minutes
Baking Time: 30 minutes
Servings: 7 bars


Nutritional Information (Per Serving)

  • Energy: 152 calories

  • Protein: 4.26 g

  • Fat: 5.63 g

  • Carbohydrates: 23.06 g

  • Fiber: 3.5 g

Storage & Recommendations

  • Store in an airtight container at room temperature for up to 2 days.

  • Refrigerate for up to 1 week or freeze for up to 3 months in a sealed bag or container.

  • For a dessert twist, warm slightly and drizzle with caramel or coconut cream.

Dietary Notes
This recipe is naturally gluten-free (when using certified gluten-free oats) and vegan, making it suitable for a variety of dietary needs.