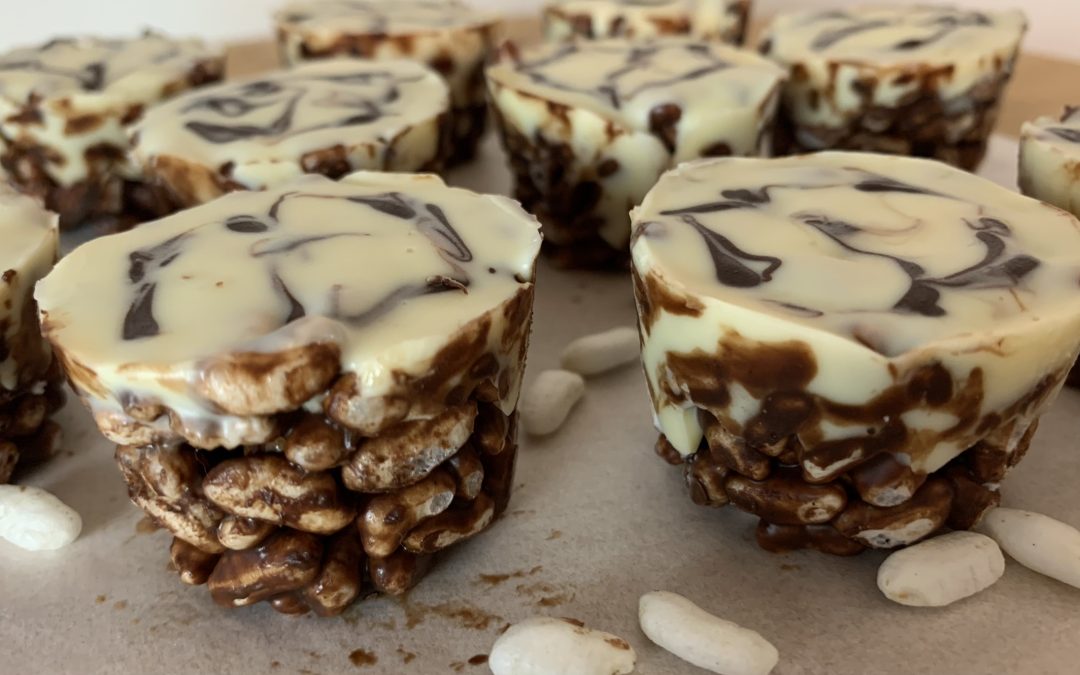
Chocolate Rice Krispies
Chocolate Rice Krispies

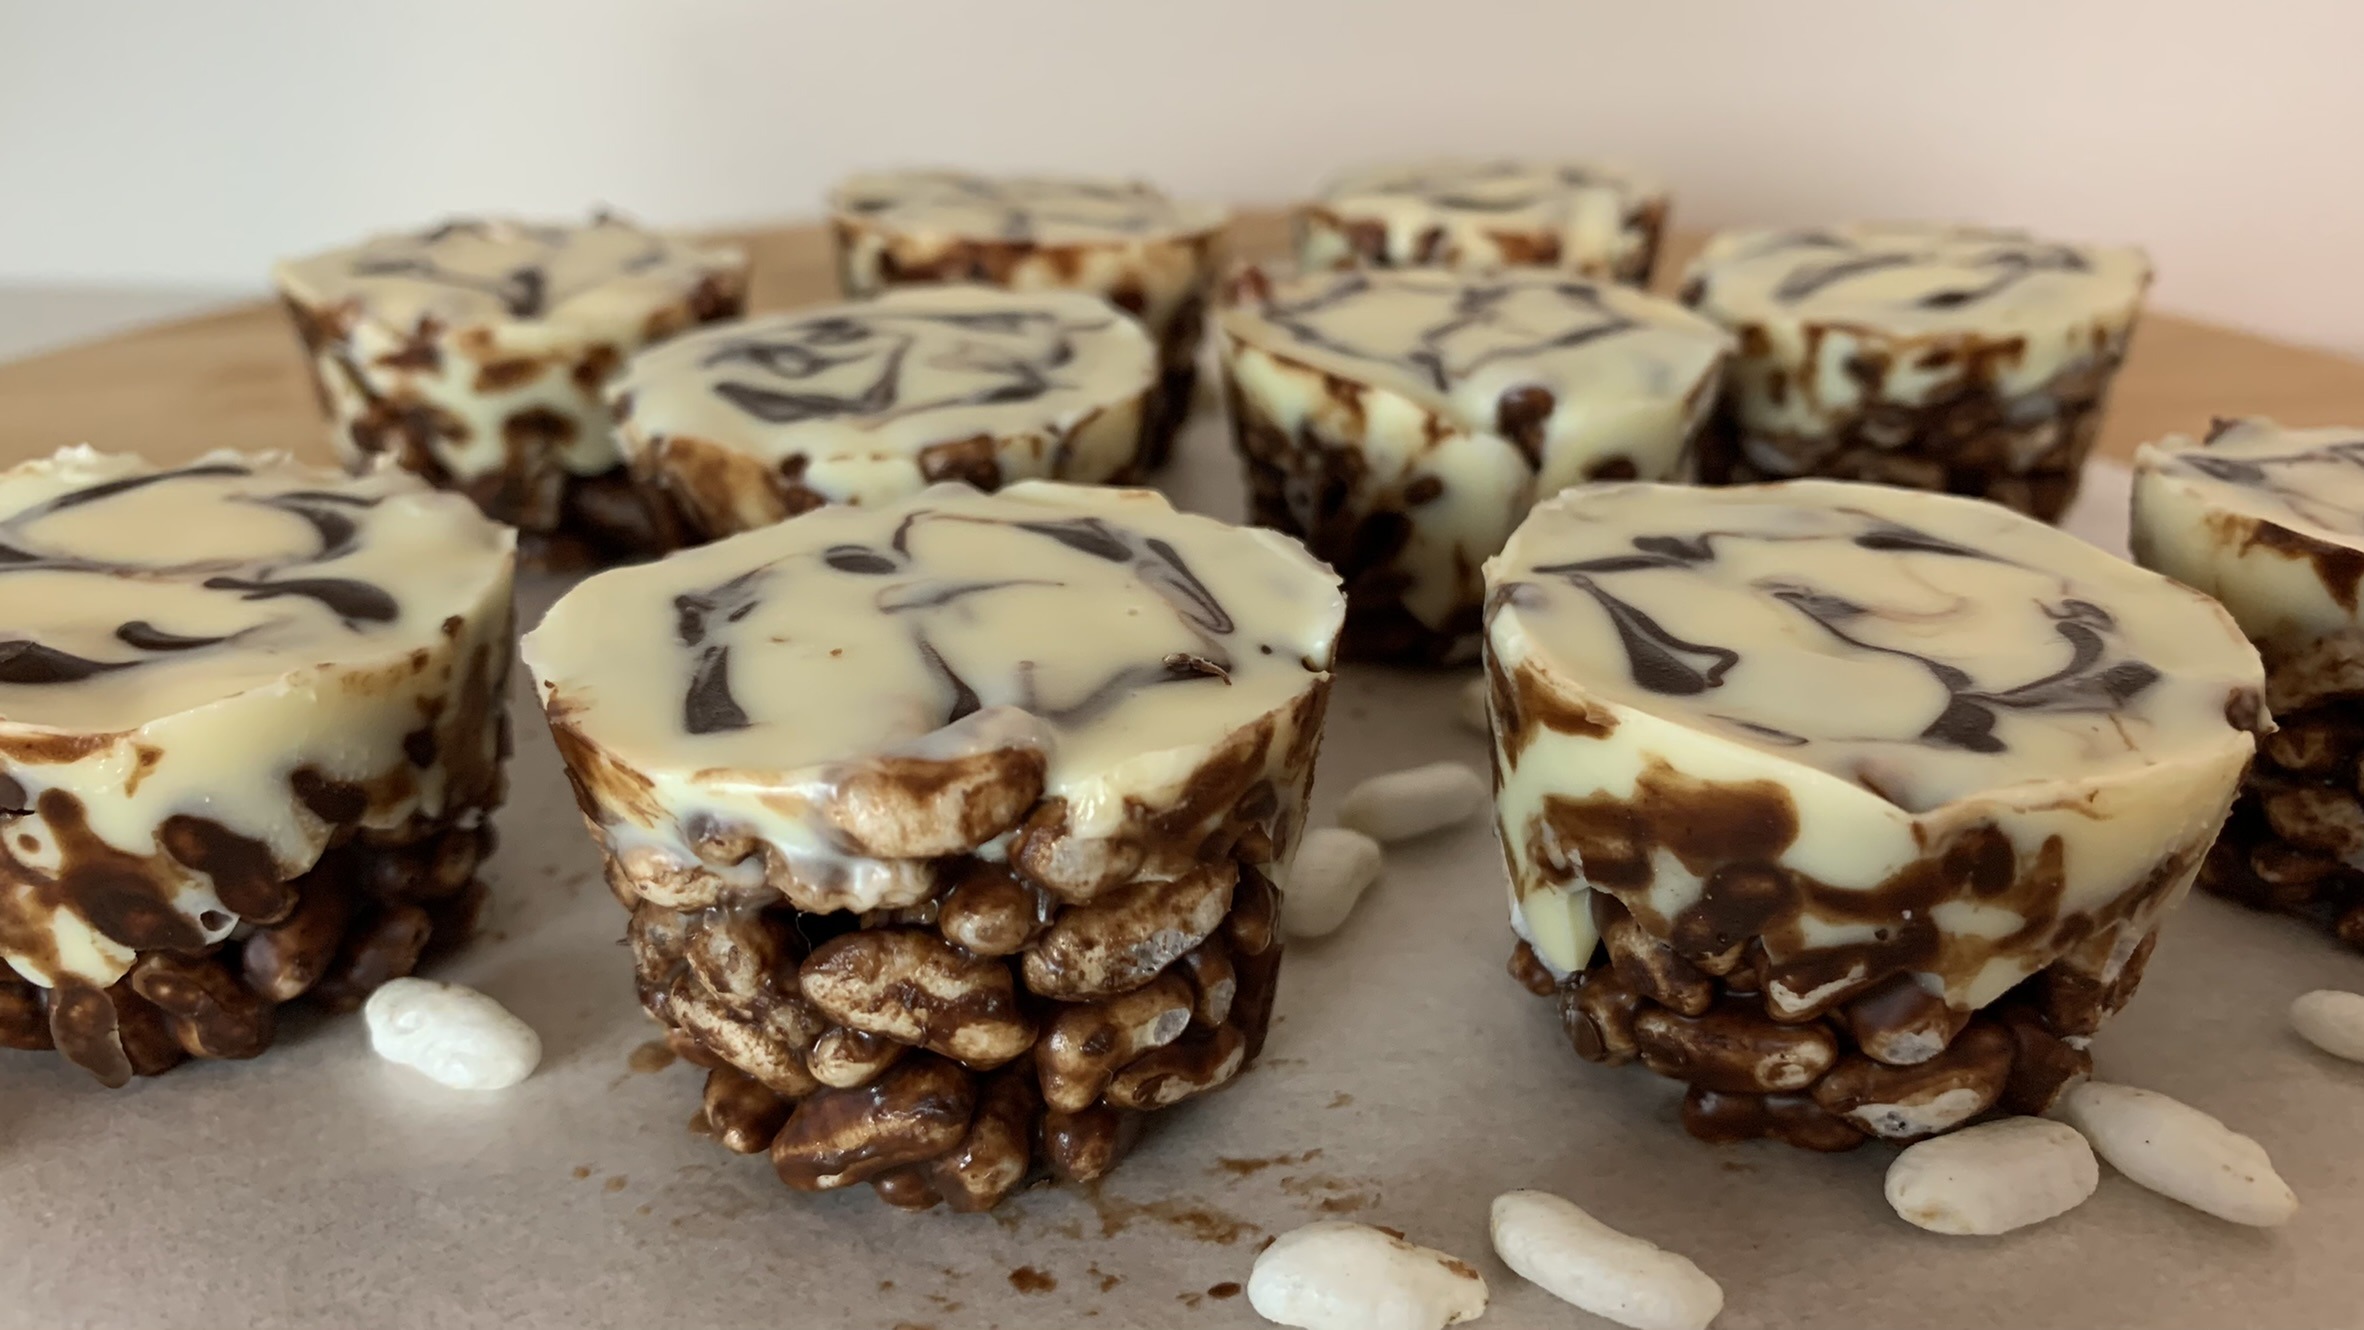
Looking for a fun and easy treat that the whole family can get involved in? Our Chocolate Rice Krispies are just the thing! Perfect for festive occasions like Halloween or any time you’re in the mood for something sweet and crispy, these little bites are as fun to make as they are to eat.
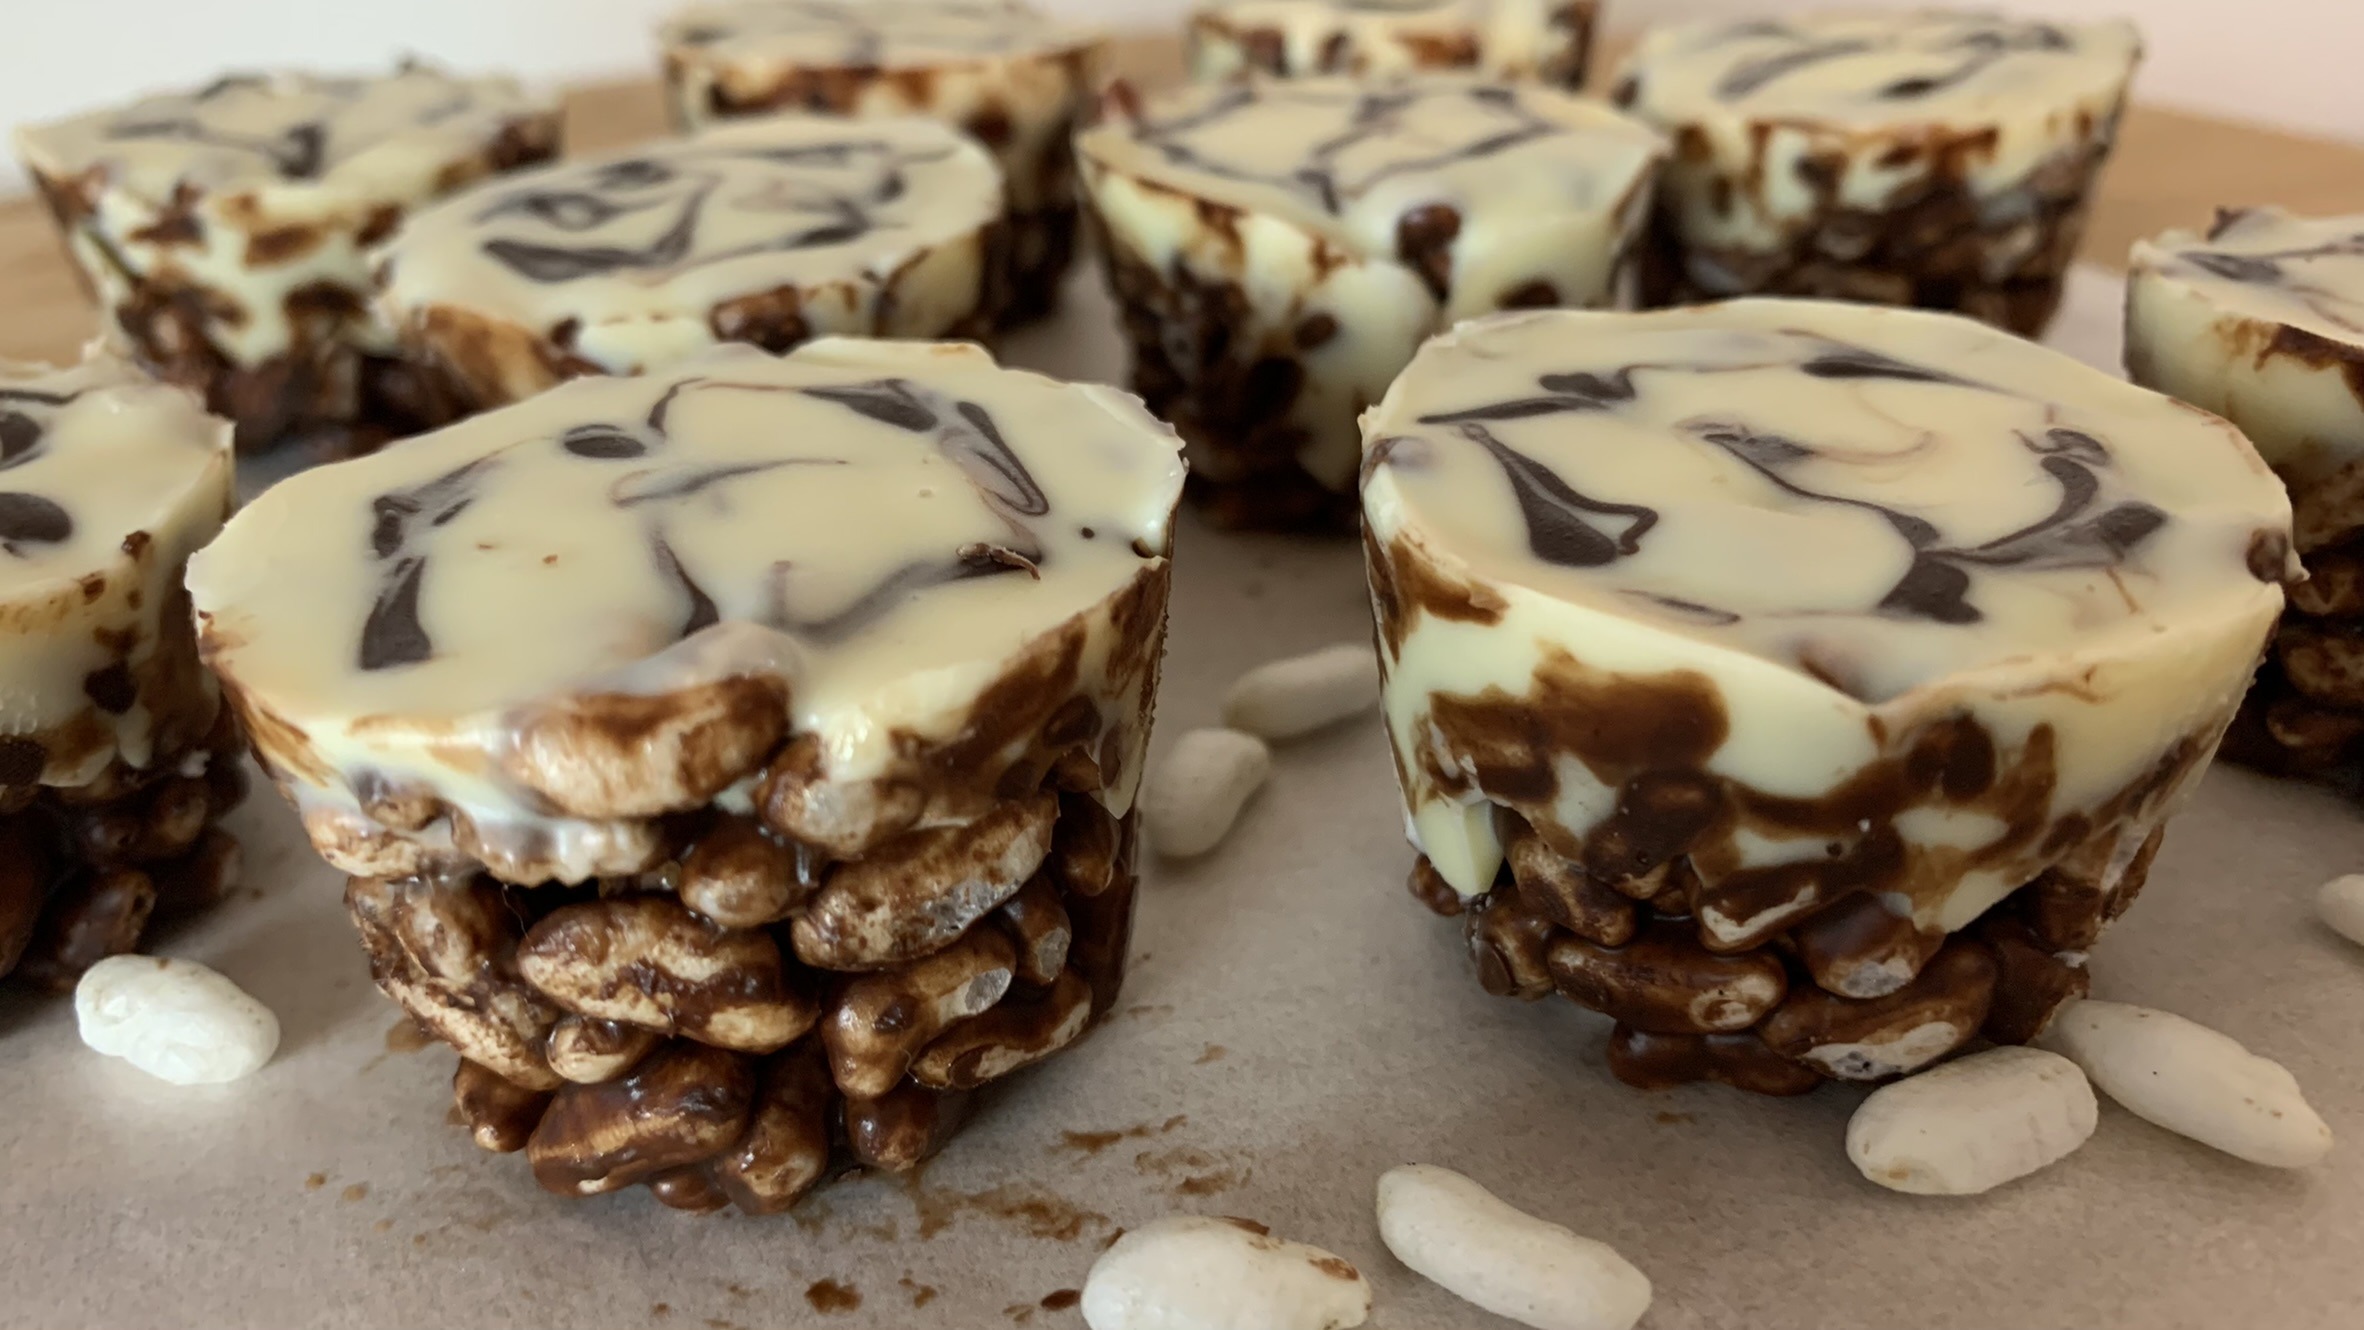
What makes these Chocolate Rice Krispies so special? It’s all about the combination of light, airy puffed rice and rich, luscious chocolate. Puffed rice is not only a great base for this treat, but it’s also low in calories and adds a delightful crunch. Plus, when you use high-quality dark chocolate, you’re giving your body a dose of antioxidants, which can help protect your cells and support heart health. And let’s not forget how much fun it is to melt, mix, and mold these treats into whatever shapes and designs you like!
So gather the kids, get creative with your chocolate molds, and let the joy of making (and eating) these Chocolate Rice Krispies bring you closer together. After all, the best memories are made in the kitchen!
Ingredients
- 1 ⅓ cups puffed rice
- ⅓ cup dark chocolate
- 45 g white chocolate (optional)
- 1 tbsp. coconut oil
Directions
- Begin by melting the dark chocolate and coconut oil together.
- In a large mixing bowl, combine the puffed rice with the melted dark chocolate mixture. Stir until the puffed rice is evenly coated with chocolate.
- Fill chocolate molds with the chocolate-coated puffed rice mixture. Press down gently to flatten the top and ensure the mixture fills the molds evenly.
- Place the filled molds in the refrigerator to chill and set for at least 1 hour, allowing the Rice Krispies to take their final shape.
- Melt the white chocolate and drizzle it over the top of the Rice Krispies, creating designs or patterns as desired.
- Allow the chocolate drizzle to set before serving or storing.
Serving Information
- Servings: 10 Krispies
- Prep Time: 30 minutes
- Time in the Fridge: 1 hour
Nutritional Information (Per Krispie)
- Energy: 101 calories
- Protein: 1.28 g
- Fat: 7.44 g
- Carbohydrates: 8.14 g
- Fiber: 1.5 g
Storage and Recommendations
- Store leftover Rice Krispies in an airtight container for up to 1 week in the fridge or up to 3 months in the freezer.
- Get creative with different chocolate molds, flavors, and designs to make each batch unique.
- These treats are vegan and gluten-free, making them a perfect option for various dietary needs.