Gluten-Free Lemon Bars
Gluten-Free Lemon Bars

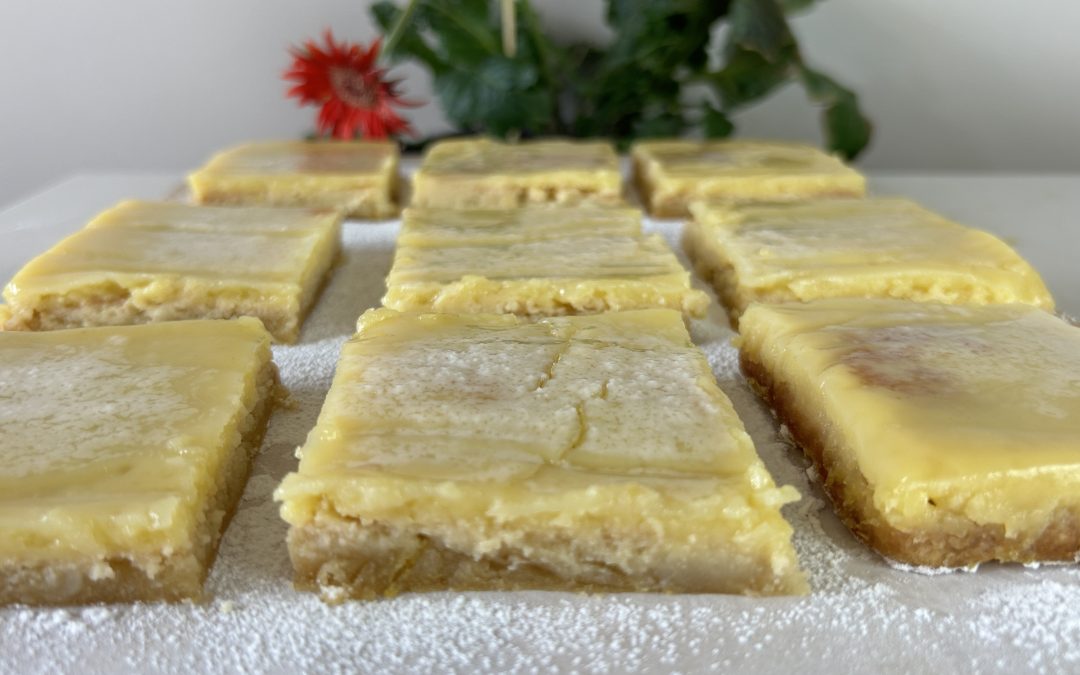
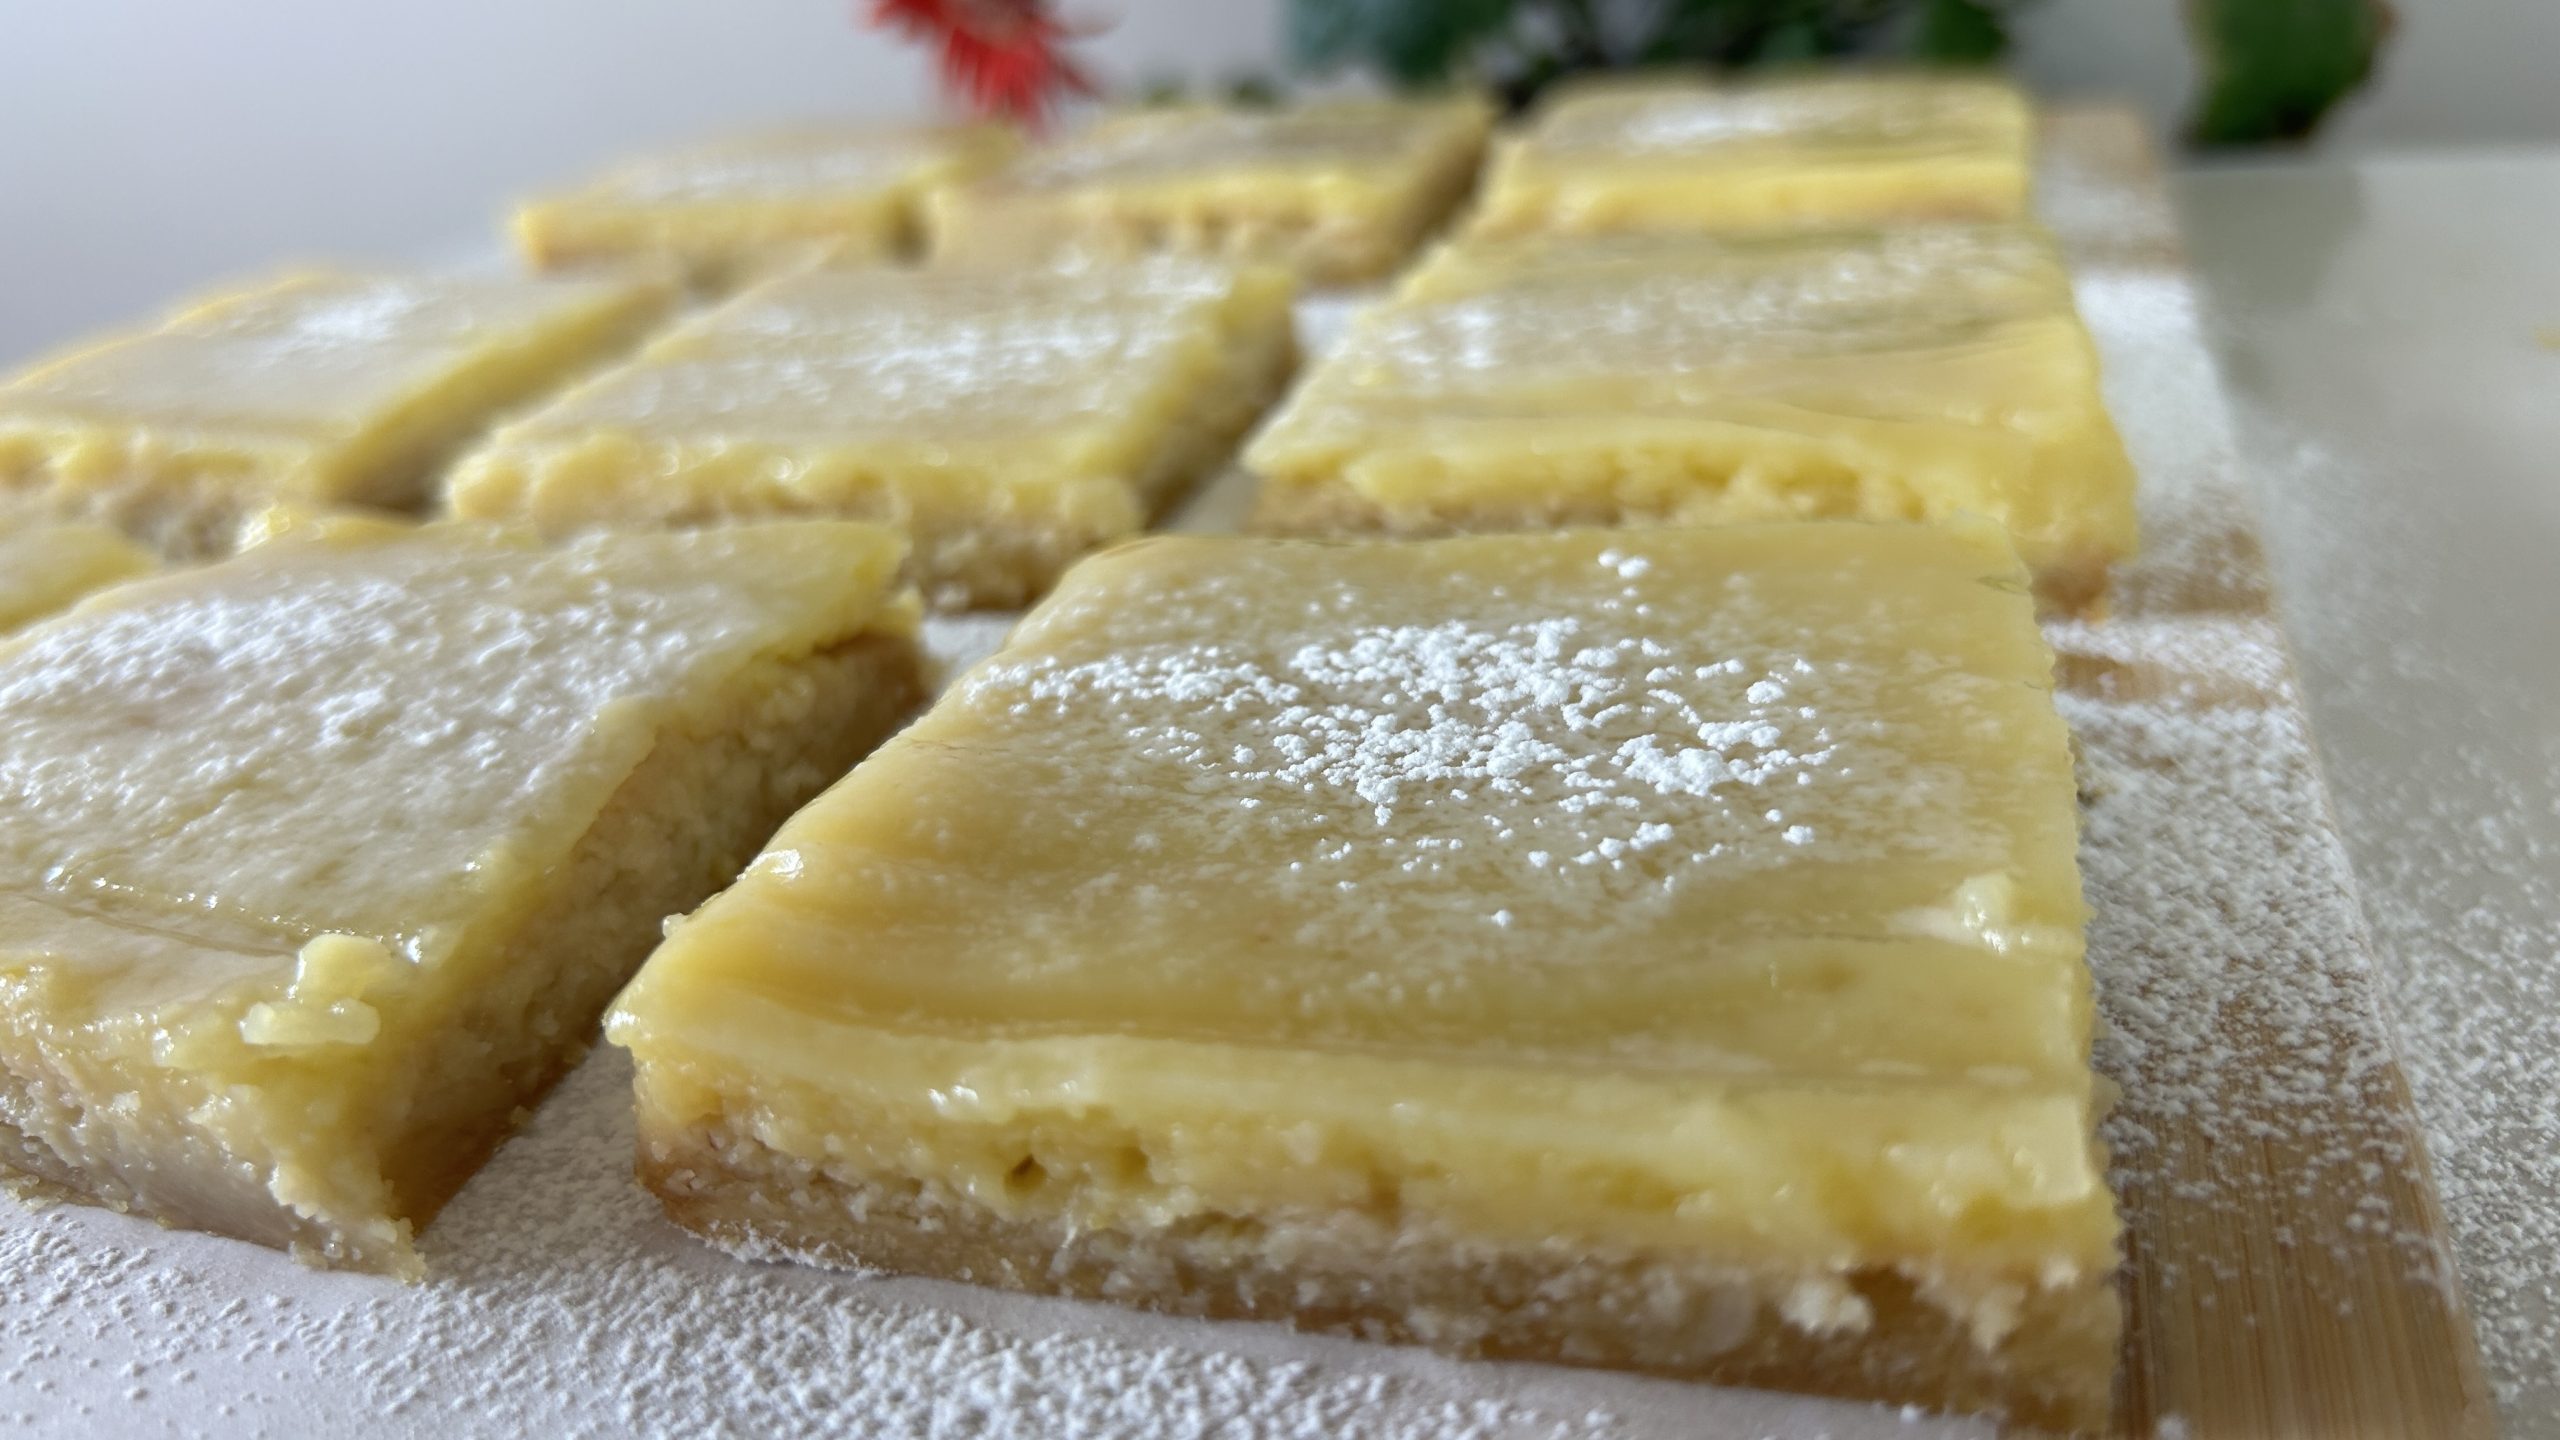
These gluten-free lemon bars are our take on the classic dessert, offering a deliciously simple version with only five ingredients. With a bright, lemony flavor and a soft, melt-in-your-mouth texture, these bars are perfect for anyone looking for an easy, sweet treat. Made with almond flour, fresh lemon juice, and naturally sweetened with maple syrup, they are as wholesome as they are delicious.
Almond flour, the primary ingredient in these lemon bars, is a fantastic alternative to traditional wheat flour, especially for those following a gluten-free diet. Almond flour is not only gluten-free but also rich in vitamin E, magnesium, and heart-healthy monounsaturated fats. Incorporating almond flour into your diet can help regulate blood sugar levels, support heart health, and provide sustained energy without the spike associated with refined carbohydrates. These lemon bars are not just a treat but a nutritious addition to your diet, making them a dessert you can feel good about enjoying.
These gluten-free lemon bars offer a delightful balance of tangy and sweet, with a buttery almond crust that complements the zesty lemon filling. Perfect for any occasion, they’re sure to become a favorite in your gluten-free dessert repertoire!
Ingredients
- 2 cups (180 g) almond flour
- 1/4 cup maple syrup (for the crust)
- 1/2 cup maple syrup (for the lemon batter)
- 4 large eggs
- 2 tbsp cornstarch
- 3 or 4 large lemons (for 1 cup of fresh lemon juice)
- Zest of 2 lemons (1 for the crust and 1 for the lemon batter)
- Powdered sugar (optional)
Directions
- Preheat the oven to 350°F (180°C) and line an 8” x 8” baking pan with parchment paper.
- In a large bowl, combine almond flour, zest of 1 lemon, and maple syrup. Mix until you have a crumbly dough that sticks together. Press this evenly into the bottom of your lined pan.
- Bake the crust for 10 minutes, then remove it from the oven and allow it to cool.
- For the filling, juice enough lemons to make 1 cup of fresh lemon juice.
- In a separate bowl, beat the eggs. Add maple syrup, the fresh lemon juice, zest from another lemon, and whisk together. Gradually mix in the cornstarch until fully incorporated and smooth.
- Pour the filling over the cooled crust and bake for another 20-25 minutes until the filling is set and no longer liquid.
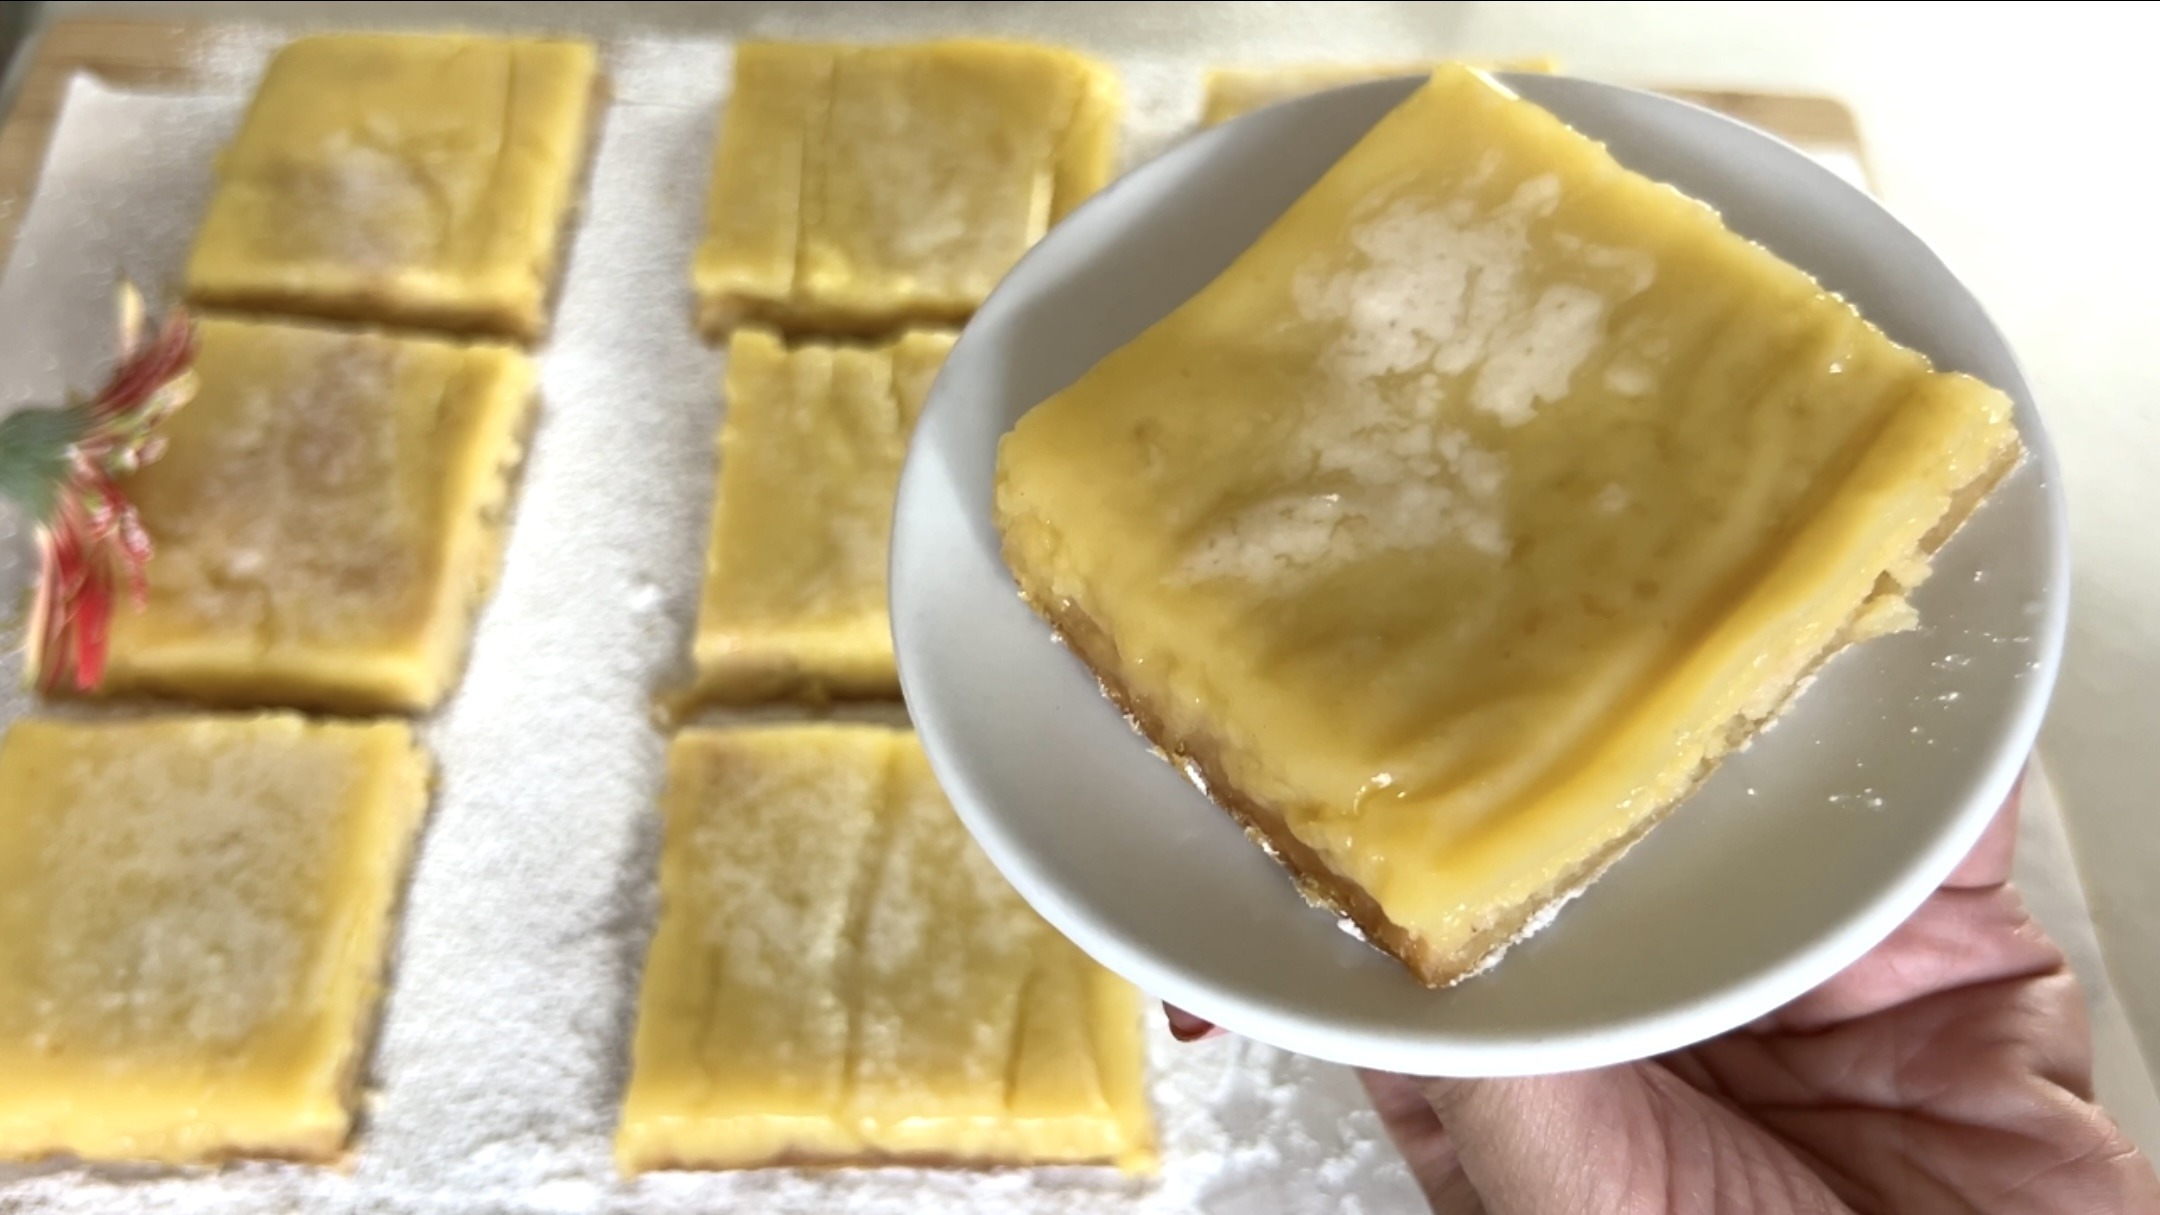
- Let the bars cool to room temperature, then refrigerate for at least 3 hours. Cut into portions, dust with powdered sugar, and serve.
Prep Time
- 9 Servings
- 30 mins Prep
- 10 mins + 25 mins Baking
Nutritional Information (Per 1 Serving)
- Energy: 229 calories
- Protein: 7.13 g
- Fat: 12.18 g
- Carbohydrates: 25.56 g
- Fiber: 2.6 g
Storage and Recommendations
- Store these lemon bars in an airtight container in the fridge for up to one week.
- For best results, allow the bars to chill thoroughly before cutting and serving.
- They can also be frozen for up to two months.