Yellow Split Pea Bagels
Yellow Split Pea Bagels

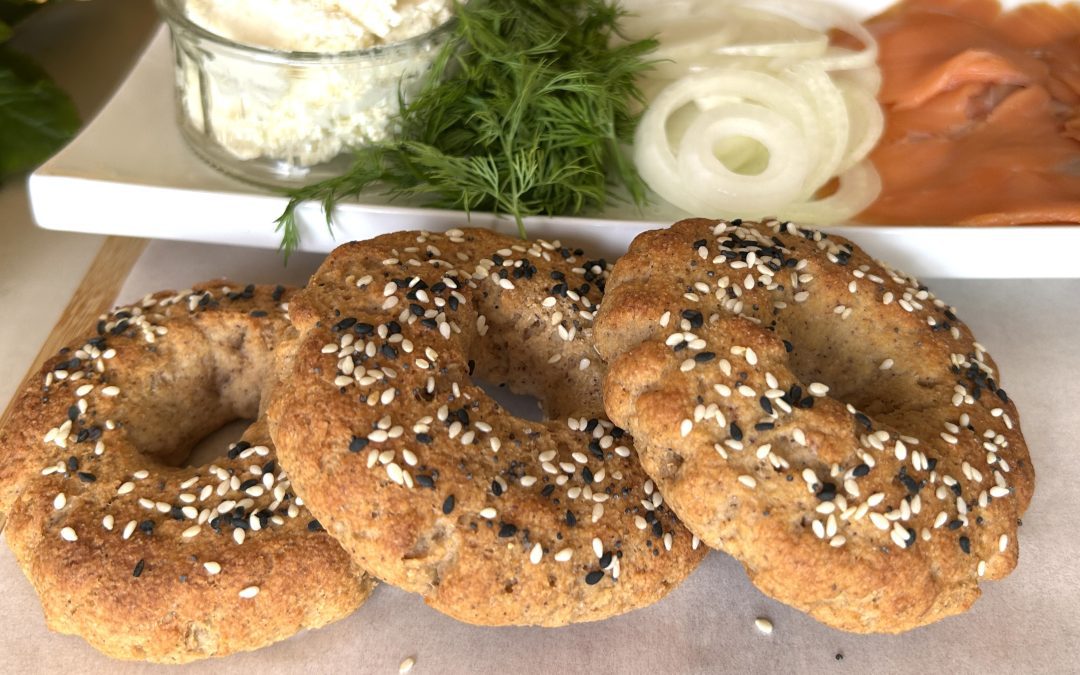
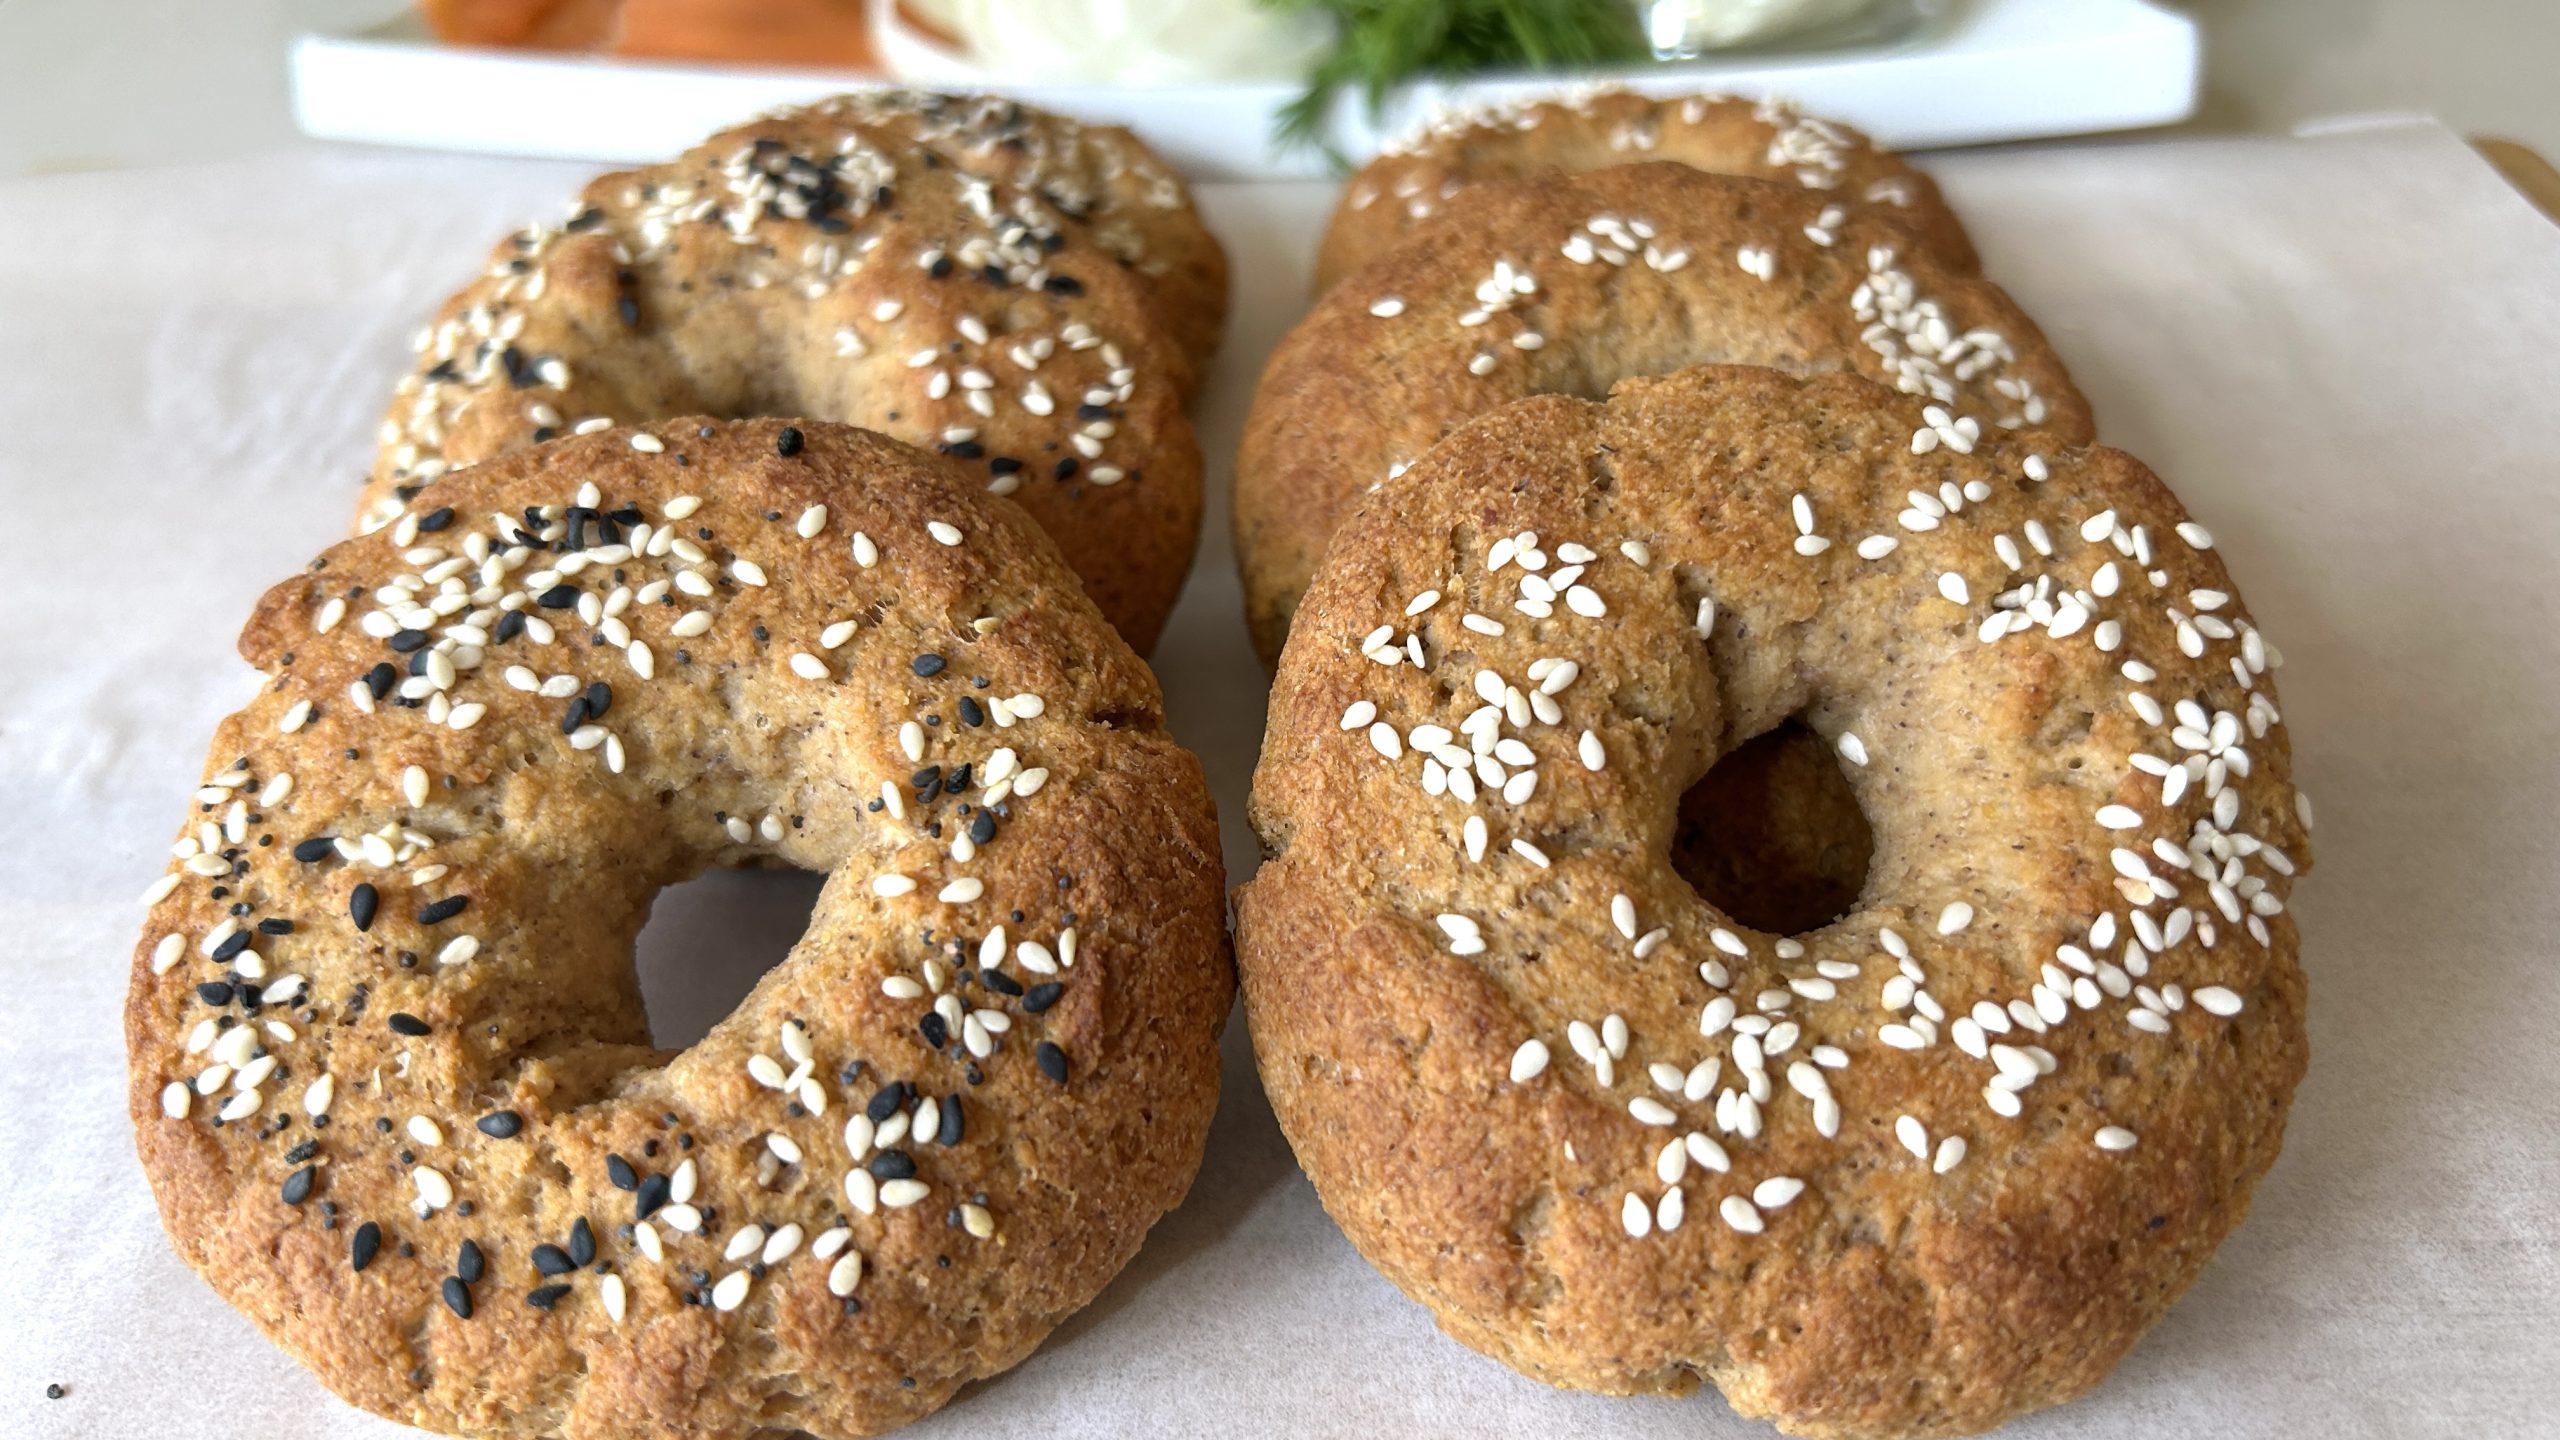
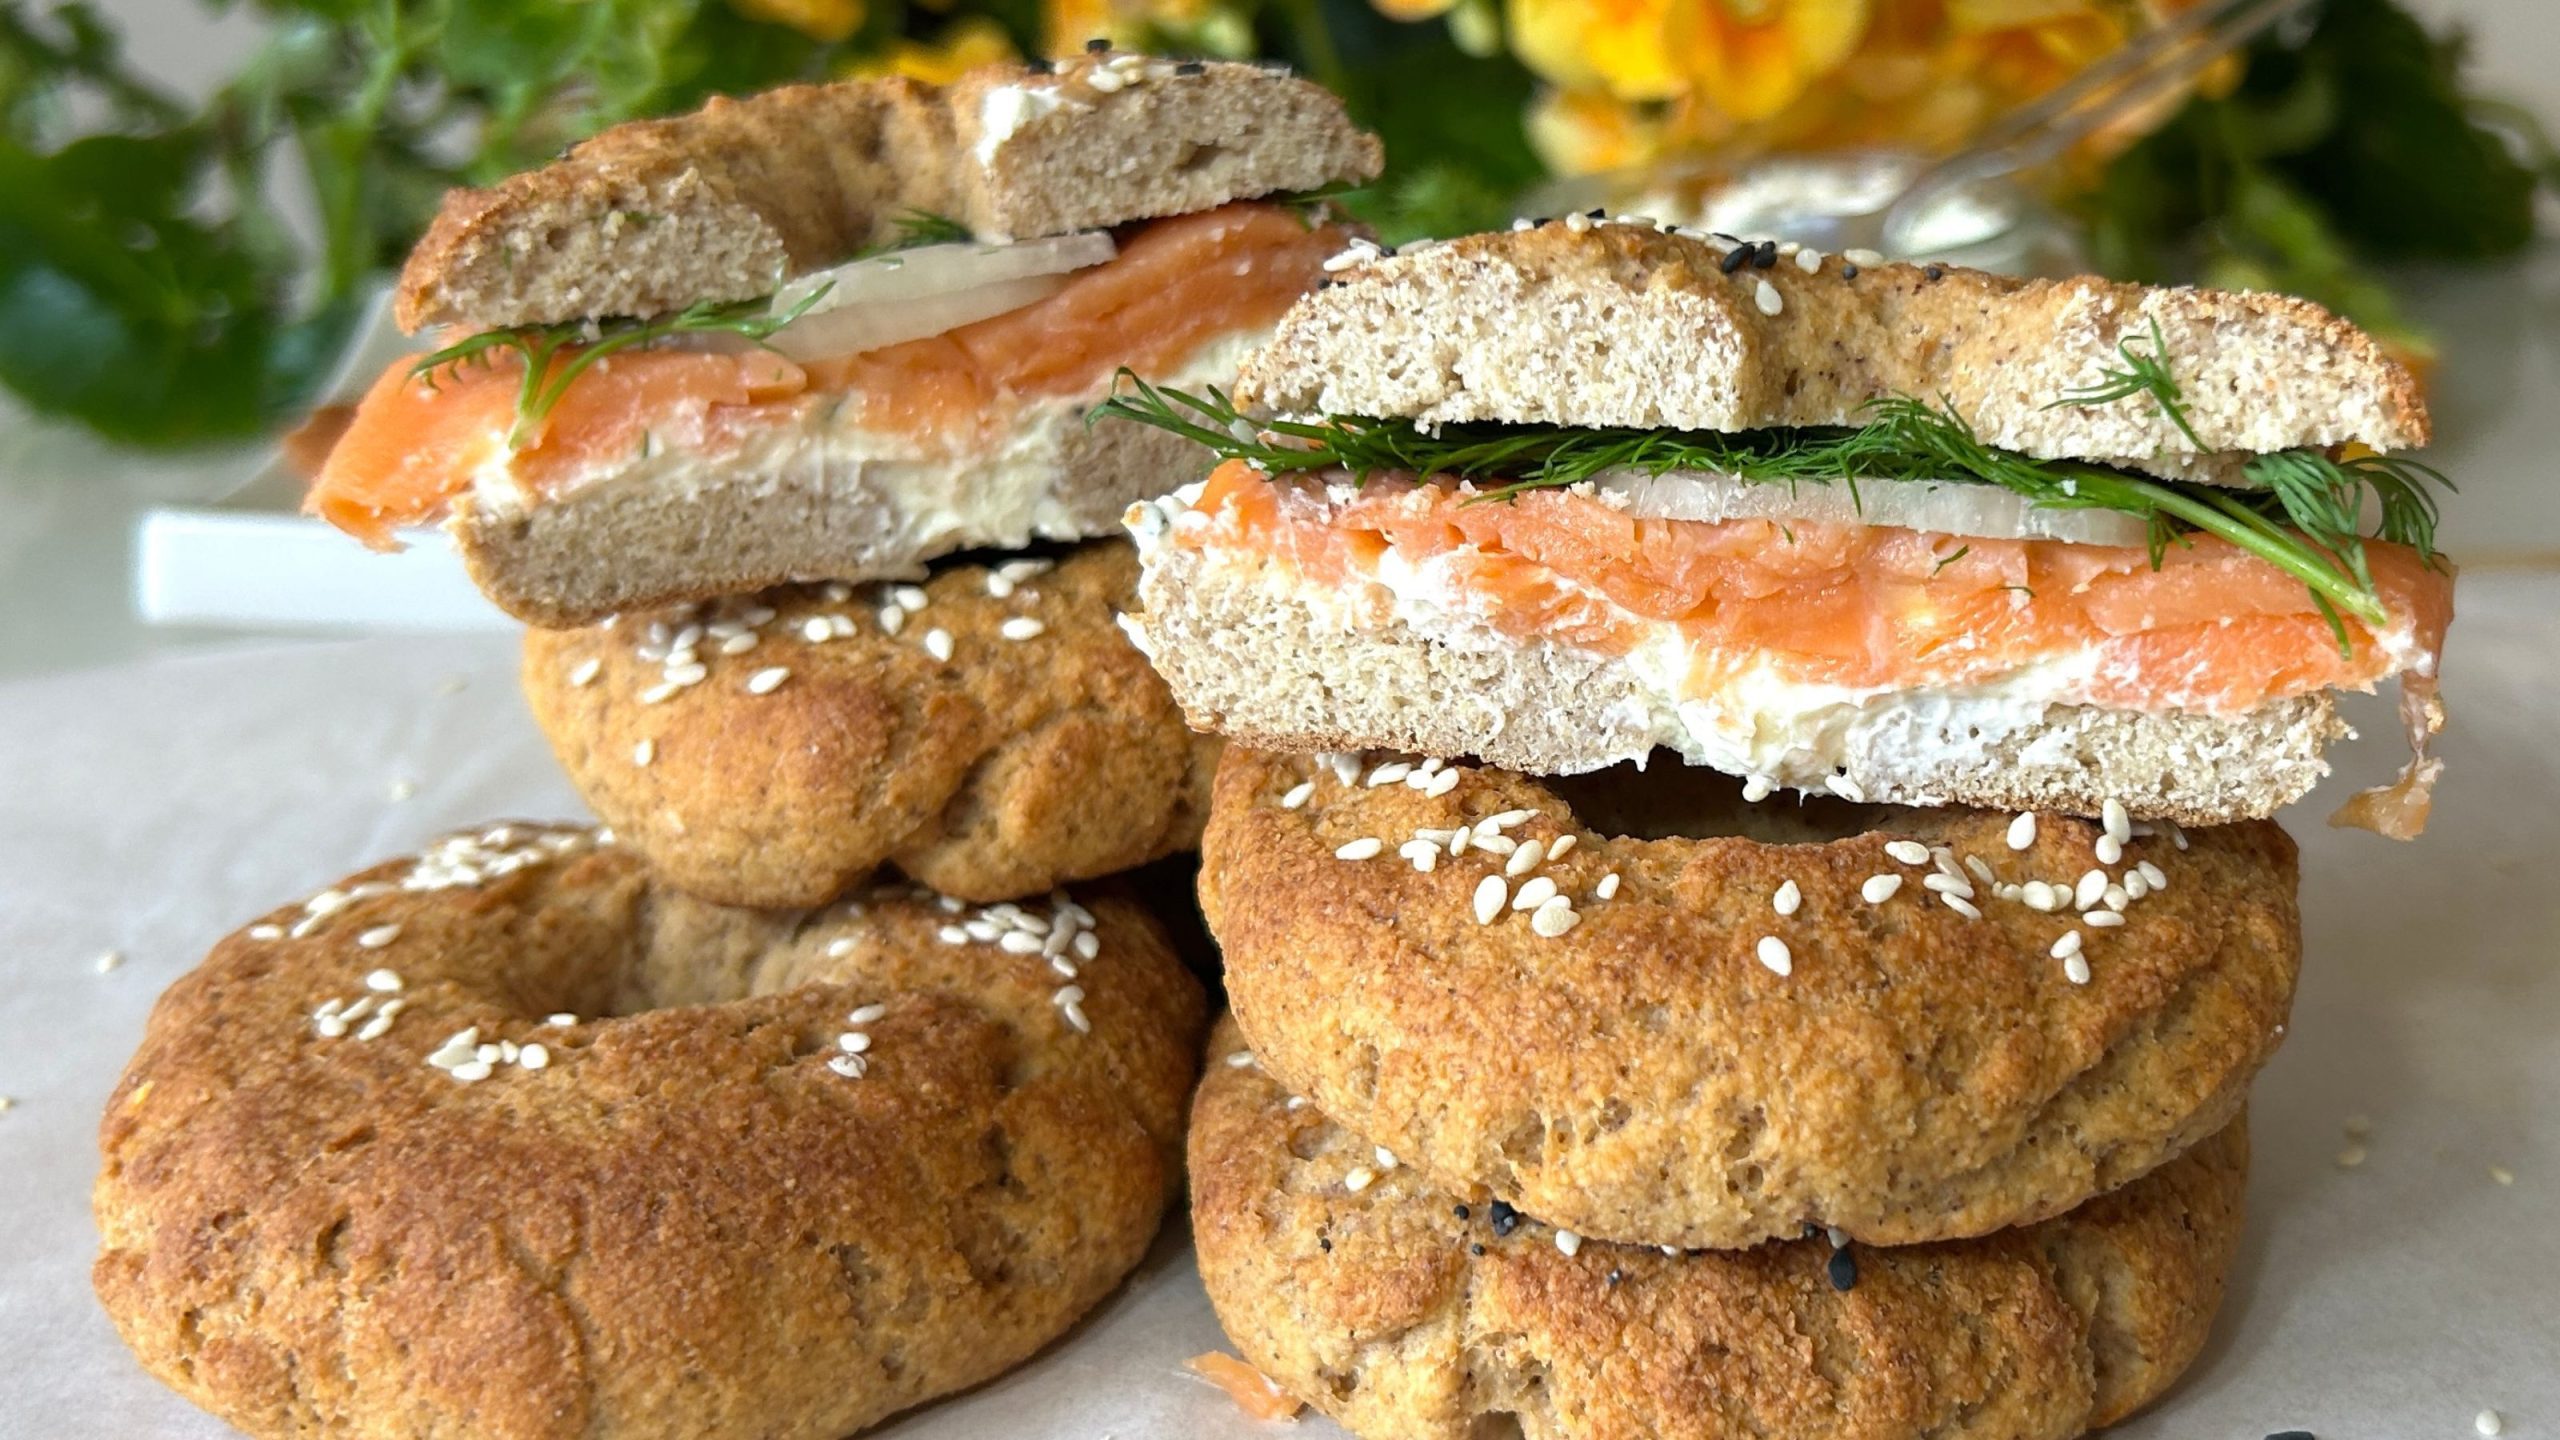
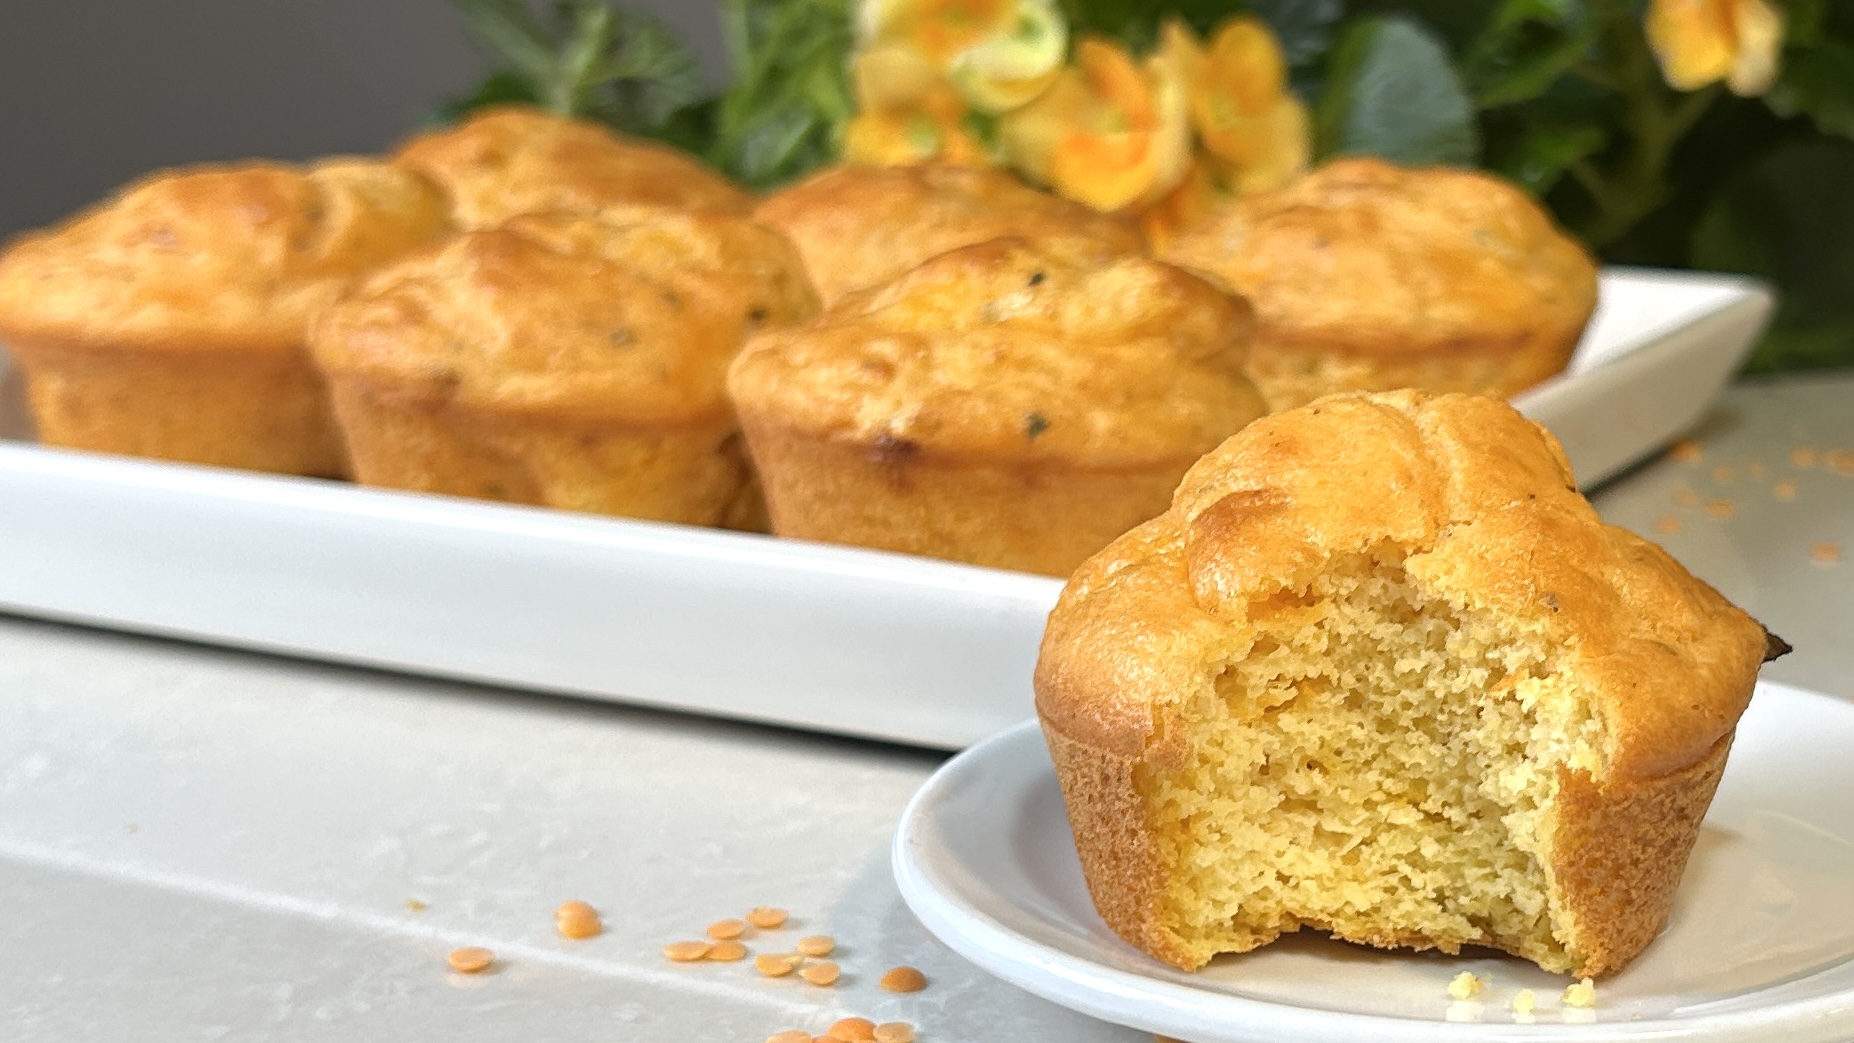
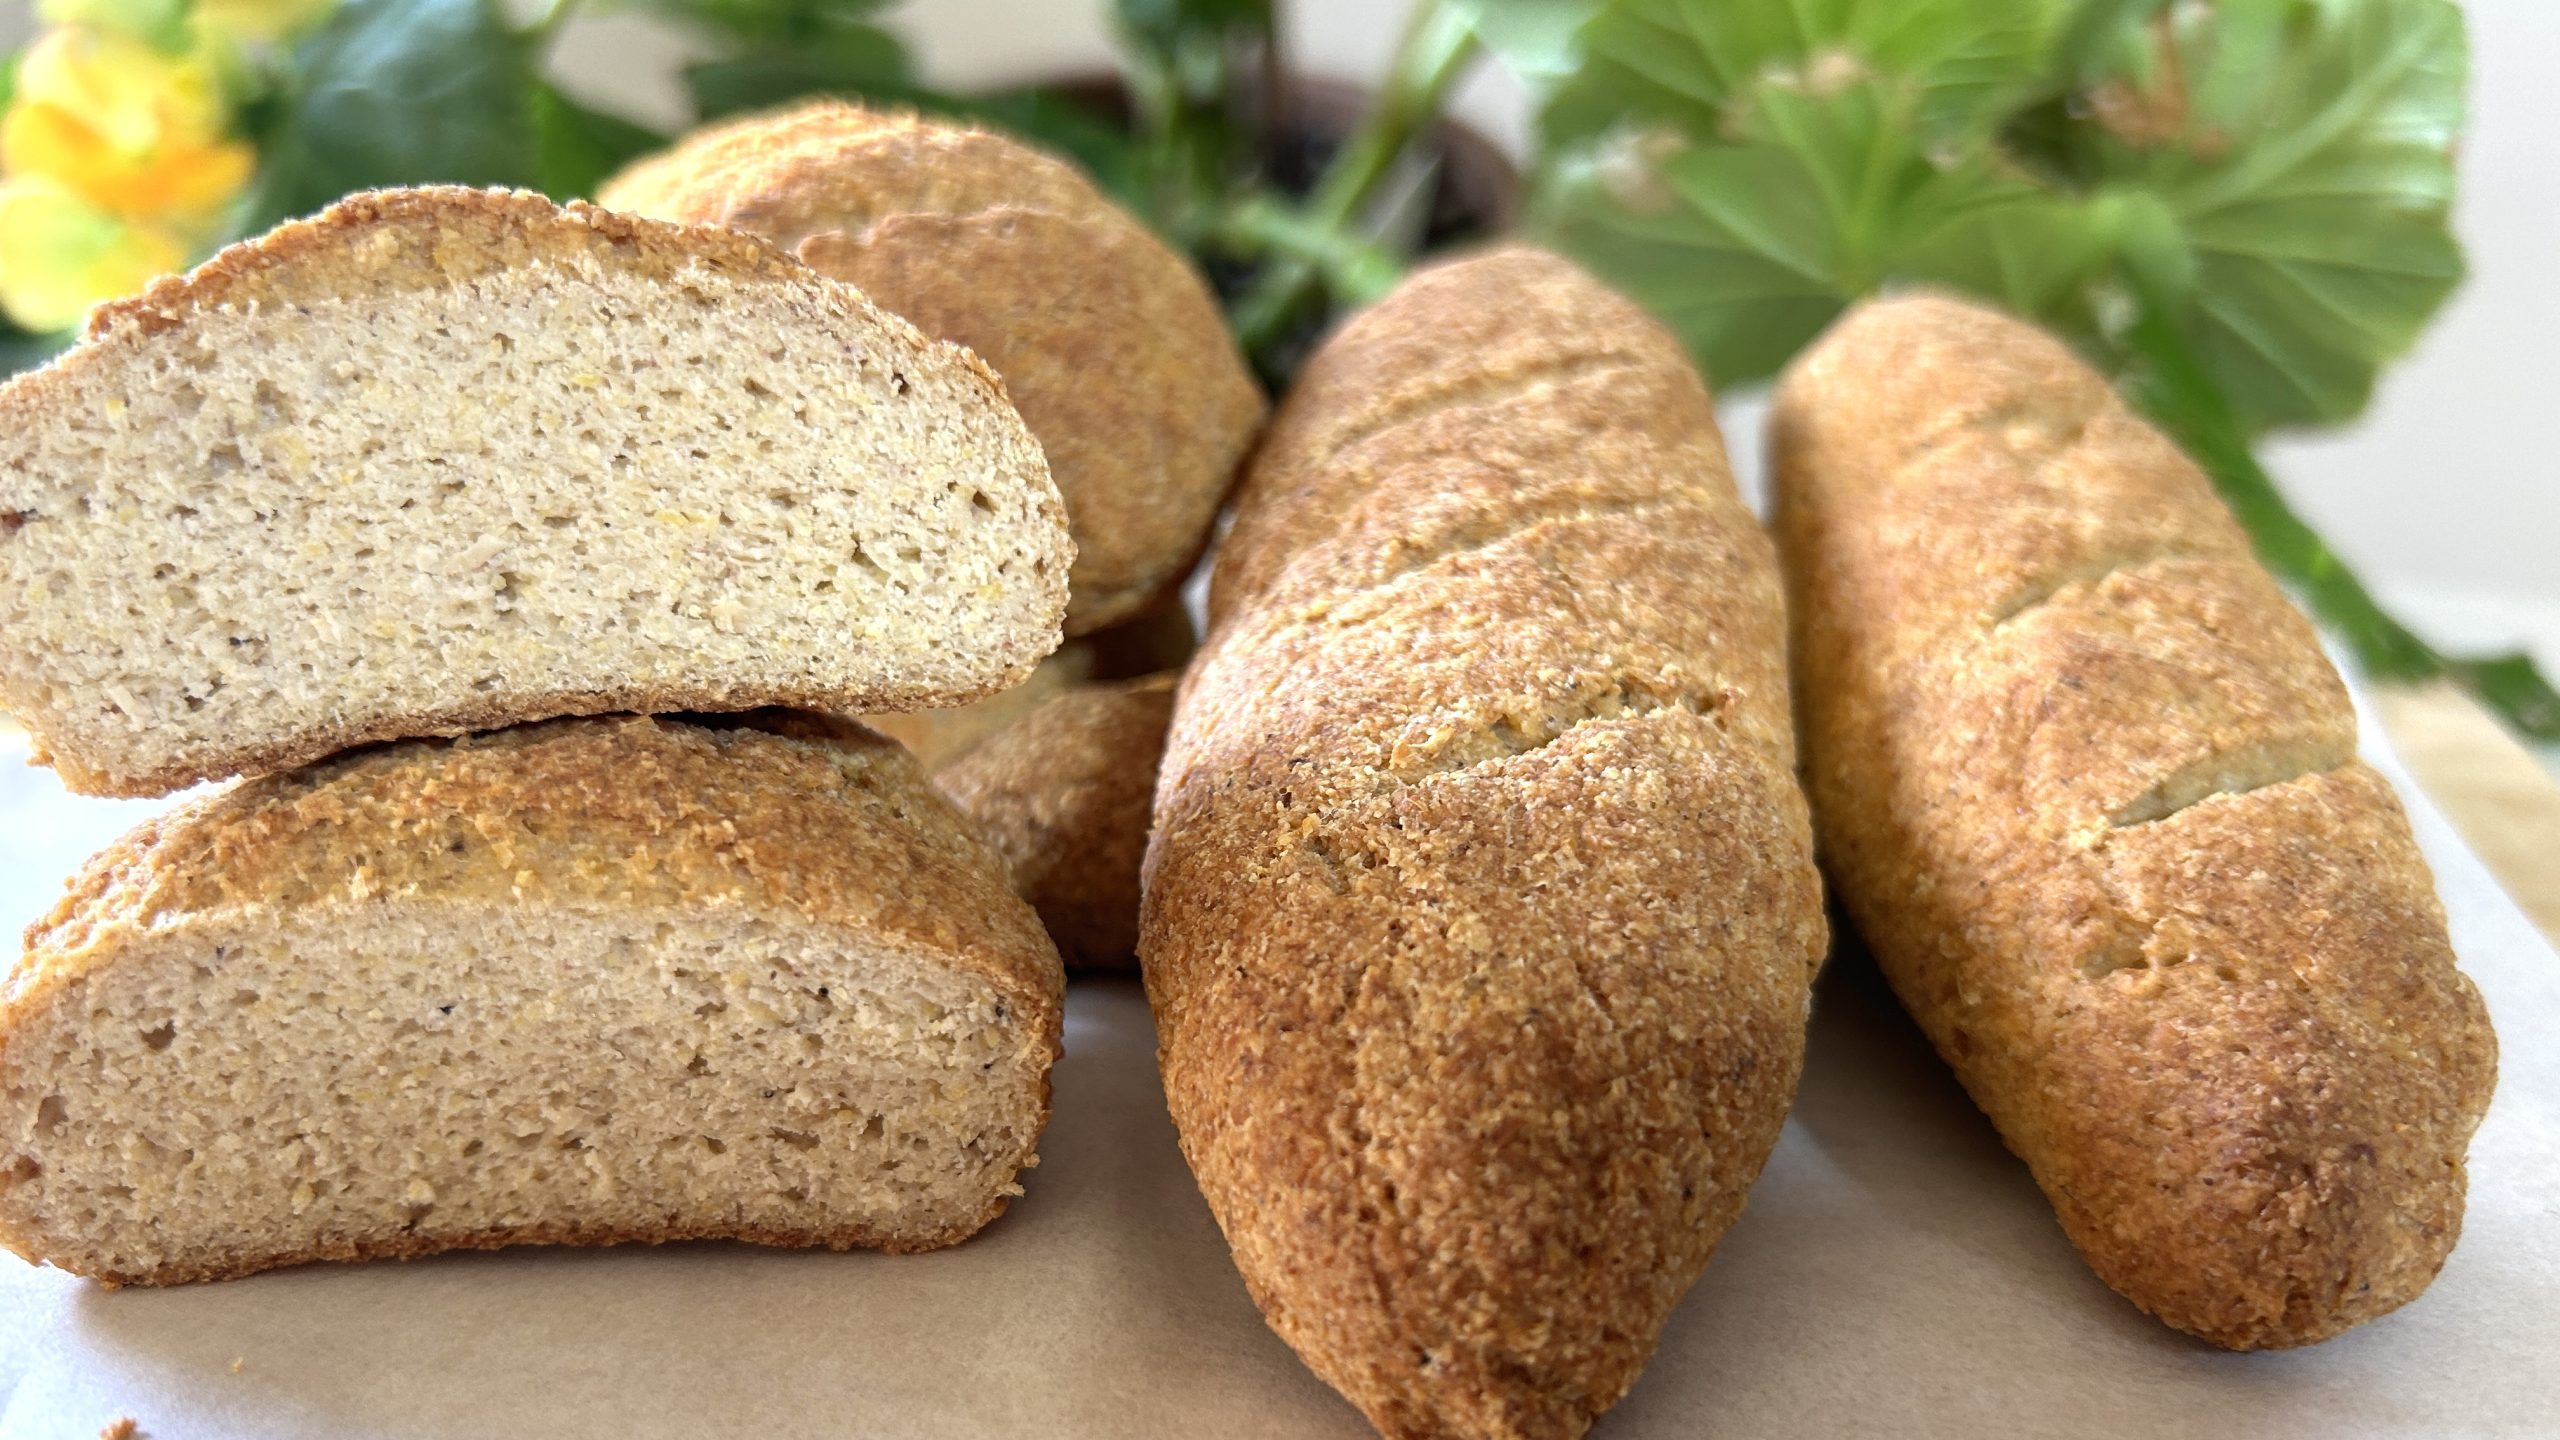
If you’ve been searching for a unique, protein-rich, and gluten-free alternative for homemade bagels, I have an incredible recipe for you: Yellow Split Pea Bagels! I know, using split peas for bagels might sound unconventional, but trust me, this ingredient transforms into a beautifully soft and chewy bagel that is packed with nutrition and flavor.
Many of you have asked for an alternative to red lentils when making gluten-free bread, and yellow split peas are the perfect answer. These little legumes are not only affordable and easy to find, but they also have a mild, neutral taste that makes them a fantastic base for baking. Unlike some gluten-free flours that can have overpowering flavors, yellow split peas blend seamlessly into recipes, creating a slow-releasing source of energy that won’t spike blood sugar levels. That means you’ll feel satisfied for longer without those energy crashes.

To give these bagels the perfect structure, we’re combining yellow split peas with psyllium husk, a fiber-rich ingredient that binds the dough together, giving it a soft, elastic texture, without the need for gluten! The result? A hearty, nourishing bagel that works beautifully for sandwiches, breakfast spreads, or as a delicious snack on its own.
Why You Should Add Yellow Split Peas to Your Diet
Yellow split peas are not just a delicious ingredient; they’re a powerhouse of nutrients! They are an excellent source of plant-based protein, making them a great option for vegans and vegetarians looking to meet their protein needs. They are also rich in fiber, which supports digestion, promotes gut health, and keeps you full longer. Plus, they’re packed with iron, an essential mineral that helps prevent anemia and supports overall energy levels.
But that’s not all, yellow split peas are also a great source of folate, an important B vitamin that plays a crucial role in cell growth and development, making them particularly beneficial for pregnant women. Additionally, their low glycemic index makes them a fantastic food choice for maintaining stable blood sugar levels, which is especially important for those managing diabetes or blood sugar fluctuations.
So, if you’re looking for a wholesome, protein-packed, and fiber-rich bagel that will nourish your body and keep you feeling great, these yellow split pea bagels are just what you need!
Ingredients (Makes 6 Bagels)
- 1 cup (180 g) raw yellow split peas
- 1/3 cup (80 ml) lukewarm water
- 1/2 tsp. Himalayan salt (or salt of choice)
- 1 tbsp. (8 g) instant yeast
- 1 tsp. honey (or other sweetener)
- 2 tbsp. olive oil (or oil of choice)
- 30 g psyllium husk (coarse version)
- 1/2 tsp. sesame seeds (or your seeds of choice)
- 1/2 tsp. everything bagel seasoning
Directions
- Soak the yellow split peas overnight (preferably in the fridge). Rinse the soaked peas thoroughly under running water and strain them well.
- Blend the soaked peas in a food processor with lukewarm water until smooth and creamy.
- Add the salt, yeast, honey, olive oil, and psyllium husk to the mixture. Blend again until a sticky dough forms.
- Transfer the dough to a working surface. Lightly oil your hands to prevent sticking, then form the dough into a smooth loaf. Divide it into six equal portions.
- Shape each portion into a circle and create a hole in the center using your thumb or a kitchen utensil.
- Arrange the bagels on a parchment-lined baking pan. Cover with a towel and let them rise in a warm place for 30 minutes.
- Brush the bagels with water, sprinkle with sesame seeds or bagel seasoning, and bake at 350°F (175°C) for 30-35 minutes, or until golden and fully cooked.
- Let the bagels cool slightly before serving with your favorite toppings.
Prep & Baking Time
- Soaking time: Overnight
- Prep time: 20 minutes
- Baking time: 35 minutes
Nutritional Information (Per 1 Bagel)
- Calories: 180
- Protein: 8.39 g
- Fat: 6.67 g
- Carbohydrates: 22.53 g
- Fiber: 9.5 g
Storage & Recommendations
- Store at room temperature in an airtight container for up to 2 days.
- Refrigerate for up to 1 week or freeze for up to 3 months in a sealed bag or container.
- Enjoy with sweet toppings like almond butter and honey or savory spreads like hummus, avocado, or cream cheese.


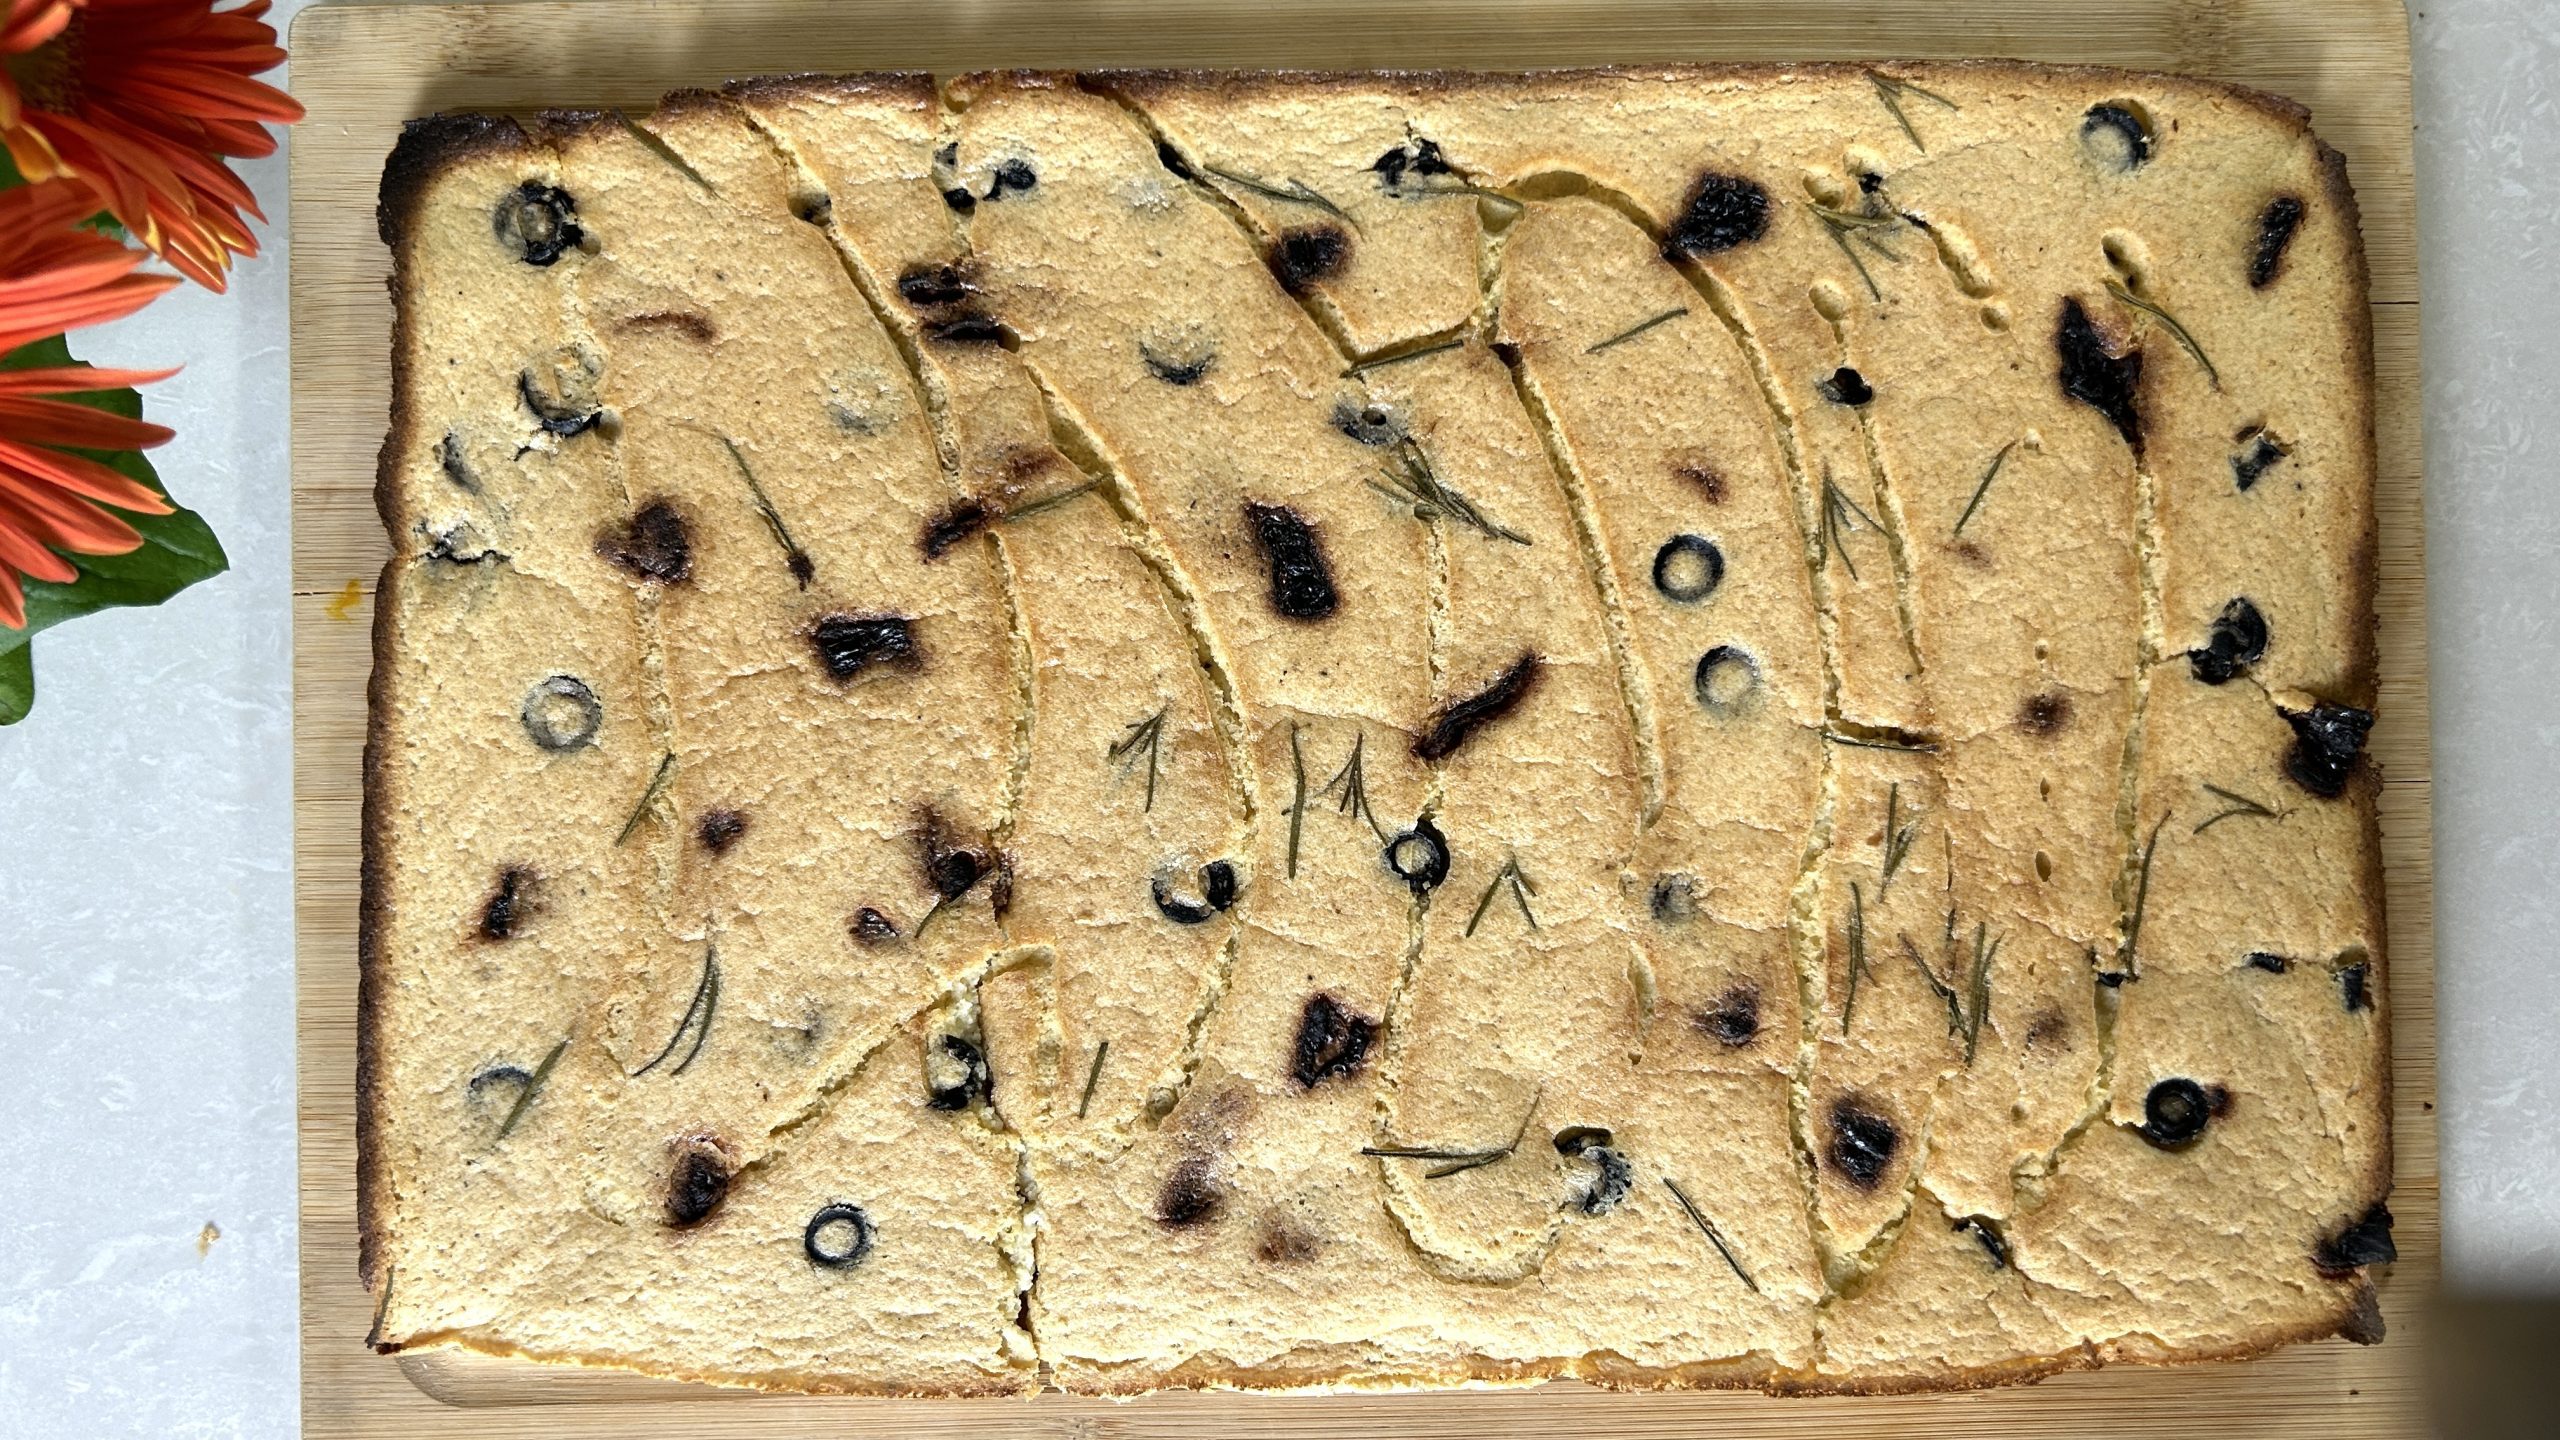
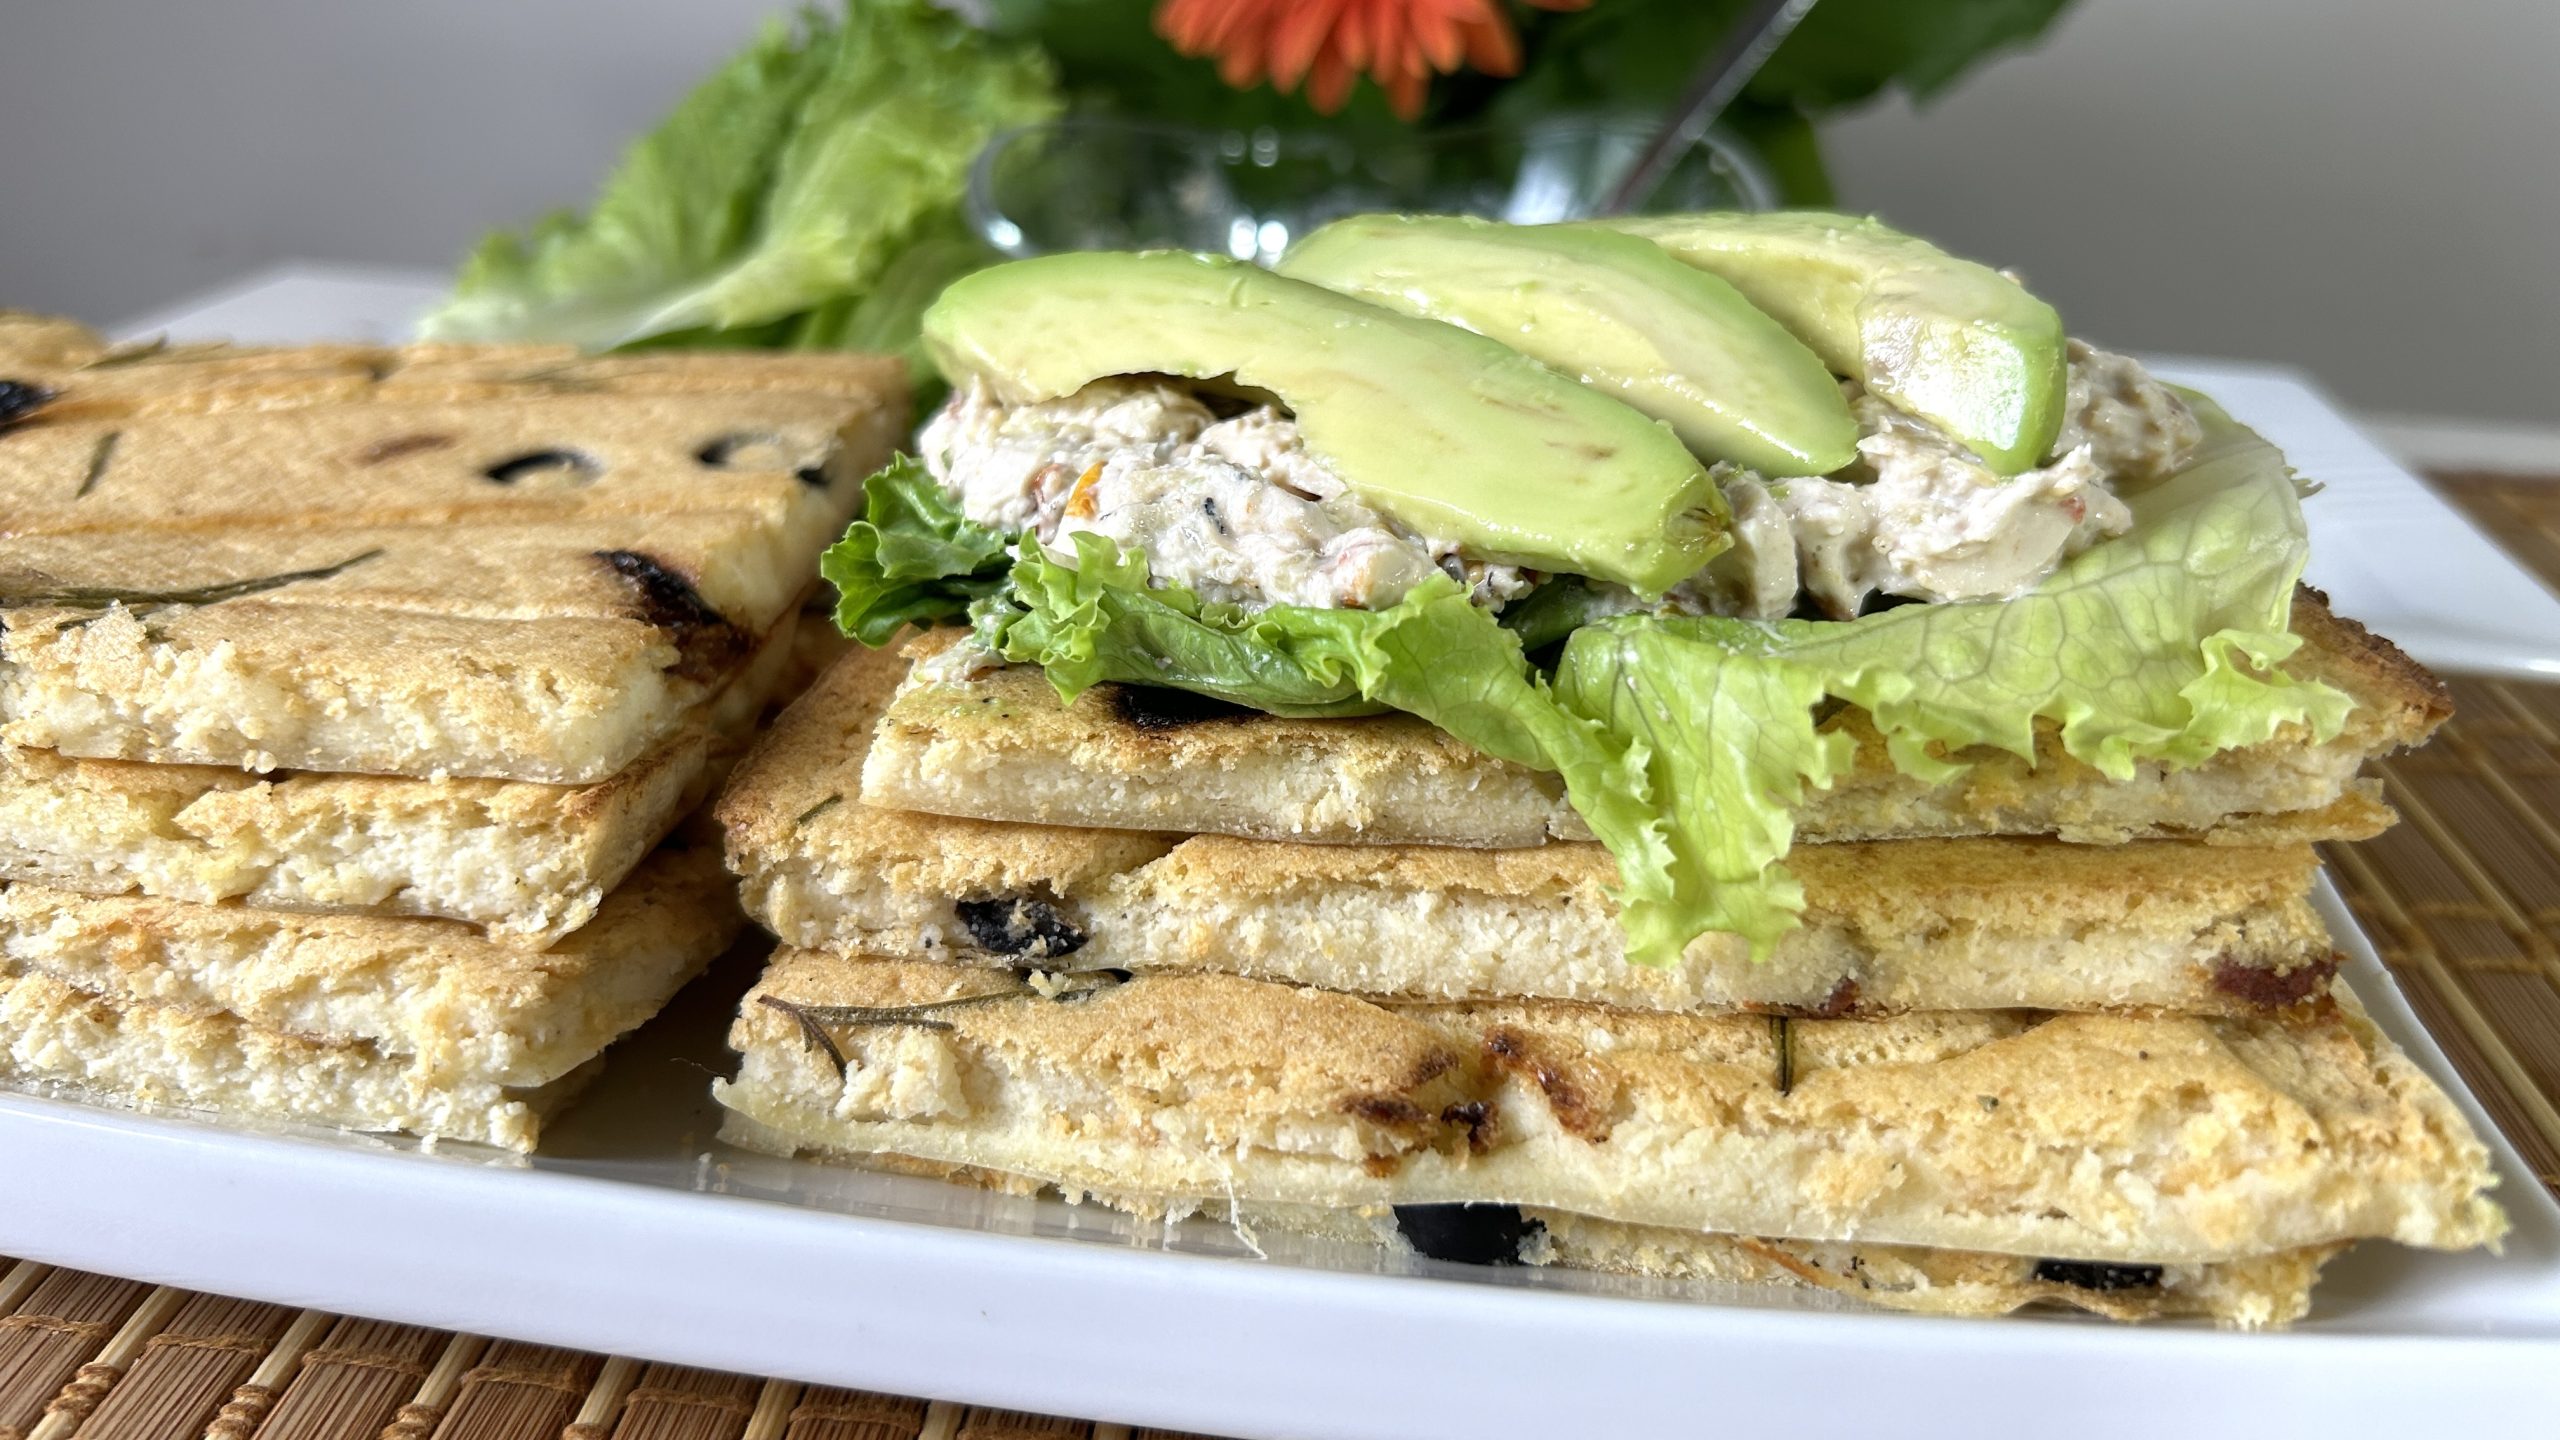
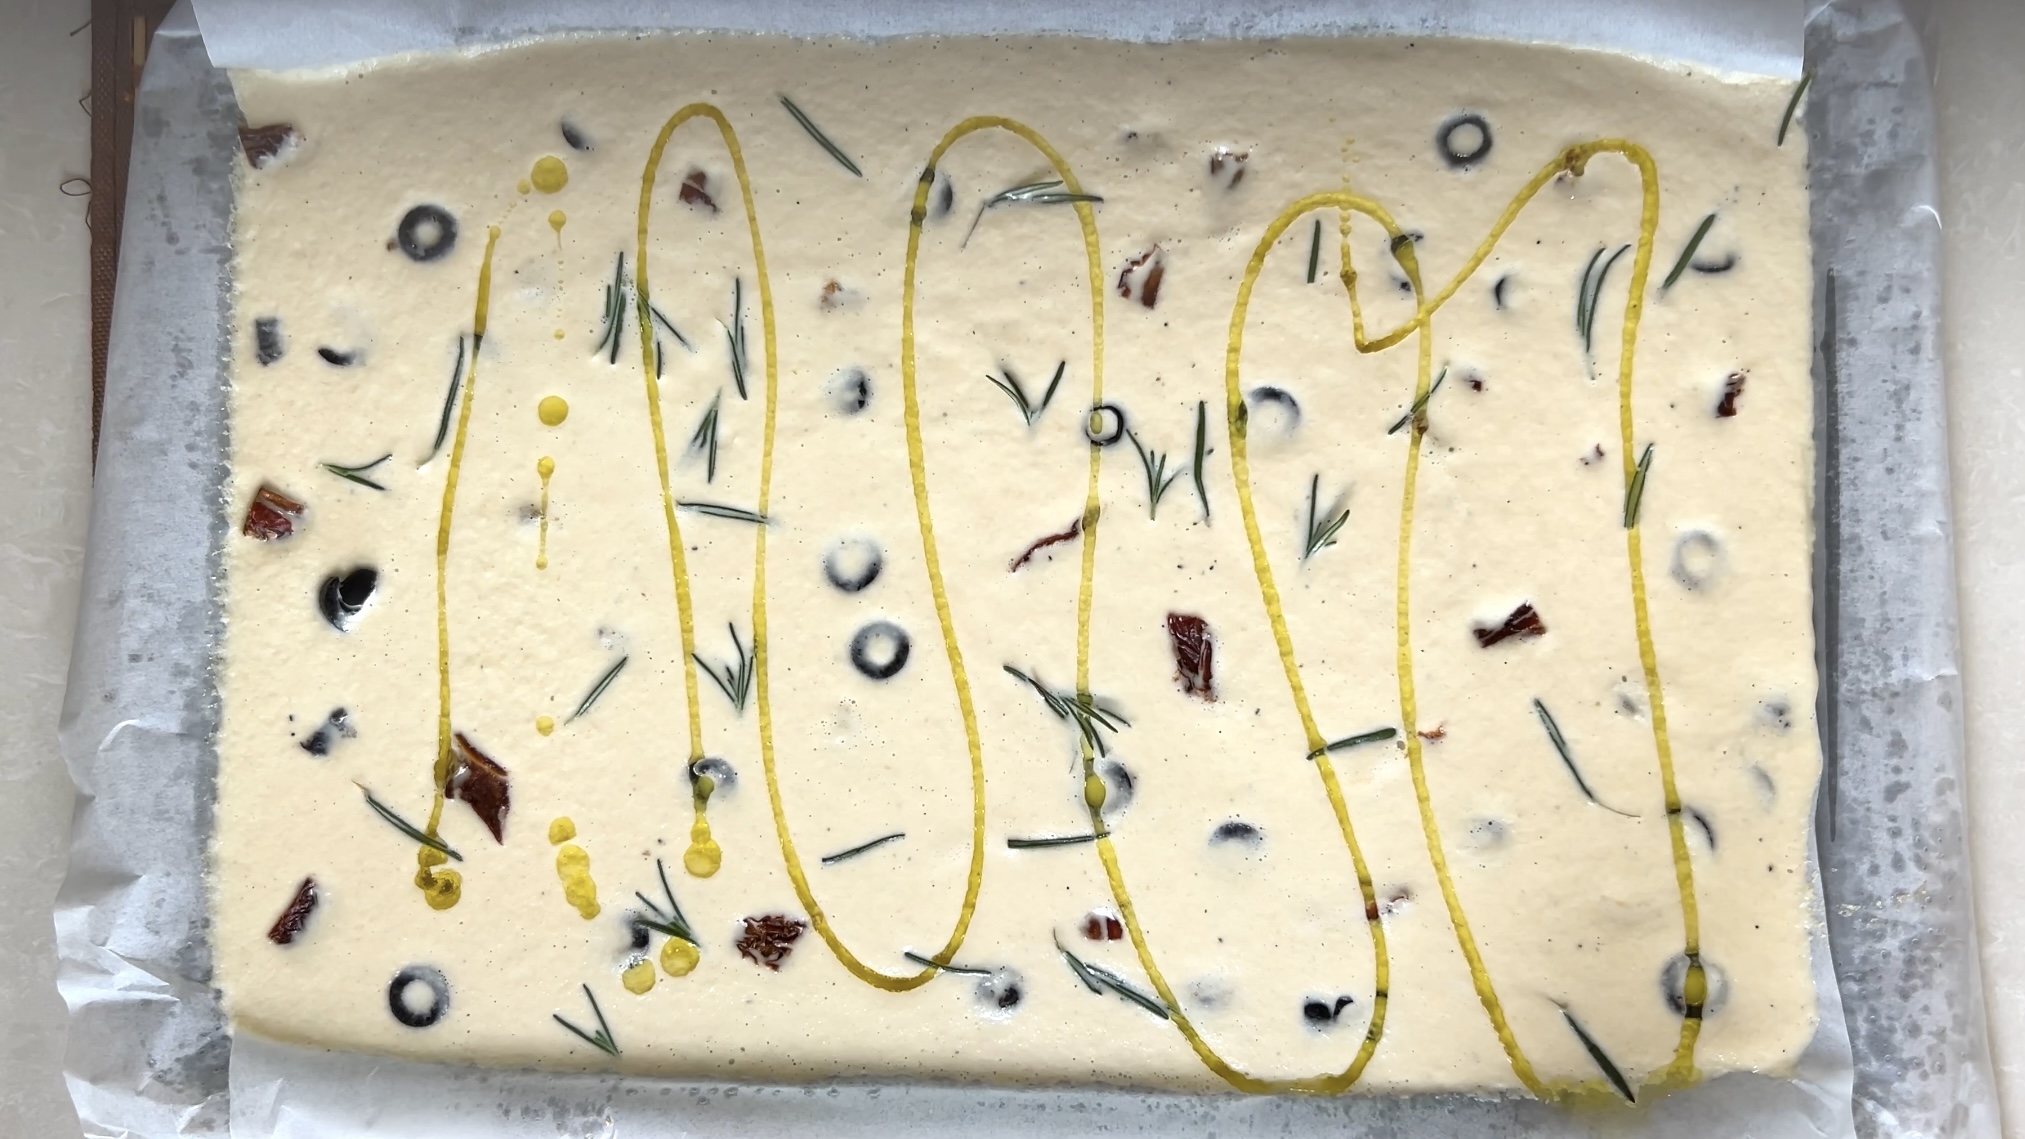 What’s truly magical about this flatbread is its balance of crispiness and tenderness, paired with subtle flavors of rosemary, sun-dried tomatoes, and black olives. It’s a beautiful accompaniment to soups, salads, or even a base for a light, savory sandwich. But don’t be afraid to enjoy it on its own, its nutty taste and perfectly golden crust make it a star at the table.