No-Cook Walnut Cookies
No-Cook Walnut Cookies

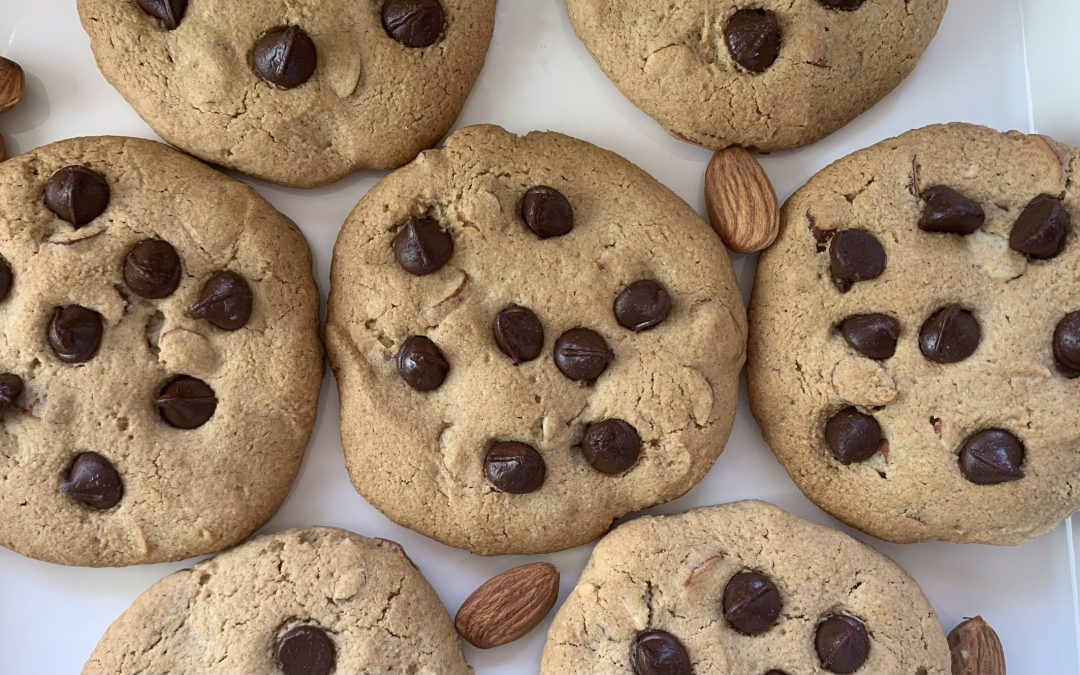
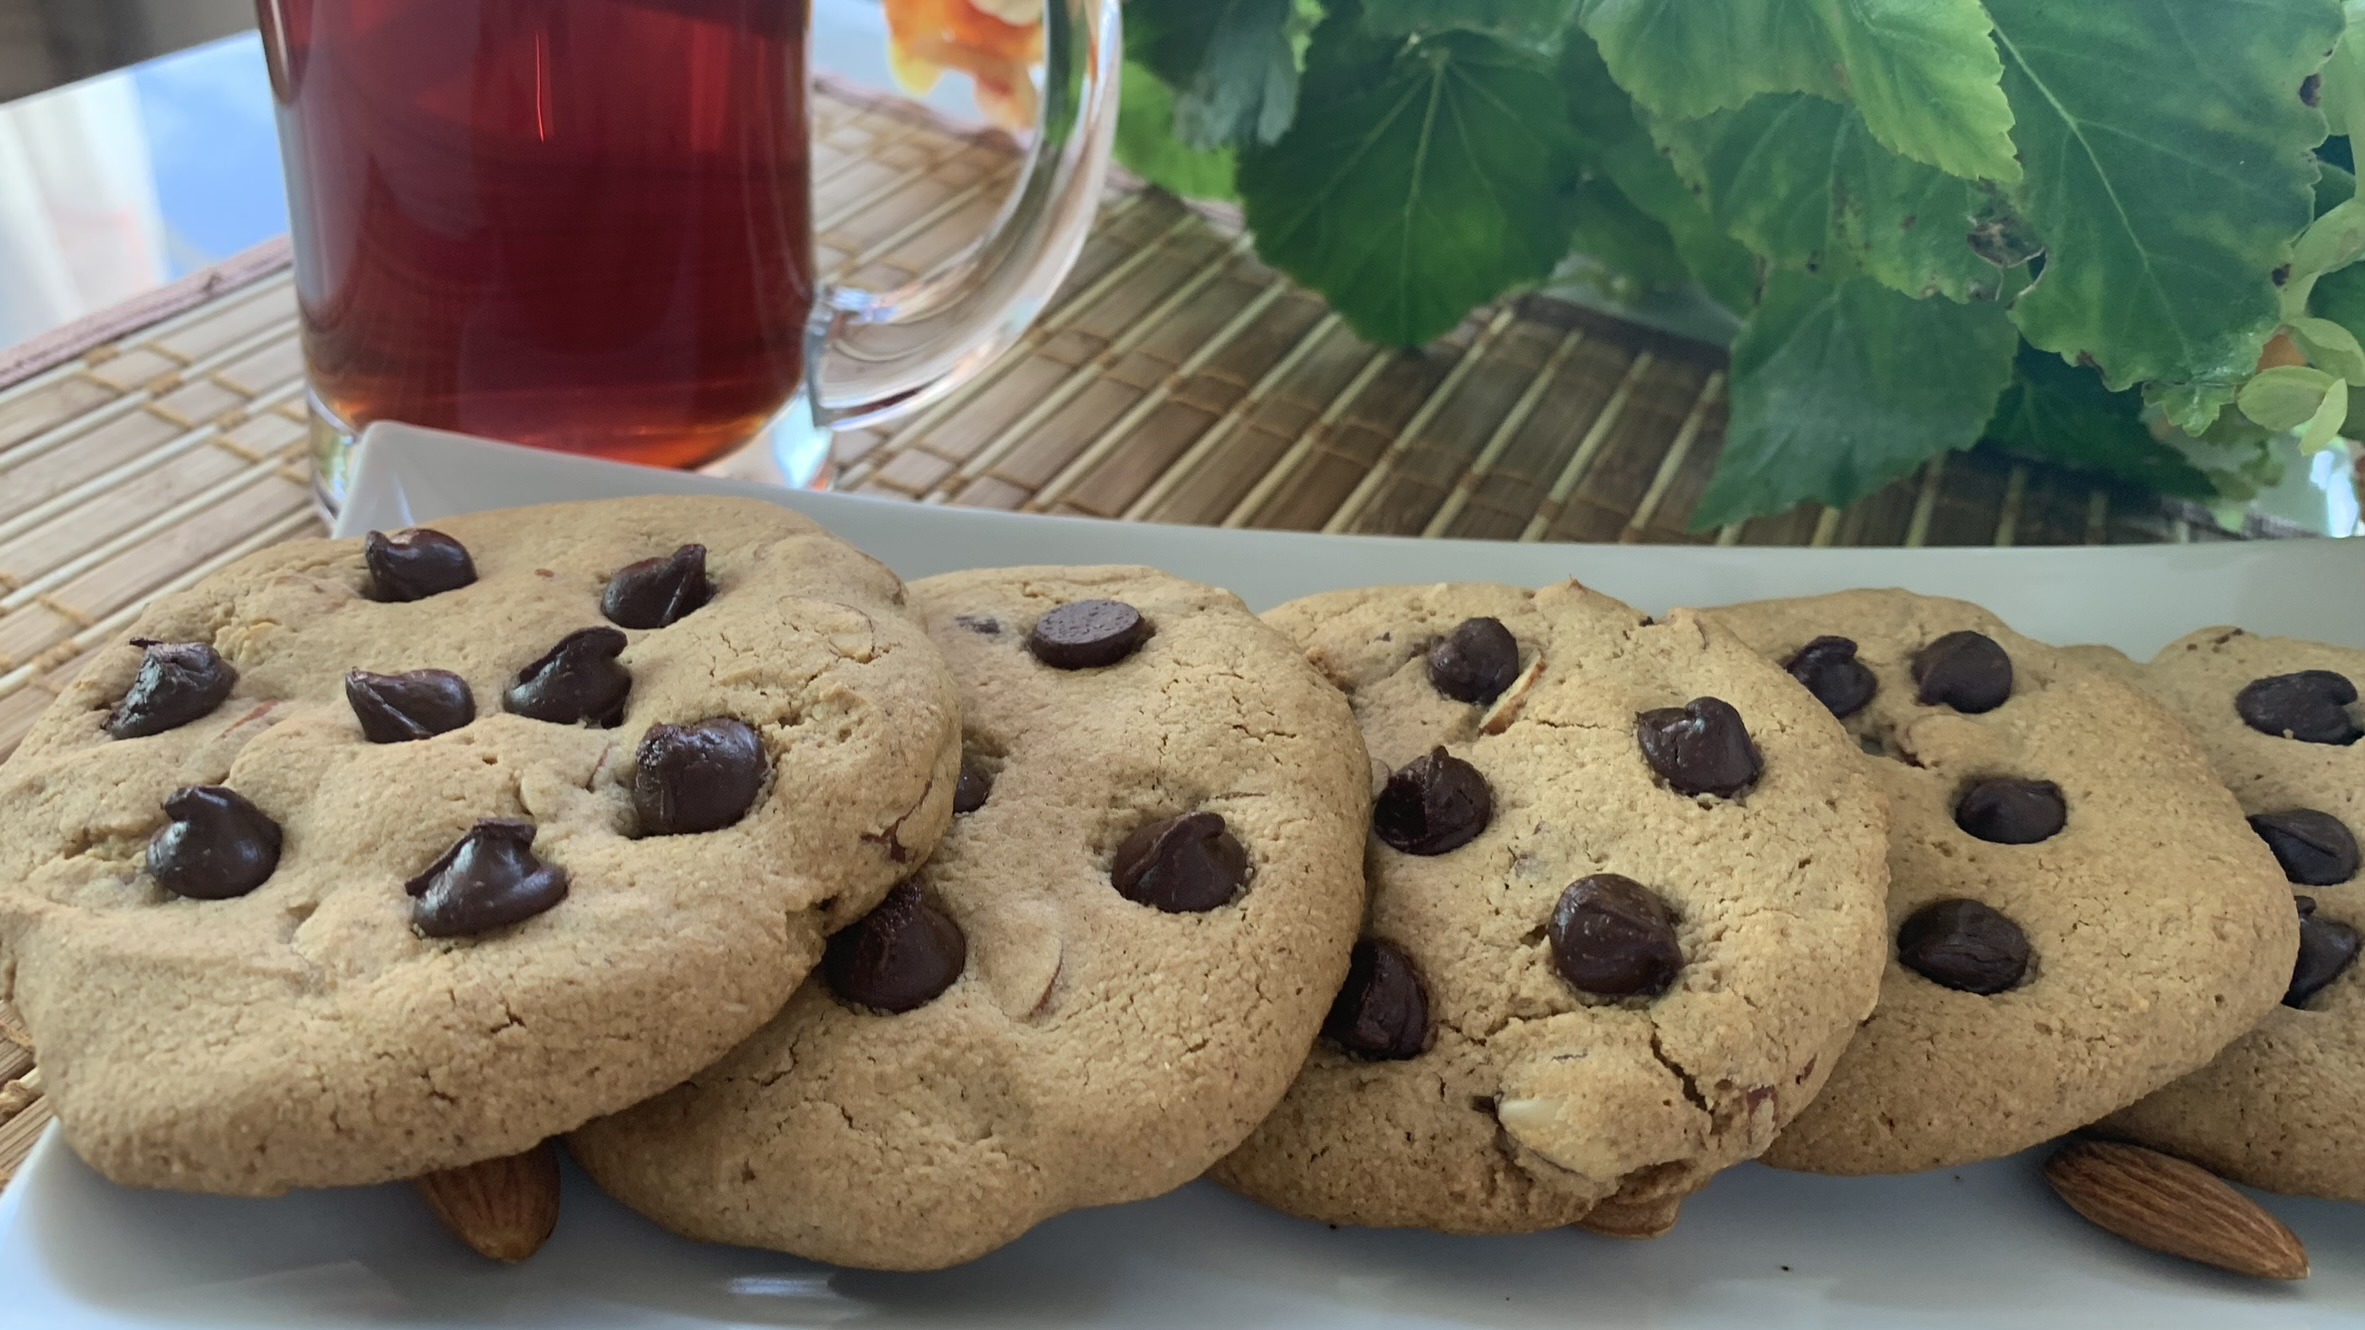
If you’re on the hunt for a wholesome treat that’s as nutritious as it is delicious, these Walnut & Date Cookie Treats are just what you need! These no-bake cookies are the perfect example of how simple ingredients can be transformed into something truly satisfying. At the heart of this recipe are dates, nature’s candy, known for their natural sweetness and chewy texture. Dates are not only a great source of quick energy, but they also provide a healthy dose of dietary fiber, which aids digestion and helps maintain steady blood sugar levels. Unlike refined sugars, dates offer a variety of essential nutrients like potassium, magnesium, and vitamins, making them an excellent choice for those looking to indulge in something sweet without the guilt.
Paired with the rich, earthy flavor of raw walnuts, these cookies offer a delightful contrast in textures and tastes. Walnuts are a powerhouse of nutrition, loaded with omega-3 fatty acids, which are essential for brain health and reducing inflammation. They’re also packed with antioxidants and vitamins that contribute to heart health and overall well-being. Including walnuts in your diet can support cognitive function, lower bad cholesterol, and even help manage weight, thanks to their protein and fiber content that promotes satiety. By combining walnuts with dates, you’re not just creating a treat that’s delicious; you’re also fueling your body with ingredients that are beneficial for your health in numerous ways.
And let’s not forget the finishing touch: a drizzle of dark chocolate. Known for its rich flavor and health benefits, dark chocolate adds a touch of decadence to these treats without overpowering their natural goodness. Dark chocolate is rich in antioxidants, particularly flavonoids, which can improve heart health by reducing blood pressure and improving blood flow. It’s also a mood booster, thanks to its ability to increase serotonin levels in the brain.
With this combination of dates, walnuts, and dark chocolate, these cookies aren’t just a snack; they’re a perfect blend of nutrition and indulgence, offering a satisfying treat that you can feel good about eating.
Ingredients
- 120 g pitted dates
- 100 g raw walnuts
- 30 g dark chocolate
- 25 g raw walnut halves (optional)
Directions
- Start by pitting the dates if they aren’t already pitted. Then, place them in a blender or food processor.
- Blend the pitted dates until they form a sticky, cohesive mass. This step may take a few minutes.
- Add the raw walnuts to the blended dates. Optionally, add your favorite spices like cinnamon or cardamom, or flavors like vanilla extract or lemon zest if desired (plain works well too).
- Blend the mixture once more until the walnuts are well incorporated into the date paste, resulting in a sticky dough-like mixture.
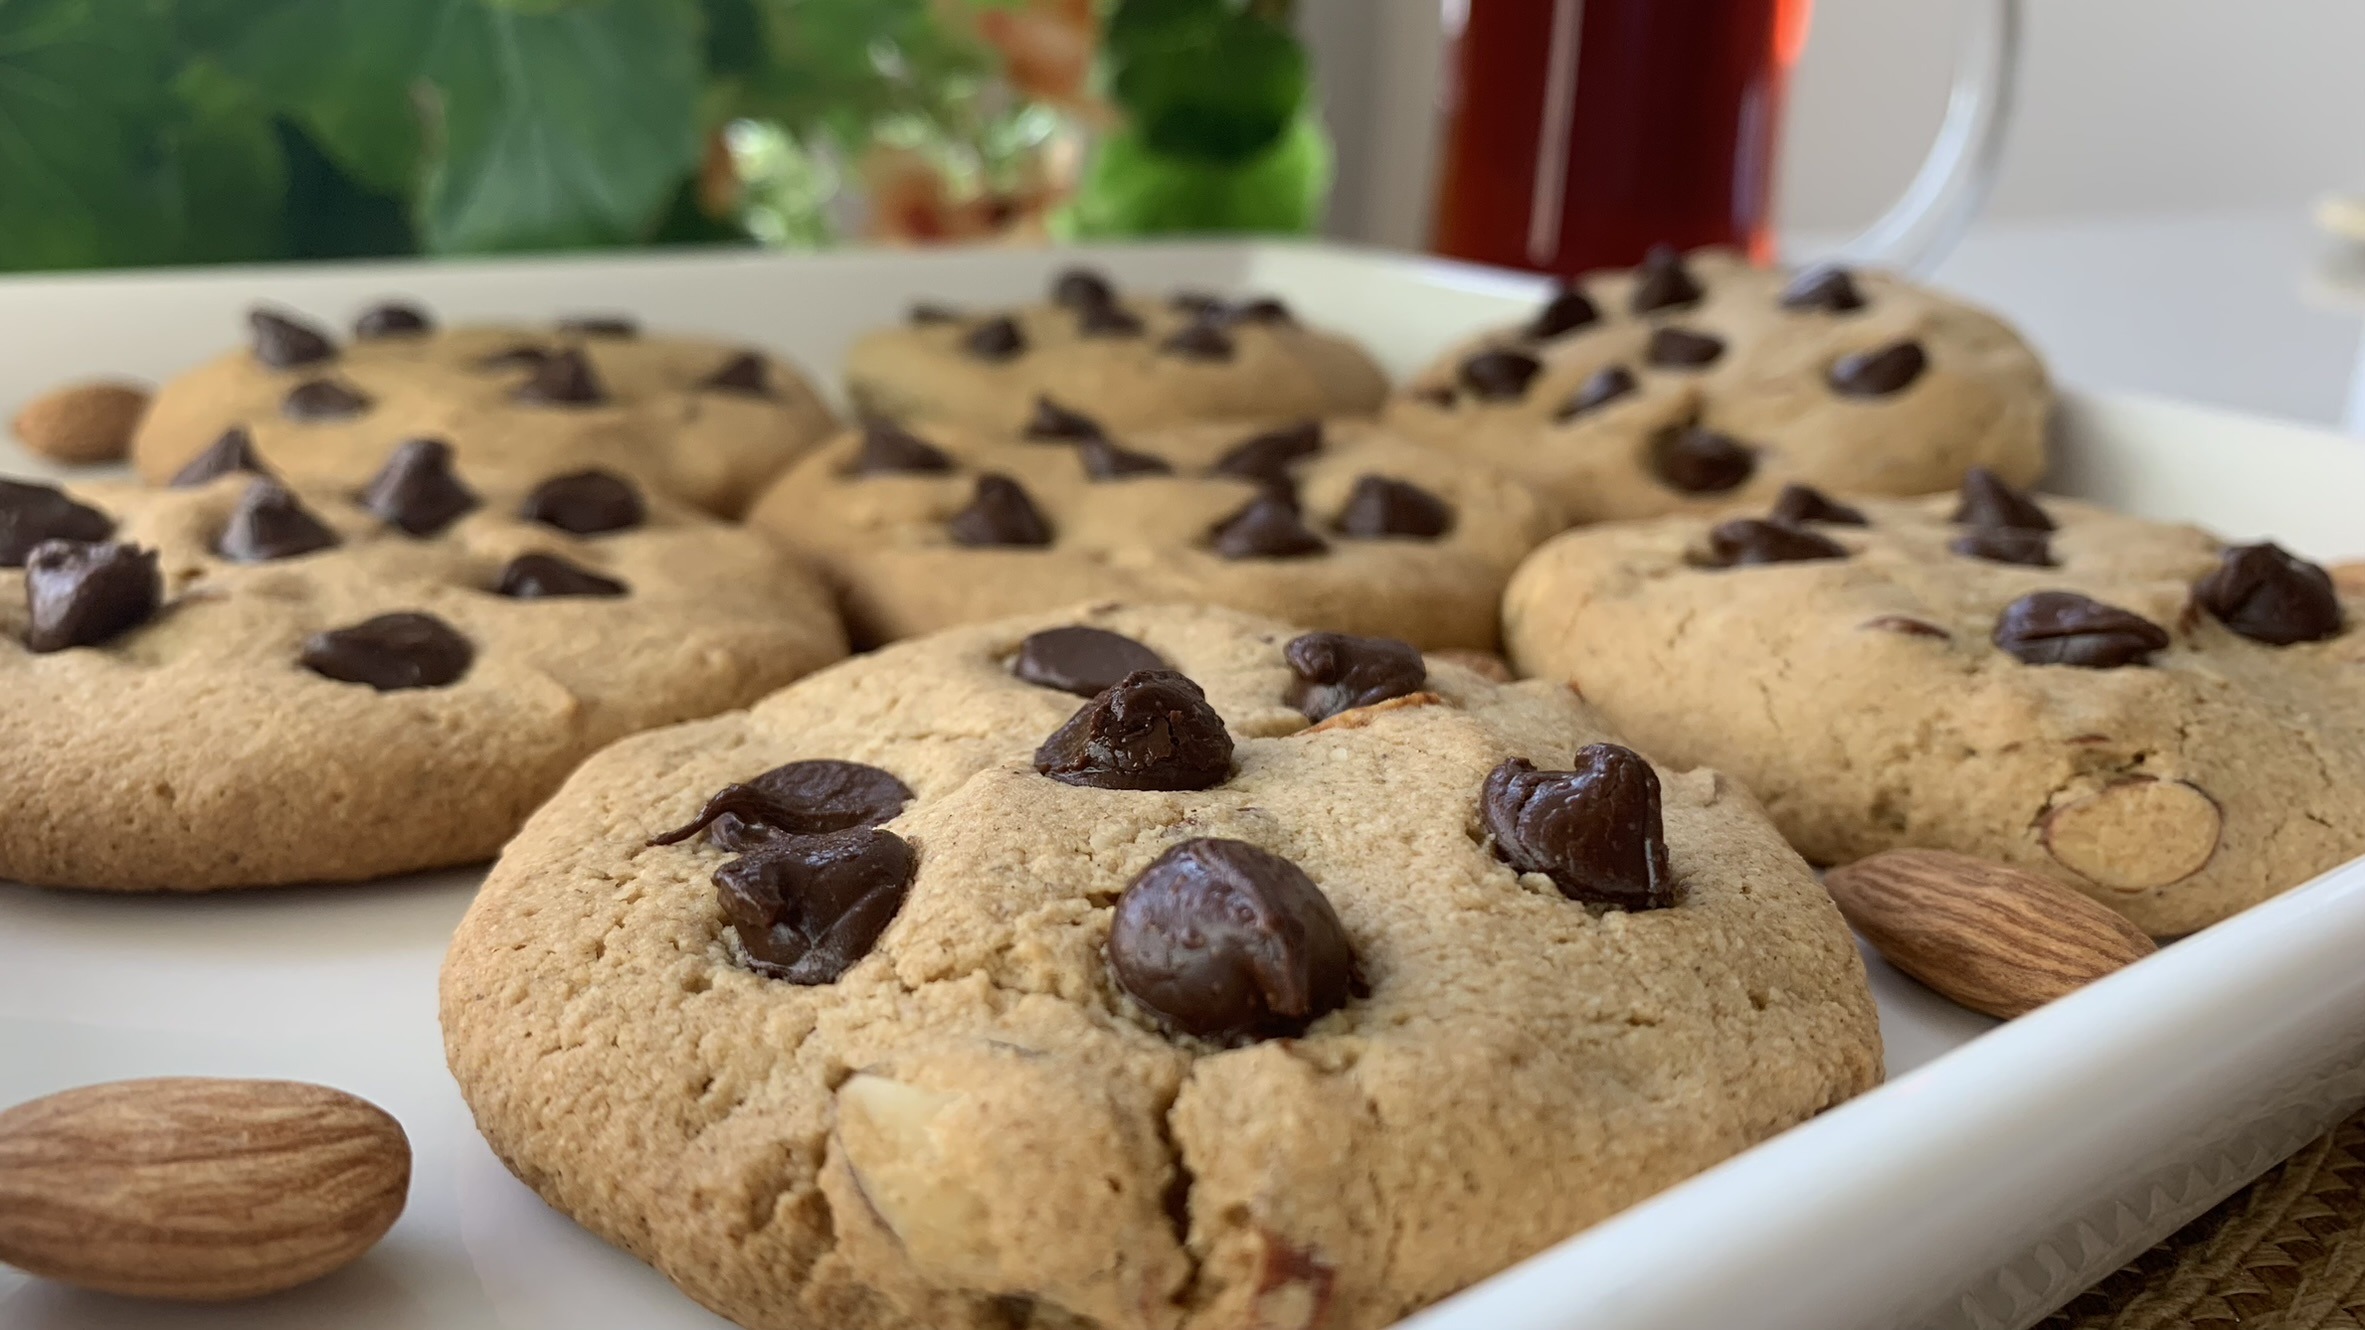
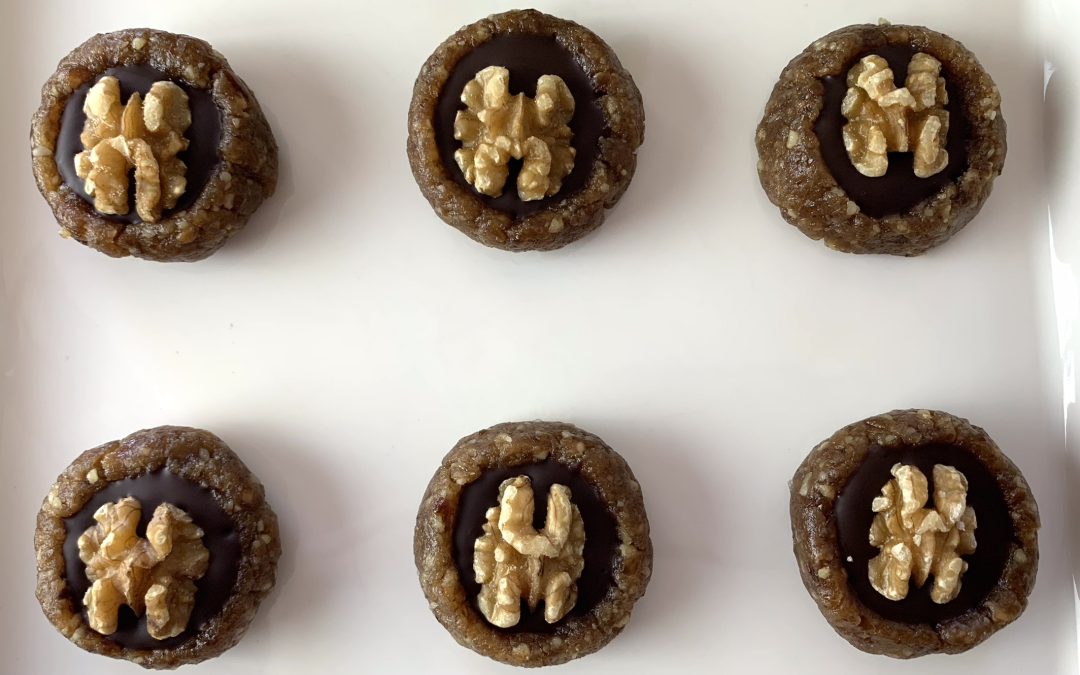
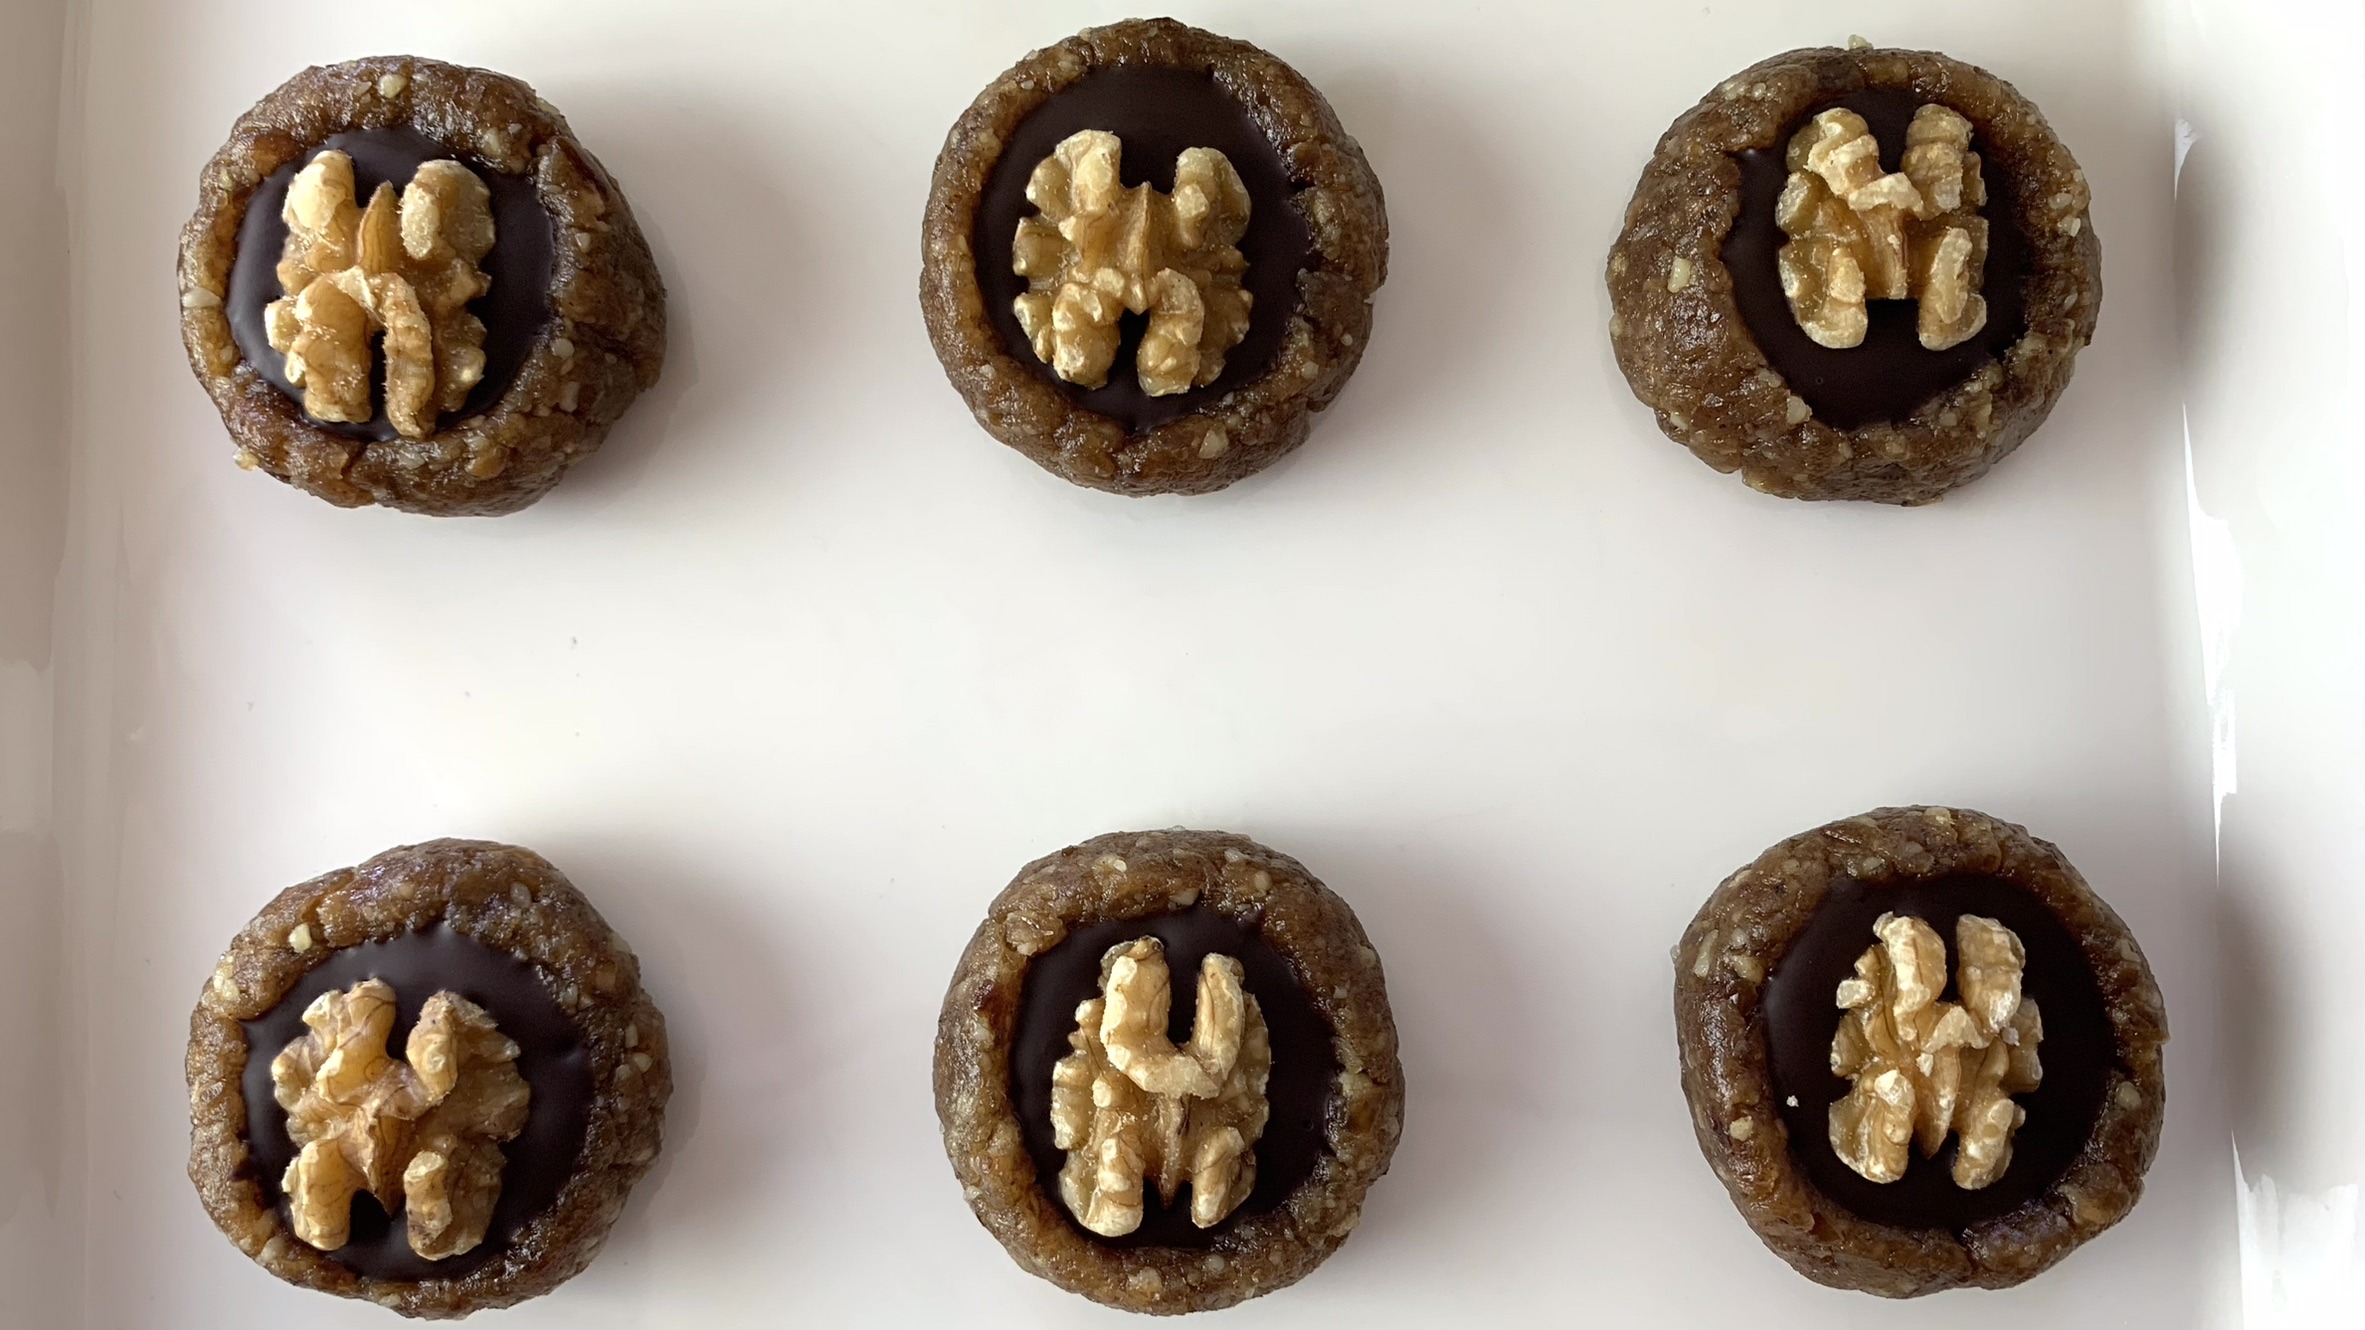
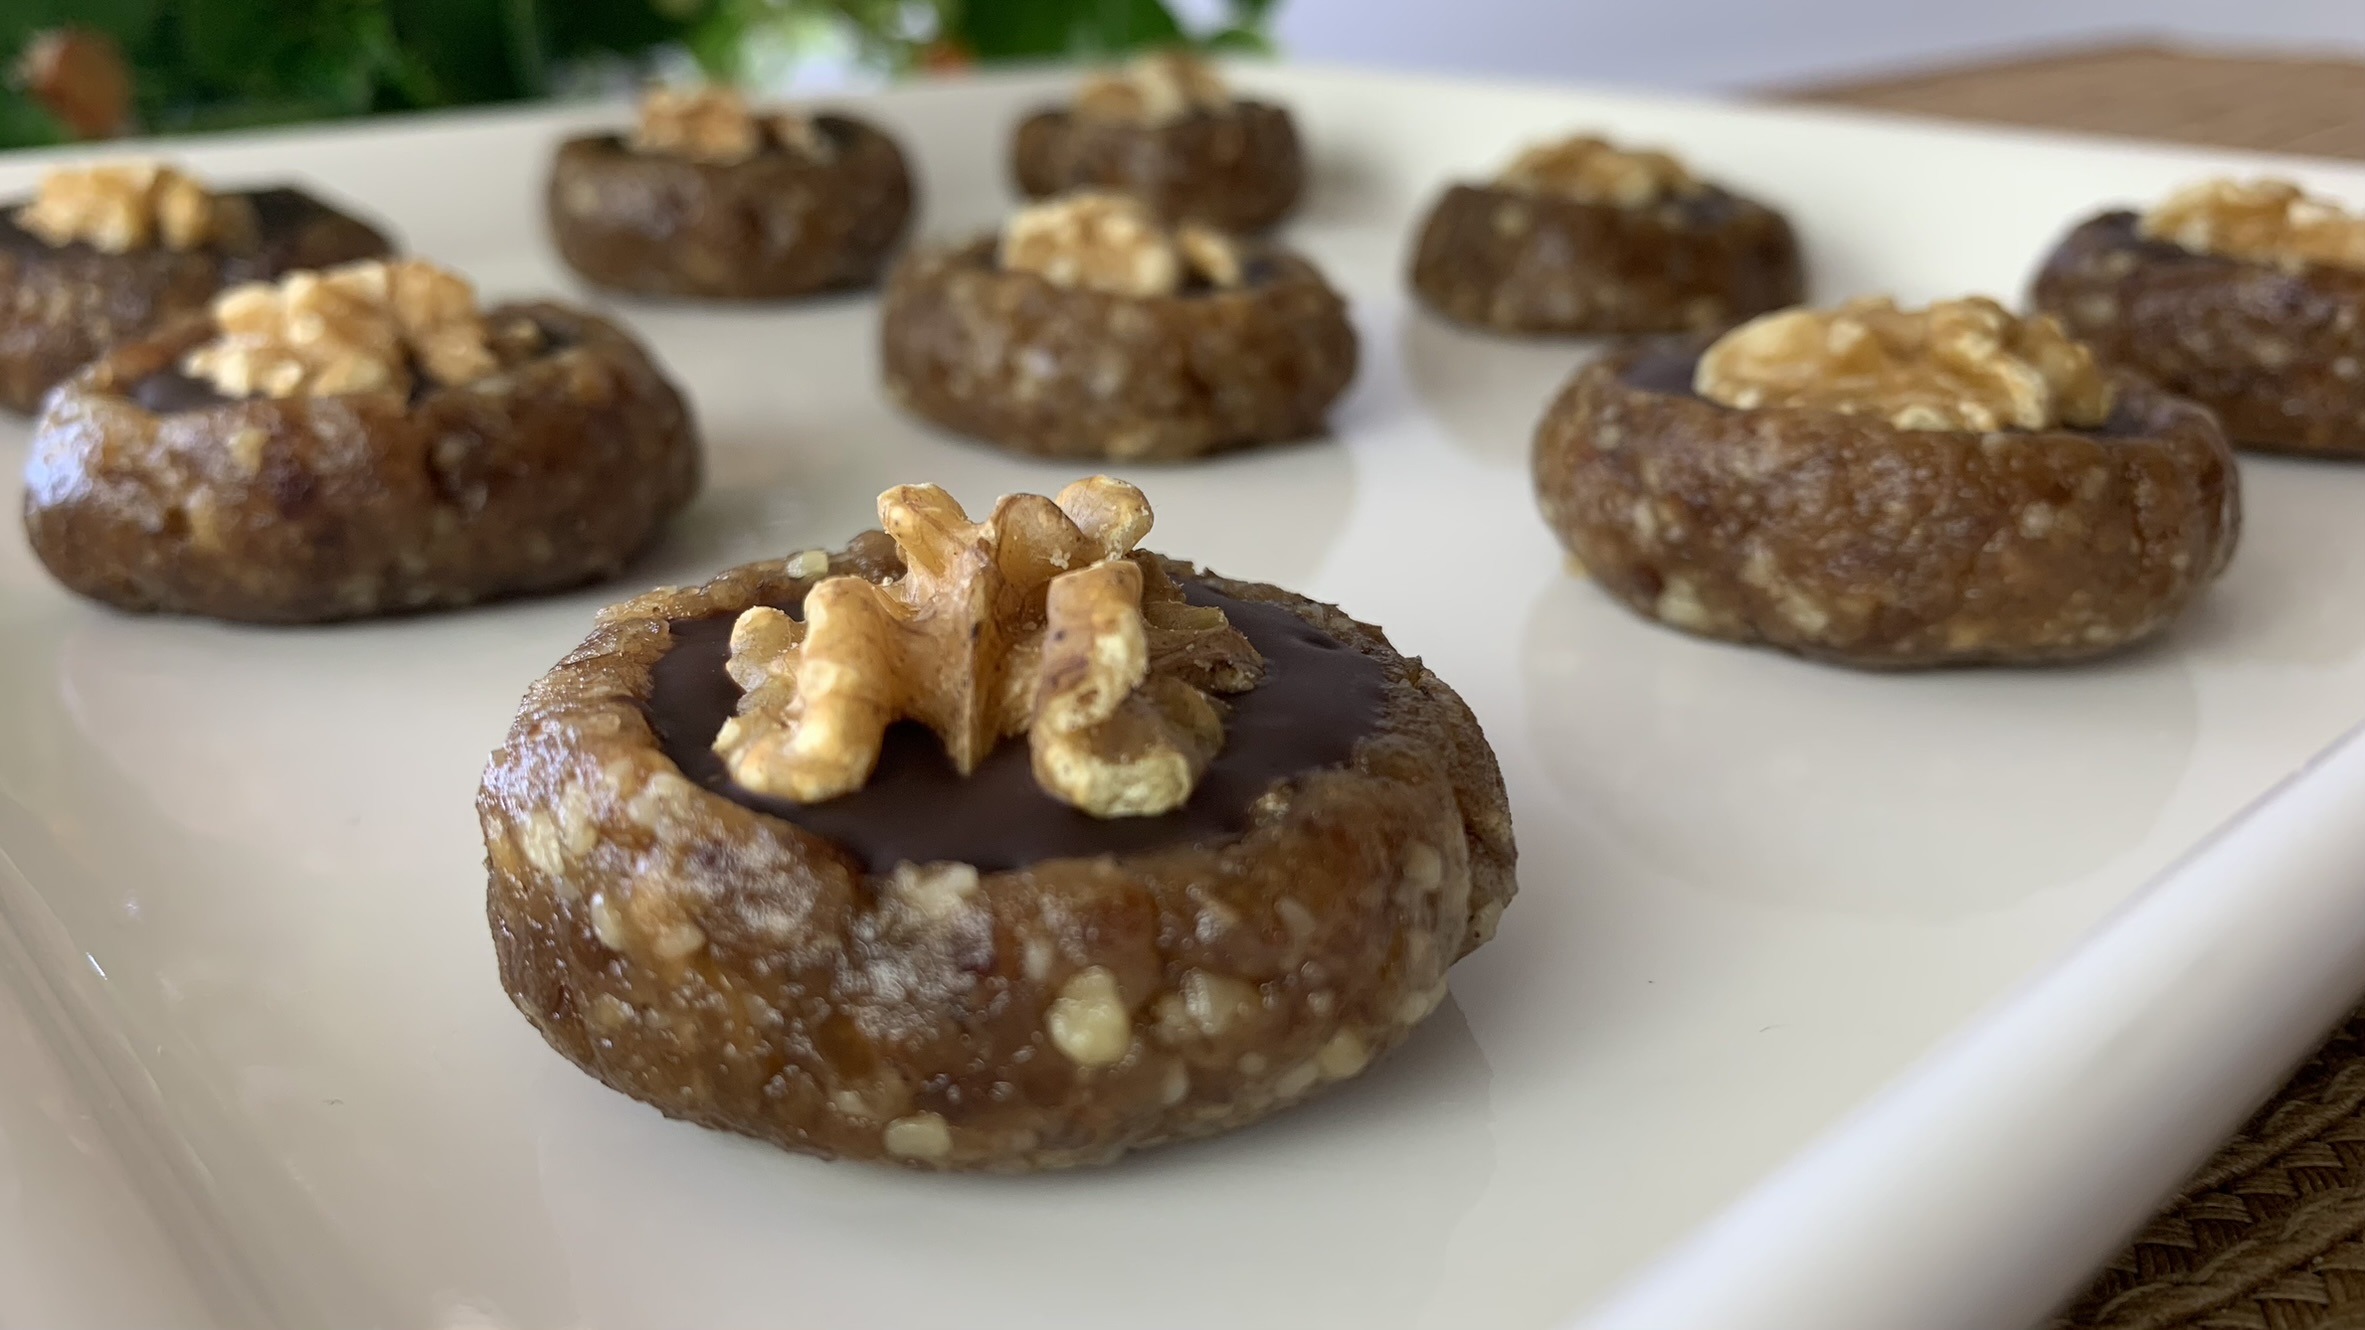
- Take small portions of the mixture and shape them into round cookies. To resemble traditional cookies, create a hole in the center of each one using the back of a measuring tablespoon.
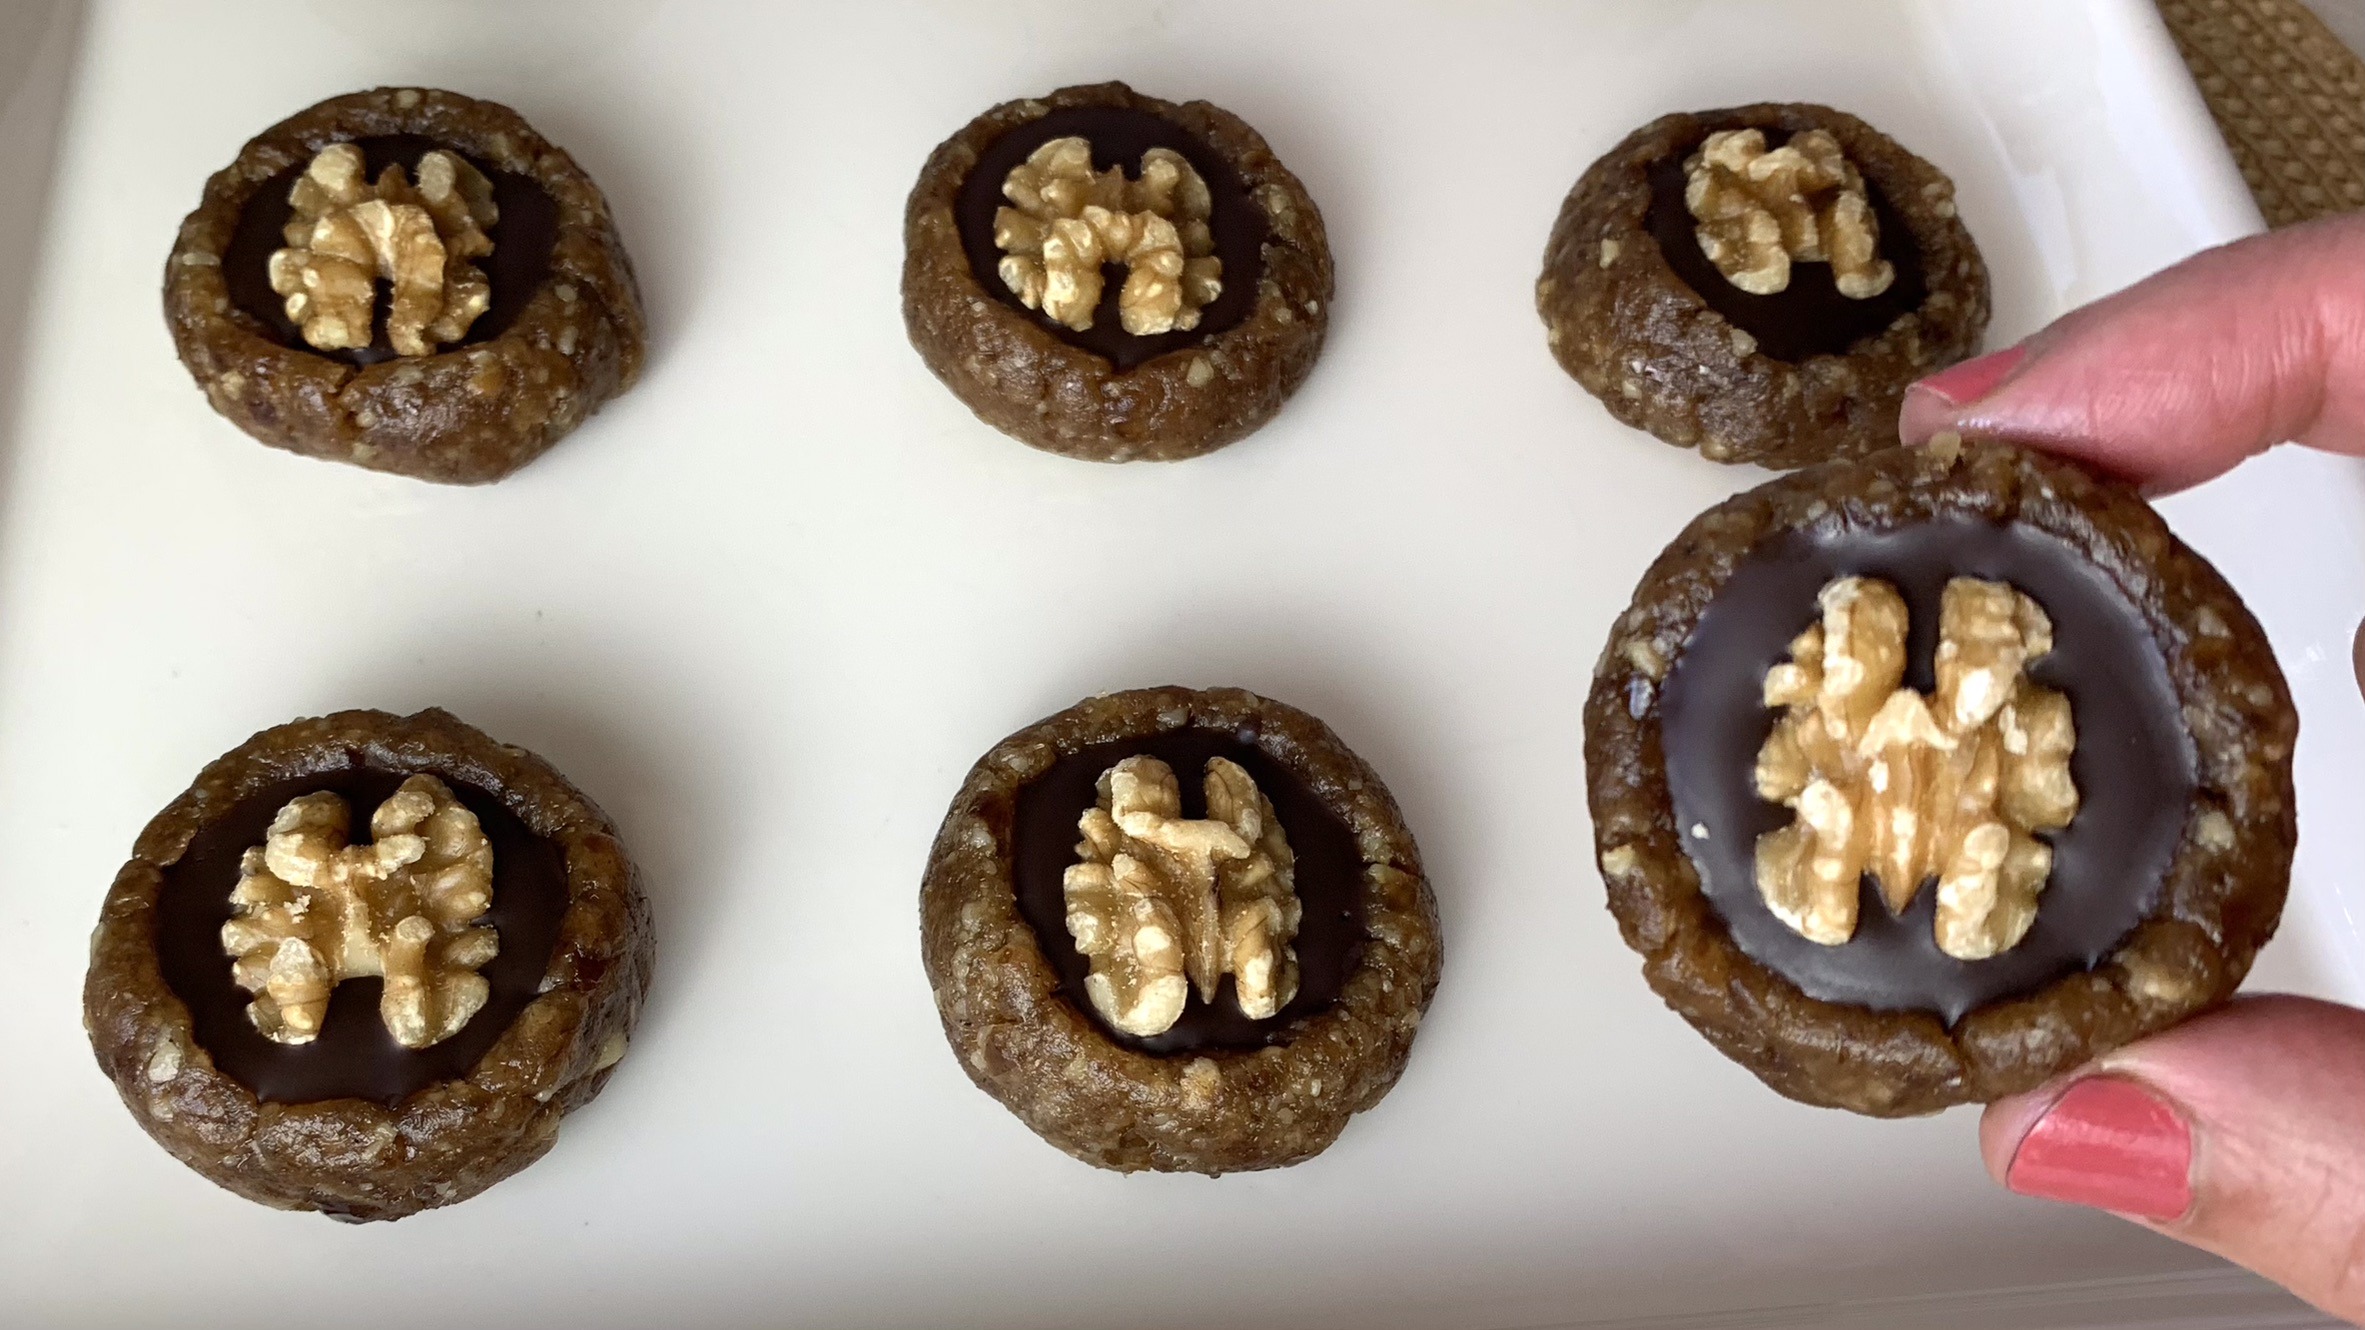
- Carefully pour some melted dark chocolate into the holes in the center of each cookie. Place a raw walnut half on top of the melted chocolate on each cookie for extra crunch and visual appeal.
- Arrange the cookies on a tray and place them in the fridge for 1 hour to set.
Prep Time
- 30 mins Prep
- 1 hour in the Fridge
Nutritional Information (Per 1 Serving)
- Energy: 134 calories
- Protein: 2.43 g
- Fat: 9.48 g
- Carbohydrates: 12.09 g
- Fiber: 2.1 g
Storage
- Store your cookies in the fridge for up to 1 week in the fridge or up to 3 months in the freezer.
Notes
- Enjoy these delightful walnut and date cookie treats as a quick, healthy, and tasty snack or dessert.