Caramel Sauce
Caramel Sauce
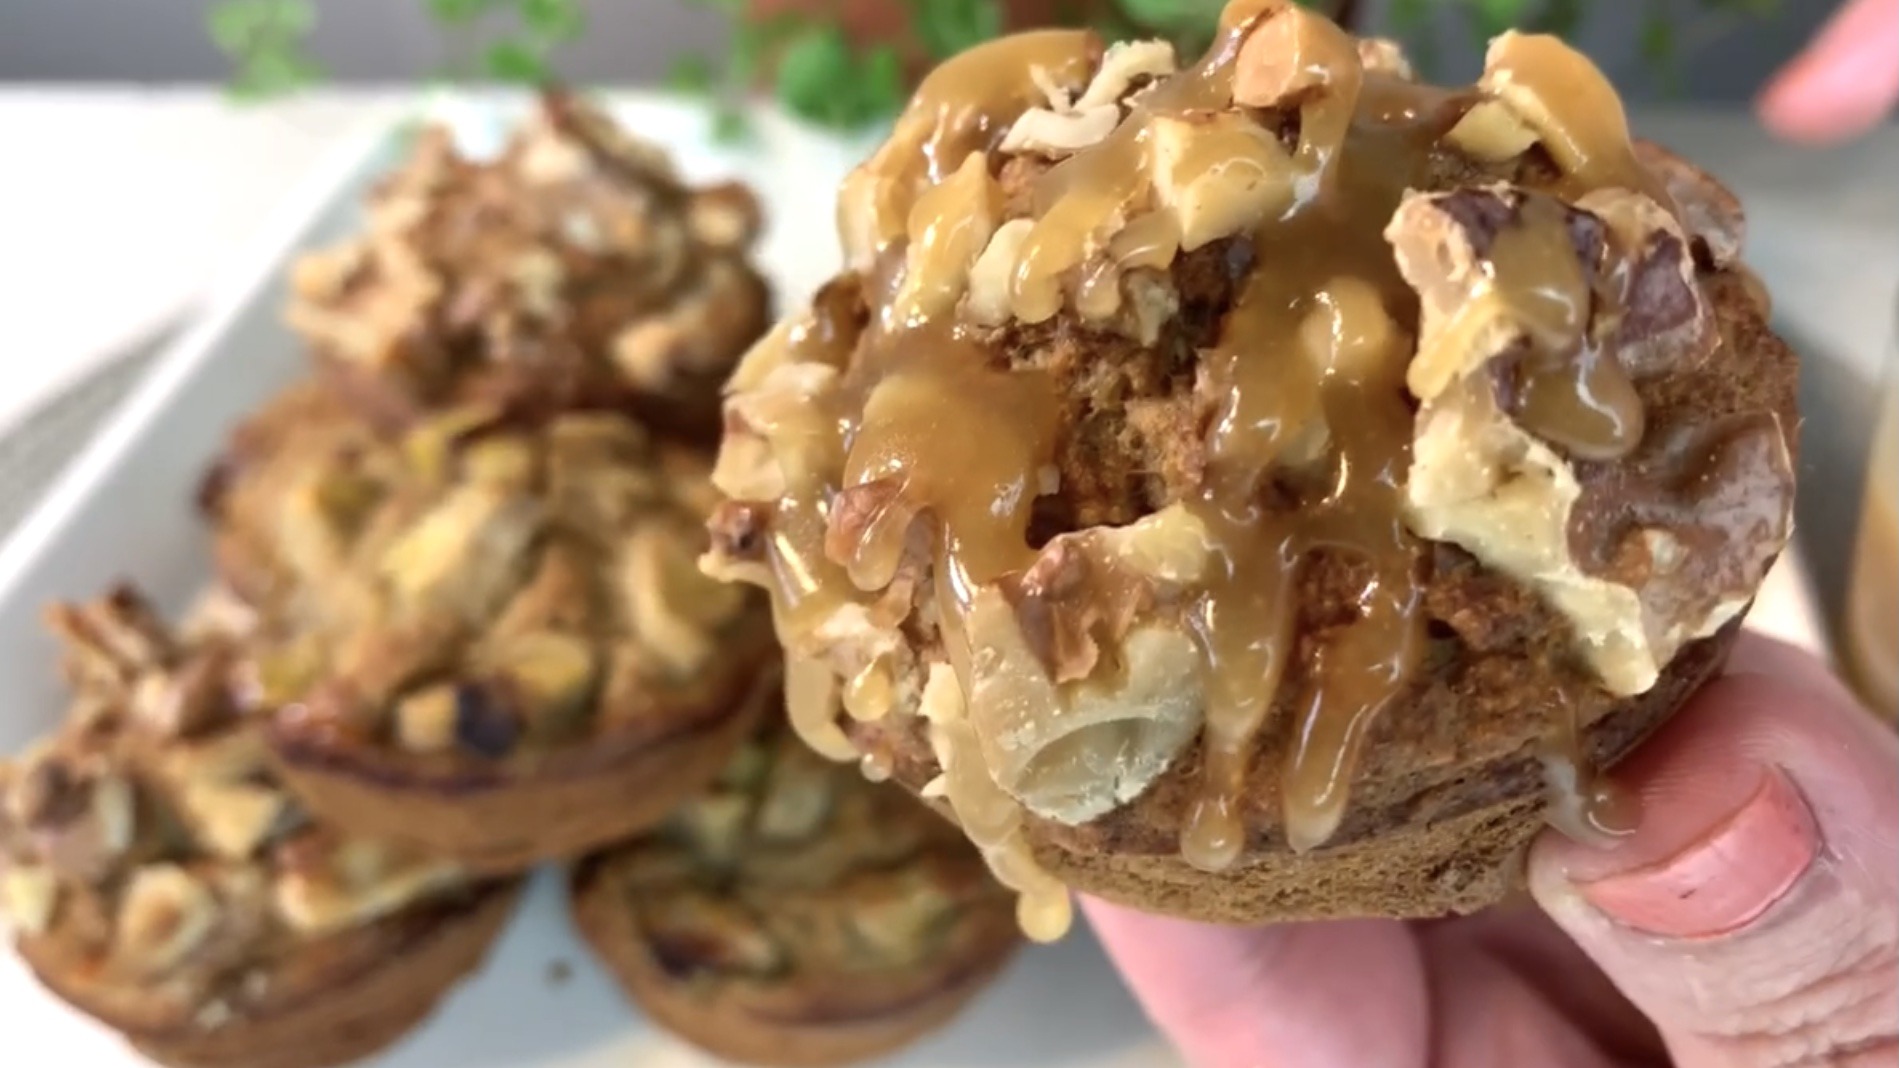
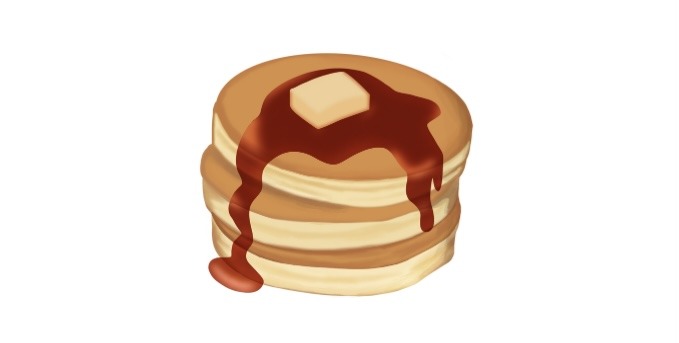
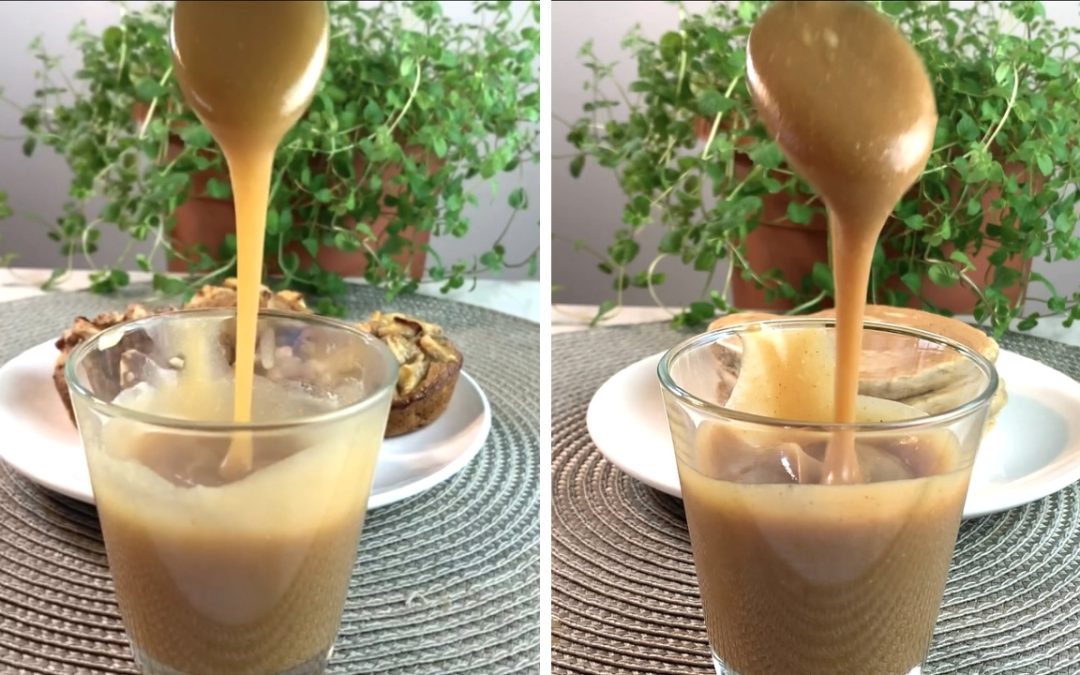
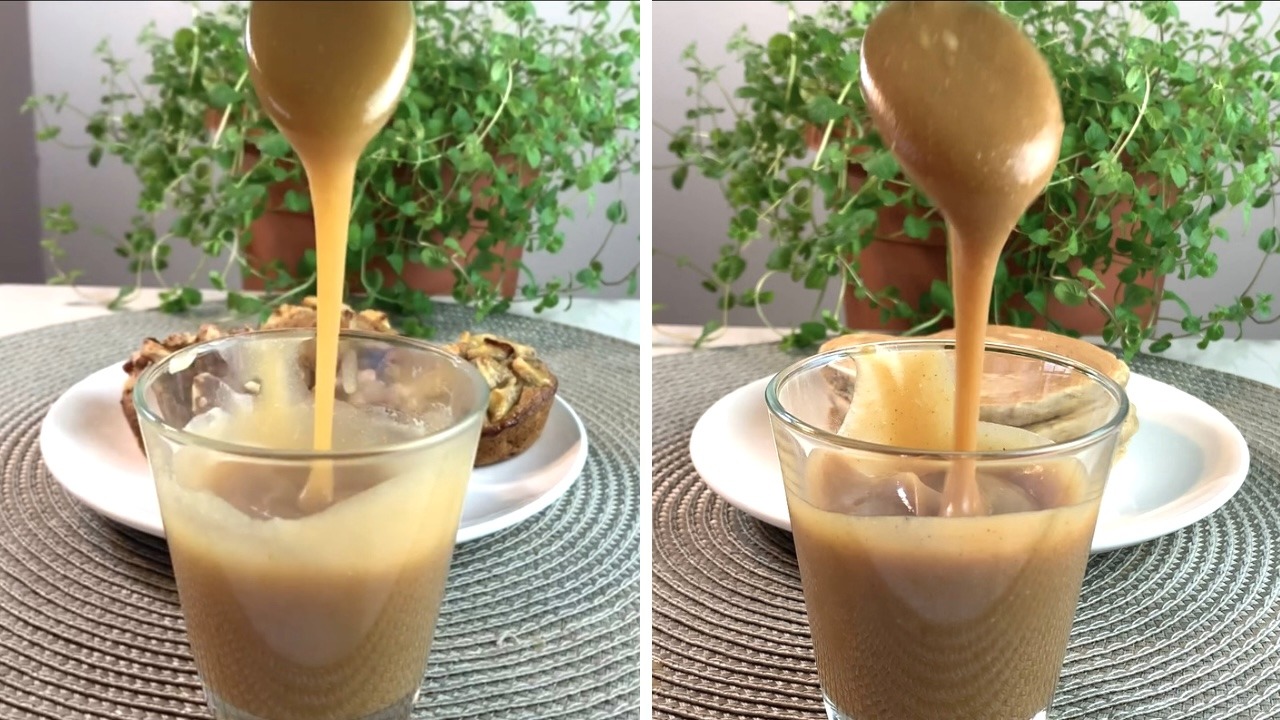
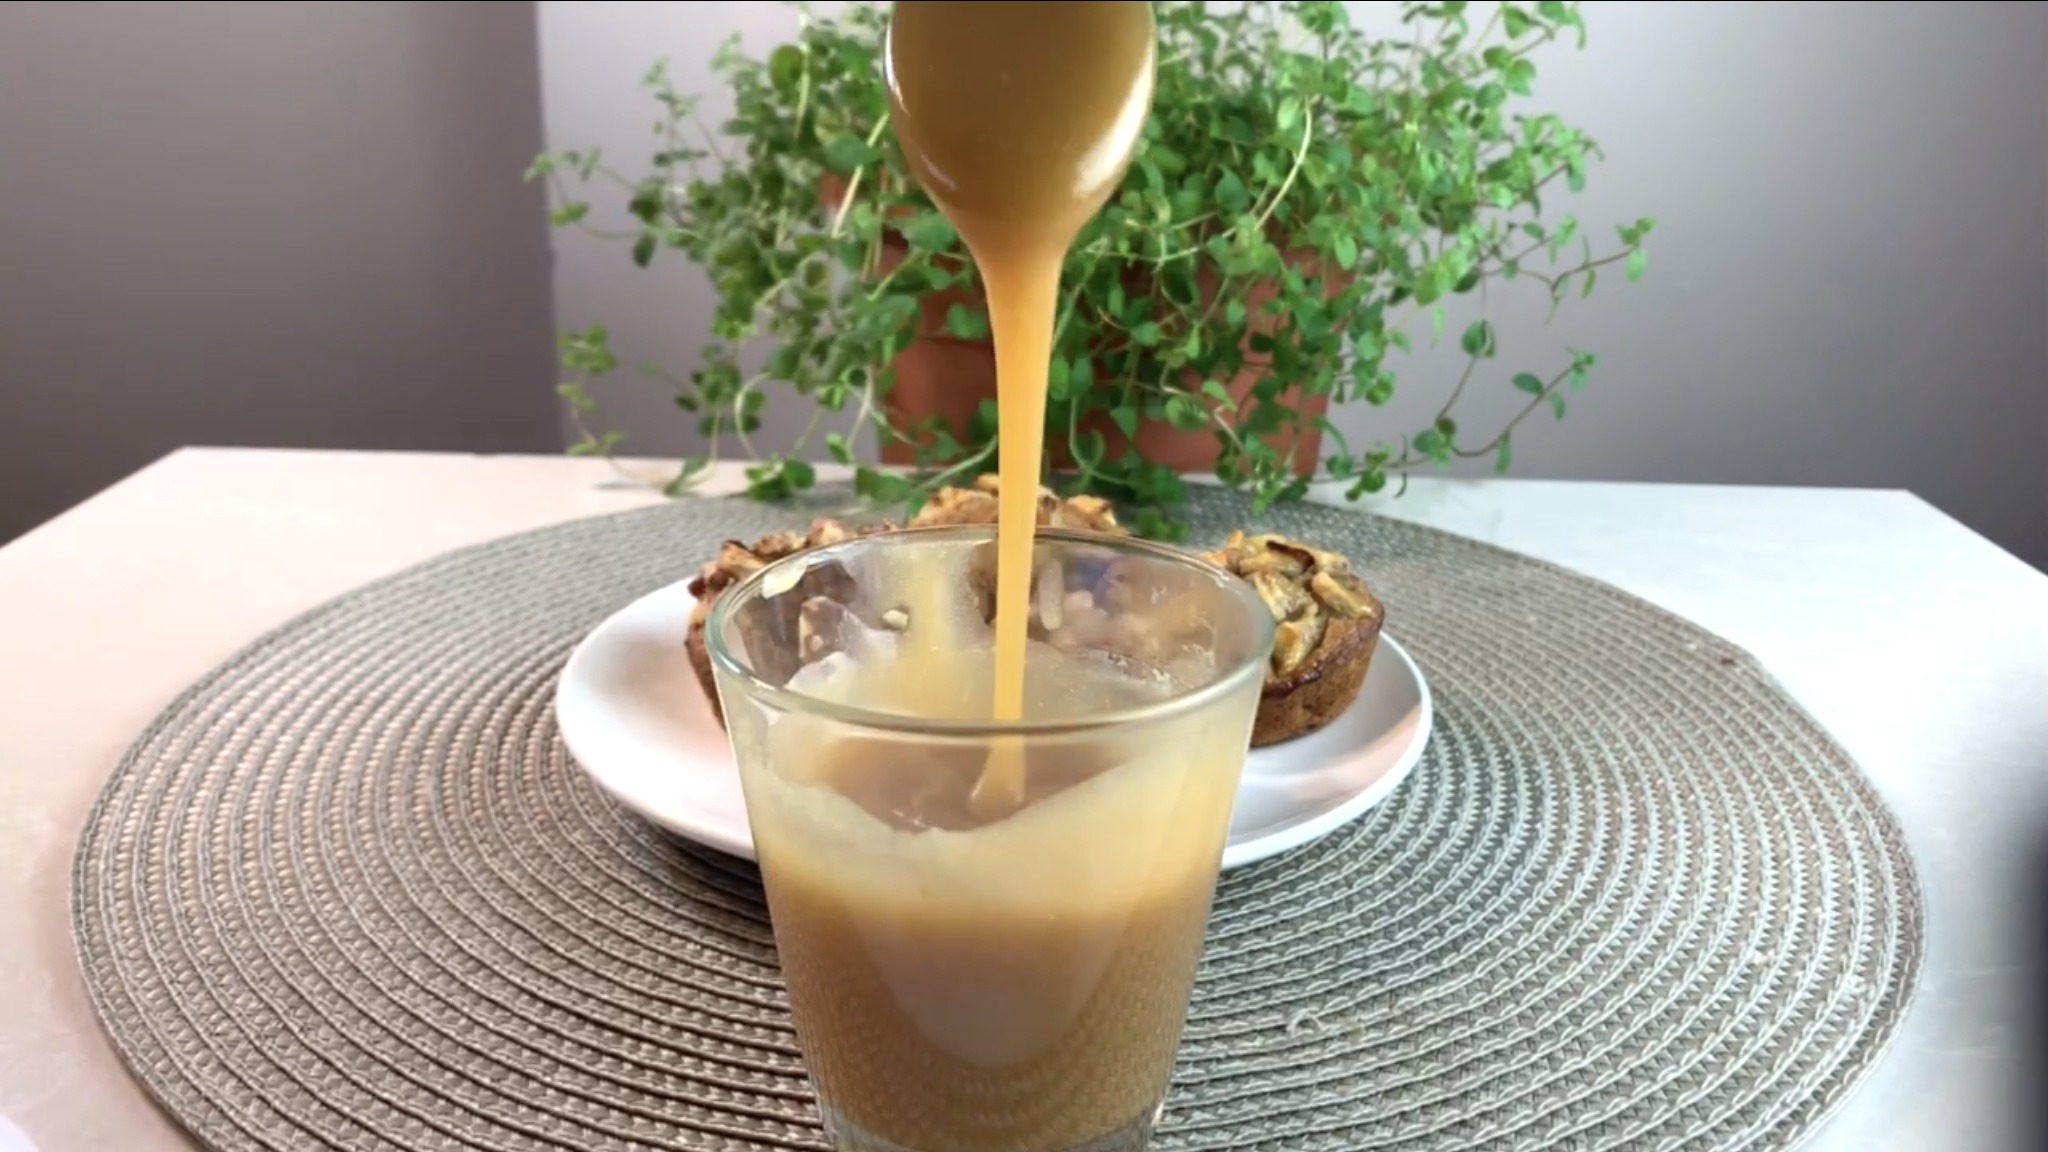
 Caramel sauce is the kind of treat that can transform any dessert from ordinary to extraordinary. Whether you’re drizzling it over fluffy pancakes, moist muffins, creamy ice cream, or fresh fruit, the rich and buttery sweetness of caramel sauce adds an indulgent touch that everyone loves. But why settle for store-bought when you can easily make your own at home? This Easy Caramel Sauce recipe shows you just how simple it can be to whip up a batch of caramel goodness with only a few basic ingredients.
What makes this recipe even more special is its versatility. With just maple syrup, butter, and a pinch of salt, you can create a smooth and luscious caramel sauce that’s perfect for any occasion. And for those who are looking for a no-cook option, the uncooked version made with peanut butter offers a unique twist on the classic caramel flavor. The combination of maple syrup and peanut butter not only brings a deep, nutty richness but also provides a healthier alternative to traditional caramel sauces that are loaded with refined sugars and heavy creams.
Maple syrup, the star ingredient in both versions of this recipe, is a natural sweetener that boasts a wealth of health benefits. Unlike refined sugar, maple syrup is rich in antioxidants and contains essential minerals like zinc and manganese, which support immune function and promote healthy skin. The unrefined nature of maple syrup makes it a better choice for those looking to reduce their intake of processed sugars while still enjoying the sweetness they crave.

Making your own caramel sauce at home not only gives you control over the ingredients but also allows you to experiment with flavors and textures, ensuring that your desserts always have that perfect, personalized touch. So, whether you’re preparing a decadent dessert for a special occasion or simply looking to elevate your everyday treats, this Easy Caramel Sauce is sure to become a staple in your kitchen.
Ingredients
Maple Caramel Sauce (Cooked Version)
- 1/2 cup maple syrup
- 3 tablespoons butter (45 g)
- Pinch of salt (optional)
Maple Caramel Sauce (Uncooked Version)
- 1/3 cup maple syrup
- 1/3 cup unsweetened peanut butter
- Pinch of salt (optional)
Directions
Cooked caramel:
- In a saucepan over medium-high heat, pour the maple syrup.
- Stir continuously as the maple syrup cooks and thickens, reducing to about half its original volume.
- Once the maple syrup has thickened, add the butter and a pinch of salt (if desired).
- Vigorously stir the mixture for 1-2 minutes until the butter is fully incorporated and the caramel is thick and smooth.
- Remove from heat and let the caramel sauce cool before serving.
Uncooked caramel:
- In a mixing bowl, combine the maple syrup, unsweetened peanut butter, and a pinch of salt.
- Stir vigorously until the ingredients are fully combined and the mixture has a thick and smooth caramel texture.
Prep Time, Baking Information, and Servings
- Servings: Multiple
- Prep Time: 20 minutes (Cooked Version), 10 minutes (Uncooked Version)
Nutritional Information (Per 1 Serving)
- Energy: … calories
- Protein: … g
- Fat: … g
- Carbohydrates: … g
- Fiber: … g
Notes & Storage
- Store any leftover caramel sauce in an airtight container in the refrigerator.
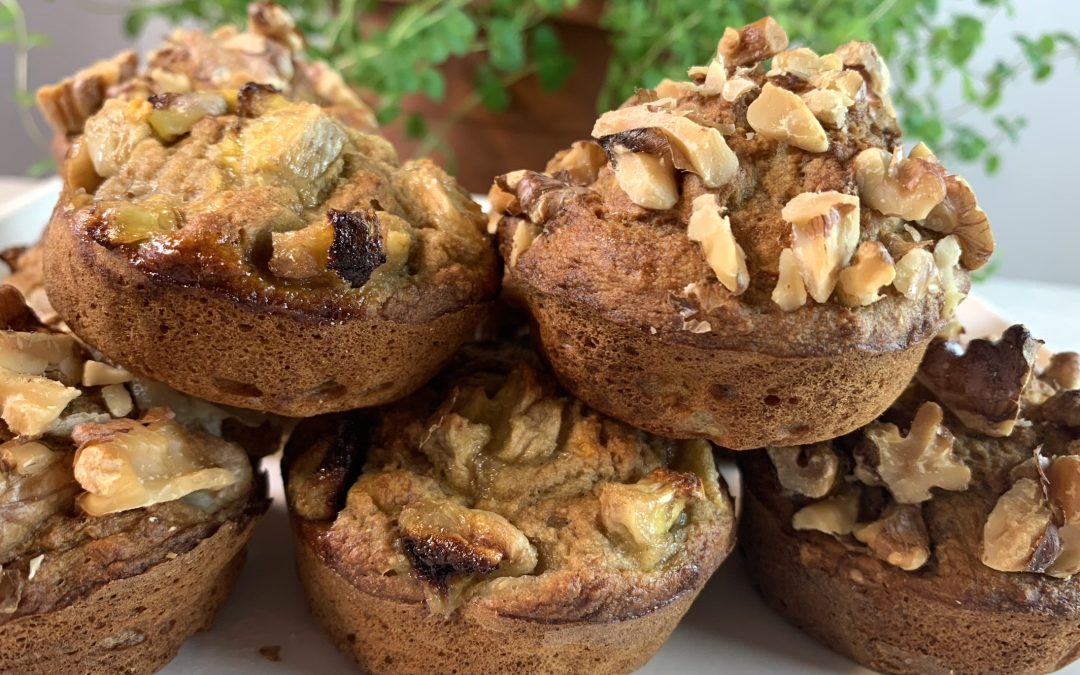
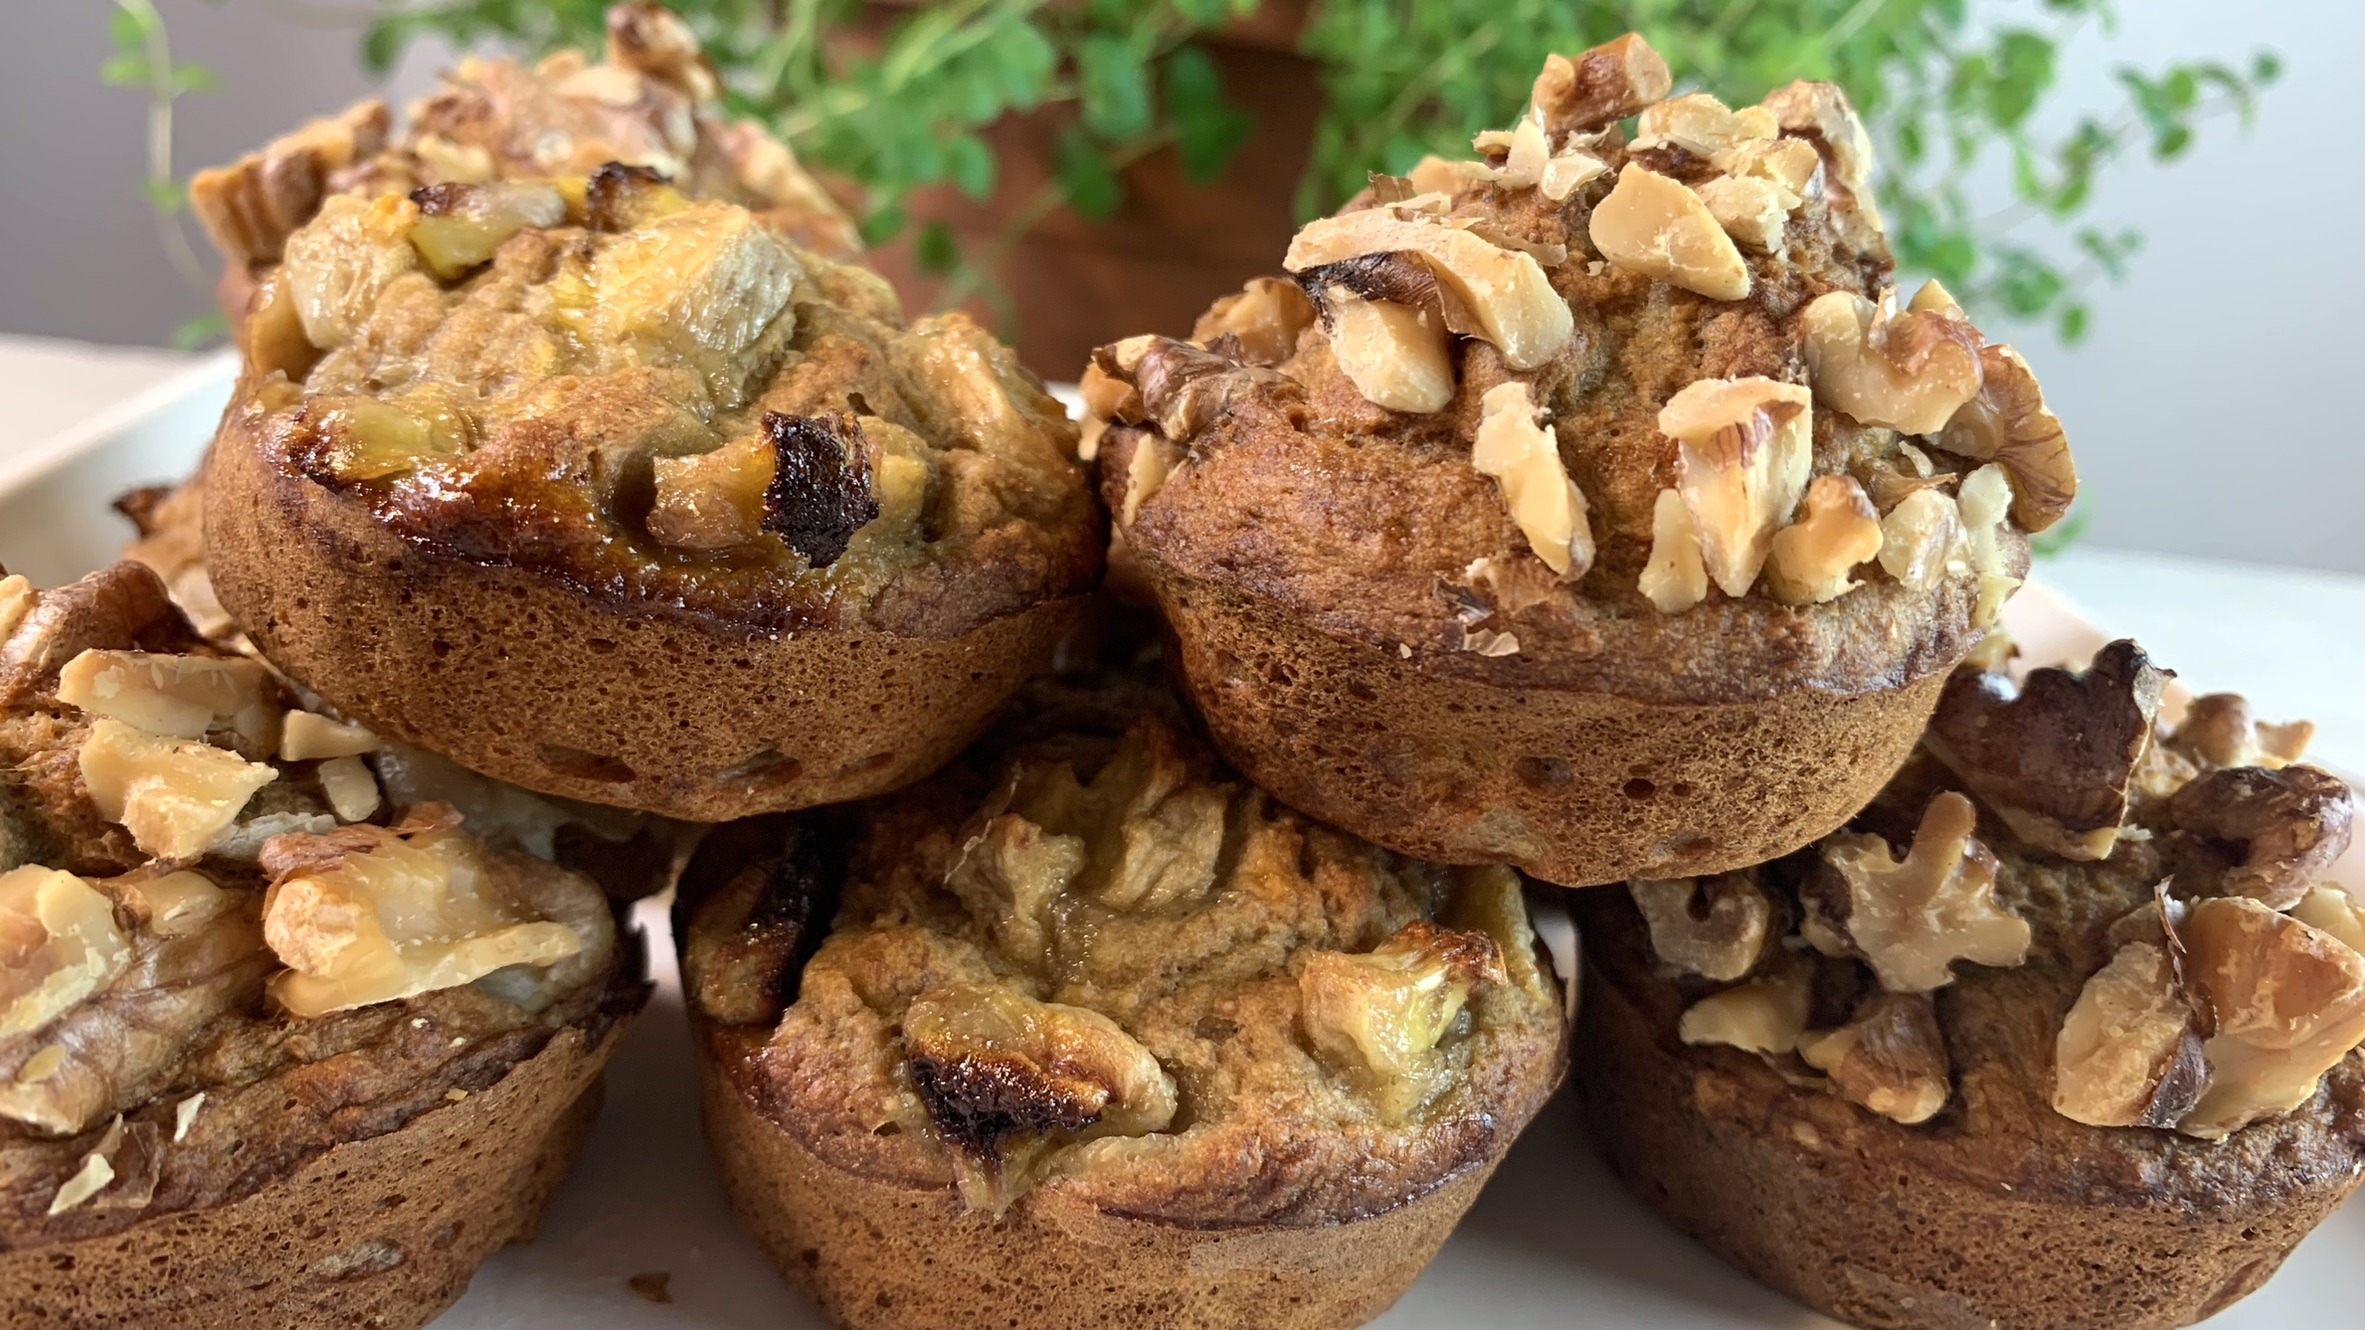
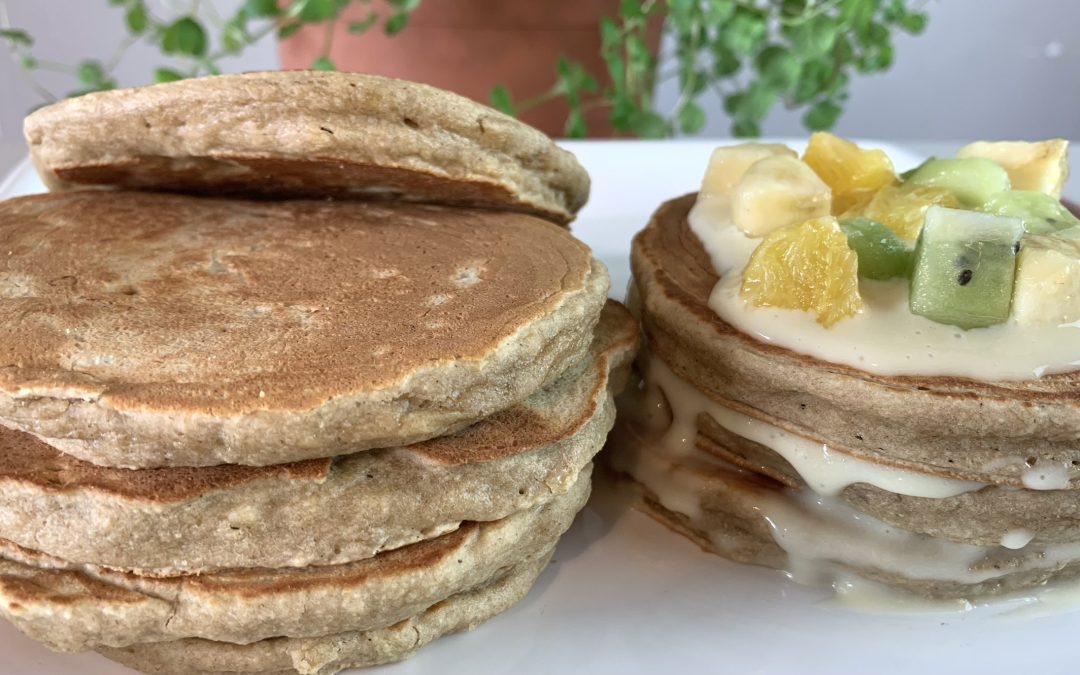
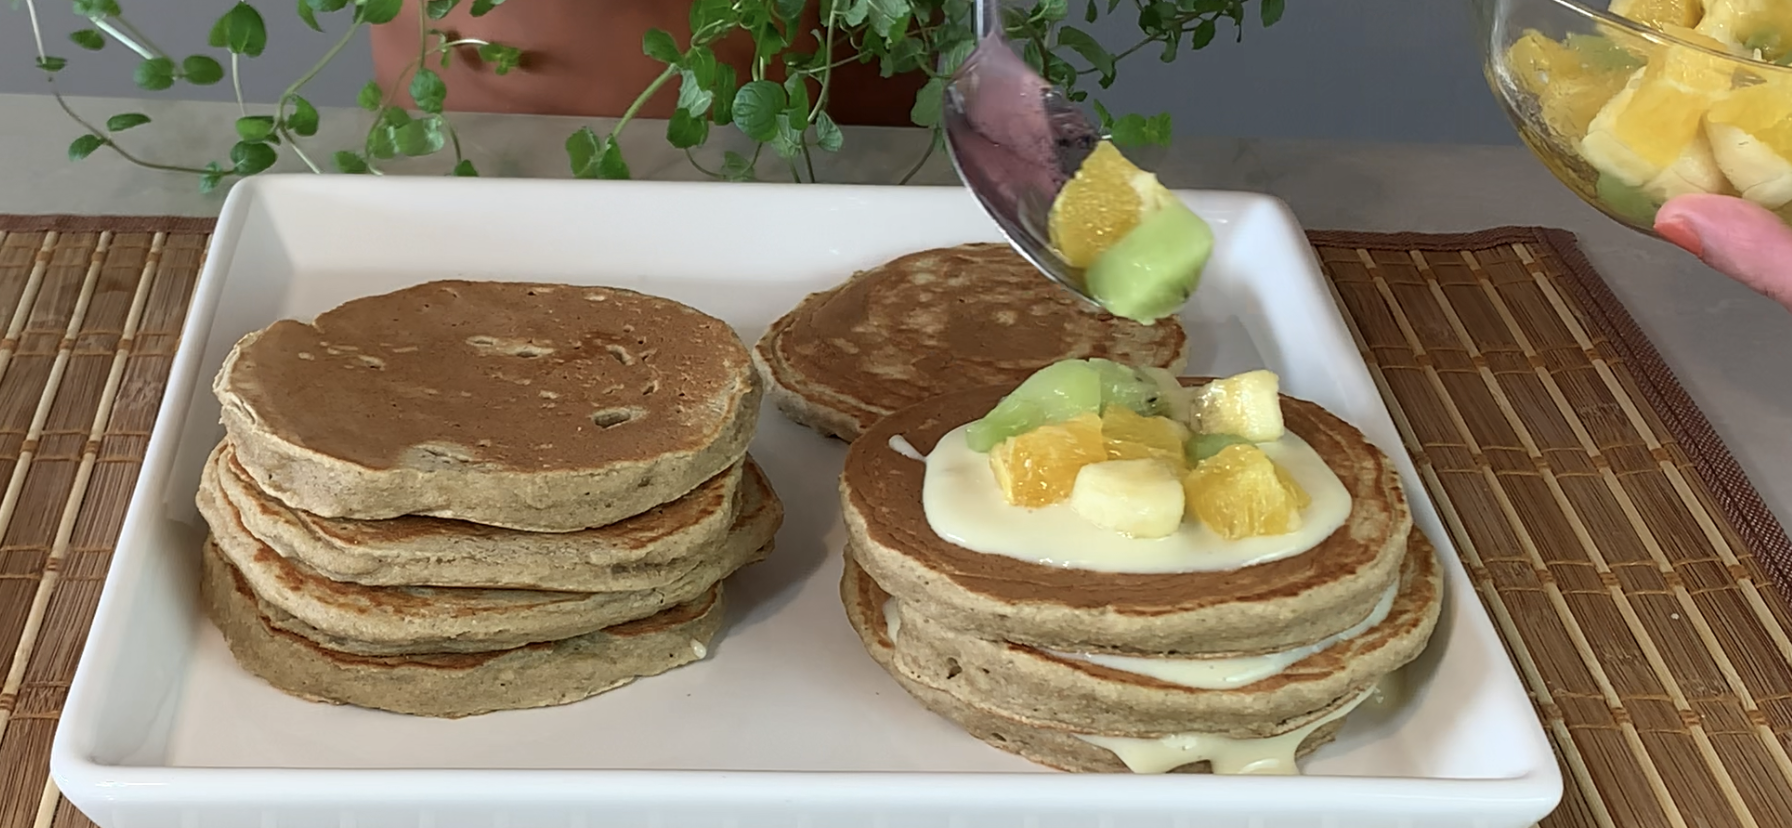
- Drizzle the caramel sauce over your pancakes, muffins, ice cream, or fruit for a delightful treat.