Peanut Oatmeal Bars
Peanut Oatmeal Bars

If you’re looking for a quick, easy, and healthy treat, these Peanut Butter Oatmeal Bars are exactly what you need. With just three simple ingredients and minimal prep time, you’ll have a delicious and nutritious snack ready to go in no time.
The star of this recipe is the humble oat, a powerhouse of nutrition. Oats are packed with dietary fiber, particularly beta-glucan, which is known to help reduce cholesterol levels and support heart health. They are also a great source of essential vitamins, minerals, and antioxidants that boost your immune system and keep you feeling full and satisfied. Incorporating oats into your diet is a fantastic way to support overall health, manage weight, and sustain energy levels throughout the day.
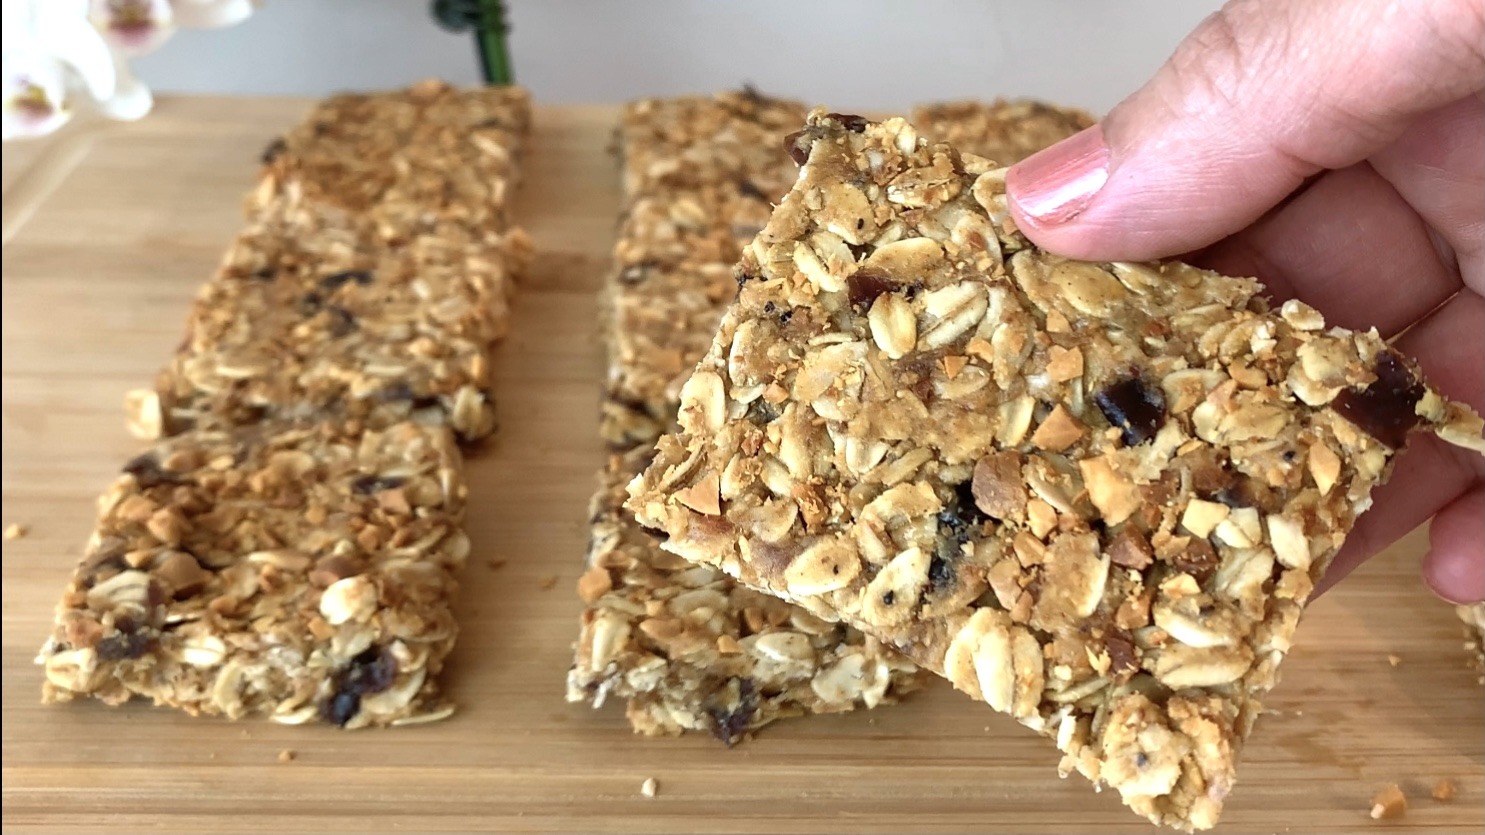
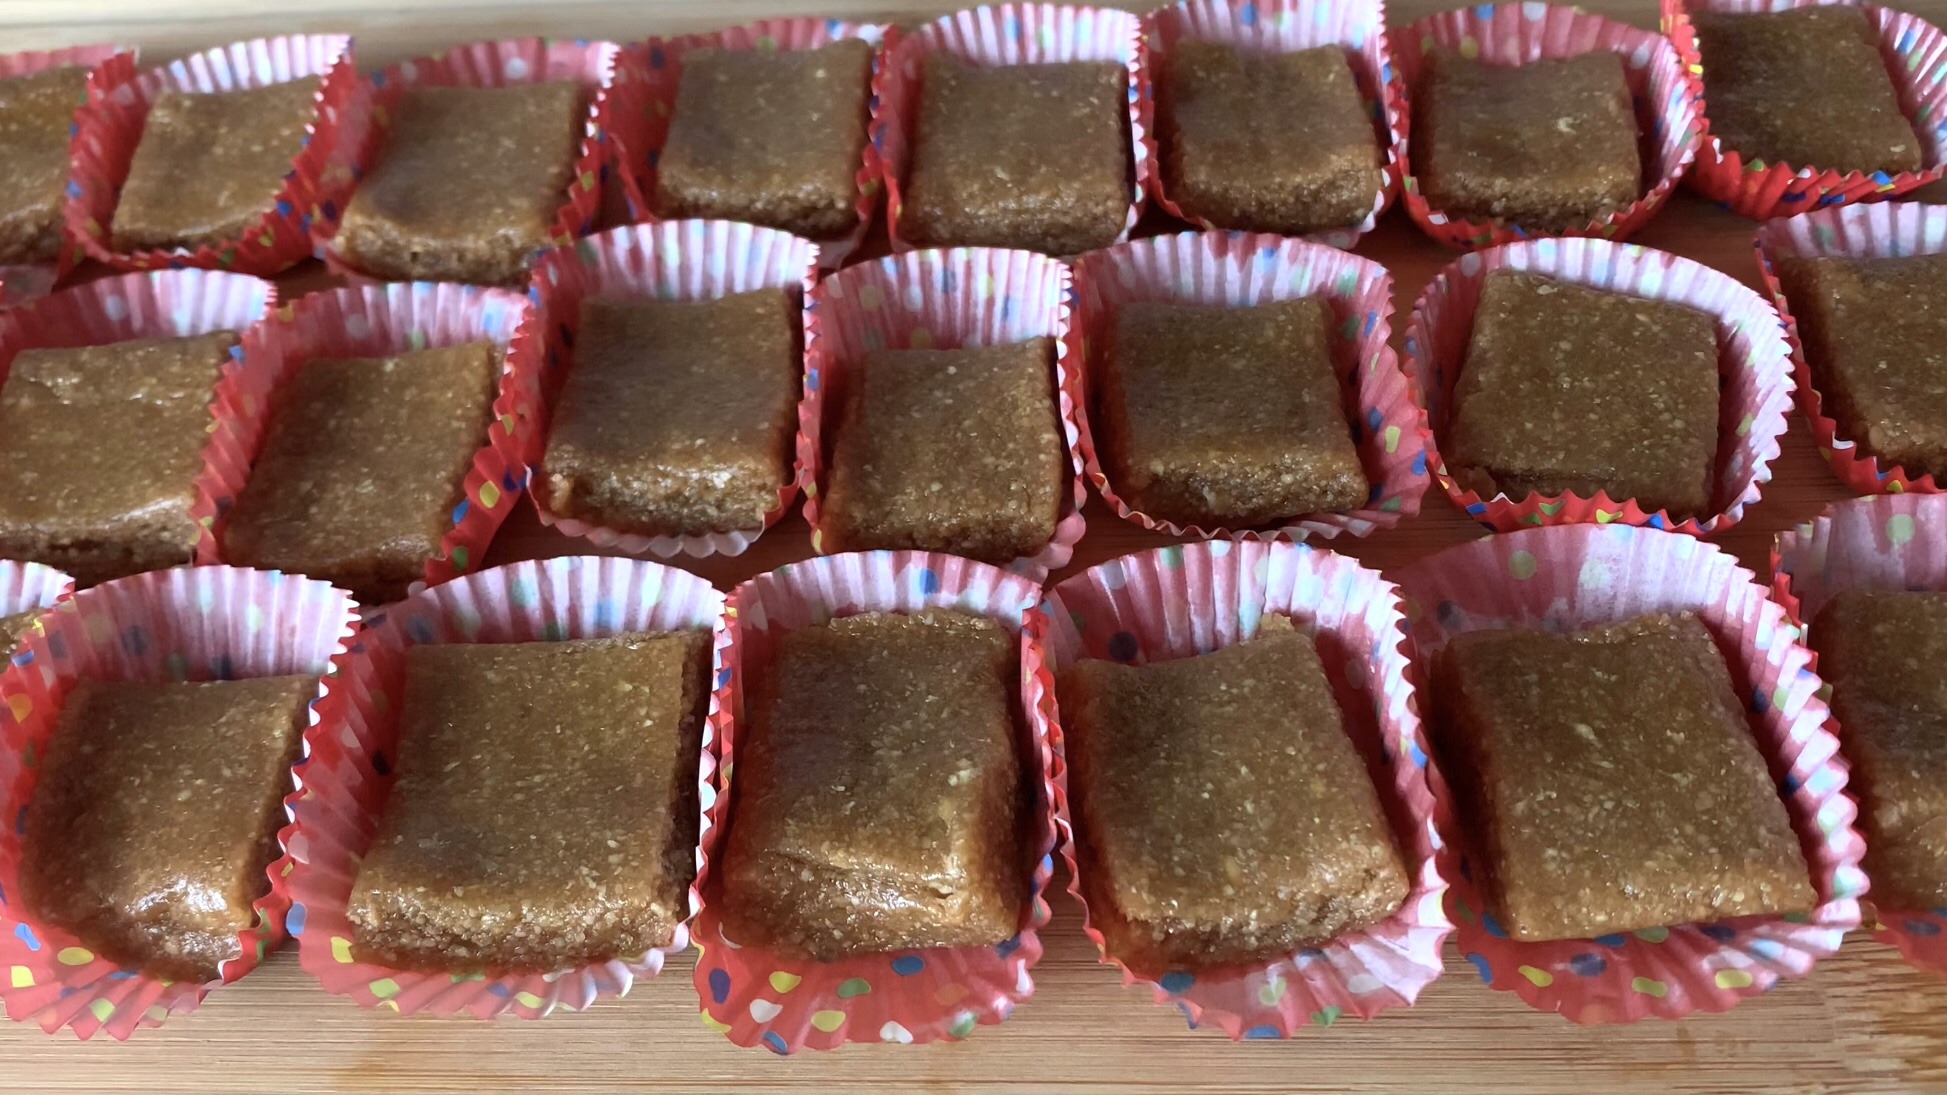
These bars are perfect for a grab-and-go breakfast, a midday energy boost, or a satisfying snack at any time of the day. Made with wholesome ingredients like dates, peanut butter, and roasted rolled oats, they offer a delightful blend of sweetness and nuttiness that’s simply irresistible.
Let’s get started on making these easy and healthy oat bars that you’re going to love!
Ingredients
- 1 ½ cups old-fashioned rolled oats (120 g)
- ½ cup unsweetened peanut butter
- ⅓ cup (120 g) soft dates
- ¼ cup chopped peanuts (for bottom and top)
Directions
- Lightly roast rolled oats in a pan over medium heat for 10 to 15 minutes.
- Chop the soft, pitted dates into small pieces.
- Combine roasted oats, chopped dates, and peanut butter in a bowl.
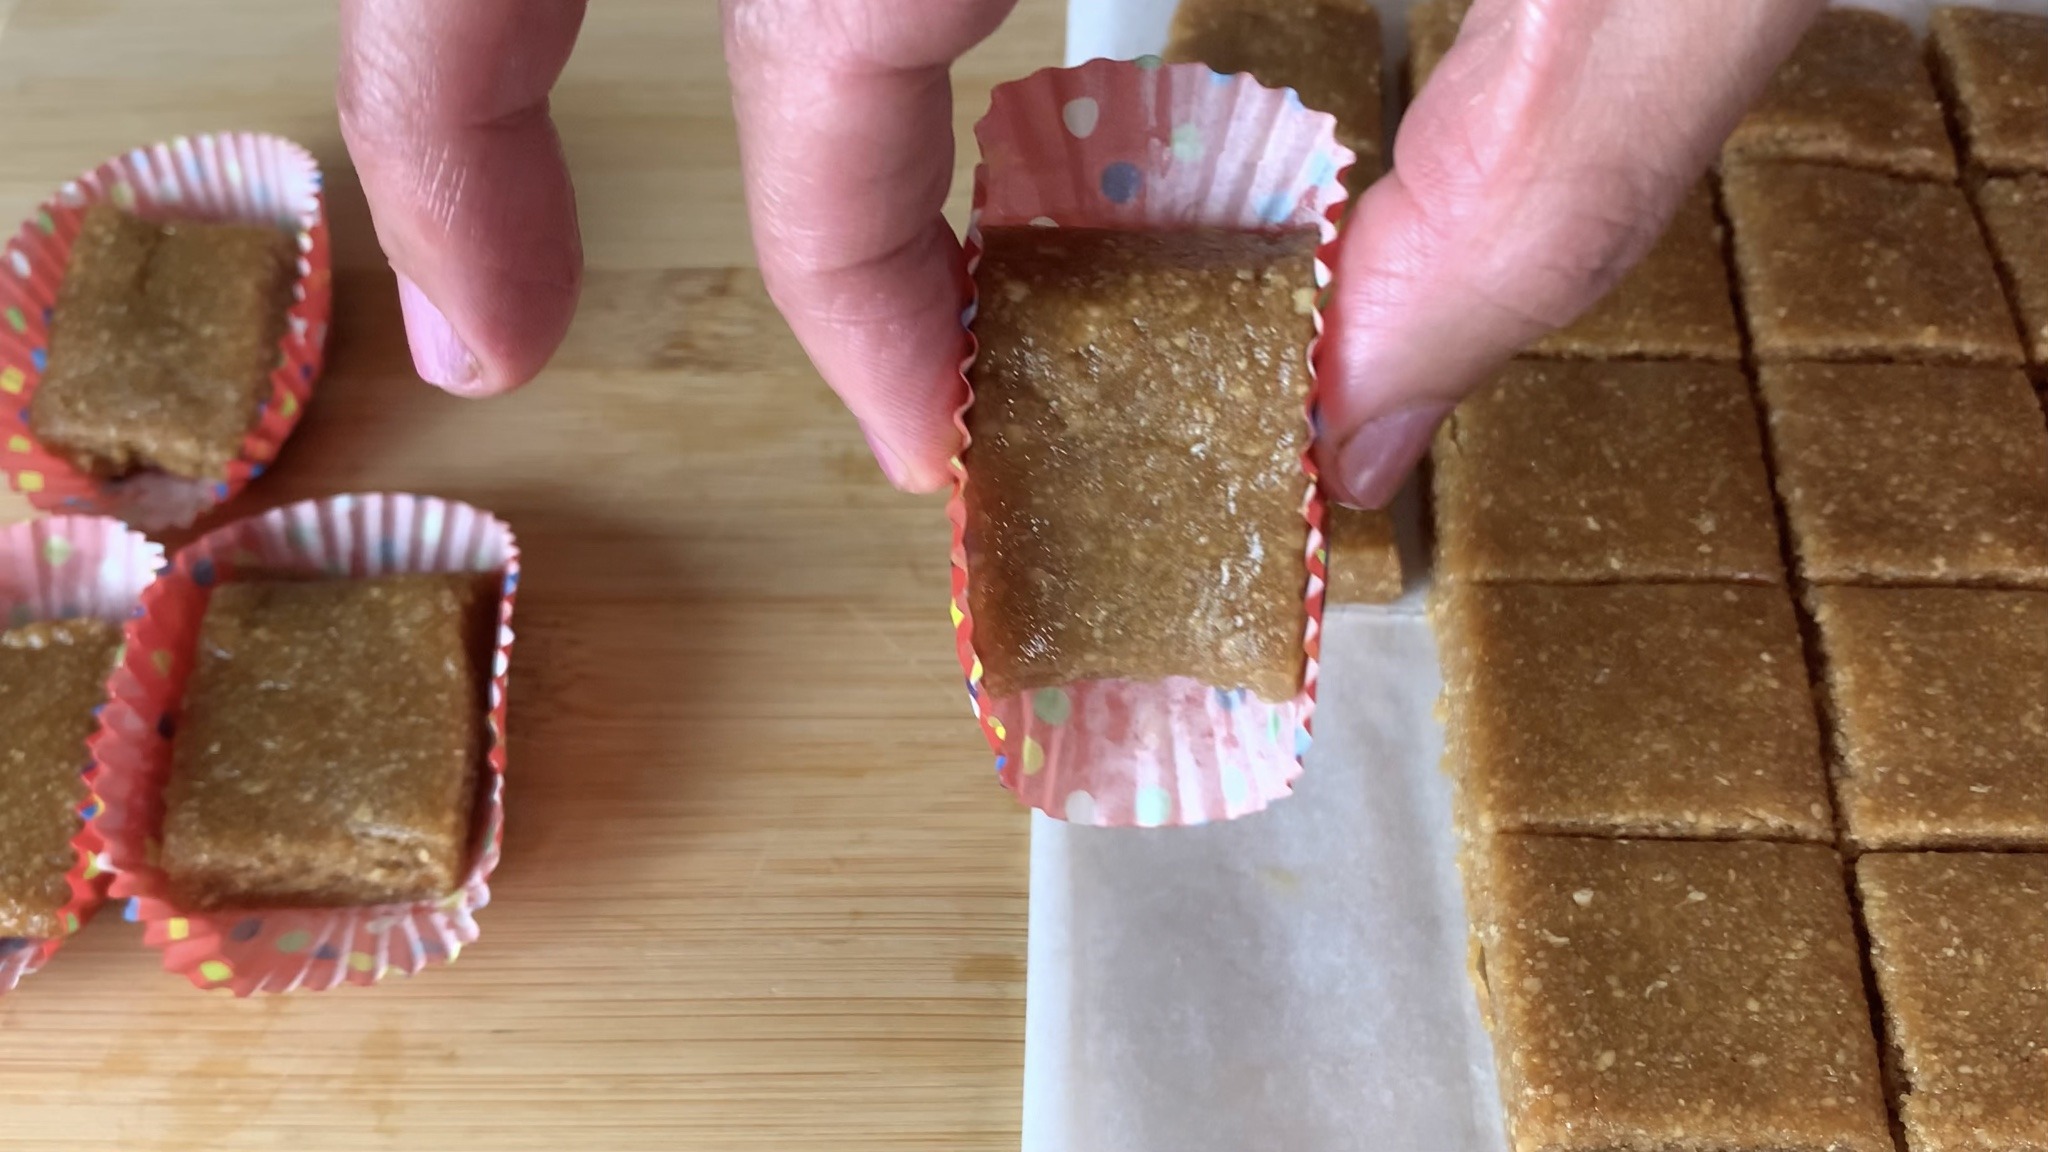
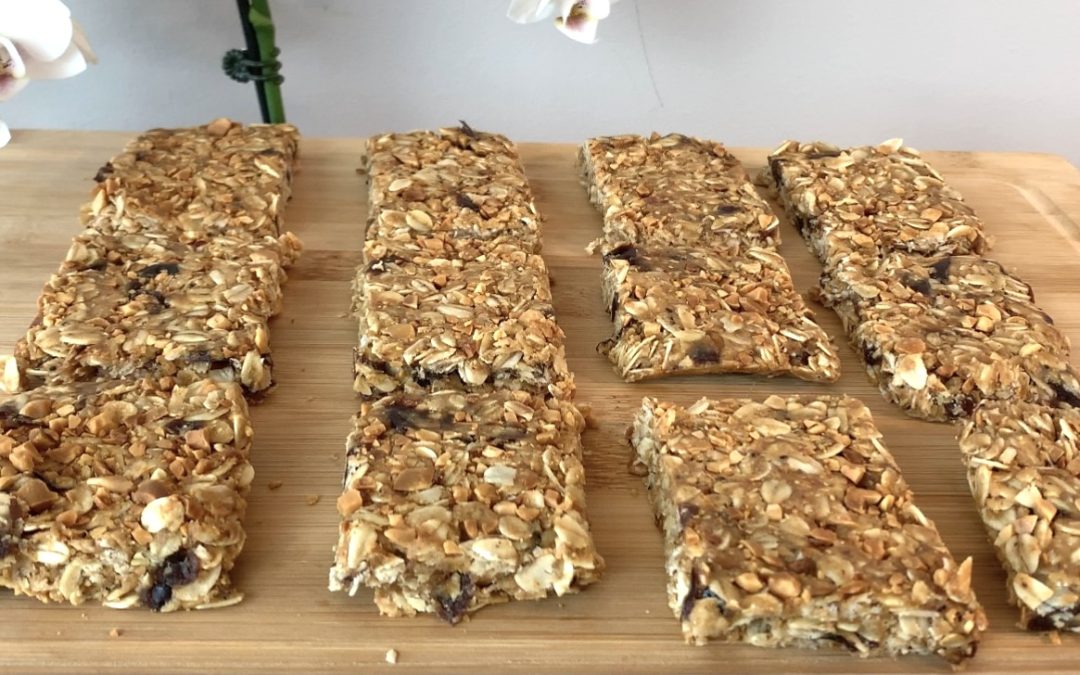
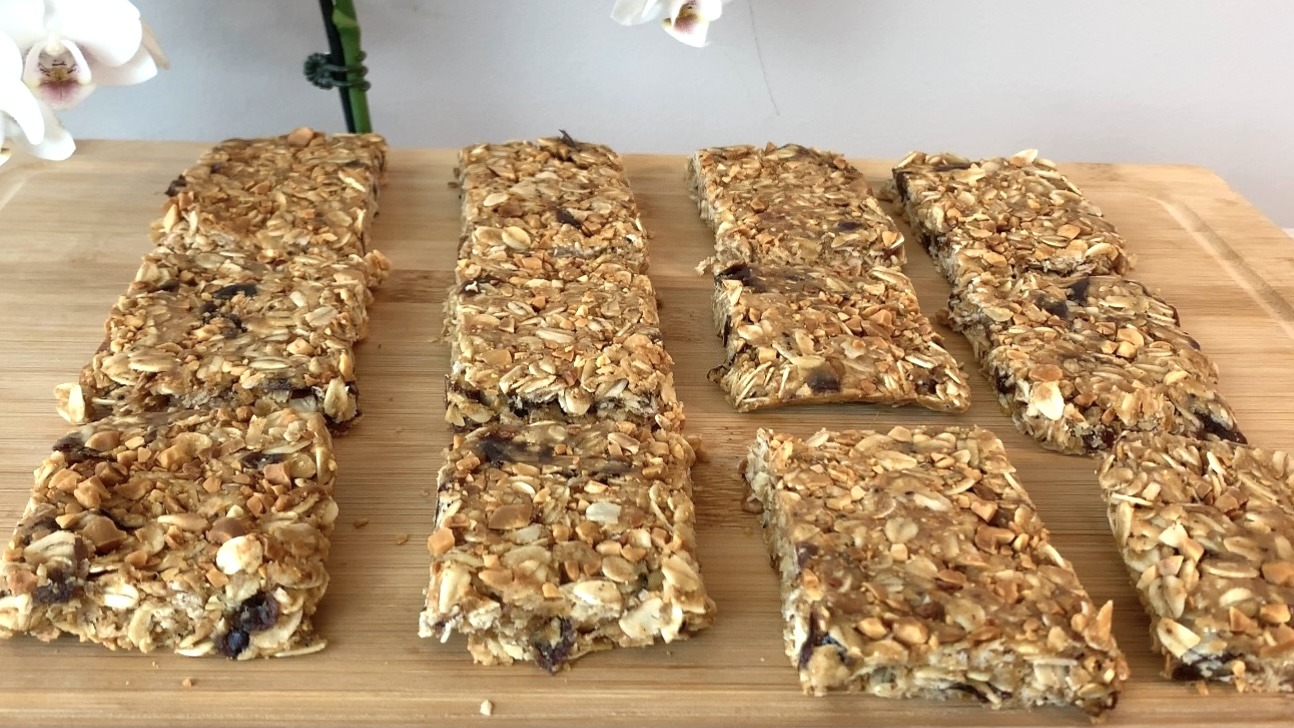
- Line a square baking pan with parchment paper and sprinkle chopped peanuts on the bottom.
- Press the oat mixture firmly into the pan, then top with more chopped peanuts. Press gently to stick the chopped peanuts to the mixture.
- Refrigerate for 30 minutes to set.
- Lift the oat mixture out of the pan using parchment paper and cut it into bars.
Serving Information
- Servings: 12 bars
- Prep Time: 30 minutes
- Time in the Fridge: 30 minutes
Nutritional Information (Per Serving)
- Energy: 149 calories
- Protein: 5.07 g
- Fat: 7.78 g
- Carbohydrates: 17.14 g
- Fiber: 2.6 g
Storage and Recommendations
- Keep leftovers refrigerated in an airtight container for up to 1 week, or freeze for up to 3 months.
- Enjoy your homemade oat bars as a nutritious snack or quick and wholesome breakfast option.