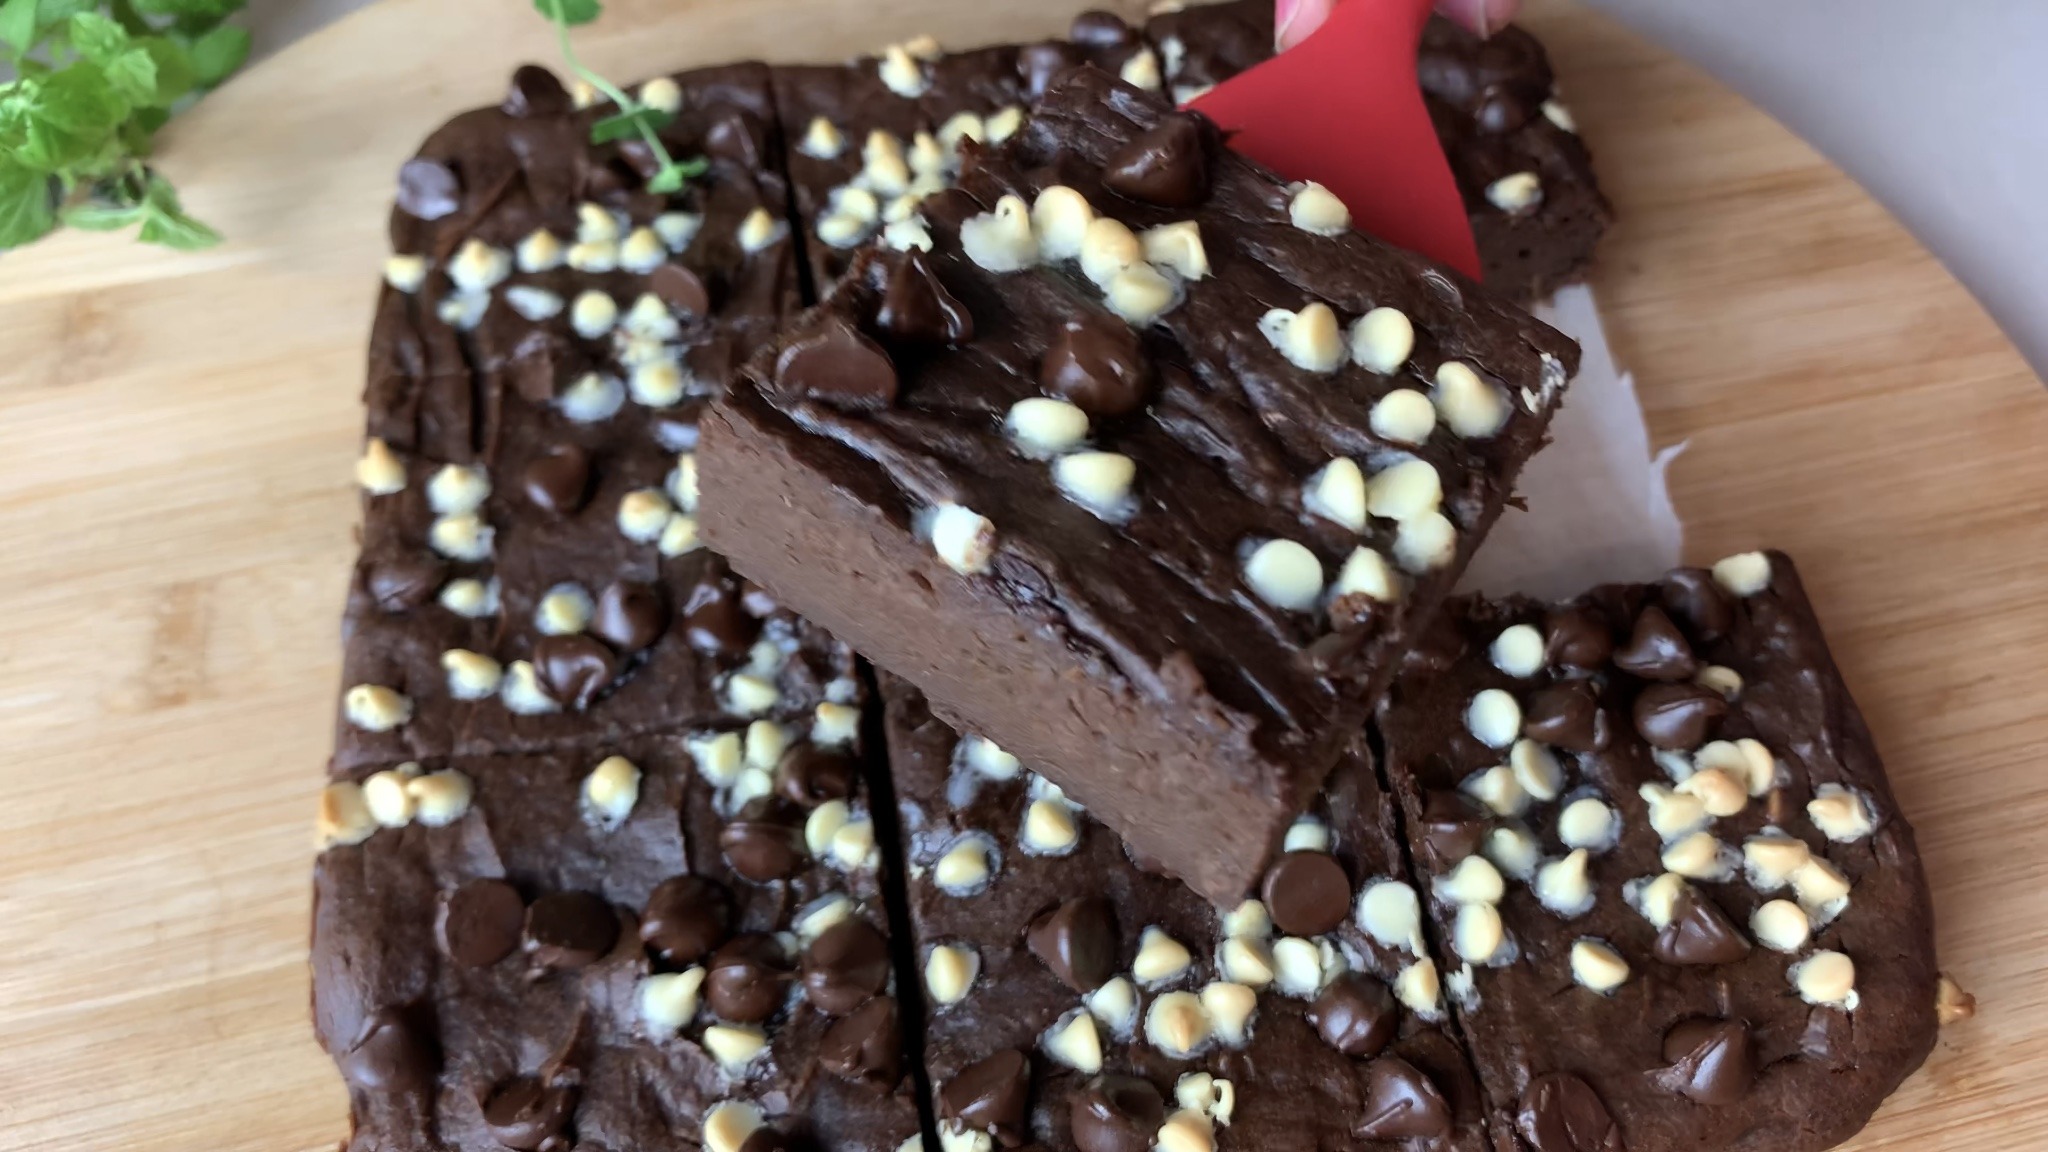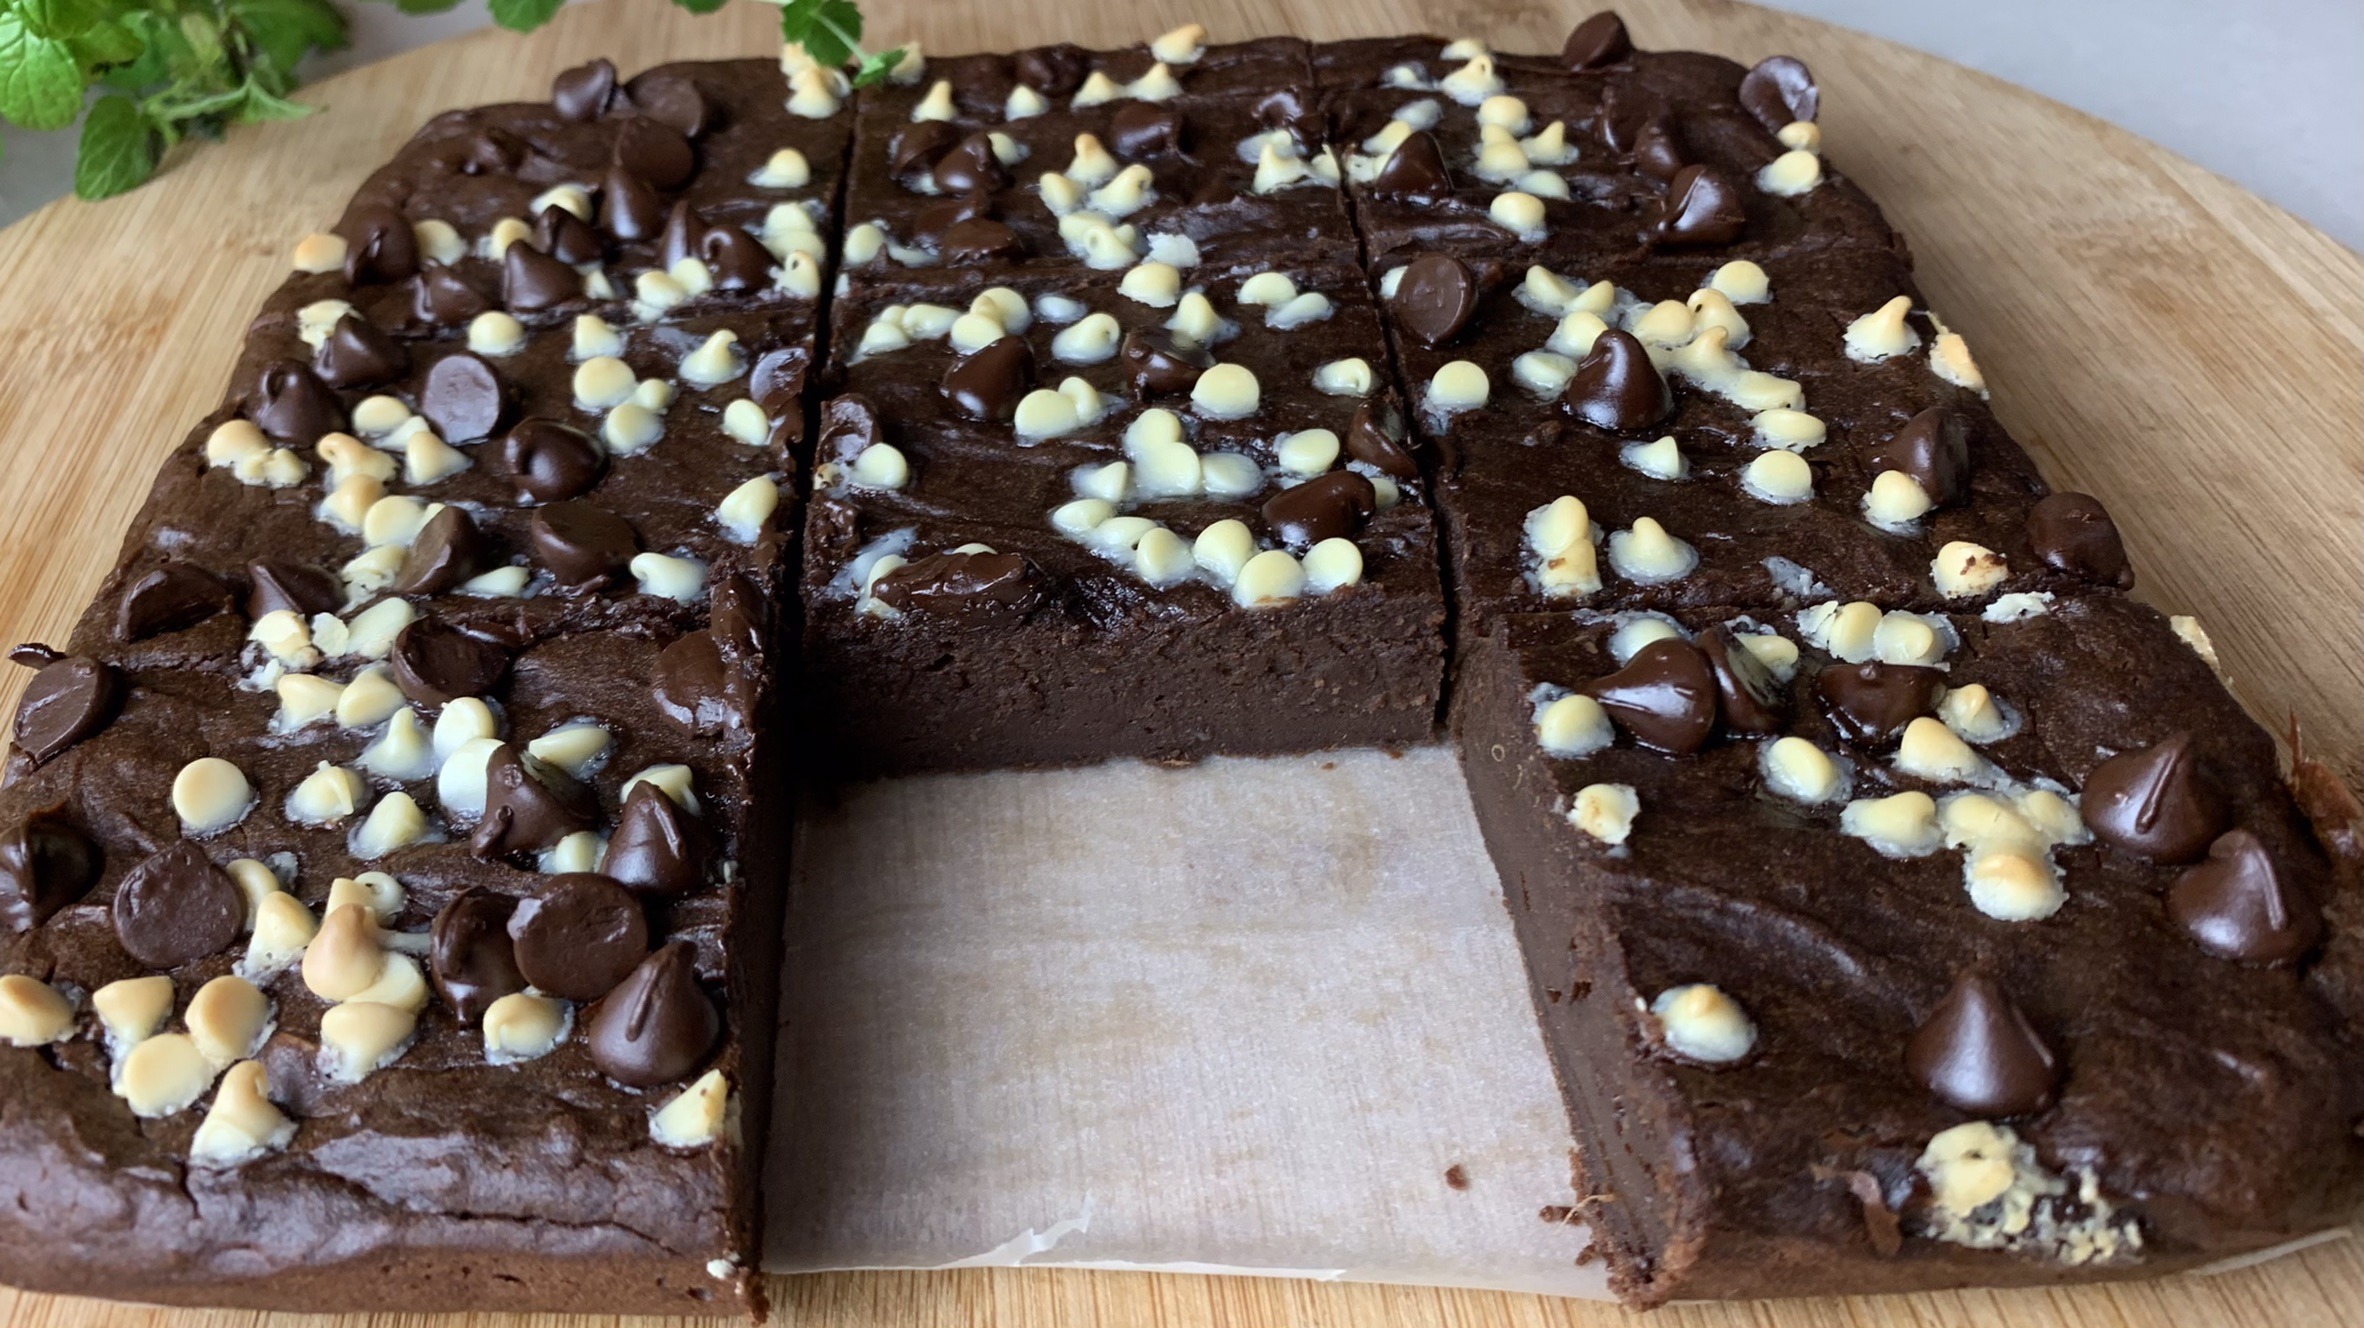
Banana Flan
Banana Flan
If you’re a fan of desserts that are not only delicious but also quick and easy to make, this Banana Flan might just become your new go-to recipe. It’s a perfect combination of simplicity and flavor, making it ideal for those moments when you crave something sweet yet healthy.
Bananas, the star ingredient in this recipe, are a powerhouse of nutrients. Rich in potassium, vitamins B6 and C, and dietary fiber, bananas support heart health, aid digestion, and provide a natural energy boost. Their natural sweetness also means you can create delightful desserts with less added sugar, making them a great choice for those who are mindful of their sugar intake. Combined with the creamy richness of coconut cream and the protein-packed goodness of eggs, this flan not only satisfies your sweet tooth but also provides a nourishing treat.
Coconut cream adds a luxurious texture and a subtle tropical flavor to the flan, making it smooth and creamy without the need for dairy. It’s an excellent source of healthy fats, which help to keep you feeling full and satisfied. The eggs bring everything together, adding structure and additional protein, making this dessert a balanced option that you can feel good about indulging in.
The beauty of this flan lies in its simplicity—just a few wholesome ingredients, minimal prep time, and a dessert that’s ready to impress. Whether you’re looking for a quick dessert to finish off a meal or a healthier treat to enjoy any time of day, this Banana Flan ticks all the boxes.
Let’s dive into the recipe and discover just how easy it is to make this delightful dessert!
Ingredients
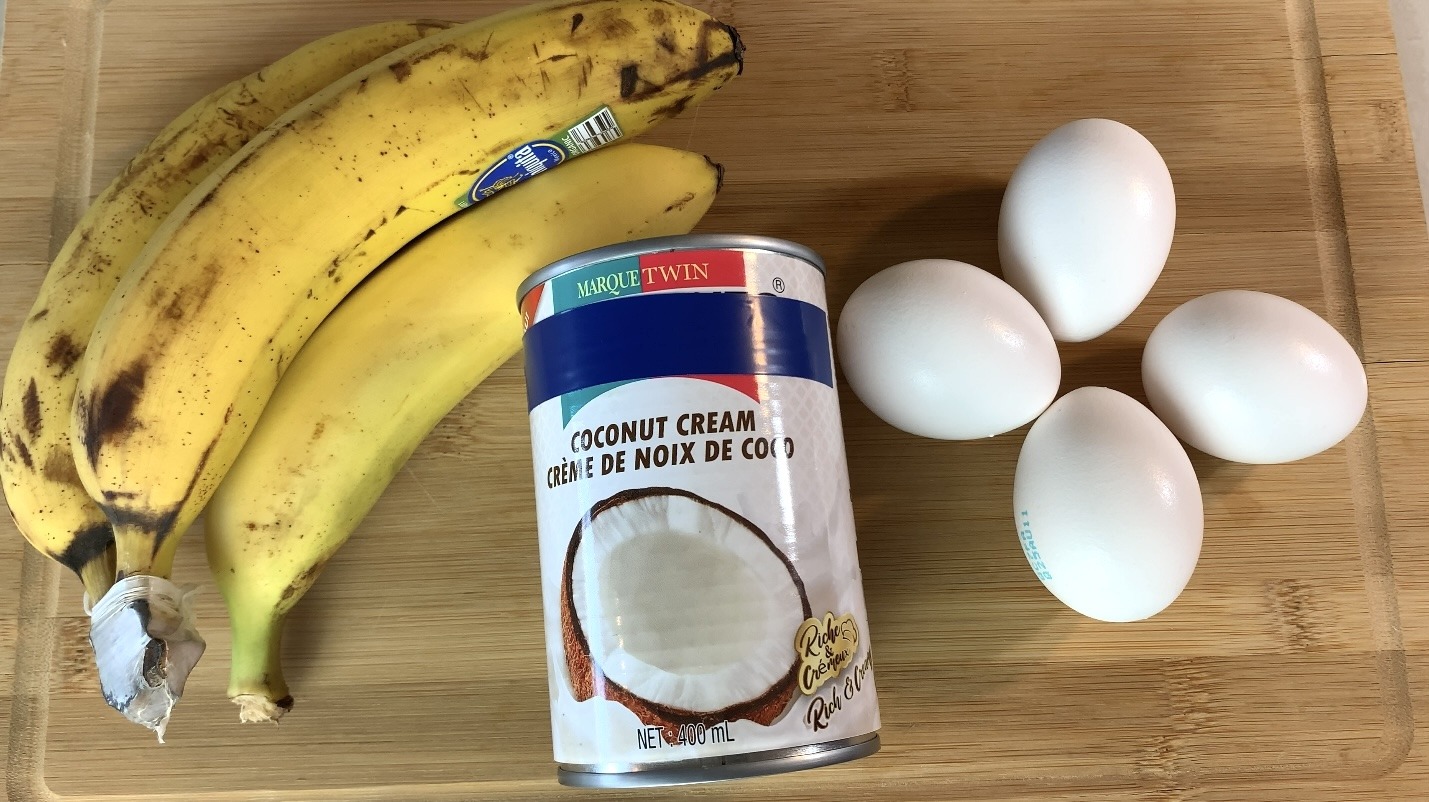
- 4 eggs
- 1 can (400 ml) coconut cream or milk
- 3 bananas (approximately 300 g)
- 1 tsp vanilla extract
- A drizzle of maple syrup (optional)
Directions
- Preheat oven to 375°F (190°C). Grease your baking pan.
- Blend the bananas, coconut cream, eggs, and vanilla extract.
- Pour the mixture into the baking pan, then place it in a larger one. Fill the larger pan with hot water until it reaches halfway up the sides of the flan pan.
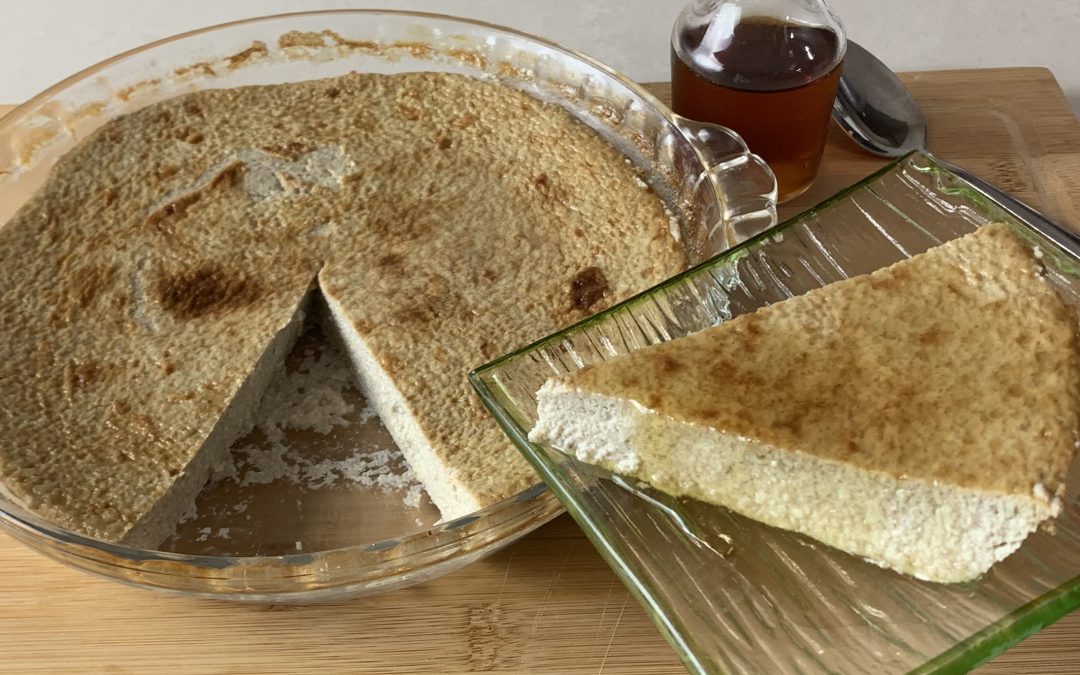
- Bake for 45 minutes or until you see a flan-like texture set.
- Let the flan cool down completely for at least 4 hours or overnight in the fridge.
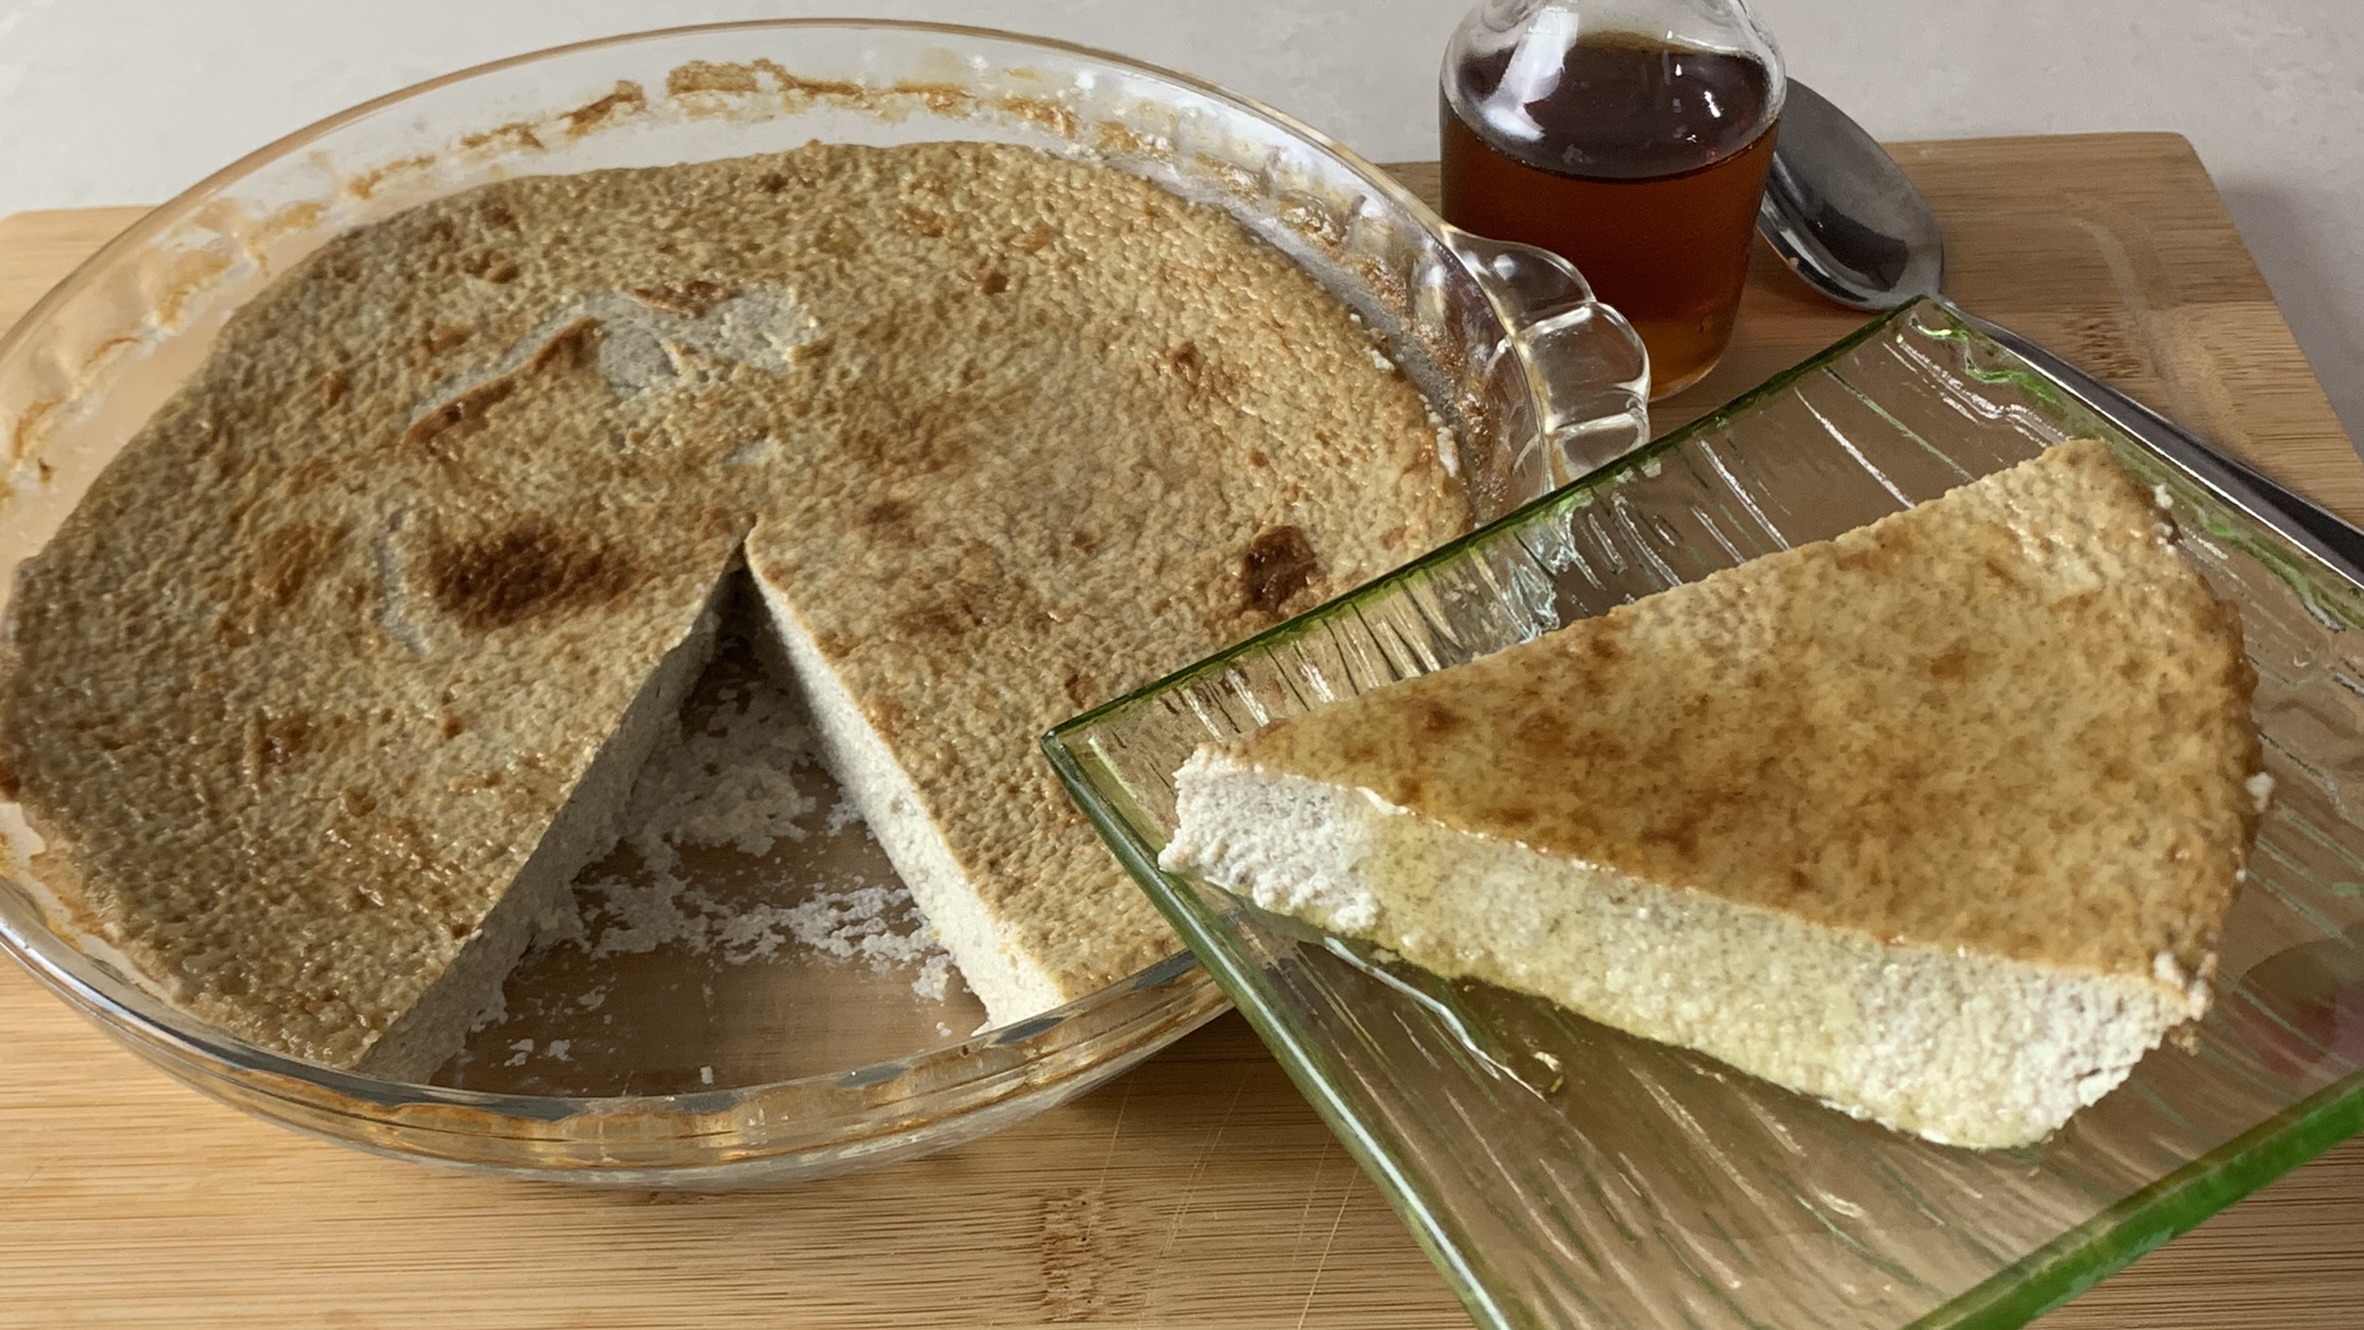
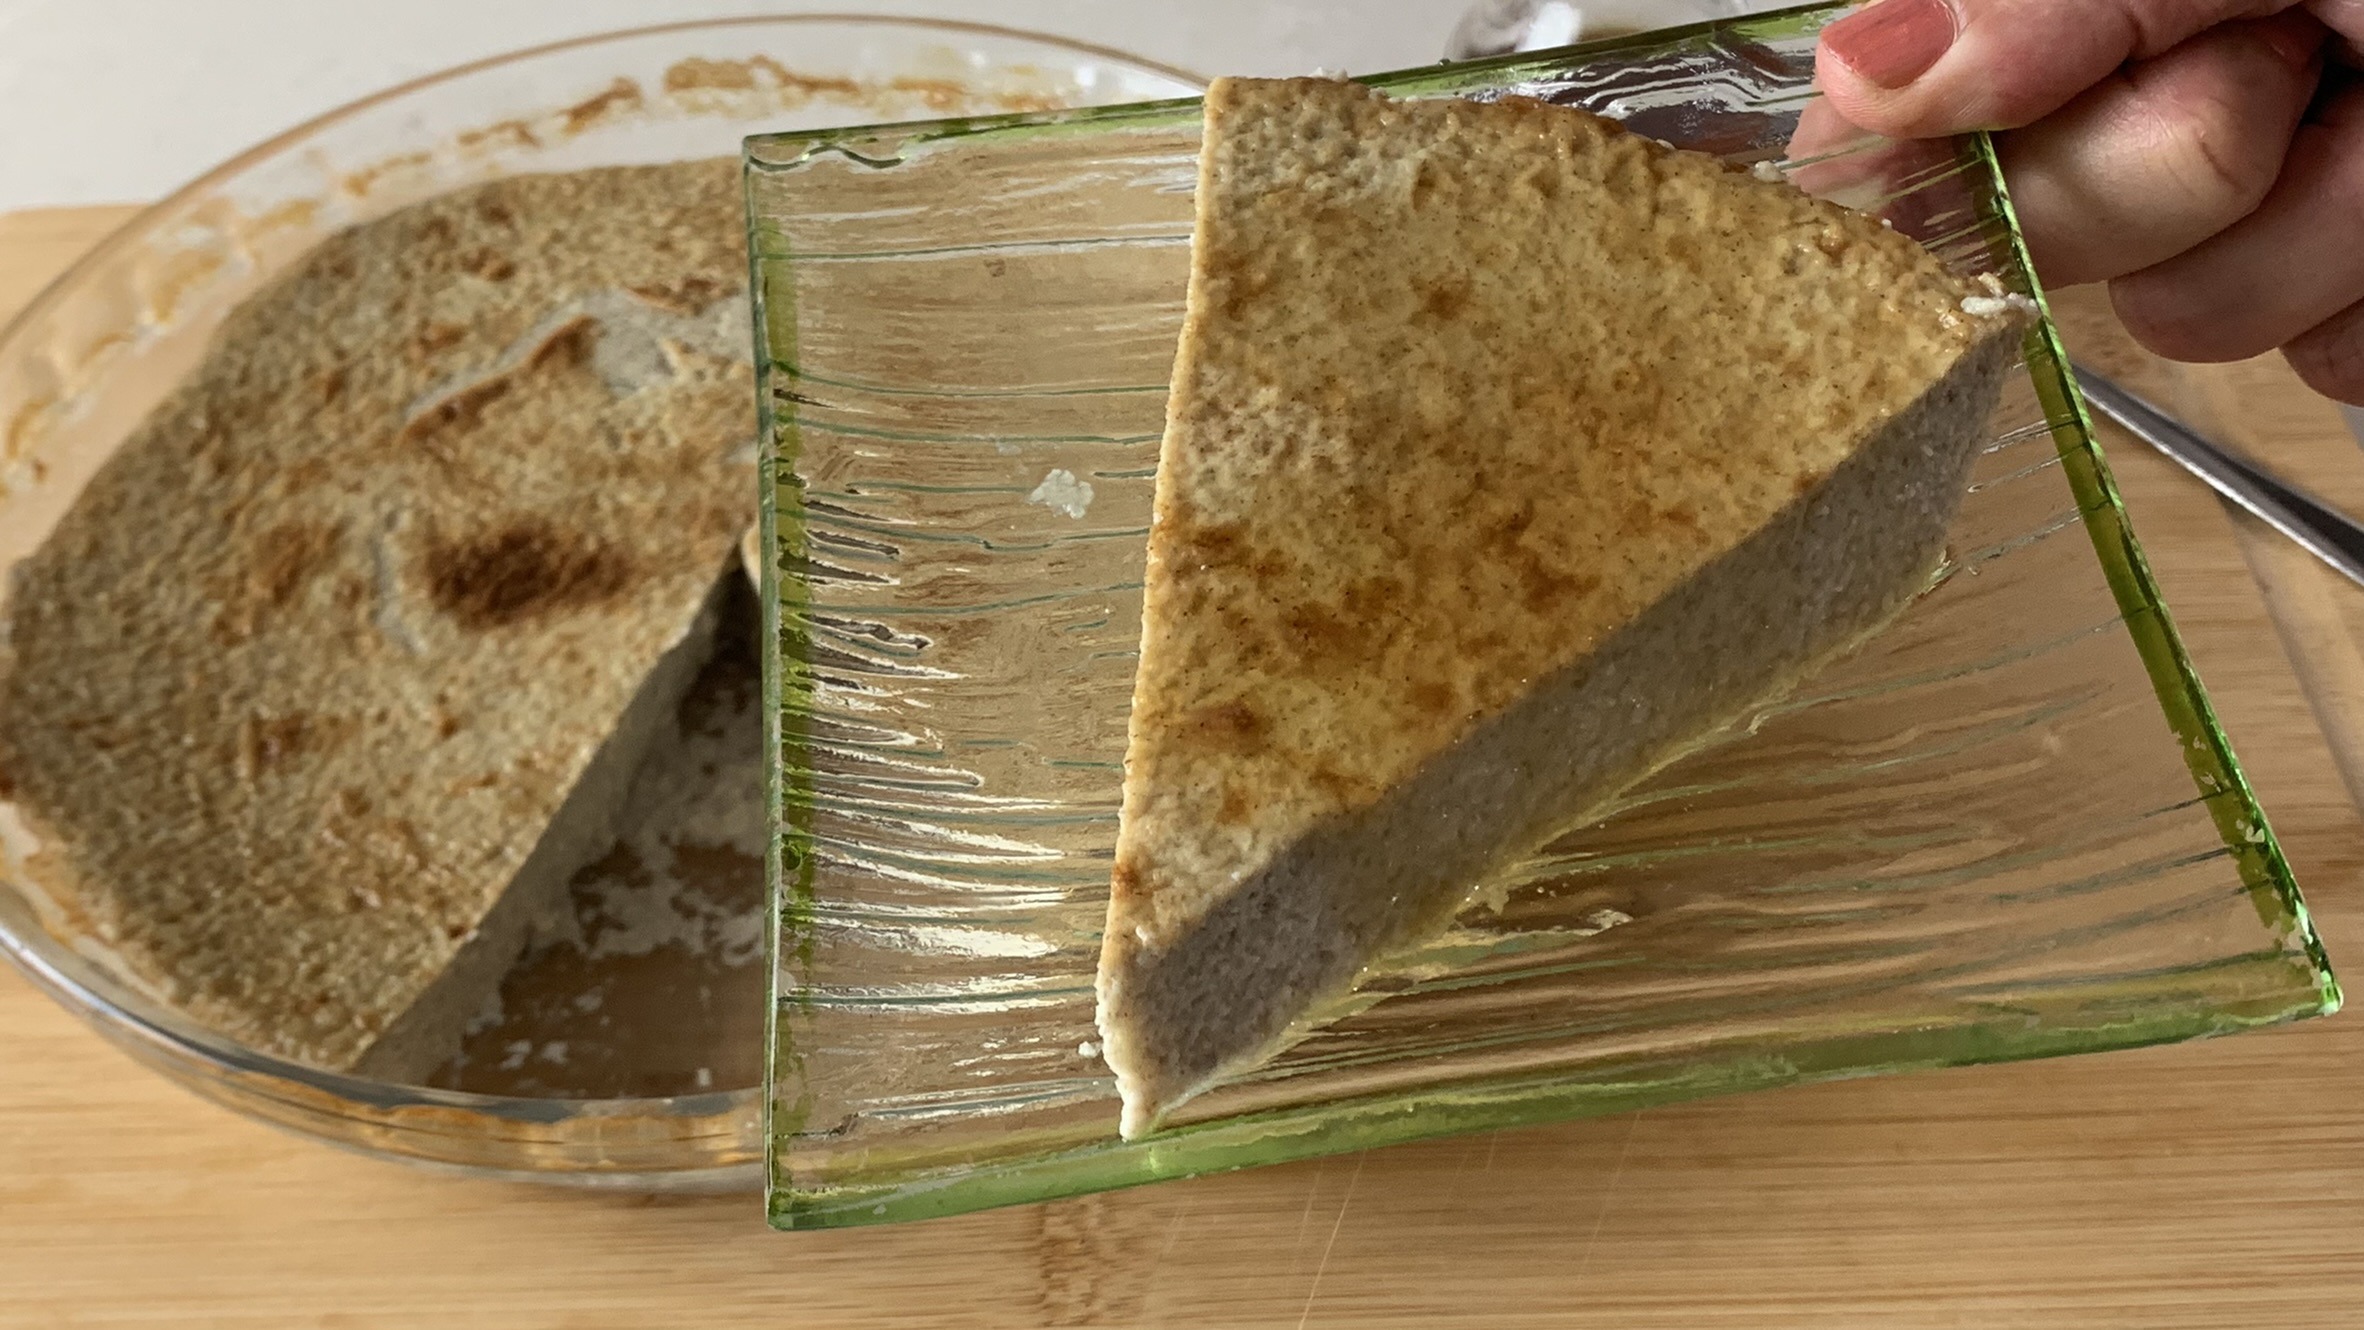
- Slice, and serve with a drizzle of maple syrup for extra flavor.
Nutritional Information (Per Serving)
- Calories: 209
- Protein: 6.03 g
- Fat: 16.99 g
- Carbohydrates: 10.66 g
- Fiber: 1 g
Serving Information
- Servings: 8
- Prep Time: 15 minutes
- Baking Time: 45 minutes
Storage & Tips
- Storage: Store leftover flan slices in an airtight container in the fridge for up to 3-4 days.
- Tip: You can experiment with different toppings like fresh fruits or a drizzle of chocolate or caramel.