Chickpea Loaf Bread
Chickpea Loaf Bread

If you’ve ever craved a hearty, nourishing bread that’s both gluten-free and packed with plant-based protein, this Chickpea Loaf Bread is a must-try! It has the perfect combination of a slightly dense yet soft texture, making it ideal for sandwiches, toasting, or enjoying on its own with your favorite spreads. The nutty aroma that fills your kitchen as it bakes is simply irresistible!
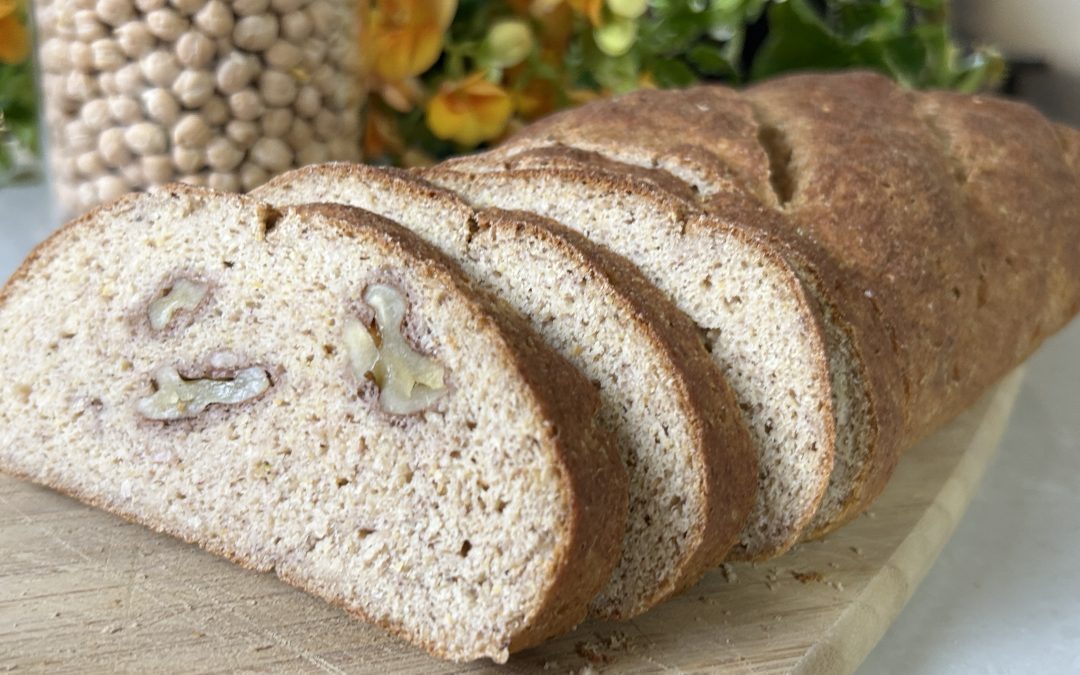
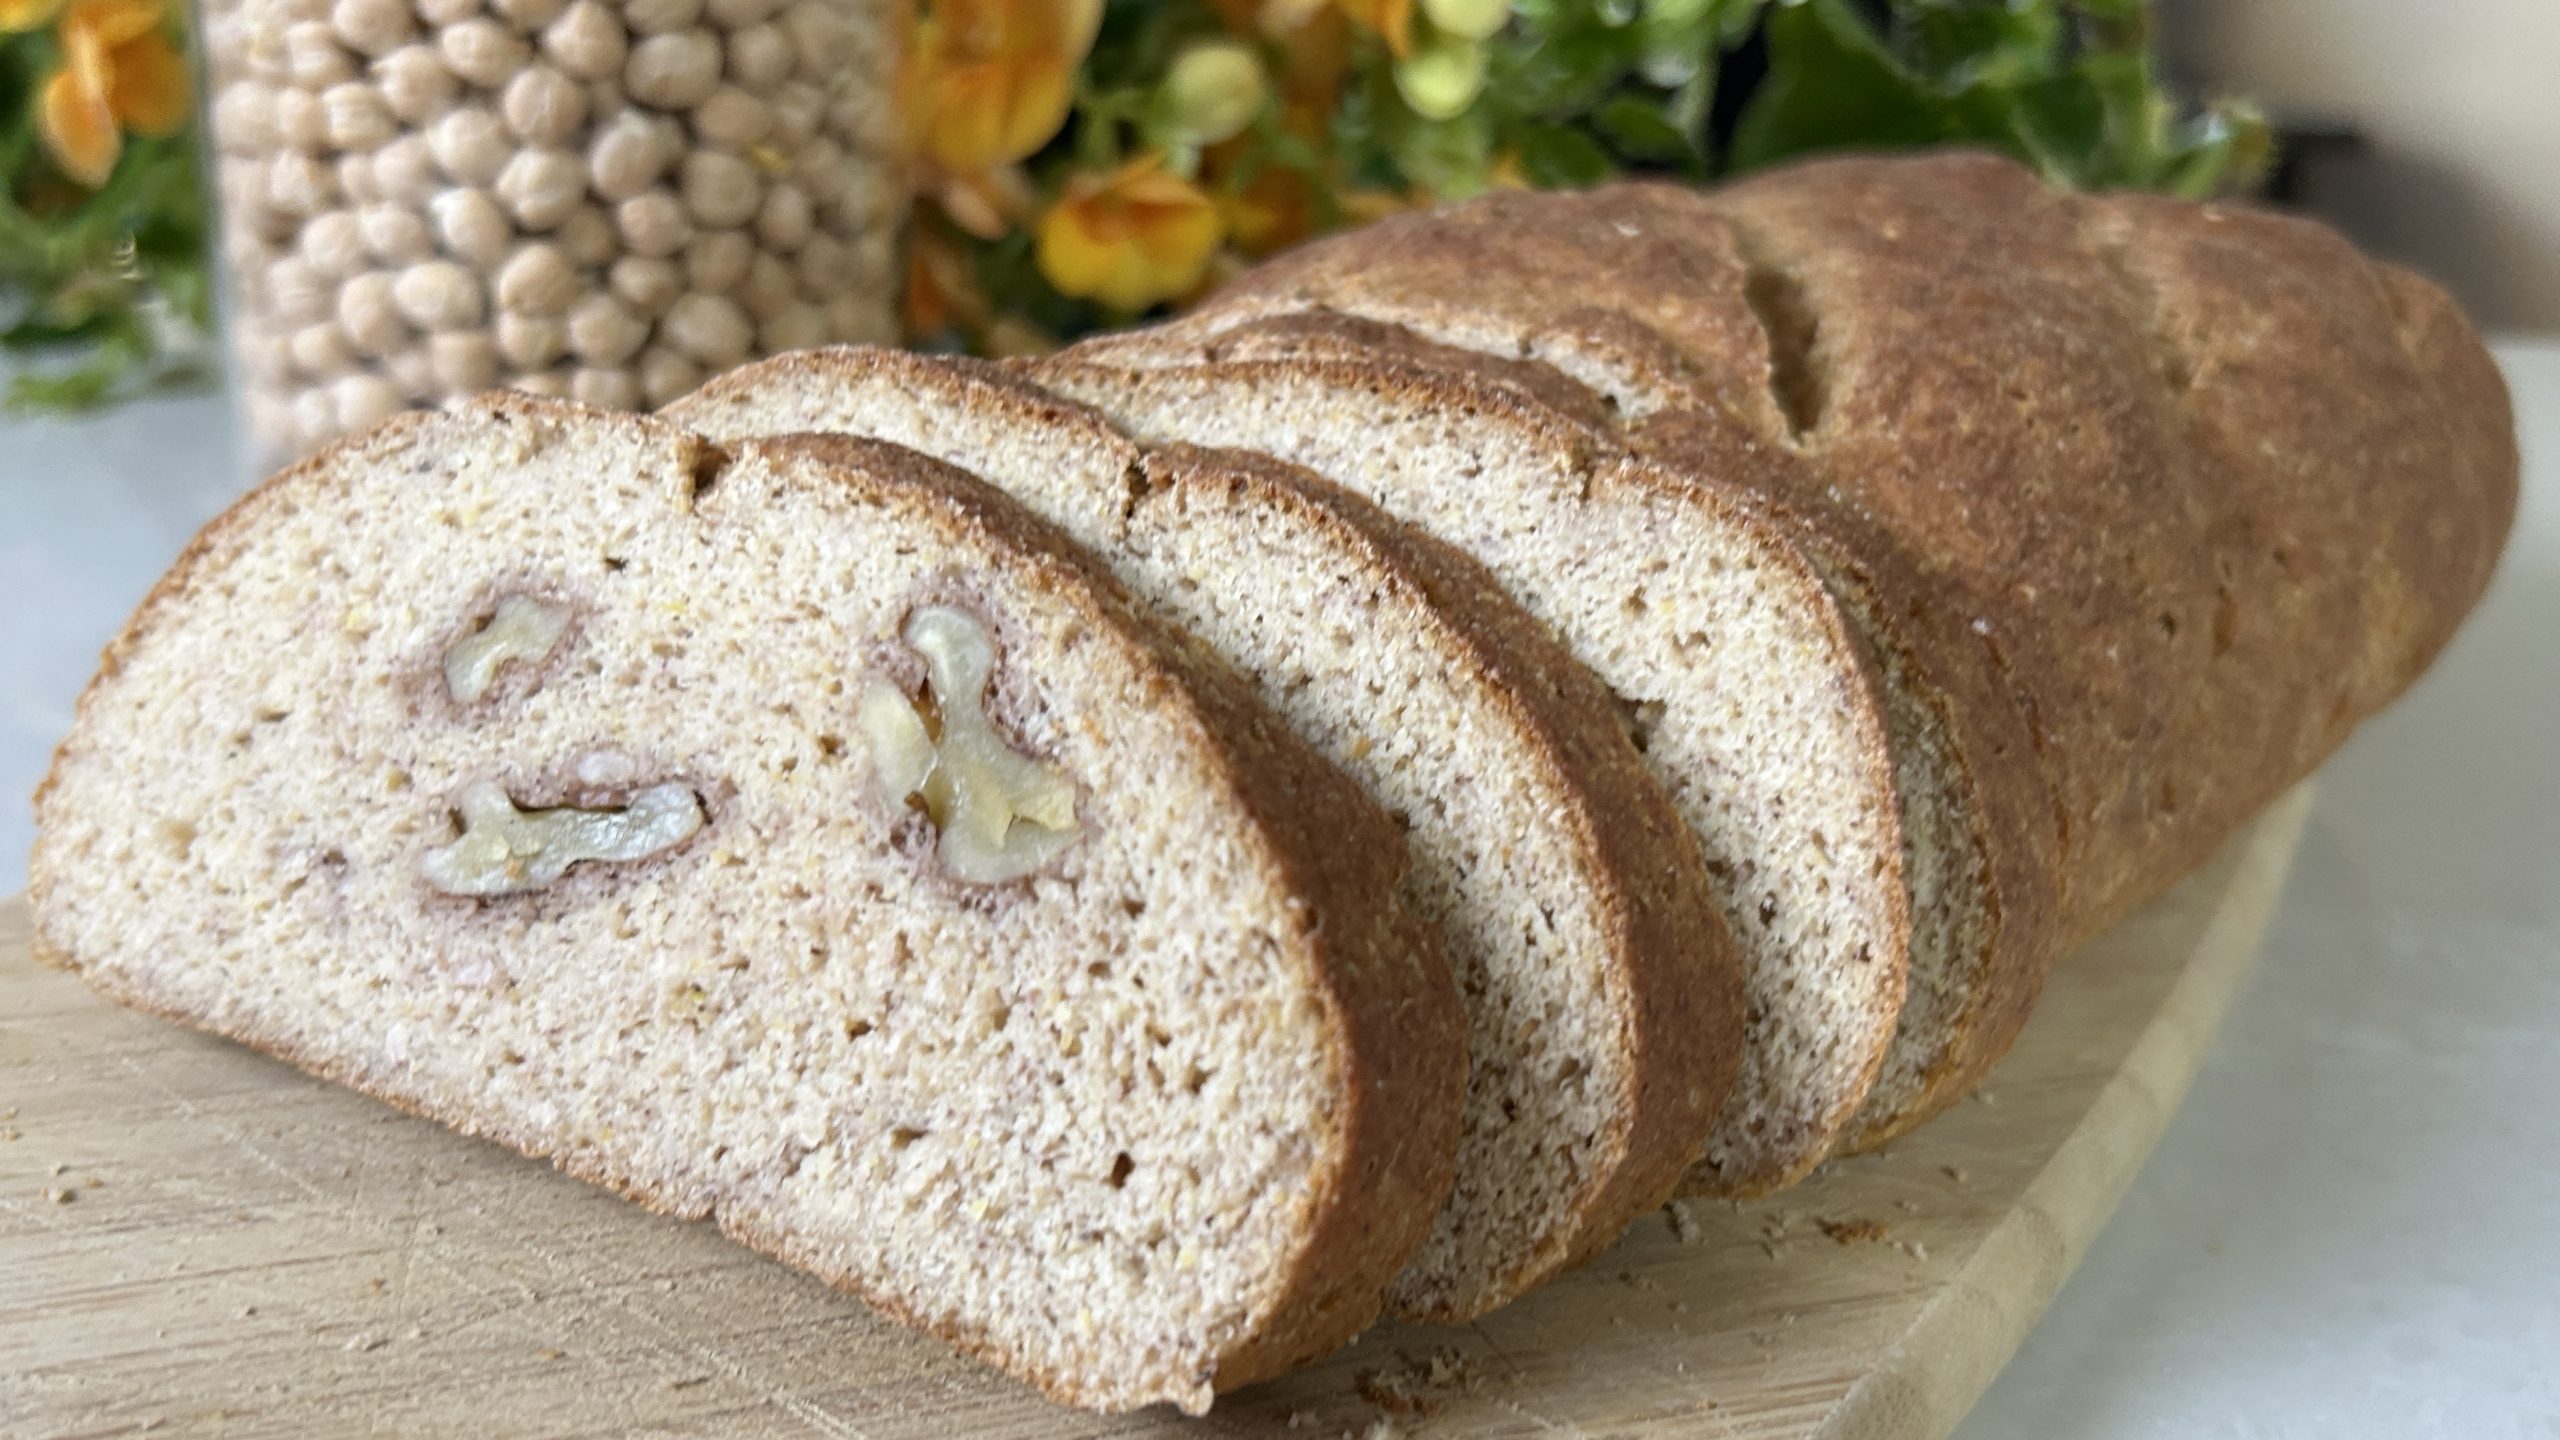
What makes this bread so special? Instead of traditional flour, it’s made with raw chickpeas that are soaked, blended, and transformed into a dough. This technique creates a surprisingly airy yet satisfying loaf. A touch of olive oil adds richness, while psyllium husk acts as the perfect binding agent, giving the bread its structure without requiring gluten. And let’s not forget the walnuts (optional), but highly recommended, for a delightful crunch!
Chickpeas are a nutritional powerhouse that deserve a regular spot in your diet. Packed with plant-based protein, fiber, and essential vitamins like folate and iron, they support muscle growth, digestive health, and sustained energy levels. They also help regulate blood sugar levels, making them a fantastic ingredient for those looking for balanced meals. Plus, chickpeas contain prebiotics, feeding the good bacteria in your gut and promoting overall digestive well-being. If you’re aiming to incorporate more plant-based, iron-rich foods into your diet, chickpeas are a game-changer!
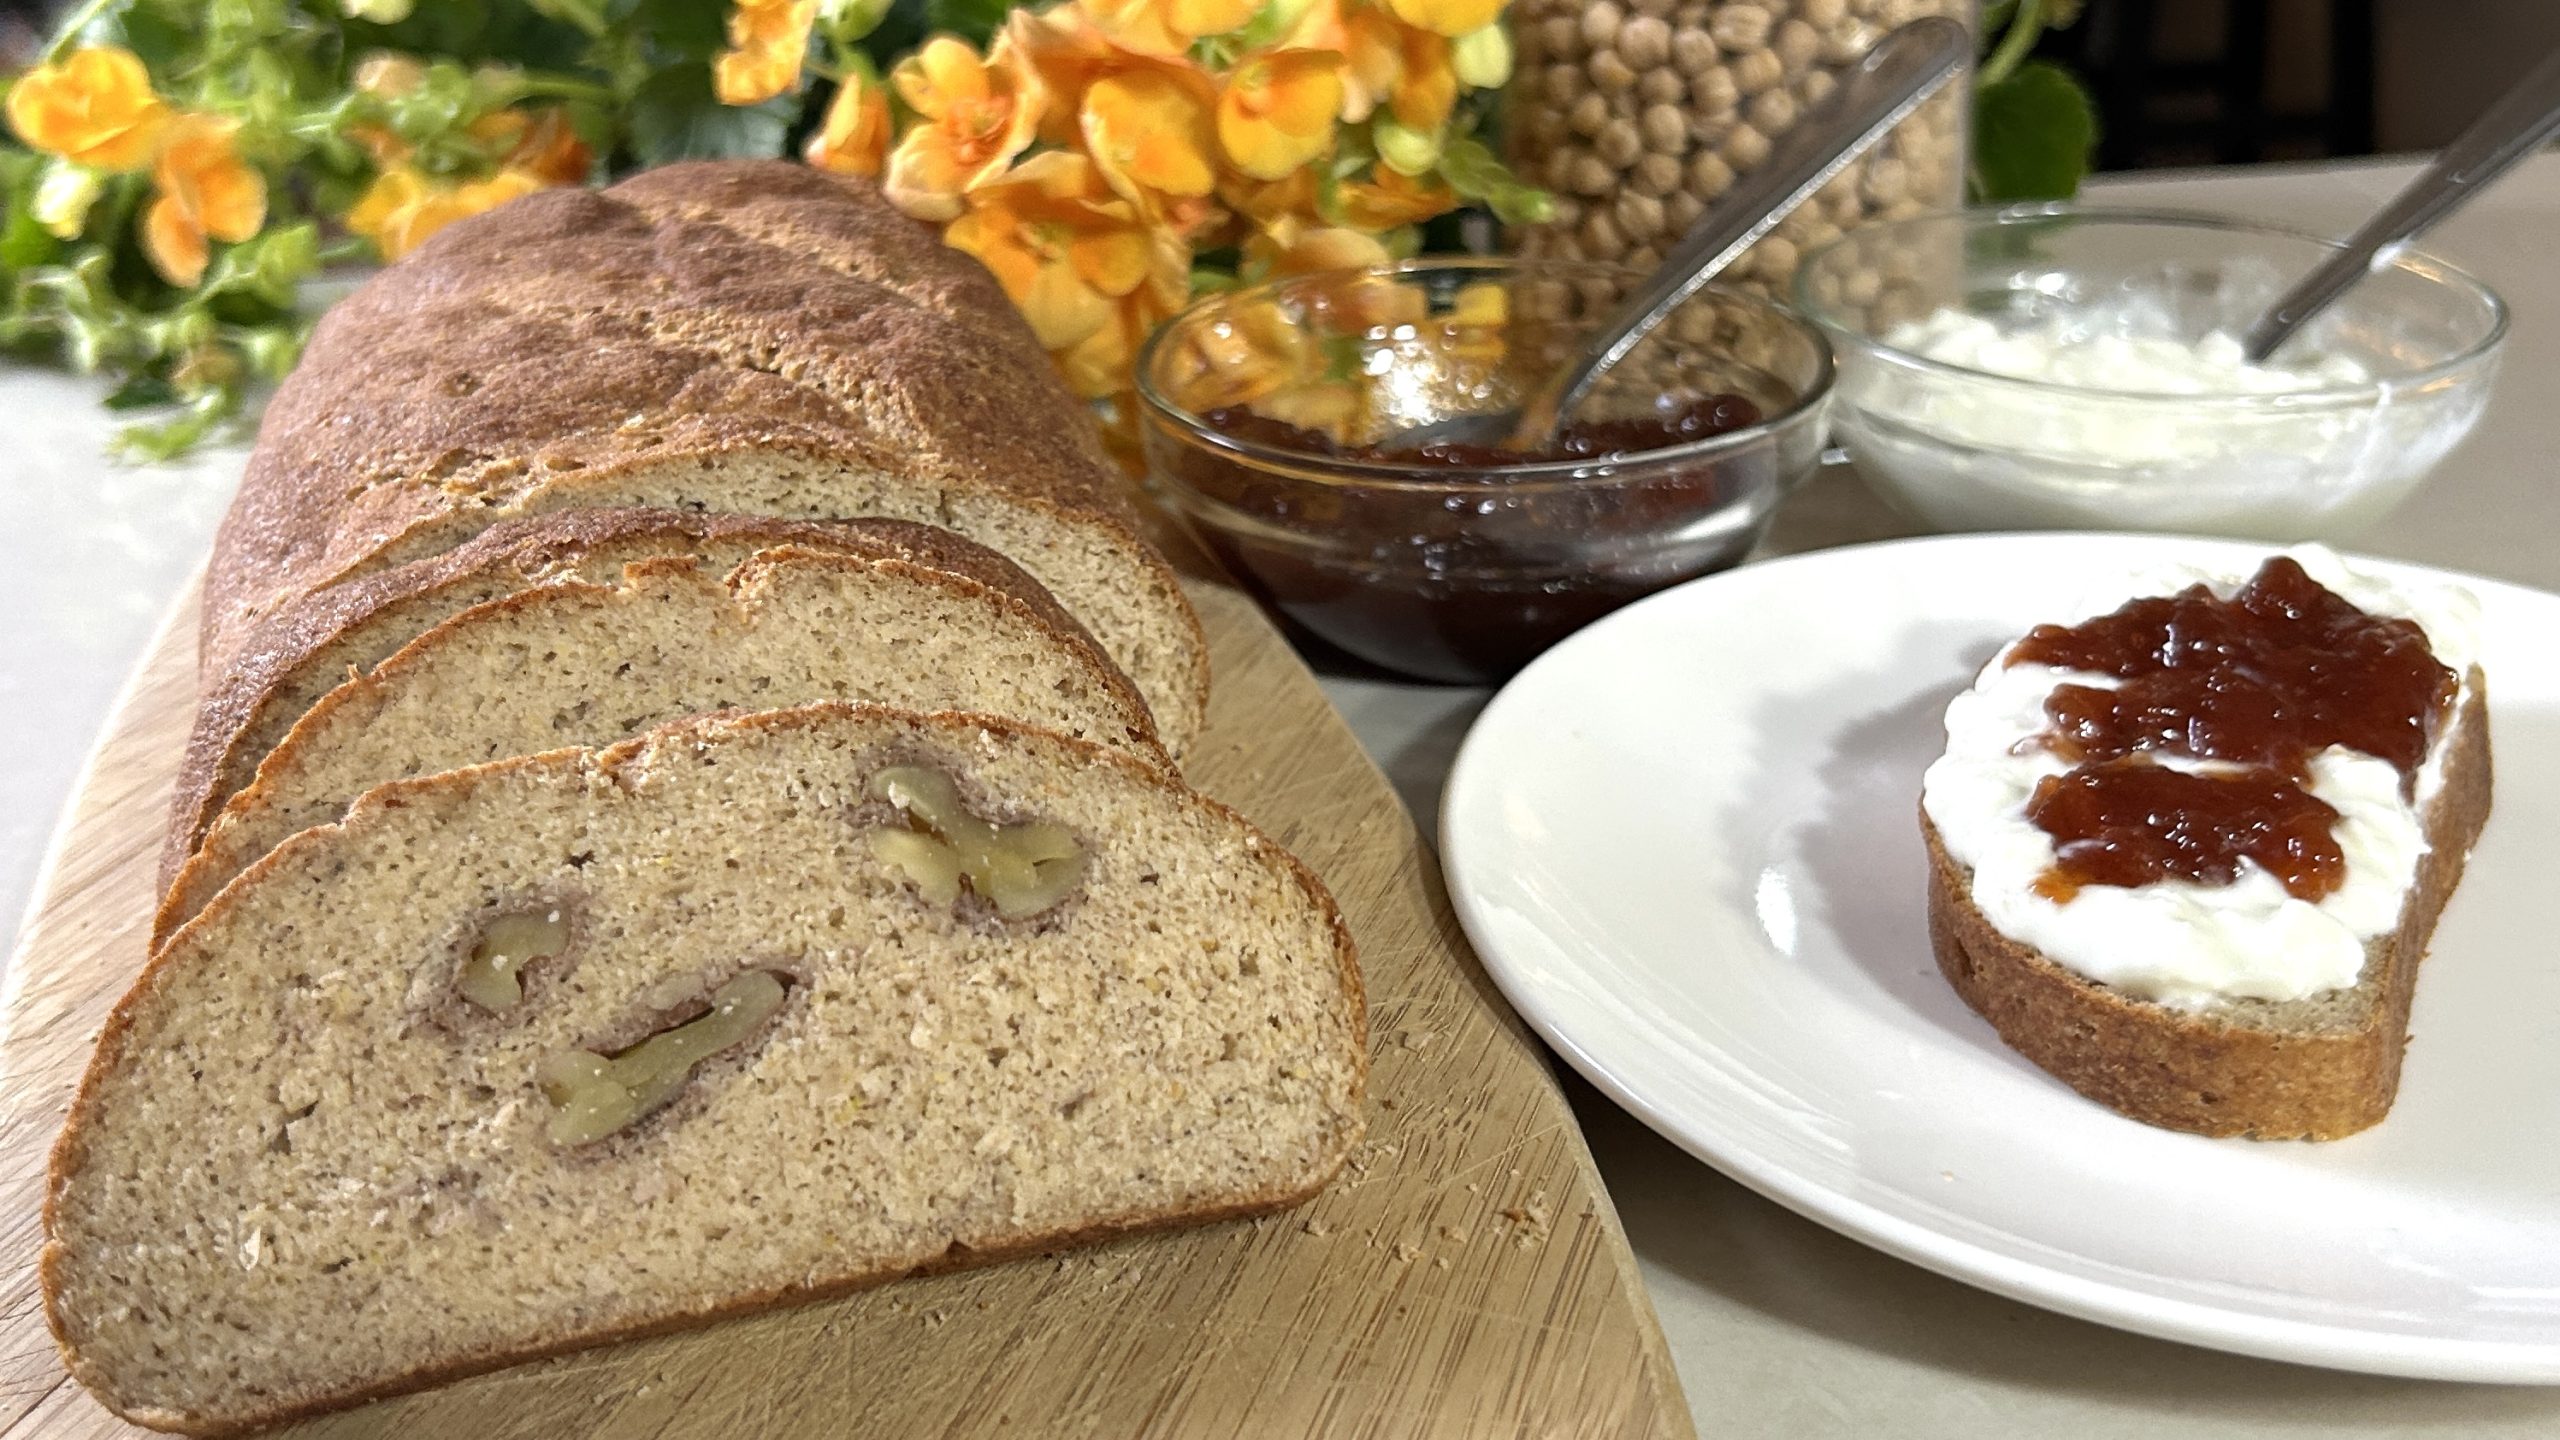
This gluten-free, nutrient-dense loaf is the perfect way to enjoy homemade bread while boosting your daily intake of plant-based protein and fiber. Try it with nut butter, avocado, or a drizzle of olive oil for a wholesome meal. Happy baking!
Ingredients:
- 1 ½ cups (350 g) raw chickpeas
- ½ cup (120 ml) lukewarm water
- ¼ tsp. salt
- 1 ½ tbsp. (14 g) instant yeast
- 1 tsp. honey (or preferred sweetener)
- 3 tbsp. olive oil
- 30 g coarse psyllium husk
- 40 g walnut halves (optional)
Directions:
- Soak the raw chickpeas overnight in a bowl of water. For best results, place them in the fridge while soaking.
- Drain and rinse the soaked chickpeas thoroughly, ensuring they’re well-strained before using.
- In a food processor, blend the chickpeas with lukewarm water until smooth and creamy.
- Add the salt, instant yeast, honey (or sweetener of choice), olive oil, and psyllium husk. Blend again until a thick, sticky dough forms.
- Transfer the dough to a clean working surface. Wet your hands slightly to prevent sticking.
- Flatten the dough into a large rectangle and, if using, press walnut halves evenly across the surface.
- Roll the dough tightly over itself to form a loaf shape. Gently massage the surface with wet hands to smooth it out.
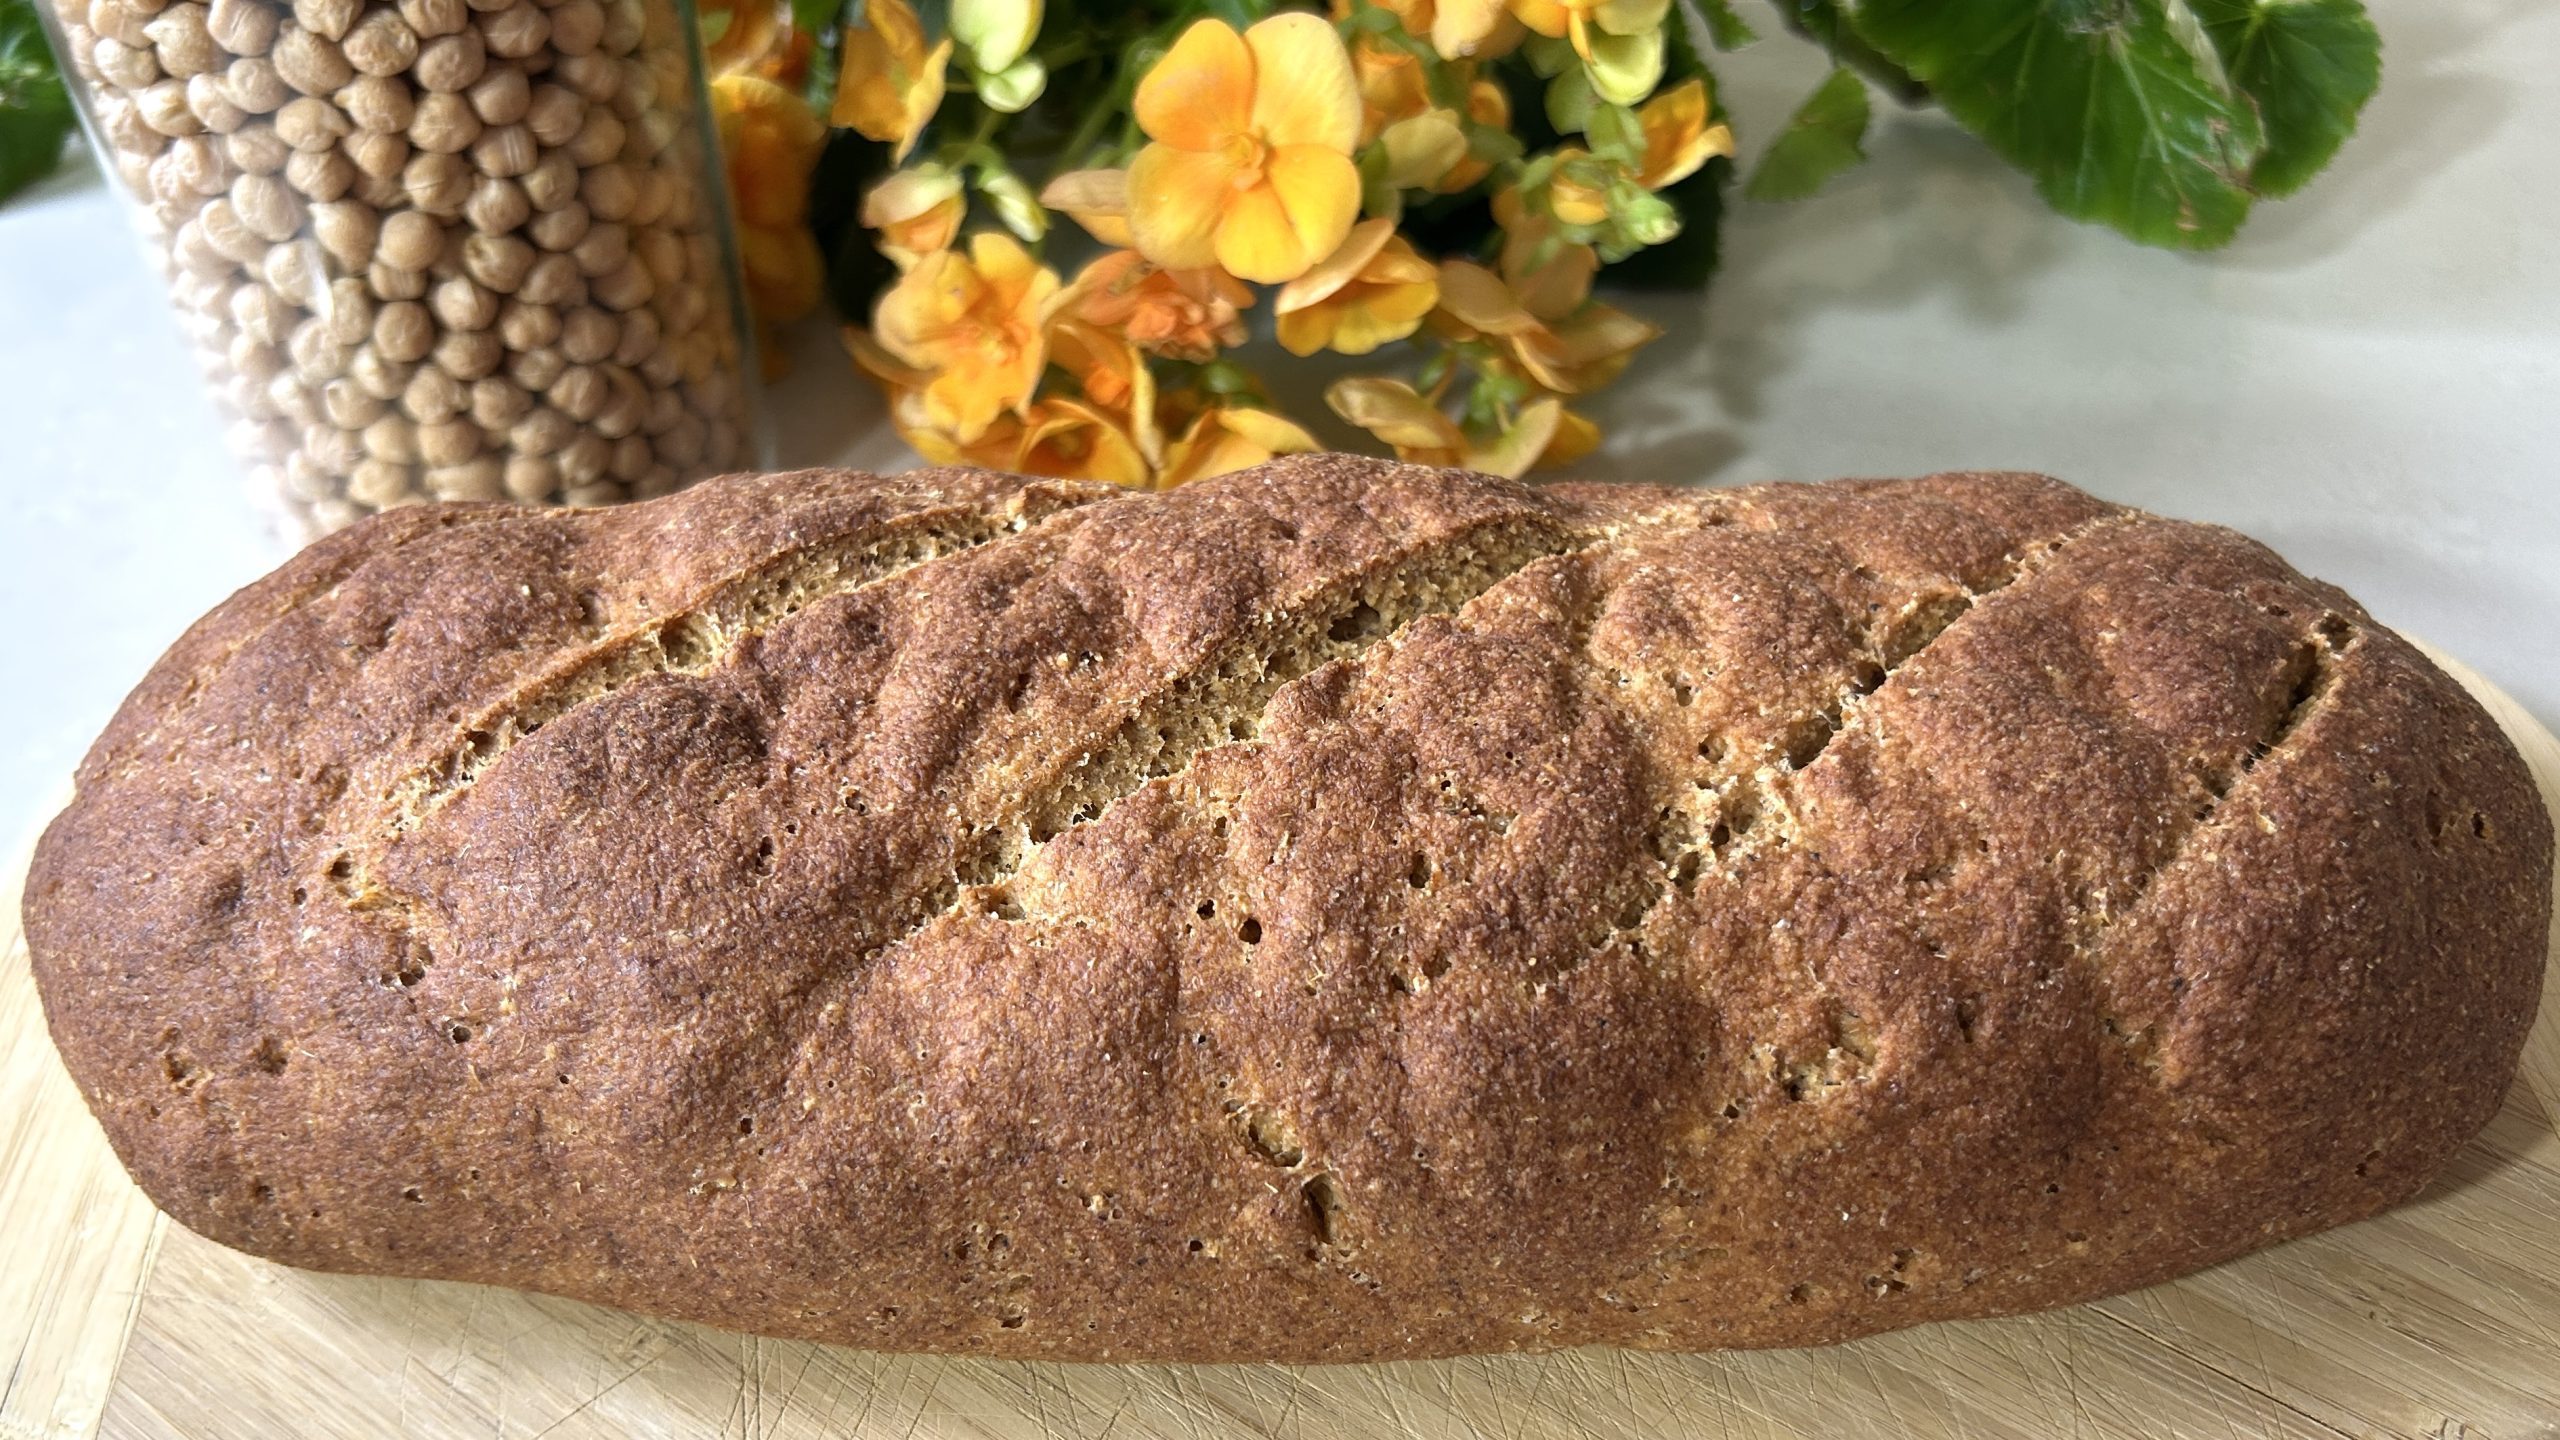
- Place the shaped loaf onto a parchment-lined baking pan, cover it with a towel, and let it rise in a warm spot for 30 minutes.
- Preheat the oven to 350°F (180°C). Score the top of the loaf with a knife, then bake for 45-55 minutes, or until golden brown and firm.
- Let the bread cool slightly before slicing. Enjoy it fresh or toasted with your favorite accompaniments!
Prep Time: Soak overnight + 20 minutes prep
Baking Time: 45-55 minutes
Servings: 14 slices
Nutritional Information (per slice):
- Energy: 154 calories
- Protein: 6.31 g
- Fat: 7 g
- Carbohydrates: 17.86 g
- Fiber: 4.2 g
Storage Tips:
- Store at room temperature in an airtight container for up to 2 days.
- For longer freshness, refrigerate for up to one week.
- Freeze individual slices for up to 3 months. Toast them straight from frozen when needed!