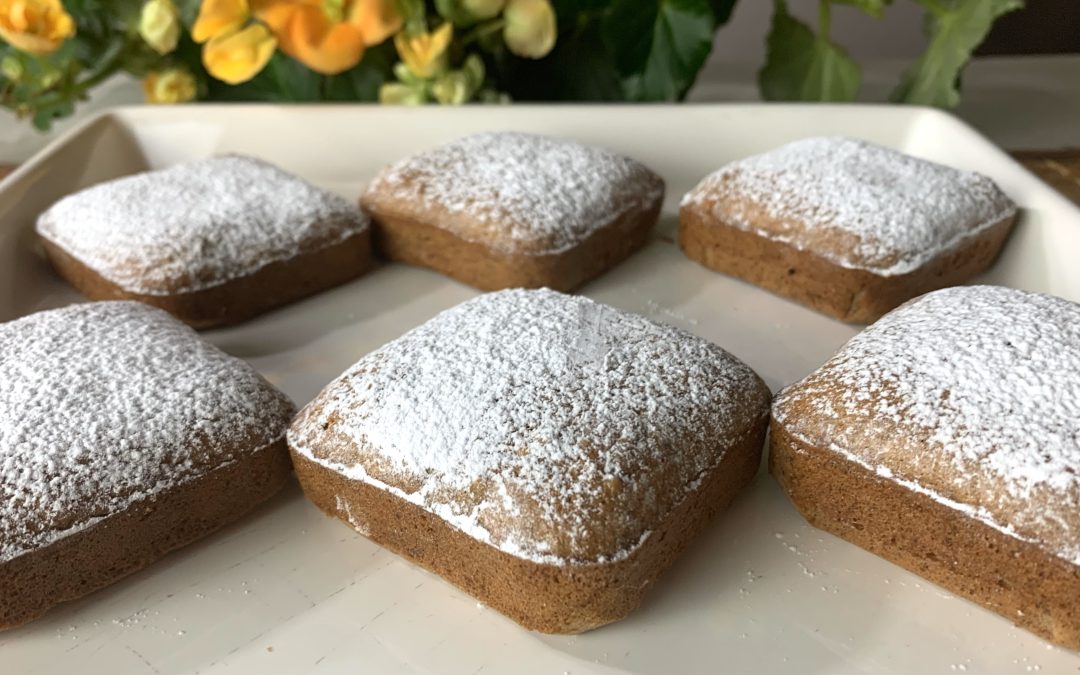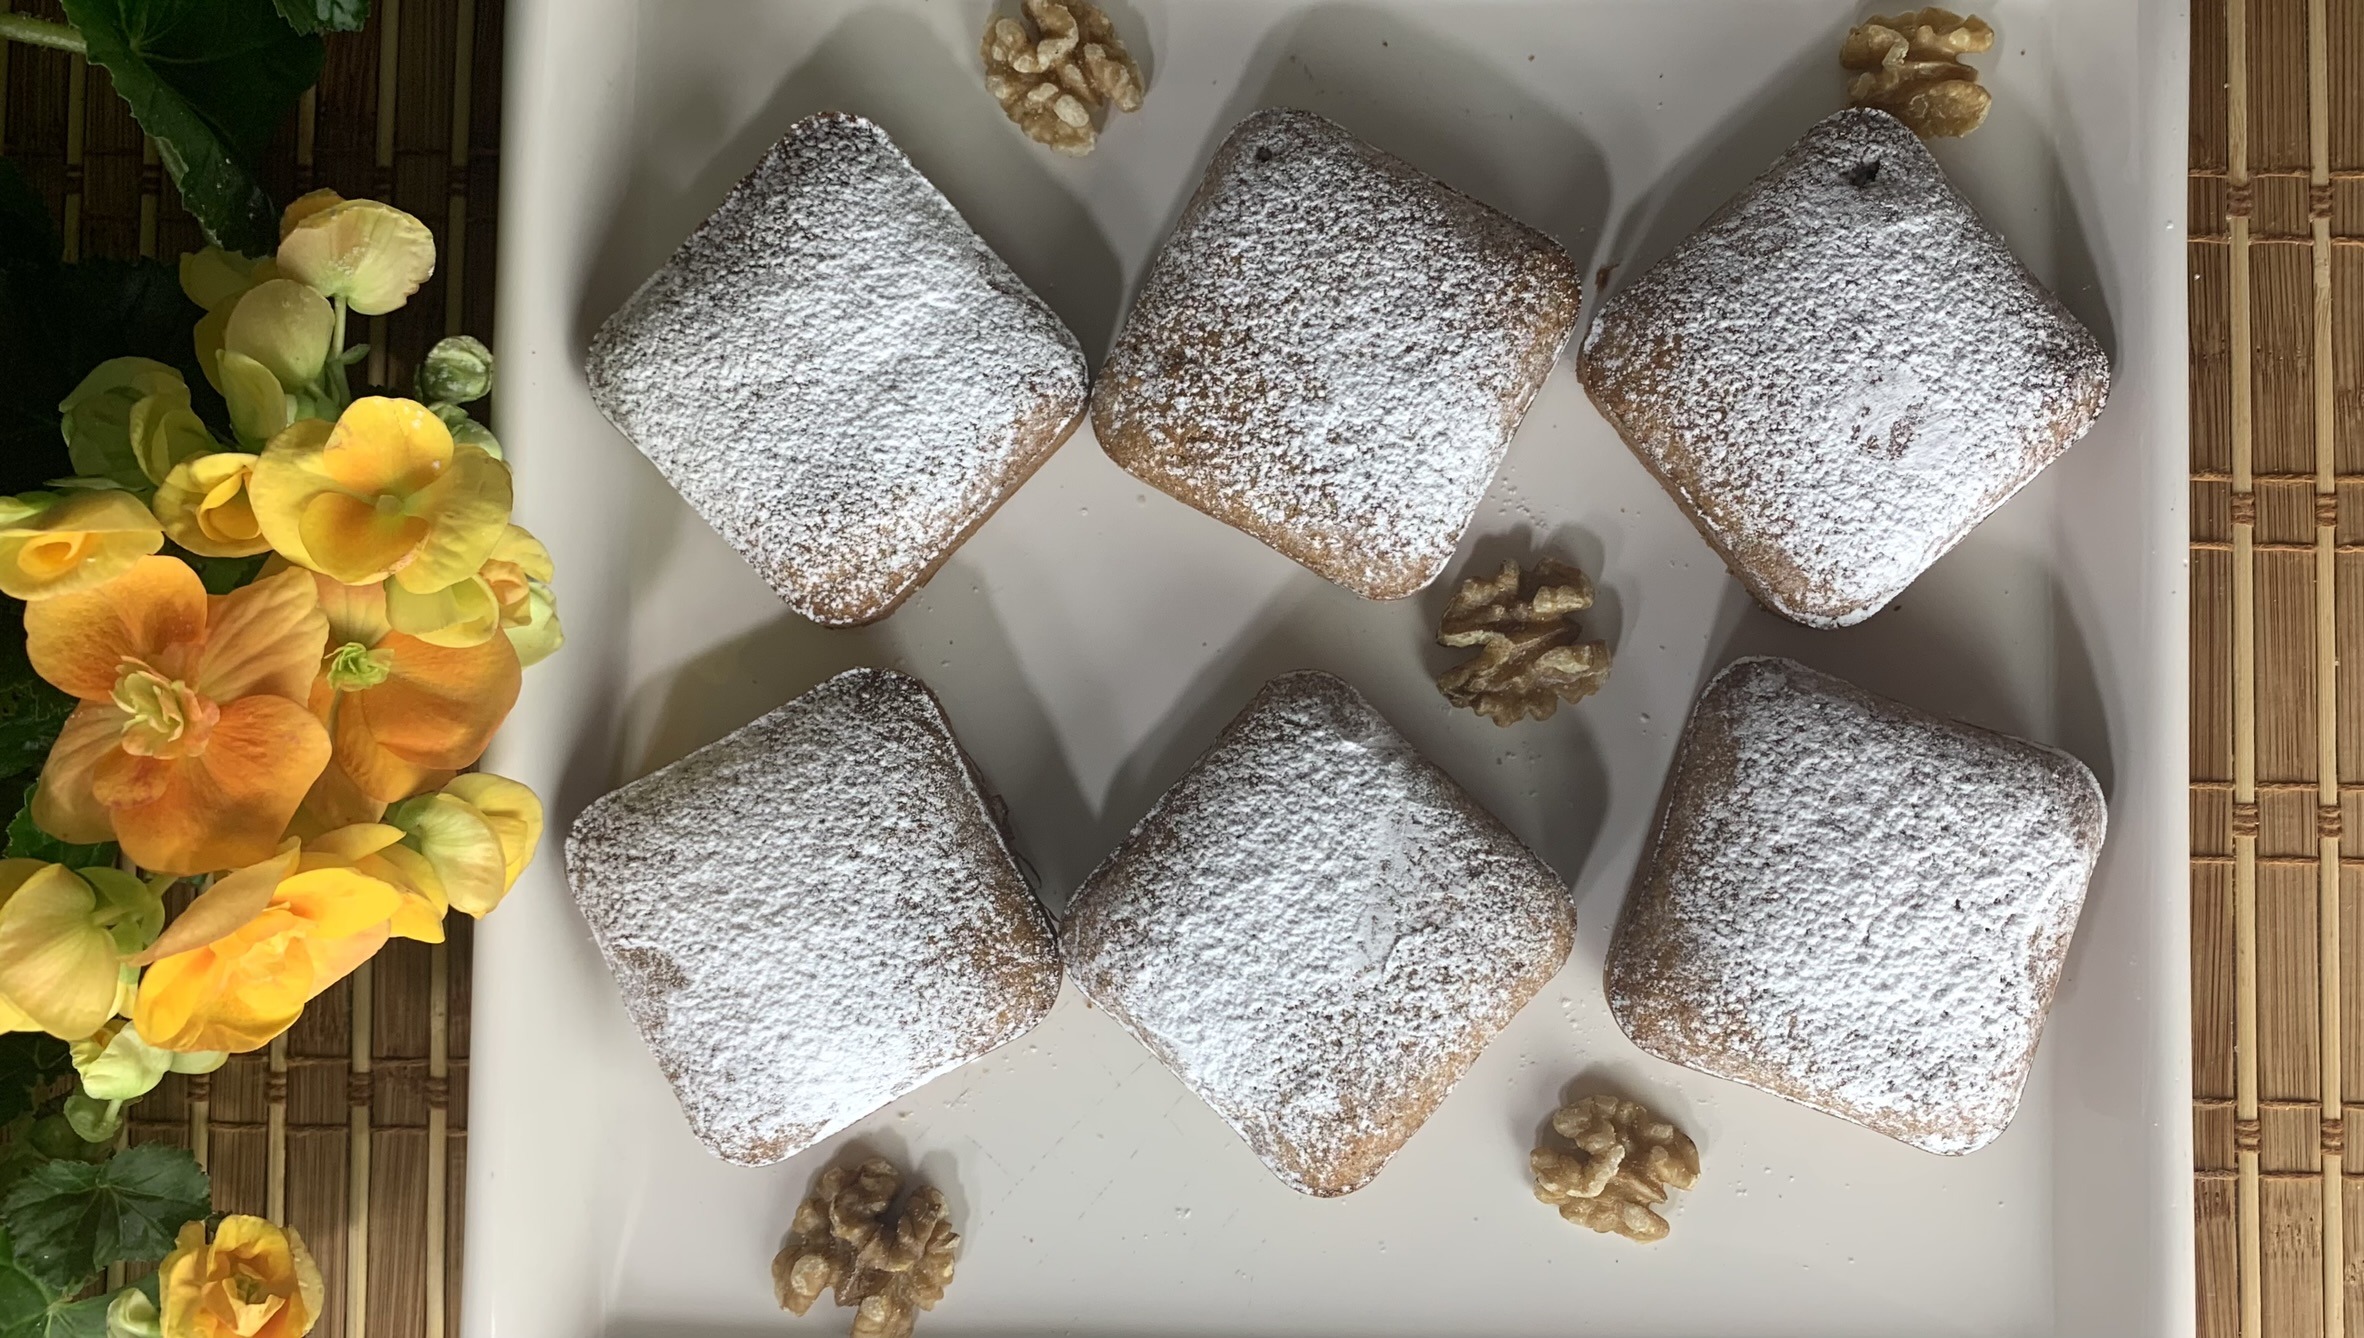
Peanut Macarons
Peanut Macarons

Get ready to indulge in a delightful treat that combines the classic flavors of peanuts with the chewy texture of French macarons, without any of the fuss! These Peanut Macarons are perfect for when you’re craving something sweet but want to keep it simple and quick. With just three main ingredients and a super speedy 10-minute prep time, these biscuits are a great go-to recipe for satisfying your sweet tooth.
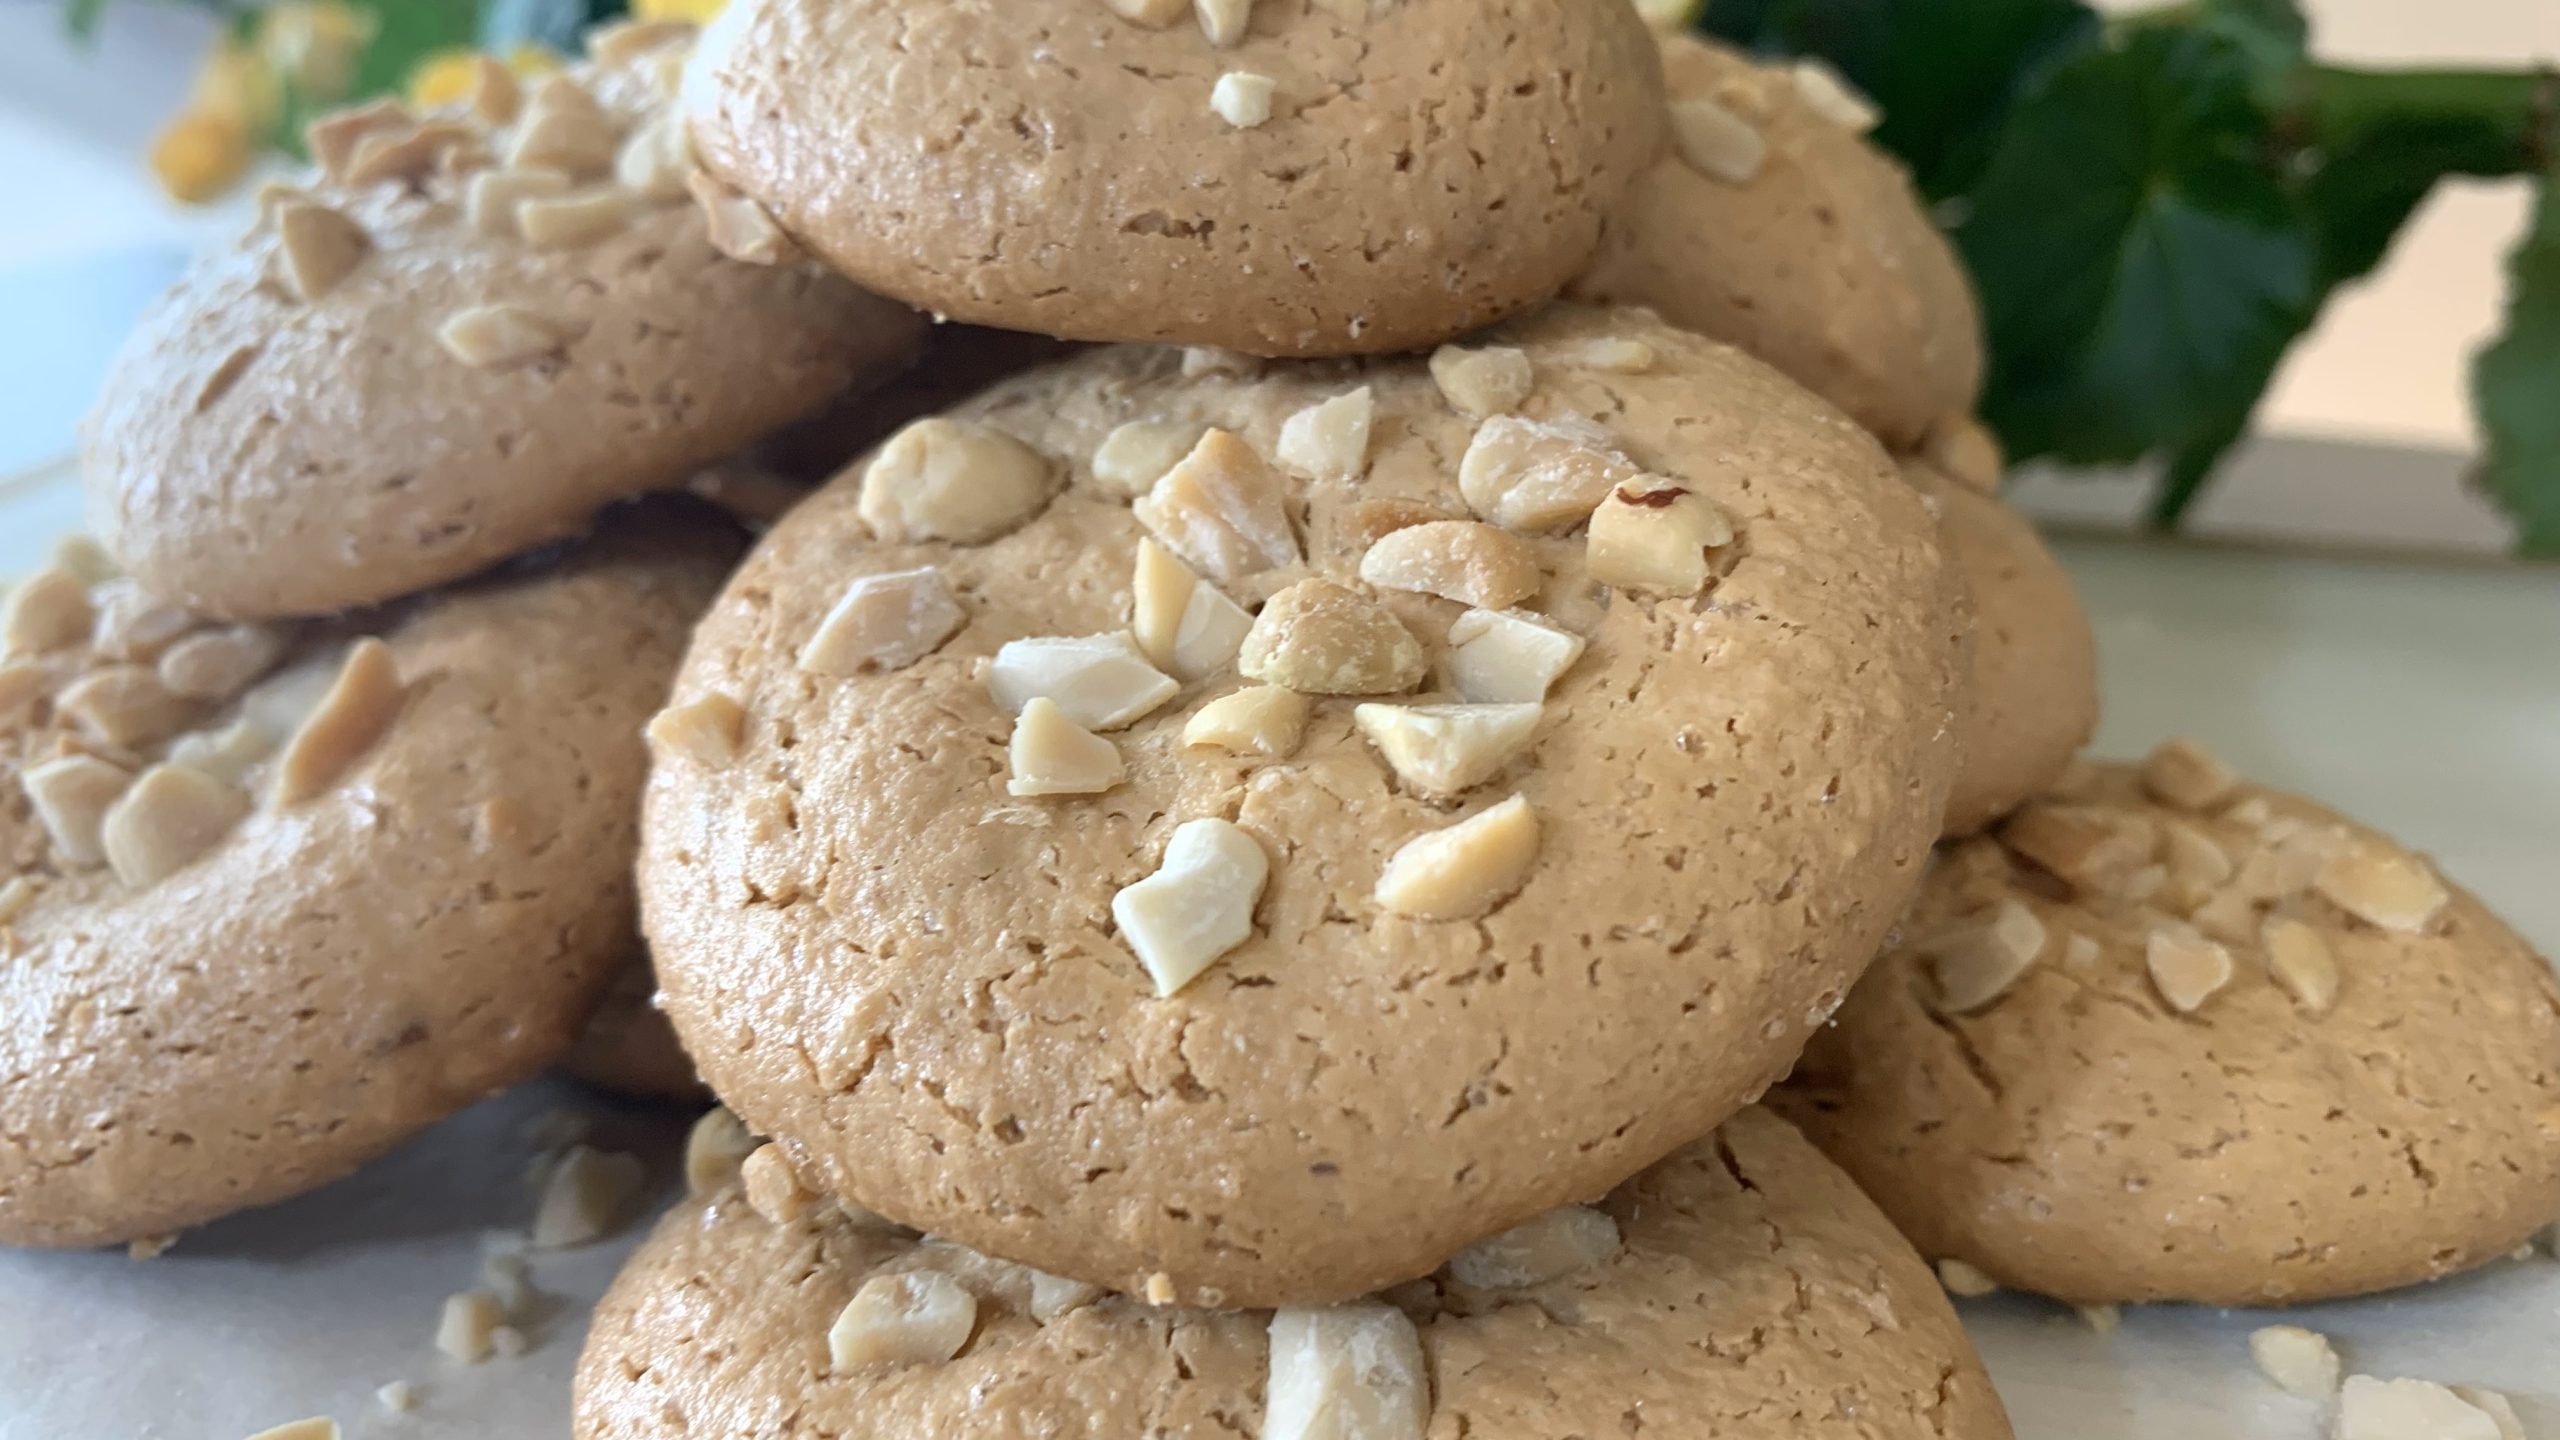
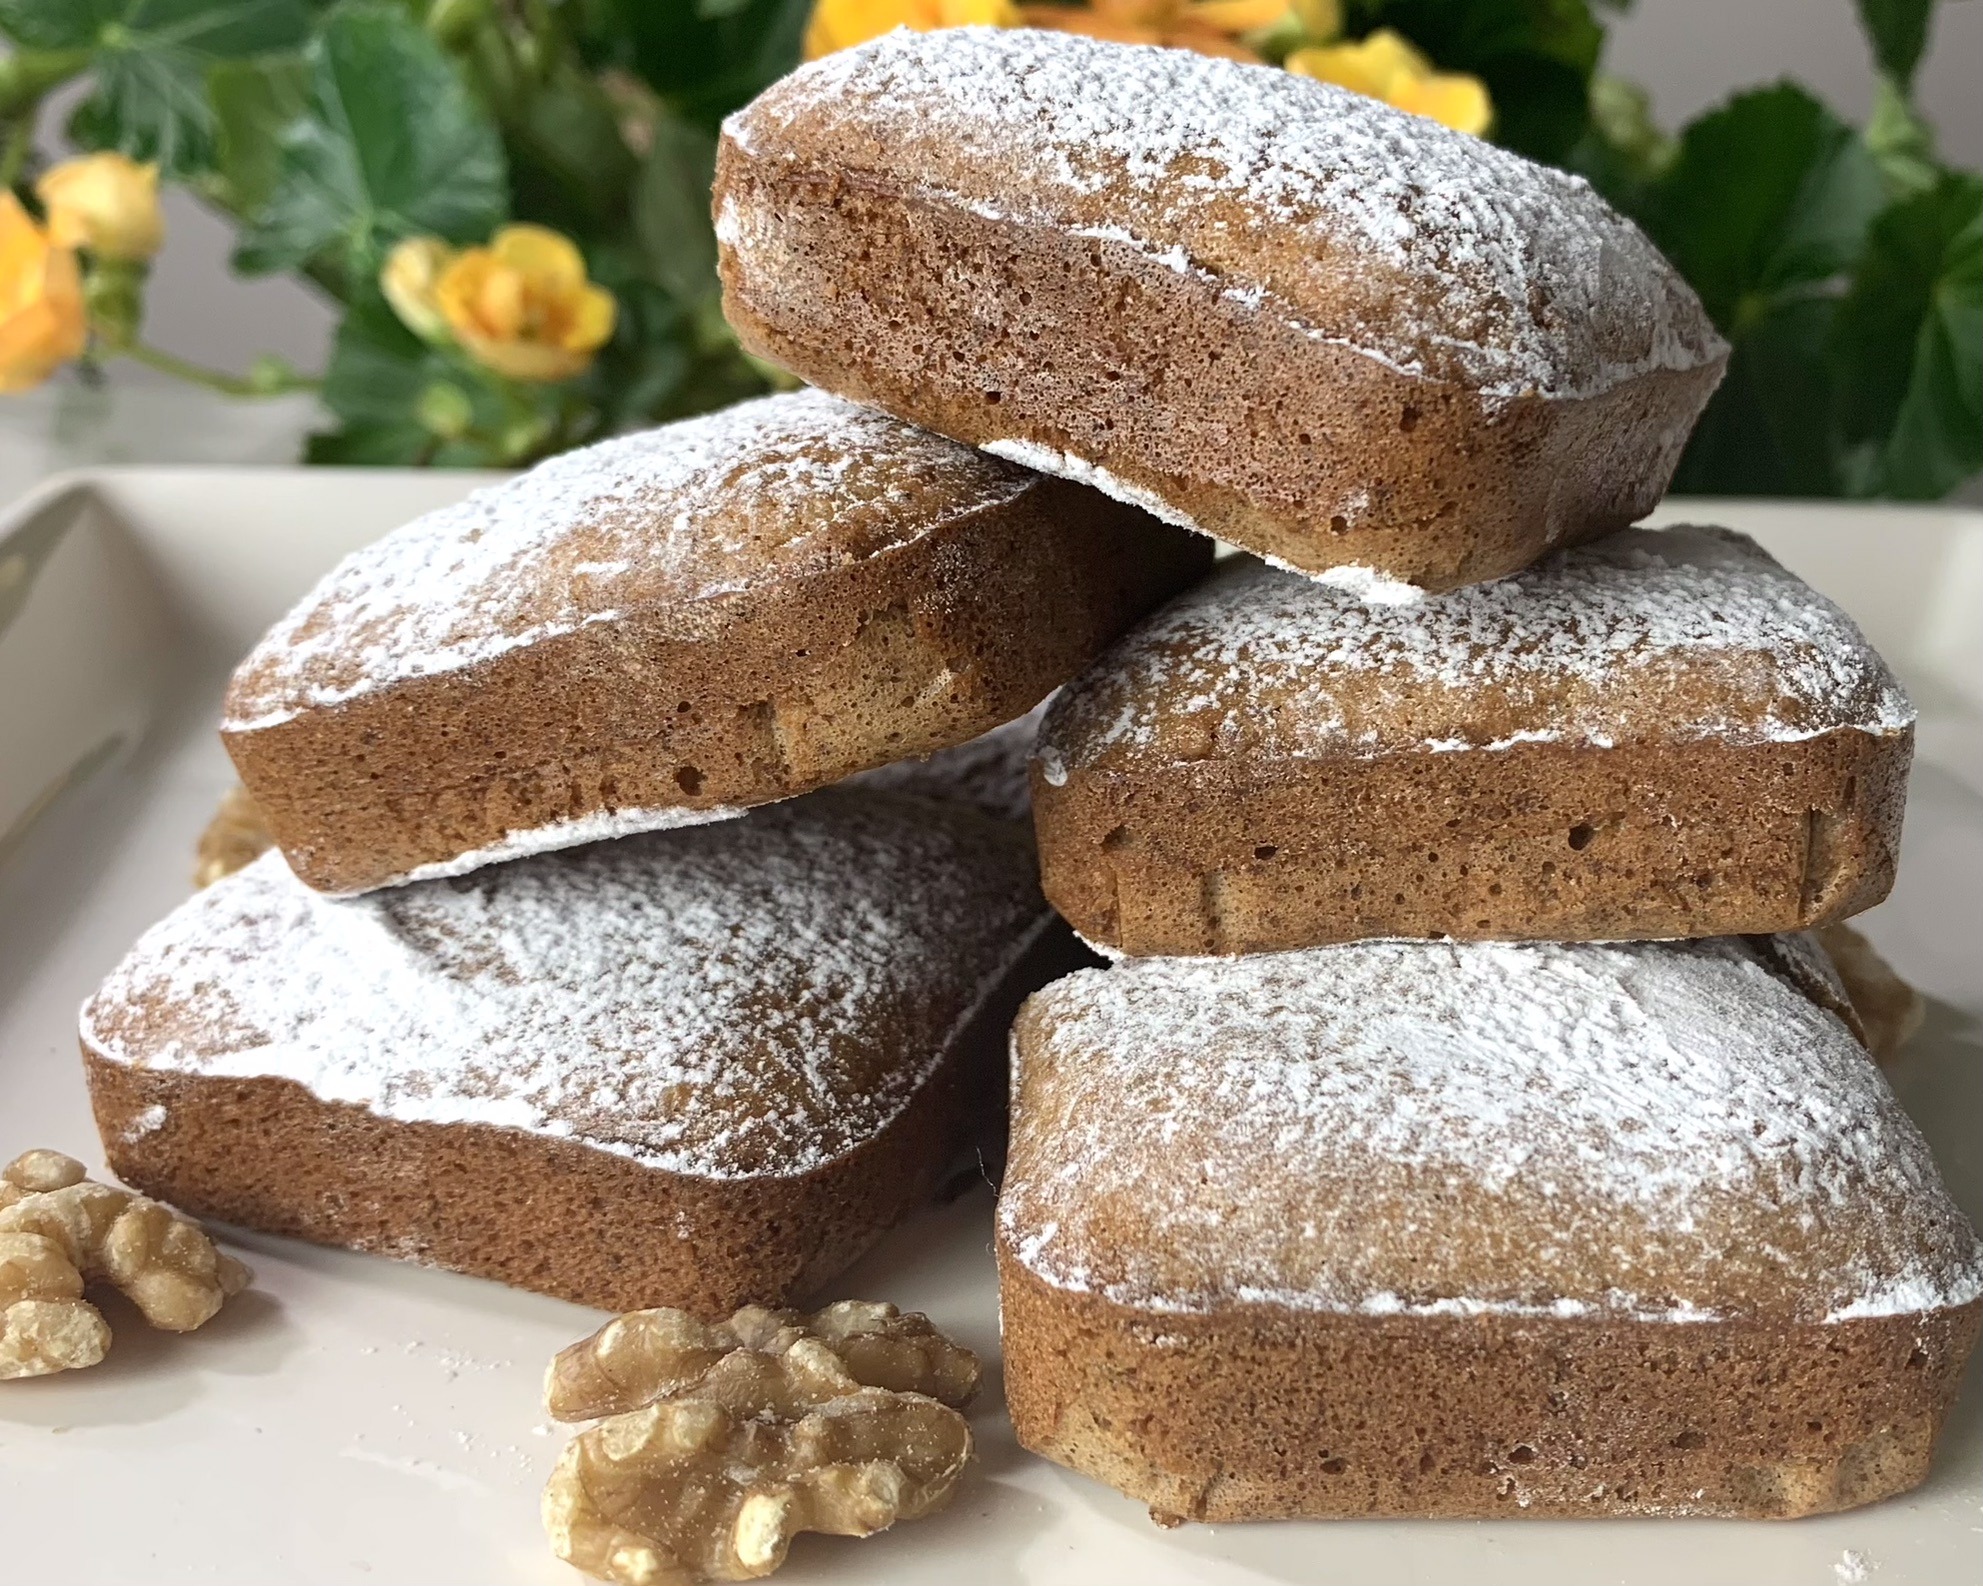
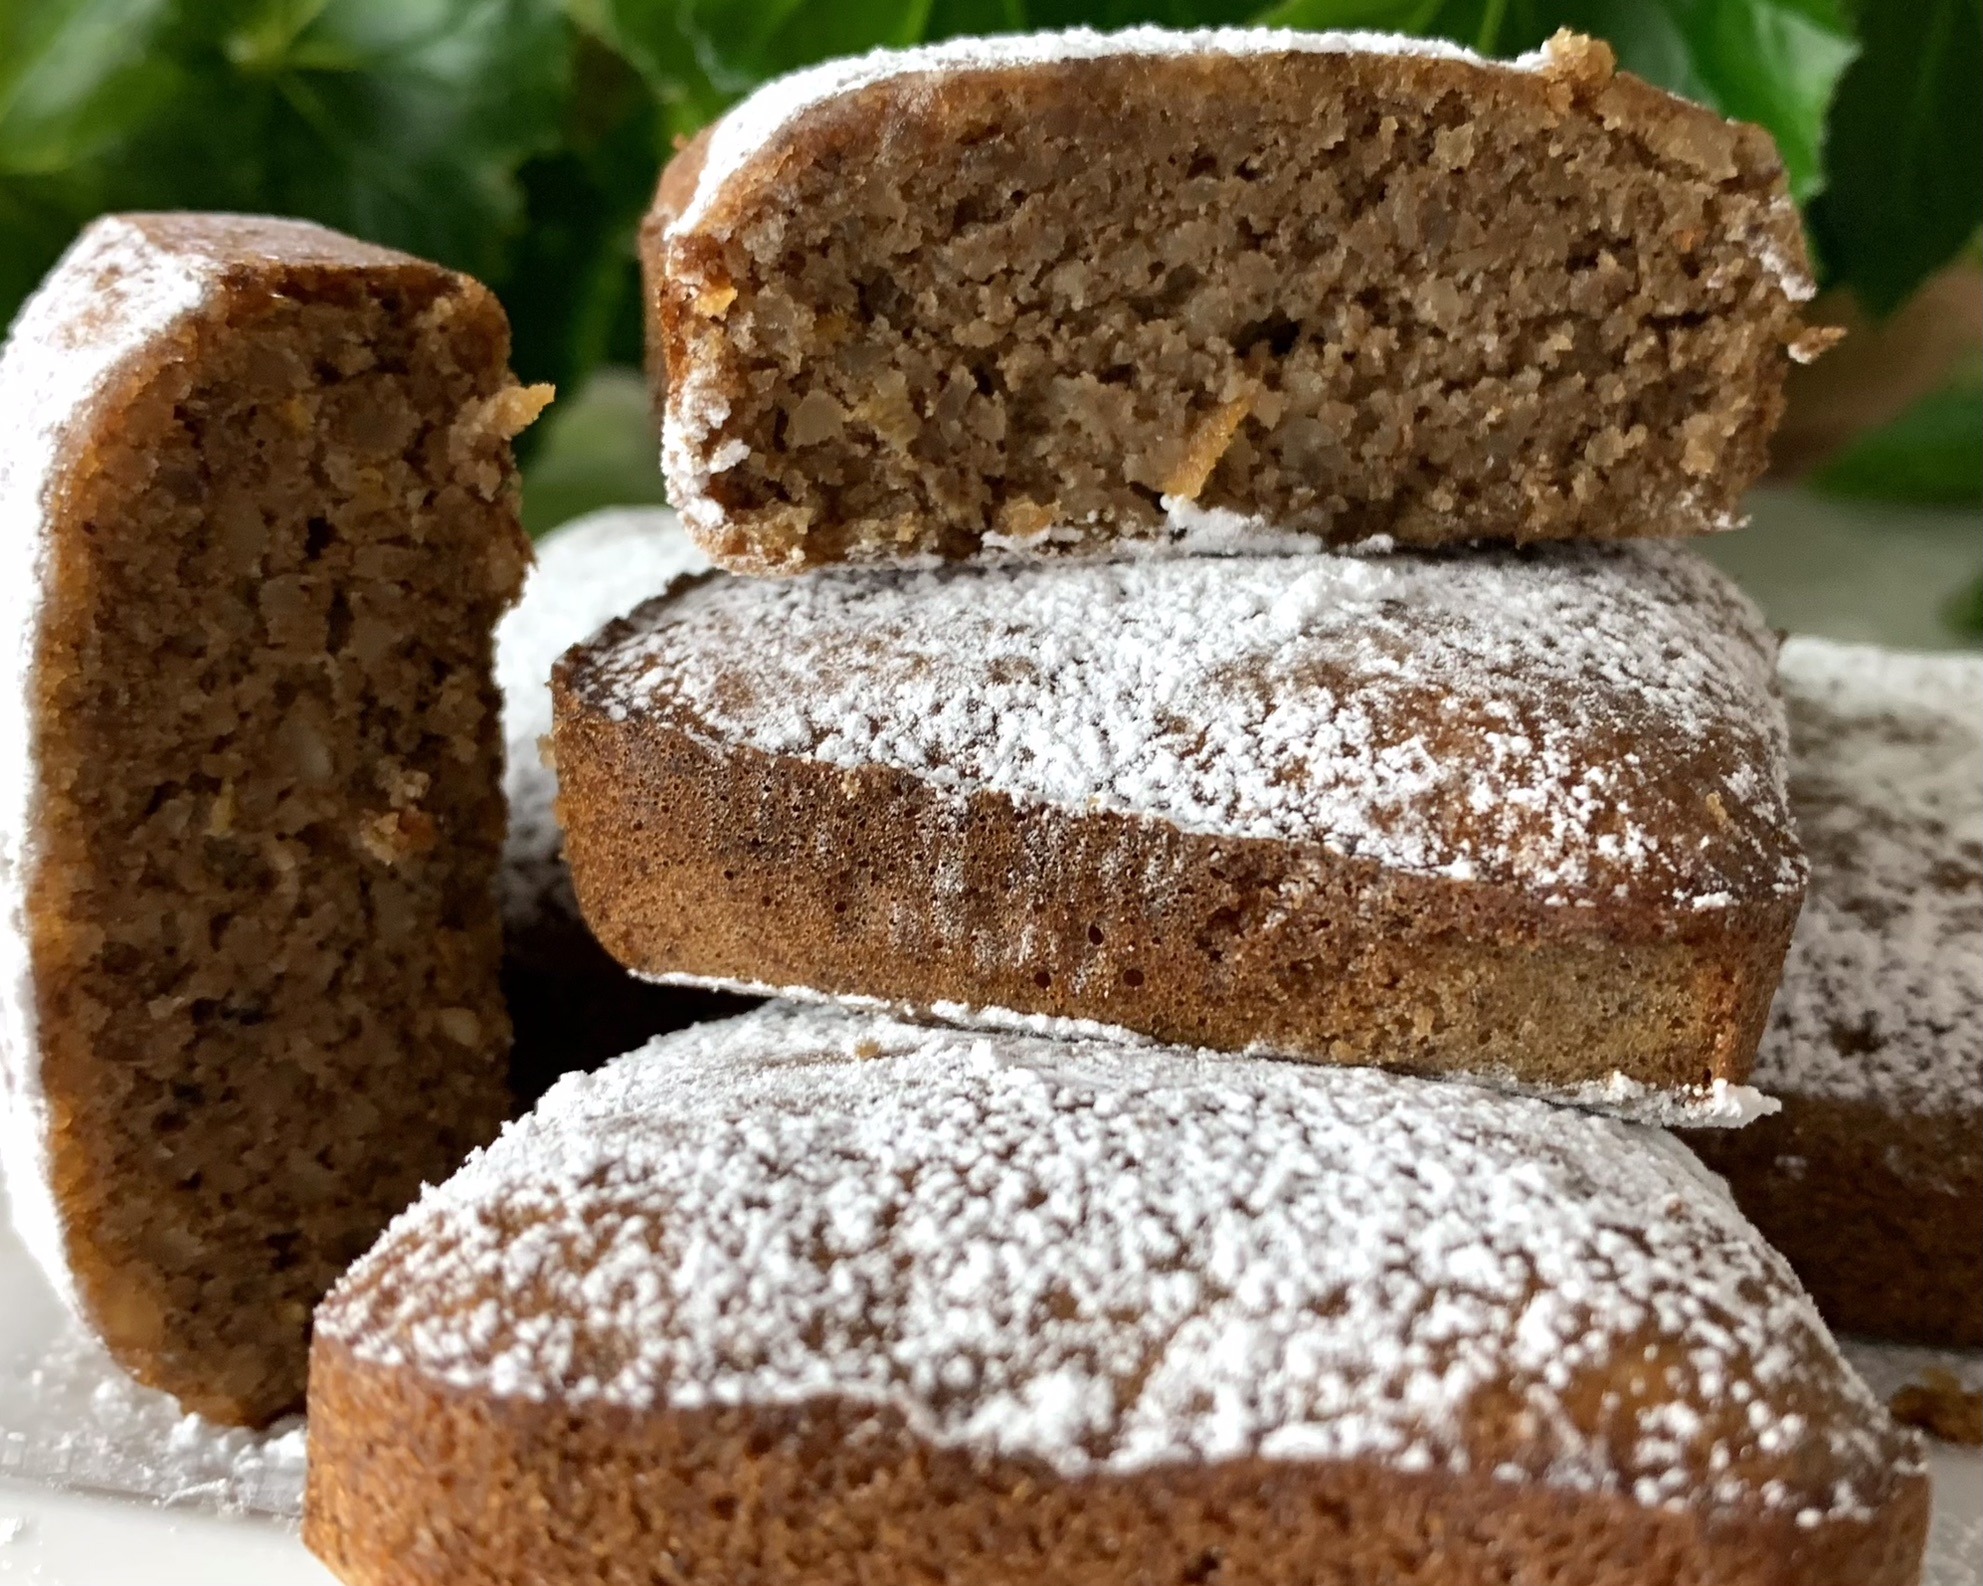
Imagine the rich, nutty aroma filling your kitchen as these little delights bake to perfection. The natural sweetness of peanuts pairs beautifully with a hint of orange zest, creating a cookie that’s both flavorful and fragrant. Whether you’re looking to whip up a quick snack for yourself or share a batch with friends, these Peanut Macarons are sure to impress with their simplicity and deliciousness.
These biscuits are not just tasty but also versatile. Enjoy them as a quick afternoon snack, a delightful addition to your lunchbox, or even as a guilt-free dessert. Their chewy texture, combined with the crunchy peanut topping, makes each bite a little piece of heaven.
Ingredients
- 1/2 cup (100 g) organic brown sugar or a carb-free sweetener of your choice
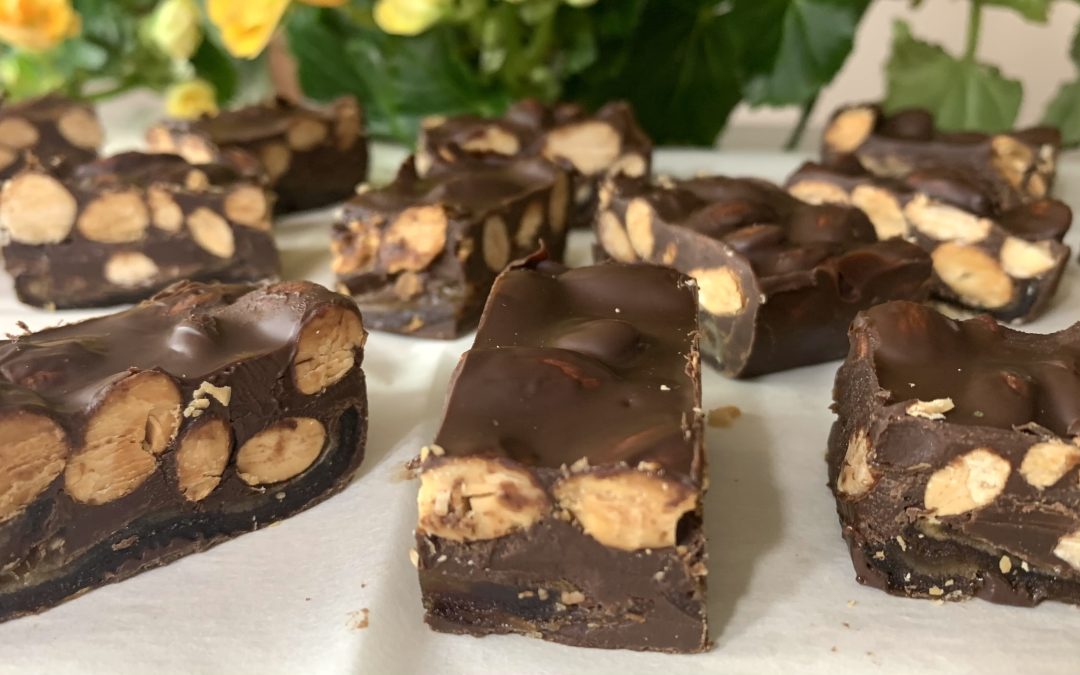
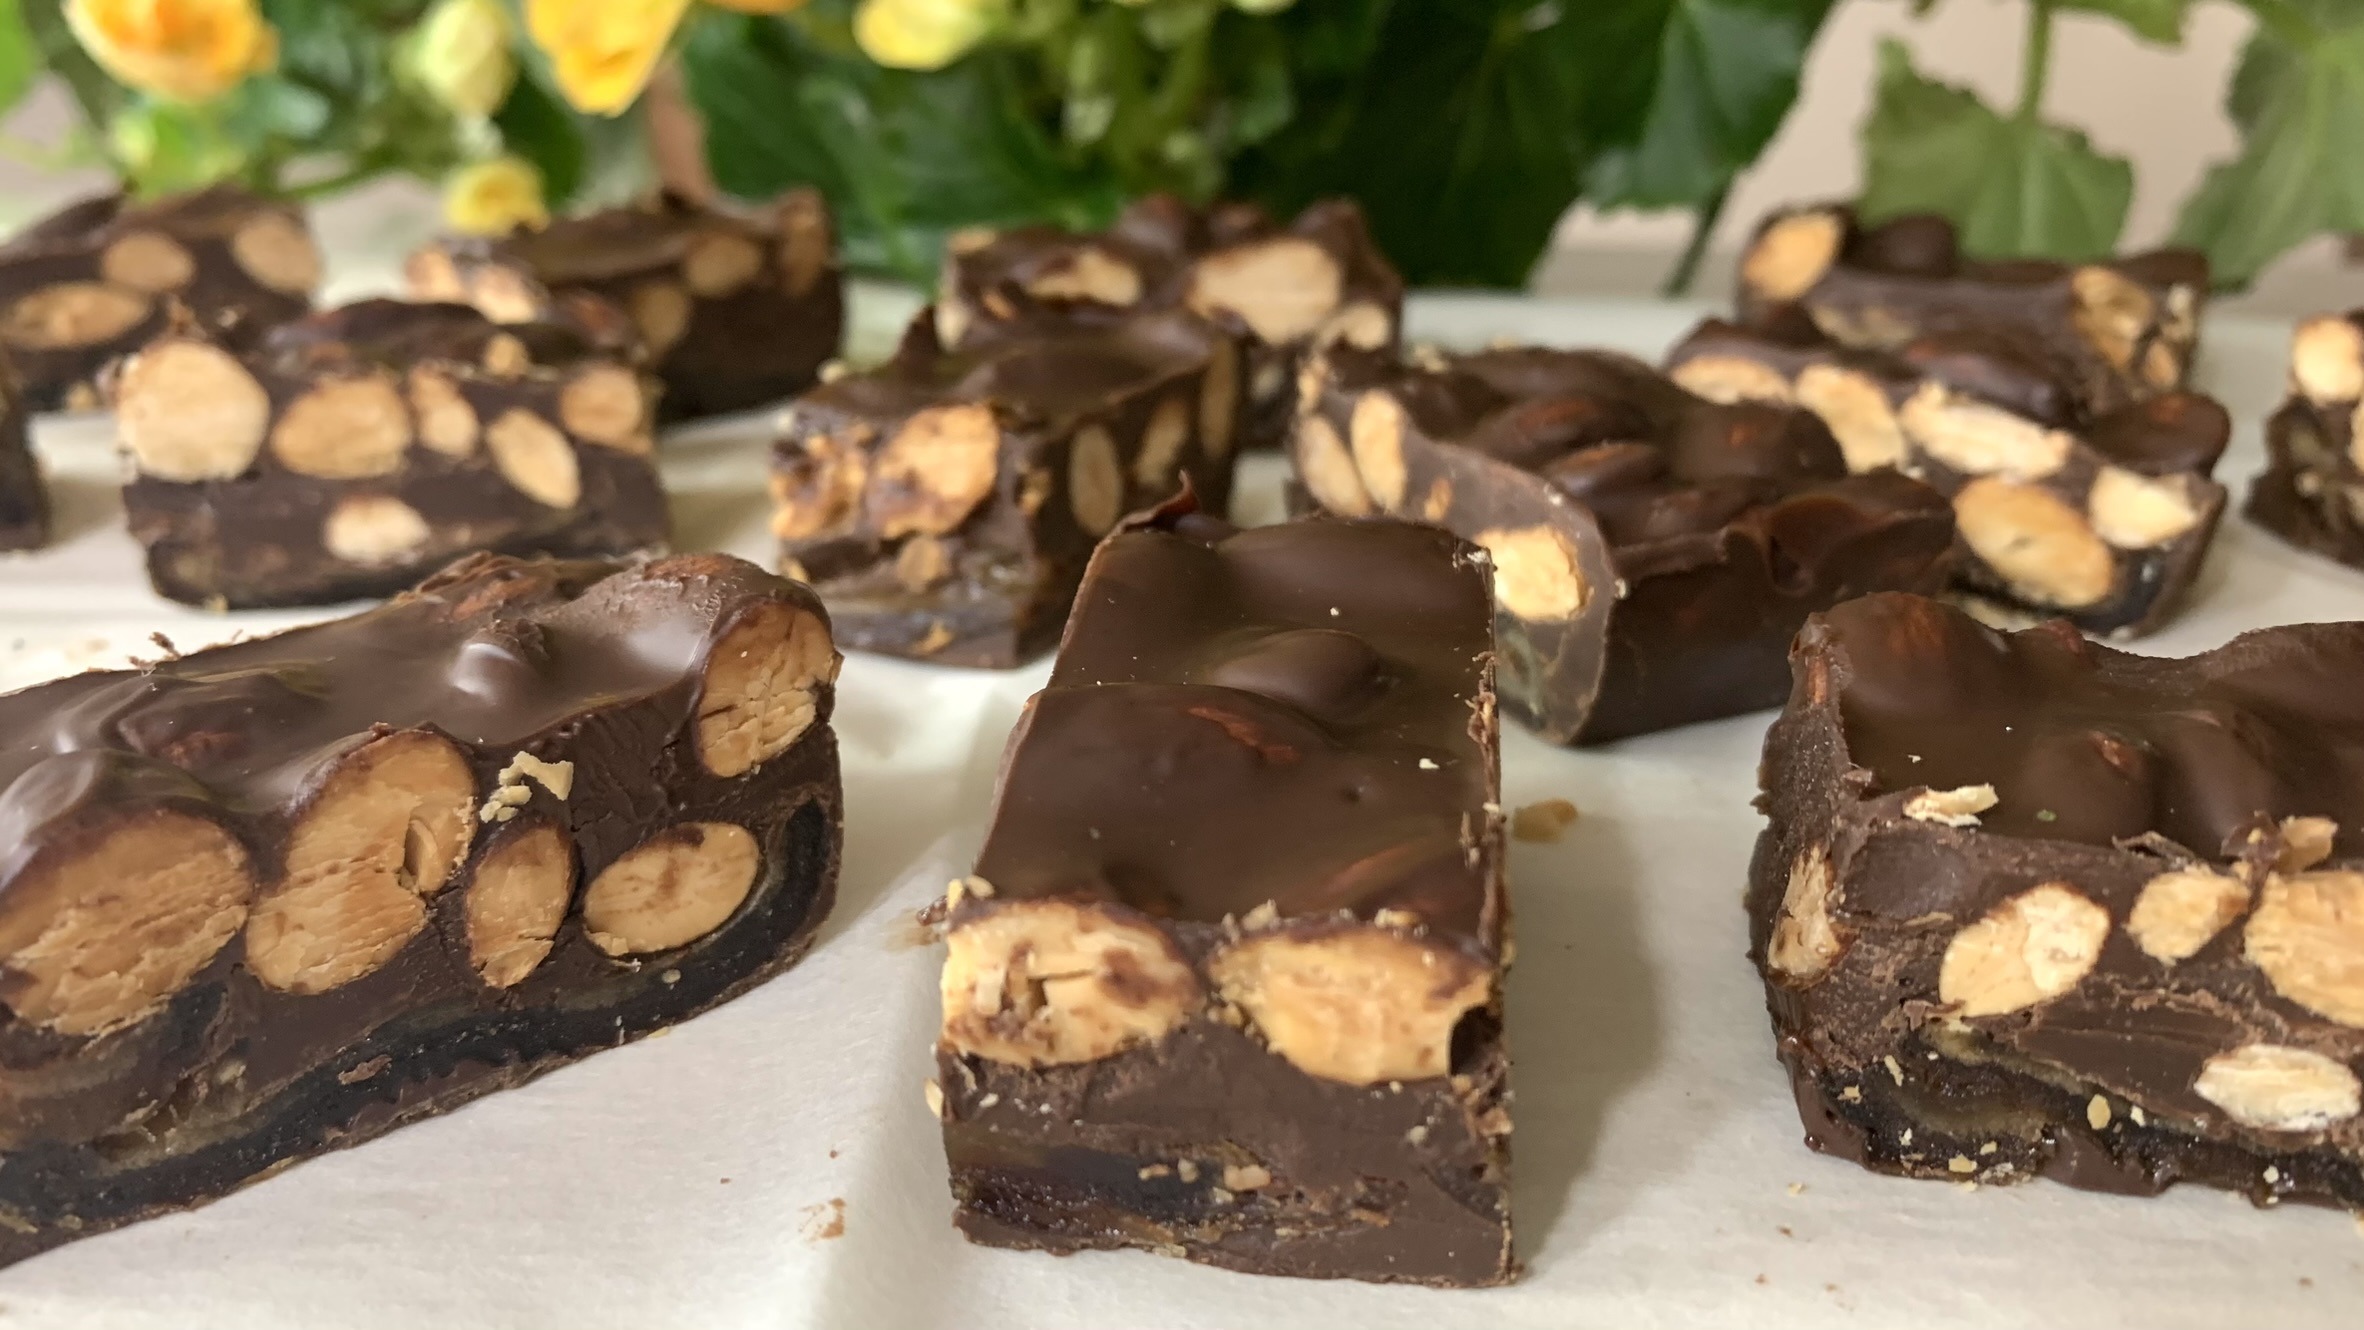
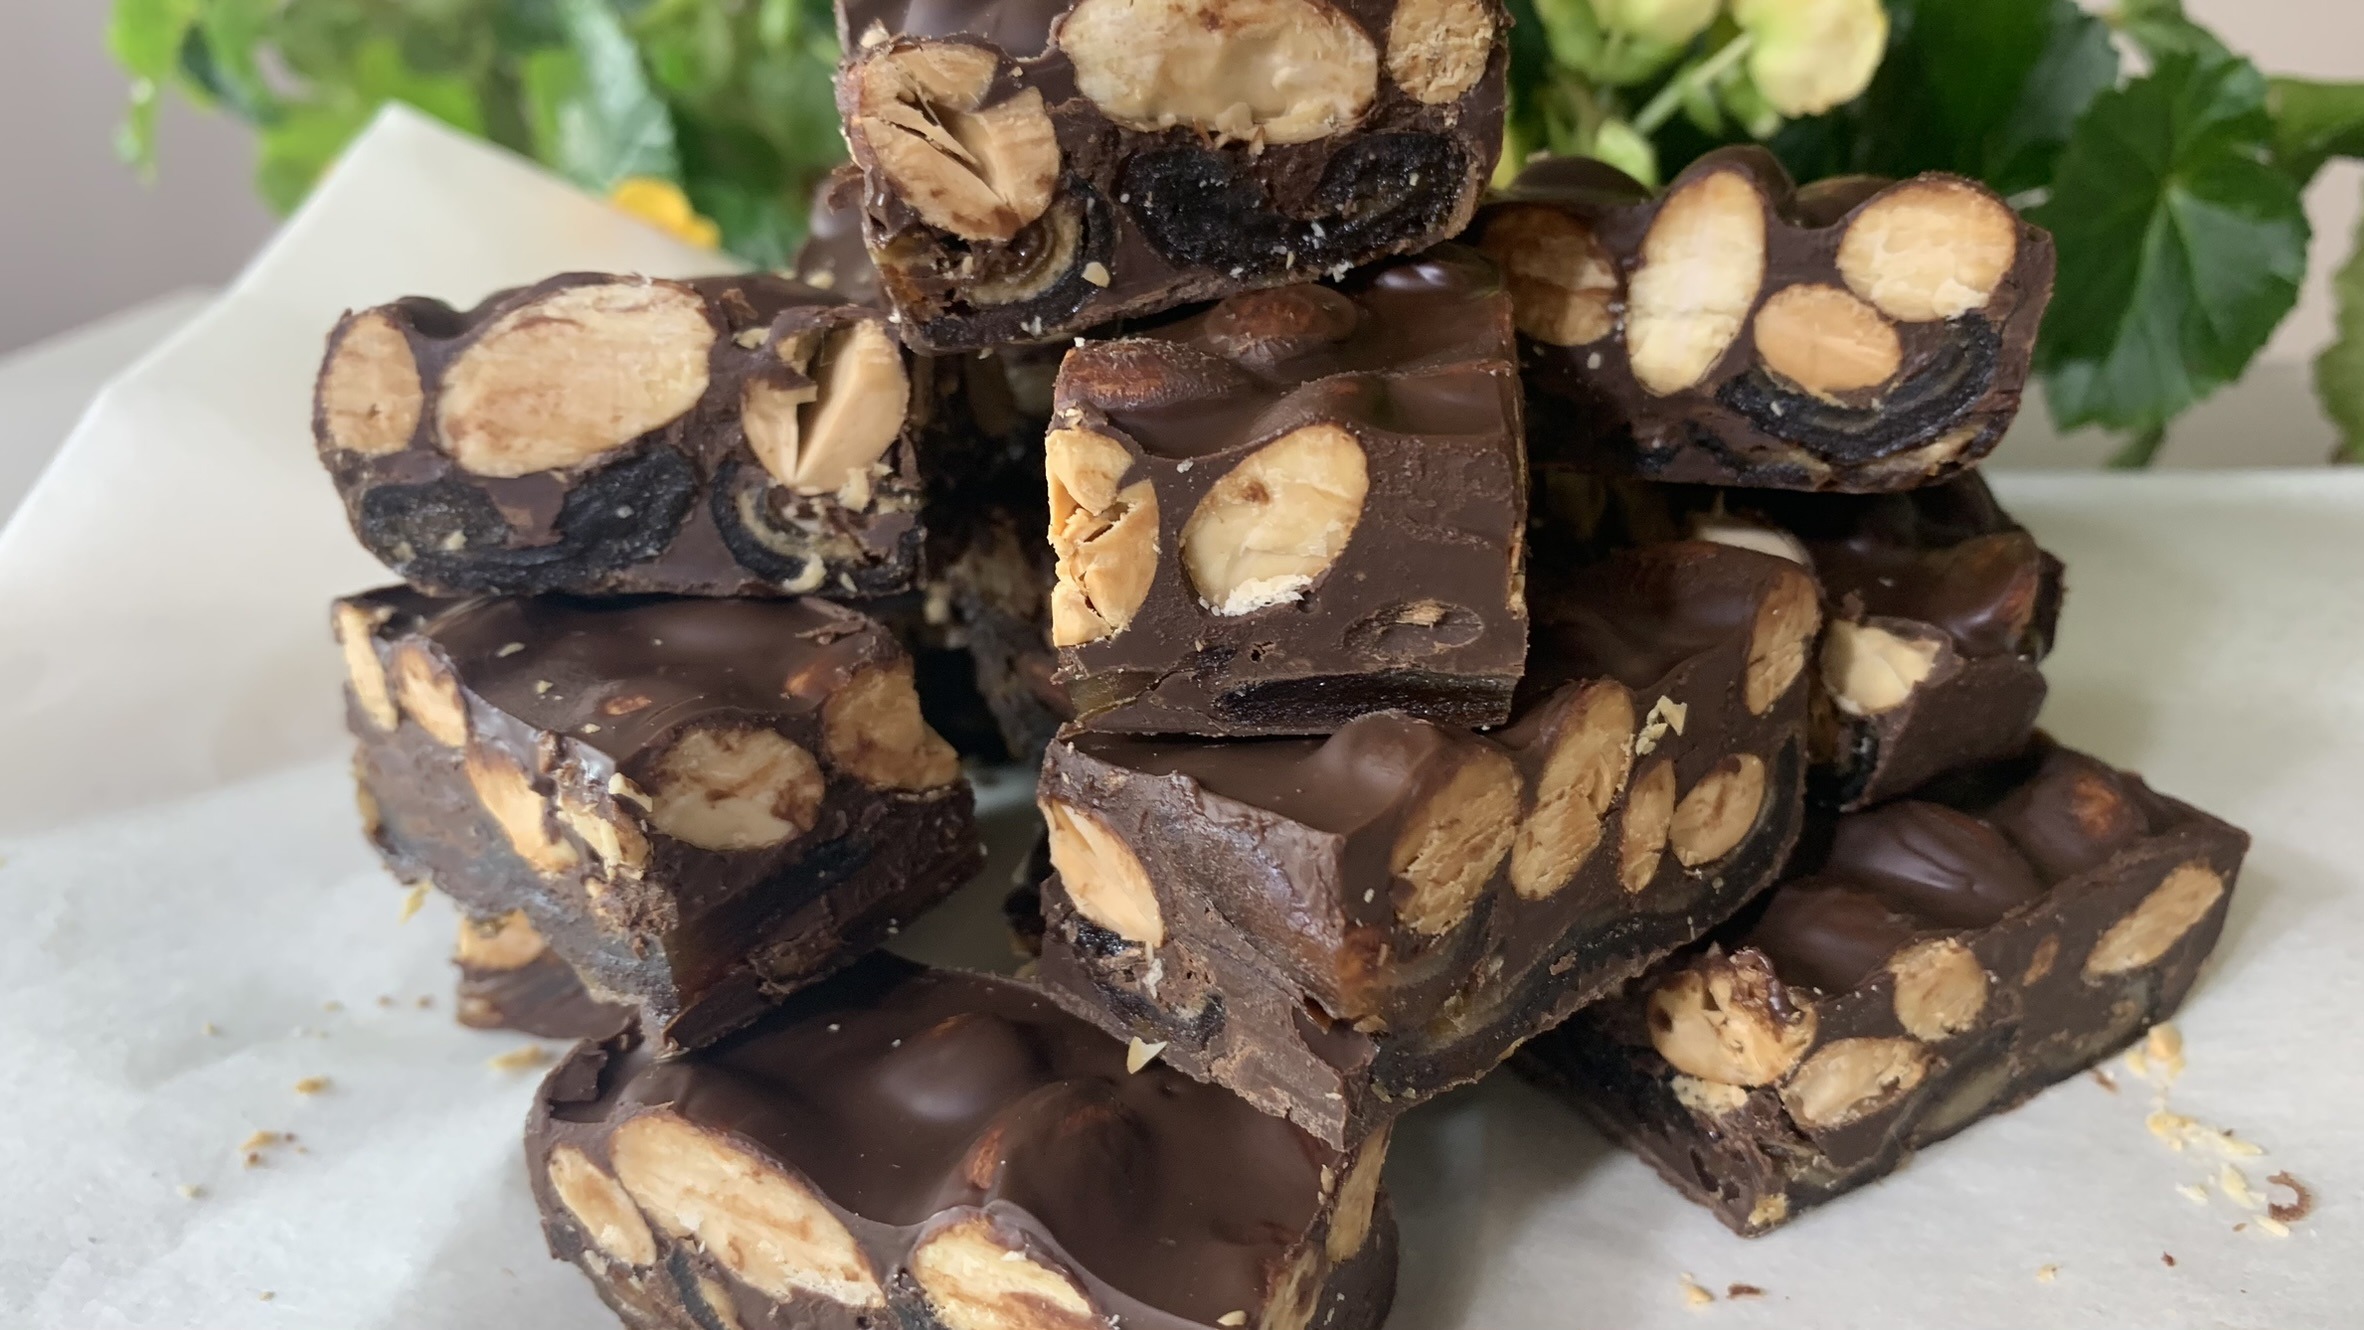
- 1 1/2 cups (200 g) raw peanuts
- 2 egg whites
- Zest of one orange (optional; you can use vanilla, lemon zest, or other spices you may prefer)
- 2 tbsp chopped raw peanuts (for garnish, optional)
Directions
- Preheat your oven to 350°F (175°C).
- Roast the raw peanuts at 350°F for 10 minutes. This reduces their moisture content and makes them easier to blend.
- In a food processor, blend the brown sugar until it reaches a powdered consistency.
- Add the roasted peanuts to the food processor and blend until they reach a powdered, almost liquid consistency.
- During the blending process, add the orange zest (or your preferred flavoring).
- Gradually add the egg whites, one at a time, blending until a sticky dough forms.
- Transfer the dough to a mixing bowl and let it rest for about 15 minutes.
- Line a baking pan with parchment paper.
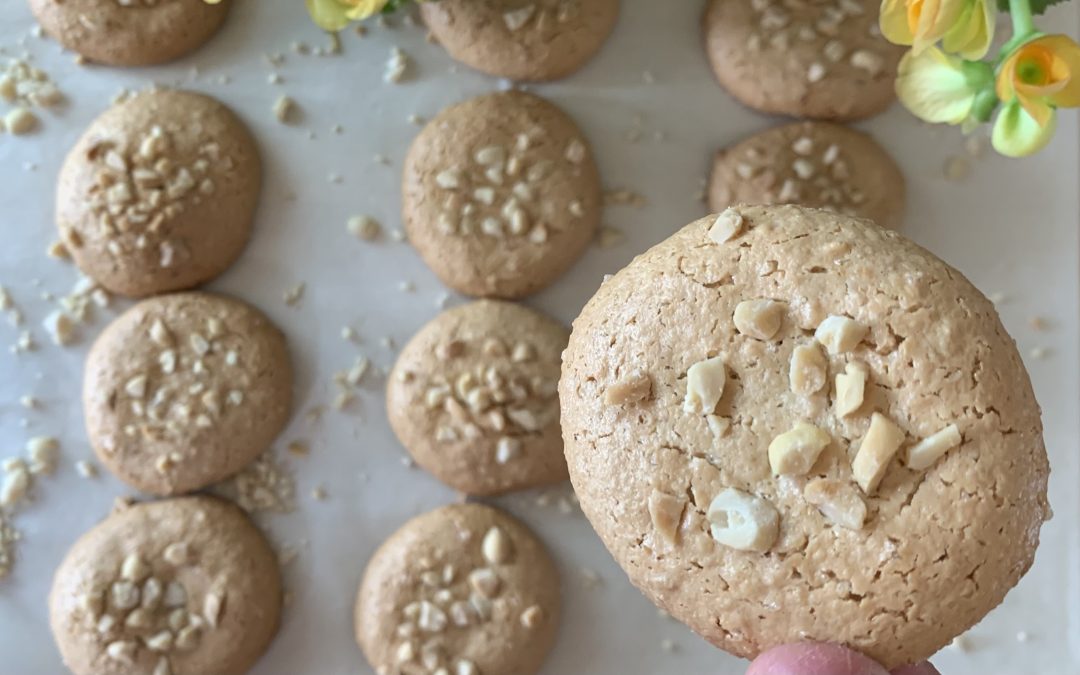
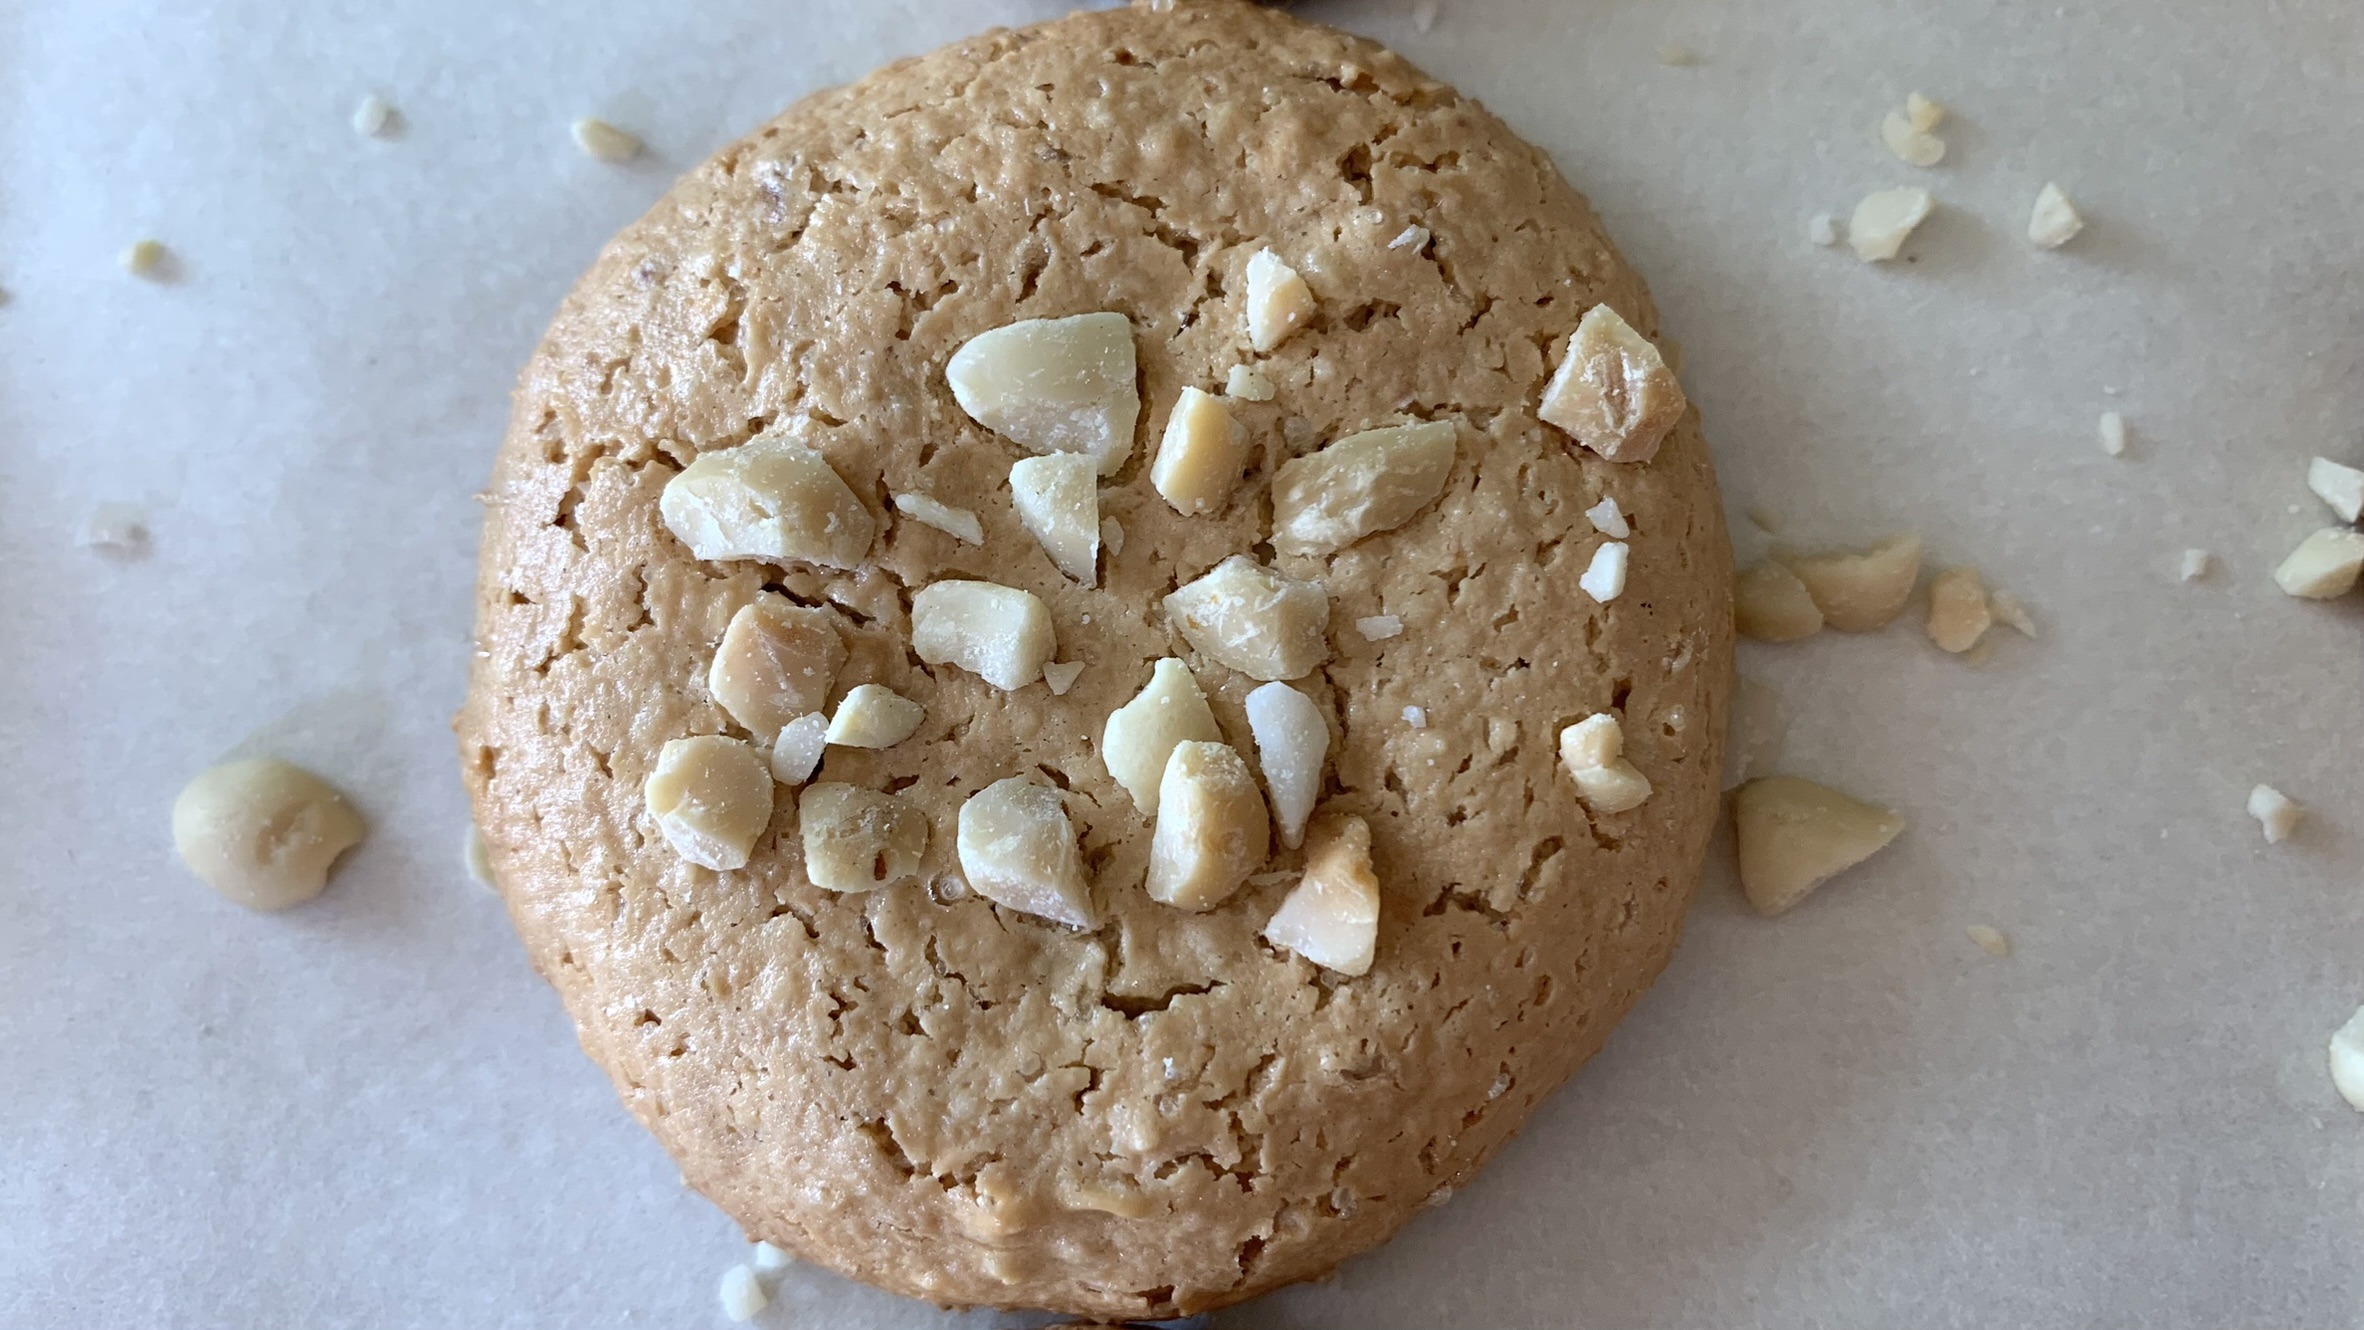
- Spoon equal portions of the sticky dough onto the lined baking pan. The portions will naturally form round biscuit shapes.
- If desired, sprinkle some chopped raw peanuts on top for a nice finishing touch.
- Bake in the preheated oven for 18 to 20 minutes, or until the biscuits are lightly browned.
- Let the biscuits cool before enjoying their simplicity and deliciousness.
Yields: 10 Servings
Prep Time: 30 minutes
Cooking Time: 20 minutes
Nutritional Information
Per 1 Macaron
- Energy: 142 calories
- Protein: 5.07 g
- Fat: 9.11 g
- Carbohydrates: 12.11 g
- Fiber: 1.5 g
Notes
- Store the peanut biscuits in an airtight container at room temperature for up to a week or in the fridge for up to 1 month.
- Experiment with different flavorings like vanilla or lemon zest for variety.