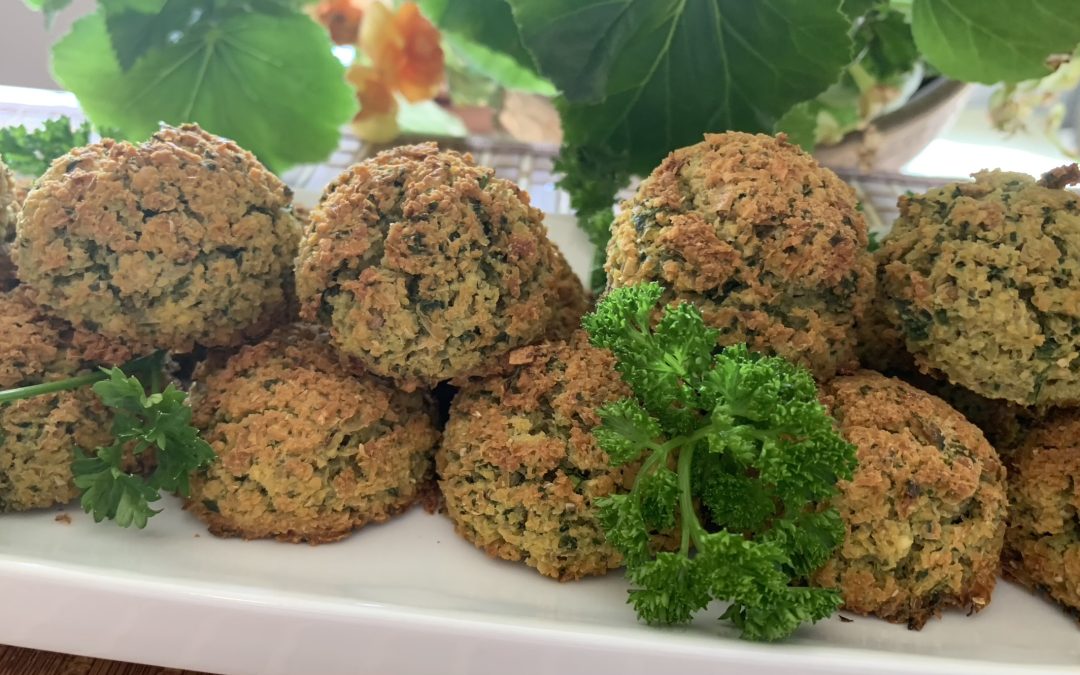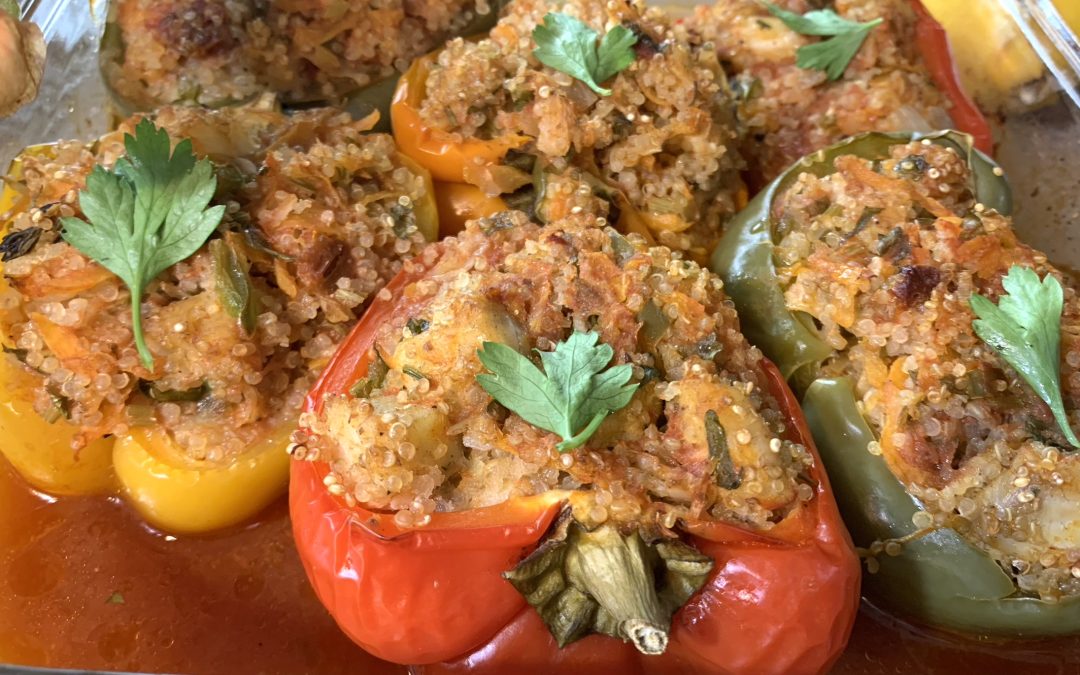
Quinoa Stuffed Bell Pepper
Quinoa Stuffed Bell Pepper
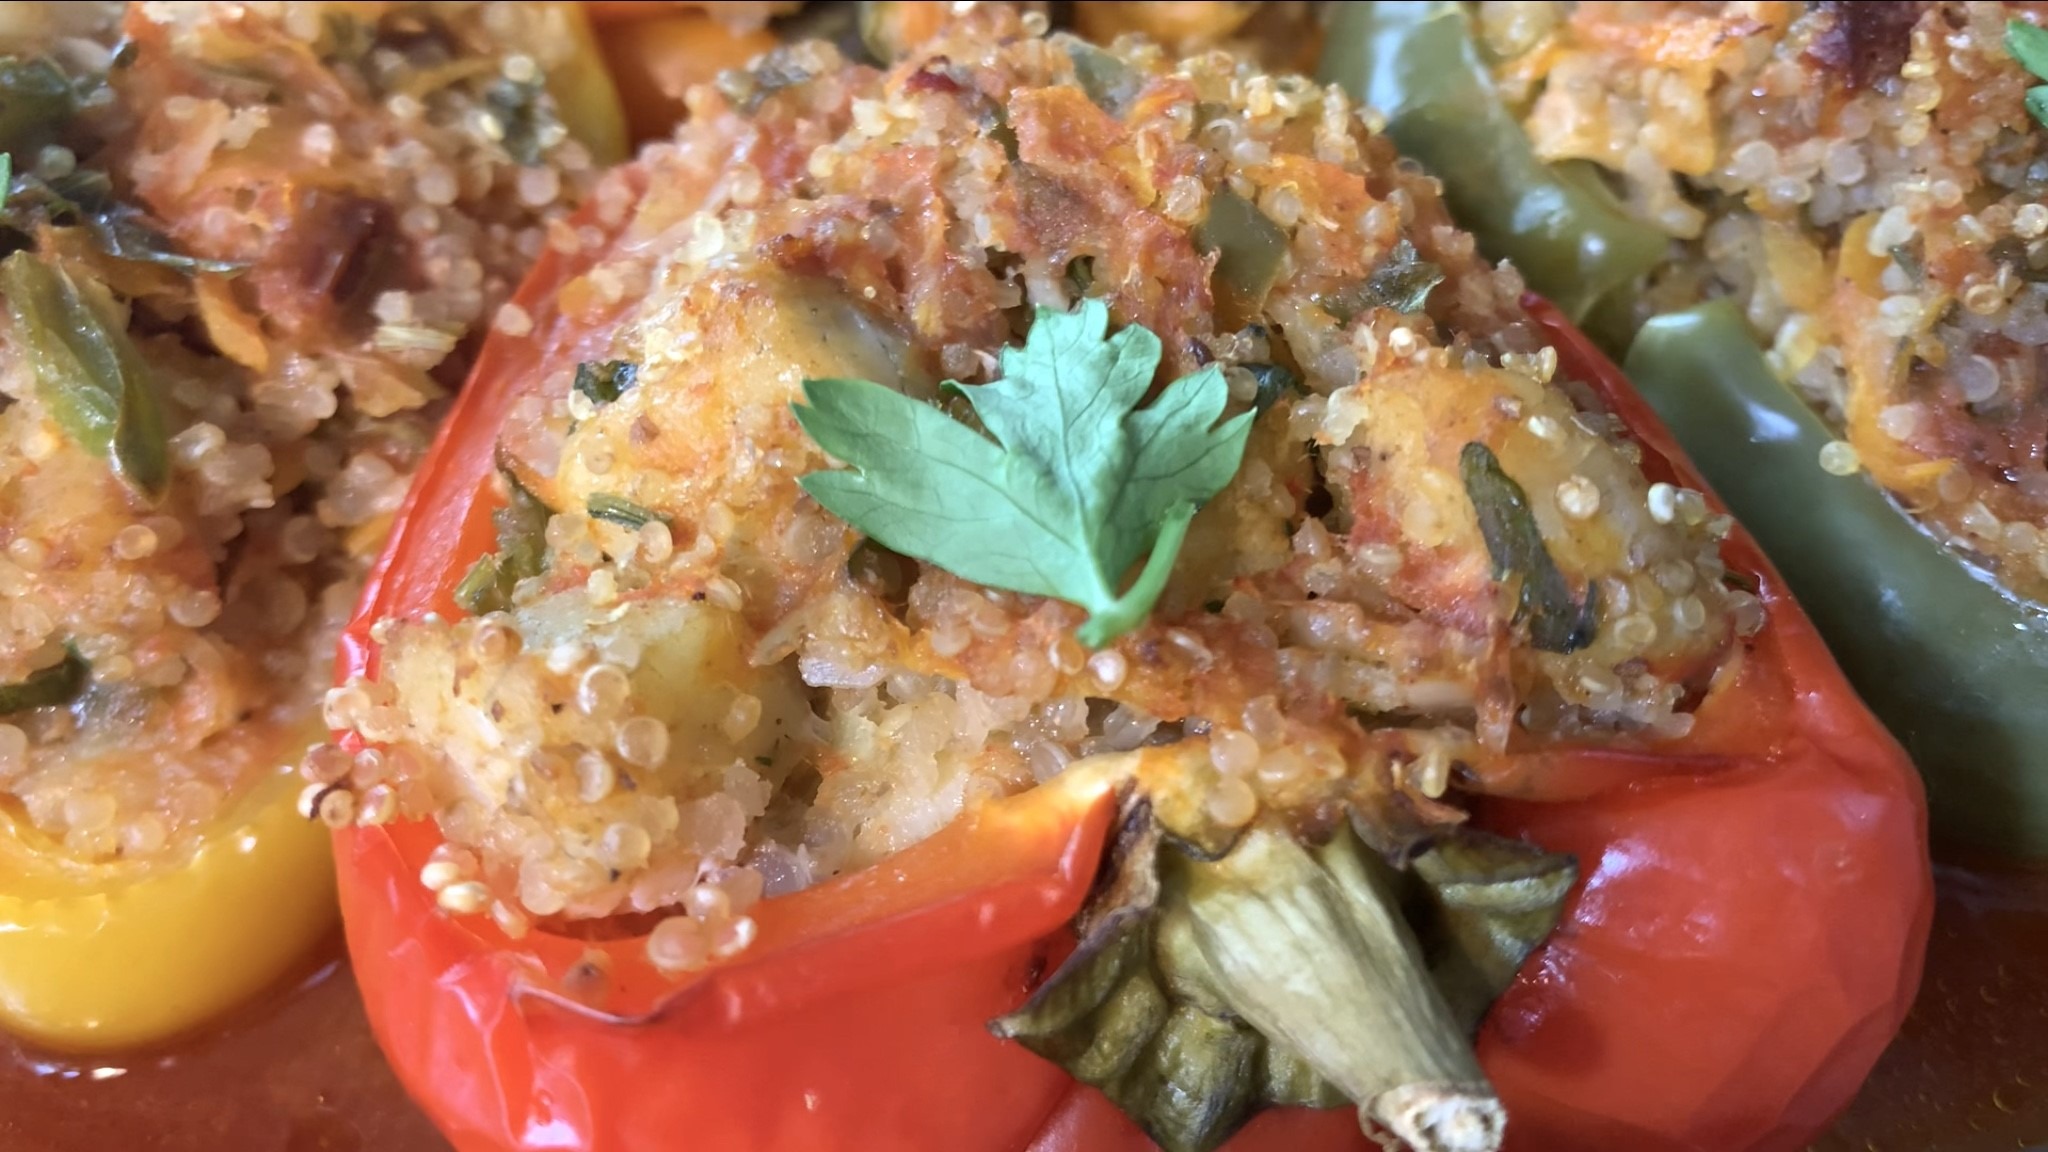
Quinoa-stuffed peppers are not just a meal; they’re a celebration of wholesome ingredients and vibrant flavors. This recipe combines the hearty texture of quinoa with fresh vegetables and tender tilapia fillets, all nestled within sweet, colorful bell peppers. The result is a dish that’s as visually appealing as it is satisfying, offering a delightful combination of flavors and textures in every bite. Whether you’re cooking for a weeknight dinner or preparing a special meal for guests, these stuffed peppers are sure to impress with their simplicity and taste.
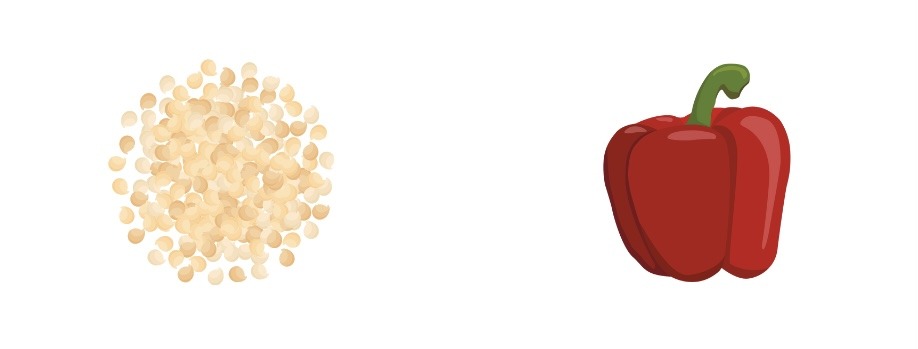
At the heart of this dish is quinoa, a superfood that has become a staple in healthy kitchens around the world. Quinoa is a complete protein, meaning it contains all nine essential amino acids that the body needs but cannot produce on its own. This makes it an excellent source of plant-based protein, especially for those who follow a vegetarian or vegan diet. Additionally, quinoa is rich in fiber, which aids in digestion and helps maintain stable blood sugar levels, making it a smart choice for those looking to manage their weight or support heart health. The nutrient-dense nature of quinoa, combined with its versatility, makes it an ingredient that should find a regular place in your diet.
Including quinoa in your meals is a simple way to elevate the nutritional value of your diet without sacrificing taste or convenience. Its subtle, nutty flavor pairs well with a variety of ingredients, making it a versatile addition to both sweet and savory dishes. In this recipe, quinoa provides a satisfying base that complements the crunch of the vegetables and the delicate flavor of the fish.
By making quinoa-stuffed peppers, you’re not only enjoying a delicious meal but also nourishing your body with ingredients that promote overall well-being and vitality.
Ingredients
Ingredients for the Stuffed Peppers:
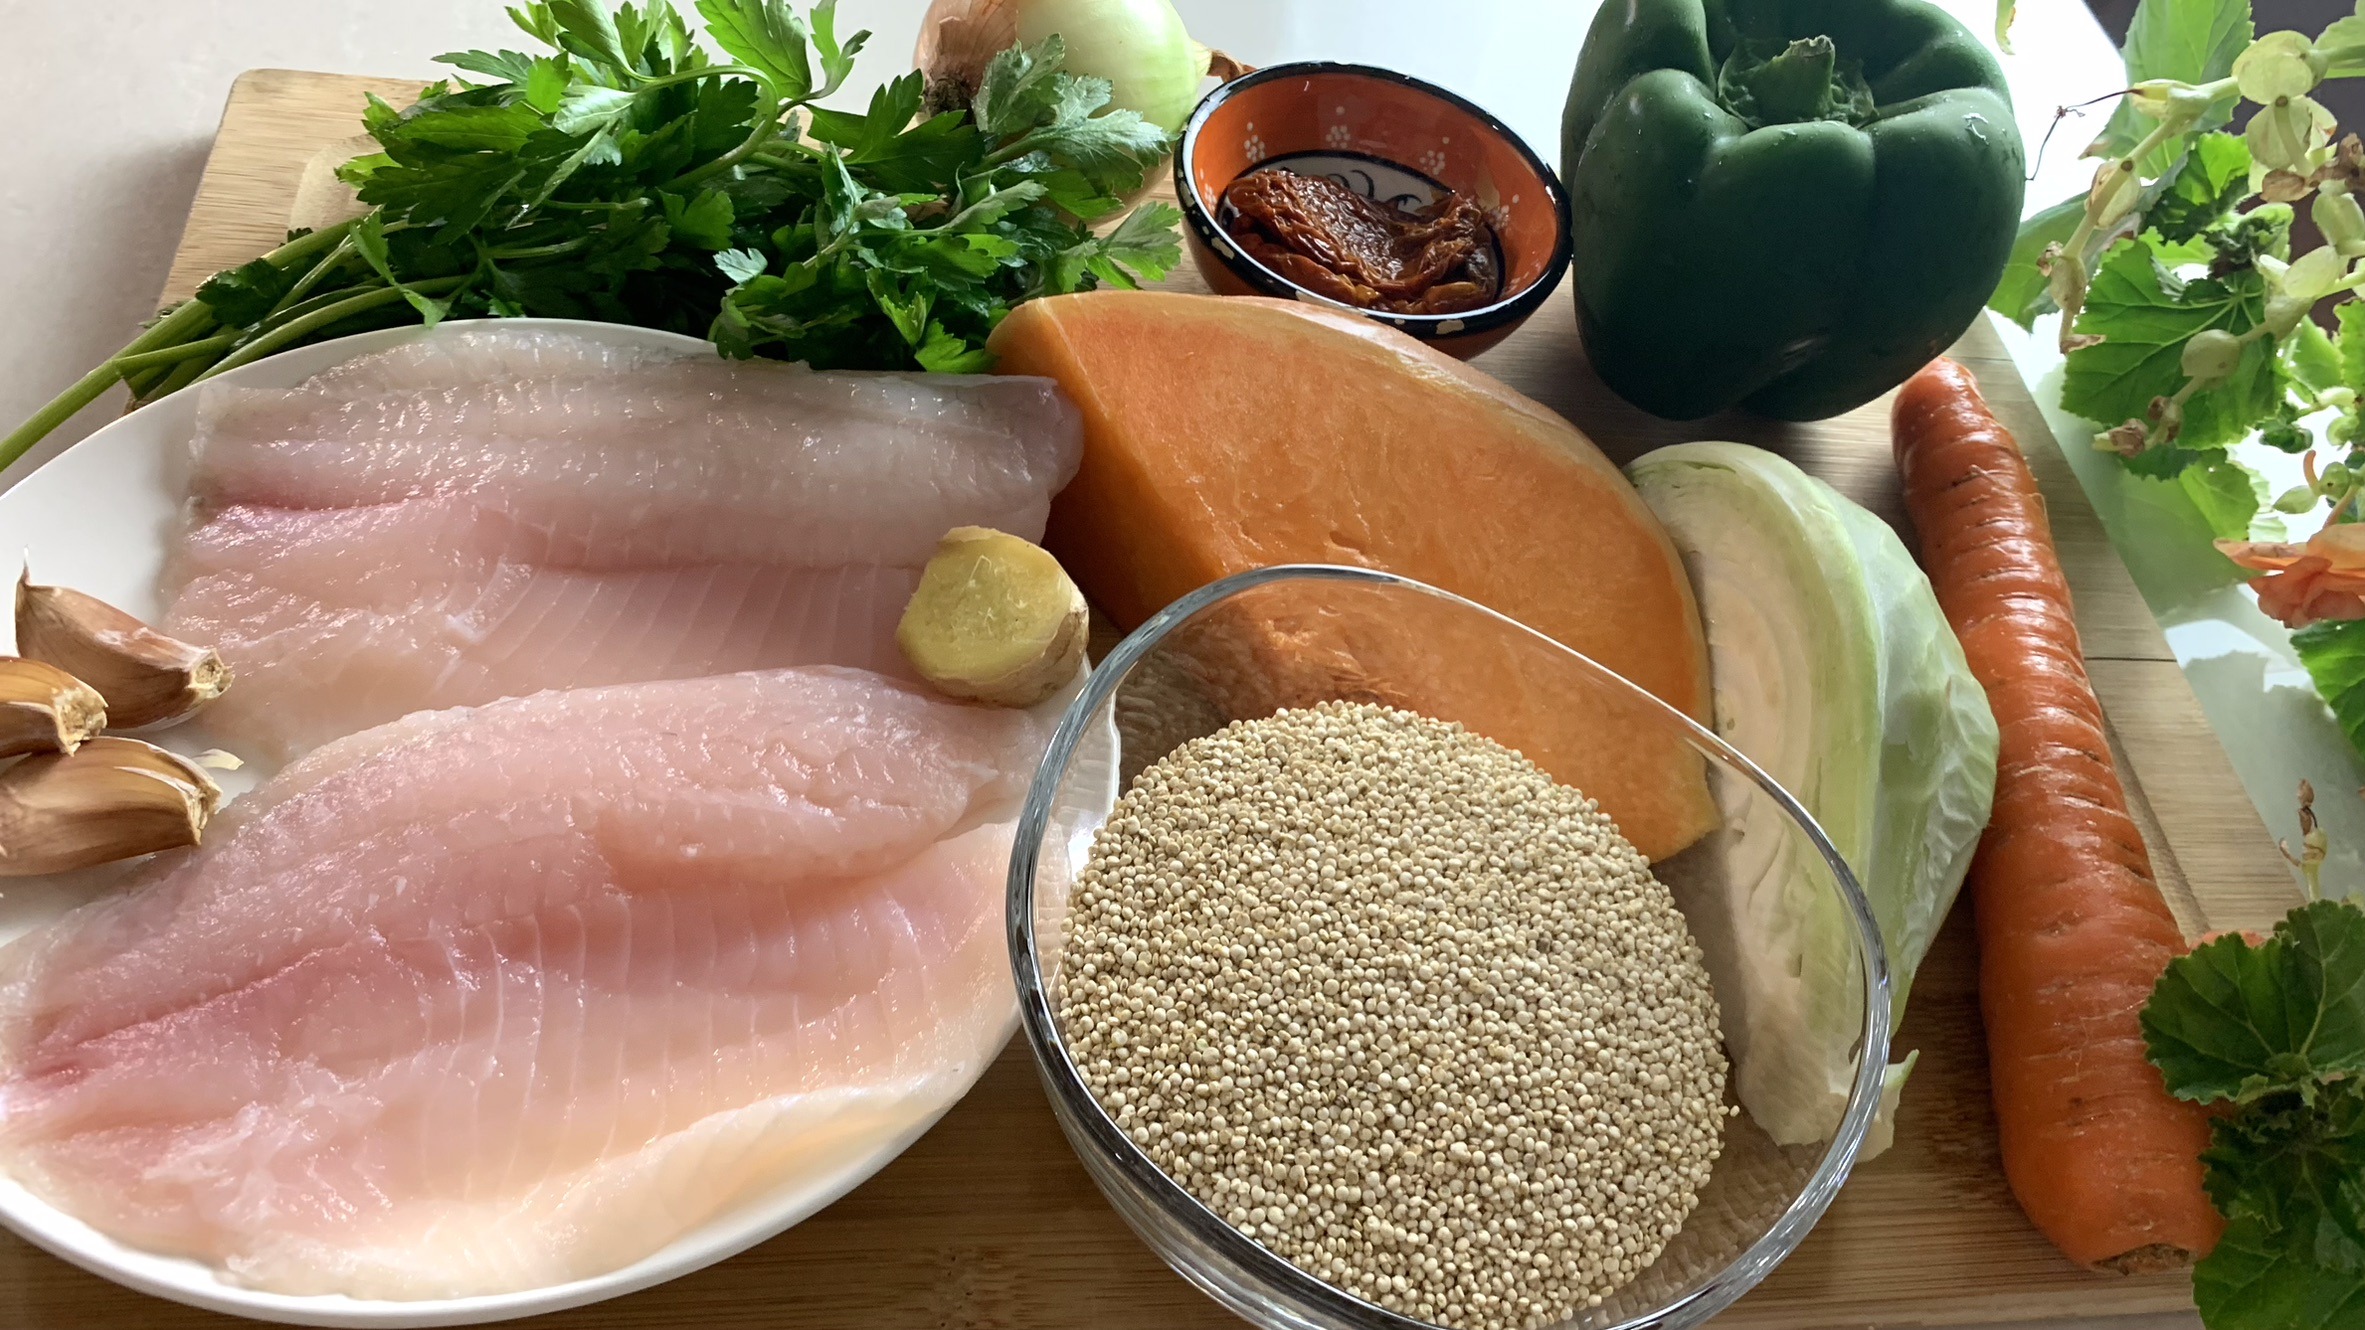
- 3/4 cup (120 g) quinoa (soaked for at least 4 hours or overnight in the fridge)
- 50 g diced onion
- 2 garlic cloves
- 8 g grated fresh ginger
- 20 g chopped fresh parsley
- 4 fresh thyme stems
- 45 g diced green pepper
- 75 g shredded carrot
- 80 g shredded cabbage
- 80 g shredded pumpkin
- 200 g diced tilapia fish fillet (or other seafood, fish, or meat of your choice)
- 3 tbsp olive oil
- 1 tsp salt
- 1 tsp coriander powder
- 1 tsp paprika
- Ground black pepper
- Juice of half a lemon
- 3 bell peppers (375 g) of different colors
Ingredients for the Tomato Sauce:
- 1 cup hot water
- 1 tbsp tomato paste
- 1/4 tsp salt
- 1/4 tsp dried onion
- 1/4 tsp dried garlic
- 1 tbsp olive oil
Directions
- In a large bowl, mix the quinoa, diced onion, crushed garlic, grated ginger, chopped parsley, thyme, diced green pepper, shredded carrot, cabbage, pumpkin, diced tilapia, olive oil, salt, coriander powder, paprika, black pepper, and lemon juice.
- In a small bowl, mix 1 cup of hot water with tomato paste, salt, dried onion, dried garlic, and olive oil. Stir until the sauce is well-blended.
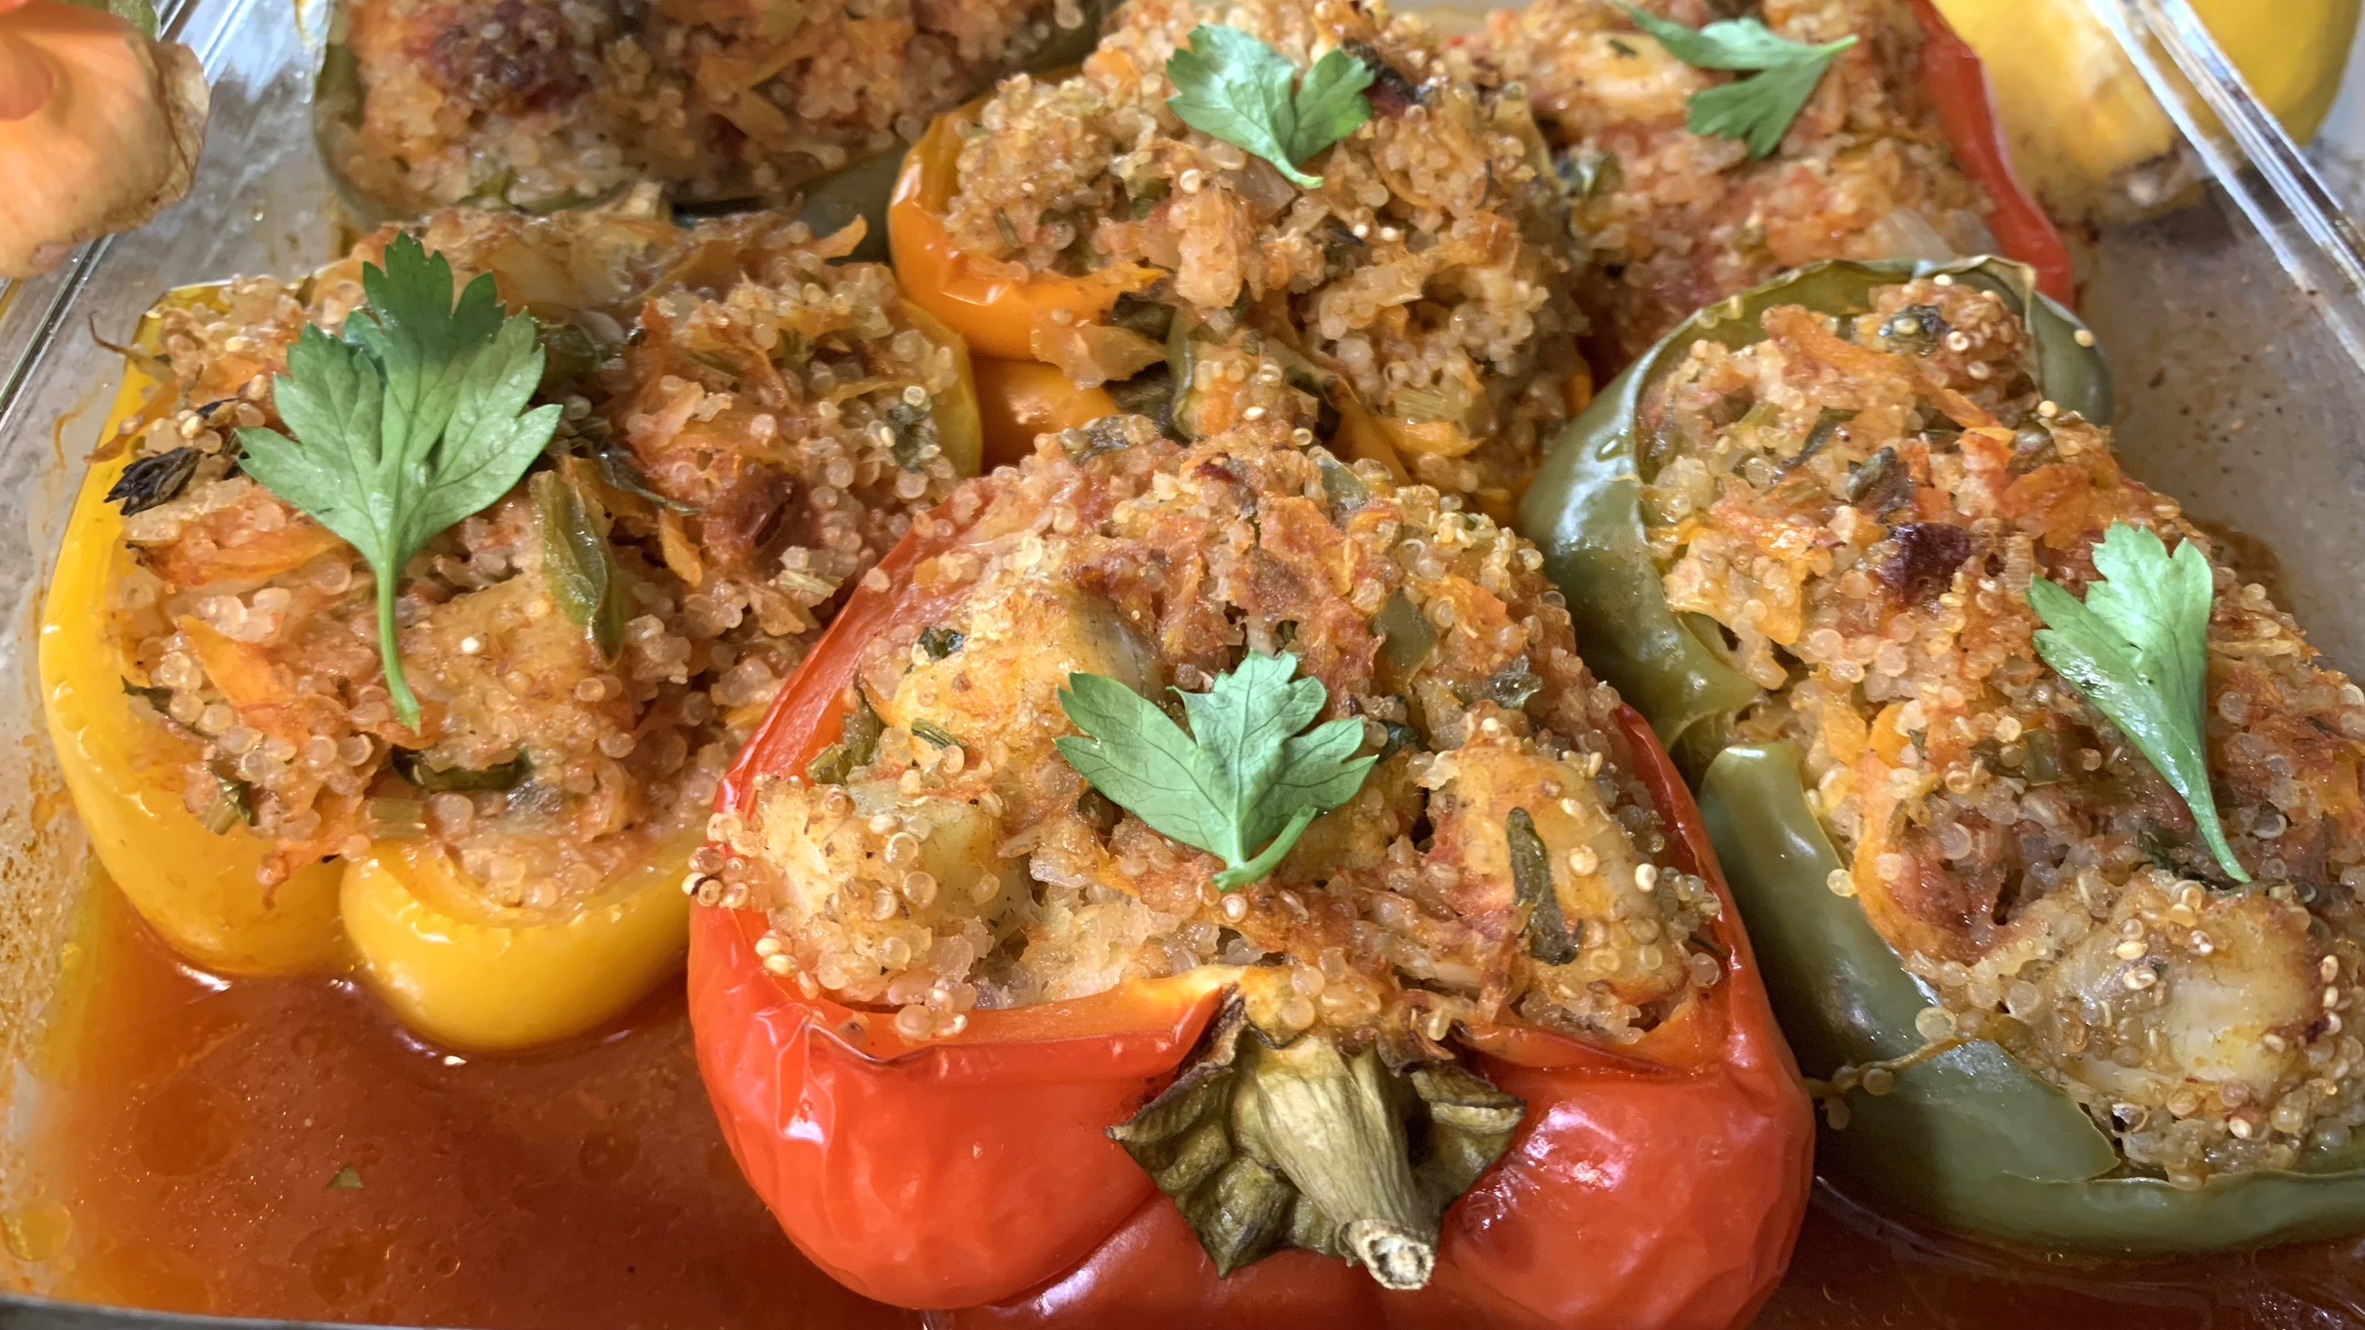
- Take the bell peppers of different colors, cut them in half, and remove the seeds.
- Place the pepper halves in a baking pan and fill each half with the quinoa mixture.
- Pour about 1/6 cup (or 2 tbsp) of the tomato sauce into each stuffed pepper half. The remaining sauce can be poured into the baking pan around the peppers.
- Cover the baking pan with aluminum foil and bake at 385°F or 196°C in a preheated oven for approximately one hour or until the peppers are tender and the filling is well-cooked through.
- Remove the aluminum foil and parchment paper after 45 minutes of baking and let finish baking uncovered for 15 minutes.
- Serve with a drizzle of lemon juice.
Prep Time, Cooking Information, and Servings
- Servings: 6 servings
- Prep Time: 40 minutes
- Cooking Time: 30 minutes
Nutritional Information (Per Serving)
- Energy: 302 calories
- Protein: 14.89 g
- Fat: 17.68 g
- Carbohydrates: 23.34 g
- Fiber: 4.7 g
Storage and Recommendations
- Store any leftover stuffed peppers in an airtight container in the fridge for up to 3 days.
- These stuffed peppers make for a satisfying meal on their own or pair wonderfully with a side salad for a complete and wholesome dinner.