Carrot Cake Muffins
Carrot Cake Muffins

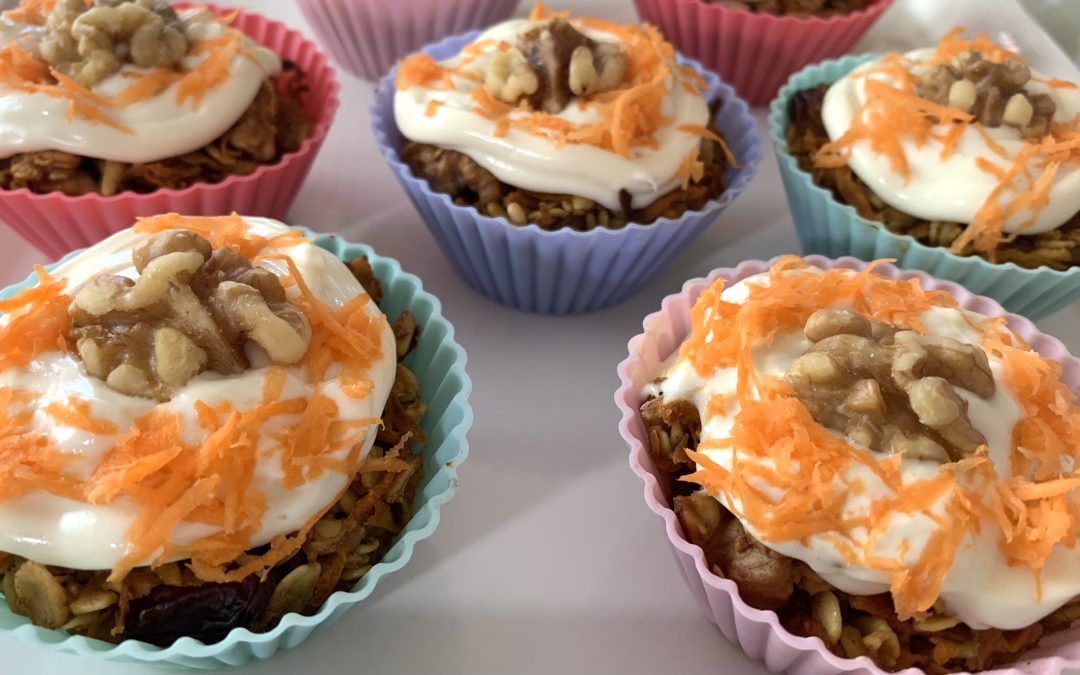
Indulge in the delightful flavors of these Carrot Cake Muffins, a nutritious twist on the classic recipe. Bursting with fresh carrots, raisins, walnuts, and oats, these muffins offer a delectable taste while providing essential vitamins, antioxidants, and dietary fiber.
Carrots are a star ingredient in these muffins, known for their rich content of beta-carotene, an antioxidant that the body converts into vitamin A. This vitamin is vital for maintaining healthy skin, vision, and a robust immune system. Incorporating carrots into your diet not only supports these essential functions but also adds natural sweetness and moisture to baked goods, making them a healthier alternative to sugar-laden treats.

These muffins are also packed with heart-healthy oats and walnuts. Oats are a great source of soluble fiber, which can help lower cholesterol levels, improve blood sugar control, and promote a healthy gut. Walnuts, on the other hand, are rich in omega-3 fatty acids, which are essential for brain health and reducing inflammation. Together, these ingredients make these Carrot Cake Muffins not just a delicious treat but also a nourishing choice for any time of the day.
Ingredients
For the Muffins part:
- 250 g raw shredded carrots
- 45 g (1/4 cup) dried raisins
- 30 g (1/4 cup) chopped walnuts
- 2 tbsp. coconut oil
- 3 tbsp. maple syrup
- 1 cup old-fashioned rolled oats
- 1/4 tsp pumpkin spice or cinnamon
- A pinch of salt (optional)
- 1/2 tsp baking powder
- 10 g shredded raw carrot (for garnish)
- 7 (10 g) walnut halves (for garnish)
For the whipped cream cheese mixture:
- 100 g cream cheese (dairy or non-dairy)
- 2 tbsp. maple syrup
- 2 to 3 tbsp. milk (dairy or non-dairy)
Directions
- Preheat your oven to 350°F (175°C). Line a muffin tin with silicone or paper baking cups.
- In a large bowl, combine shredded carrots, raisins, chopped walnuts, coconut oil, maple syrup, rolled oats, baking powder, pumpkin spice, and a pinch of salt. Mix until all ingredients are well combined.
- Spoon the muffin mixture into the prepared baking cups, filling each to the top. The batter won’t rise much during baking.
- Bake the muffins for approximately 30 minutes, or until a toothpick inserted into the center comes out clean.
- Allow the muffins to cool in the tin for a few minutes before transferring them to a wire rack to cool completely.
- In the meantime, prepare the whipped cream cheese mixture by combining cream cheese, maple syrup, and milk in a bowl. Whip until smooth and creamy.
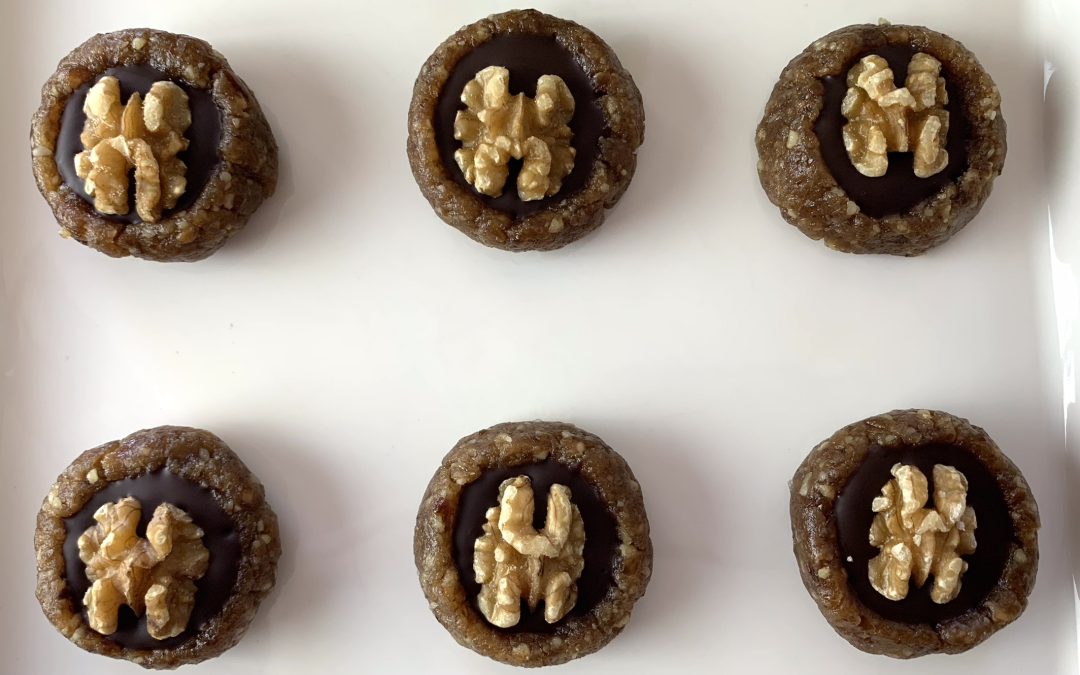
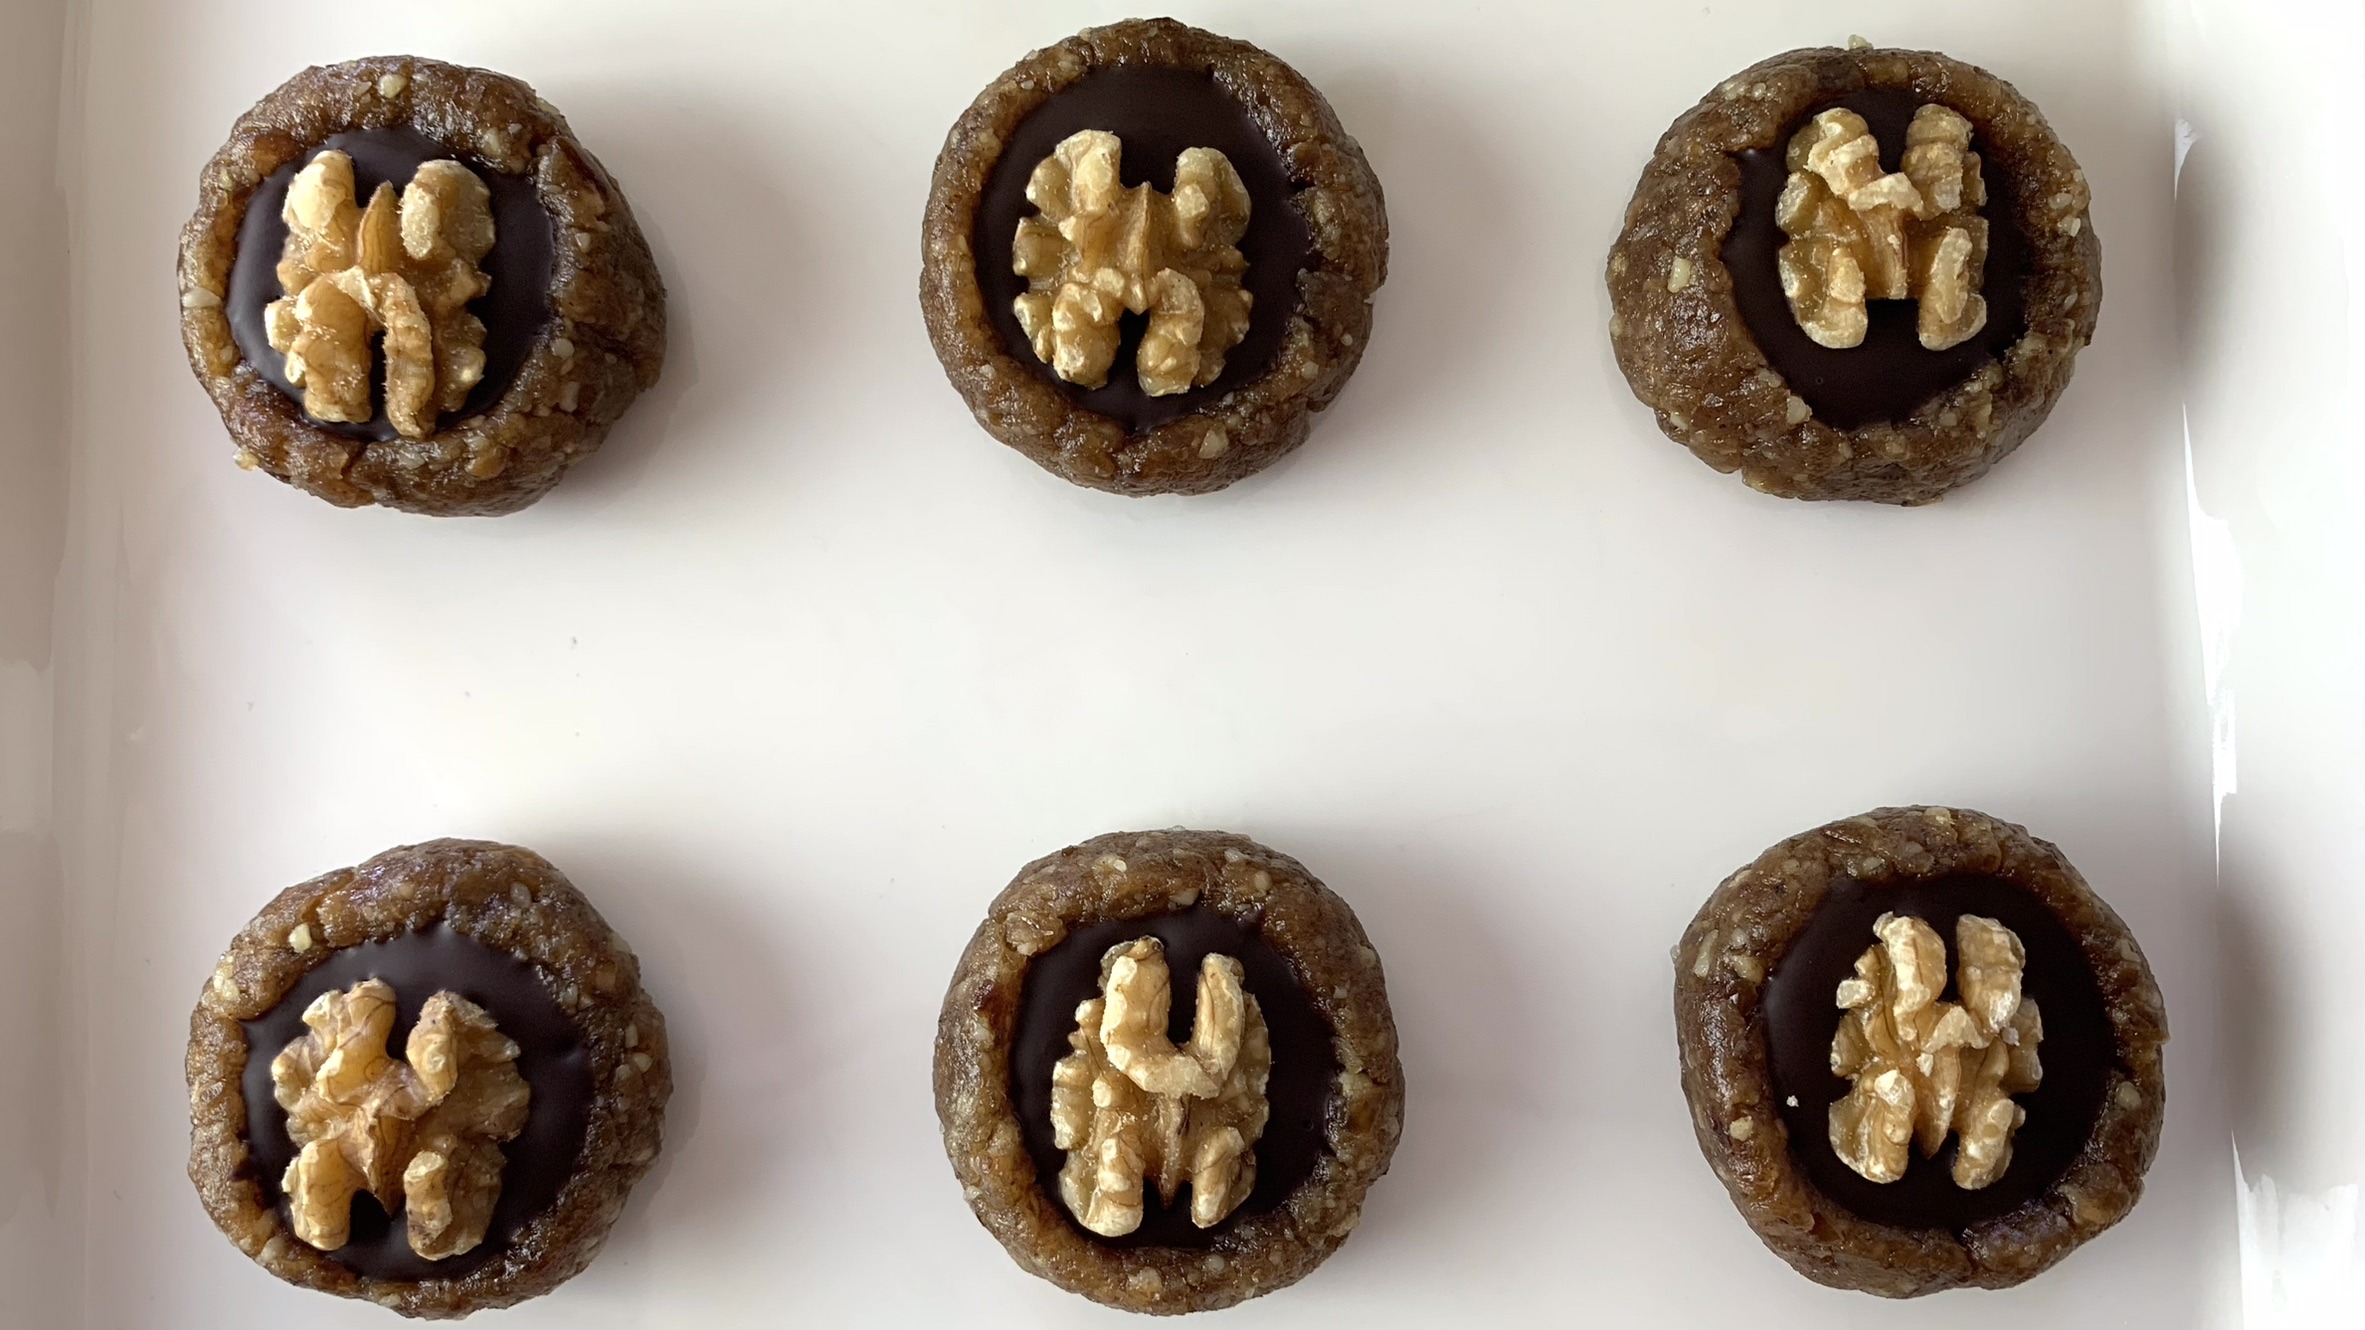
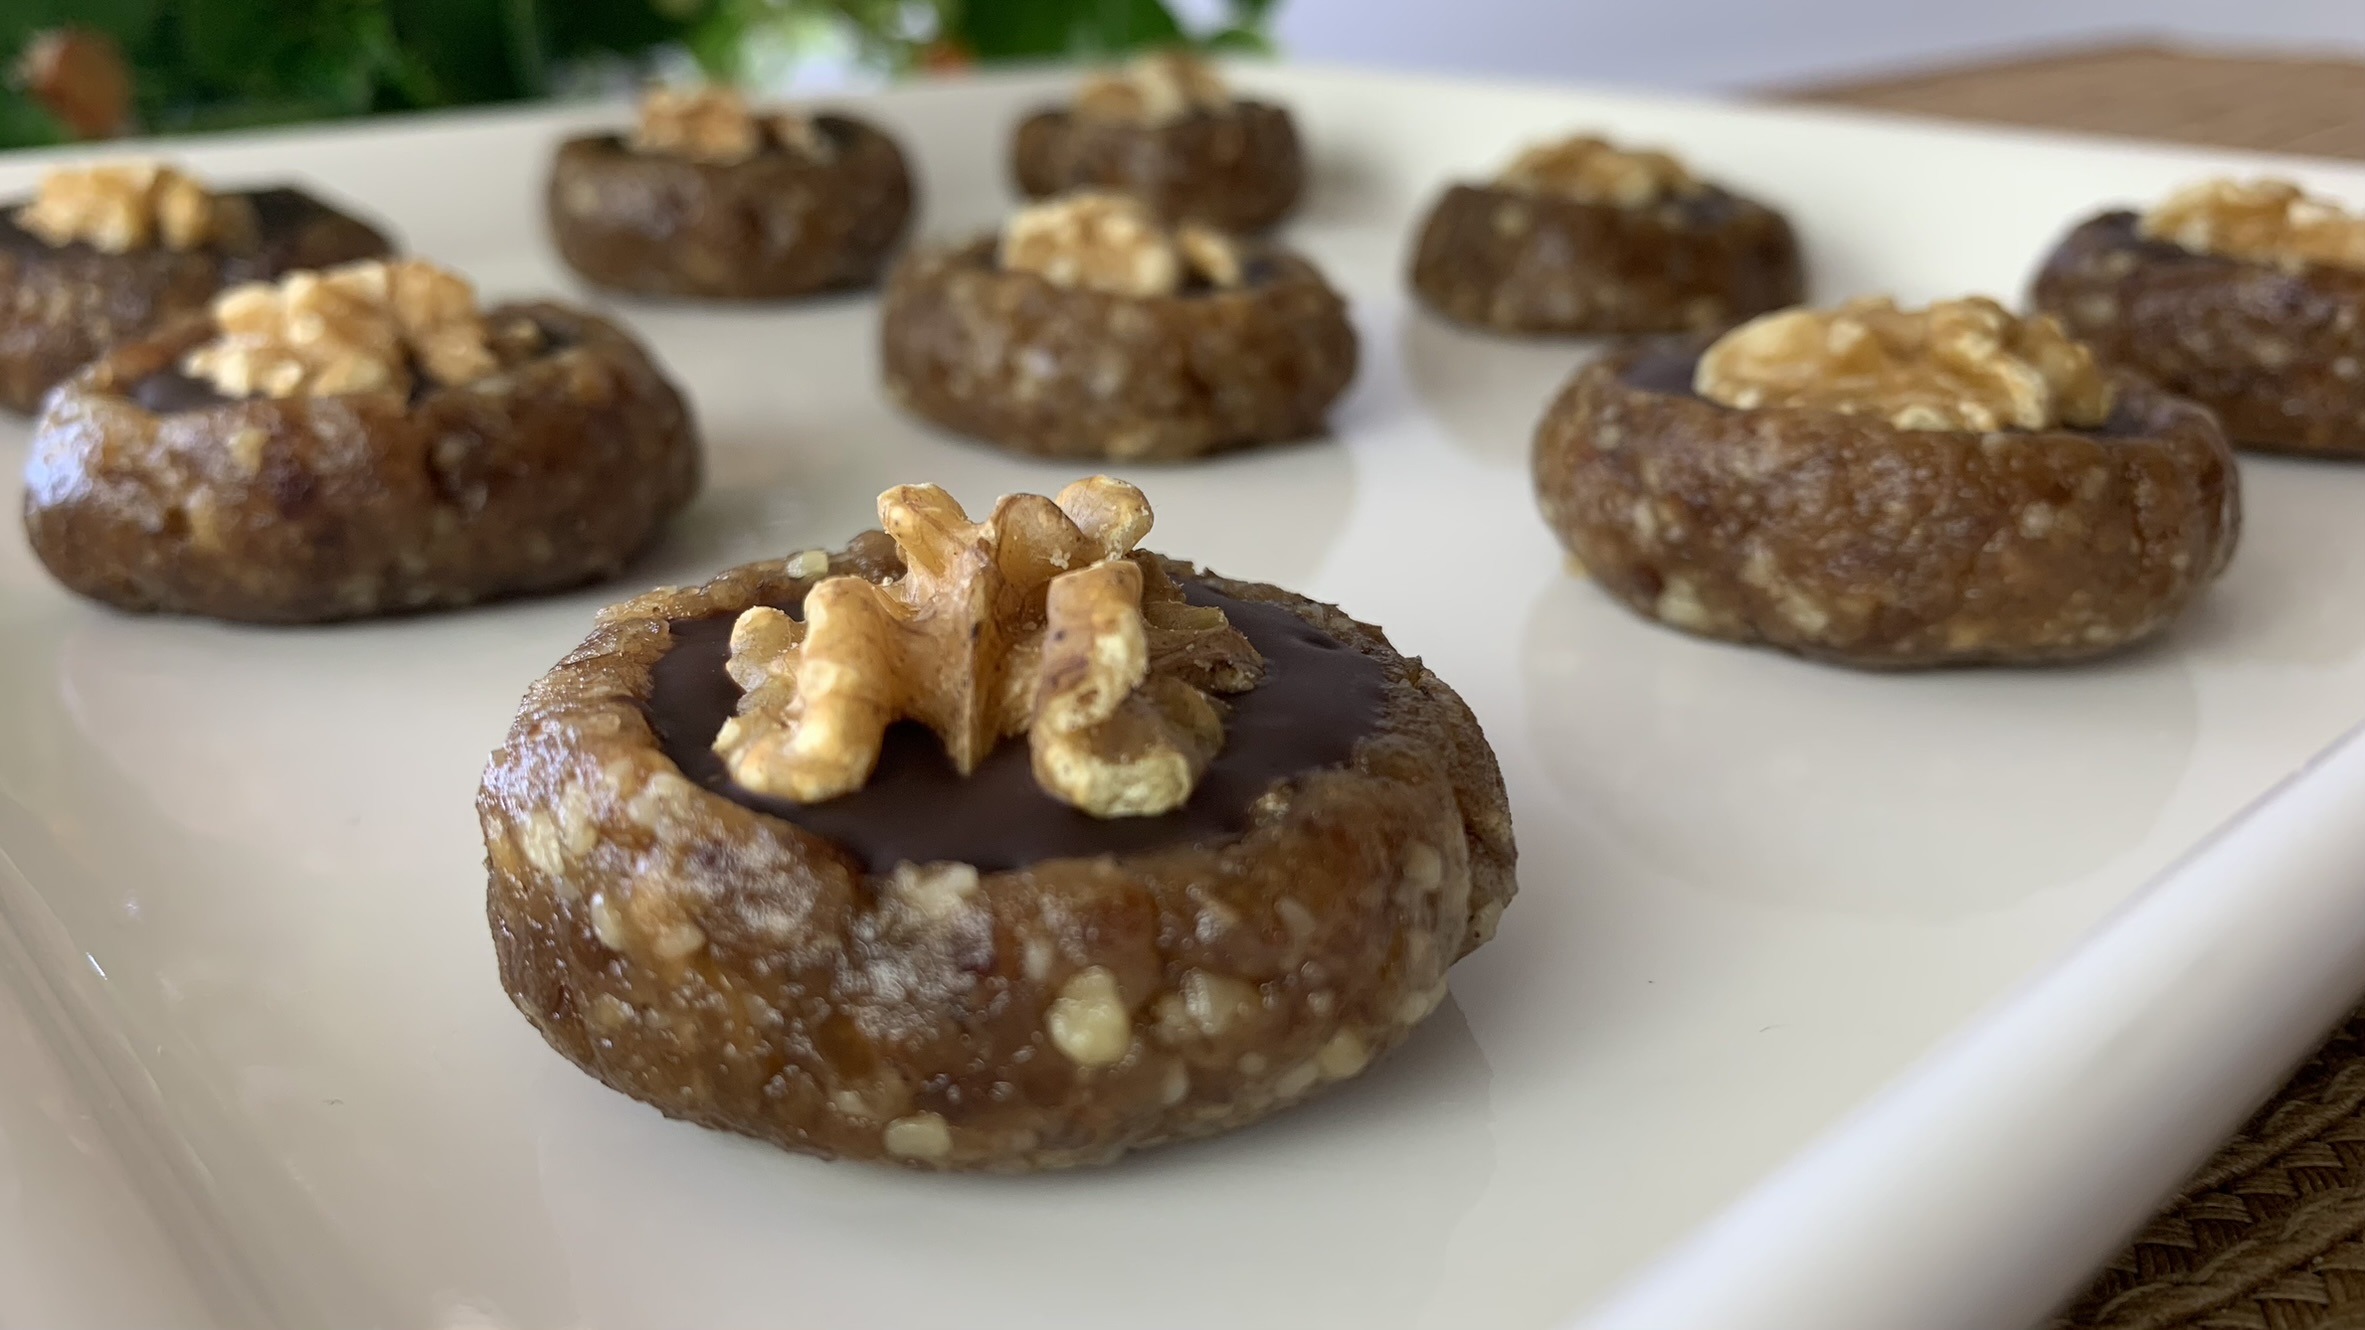
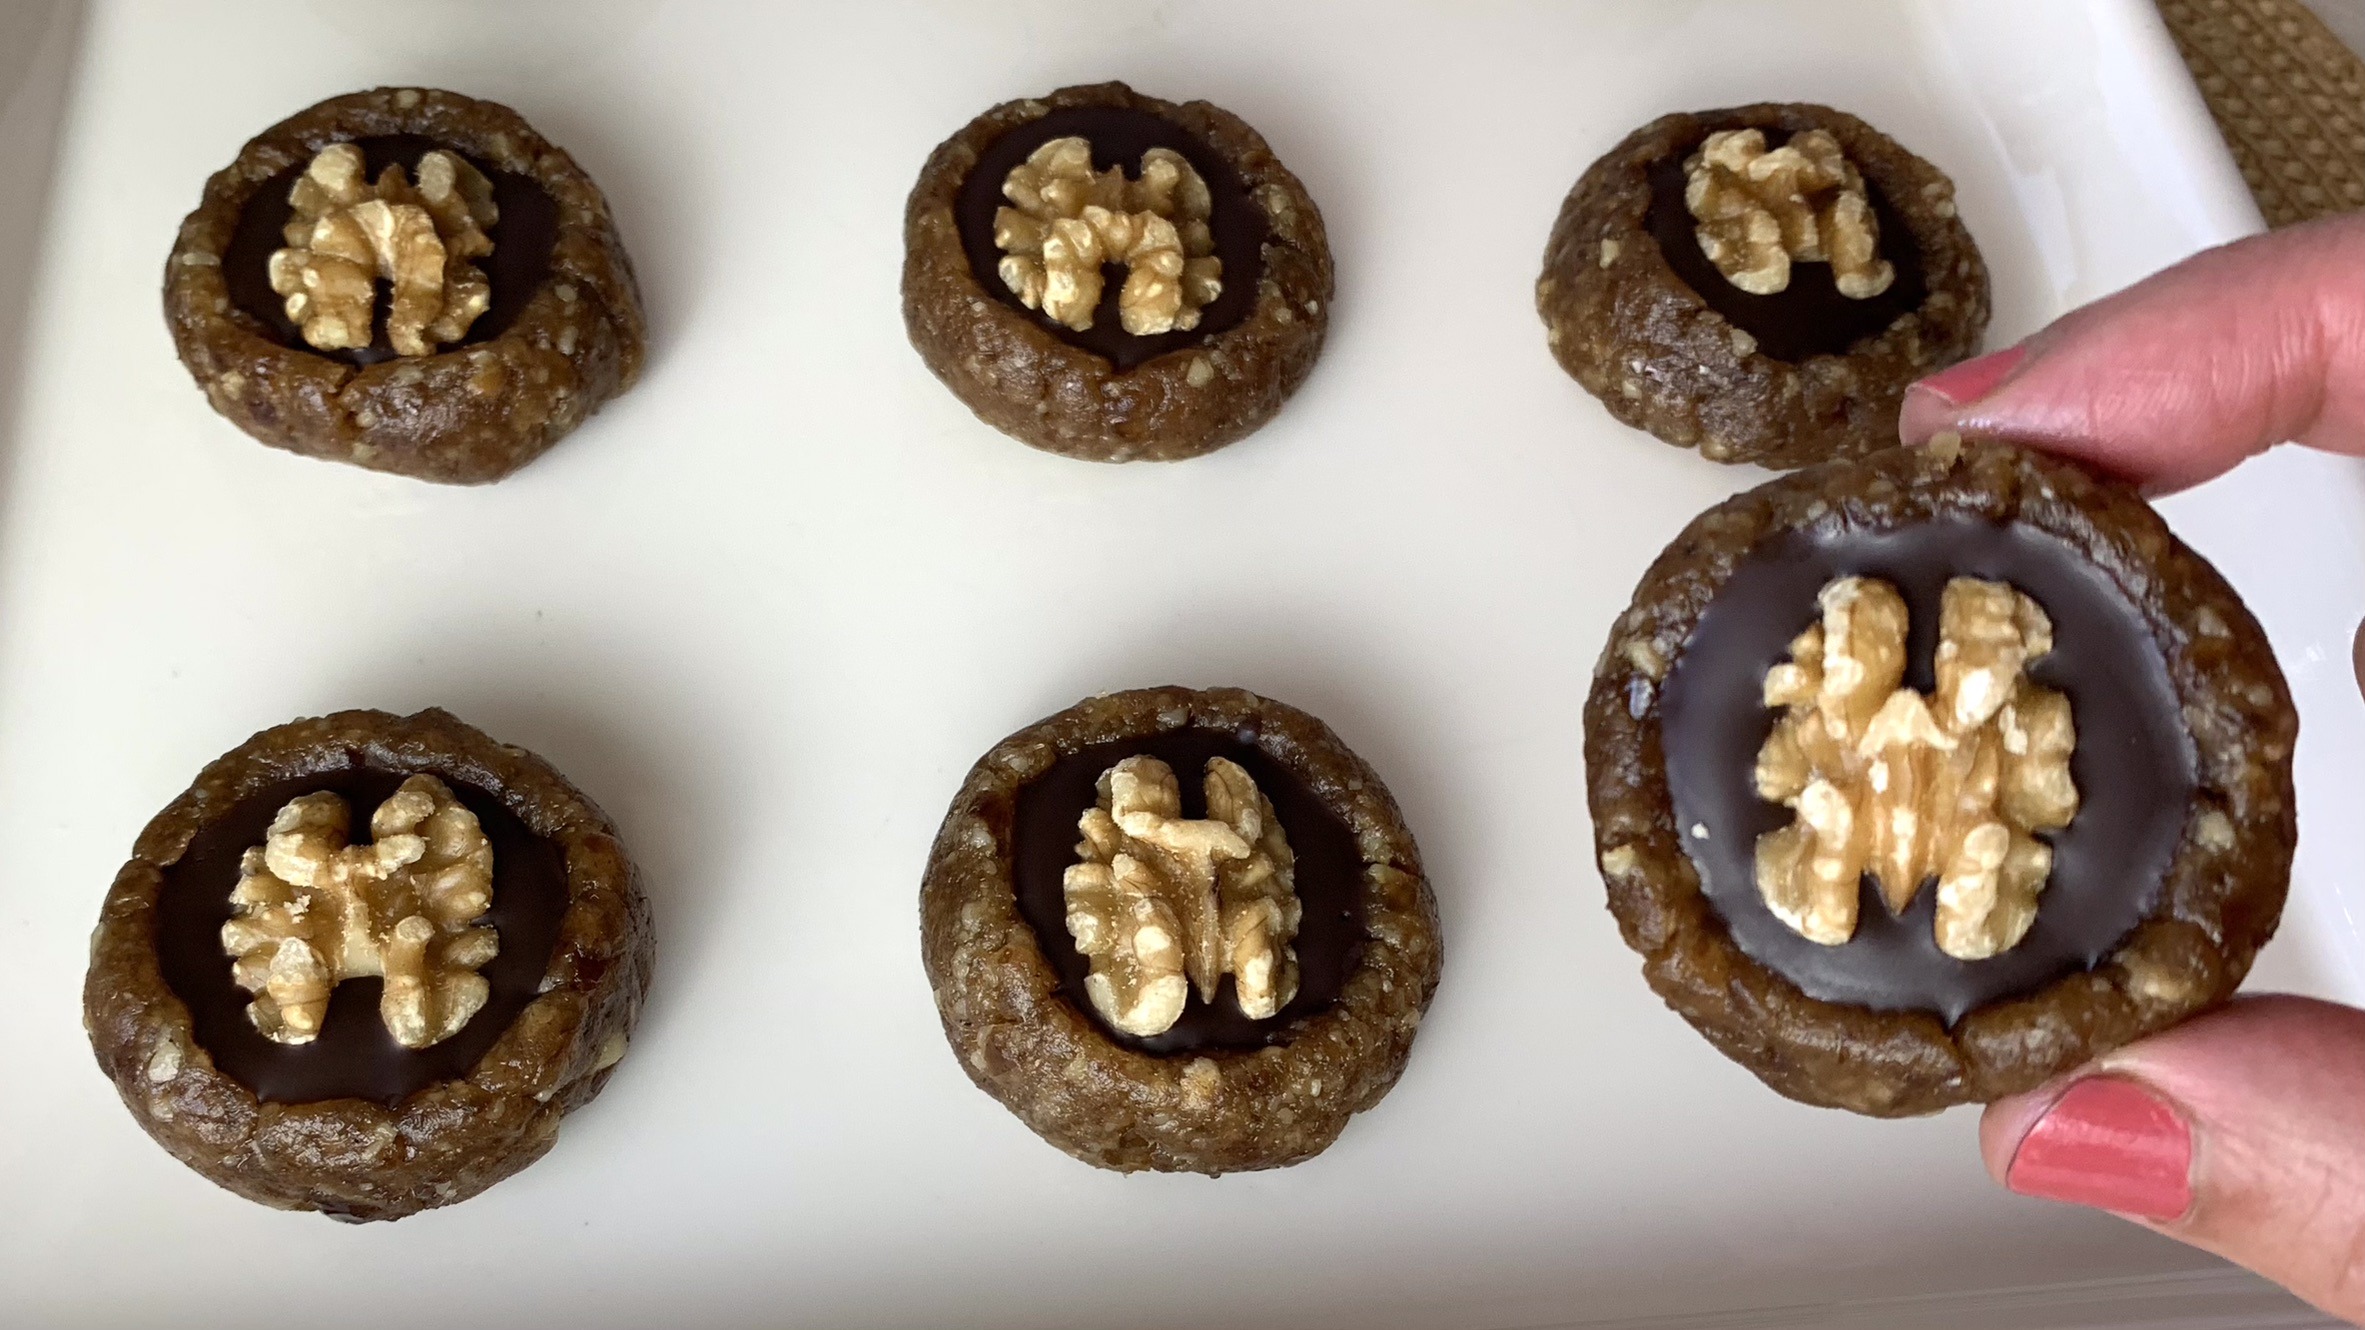
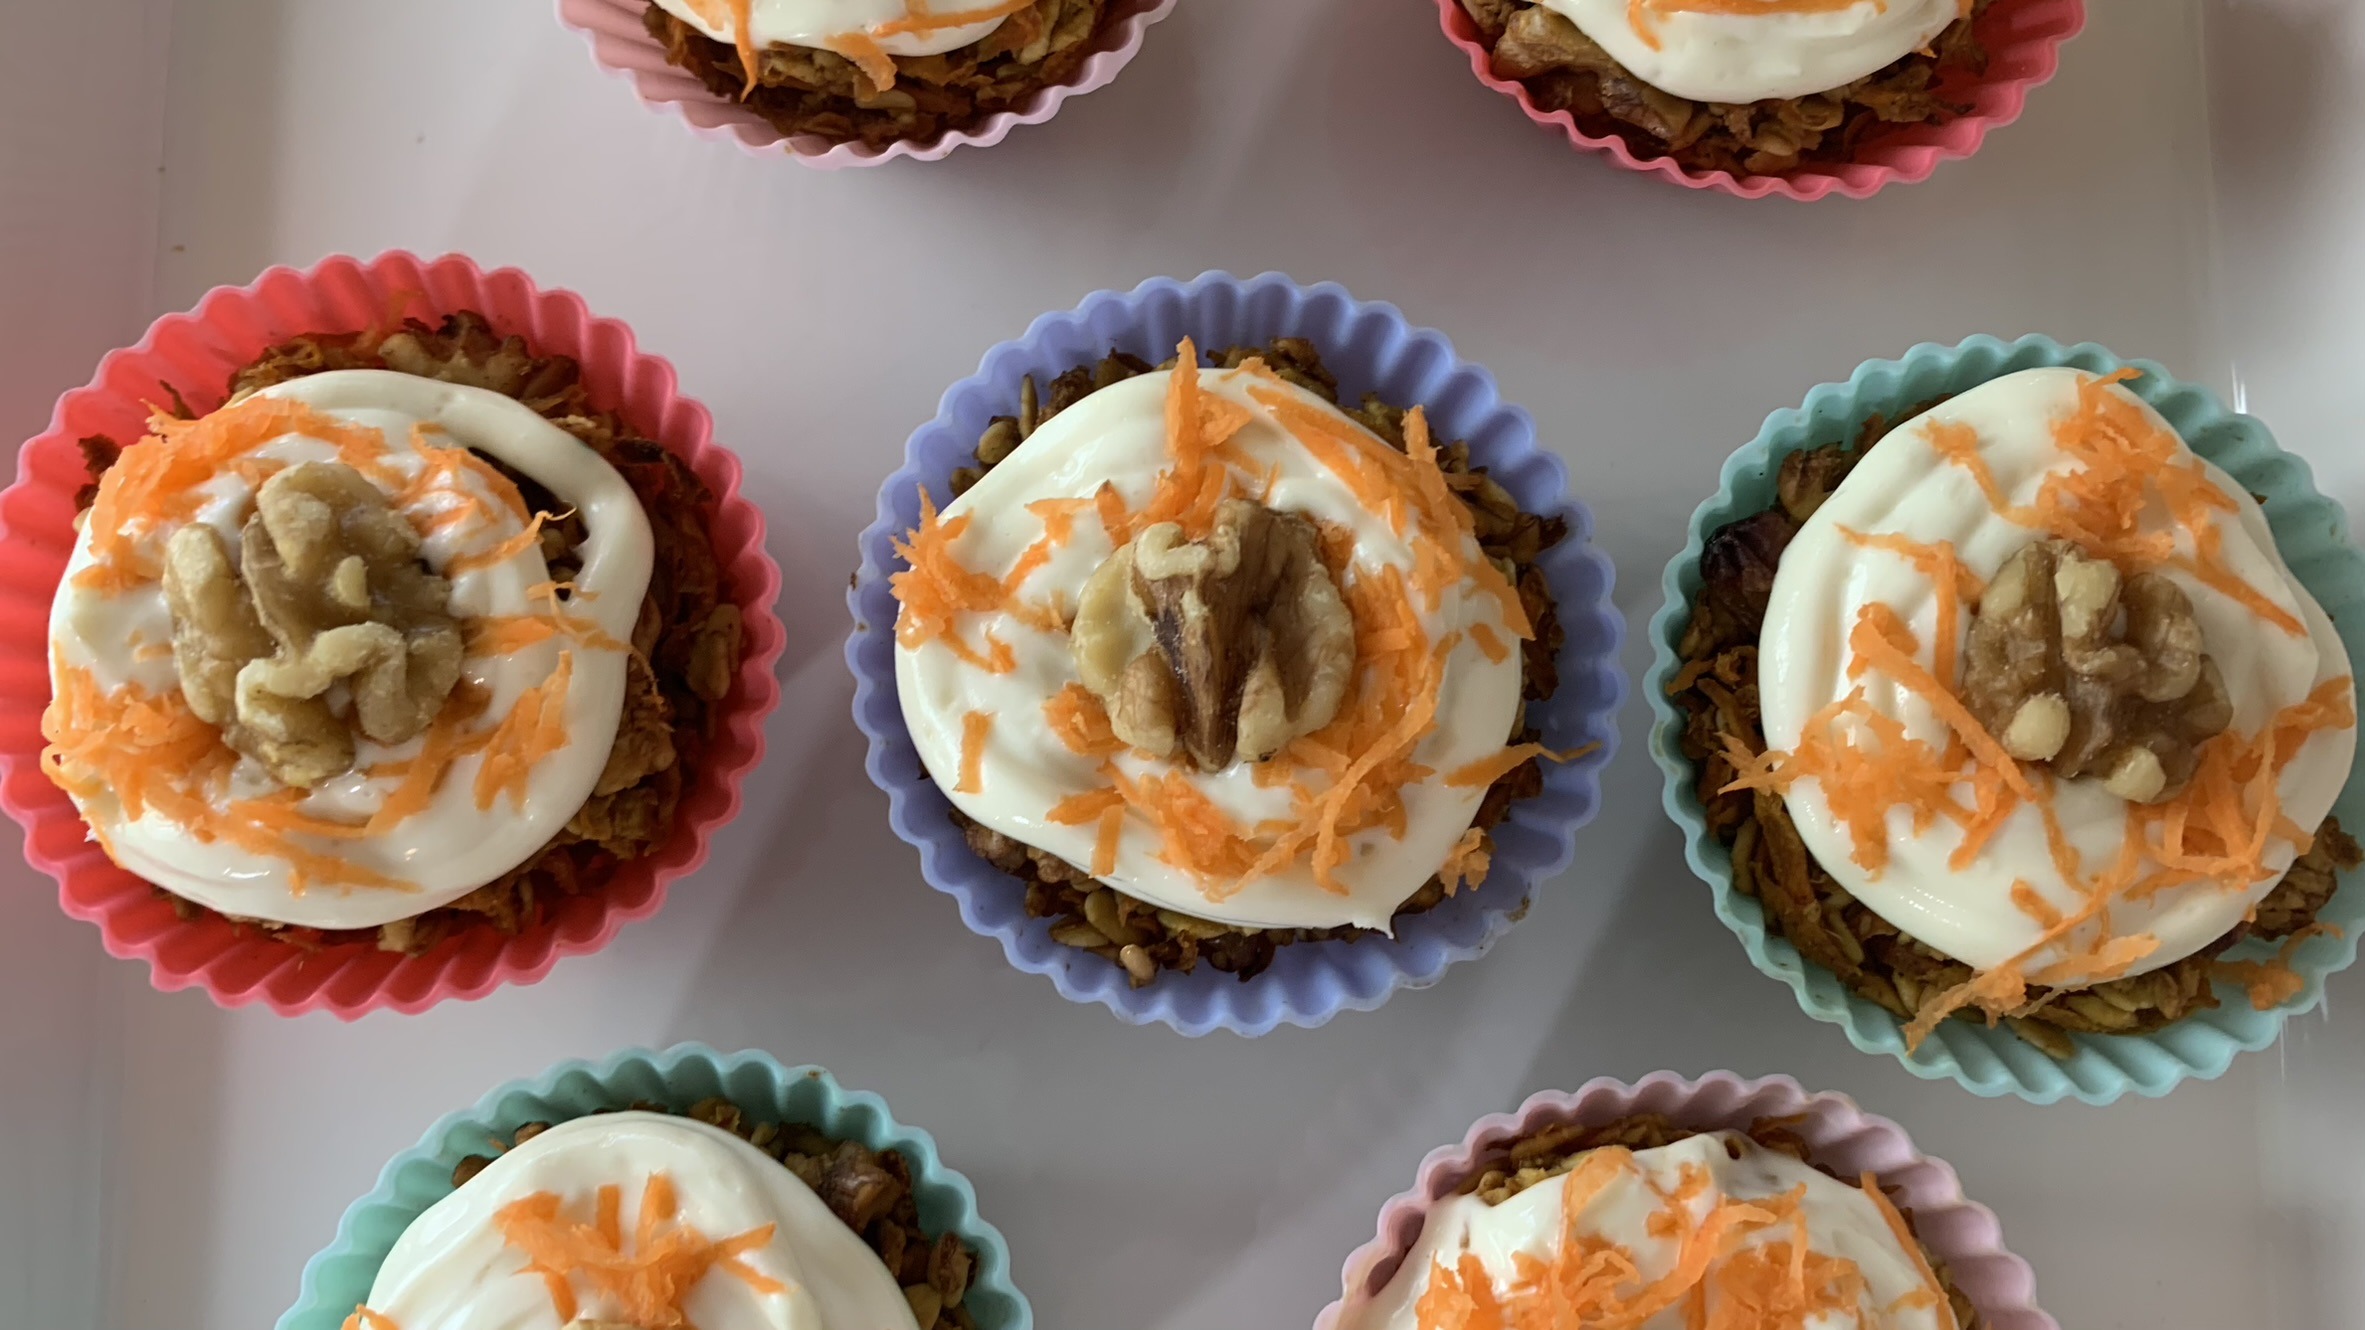
- To garnish the muffins, top each with a dollop of whipped cream cheese. Sprinkle shredded carrot on top for extra crunch and place a walnut half on each muffin for an elegant finish.
- Serve the carrot cake muffins fresh and enjoy!
Prep Time
- 30 minutes Prep
- 30 minutes Baking
Nutritional Information (Per 1 Serving):
- Energy: 217 calories
- Protein: 4.63 g
- Fat: 12.77 g
- Carbohydrates: 27.6 g
- Fiber: 3.4 g
Storage
- Store your muffins in an airtight container in the refrigerator for up to 1 week.
Notes
- These muffins pair well with a hot cup of coffee or tea for a delightful treat any time of day. Enjoy for breakfast, as a snack, or dessert!