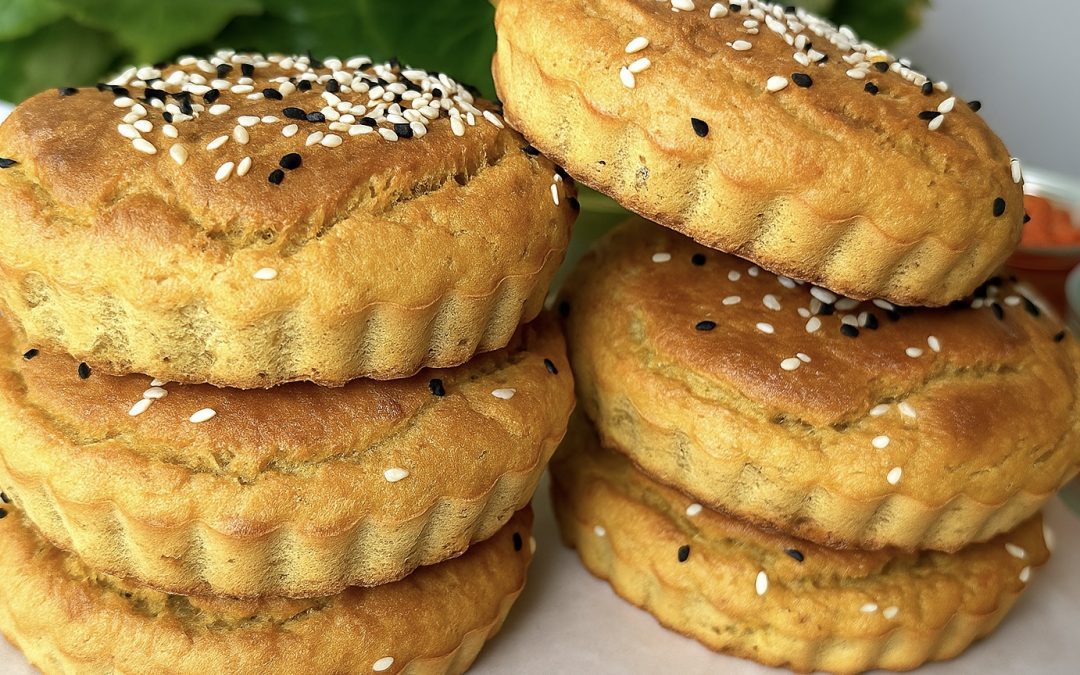
Easy Oat Biscuits
Easy Oat Biscuits

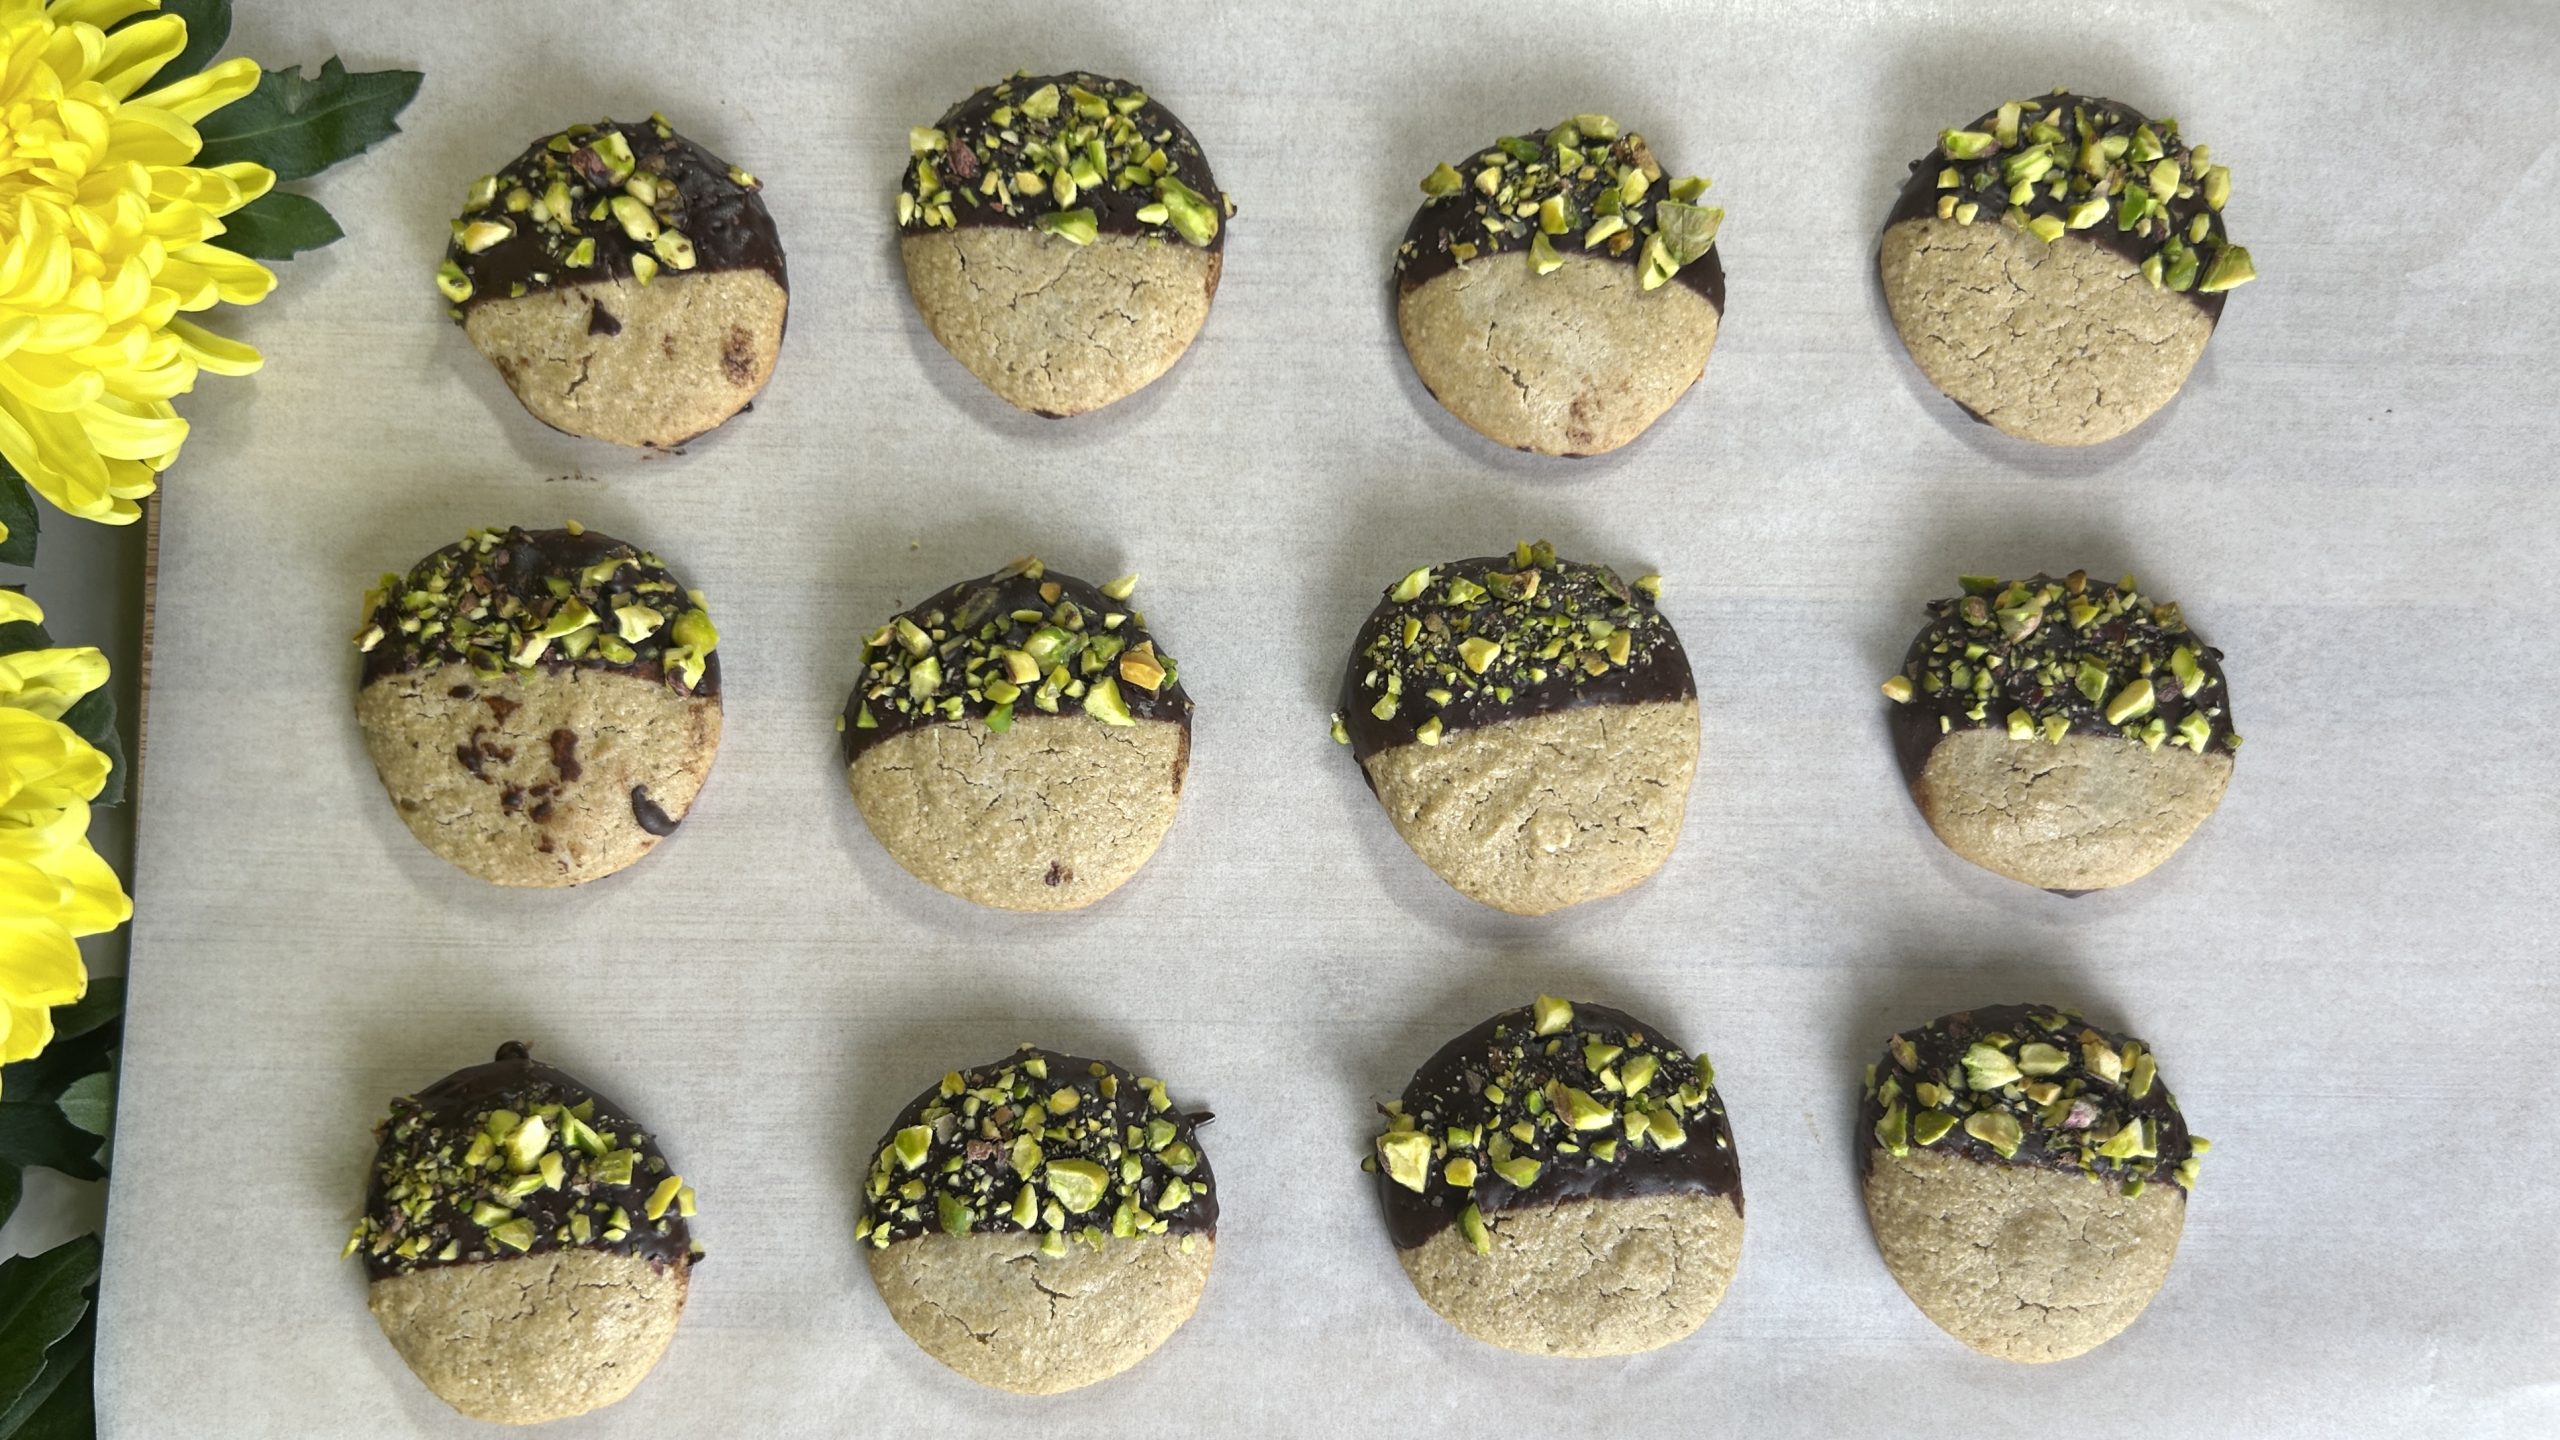
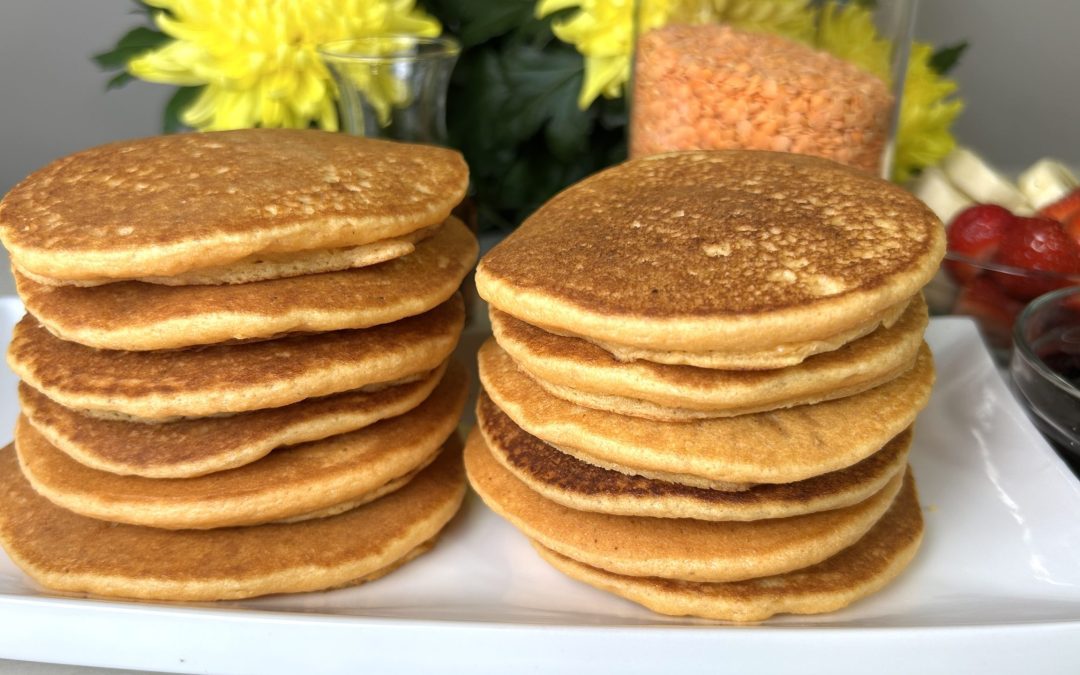
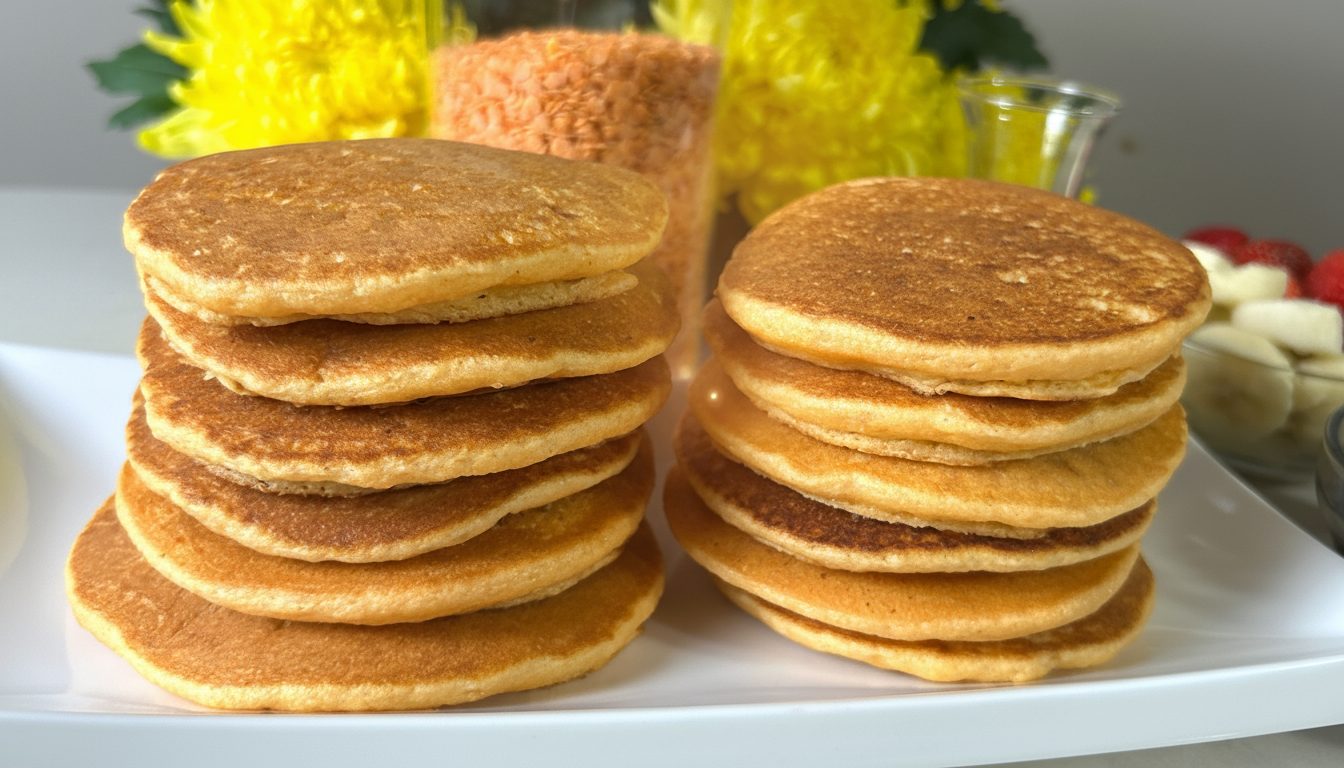
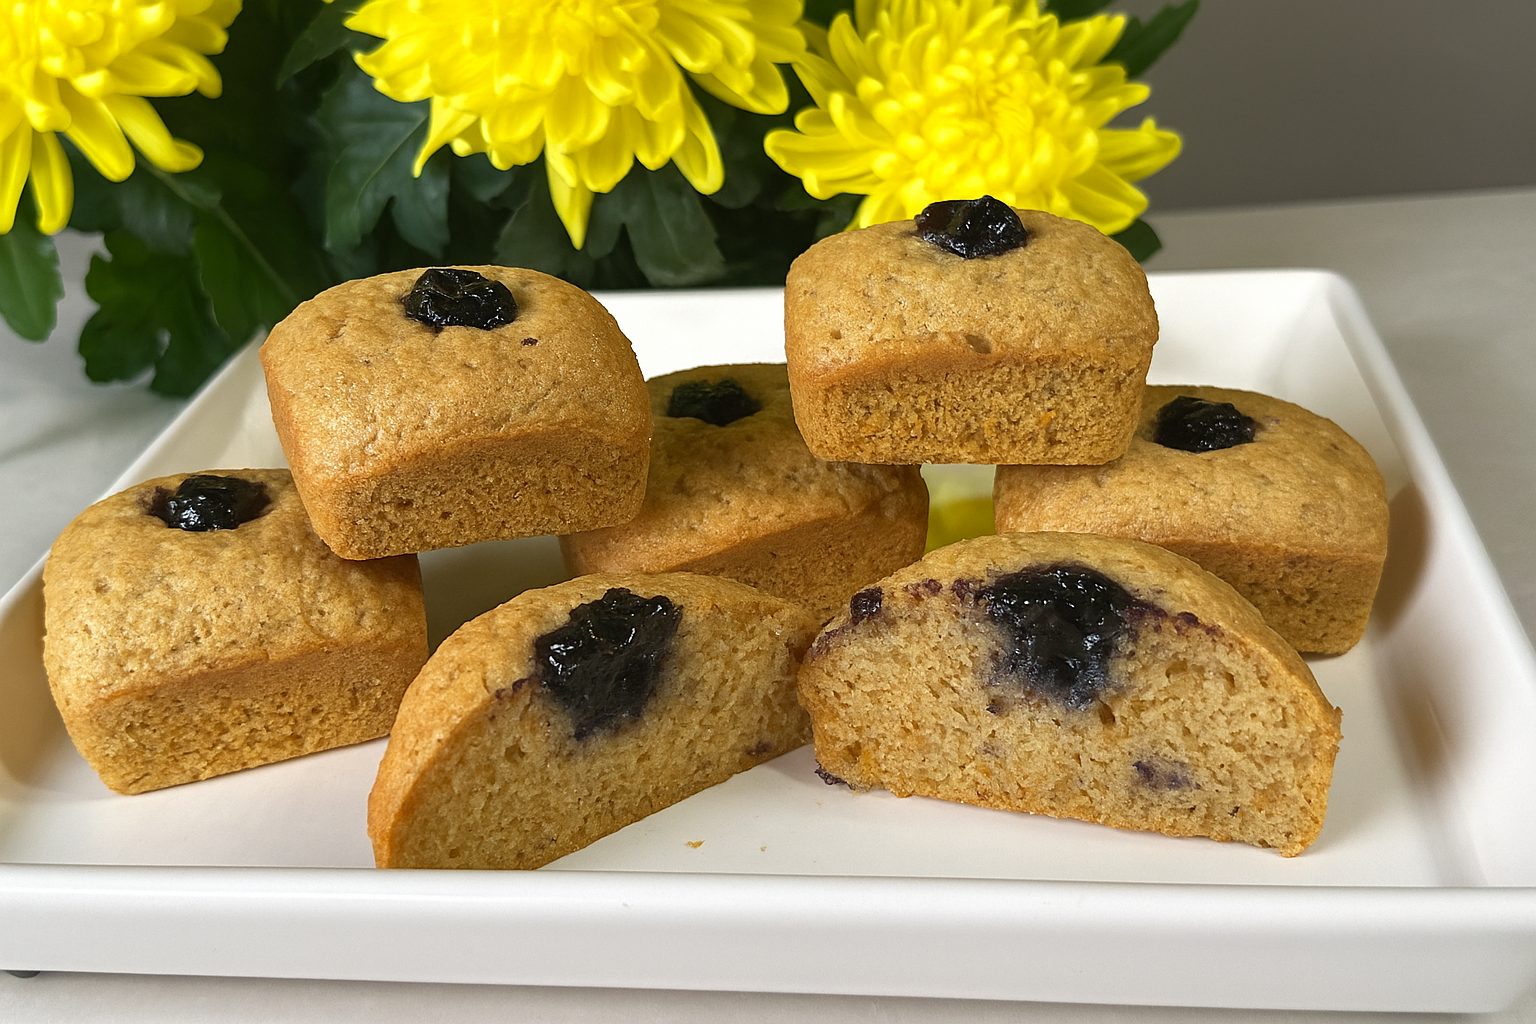
When you think of fancy pastries like French macarons, you might immediately imagine delicate treats made with almond flour and lots of sugar. But here’s the good news: you don’t need expensive nut flours or complicated techniques to create something just as elegant at home! These Easy Oat Biscuits bring you all the charm of classic pastries while keeping things wholesome, budget-friendly, and nourishing. With just a handful of simple ingredients that you probably already have in your pantry, you can whip up these crisp, lightly sweetened biscuits in no time. They’re naturally sweetened with maple syrup, flavored with a touch of vanilla, and can easily be dressed up with a dip in dark chocolate and a sprinkle of chopped pistachios for a bakery-worthy finish.
What makes these biscuits truly special is their foundation: oats. Oats are not only affordable but also incredibly versatile and packed with nutrition. By swapping expensive almond or nut flours for ground rolled oats, you’re not just saving money, you’re boosting the nutritional value of your treats. Oats are rich in soluble fiber, especially beta-glucan, which supports healthy digestion, balances blood sugar, and may help lower cholesterol. They also provide steady energy without the blood sugar spikes that come from refined flours, making these biscuits a smarter choice for both kids and adults. Including oats regularly in your diet is a simple way to improve satiety, support heart health, and keep your digestive system happy, all while enjoying foods that taste amazing.
These Easy Oat Biscuits are the perfect example of how wholesome ingredients can turn into something elegant and satisfying. Whether you enjoy them plain as a quick snack or dressed up with chocolate and pistachios for a special occasion, they are guaranteed to impress. Best of all? They come together in just minutes, so you can enjoy homemade goodness anytime you crave something sweet, crisp, and nourishing.
Ingredients
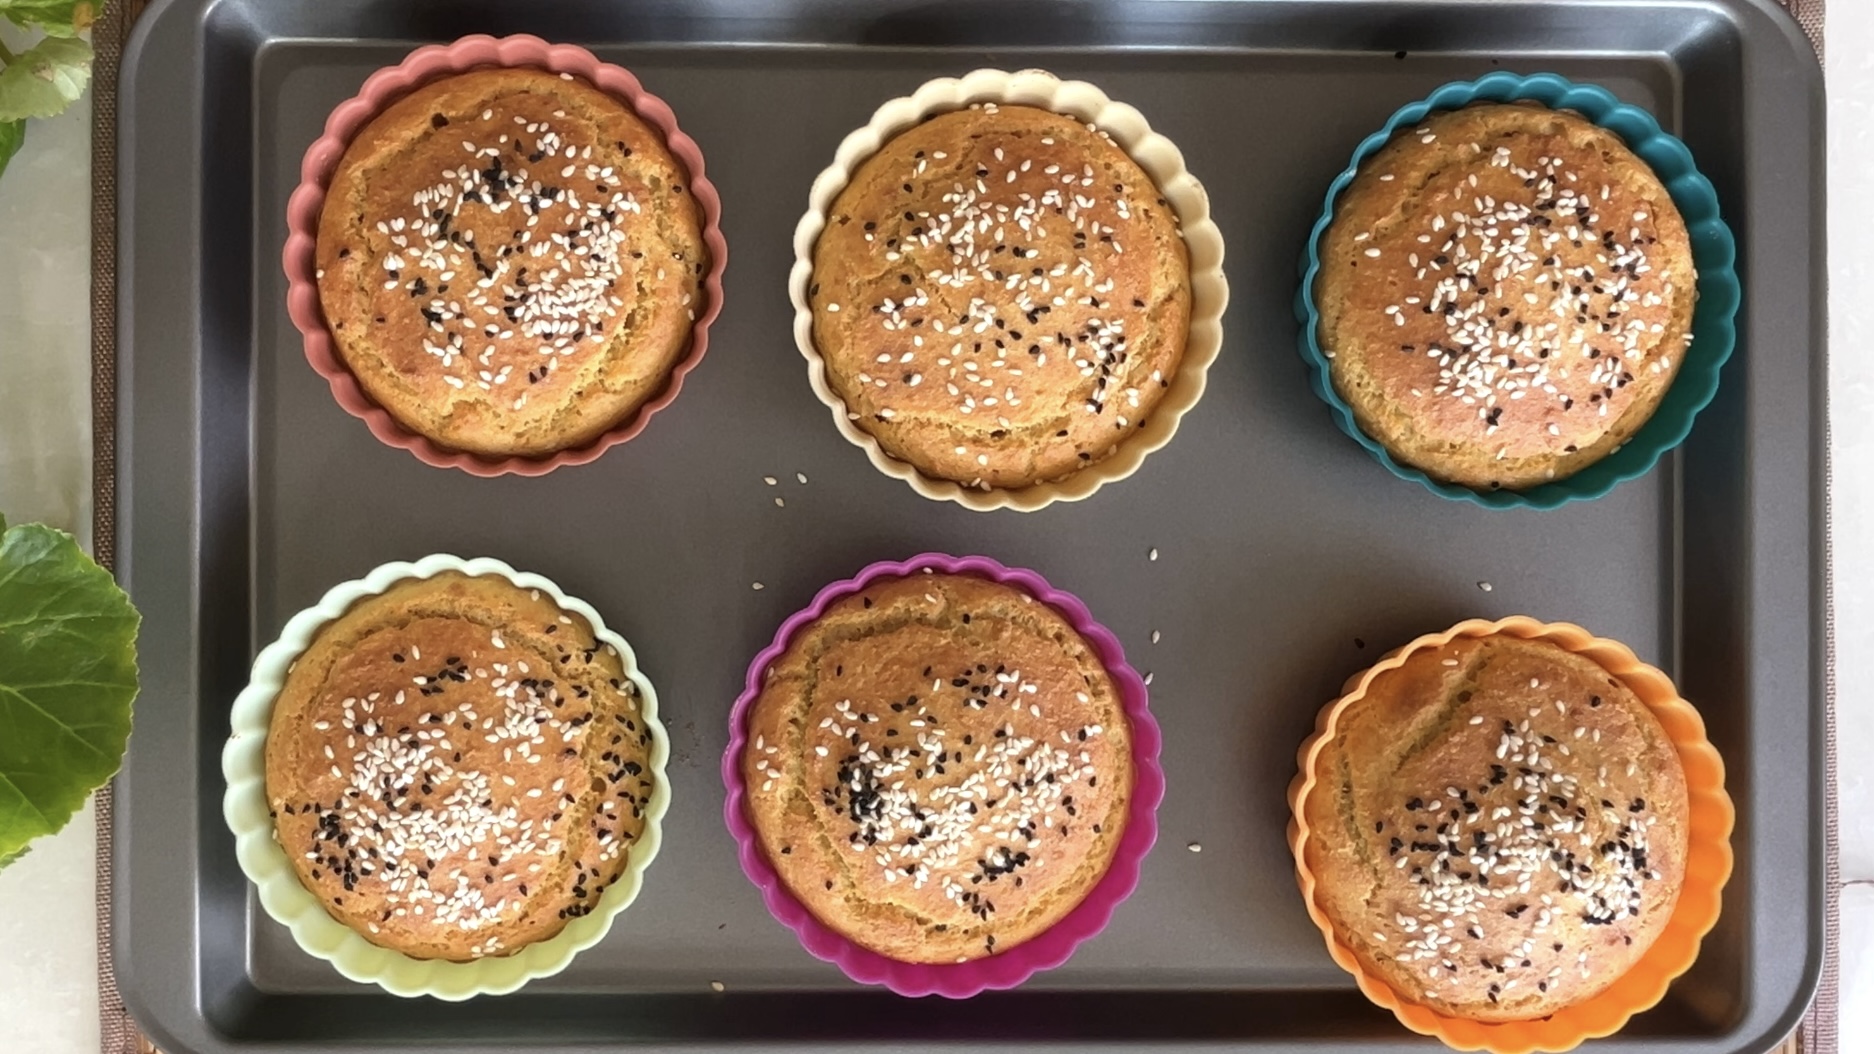
(Makes 12 biscuits)
-
1 ¼ cups (120 g) rolled oats, ground into flour
-
2 egg whites
-
¼ cup (60 ml) maple syrup
-
1 teaspoon vanilla extract
-
30 g dark chocolate, melted (optional, for garnish)
-
30 g roasted pistachios, finely chopped (optional, for garnish)
Directions
- Grind rolled oats into a fine flour using a blender, food processor, or coffee grinder. (Alternatively, use store-bought oat flour.)
- Separate the egg whites from the yolks and place the whites in a mixing bowl.
- Add maple syrup to the egg whites.
- Using a hand mixer, whisk the mixture until it becomes fluffy and foamy.
- Add the oat flour and vanilla extract into the whipped mixture. Gently fold until just combined—do not overmix.
- The batter should have a slightly runny, sticky consistency.
- Brush a tablespoon with oil to prevent sticking. Scoop equal portions and drop them onto a baking sheet lined with parchment paper.
- Shape the portions into small, round biscuit forms.
- Bake in a preheated oven at 340°F (170°C) for 15–20 minutes, until set but still pale in color.
- Let the biscuits cool completely before garnishing.
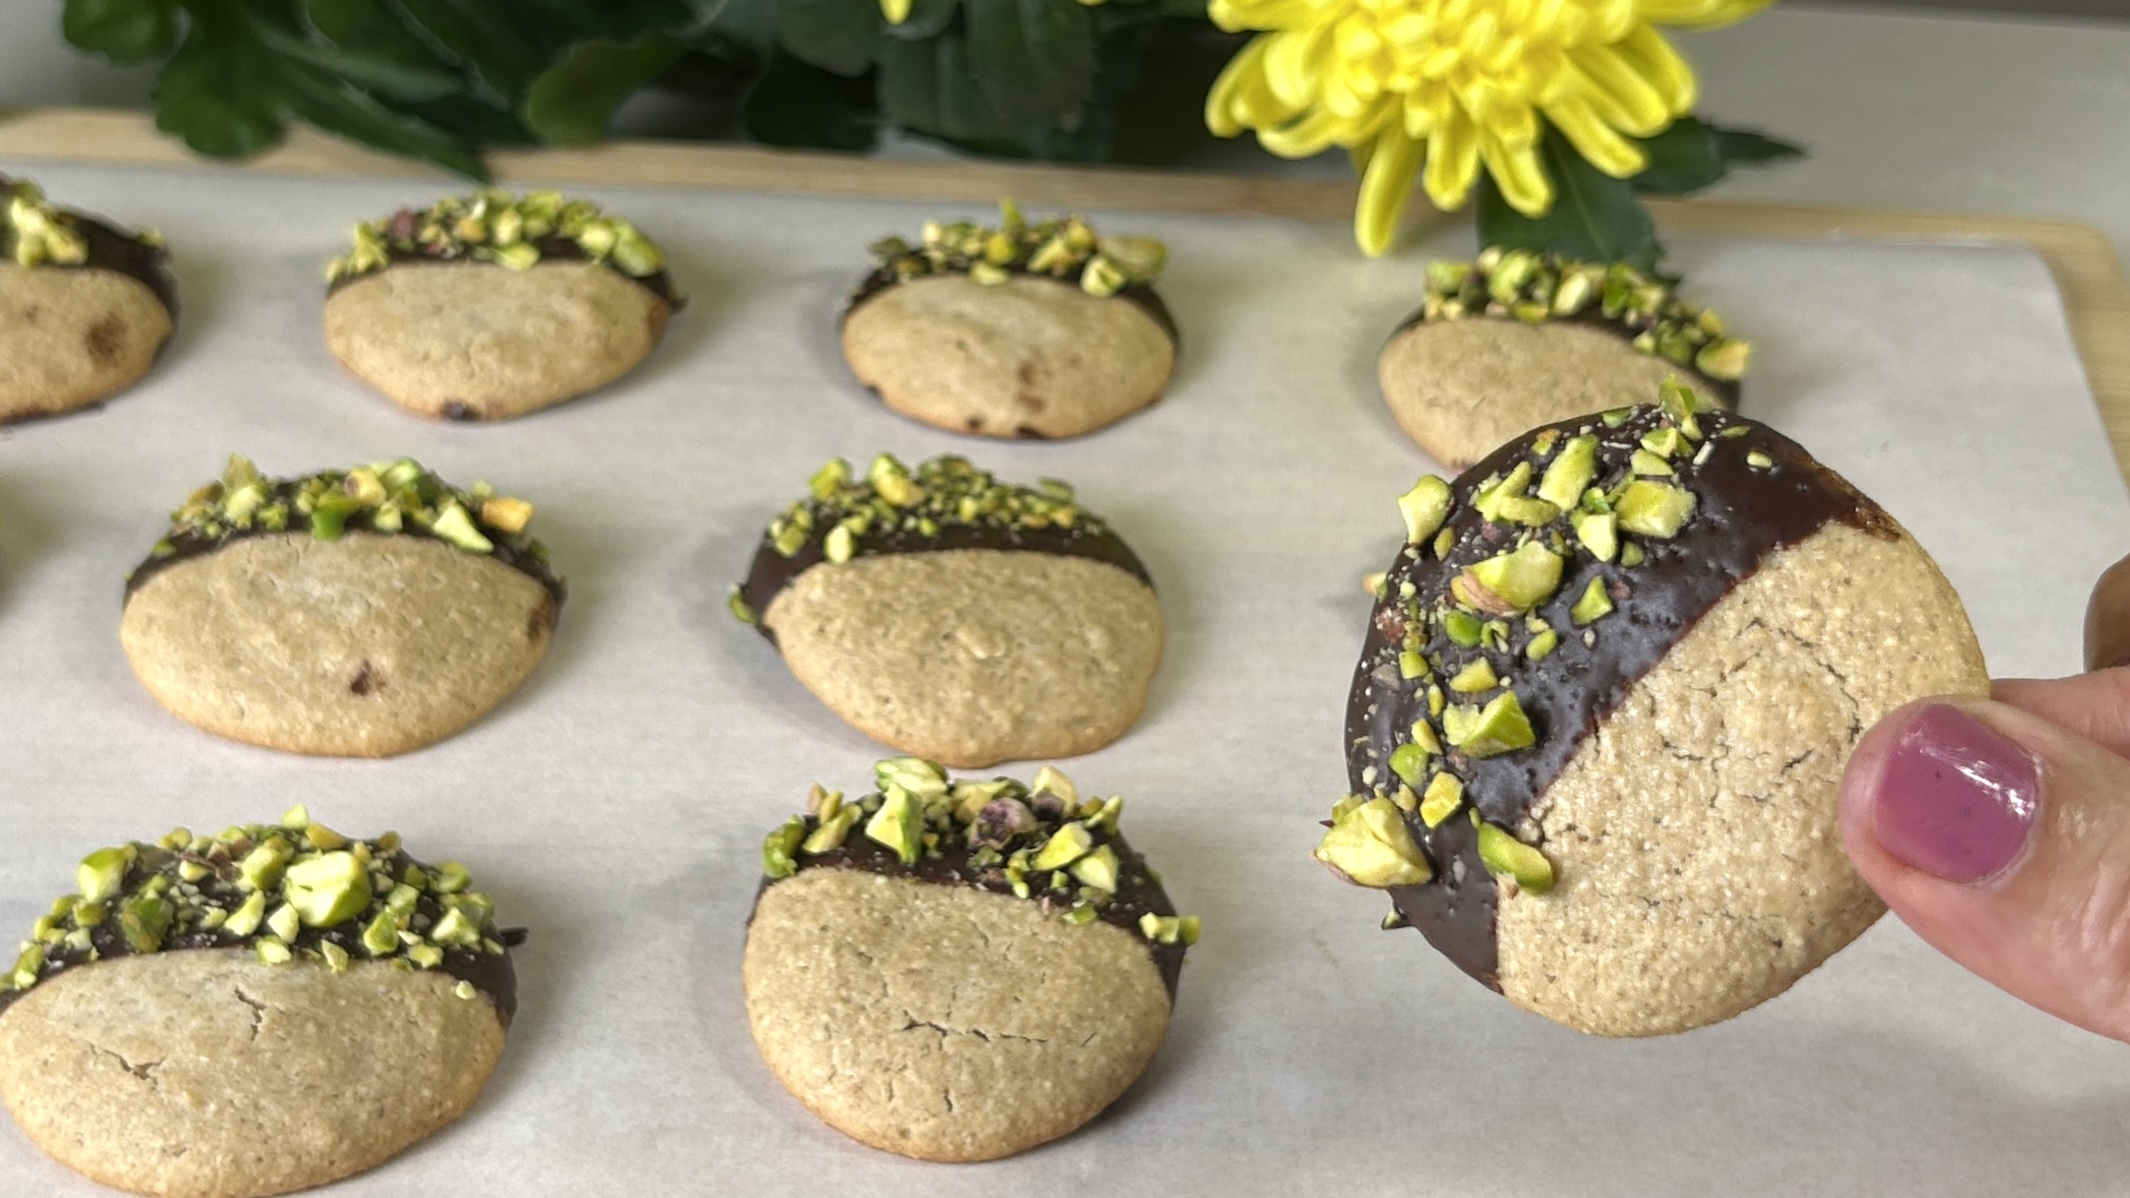
- If desired, dip half of each biscuit in melted dark chocolate (make sure it’s at room temperature, not hot).
- Sprinkle chopped pistachios over the chocolate-coated side.
- Allow the biscuits to set in the fridge before serving.
Prep, Baking, and Servings
-
Prep time: 20 minutes
-
Baking time: 18 minutes
-
Additional chilling time: 30 minutes
-
Yield: 12 biscuits
Nutritional Information (per 1 biscuit)
-
Energy: 53 calories
-
Protein: 2.01 g
-
Fat: 0.59 g
-
Carbohydrates: 10.01 g
-
Fiber: 0.9 g
This recipe is naturally gluten-free when using certified gluten-free oats.
Storage and Recommendations
-
Store plain biscuits in an airtight container at room temperature for up to one week.
-
If garnished with chocolate, store them in the fridge for one week.
-
For longer storage, freeze plain biscuits (without chocolate) in a sealed container for up to 3 months.


 Let’s talk about the primary ingredient, chickpeas. They’re naturally gluten-free and packed with plant-based protein, fiber, folate, iron, and magnesium. That means they’re not just here for taste; they’re here to help keep your energy steady, support muscle repair, improve digestion, and contribute to heart health. On top of that, chickpeas have a low glycemic index, so you don’t get that dreaded post-bread crash, just slow, steady energy. They’re also one of the most versatile legumes out there, which makes them a perfect pantry staple if you want to swap out refined carbs for something more nutrient-dense.