Zucchini Flatbread
Zucchini Flatbread

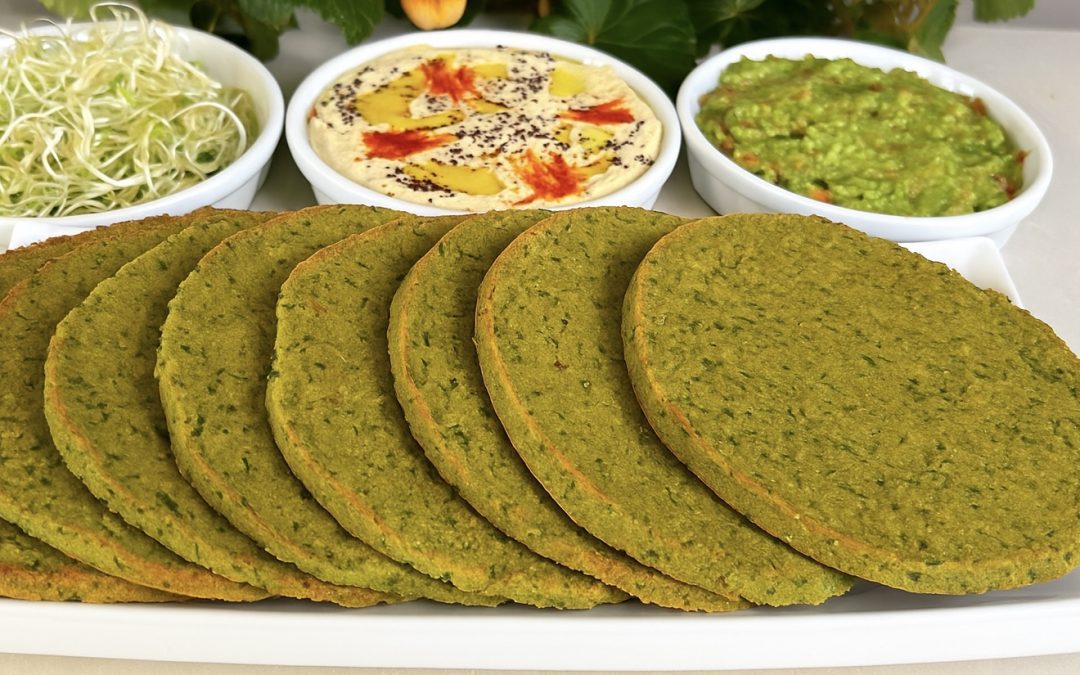
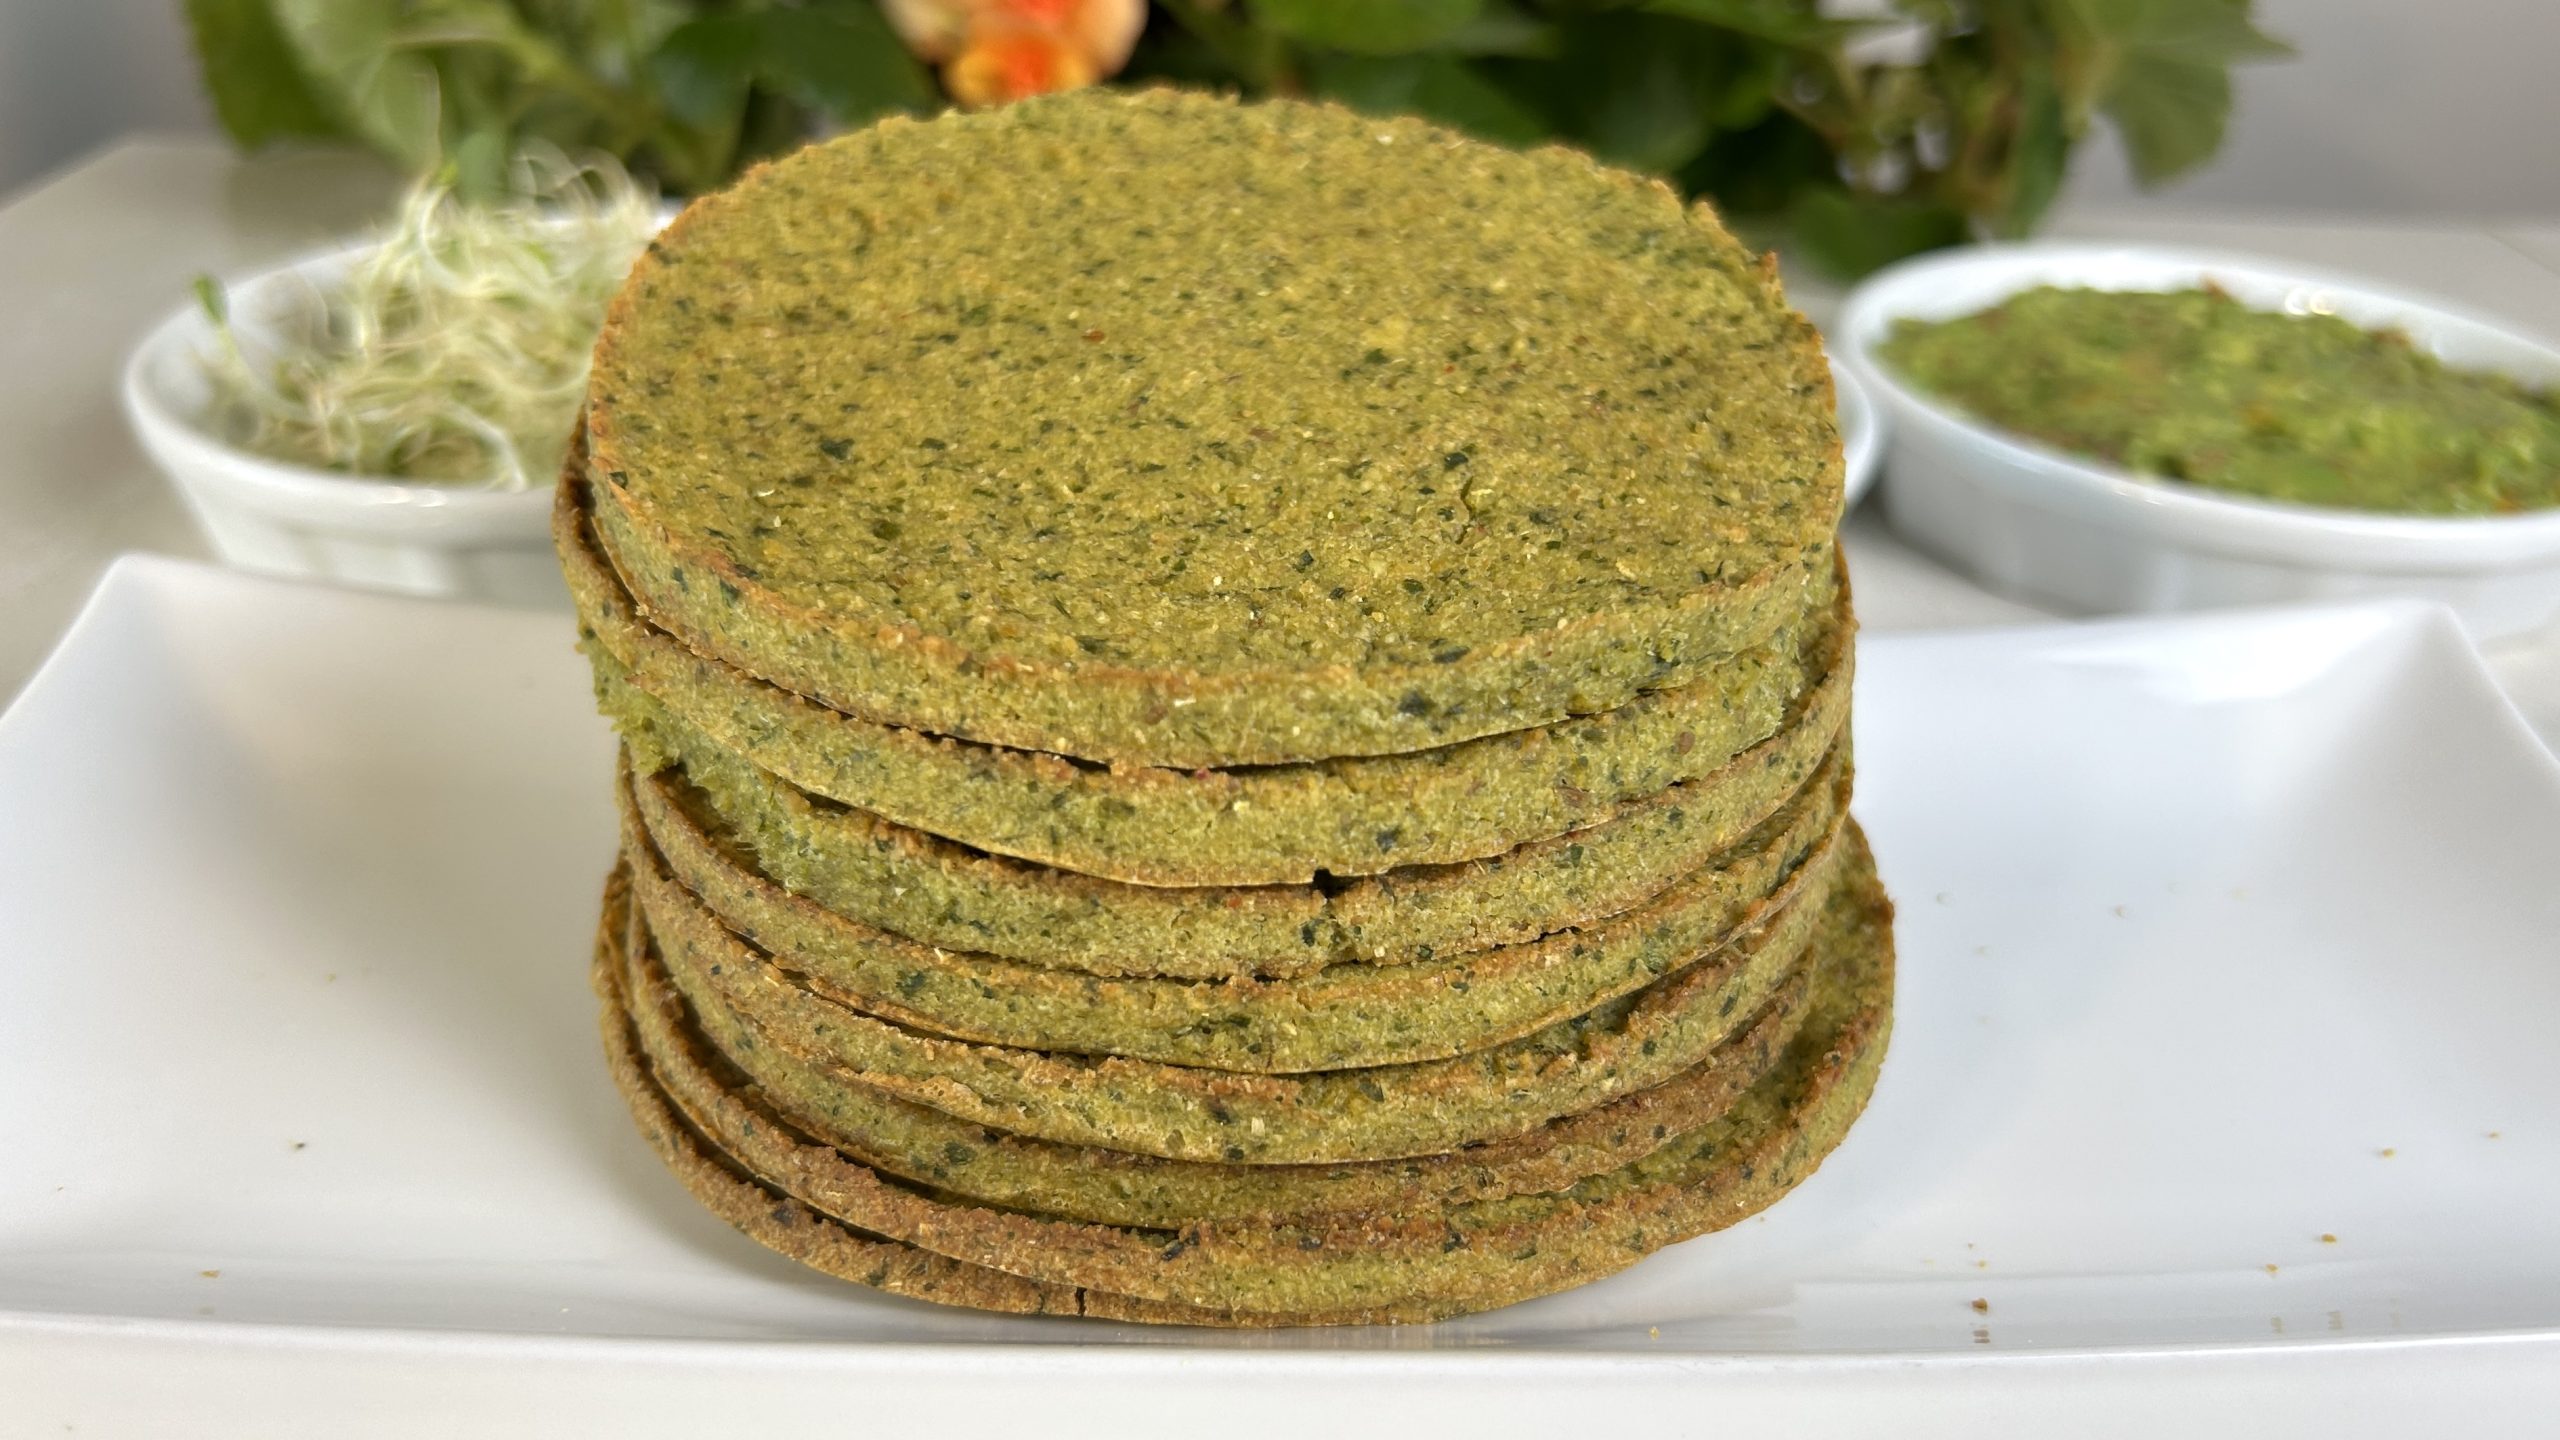
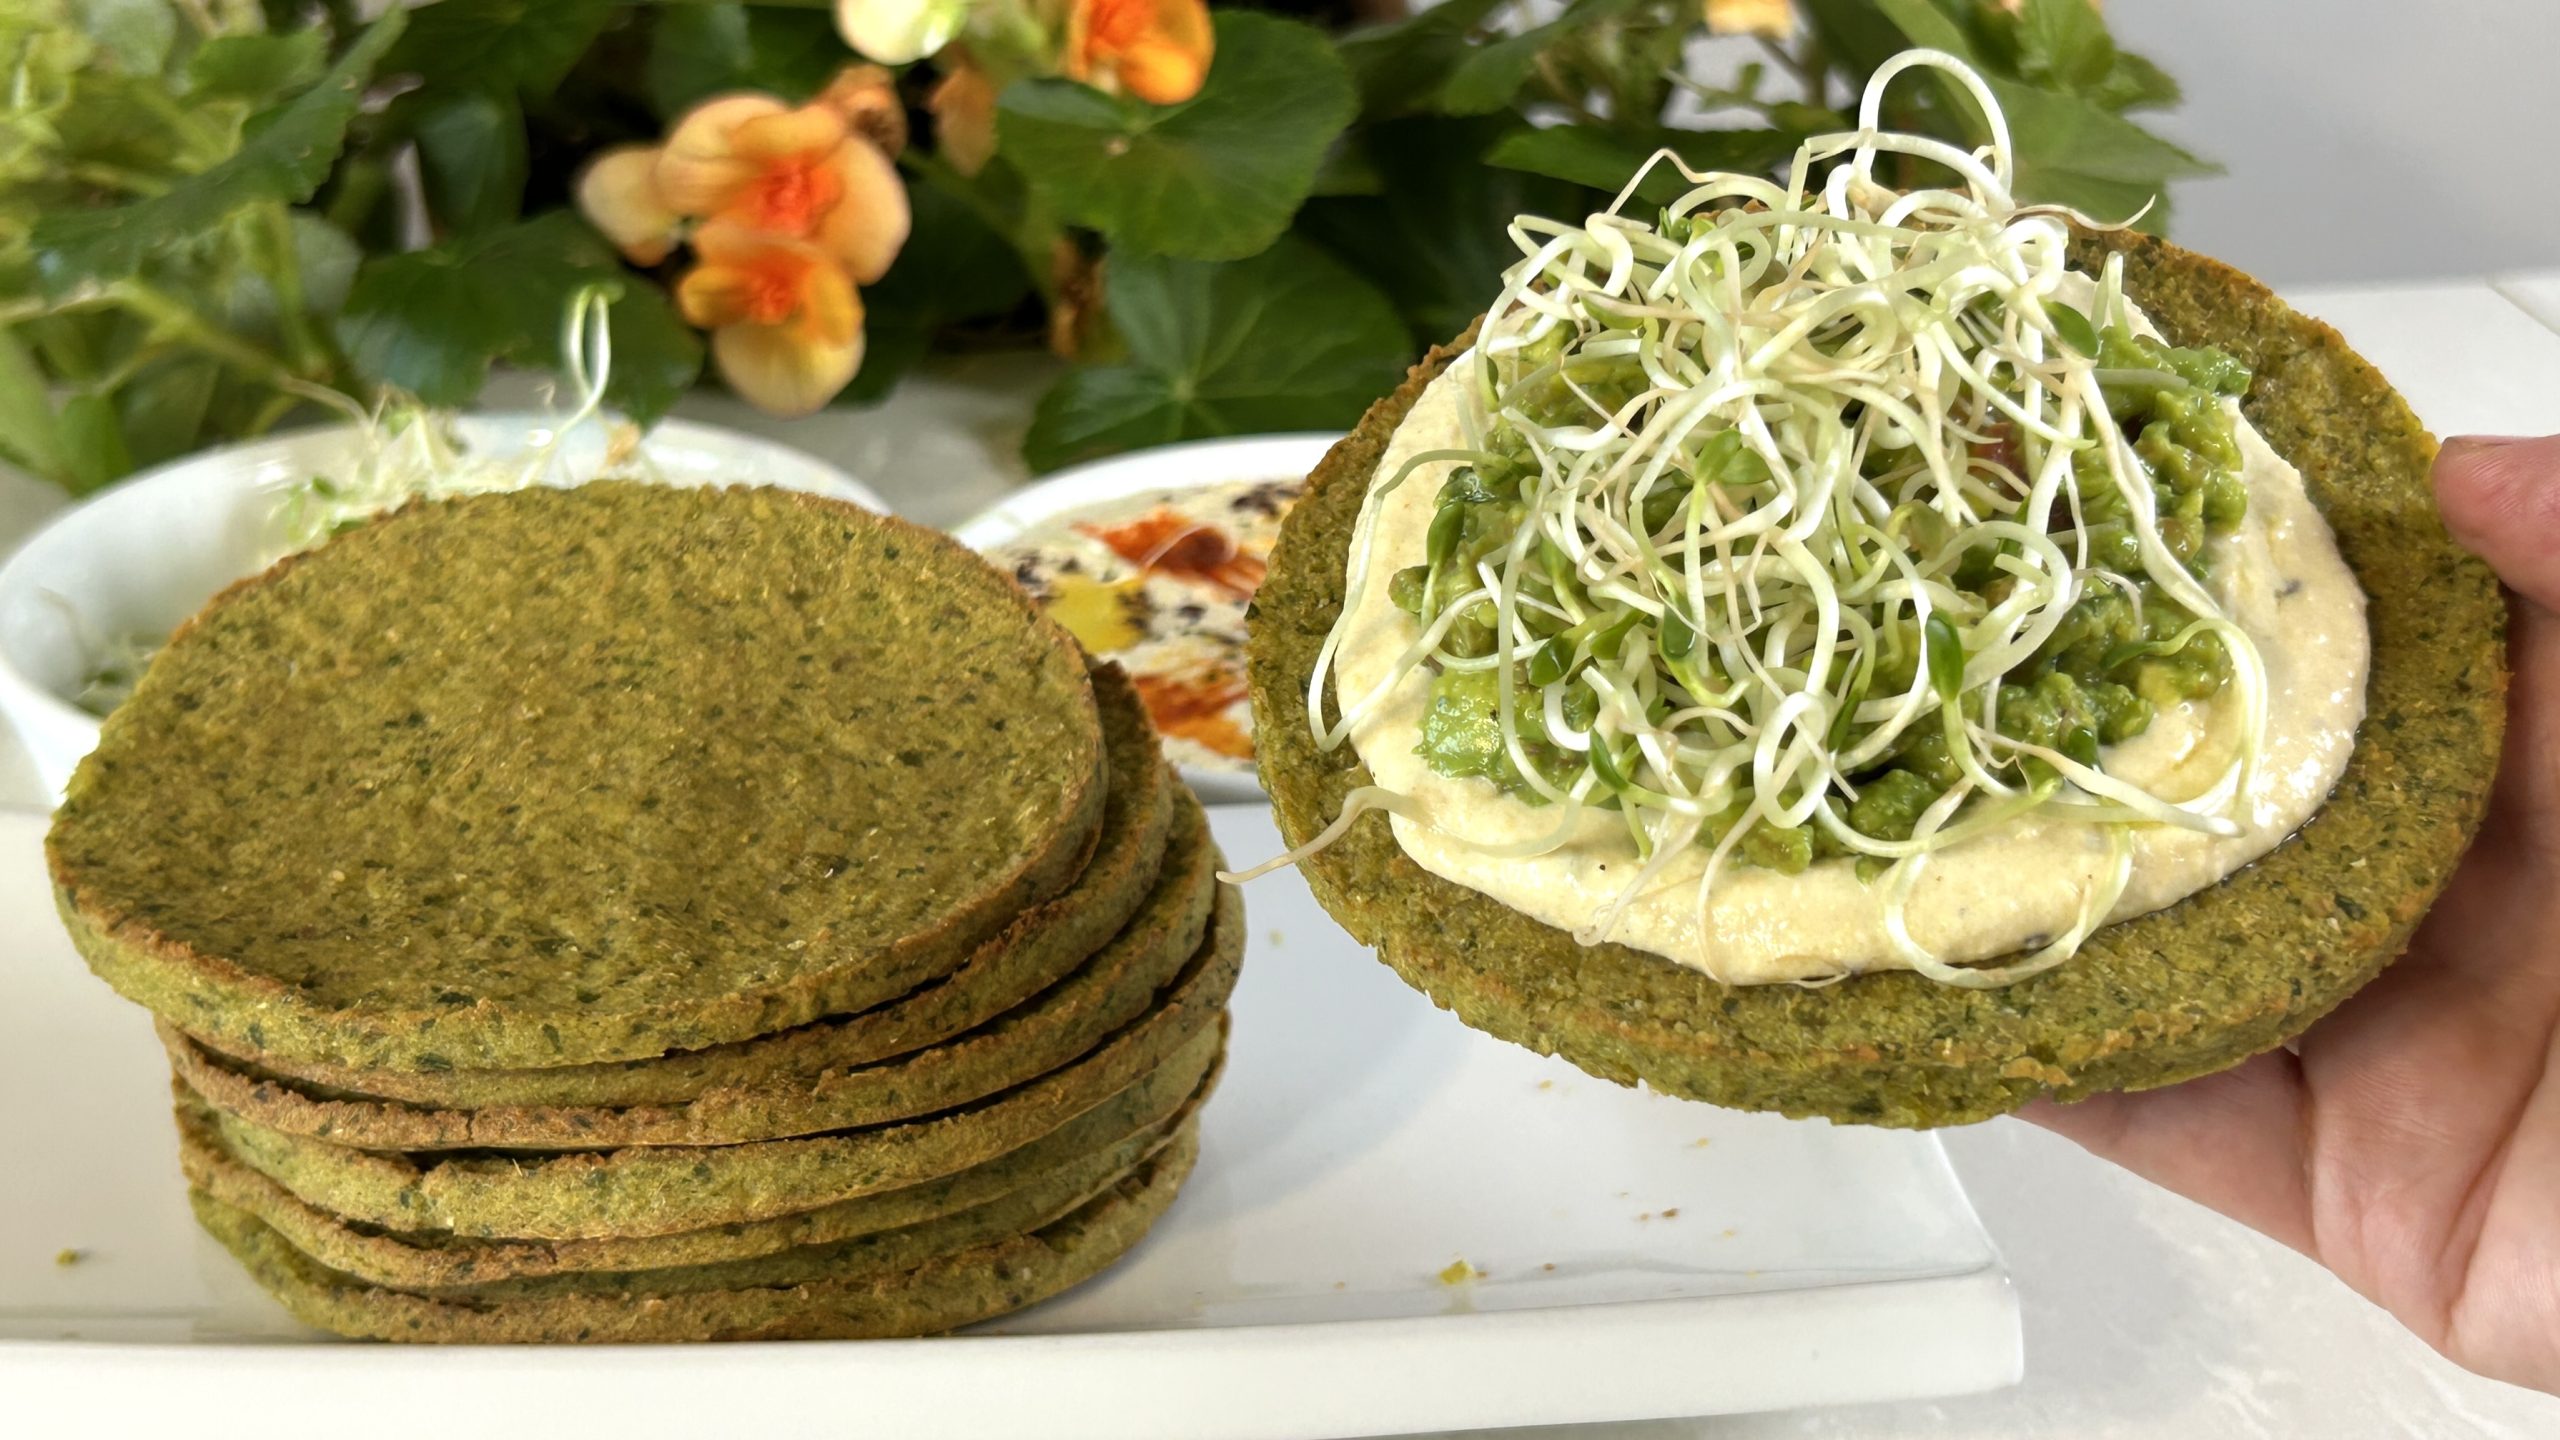
Sometimes, the simplest ingredients come together to create something truly magical, and this zucchini flatbread is one of those little kitchen miracles. If you’ve ever wished for a soft, bendy, and nourishing bread alternative that feels just as satisfying as the real thing, this recipe might just steal your heart. Imagine pulling a tray out of the oven and finding a thin, golden sheet that you can fold, roll, or stack without it crumbling apart. It’s perfect for wraps, sandwiches, tacos, or simply tearing into pieces and dipping into your favorite spreads. The secret? It’s mostly zucchini, with just enough eggs, yogurt, and oat flour to keep it together and give it that bread-like chew, light and tender, but never soggy. It’s not an omelette. It’s not a pancake. It’s a flatbread in its own delicious category.
But let’s give zucchini the standing ovation it deserves. This humble green veggie is a nutritional gem that deserves a permanent place in your kitchen. First, it’s incredibly low in calories while still managing to be rich in nutrients, which means you can enjoy generous servings without worrying about overindulging. It’s loaded with vitamin C, a powerful antioxidant that supports your immune system and keeps your skin healthy and glowing. The potassium in zucchini helps regulate blood pressure and supports heart health, while its high water content keeps you hydrated from the inside out—especially important on hot days or after exercise. Zucchini also provides dietary fiber, which keeps your digestion happy and helps you feel fuller for longer, making it an ally for balanced eating.

Its mild, slightly sweet flavor means it blends beautifully with other ingredients—whether you’re adding herbs for a savory twist or pairing it with cheese for extra indulgence. And here’s the real beauty: recipes like this flatbread make it so easy to add more vegetables to your daily diet without feeling like you’re “trying” to eat healthy. This is one of those recipes you’ll make again and again, not because you feel you should, but because it’s so versatile, satisfying, and downright tasty.
Ingredients
-
1 large zucchini (290 g)
-
¼ tsp salt
-
2 eggs
-
¼ cup (60 g) Greek yogurt (or cottage cheese, sour cream, or yogurt alternative)
-
¼ cup (25 g) oat flour (or other flour of choice)
-
½ tsp dry oregano (or other dried herbs)
Directions
- Wash the zucchini well and shred it using a grater.
- Sprinkle the shredded zucchini with salt and let it sit briefly to draw out excess moisture.
- In a mixing bowl, whisk the eggs and yogurt until smooth and creamy.
- Add the salted zucchini, including its moisture, into the egg-yogurt mixture.
- Add the oat flour and oregano. The flour is key—it binds the mixture and gives the flatbread a soft, bread-like texture instead of turning into an omelette.
- Gently stir until everything is evenly combined. The batter will be runny, which is normal—avoid overmixing.
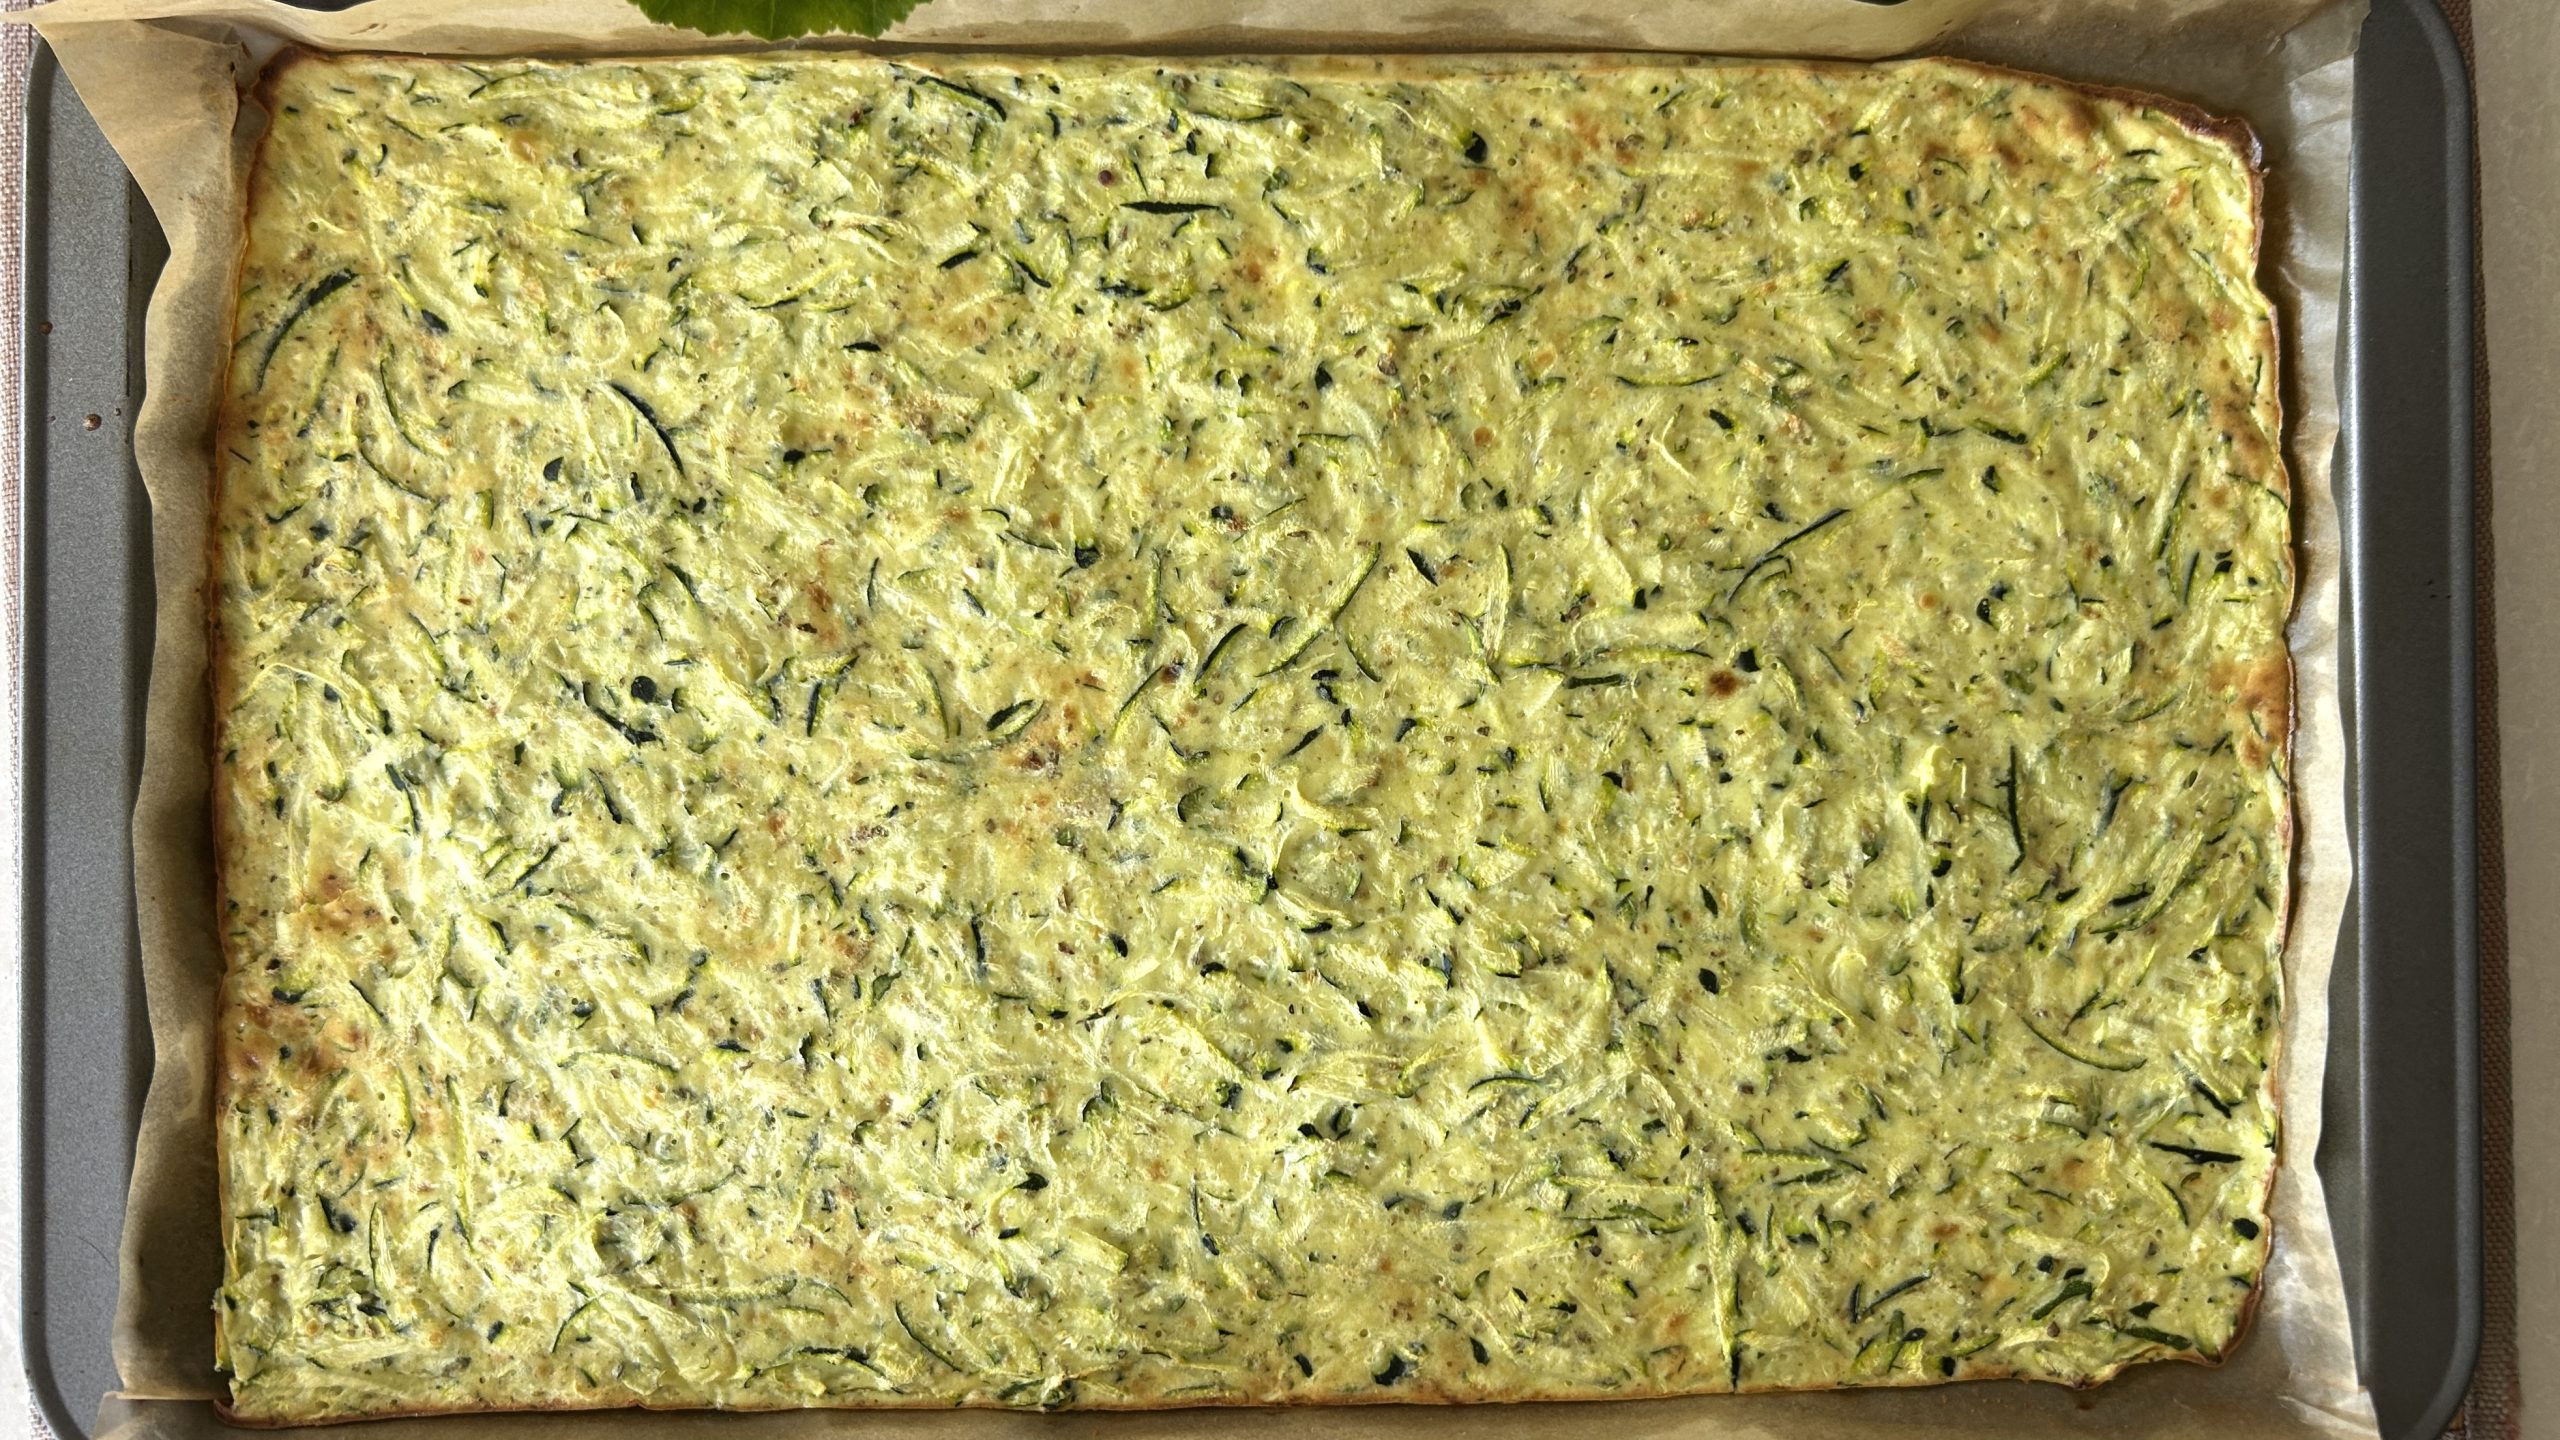
- Line a large baking tray (about 37 cm x 26 cm) with parchment paper.
- Pour the mixture onto the tray and spread it evenly with a spatula.
- Bake in a preheated oven at 350°F (175°C) for 25–30 minutes, until the surface is set and lightly golden.
- Let the flatbread cool slightly before cutting into two pieces. Use as a wrap, sandwich base, or taco shell.
Prep time: 20 minutes
Baking time: 25–30 minutes
Servings: 2
Nutritional Information (per serving)
-
Energy: 151 calories
-
Protein: 15.45 g
-
Fat: 6.34 g
-
Carbohydrates: 14.4 g
-
Fiber: 3.6 g
Storage & Recommendations
-
Store in the fridge for up to 5 days.
-
Can be frozen for up to 2 months; separate pieces with parchment paper to prevent sticking.
-
Try swapping zucchini for grated carrots or spinach for a colorful twist.