Baked Apple Pancake
Baked Apple Pancake

Who says you have to stand by the stove flipping pancakes to enjoy a warm, fluffy, and satisfying breakfast? This baked apple pancake is the ultimate answer to cozy mornings with minimal effort and maximum reward. If you’re anything like us, the idea of one big pancake you can slice and share feels like a dream—especially when it’s soft, subtly sweet, and naturally nourishing. No flipping, no fuss. Just blend, pour, bake, and enjoy!
We’ve taken all the comfort of a traditional pancake and reimagined it into a bake-and-slice version. Think of it as a cross between a crepe and a sponge cake—soft, pillowy, and rich with apple flavor. Perfect for busy mornings, meal-prep Sundays, or lazy brunches with your favorite people. And if you’ve ever struggled to make breakfast feel balanced, this recipe is going to change your mornings.

The magic ingredient here is oats—specifically rolled oats blended into oat flour. Oats are one of the most versatile and wholesome ingredients you can include in your diet. Rich in soluble fiber, especially beta-glucan, oats help lower LDL cholesterol, support heart health, and keep you full longer thanks to their slow-digesting complex carbs. They’re also packed with key nutrients like magnesium, iron, B-vitamins, and plant-based protein, making them an excellent daily staple whether you’re looking to manage your blood sugar, improve digestion, or just eat better overall.
By combining oat flour with applesauce, yogurt, and eggs, we’re not only packing in nutrition but also creating the most tender and satisfying texture—light, moist, and perfectly golden once baked. The result? A breakfast that’s as good for your body as it is for your taste buds.
Slice it, top it, freeze it, or serve it warm right out of the oven. You’ll want to keep this one on repeat.
Ingredients (for 16 servings)
- 1 ½ cups (120 g) rolled oats or store-bought oat flour
- 2 eggs
- ½ cup (120 g) unsweetened applesauce
- ½ cup (100 g) plain yogurt
- ½ tbsp baking powder
- 1 tsp vanilla extract
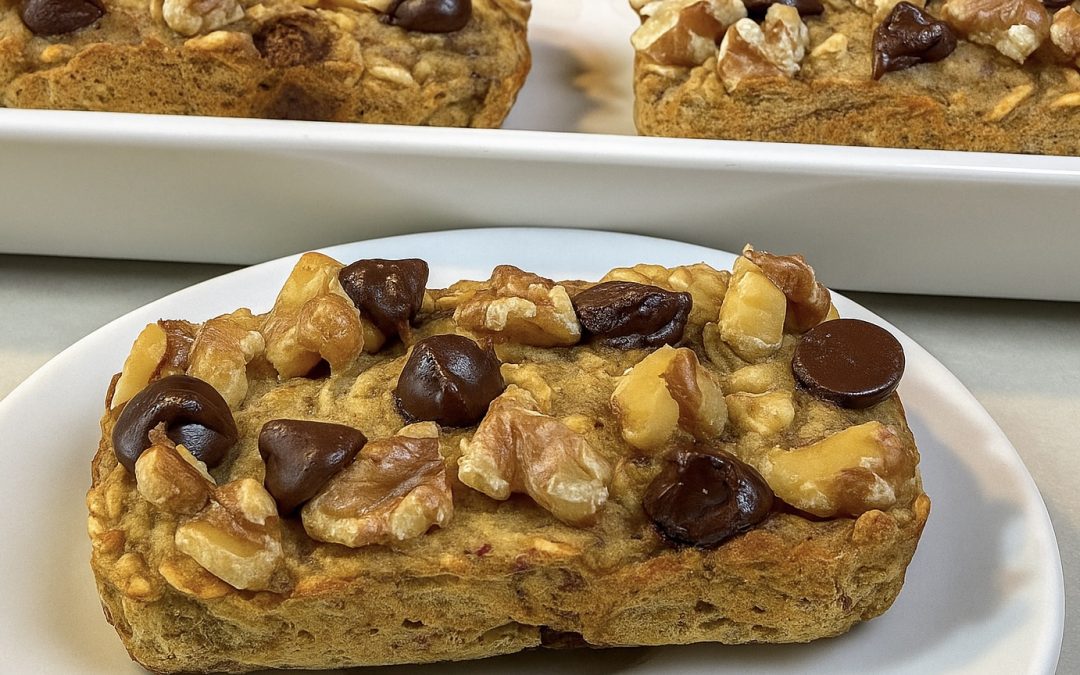
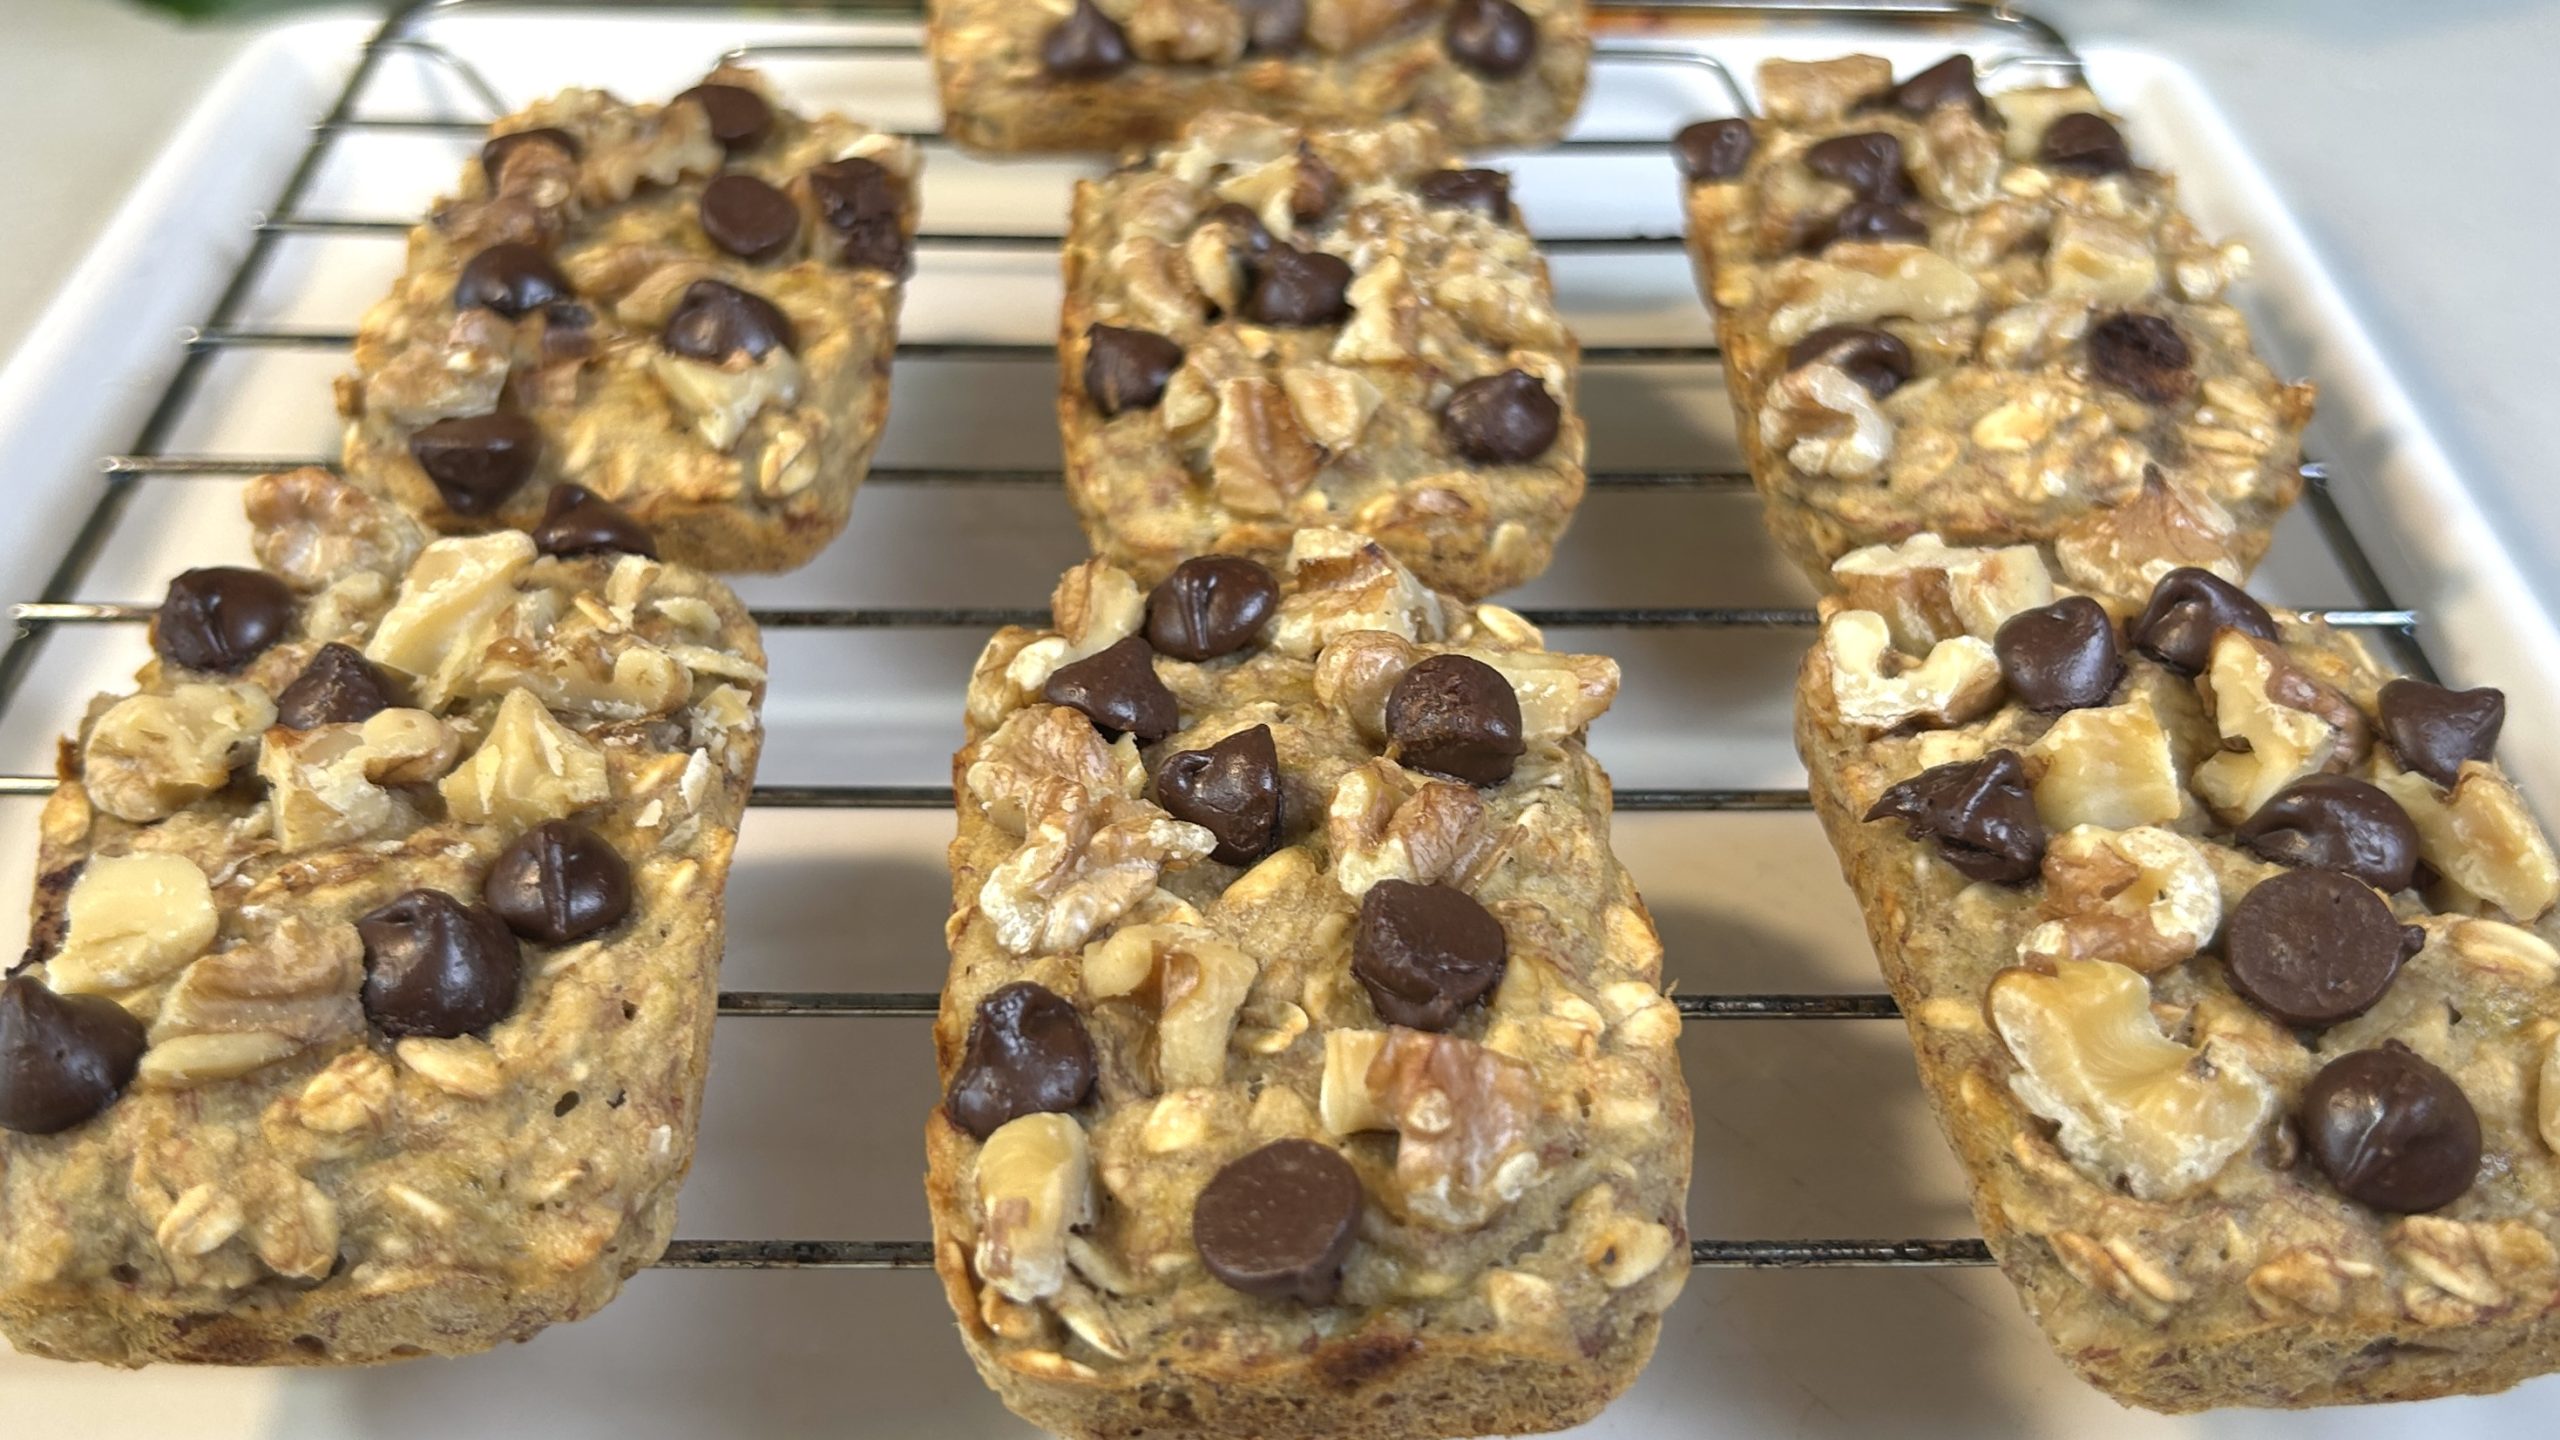
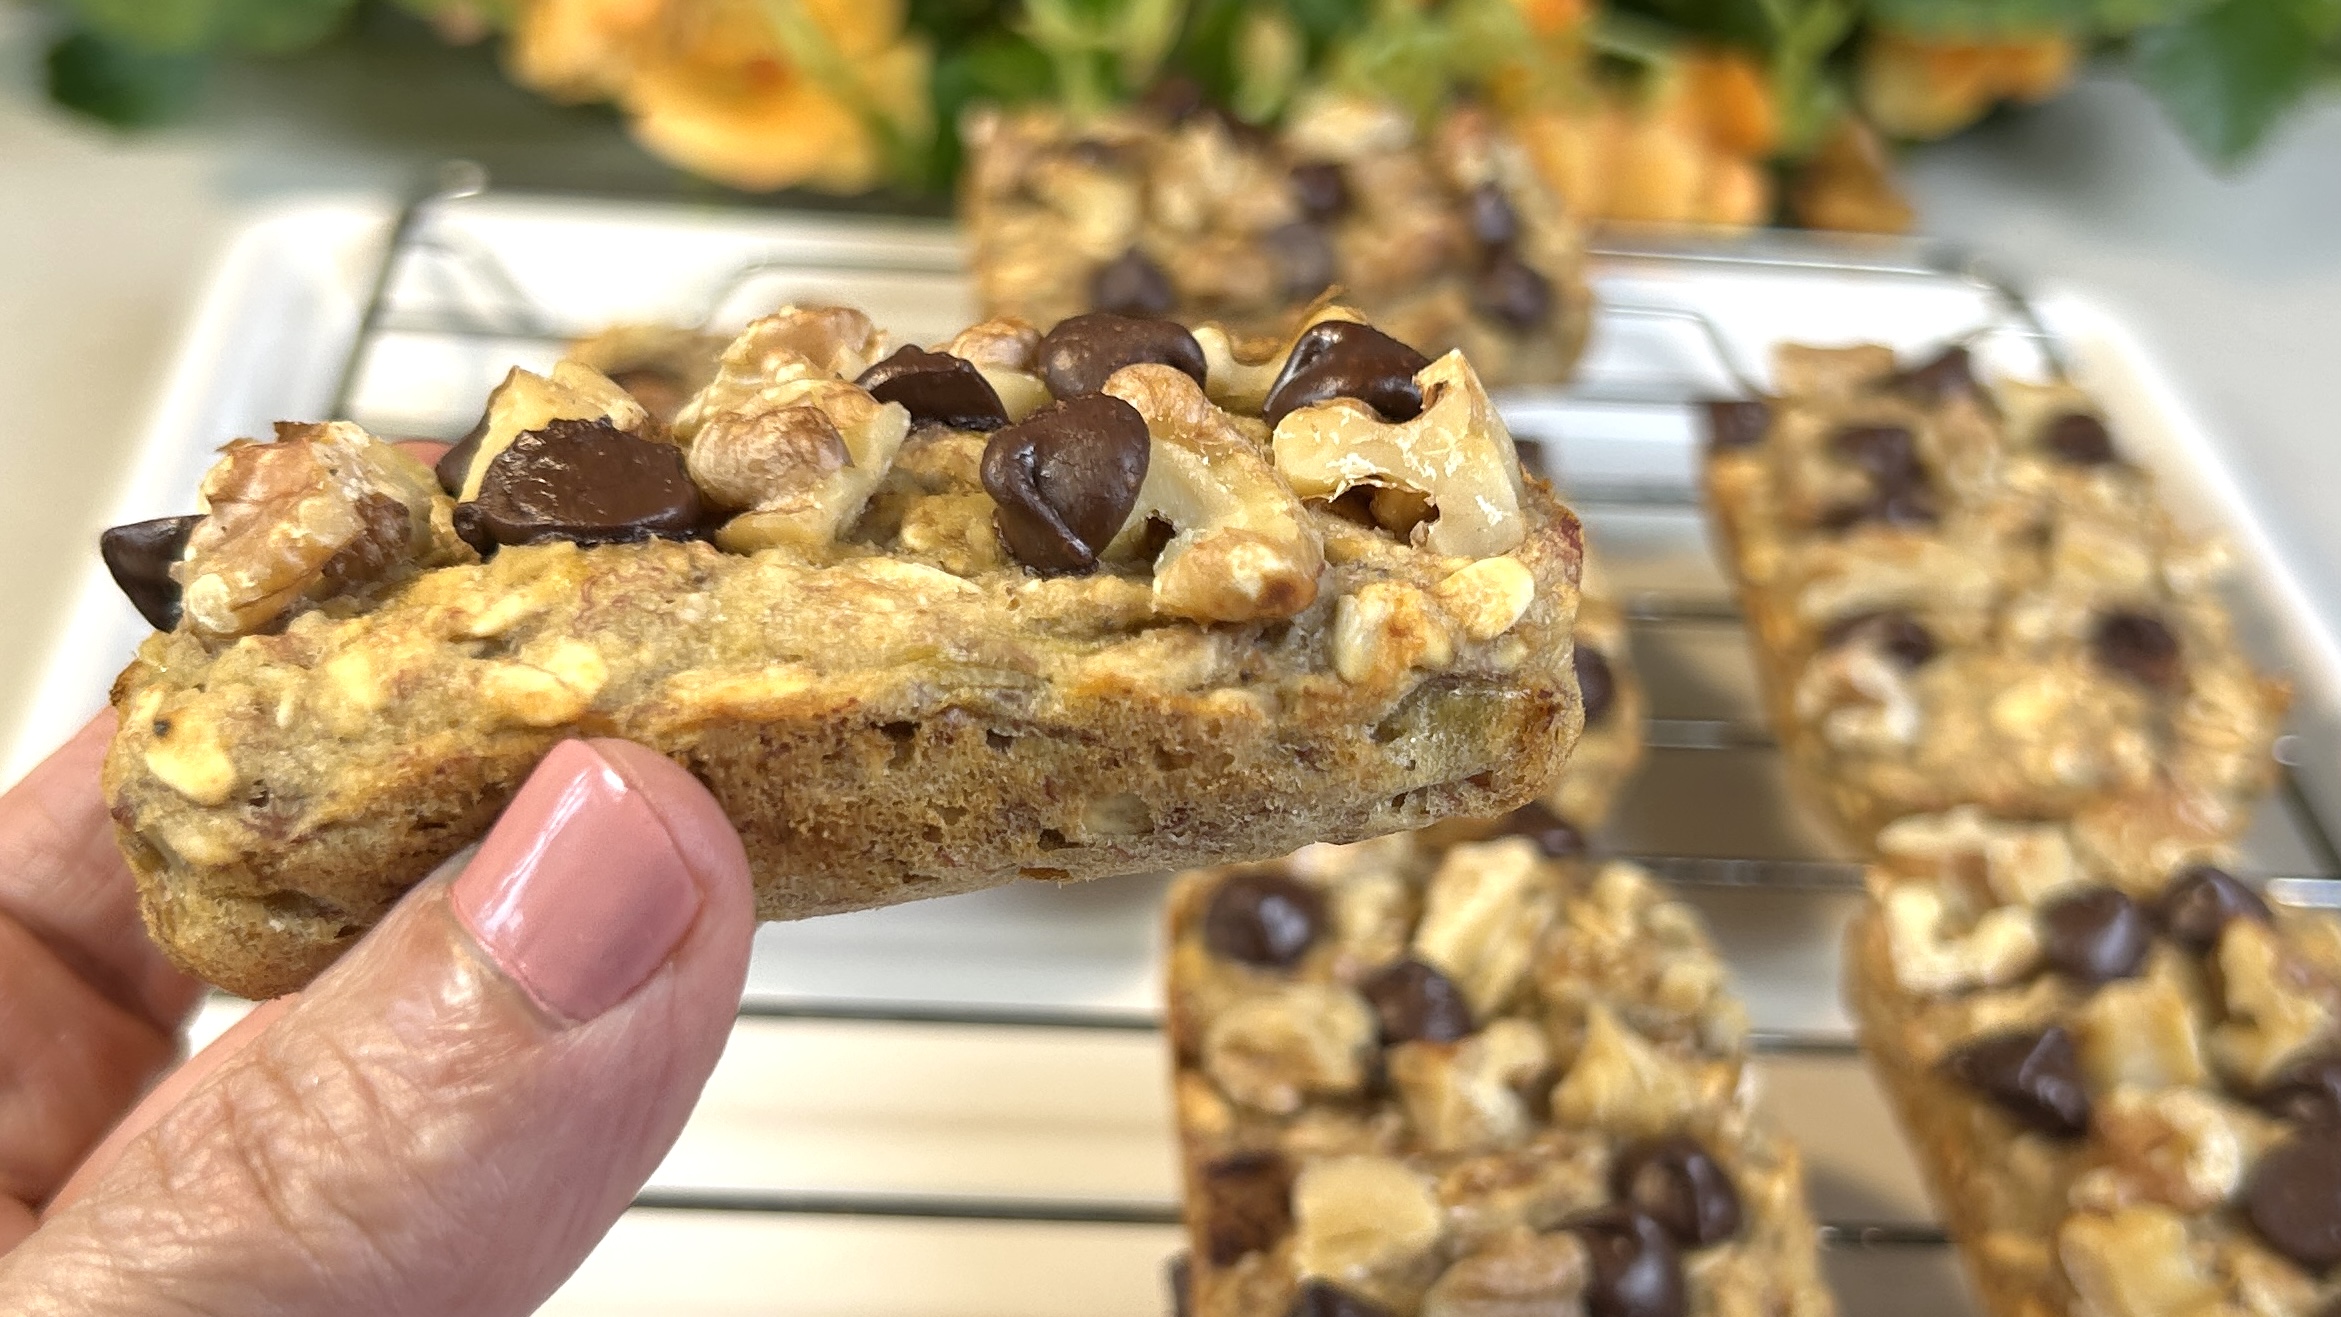
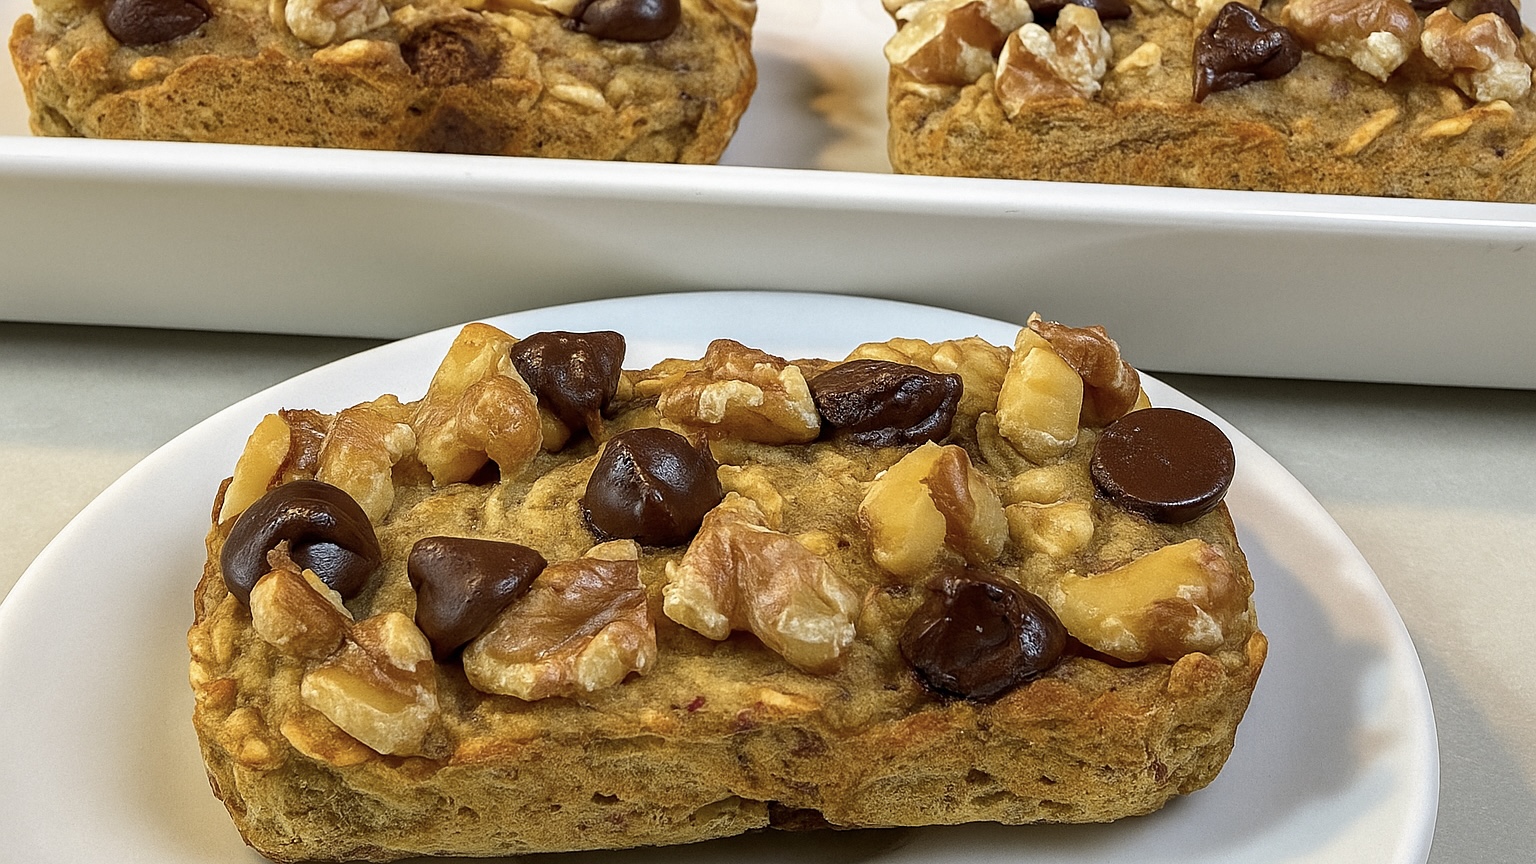
- 2 apples (about 350 g), thinly sliced
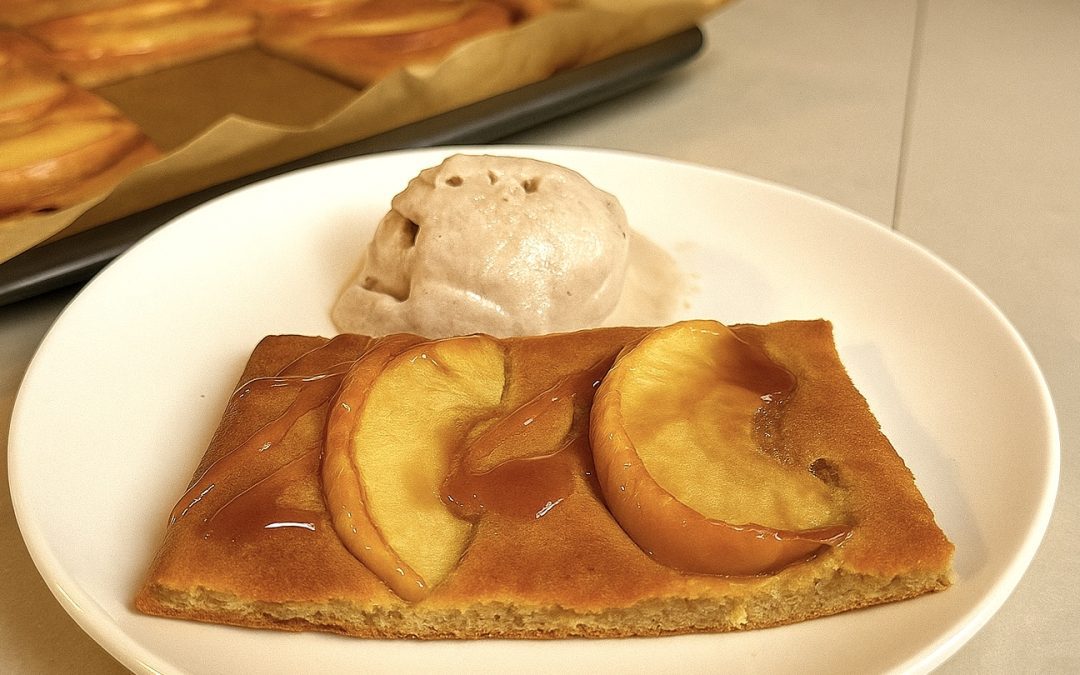
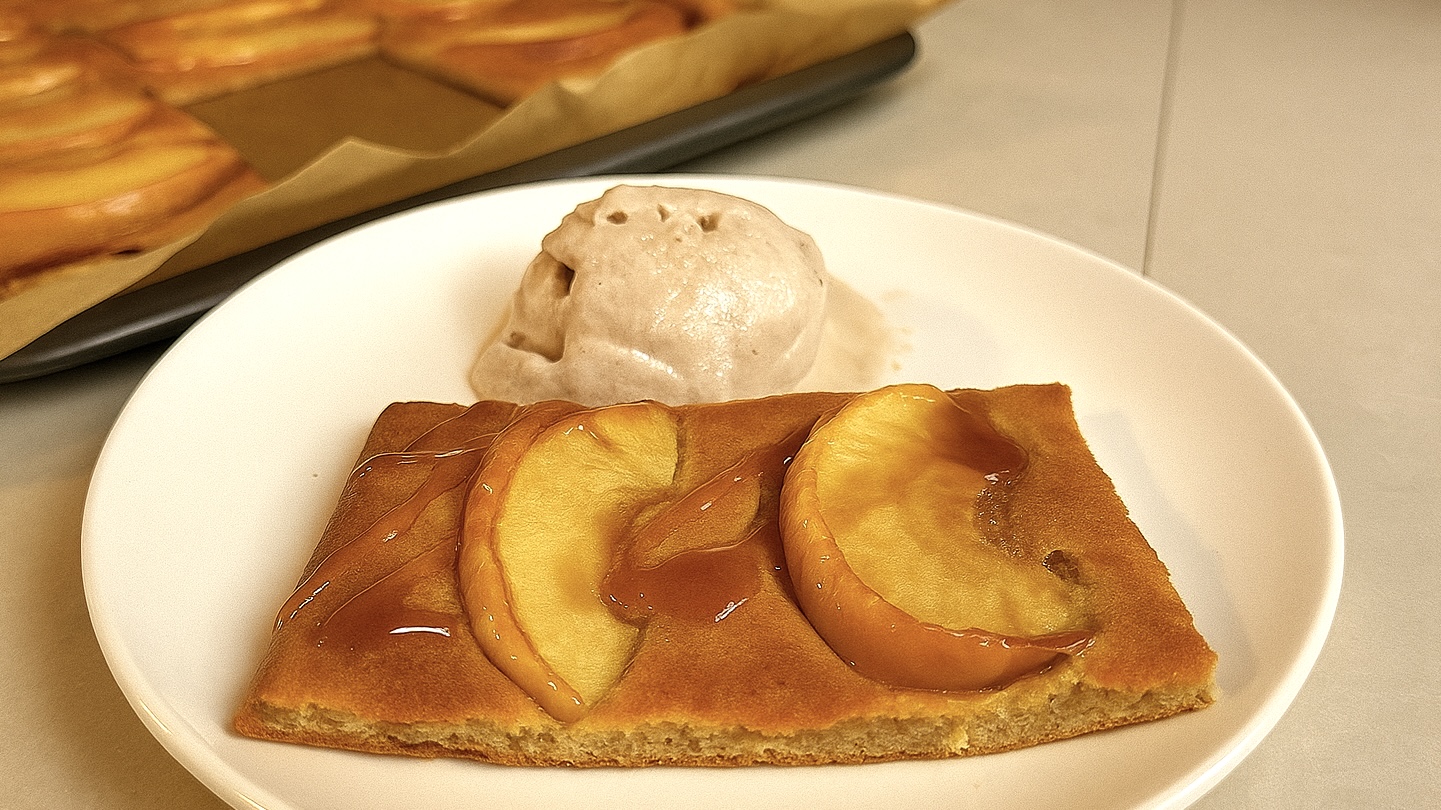
- Optional toppings: caramel sauce, nut butter, maple syrup, or ice cream
Directions
- In a mixing bowl, combine the eggs, applesauce, and yogurt. Mix until the texture is smooth and well blended.
- Add oat flour (or ground oats), baking powder, and vanilla extract. Stir until just combined—the batter should be smooth and spreadable.
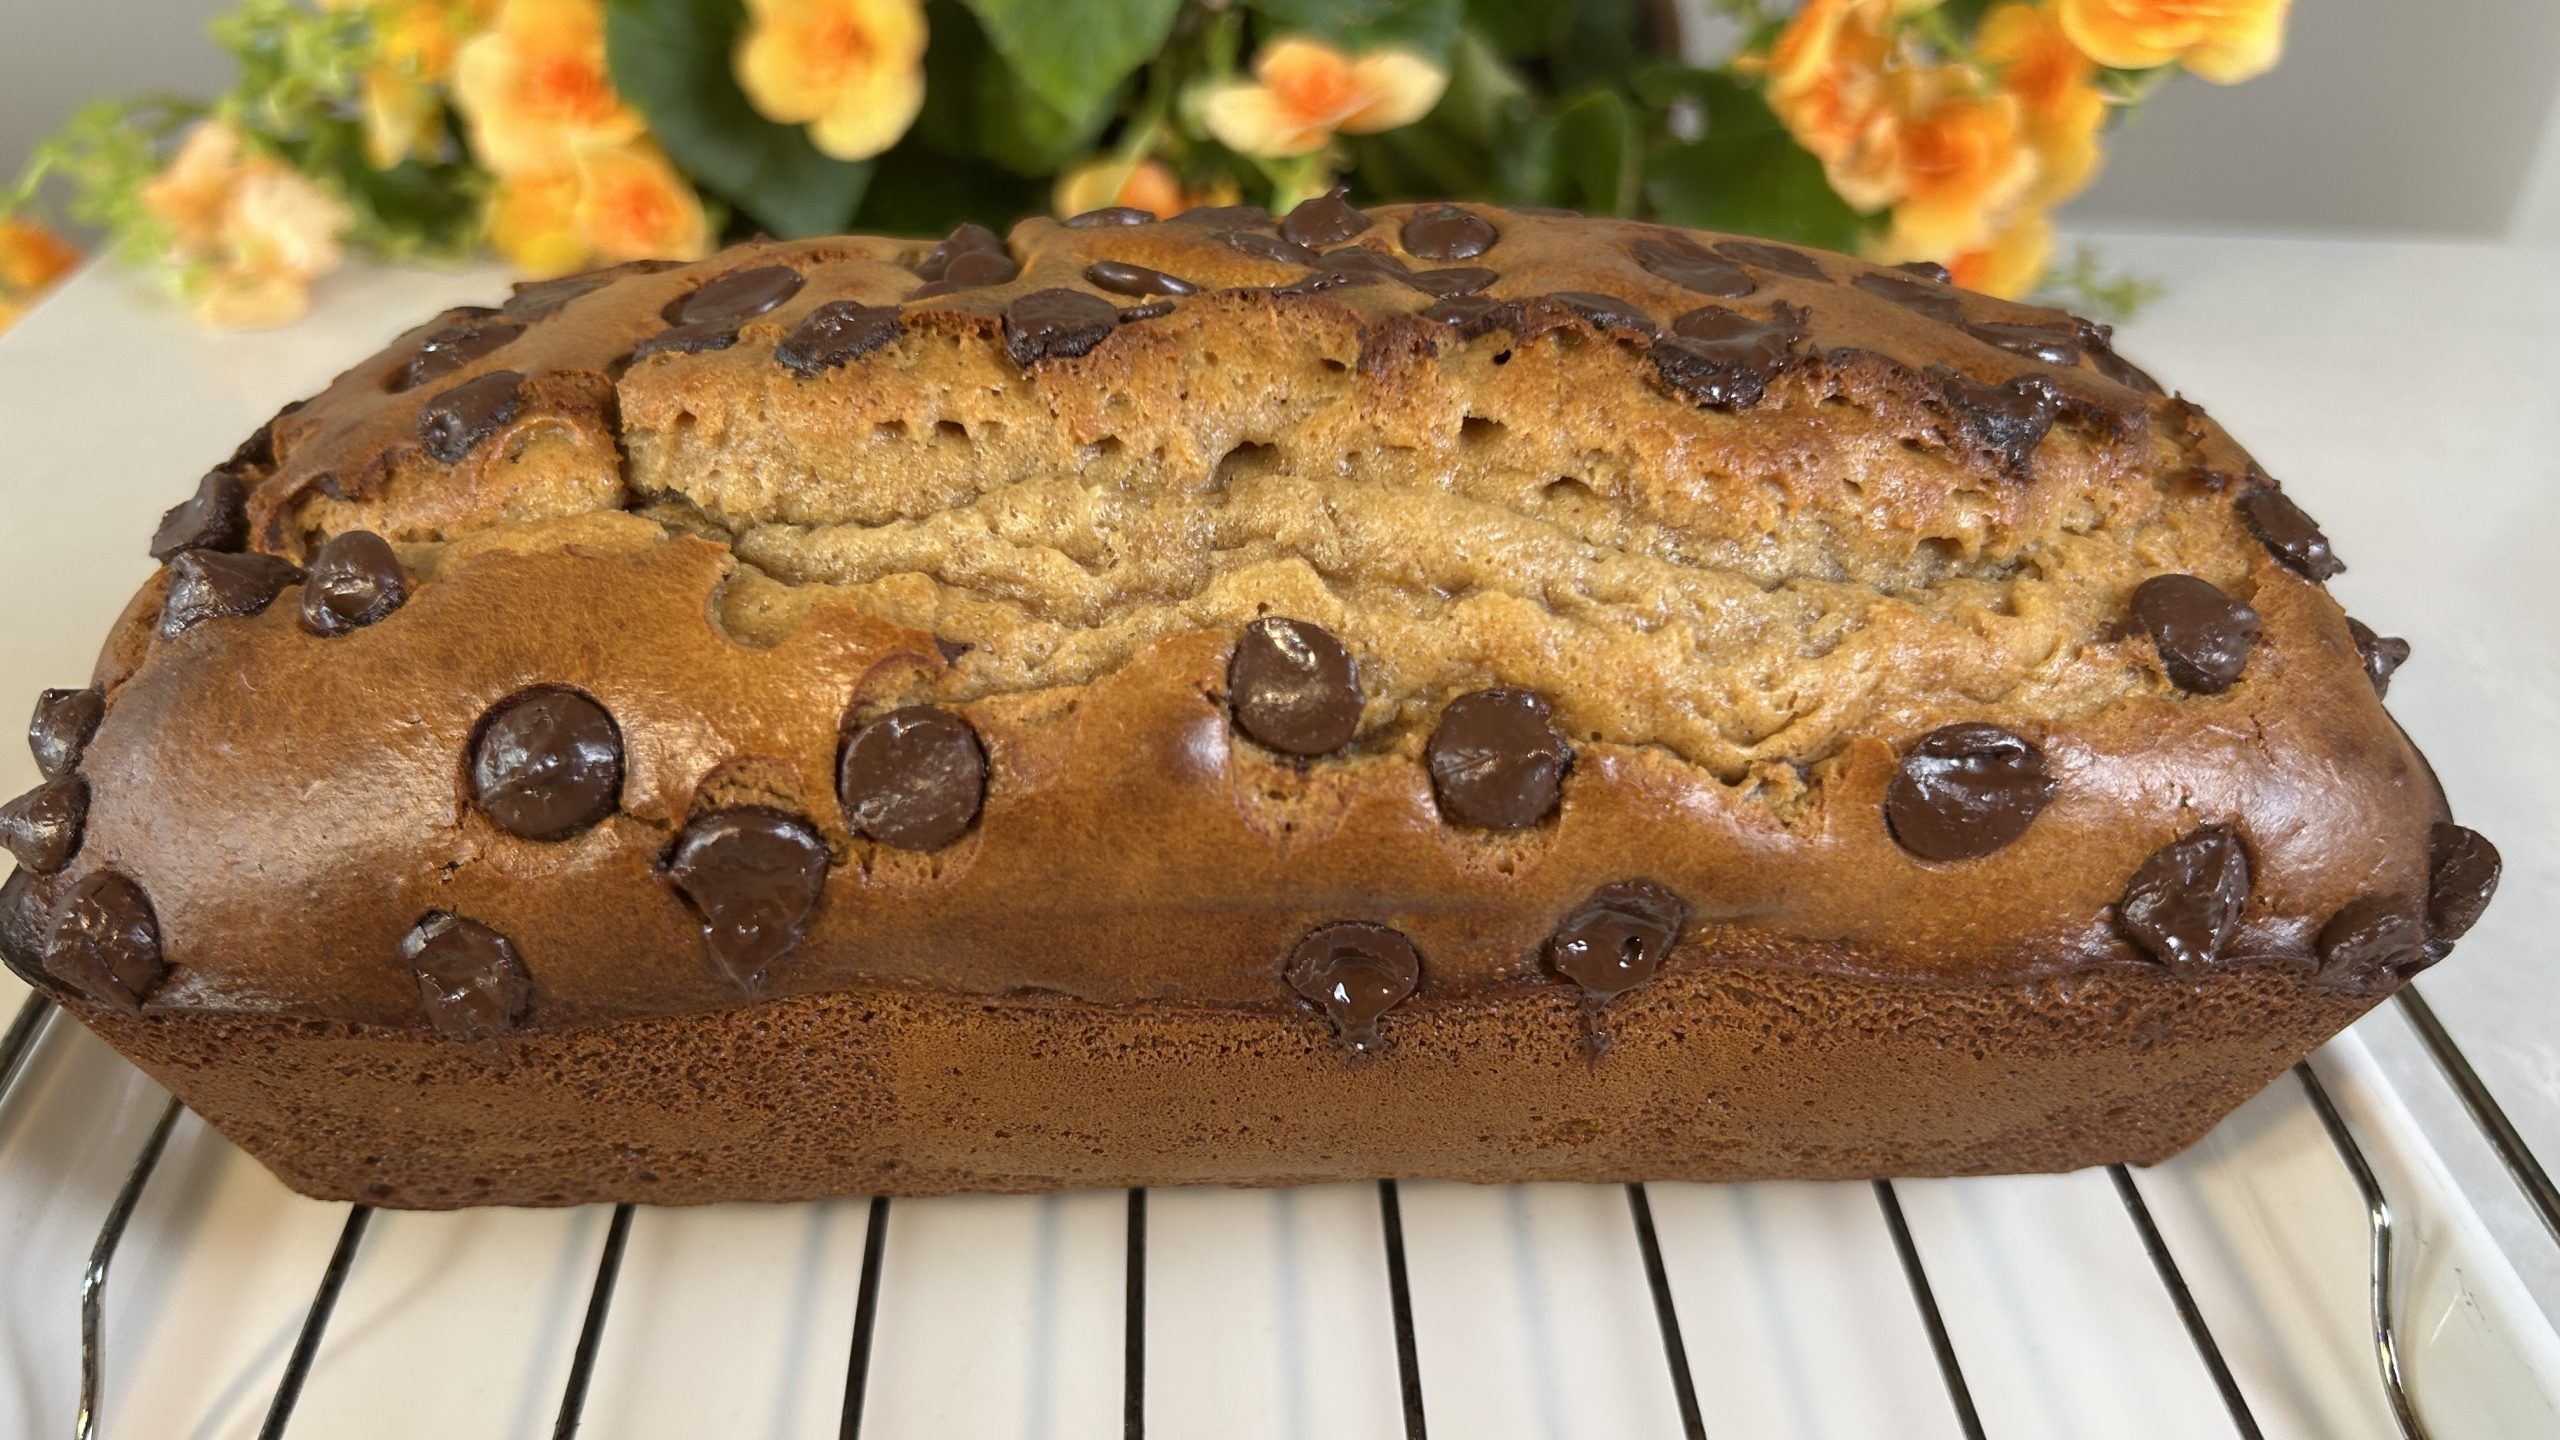
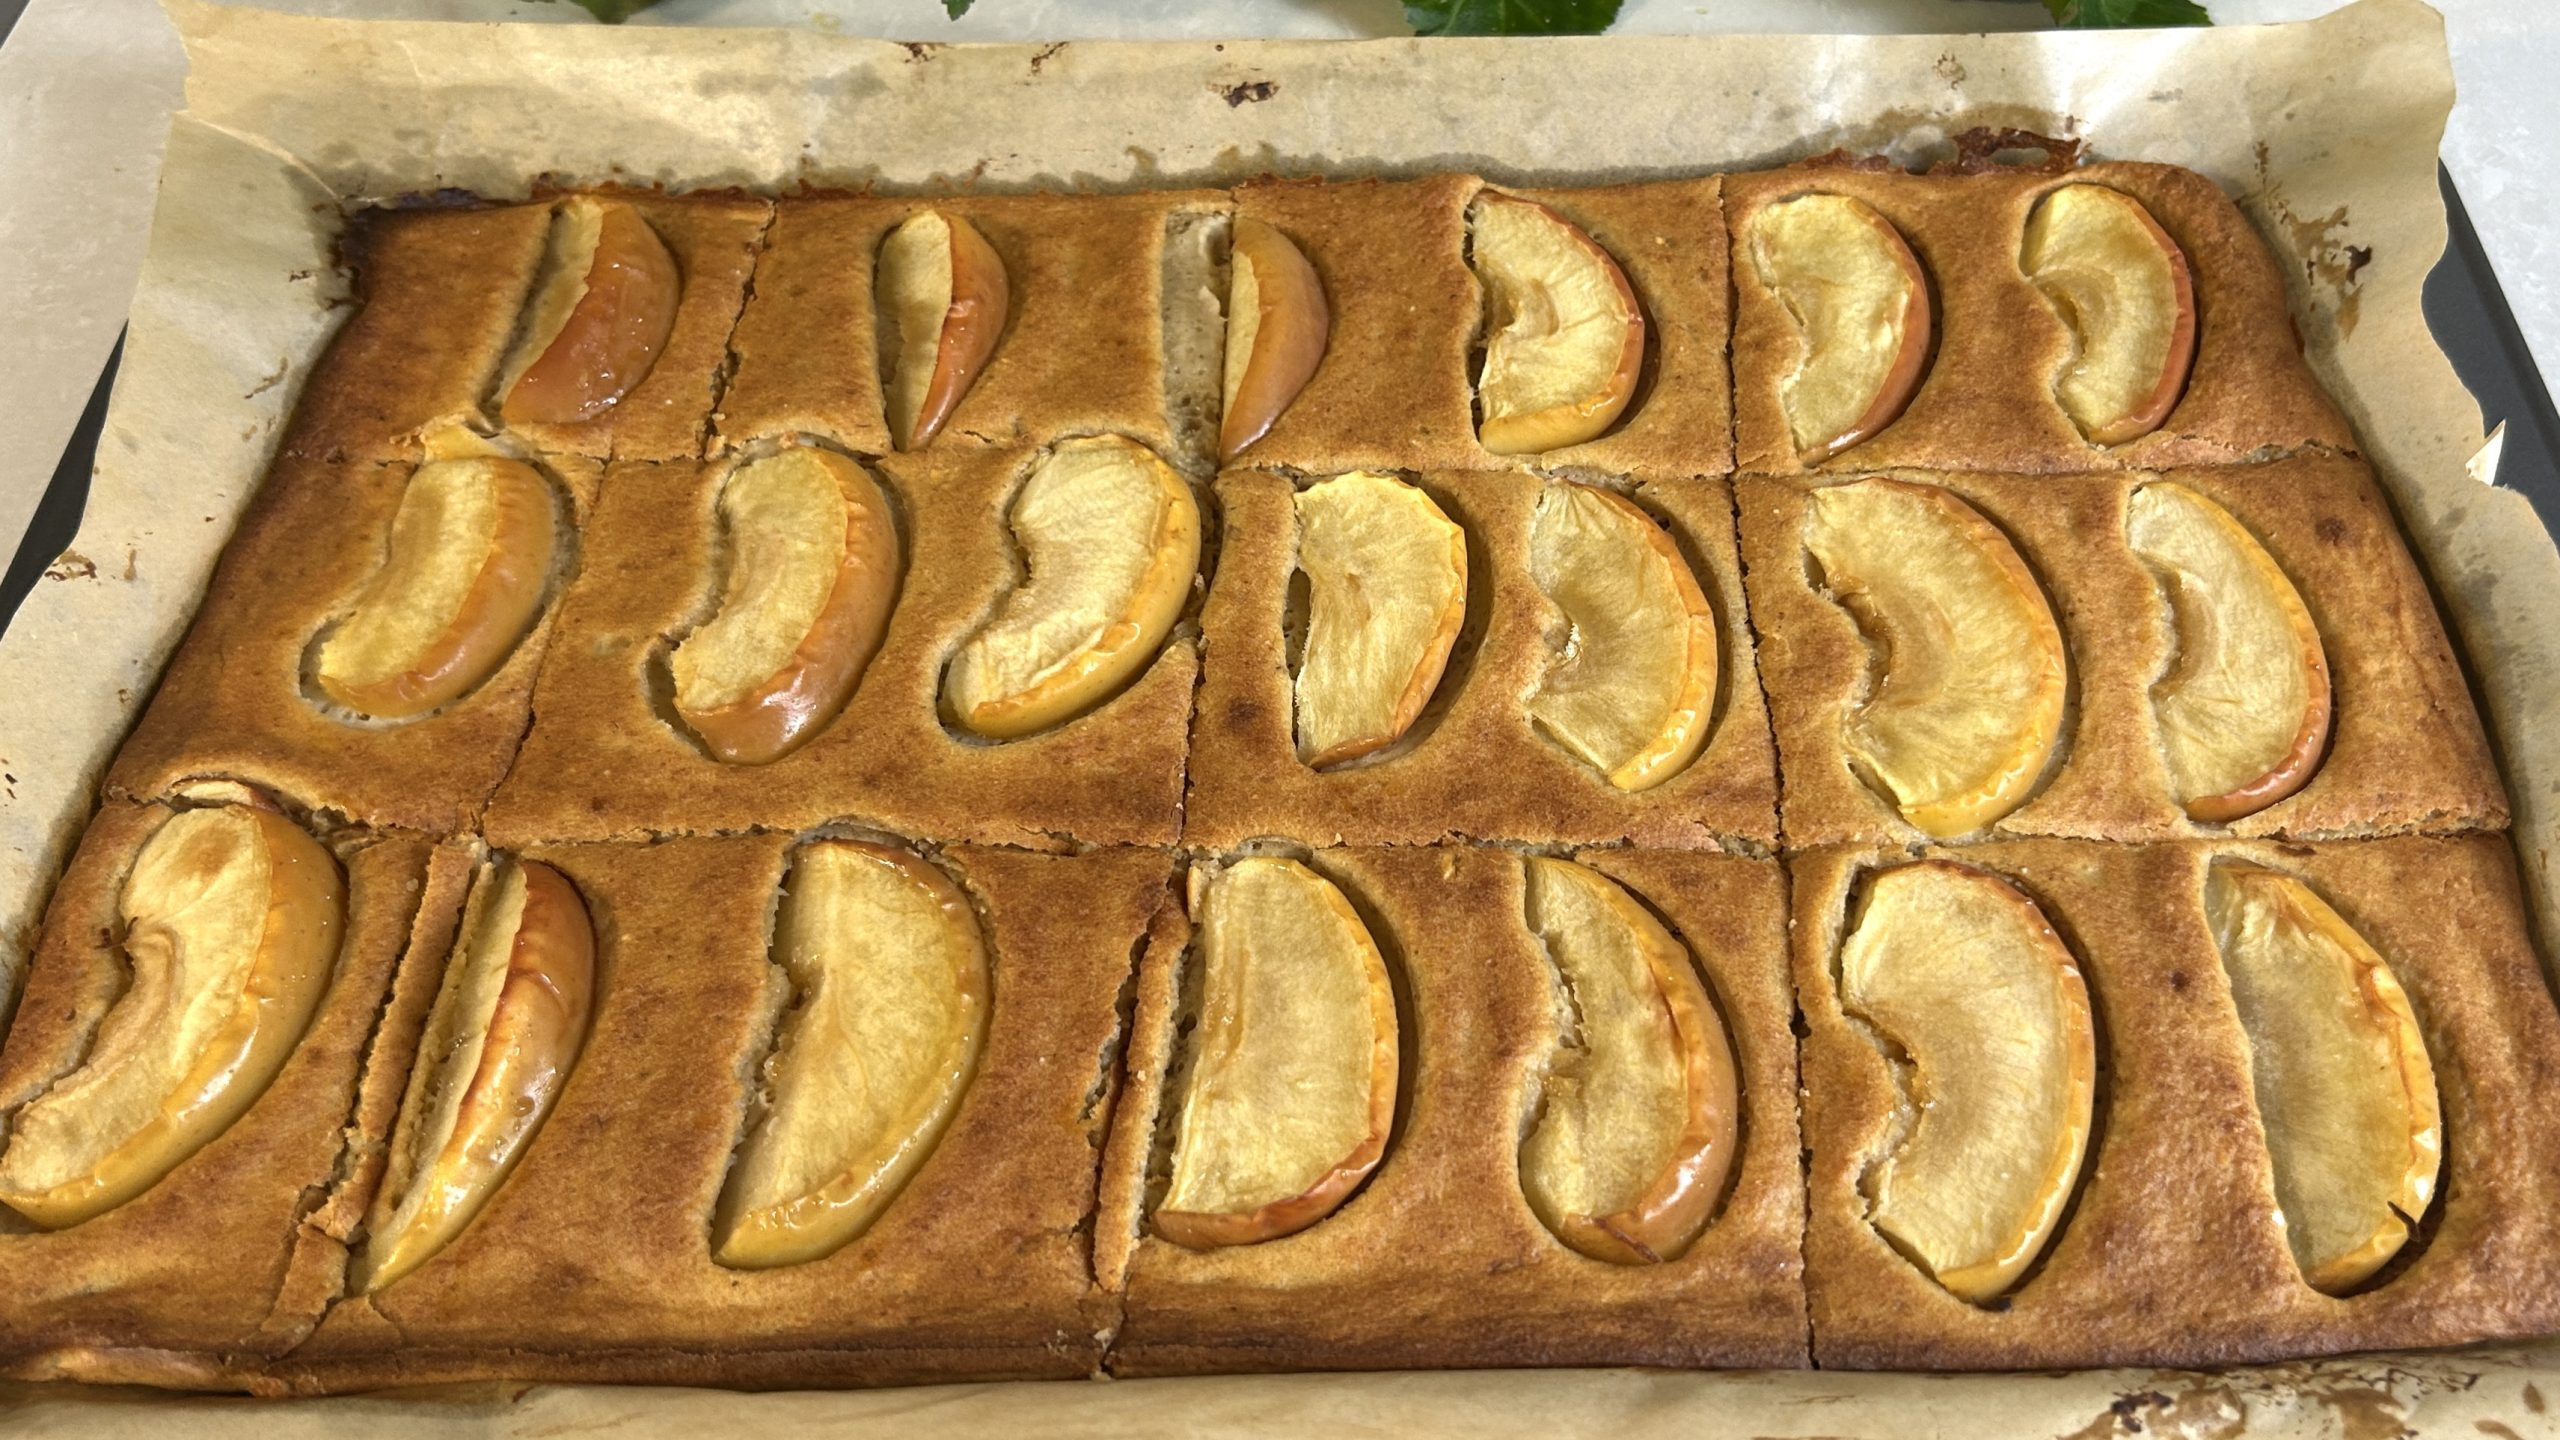
- Line a large rectangular baking pan (about 37 cm x 25 cm) with parchment paper.
- Pour the batter into the prepared pan and spread it out evenly using a spatula. You can go thin for a more pancake-like texture, or thicker for a soft, cake-like consistency.
- Gently shake the pan or smooth the top with a spatula to level the batter.
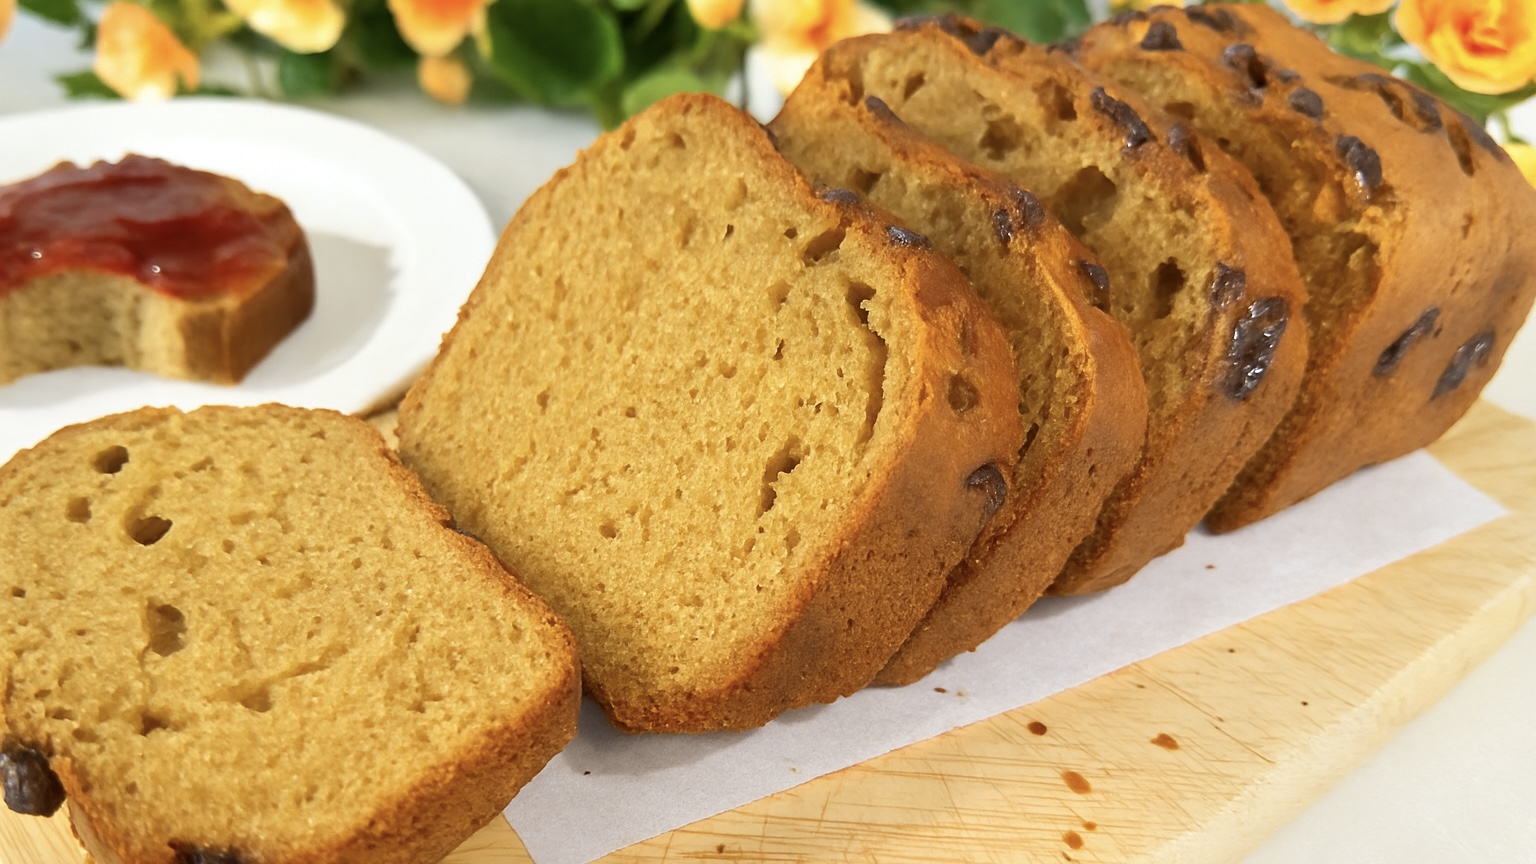
- Arrange the thin apple slices over the top like you would in an apple tart, pressing them gently into the batter.
- Bake in a preheated oven at 350°F (175°C) for around 30 minutes, or until the top is golden and a toothpick inserted in the center comes out clean.
- Remove from the oven and let cool slightly.
- Cut into slices and serve warm with toppings like a drizzle of maple syrup, caramel, a dollop of yogurt, or even a scoop of homemade ice cream.
Prep Time: 20 minutes
Baking Time: 30 minutes
Yields: 16 slices
Nutritional Information (Per Slice)
- Energy: 57 calories
- Protein: 2.34 g
- Fat: 1.35 g
- Carbohydrates: 9.2 g
- Fiber: 1.2 g
Storage & Serving Recommendations
-
Store leftovers in an airtight container in the fridge for up to 5 days.
-
These slices freeze beautifully! Wrap them individually and store in the freezer for up to 2 months. Reheat straight from frozen.
-
For an extra protein boost, serve with a spoonful of Greek yogurt or your favorite nut butter.
-
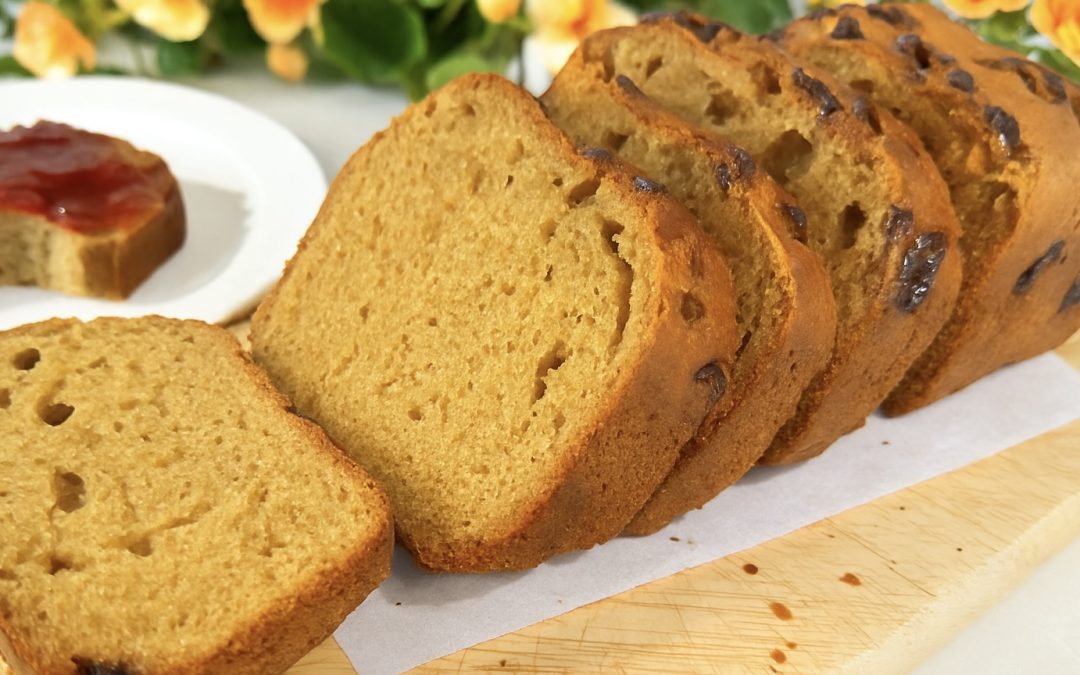
This recipe is naturally gluten-free (when using certified gluten-free oats) and refined sugar-free.