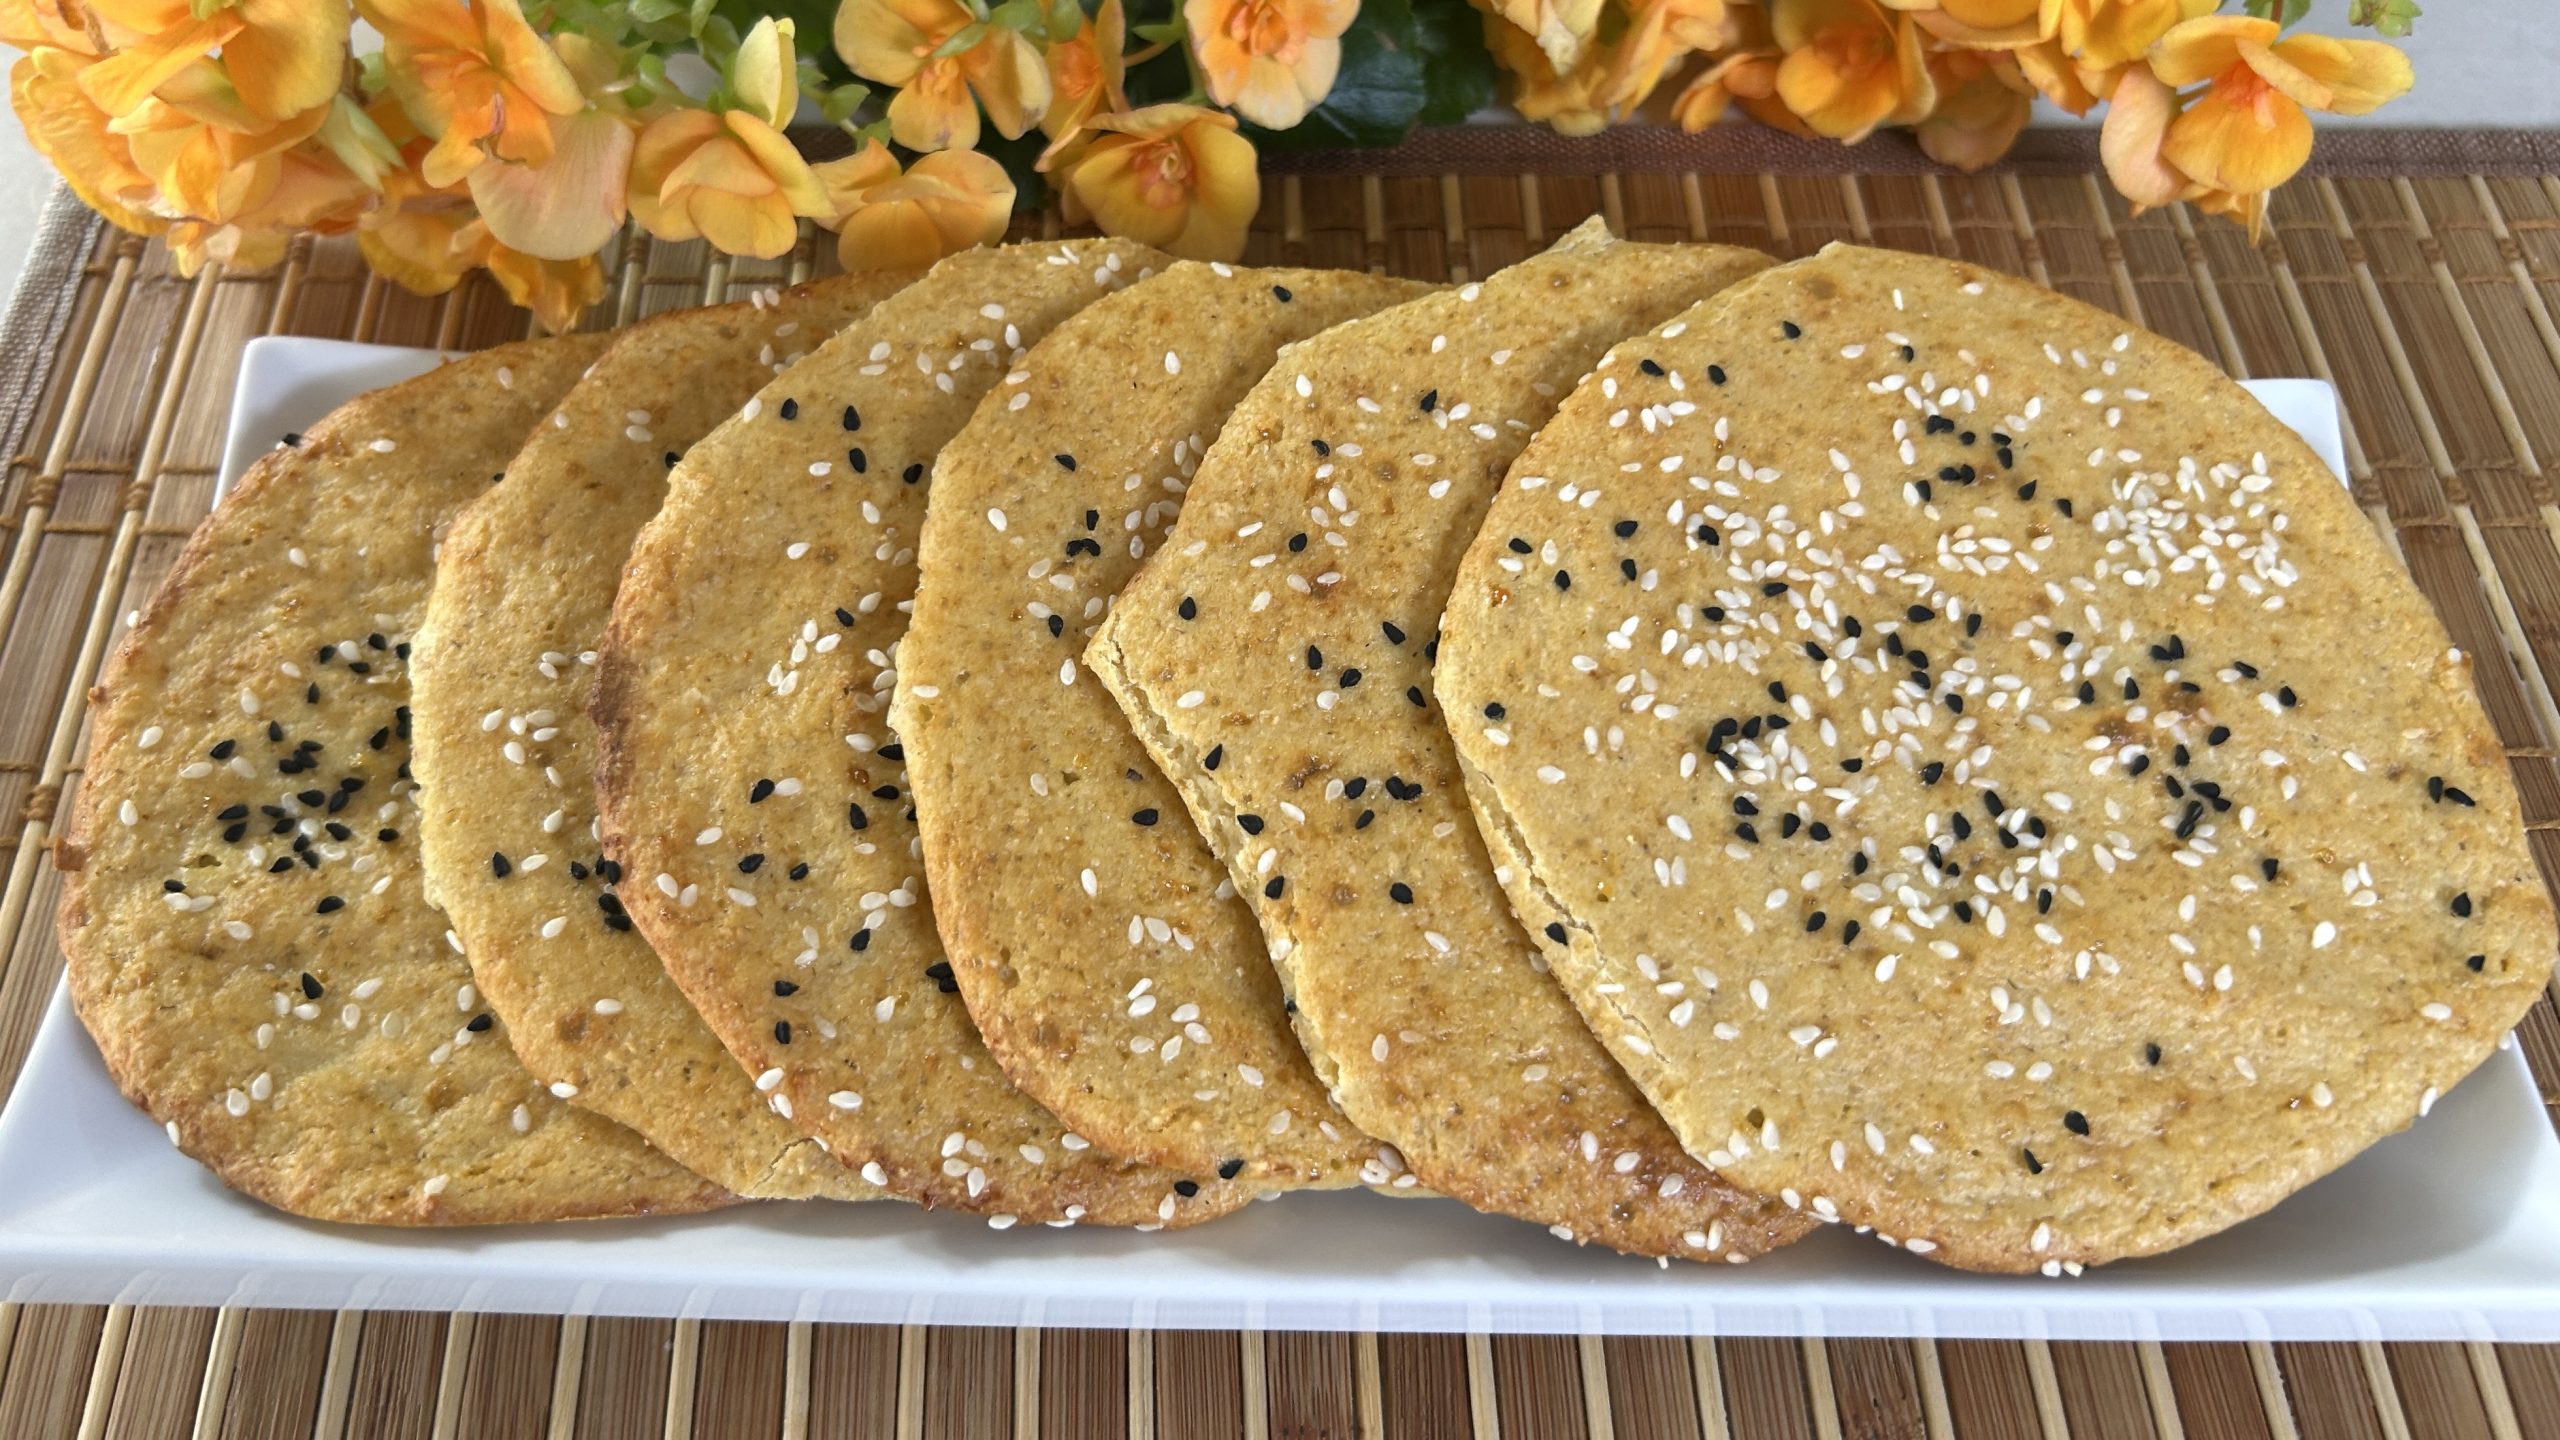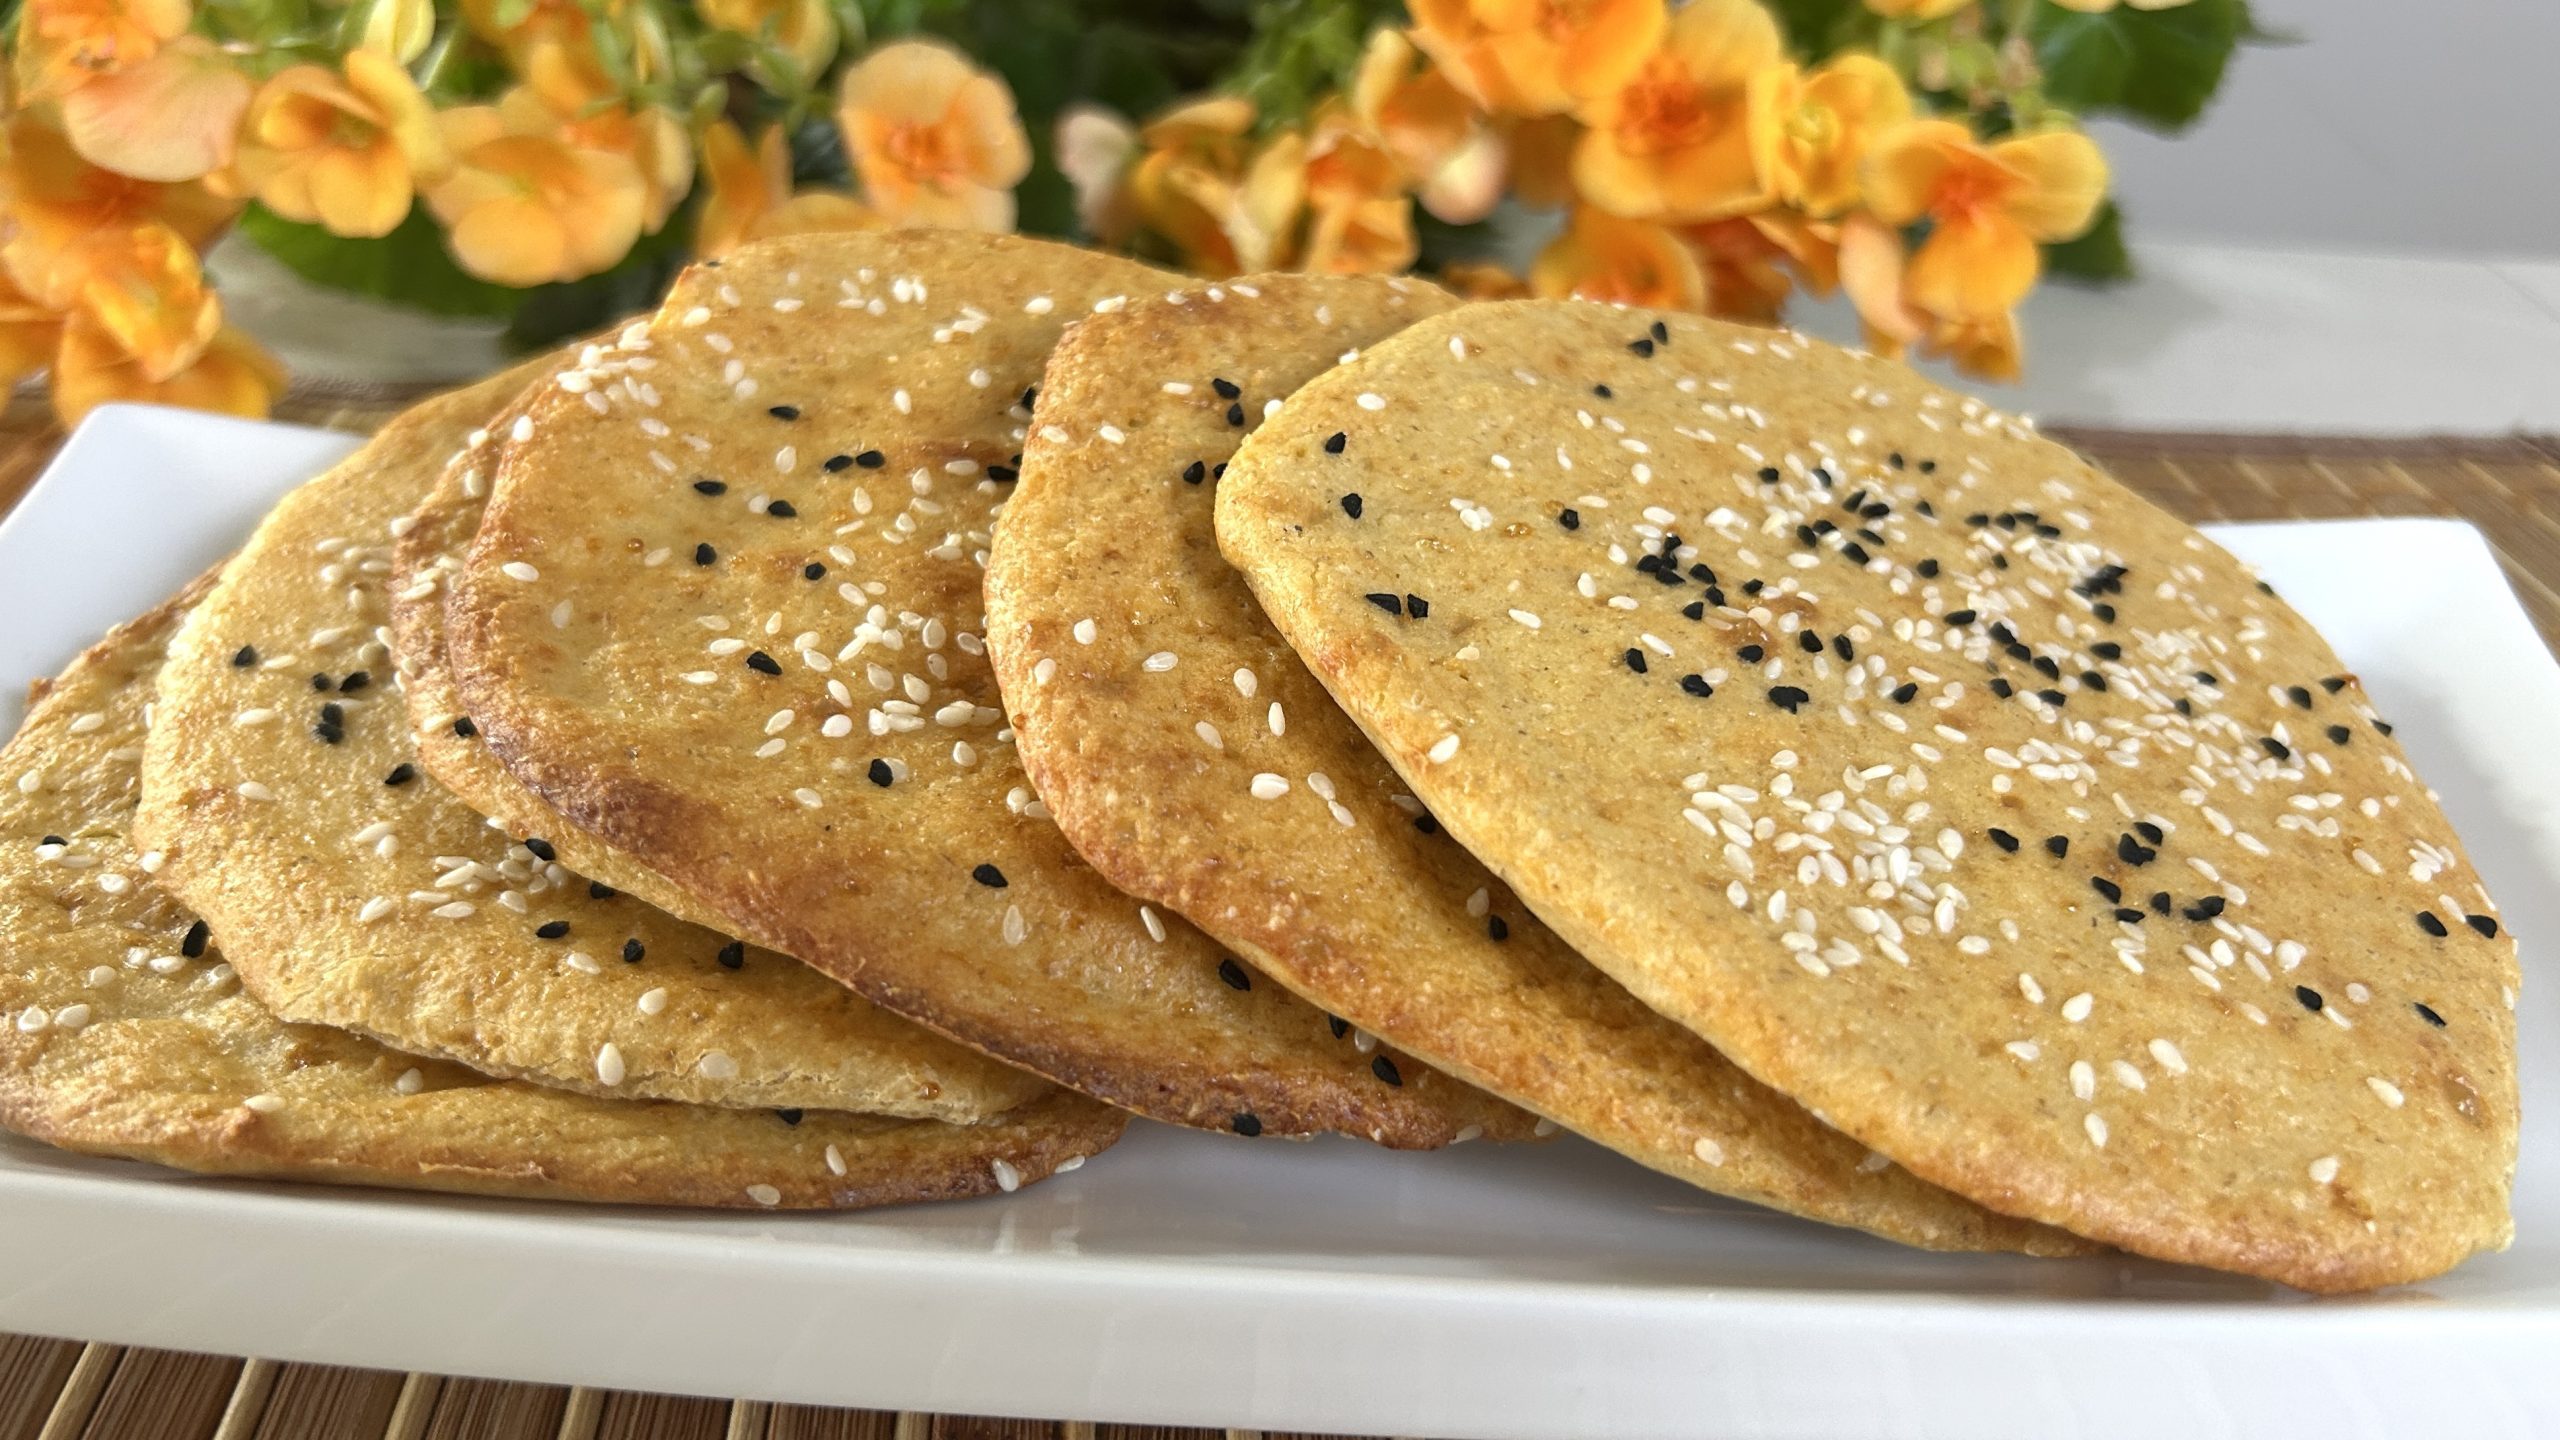
Buckwheat Crepes

Buckwheat Crepes

Gluten-Free Buckwheat Crepes


Let me take you on a little journey into the world of buckwheat! If you’re someone who loves starting the day with a wholesome breakfast or indulging in a light and guilt-free dessert, this recipe is going to win your heart. Buckwheat crepes are not just delicious; they’re a celebration of nutrition, simplicity, and versatility. Despite its name, buckwheat isn’t a type of wheat at all, it’s a seed that’s naturally gluten-free, making it a fantastic choice for anyone looking to avoid gluten while still enjoying all the textures and flavors we crave in a good crepe.

Now, why should buckwheat be on your diet? For starters, it’s a nutritional powerhouse. Packed with antioxidants, magnesium, and copper, buckwheat supports everything from heart health to digestion and energy production. It’s also rich in fiber, which helps keep you feeling full and satisfied long after your meal. If you’ve been looking for a way to add more whole, nutrient-dense foods into your diet, buckwheat is a fantastic place to start.

These crepes are thin, tender, and incredibly easy to make. You don’t need any fancy equipment or unusual ingredients, just a few pantry staples and a bit of soaking time for the wholesome buckwheat. Once cooked, they’re endlessly customizable. Have a sweet tooth? Pair them with fresh fruits, a drizzle of maple syrup, or your favorite nut butter or homemade chocolate spread. Prefer savory? Think smoked salmon, avocado, or a dollop of herbed yogurt. Whether you’re hosting a cozy brunch, meal-prepping for the week, or simply treating yourself to something special, these crepes are perfect.

What I love most about this recipe is how approachable it is, even for beginners. There’s no need to stress over making them perfect—buckwheat batter is forgiving, and the end result is always satisfying. Plus, these crepes freeze wonderfully, so you can enjoy them on your busiest mornings without compromising on quality or nutrition.

So, grab your buckwheat, set aside a little time, and let’s create something wholesome, beautiful, and oh-so-delicious together! Ready to dive in? Let’s get cooking!


Ingredients
1 cup (180 g) raw buckwheat
1 ½ cups (360 ml) milk of your choice (regular or plant-based)
2 large eggs
3 tbsp (45 ml) avocado oil (or another neutral oil)
3 tbsp (45 ml) maple syrup (or another sweetener)
A pinch of salt (optional)
1 tsp (5 ml) vanilla extract

Directions

  1. Start by soaking the raw buckwheat in water for at least 4 hours or overnight. For best results, refrigerate it during the soaking time.
  2. After soaking, rinse the buckwheat thoroughly under running water to remove the slimy texture.
  3. Strain the buckwheat well to ensure no excess water remains.
  4. Transfer the soaked and rinsed buckwheat to a blender.
  5. Add milk, eggs, avocado oil, maple syrup, a pinch of salt (if using), and vanilla extract to the blender with the buckwheat.
  6. Blend the mixture until the batter becomes silky smooth and runny.
  7. Transfer the batter into a large bowl. Let it rest for 30 minutes at room temperature if you prefer—a step that helps improve the texture.
  8. Heat a nonstick pan over medium heat and lightly brush it with coconut oil or another neutral oil.
  9. Pour about 1/3 cup of batter into the pan, tilting the pan immediately to spread the batter evenly and thinly.
  10. Cook the crepe on one side until the top surface appears dry, about 2 minutes.
  11. Flip the crepe gently and cook the second side for another minute or until lightly browned.
  12. Repeat with the remaining batter, lightly greasing the pan as needed between crepes.
  13. Serve warm with your favorite toppings like fresh fruit, yogurt, nut butter, or savory fillings.

Prep Time: 10 minutes
Pan Cooking: 40 minutes
Servings: 12

Nutritional Information (Per Serving)
Energy: 124 calories
Protein: 4.04 g
Fat: 5.41 g
Carbohydrates: 14.25 g
Fiber: 1.5 g

Storage
Store leftover crepes in an airtight container in the fridge for up to 5 days.

Freeze individual crepes separated by parchment paper for up to 3 months.

Notes

For dairy-free crepes, substitute regular milk with almond, oat, or soy milk.

You can substitute maple syrup for your sweetener of choice and coconut oil for another oil you may prefer better.

These crepes are highly versatile and work equally well with sweet or savory toppings. Enjoy them fresh for the best taste and texture.


Vegan Brownies

Vegan Brownies

Vegan Brownies

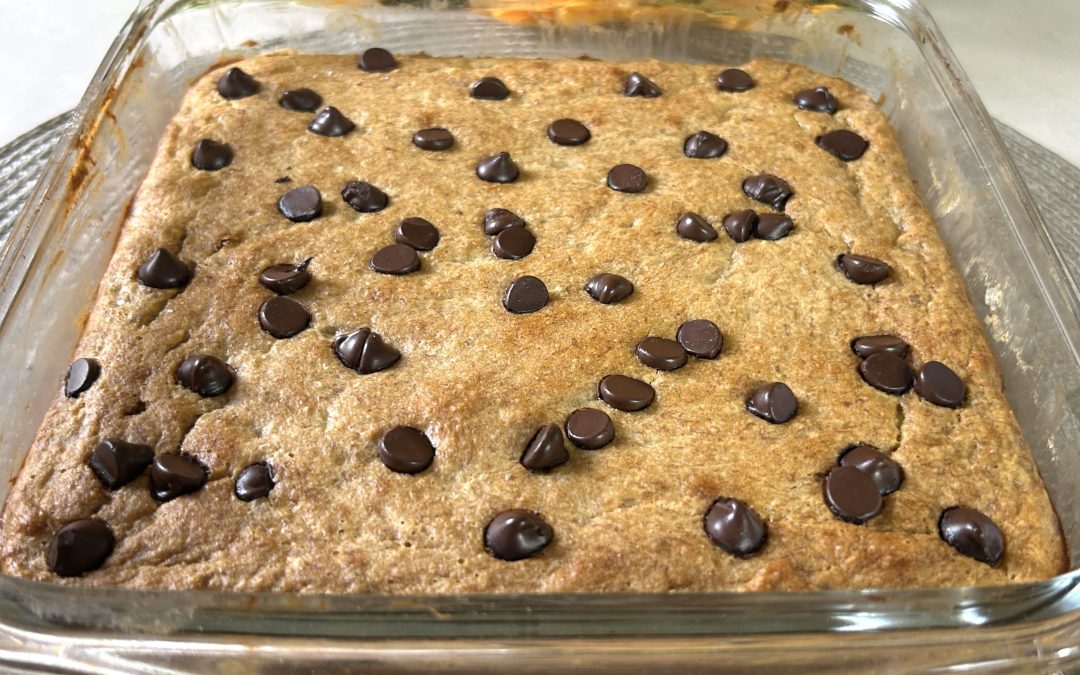
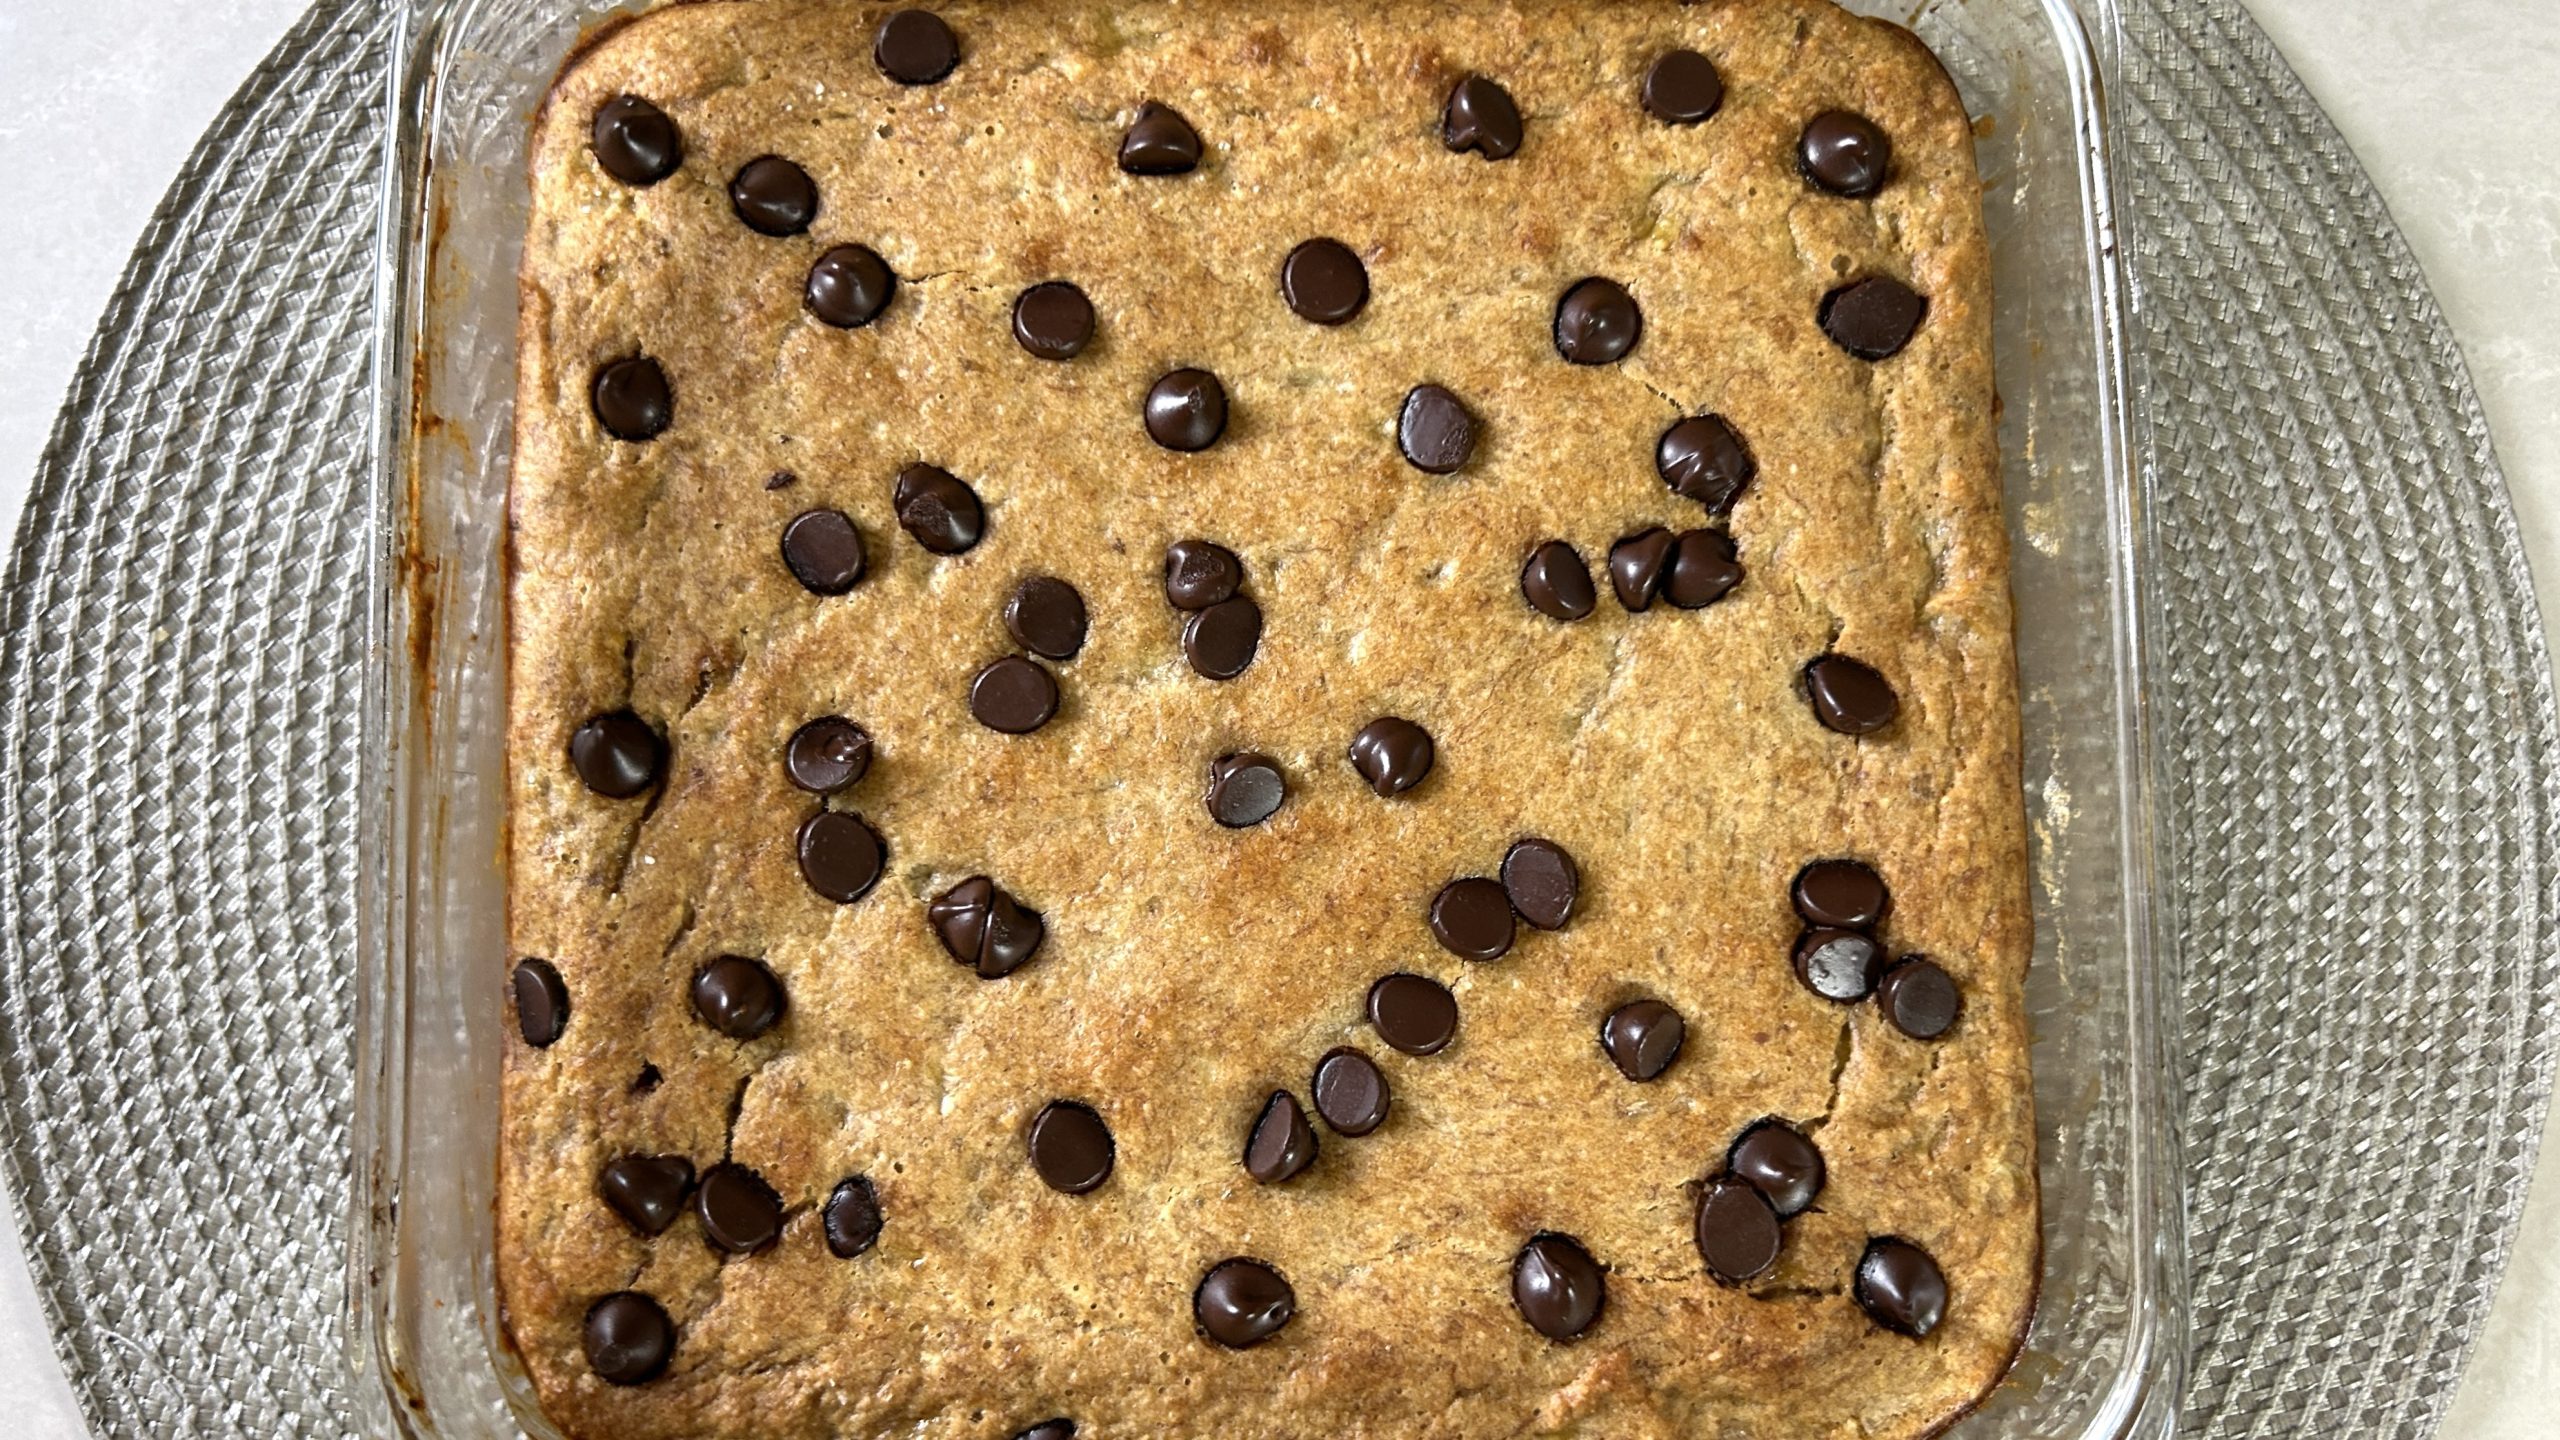
You’ll be amazed at how just a few simple, plant-based ingredients can create the most delectable vegan brownies! These treats are irresistibly soft, chocolatey, and naturally sweetened, making them a perfect go-to snack or even a quick breakfast option. With the delightful combination of ripe bananas, creamy peanut butter, and oat flour, you’re looking at a treat that’s not only indulgent but also nutritious, packed with fiber, protein, and healthy fats to keep you energized throughout the day.

What makes these brownies truly special is their ability to deliver a wholesome snack with minimal effort, using ingredients you likely already have at home. You can easily whip these up in a pinch, and the results are fantastic every time! Whether you’re in the mood for a quick pick-me-up, or looking to enjoy a more guilt-free dessert, these vegan brownies are bound to become a staple in your kitchen.

Now, let’s talk about the key ingredient: oats. Oats are a wonderful grain to incorporate into your diet regularly. Rich in beta-glucan, a type of soluble fiber, oats can help lower cholesterol levels, improve heart health, and provide long-lasting energy without spiking your blood sugar. They are also a great source of essential vitamins and minerals like manganese, magnesium, and iron. For anyone dealing with iron deficiency or looking to boost their iron intake, oats are a solid plant-based option to support a healthy, balanced diet. Incorporating oats into your diet is a smart choice for sustained energy and overall well-being.

Ingredients:

  • 2 ripe bananas (320 g)
  • 1/3 cup (90 g) unsweetened peanut butter
  • 4 tbsp (20 g) sifted cocoa powder
  • 1/4 cup (25 g) oat flour
  • 1 tsp. baking powder
  • 20 g chocolate chips (optional)

Directions:

  1. Preheat your oven to 350°F (175°C).
  2. In a large mixing bowl, mash the ripe bananas with a fork until they’re fully puréed and smooth.
  3. Add the unsweetened peanut butter and sifted cocoa powder, stirring until the mixture is smooth and well combined.
  4. Add the oat flour and baking powder, and gently stir until just combined. Be careful not to overmix the batter.
  5. Prepare your mini-cake cups by lining them with parchment paper.
  6. Spoon equal amounts of the batter into the prepared mini-cake cups. Use the back of a spoon to smooth the tops of the batter.
  7. If desired, sprinkle some chocolate chips on top of the batter for extra richness.
  8. Place the mini-cake cups in the preheated oven and bake at 350°F (175°C) for 15 to 20 minutes. Avoid over-baking to keep the brownies soft and moist.
  9. Once baked, remove the brownies from the oven and transfer them onto a cooling rack.
  10. Let the brownies cool for a few minutes before serving. Enjoy with your favorite beverage!

Prep Time: 10 minutes
Baking Time: 20 minutes
Servings: 6 servings

Nutritional Information (per serving):

  • Energy: 170 calories
  • Protein: 5.85 g
  • Fat: 7.1 g
  • Carbohydrates: 23.48 g
  • Fiber: 2.9 g

Storage:

  • Store the brownies in an airtight container at room temperature for up to 3 days.
  • For longer storage, refrigerate for up to 7 days.

Notes:

  • You can customize this recipe by adding chopped nuts or dried fruits for extra texture and flavor.
Gluten-Free Pear Pie

Gluten-Free Pear Pie

Gluten-Free Pear Pie

There’s something magical about pears in the fall, their juicy sweetness transforming into something extraordinary when baked into a delicious pie. This Gluten-Free Almond Flour Pear Pie is a simple yet elegant way to celebrate the season’s bounty. Made with just a handful of ingredients, it combines the natural sweetness of pears with the nutty richness of almond flour. This pie is incredibly easy to prepare, yet it delivers a sophisticated flavor profile that’s perfect for any occasion, from casual gatherings to more special occasions.

What’s unique about this pie is its simplicity, just three key ingredients create a flavorful dessert that’s both gluten-free and nutritious. The soft, moist texture of the pears pairs beautifully with the light, airy batter made from whipped egg whites and almond flour. If you’re looking for a dessert that feels indulgent.

Almond flour is an incredible ingredient that is not only gluten-free but also rich in nutrients. It’s packed with healthy fats, primarily unsaturated fats, which are beneficial for heart health. Almonds are also a good source of protein, vitamin E (an antioxidant that supports skin health), and magnesium, which helps with muscle and nerve function.

Regular consumption of almonds and almond-based products like almond flour can contribute to better cholesterol levels and a more balanced blood sugar response. Including almond flour in your diet is a great way to incorporate plant-based proteins, healthy fats, and essential micronutrients. Whether you’re avoiding gluten or simply looking to add variety to your diet, almond flour is a versatile ingredient that deserves a spot in your regular meal planning.

Ingredients:

  • 3 eggs (separated into yolks and whites)
  • ⅓ cup (80 ml) maple syrup
  • 1 tsp. vanilla extract
  • 1 ½ cups (150 g) almond flour
  • 3 large ripe pears (about 465 g)
  • Optional: 15 g almond slices for topping

Directions:

  1. Begin by separating the egg yolks from the egg whites.
  2. Using an electric mixer or whisk, beat the egg whites until stiff peaks form. Set aside.
  3. In a separate mixing bowl, combine the egg yolks, maple syrup, and vanilla extract. Stir until the mixture is smooth and well combined.
  4. Add the almond flour to the mixture, stirring to fully incorporate the flour into the batter.
  5. Once the batter is smooth, gently fold in the whipped egg whites. Stir gently to keep the mixture light and airy.
  6. Line a circular baking pan (8.5 inches or 21 cm) with parchment paper, then pour the batter into the pan, spreading it evenly.
  7. Peel, core, and halve the pears. Slice each half thinly, but do not separate the slices completely. Arrange the pear halves on top of the batter in a flower-like pattern.
  8. Sprinkle almond slices over the top of the pears if desired.
  9. Bake in a preheated oven at 350°F (180°C) for 40 minutes or until the pie turns golden brown.
  10. Let the pie cool for a few minutes before slicing and serving.

Servings: 6
Prep Time: 30 minutes
Baking Time: 40 minutes

Nutritional Information (Per Serving):

  • Energy: 282 calories
  • Protein: 9.21 g
  • Fat: 16.22 g
  • Carbohydrates: 27.32 g
  • Fiber: 5.4 g

Storage:

  • Store any leftover pie in an airtight container in the fridge for up to 5 days.
  • For best results, warm the pie slightly before serving to enhance the flavors.
  • This pie is perfect for serving with a dollop of whipped cream or a scoop of vanilla ice cream.
Pumpkin Seed Chocolate Bars

Pumpkin Seed Chocolate Bars

Pumpkin Seed Chocolate Bars

Is there anything more satisfying than a homemade treat that’s both healthy and indulgent? Today, we’re diving into a simple yet incredibly delicious recipe—Pumpkin Seed Chocolate Bars. With just two core ingredients, dark chocolate and pumpkin seeds, this treat brings together the richness of chocolate and the crunchy, nutty flavor of seeds to create a perfect snack or dessert.

Dark chocolate, the star of many of our dessert recipes, is a powerhouse of antioxidants, particularly flavonoids, which are known to boost heart health. Not only does it taste good, but dark chocolate also contains essential minerals like iron, magnesium, and zinc, supporting various functions in the body, from blood production to muscle health. So, if you ever feel guilty about eating chocolate, remember that with dark chocolate, you can indulge a little more consciously.

Then we have pumpkin seeds, tiny but mighty. Packed with magnesium, zinc, and healthy fats, pumpkin seeds are fantastic for maintaining strong bones, boosting immune function, and even helping regulate blood sugar levels. Including them regularly in your diet means adding essential nutrients that support heart health, skin, and metabolism. Whether sprinkled over salads, eaten as a snack, or combined with chocolate (like in this recipe), they offer plenty of benefits.

This recipe is incredibly easy to make, and the best part? You can customize it to your taste with different add-ins like other seeds, nuts, or spices. Let’s dive into this fun, festive, and nutrient-packed treat!

Ingredients:

  • ¾ cup (100 g) pumpkin seeds
  • ¾ cup (100 g) dark chocolate
  • ⅛ tsp kosher salt (optional)
  • 5 g chocolate curls (optional)

Directions:

  1. Preheat the oven to 350°F (175°C) and spread the pumpkin seeds on a baking tray. Roast them for 10-12 minutes until golden and fragrant. Allow them to cool completely.
  2. You can use raw pumpkin seeds if that what you prefer. Roasting the seeds adds both crunch and flavor without much affecting their nutritional benefits.
  3. While the seeds cool, melt the dark chocolate using either a microwave in 30-second intervals or a double boiler. For smoother chocolate, you can stir in 1 teaspoon of coconut oil (optional).
  4. Once melted, allow the chocolate to cool slightly, but keep it in liquid form.
  5. Stir the cooled pumpkin seeds into the melted chocolate. Add a pinch of salt if desired and mix well.
  6. Spoon the mixture into bar molds (or any preferred shape) and distribute it evenly.
  7. Gently tap the molds on the counter to remove any air bubbles and spread the chocolate-seed mixture evenly.
  8. Sprinkle chocolate curls on top for decoration if you like.
  9. Place the molds in the fridge for at least 1 hour to set.
  10. Once the bars are firm, remove them from the molds and enjoy your homemade chocolate treats!

Prep Time & Baking Information:

  • Prep Time: 20 minutes
  • Baking Time: 12 minutes
  • Setting Time (Fridge): 1 hour
  • Servings: 9 bars

Nutritional Information (per serving):

  • Calories: 132
  • Protein: 4.27 g
  • Fat: 10.42 g
  • Carbohydrates: 6.55 g
  • Fiber: 2 g

Storage Recommendations:

  • Store in an airtight container in the refrigerator for up to 2 weeks.
  • These bars can also be frozen for up to 3 months.

Additional Notes:

  • For a personalized twist, you can substitute pumpkin seeds with other nuts or seeds or try different types of chocolate.
  • These bars make excellent homemade gifts when wrapped in festive paper or placed in a cute gift box.
Chickpea Flatbread—Italian Farinata

Chickpea Flatbread—Italian Farinata

Chickpea Flatbread—Italian Farinata

If you’re on the hunt for a flatbread recipe that is naturally gluten-free, rich in plant-based protein, and versatile enough to complement any dish, then this Chickpea Flatbread, inspired by the traditional Italian “Farinata,” is the one for you. Farinata is a beloved dish in Ligurian cuisine, known for its simplicity, a savory pancake-like bread made with chickpea flour, olive oil, and water. However, in this recipe, I’ve taken it up a notch by using whole chickpeas instead of just chickpea flour. This slight modification adds even more texture, flavor, and nutrients, making it even more satisfying.

 What’s truly magical about this flatbread is its balance of crispiness and tenderness, paired with subtle flavors of rosemary, sun-dried tomatoes, and black olives. It’s a beautiful accompaniment to soups, salads, or even a base for a light, savory sandwich. But don’t be afraid to enjoy it on its own, its nutty taste and perfectly golden crust make it a star at the table.

Let’s talk about chickpeas—these humble legumes are a powerhouse of nutrition. They are high in plant-based protein, fiber, and essential nutrients like folate, manganese, and iron. Including chickpeas in your regular diet can offer numerous health benefits. For instance, their high fiber content aids digestion and promotes a healthy gut. The protein they provide is particularly helpful for those on a vegetarian or vegan diet, helping to meet daily protein needs without relying on animal products.

Another bonus? Chickpeas have a low glycemic index, which means they help stabilize blood sugar levels. This makes them an excellent choice for anyone looking to manage their blood sugar or simply make more balanced, nutritious food choices. And because chickpeas are so versatile, you can incorporate them into everything from salads to stews or, as we’re doing today, in this fantastic flatbread. Trust me, once you taste this, chickpeas might just become a regular guest at your dinner table!

Ingredients:

  • 1 cup (180 g) raw chickpeas
  • 2 ½ cups water, room temperature
  • 3 tbsp. olive oil, plus 2 tbsp. for drizzling
  • ½ tsp. salt
  • Black pepper to taste (optional)
  • 20 g chopped dried tomatoes
  • 20 g sliced black olives
  • Fresh rosemary leaves

Directions:

  1. Soak the raw chickpeas overnight in water.
  2. Rinse and strain the chickpeas the next day.
  3. Blend the soaked chickpeas with water until smooth and creamy.
  4. Add olive oil, salt, and optional black pepper, and blend again briefly to combine.
  5. Line a baking tray (17 inch x 11 inch; 43cm x 28cm) with parchment paper.
  6. Pour the batter onto the tray and spread evenly. Garnish with tomatoes, olives, and rosemary if desired.
  7. Drizzle additional olive oil over the top.
  8. Bake at 350°F (180°C) for 35-40 minutes until lightly browned. Cool slightly before slicing.

Prep Time:

  • Overnight soaking
  • 20 mins Prep
  • 40 mins Baking

Servings:

  • 8 Servings

Nutritional Information (Per Serving):

  • Energy: 169 calories
  • Protein: 4.76 g
  • Fat: 10.35 g
  • Carbohydrates: 14.84 g
  • Fiber: 3 g

Storage & Recommendations:

  • Store in an airtight container in the fridge for up to 1 week or in the freezer for up to 3 months.
  • Reheat in the oven or on a skillet to restore its crispy texture.
  • Enjoy as a snack, side dish, or use as a base for sandwiches or pizza-like creations.