Granola Inspired Cookies
Granola Inspired Cookies

Imagine taking all the wholesome goodness of granola, the crunch, the nutty flavors, and the nutrient-packed ingredients, and transforming it into a cookie. These granola-inspired cookies do just that! They combine the hearty nutrition of oats, the richness of nuts and seeds, and the subtle sweetness of maple syrup into a delightful, grab-and-go snack that’s perfect for any time of day. Whether you’re craving a satisfying post-workout treat, a midday pick-me-up, or something comforting with your evening tea, these cookies have you covered.
Oats, the star of this recipe, are an underrated superfood that deserves a regular spot in your diet. Packed with soluble fiber, they help lower cholesterol levels, promote a healthy heart, and stabilize blood sugar levels. The beta-glucans in oats are particularly effective in keeping you feeling full and energized for longer, making them a fantastic choice for anyone trying to maintain a balanced diet. Moreover, oats are rich in essential minerals like manganese, magnesium, and phosphorus, all of which play a role in supporting bone health, metabolism, and energy production.
By pairing oats with nutrient-dense nuts, seeds, and flours like almond, peanut, and pumpkin seed, this recipe becomes a powerhouse of health benefits. Healthy fats and proteins in the nuts and seeds not only support brain and heart health but also help sustain your energy throughout the day. And the best part? These cookies are highly customizable—you can swap in your favorite nuts, seeds, or even dried fruits to make them uniquely yours.
With their nourishing ingredients and adaptable nature, these cookies are more than just a treat; they’re a delicious way to take care of your body. Let’s dive into the recipe and whip up a batch of these wholesome, feel-good cookies!
Ingredients
- 1 cup (90 g) oat flour (made from rolled oats ground into flour)
- 2 tbsp. (18 g) almond flour
- 2 tbsp. (18 g) peanut flour
- 2 tbsp. (16 g) pumpkin seed flour
- 2 tbsp. (16 g) coconut flour
- 2 tbsp. (18 g) sesame seeds
- Pinch of salt (optional)
- 1 tsp. baking powder
- 7 g vanilla sugar
- 4 tbsp. (60 g) melted butter
- ¼ cup (60 ml) maple syrup
Directions
- Grind any whole nuts or seeds you plan to use. For this recipe, grind roasted peanuts or raw peanuts, and raw pumpkin seeds into flour. Roasted peanuts enhance the cookies with a rich nutty flavor.
- Preheat your oven to 350°F (180°C).
- In a large mixing bowl, combine the dry ingredients: oat flour, almond flour, peanut flour, pumpkin seed flour, coconut flour, sesame seeds, salt (if using), baking powder, and vanilla sugar. Mix well.
- Pour in the melted butter and maple syrup. Stir thoroughly until the mixture forms a smooth cookie dough.
- Adjust the dough consistency based on your texture preference. For softer cookies, reduce the oat flour by ¼ cup.
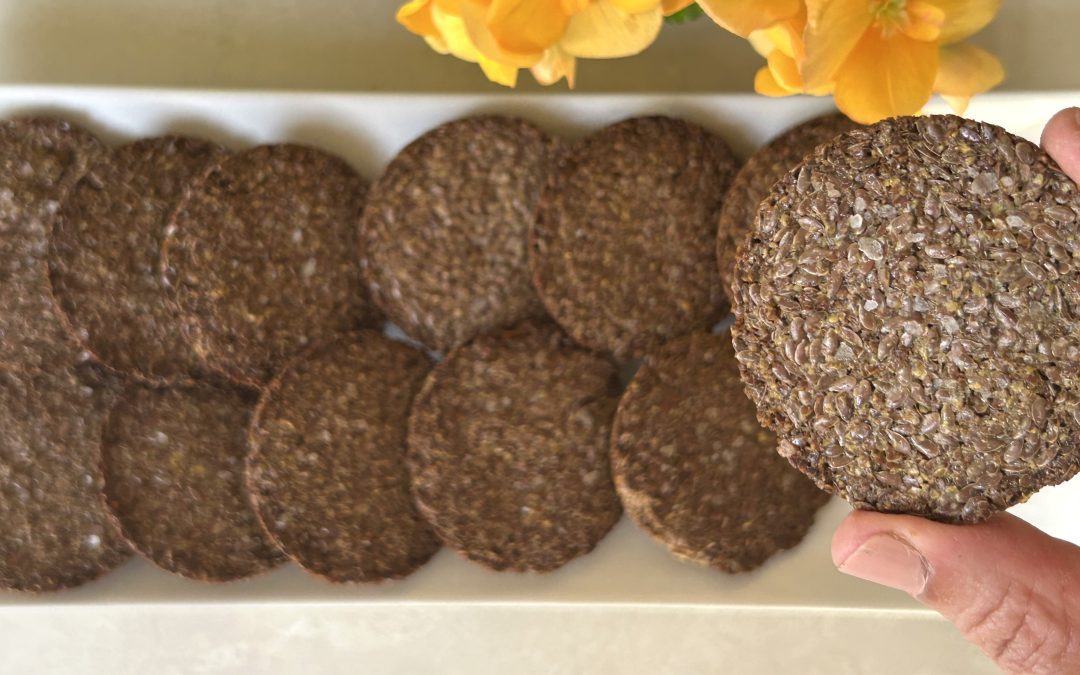
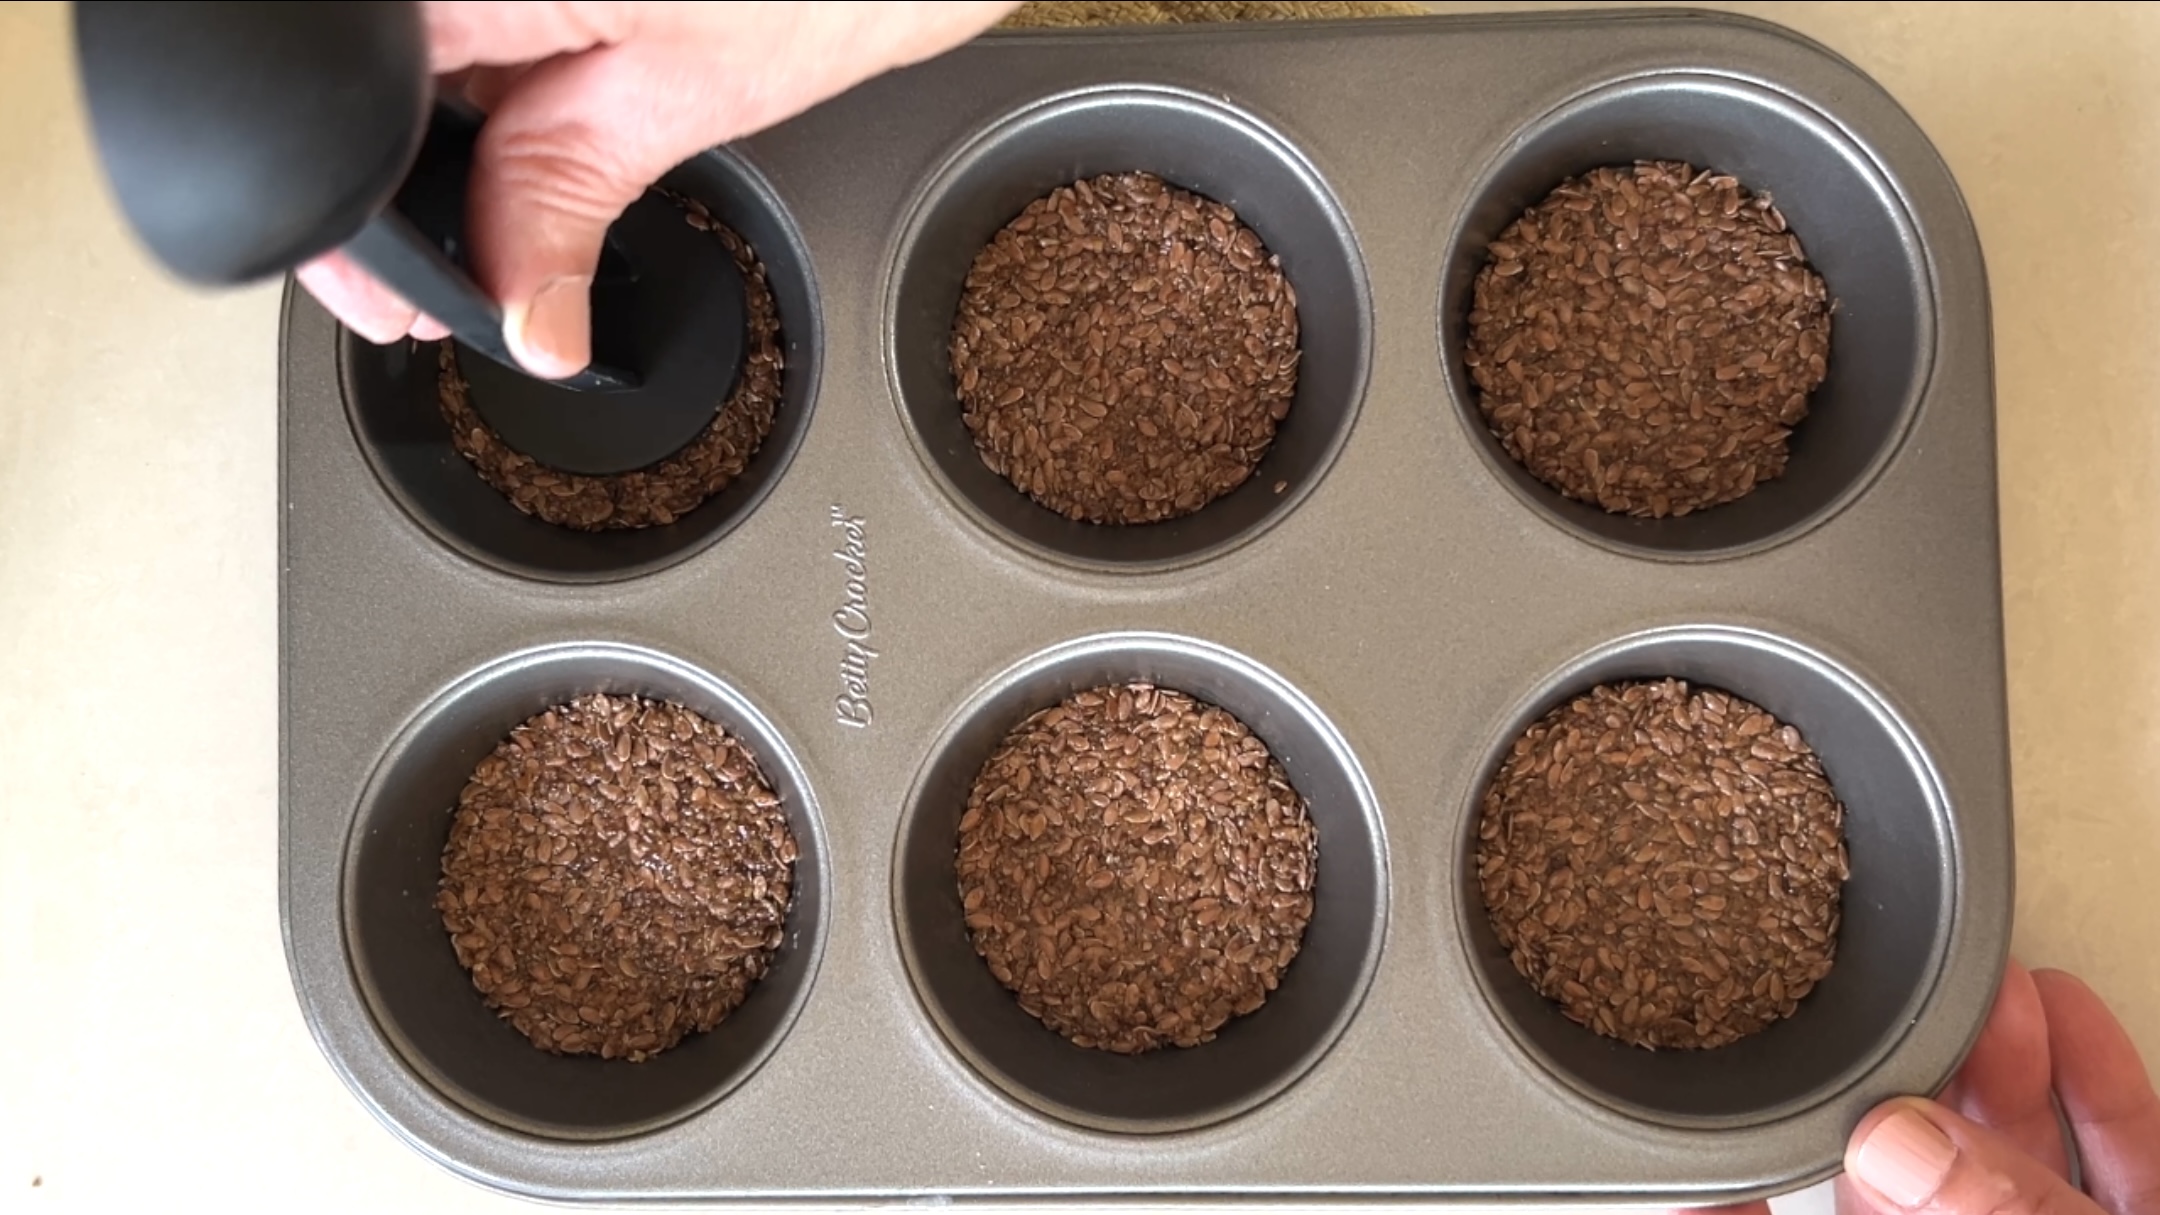
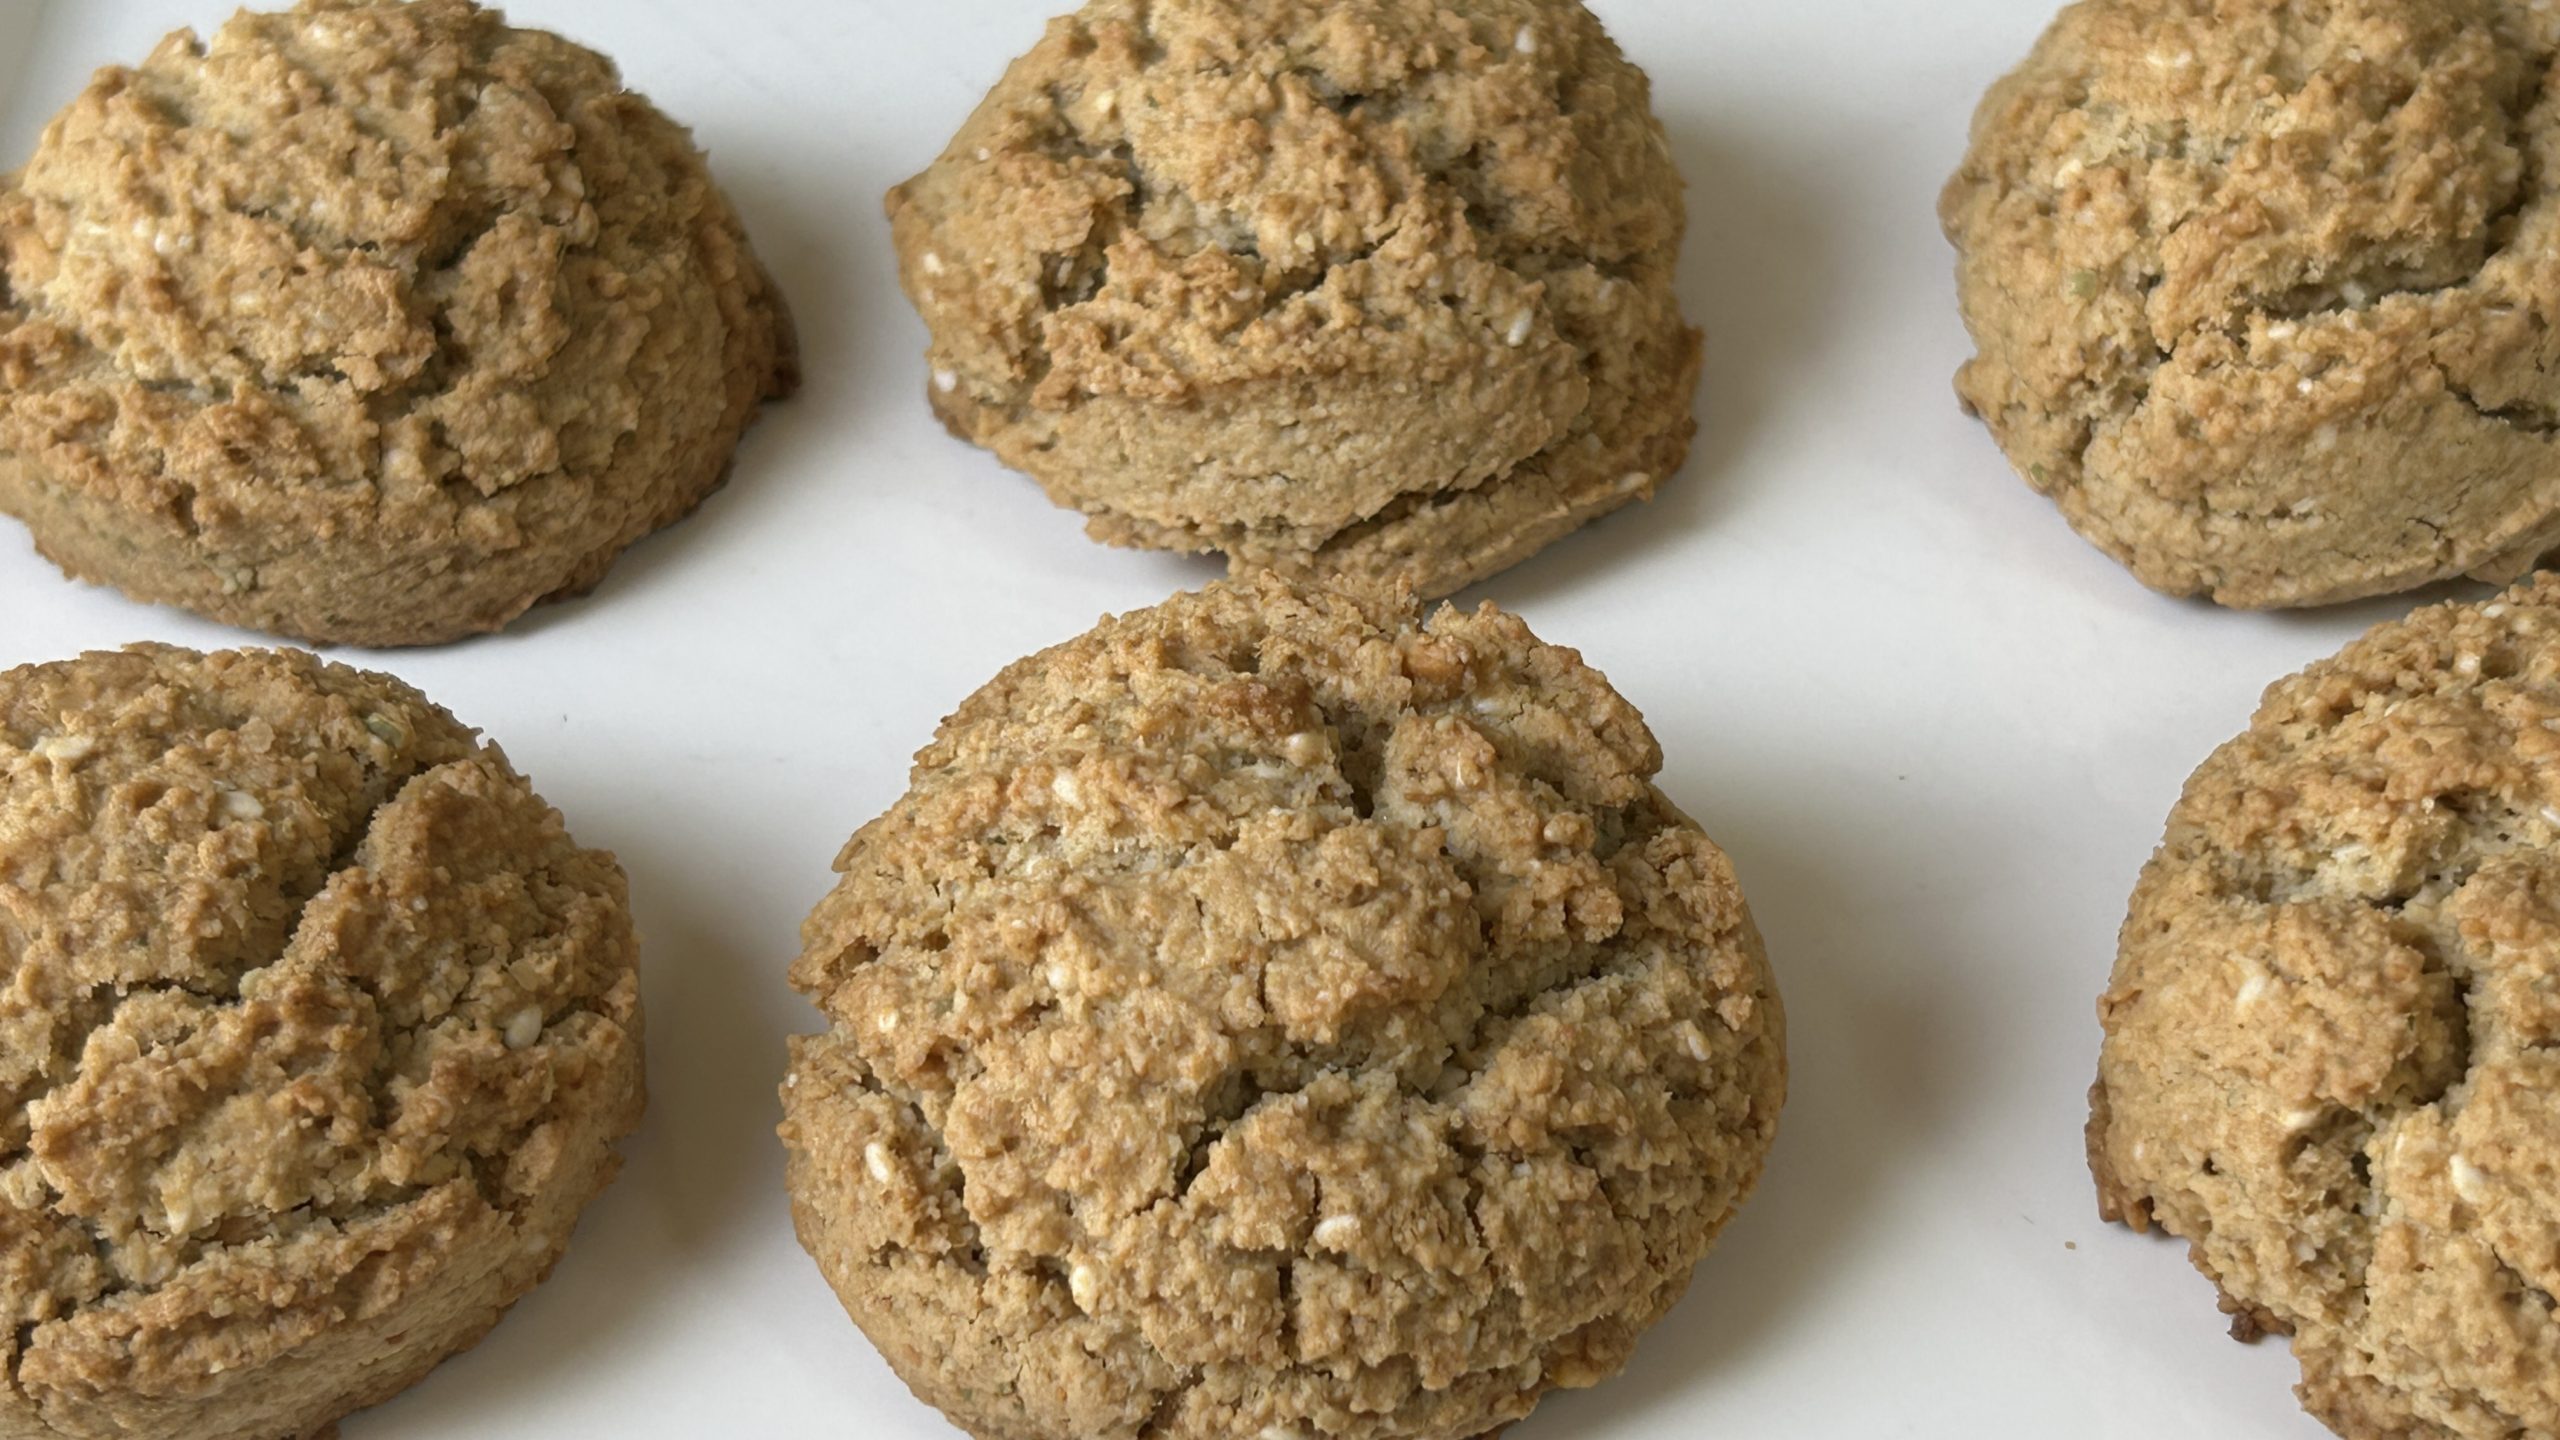
- Use an ice cream scoop to portion the dough into large cookie shapes, or form smaller, round cookies if you prefer.
- Place the cookies on a baking sheet lined with parchment paper.
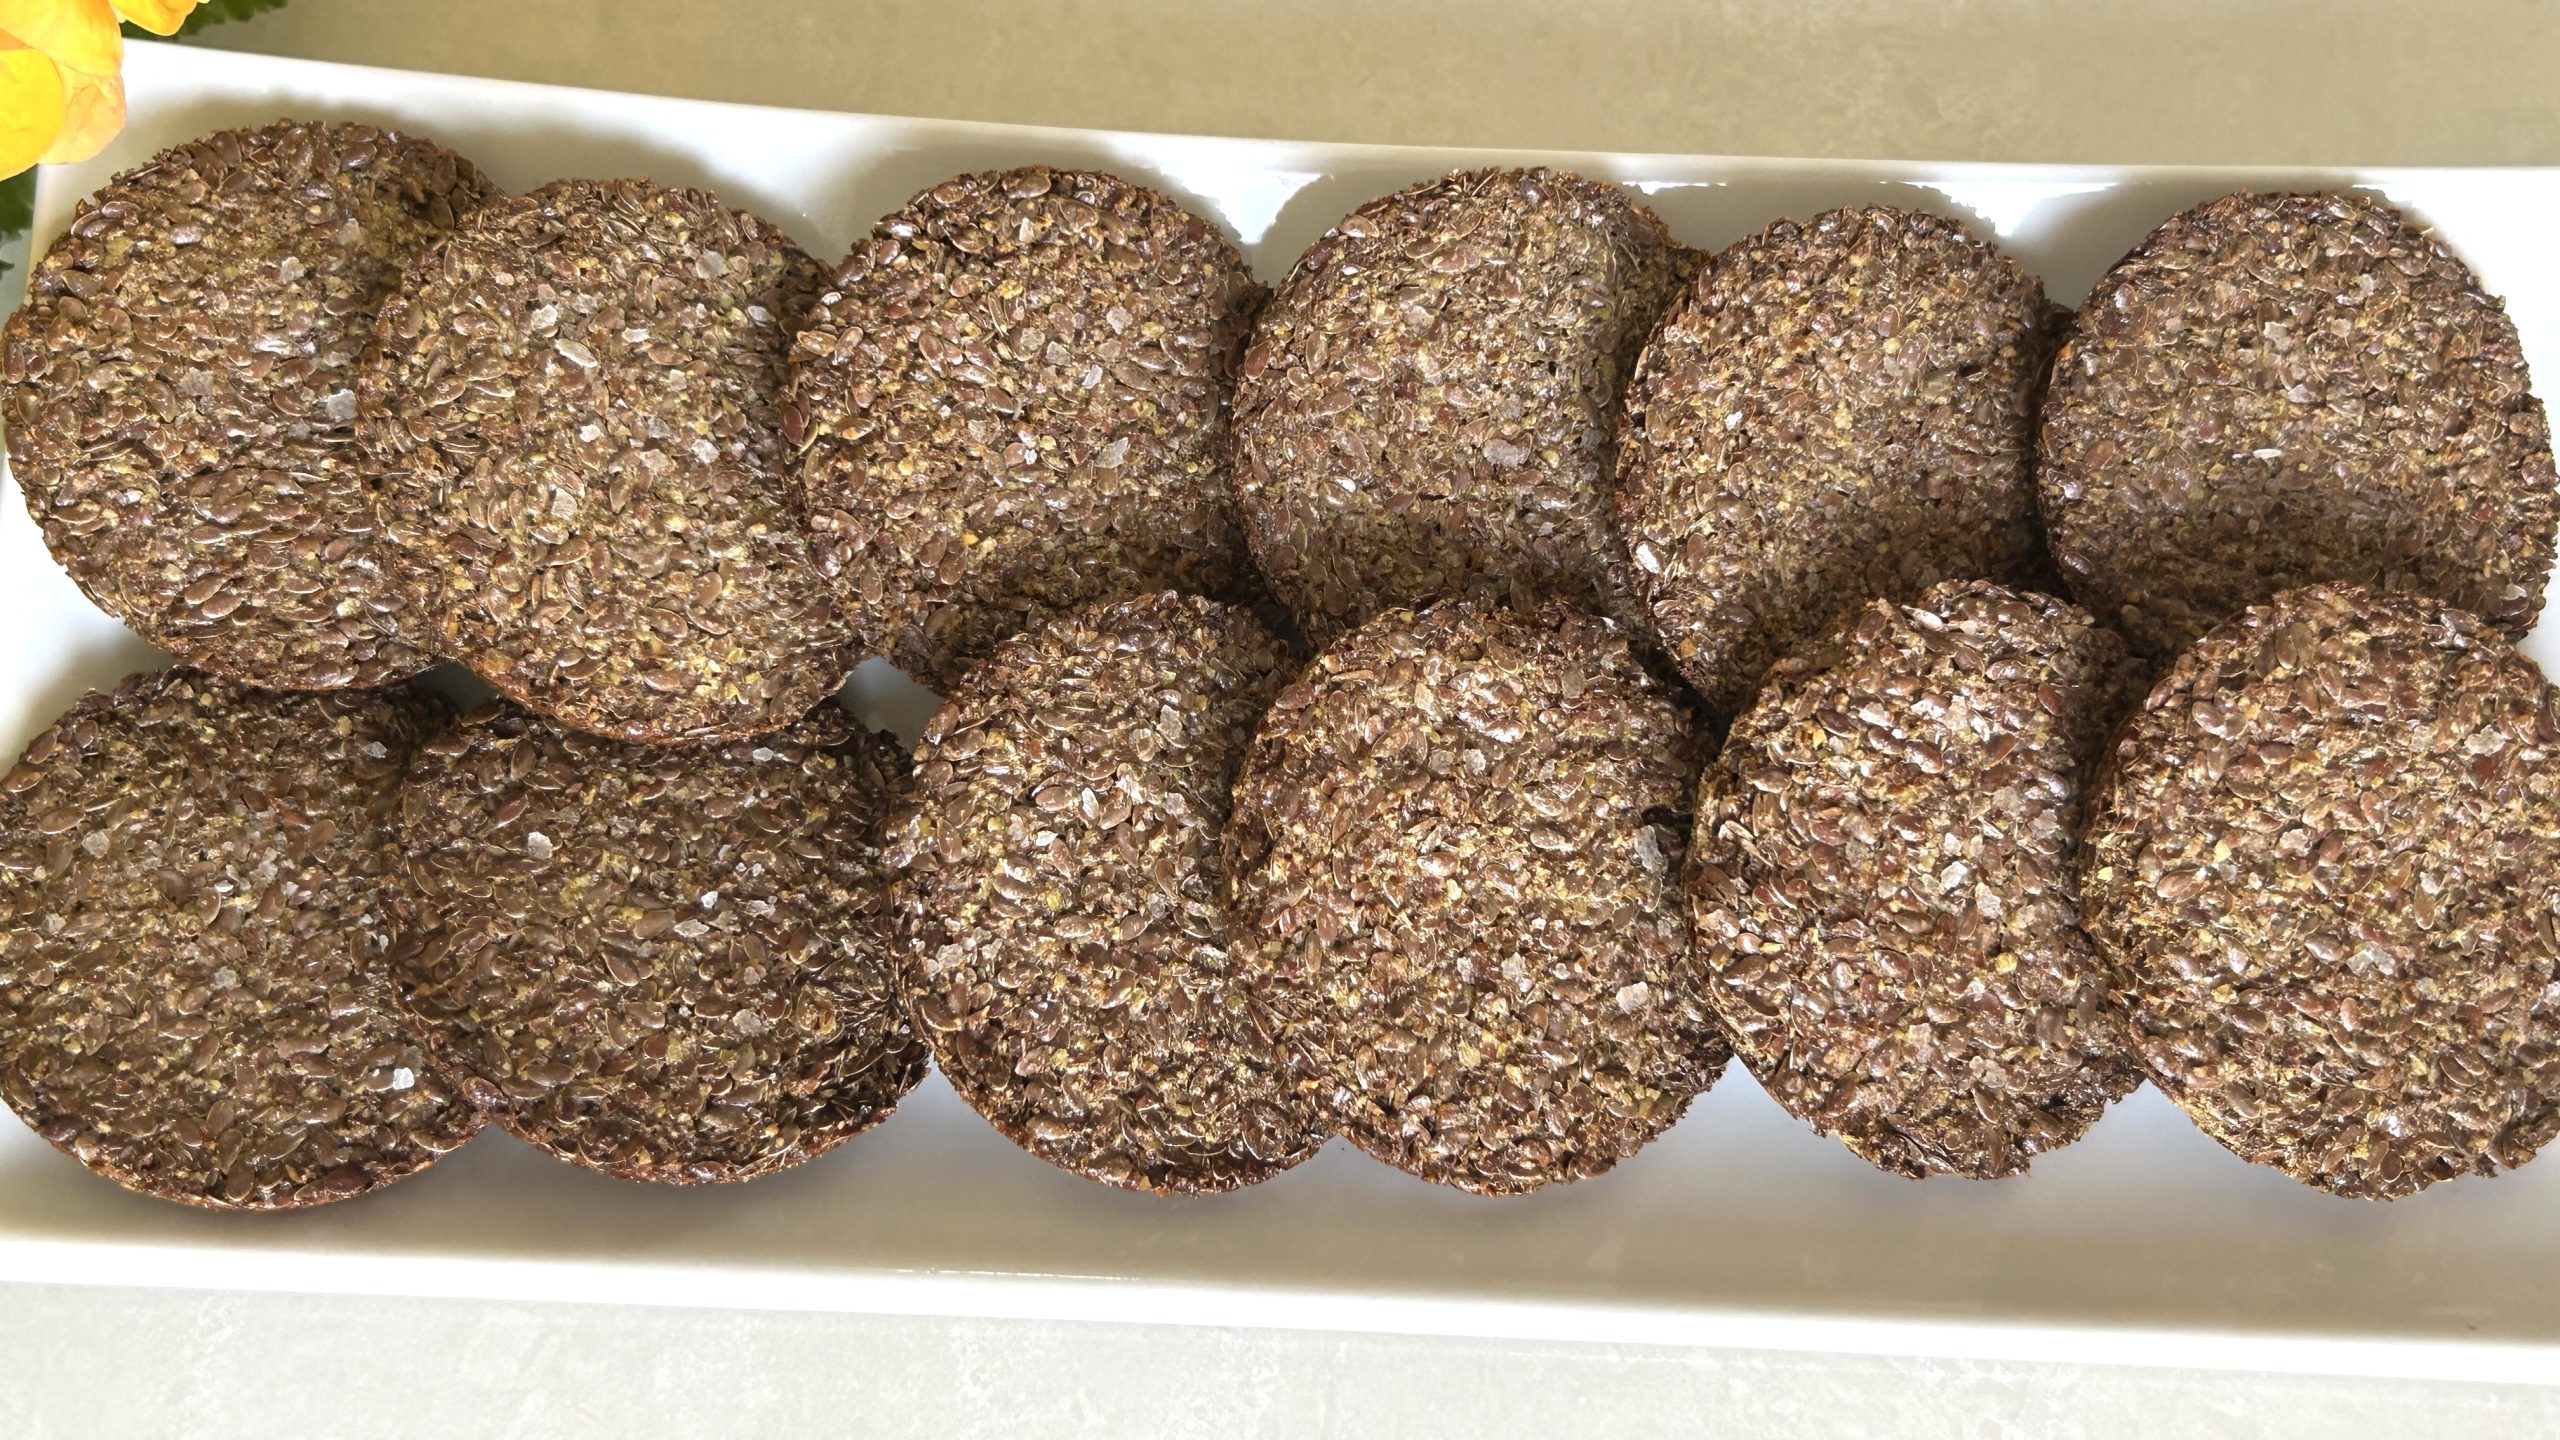
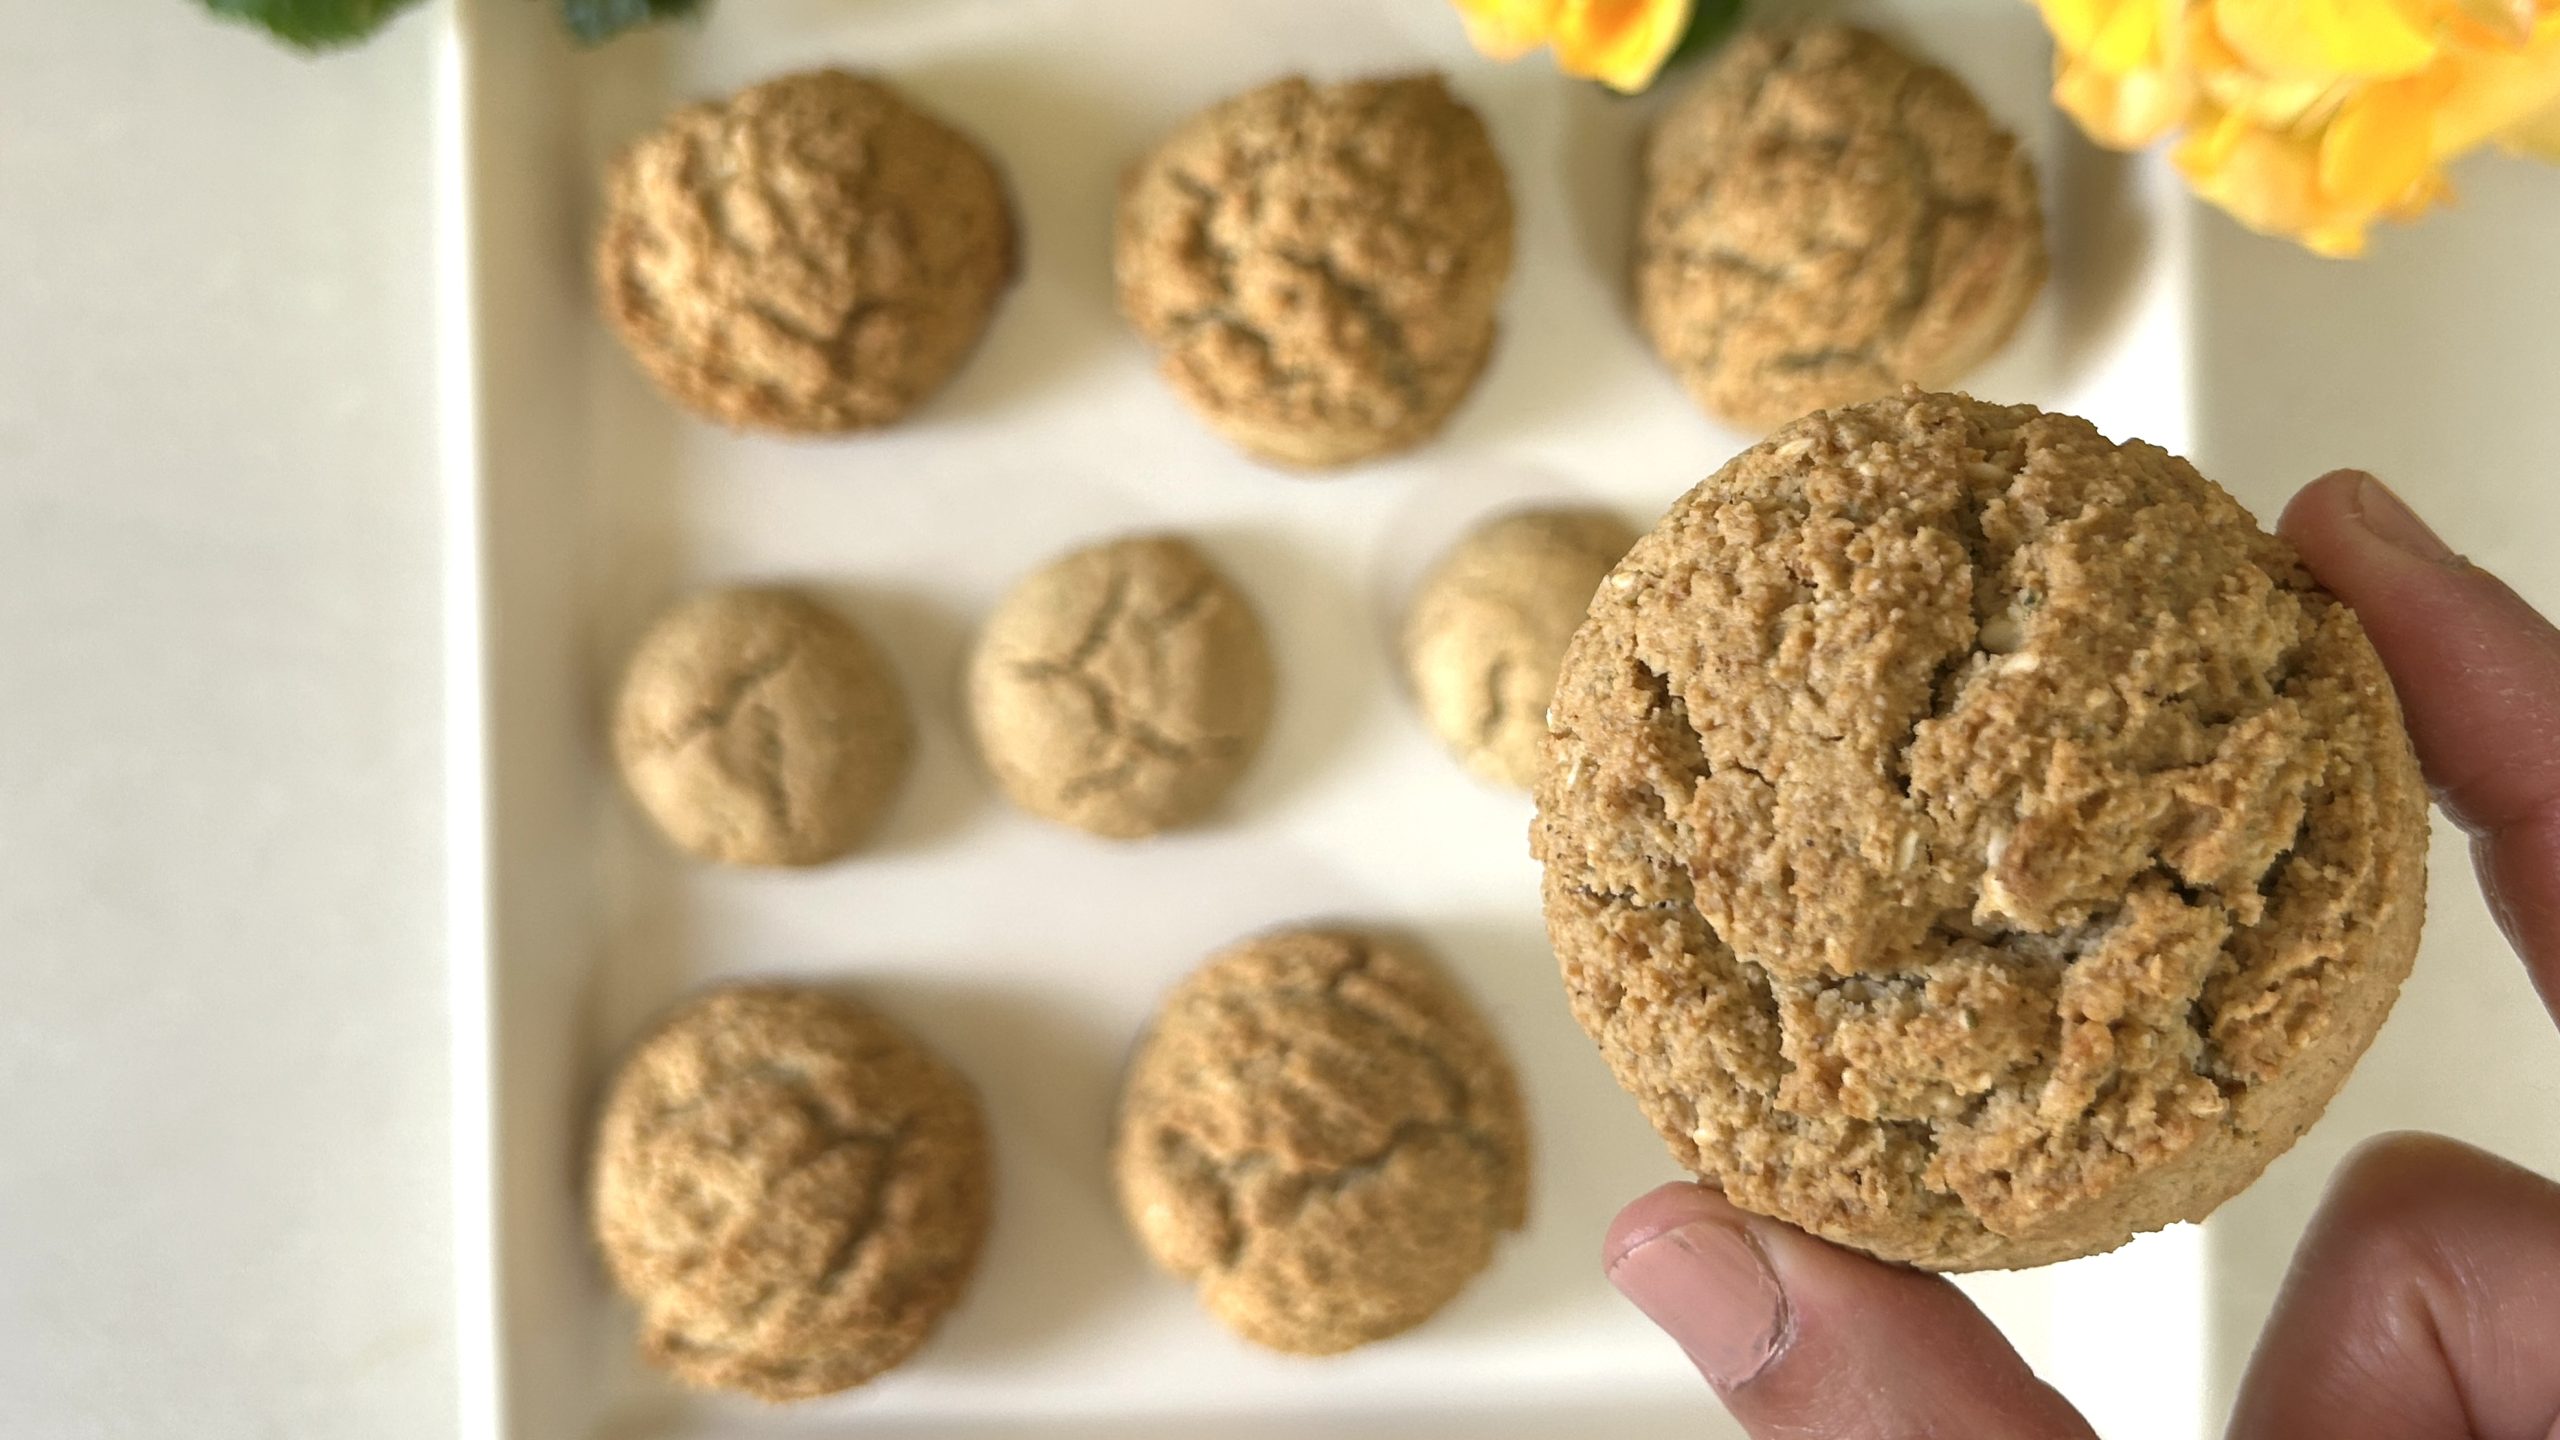
- Bake for 20 minutes or until golden brown.
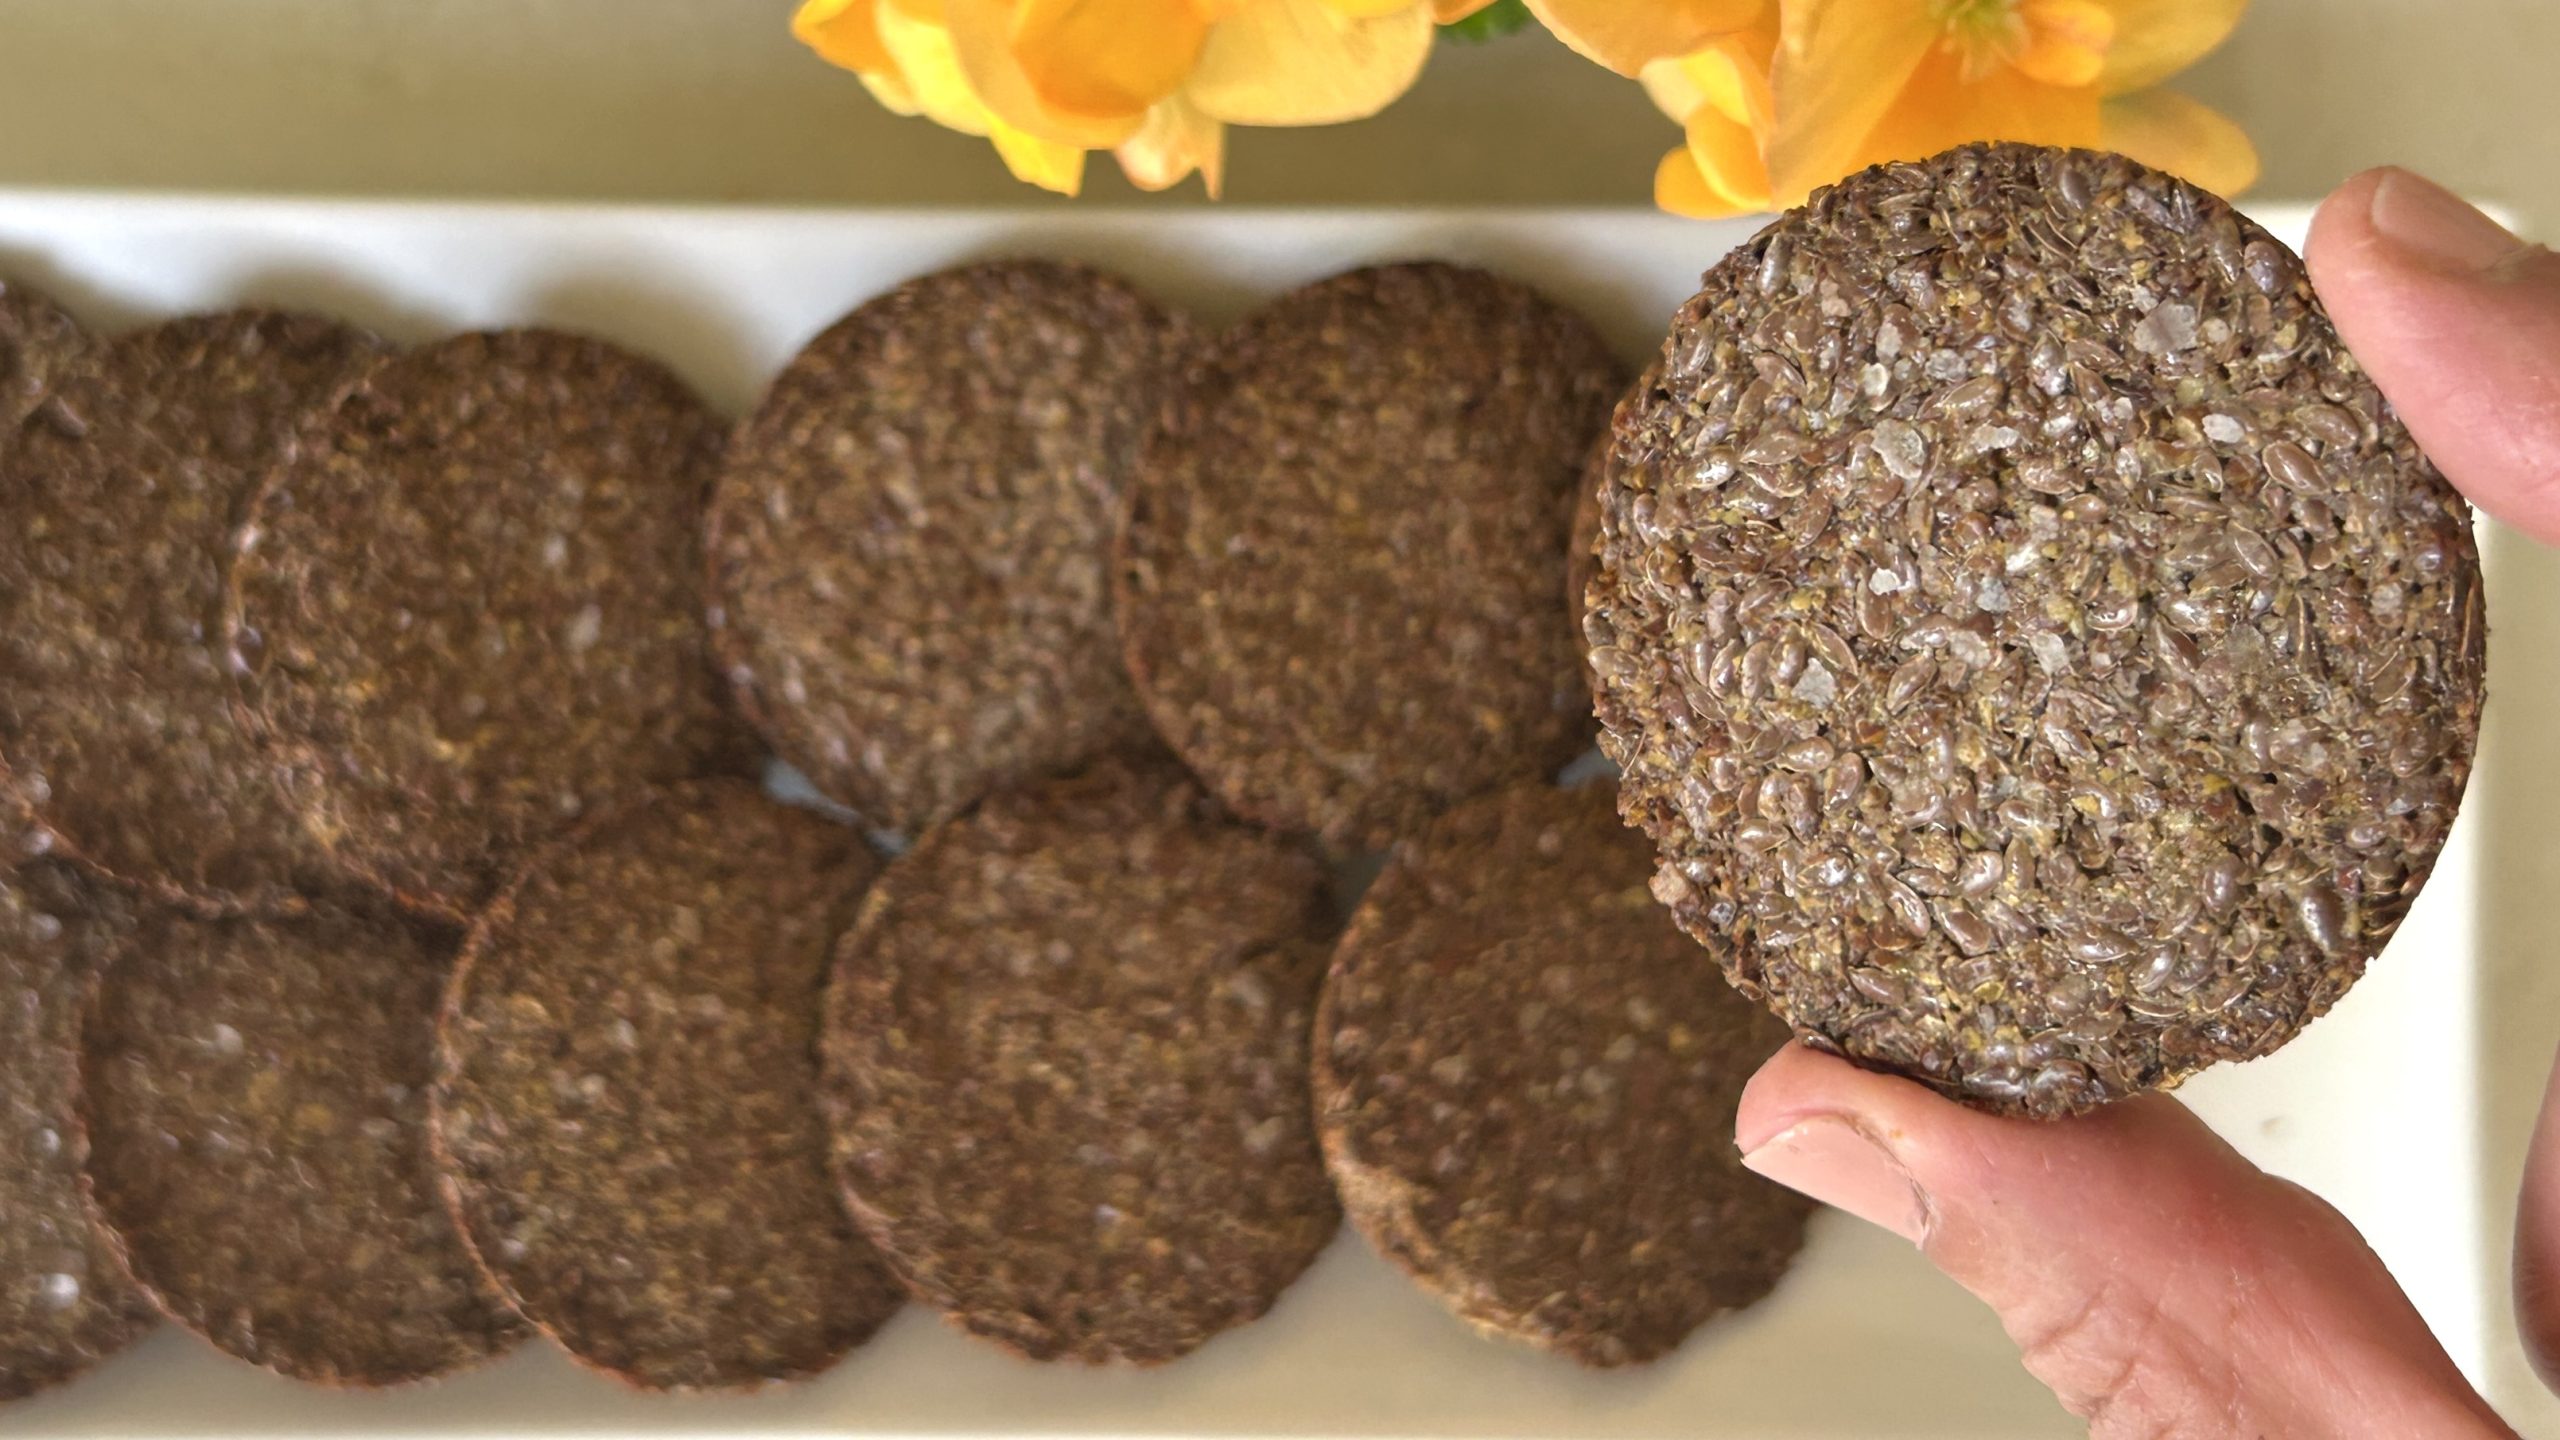
- Allow the cookies to cool slightly before enjoying them with a glass of milk or your favorite hot drink.
Prep Time: 20 minutes
Baking Time: 20 minutes
Servings: 8 cookies
Nutritional Information (Per Cookie):
- Energy: 182 calories
- Protein: 3.48 g
- Fat: 10.02 g
- Carbohydrates: 16 g
- Fiber: 1.9 g
Storage Recommendations:
- Store the cookies in an airtight container at room temperature for up to 5 days.
- For longer storage, refrigerate for up to 2 weeks or freeze for up to 3 months.
- Customize the recipe by swapping in your favorite nuts, seeds, or even dried fruits to make it your own.
- Serve as a breakfast snack or a wholesome dessert with tea, coffee, or milk.