Lemonade Drink
Lemonade Drink
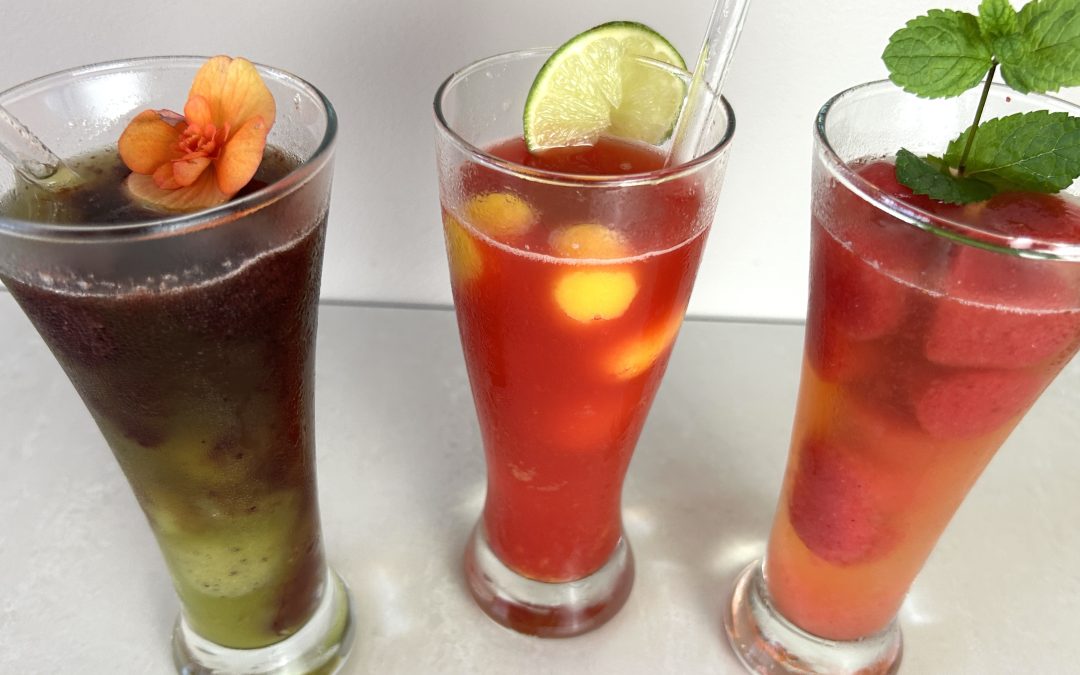
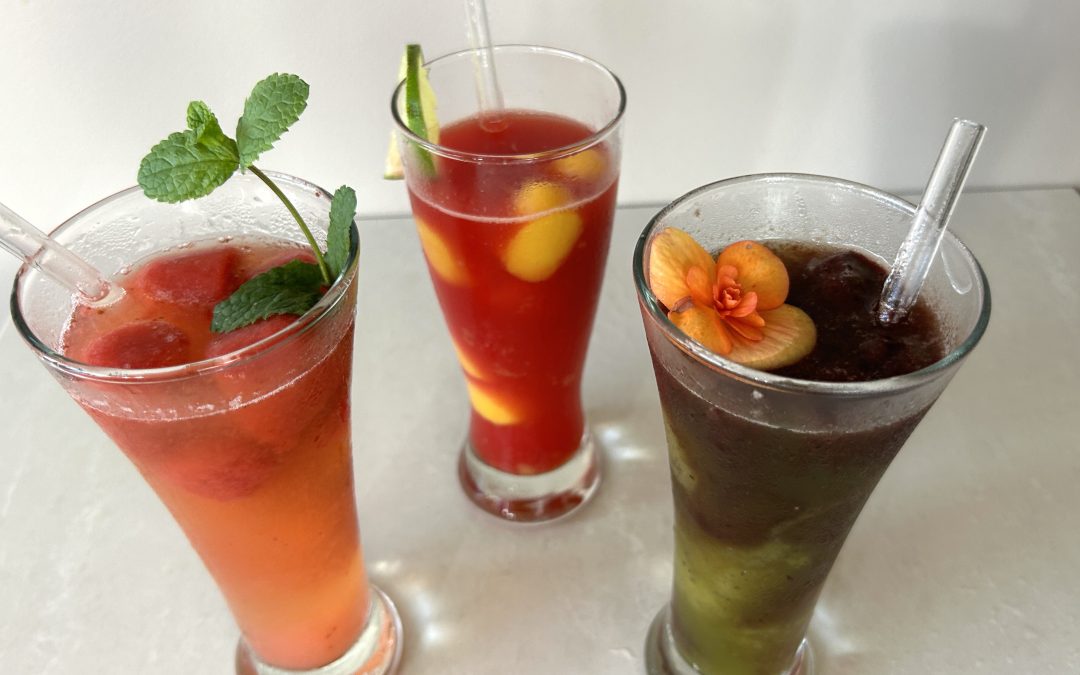
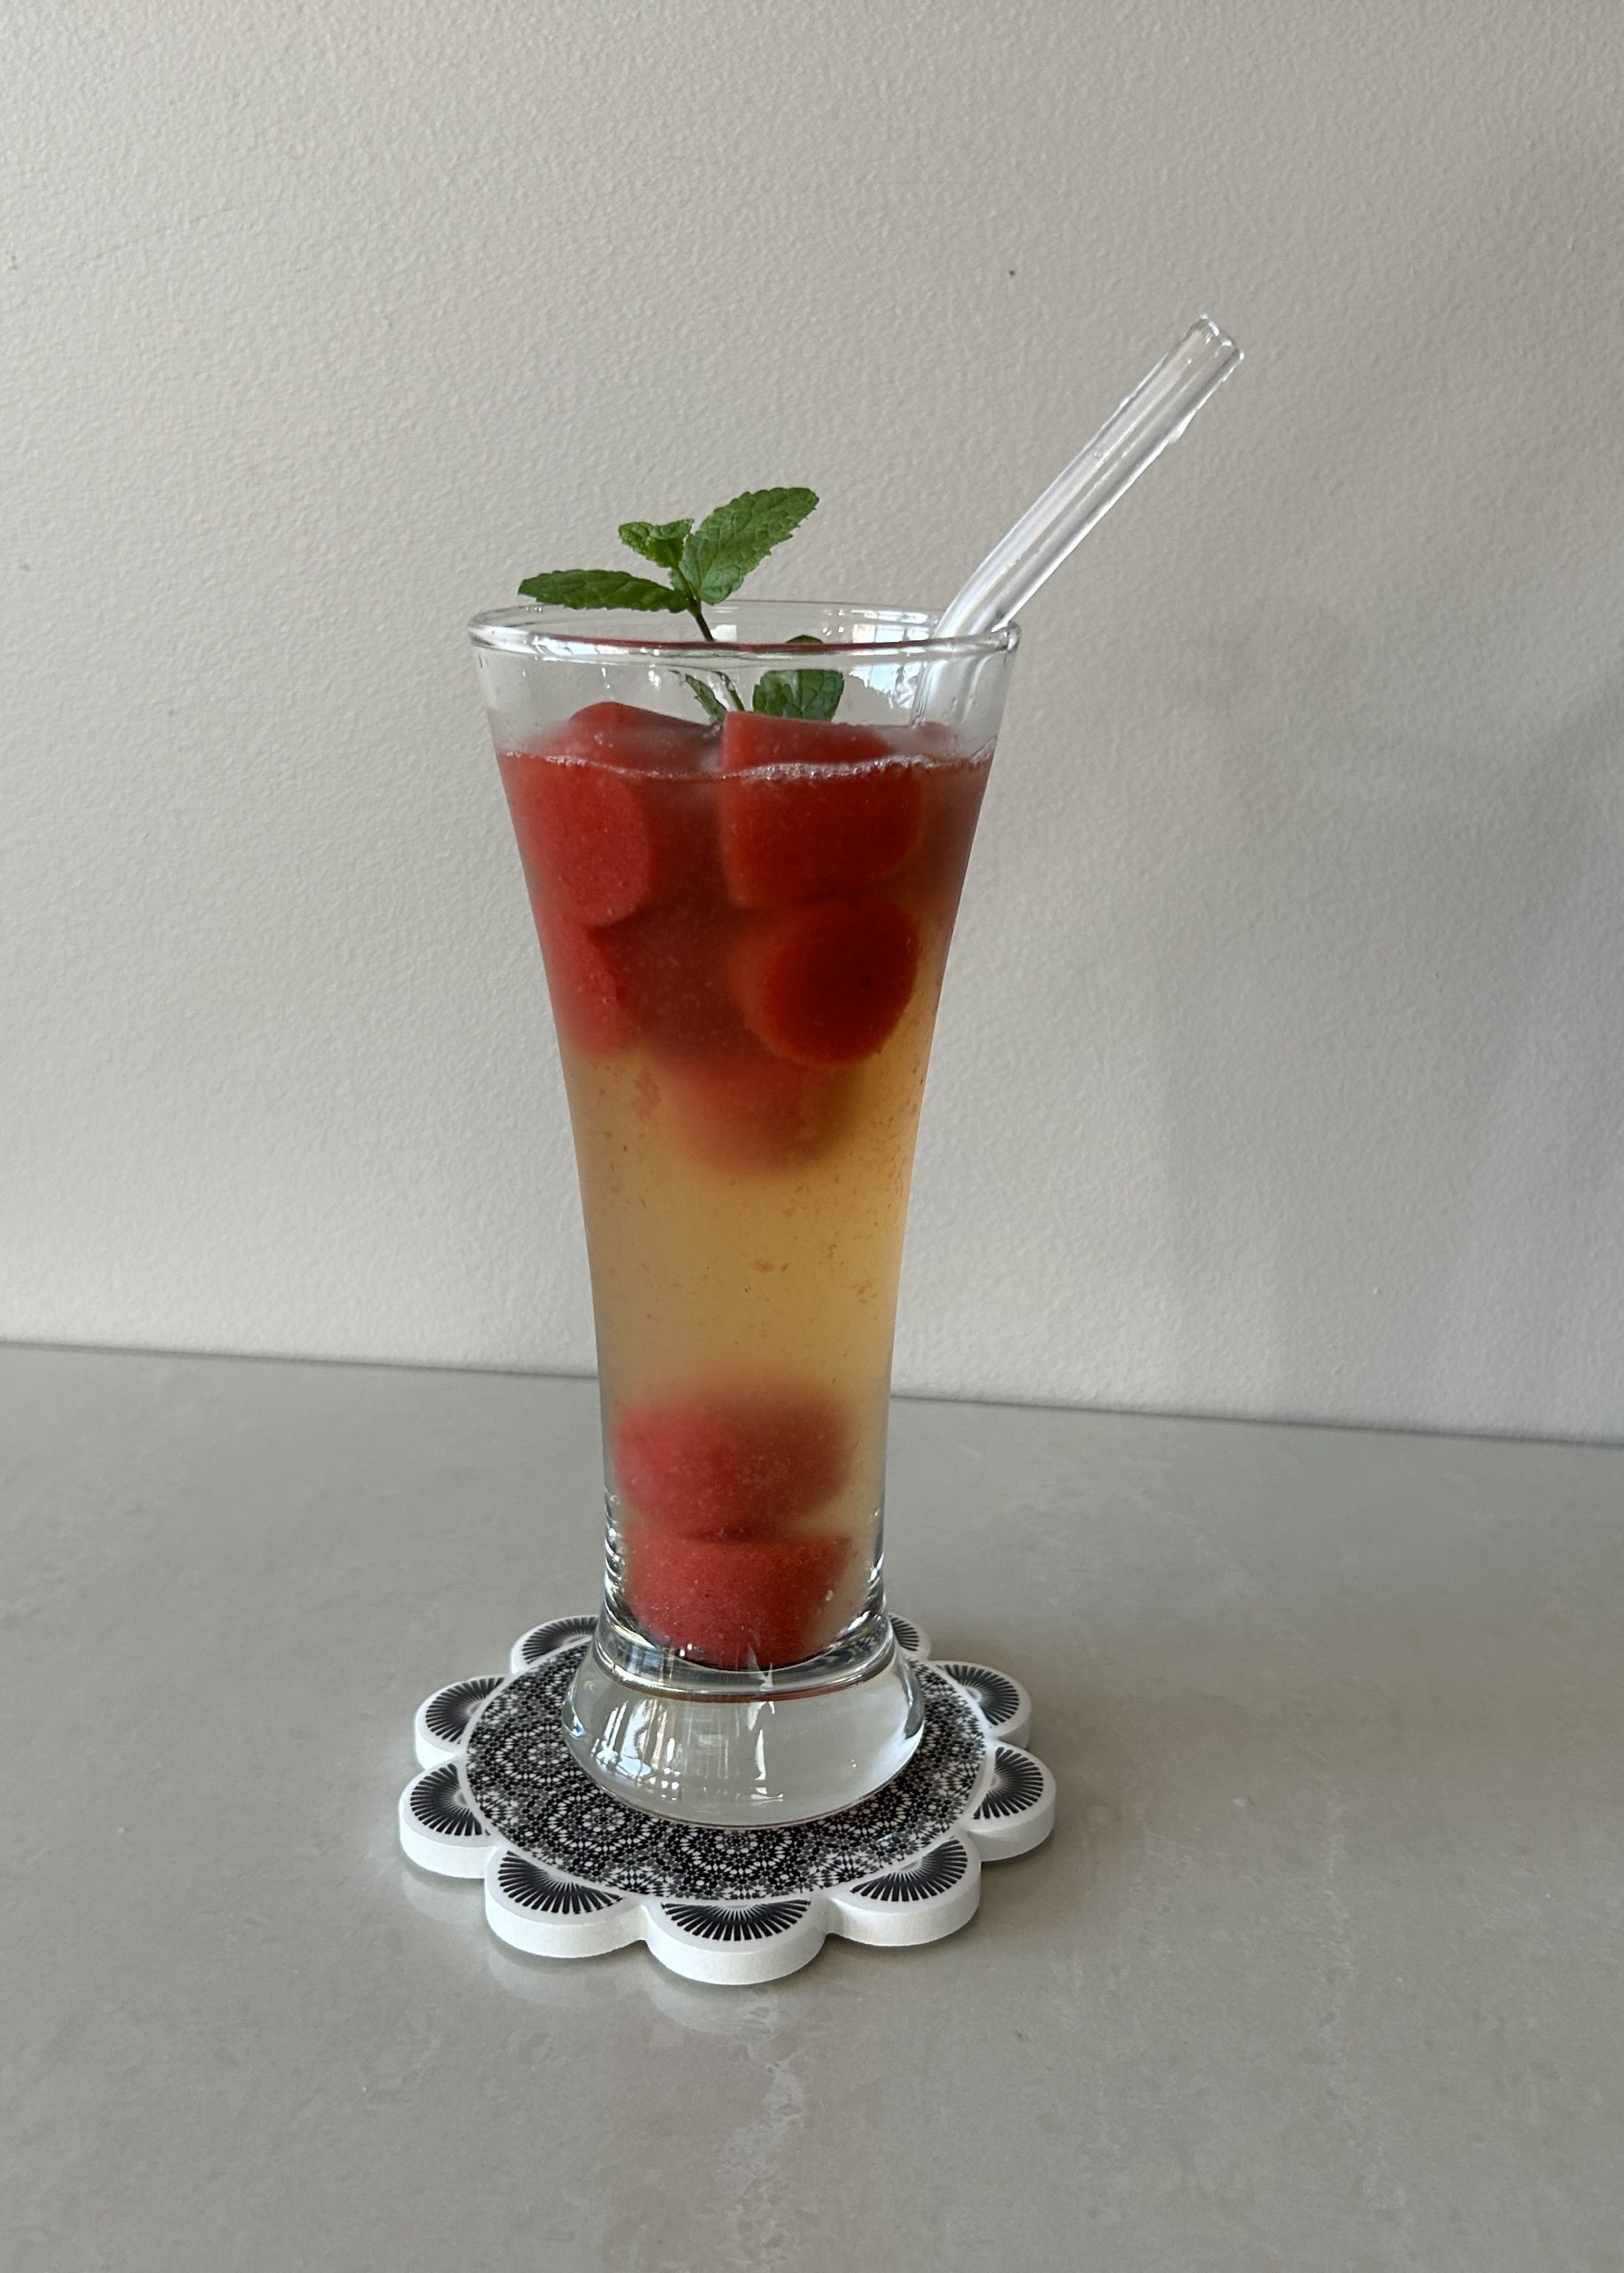
There’s nothing quite as refreshing as a chilled glass of lemonade on a hot summer day. This classic beverage, beloved for generations, has been given a delightful twist with the addition of homemade fruit ice cubes. The combination of tart, freshly squeezed lemons with sweet, colorful strawberry ice cubes creates a visually appealing and tastefully balanced drink that’s sure to become your go-to refreshment during the warm months.
Lemonade is more than just a thirst quencher; it’s a perfect blend of tangy and sweet, making it a versatile base for all sorts of variations. The fruity ice cubes not only keep your drink cool but also add a burst of flavor as they melt, infusing your lemonade with subtle notes of strawberry. Whether you’re relaxing on the porch, hosting a backyard gathering, or simply looking to enjoy a healthy and satisfying drink, this lemonade recipe will provide you with a cool escape from the heat.
With a simple preparation process and minimal ingredients, this lemonade is easy to make yet impressively delicious. Plus, it’s low in calories, making it a guilt-free treat that you can indulge in all summer long. Let’s dive into this refreshing recipe that’s perfect for kids and adults alike!
Ingredients
Strawberry Ice Cubes:
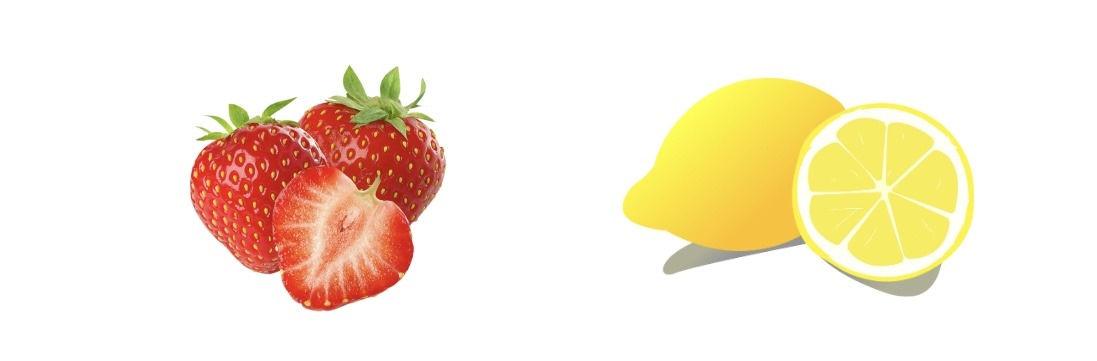
- 250 g strawberries, freshly cut
- 1 to 2 tbsp water
Lemonade Drink:
- 3 large lemons, freshly squeezed
- 500 ml cold water
- 4 tbsp maple syrup (or sweetener of choice)
- Strawberry ice cubes (from above)
- Mint leaves for garnish
Directions
- Strawberry Ice Cubes:
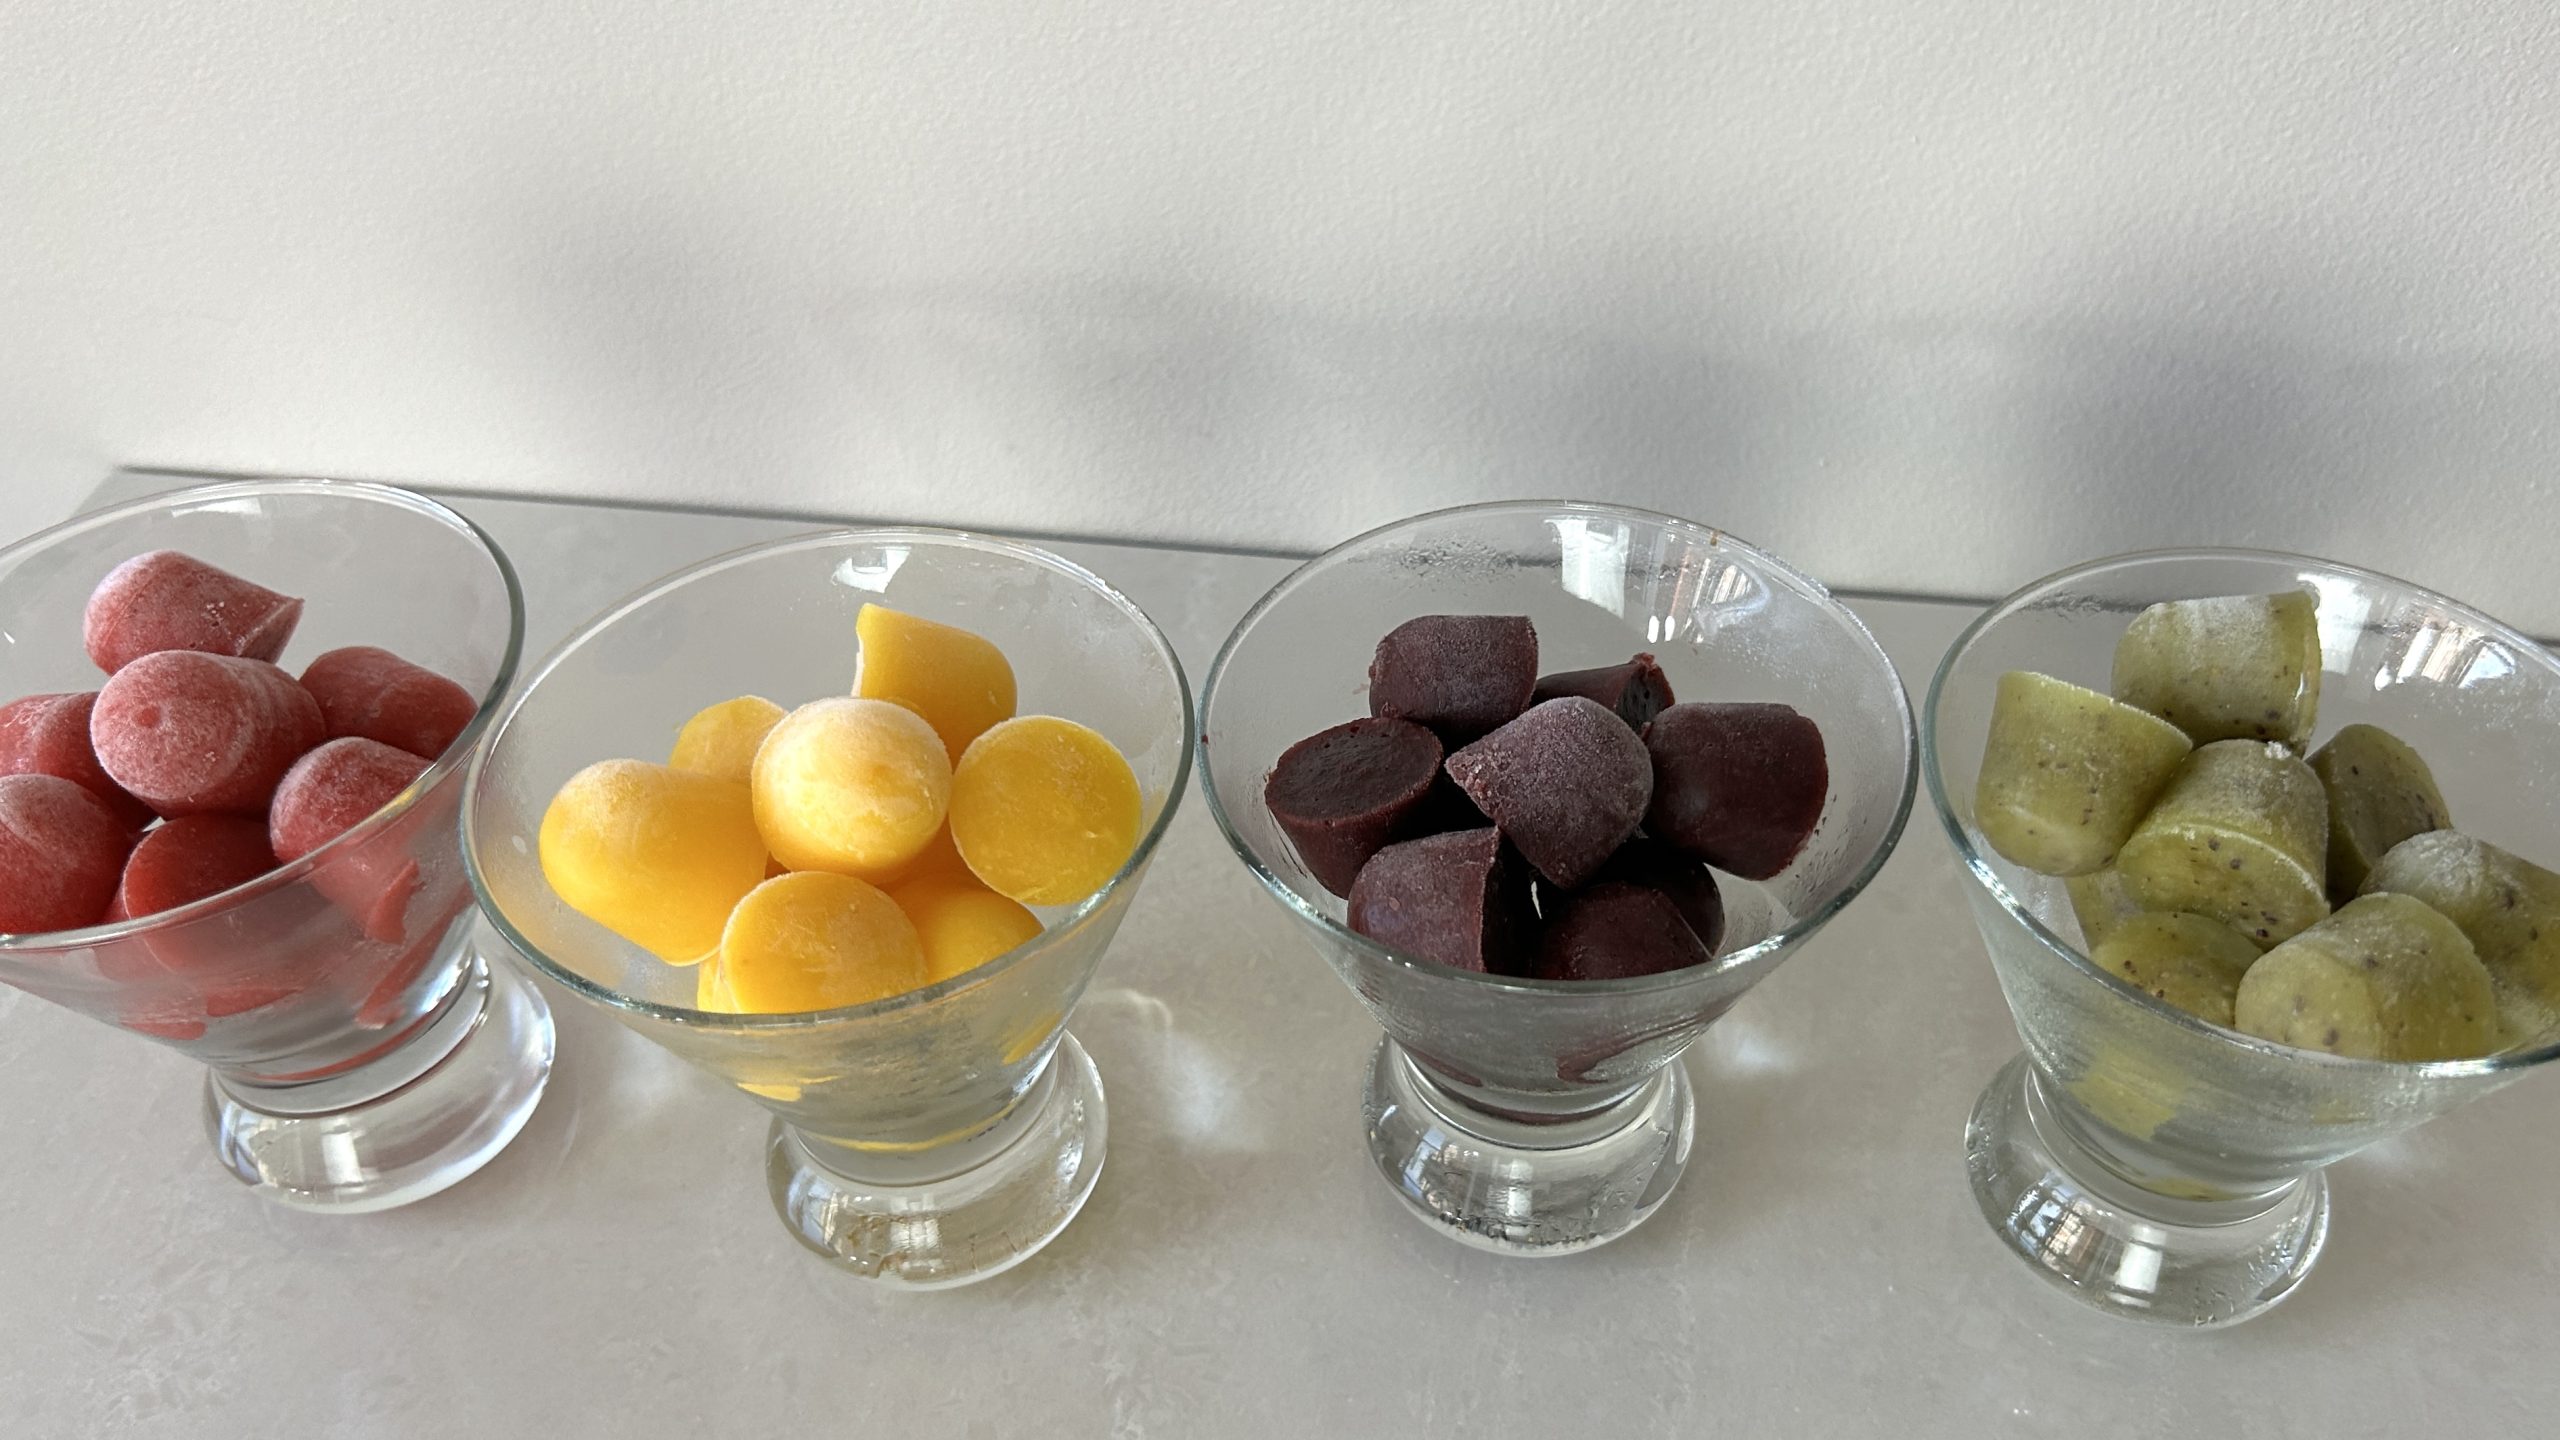
- Blend freshly cut strawberries with 1 or 2 tablespoons of water until smooth.
- Pour the strawberry mixture into an ice cube tray and freeze for at least 6 hours.
- Lemonade Drink:
- Squeeze the juice from 3 large lemons.
- In a mixing bowl, combine the lemon juice, cold water, and maple syrup or a sweetener of your choice. Stir well to combine.
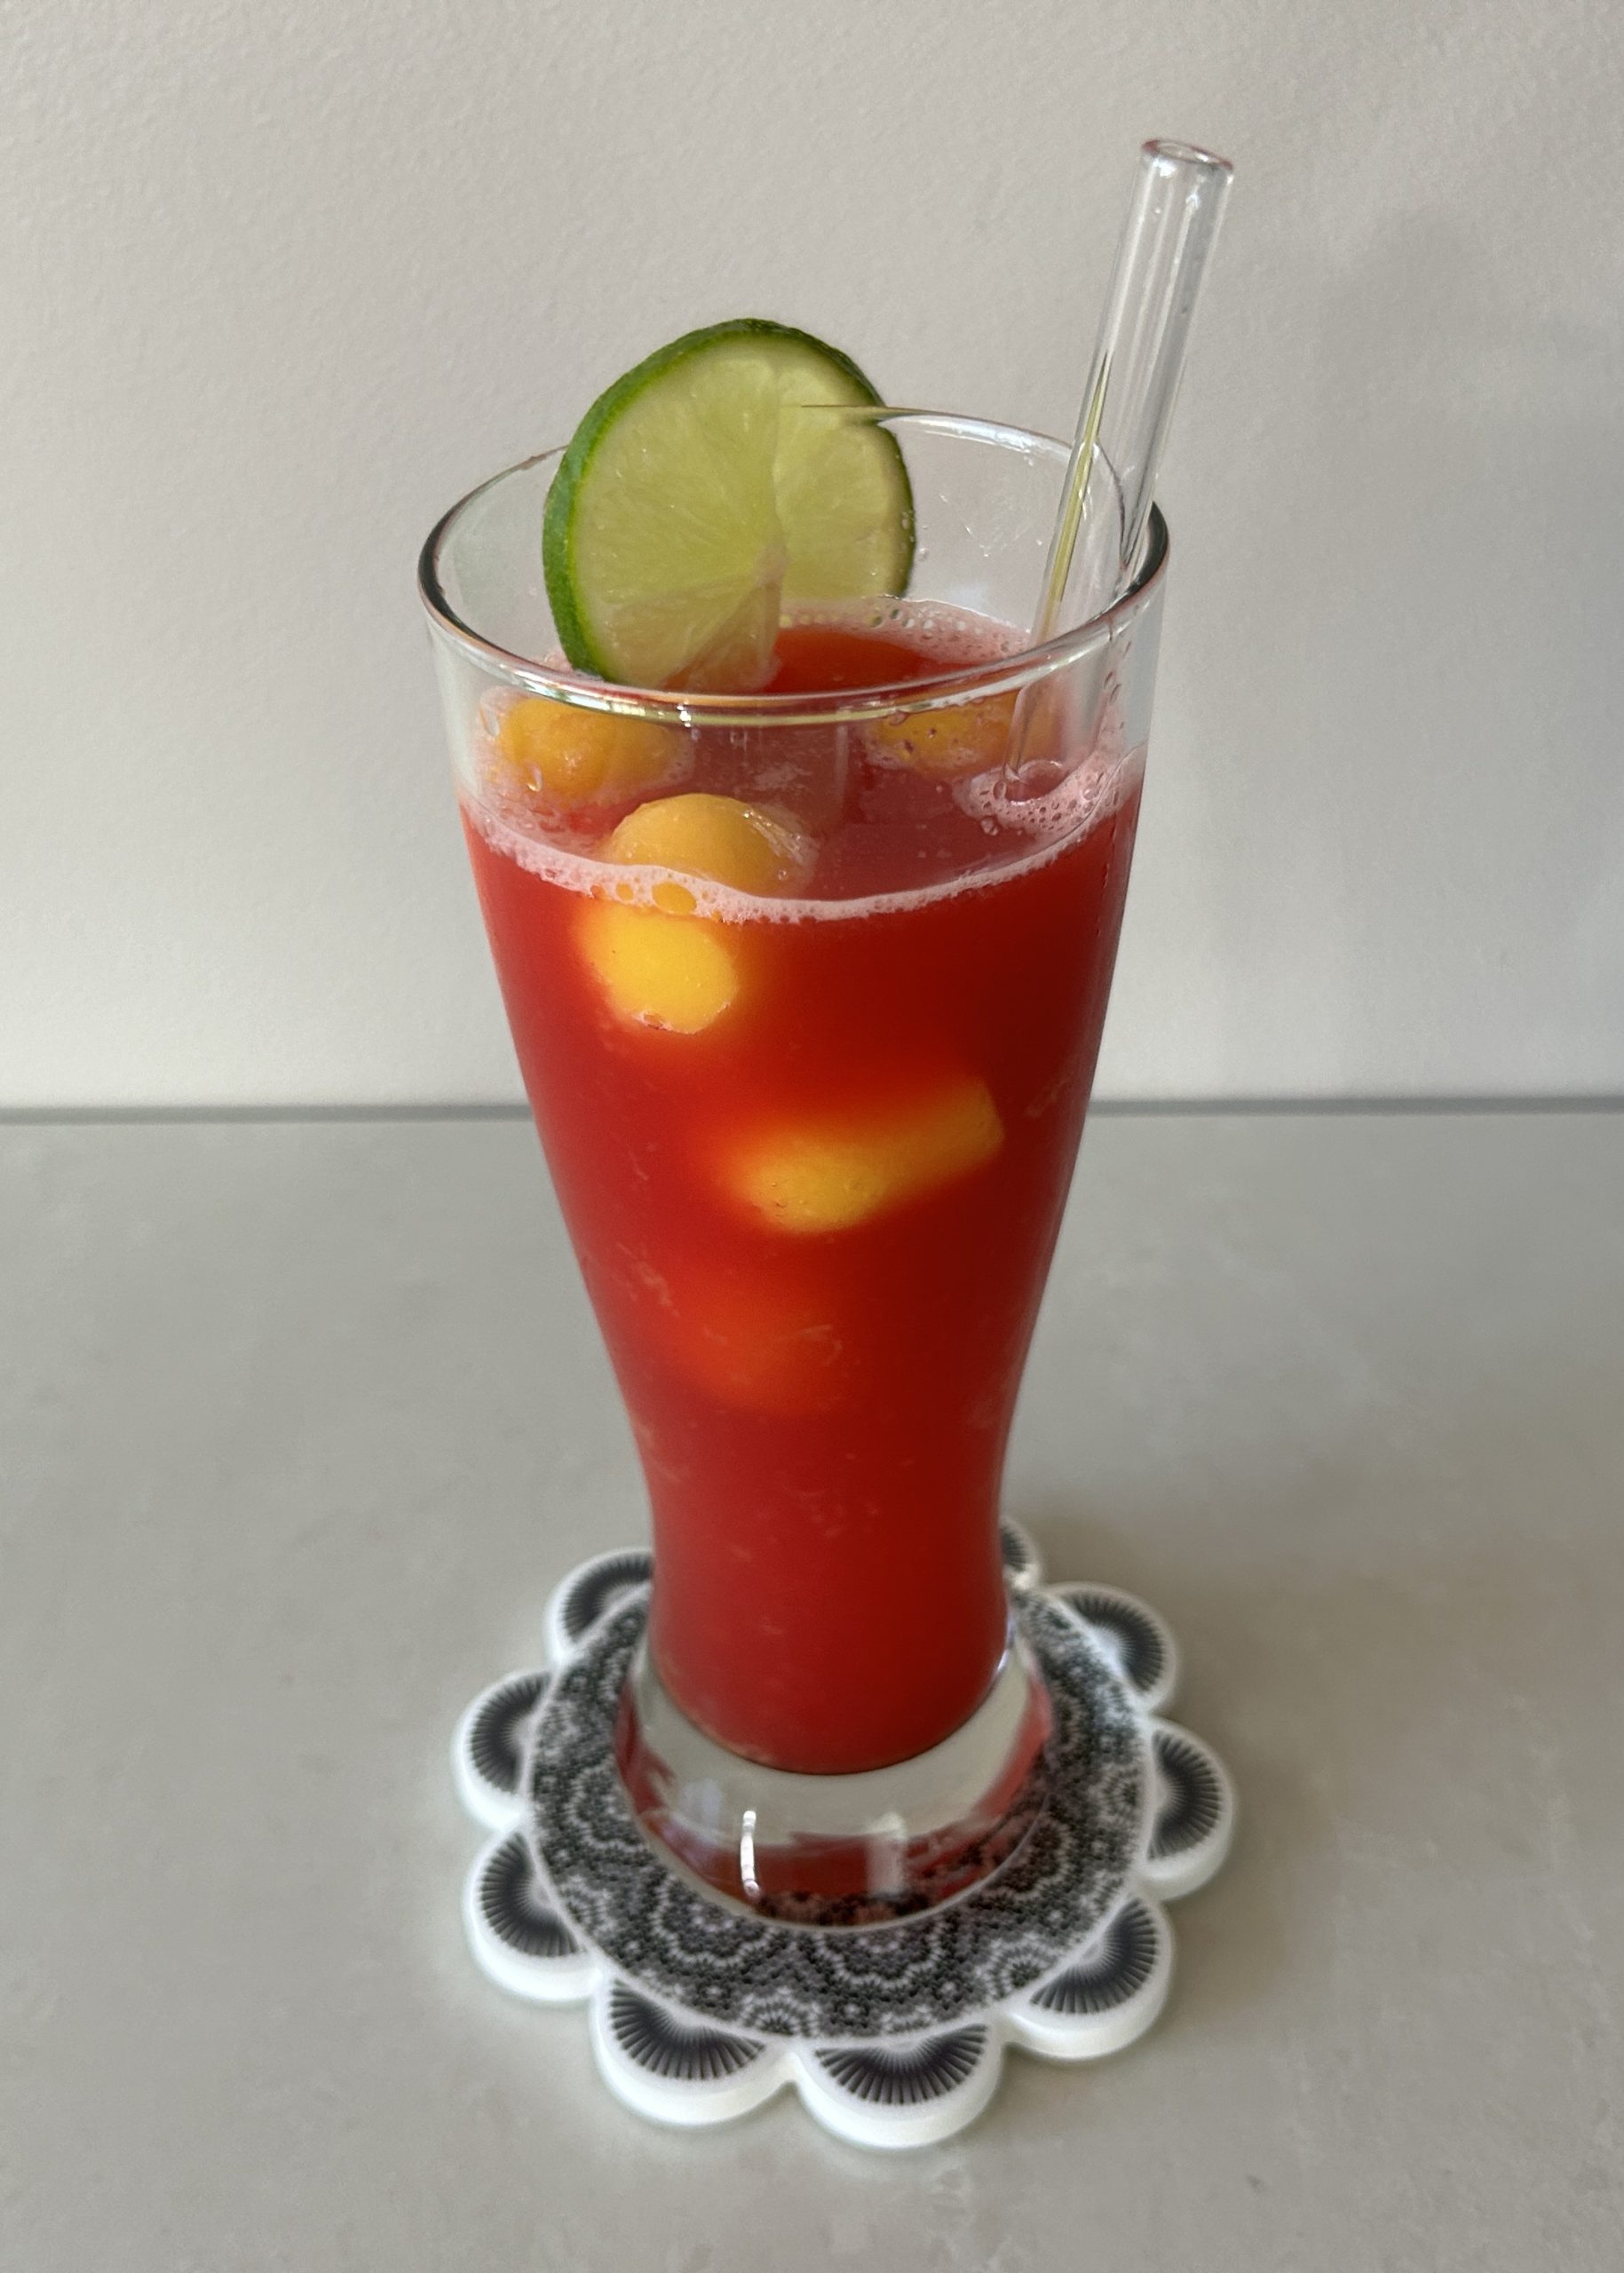
- Pour the freshly prepared lemonade into a serving glass with strawberry ice cubes or other fruit iced cubes of your choice.
- Decorate with mint leaves and enjoy!
Prep Time: 20 mins
Freezing Time: 6 hours
Servings: 3
Nutritional Information (Per 1 Serving – 300 ml):
- Energy: 107 calories
- Protein: 0.74 g
- Fat: 0.38 g
- Carbohydrates: 27.59 g
- Fiber: 1.8 g
Storage
- Store the fruit ice cubes in the freezer for up to 1 month.
- Prepared drinks should be consumed immediately for the best flavor and freshness.
Notes
- Feel free to experiment with other fruits for the ice cubes.
- This drink is perfect for staying cool on hot summer days.